3M Di-Noc Carbon Fiber Vinyl Review


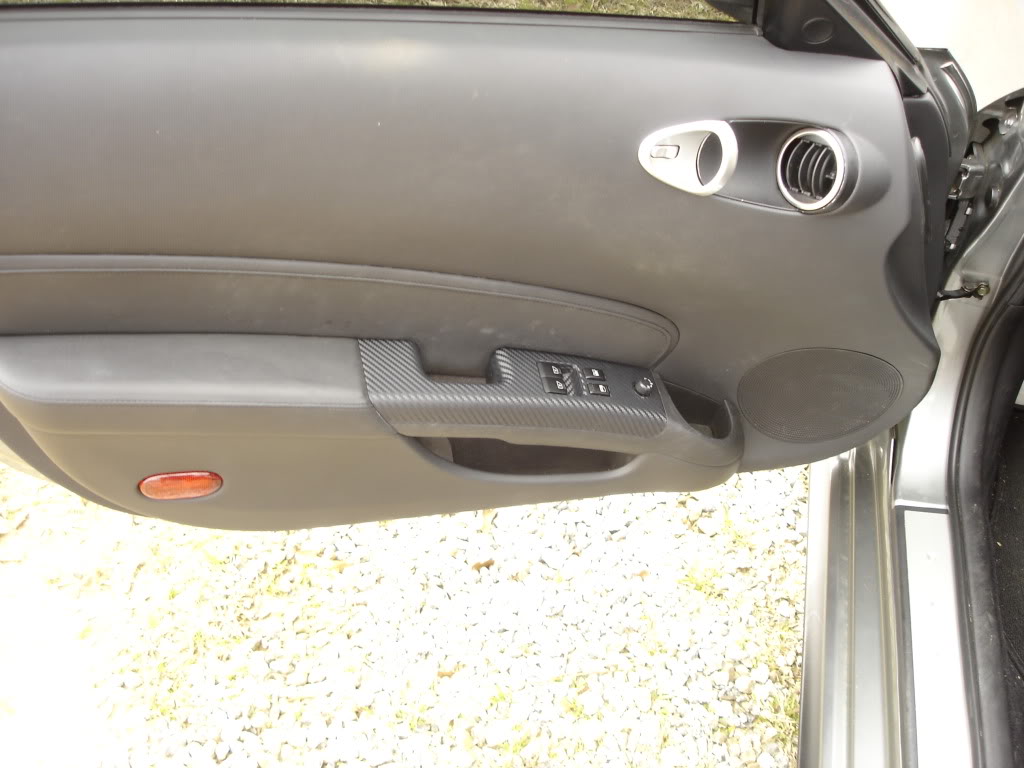
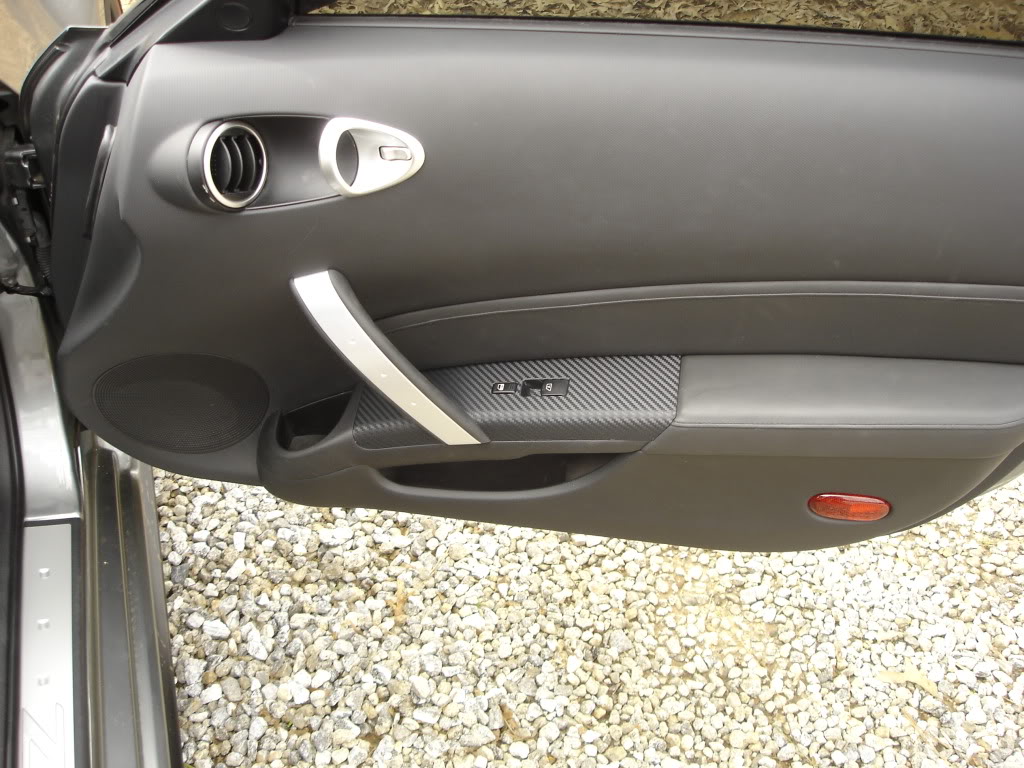
I'll start by saying that my interior was really scratched up from normal wear and tear. My driver's side door switch and the flip up lid on the center console had it the worst. Instead of painting I took a shot with wrapping and I'm really happy with the outcome.
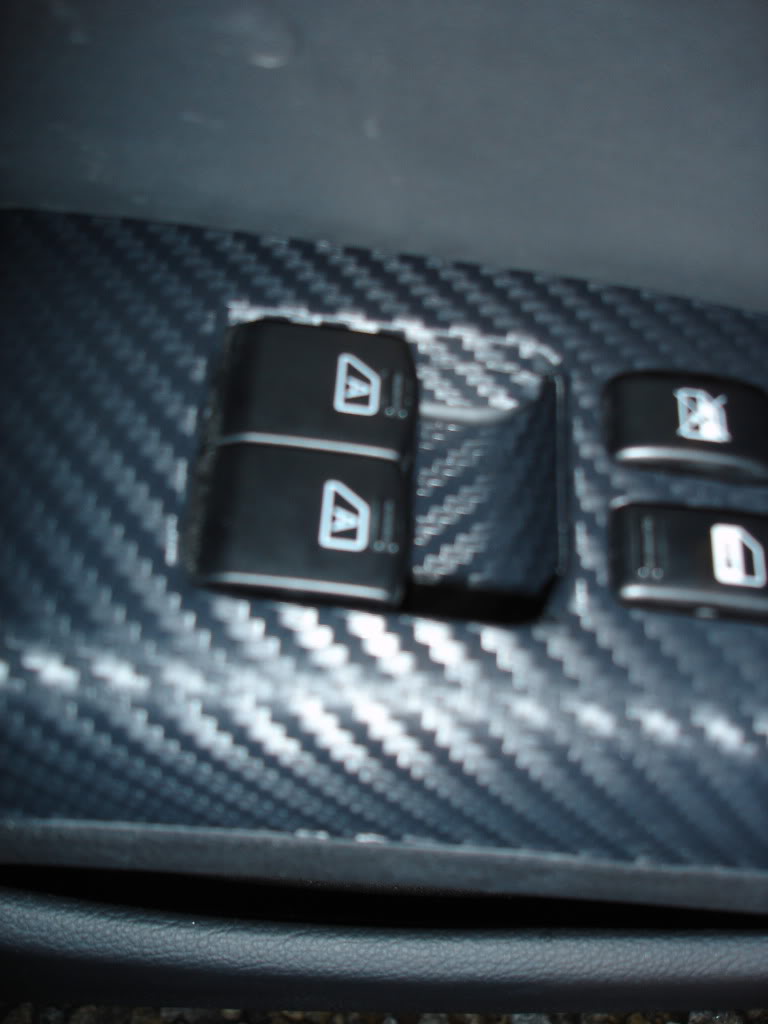
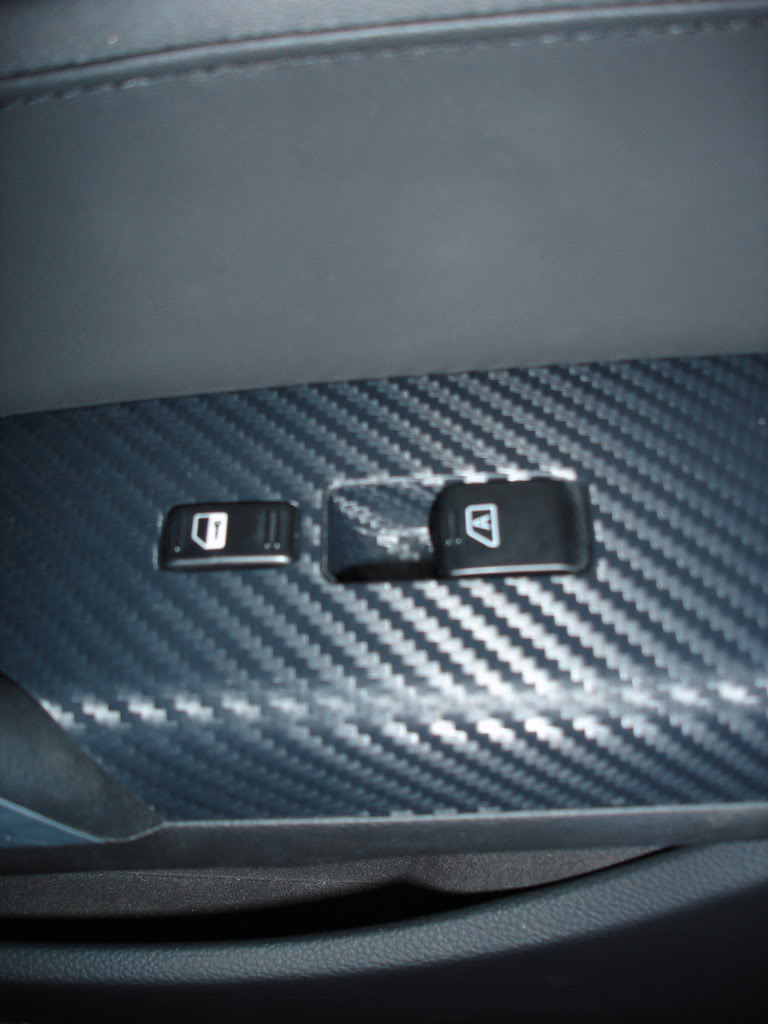
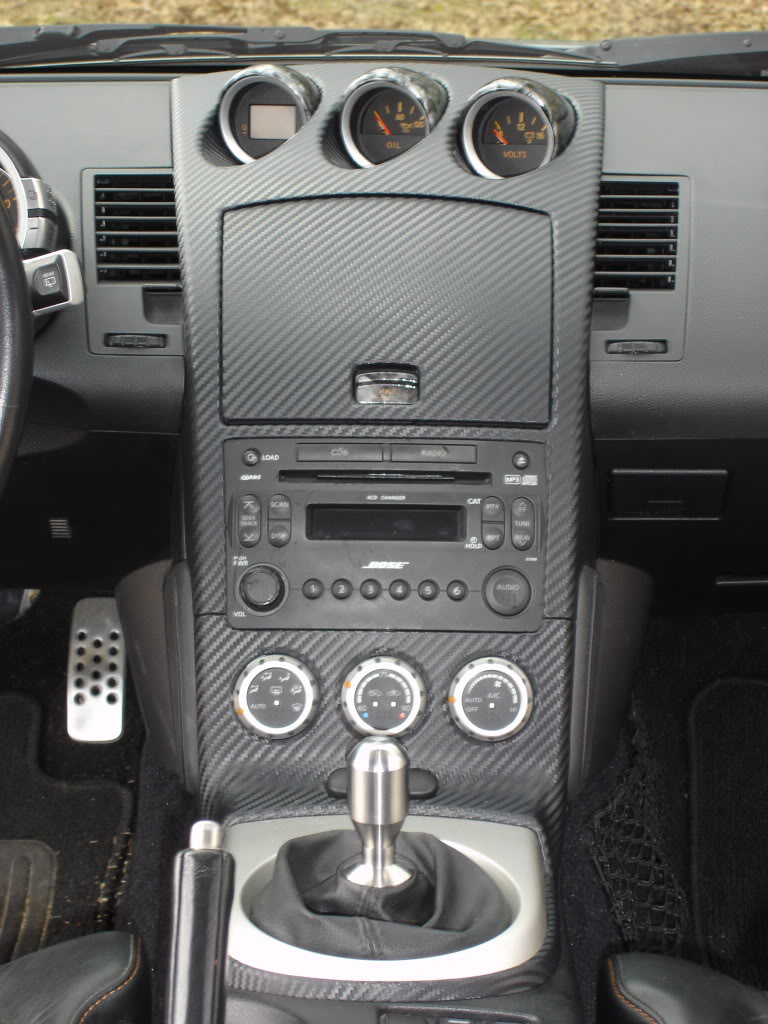
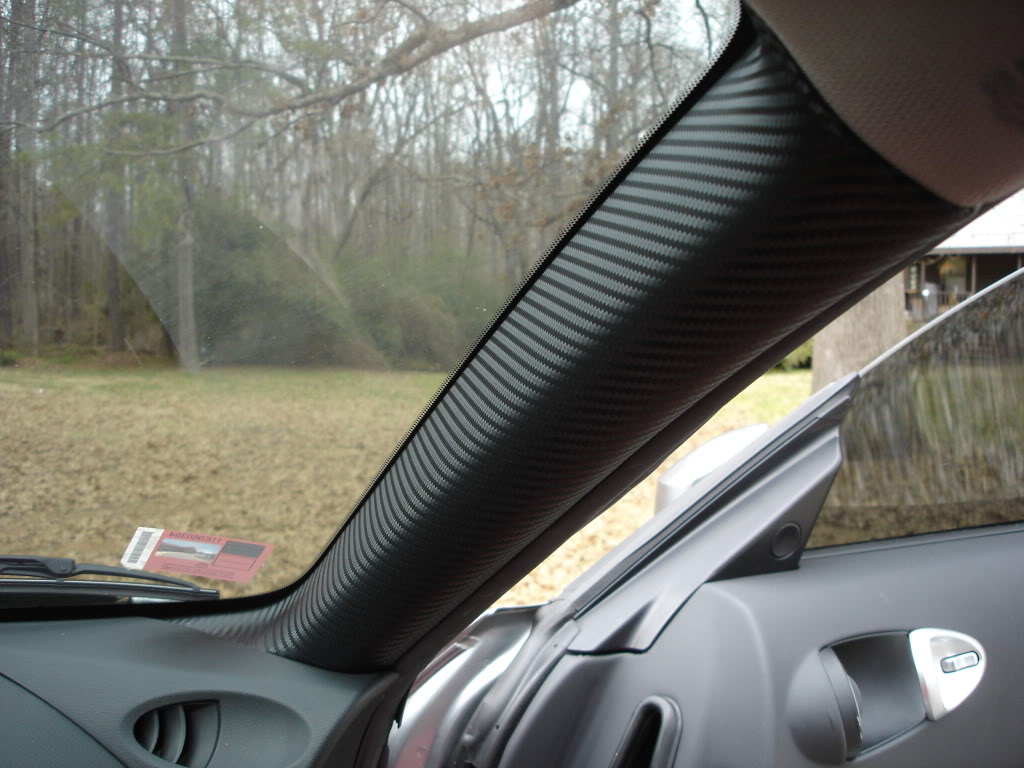
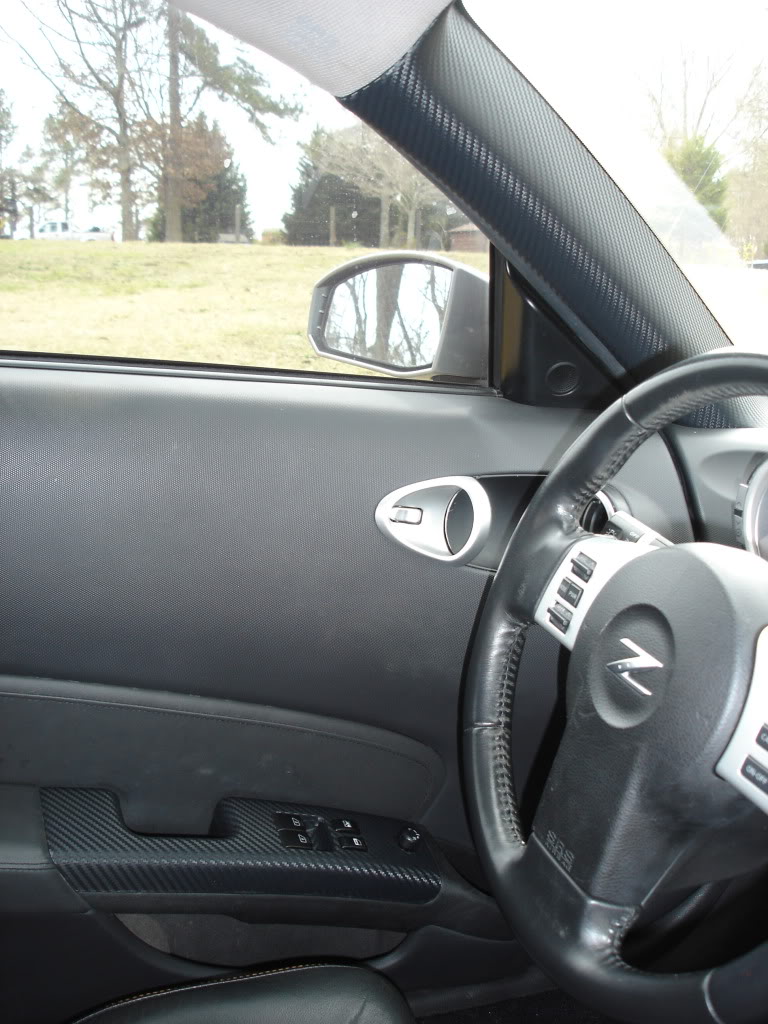
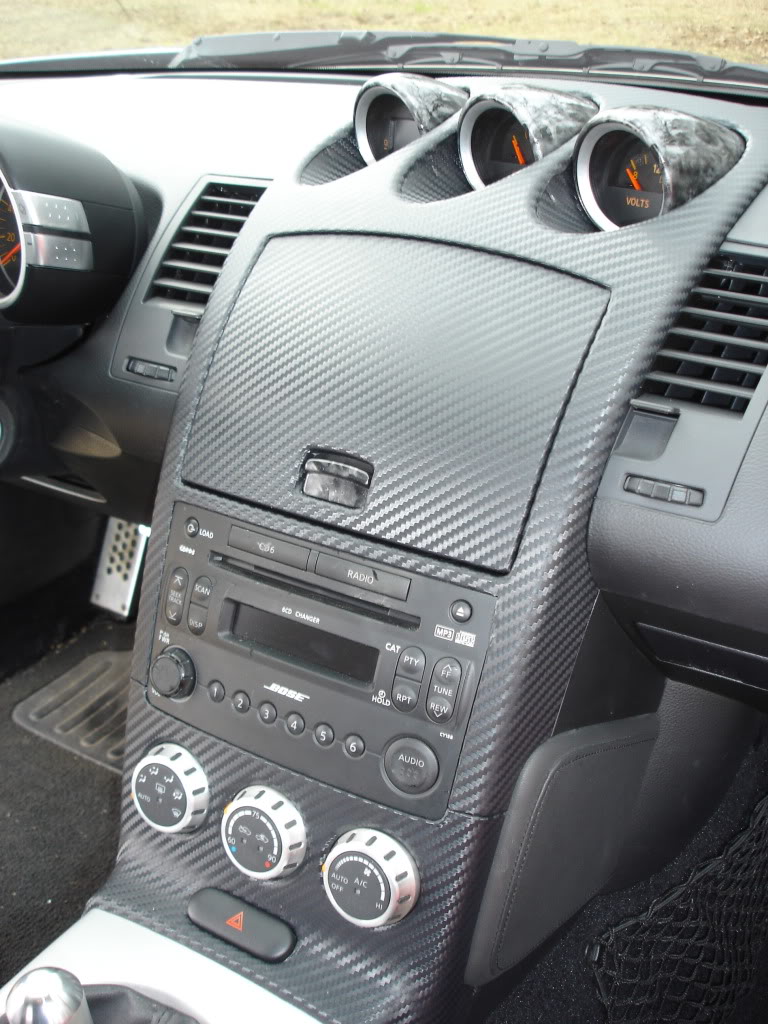
I bought a 48"x48" (16 sq/ft) sheet from carbonfiberfilm.com for $120.80 shipped. This might not have been the cheapest, but I received the vinyl in about 3 days and it arrived in great shape (not folds or creases). With the 16 sq/ft I was able to cover: both door switches, both A-pillars, the shifter cover, and the upper center console (twice because I wasn't happy with the first attempt and started over). As long as you're smart with how big and where you cut the pieces out, you should have no problem covering these pieces. I even have a decent bit left over.
The whole process took me a few weekends, just because I spread it out. I definitely recommend taking breaks because it can get frustrating at times. I tried to start with the easiest pieces first, so I could learn on the go. I went door switches, A-pillars, upper center console, then lower center console. I took everything apart before starting, i.e. AC controls, Hazard Switch, Window Controls, Center Console Gauges, Cubby, and Cubby lid. I had zero experience with any of this before, but feel pretty comfortable now with taking it all apart and putting everything back together.
Before starting to a wrap a piece, I would wipe it down with rubbing alcohol and then spread Primer 94 over the whole piece. The vinyl really is pretty cool, when you get to a curve, just heat the vinyl until it starts to fold over on itself, then stretch it over the curve. The hardest part was getting a nice tight fit without any air bubbles and without having it come up when working your way down the piece. If you just take your time and heat and stretch, and heat and stretch, you can get a very nice wrap.
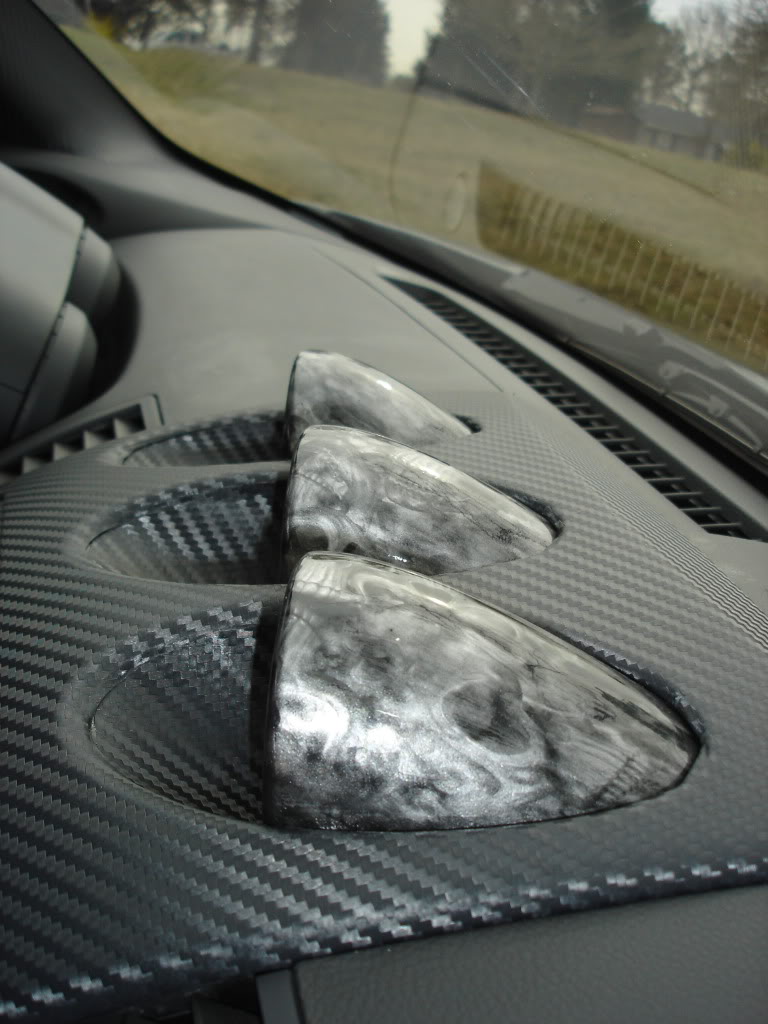
Be careful if you decide to take out the gauges, I scratched mine when removing them. So instead of wrapping them, I decided to have a little fun and do something different. Enjoy
I bought a 48"x48" (16 sq/ft) sheet from carbonfiberfilm.com for $120.80 shipped. This might not have been the cheapest, but I received the vinyl in about 3 days and it arrived in great shape (not folds or creases). With the 16 sq/ft I was able to cover: both door switches, both A-pillars, the shifter cover, and the upper center console (twice because I wasn't happy with the first attempt and started over). As long as you're smart with how big and where you cut the pieces out, you should have no problem covering these pieces. I even have a decent bit left over.
The whole process took me a few weekends, just because I spread it out. I definitely recommend taking breaks because it can get frustrating at times. I tried to start with the easiest pieces first, so I could learn on the go. I went door switches, A-pillars, upper center console, then lower center console. I took everything apart before starting, i.e. AC controls, Hazard Switch, Window Controls, Center Console Gauges, Cubby, and Cubby lid. I had zero experience with any of this before, but feel pretty comfortable now with taking it all apart and putting everything back together.
Before starting to a wrap a piece, I would wipe it down with rubbing alcohol and then spread Primer 94 over the whole piece. The vinyl really is pretty cool, when you get to a curve, just heat the vinyl until it starts to fold over on itself, then stretch it over the curve. The hardest part was getting a nice tight fit without any air bubbles and without having it come up when working your way down the piece. If you just take your time and heat and stretch, and heat and stretch, you can get a very nice wrap.
Be careful if you decide to take out the gauges, I scratched mine when removing them. So instead of wrapping them, I decided to have a little fun and do something different. Enjoy
Last edited by abarclay; Mar 9, 2011 at 04:06 PM.


Great work there! I'm considering doing the same, at least for the door switch area. BTW, how did you work by the switches? Did you cut your vinyl in several places to fit it or did you stretch it? Also, do you have a closer picture of this area (door switches)?


Trending Topics

I did this 2 years ago, really held up, very east to do. just use a heat gun or blow dryer and patience. I also just gave it away and traded for a stock interior and from what i know, it is still doing great and the guy parks outside all day. I always garaged my z at home and work, but it very much is worth the hassle to do.


yep, when done correctly and in even, deliberate moderation, and with primer 94, looks great.. good job not making it look like a honda.
Well done sir.
I just did my ati steering wheel column gauge pod, but it clashes w all the real carbon, so its back to square one w that. Yanked back off. I did small accents to my MOMO Evo wheel w it w great results.. again, good job on your clean work.
ppl reading this, please note that its not like other wrap material.. it zips back to its orig shape when reheated and will lift right back up if you dont use primer 94... its not like cv3 or wrap material and its much thicker too.
Last edited by bmccann101; Mar 8, 2011 at 01:55 PM. Reason: clarification
I think this is the only portion that concerned me, unless there were other tricky areas for the door switch area? Thanks for sharing the info.

You should clear coat them with valspar high gloss clear coat. I did this a month ago and it made a world of difference.It won't let me upload the pics but you can see them here http://img812.imageshack.us/i/carbon...omparison.jpg/ and http://img827.imageshack.us/i/carbon...terconsol.jpg/ 
Last edited by Shermanator; Mar 8, 2011 at 02:13 PM.
yep, when done correctly and in even, deliberate moderation, and with primer 94, looks great.. good job not making it look like a honda.
Well done sir.
I just did my ati steering wheel column gauge pod, but it clashes w all the real carbon, so its back to square one w that. Yanked back off. I did small accents to my MOMO Evo wheel w it w great results.. again, good job on your clean work.
ppl reading this, please note that its not like other wrap material.. it zips back to its orig shape when reheated and will lift right back up if you dont use primer 94... its not like cv3 or wrap material and its much thicker too.
Well done sir.
I just did my ati steering wheel column gauge pod, but it clashes w all the real carbon, so its back to square one w that. Yanked back off. I did small accents to my MOMO Evo wheel w it w great results.. again, good job on your clean work.
ppl reading this, please note that its not like other wrap material.. it zips back to its orig shape when reheated and will lift right back up if you dont use primer 94... its not like cv3 or wrap material and its much thicker too.
You should clear coat them with valspar high gloss clear coat. I did this a month ago and it made a world of difference.It won't let me upload the pics but you can see them here http://img812.imageshack.us/i/carbon...omparison.jpg/ and http://img827.imageshack.us/i/carbon...terconsol.jpg/