3M ScotchPrint Brushed Aluminum Vinyl on Steering Wheel


My plastic trim pieces on my steering wheel have shown quite a bit of wear after 74,000 miles and since it's quite expensive to replace those trim pieces I decided to use 3M's Brushed Aluminum Vinyl. Application was pretty easy, you just need lots of patience.
Tools used:
Isopropyl Alcohol- To clean pieces
3M Primer 94- Applied to edges and curves so vinyl stays in place.
Application Squeege- Helps with getting vinyl down in tight spaces and gets out any air bubbles.
Exacto Knife-Needed to cut away vinyl in tight places
Hair Dryer- Needed to stretch vinyl over curves and edges.
Now what I did was take a screwdriver and take out the two screws on each side of the steering wheel behind the trim pieces. This allowed me a bit more room to work with the vinyl. Now these trim pieces simply DO NOT pop off. In order to get them completely off you have to have a special Torx bit that I believe you can get at Sears that will allow you to take the Steering wheel apart and gain you access to the screw that is holding the trim piece to the steering wheel. So I decided to apply the vinyl while the trim pieces where still attached to the steering wheel. A bit more tricky but not a big pain in the butt to completely take your steering wheel apart.
Now on to the pics:
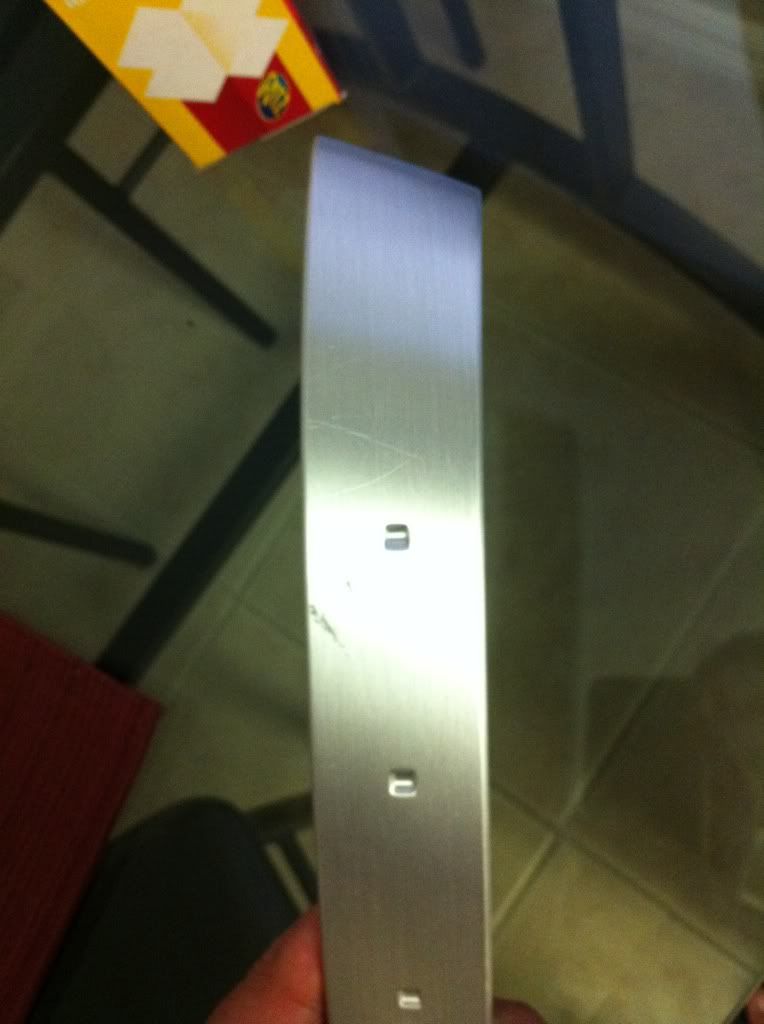
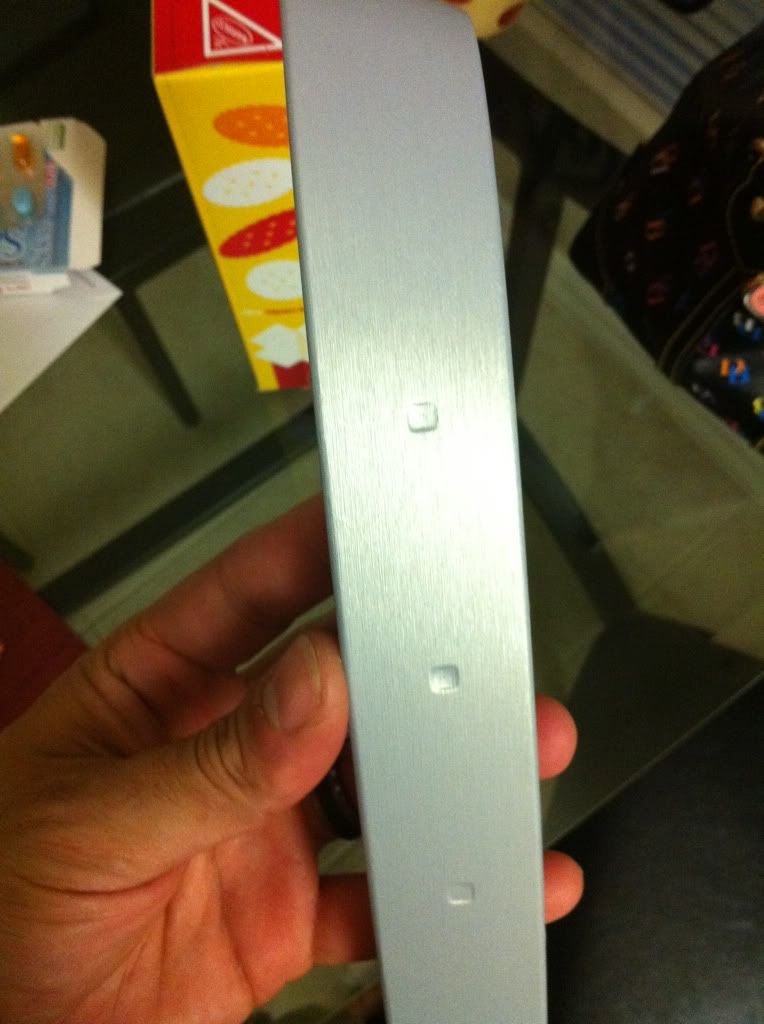
Left side Before:
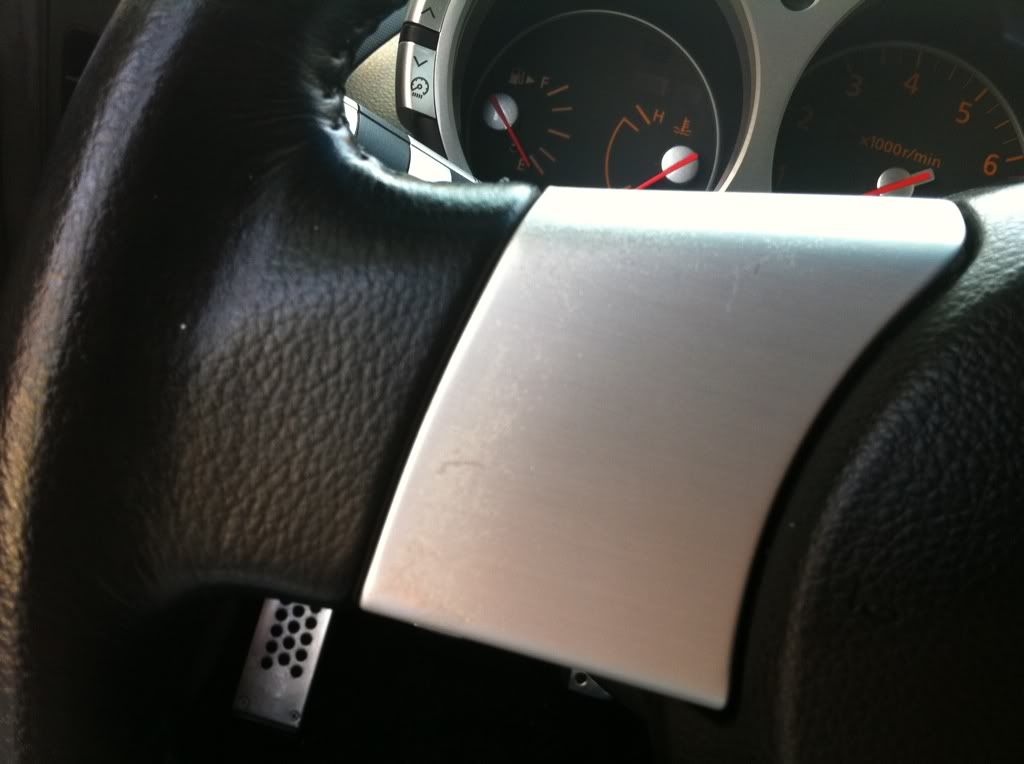
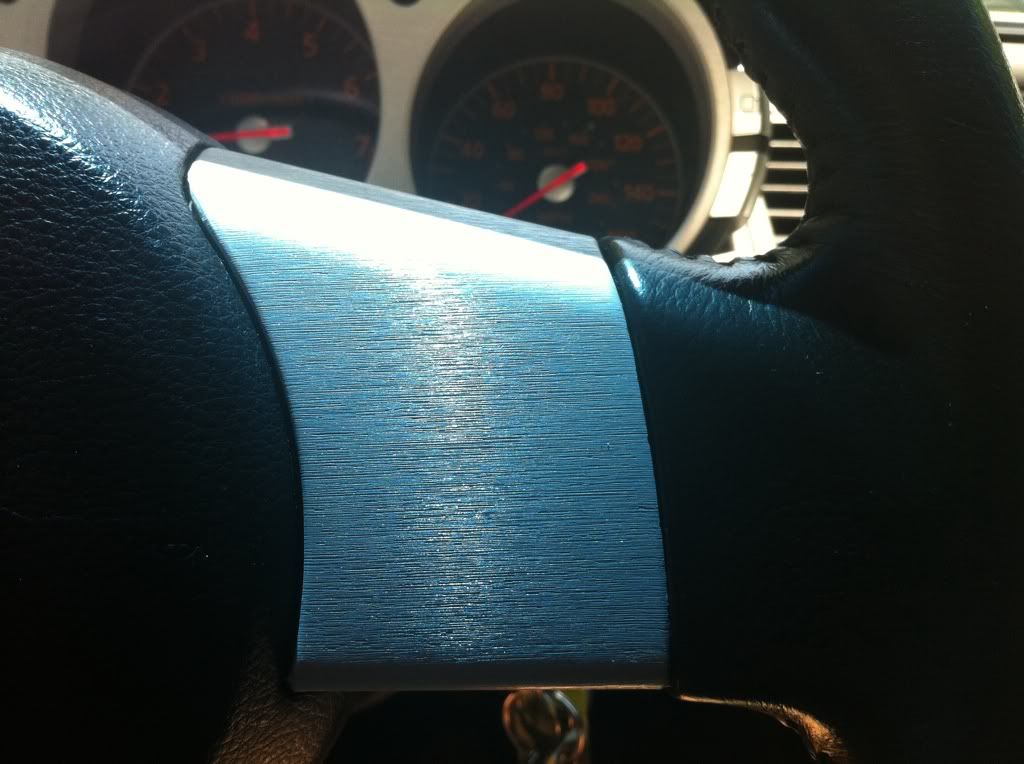
left side After:
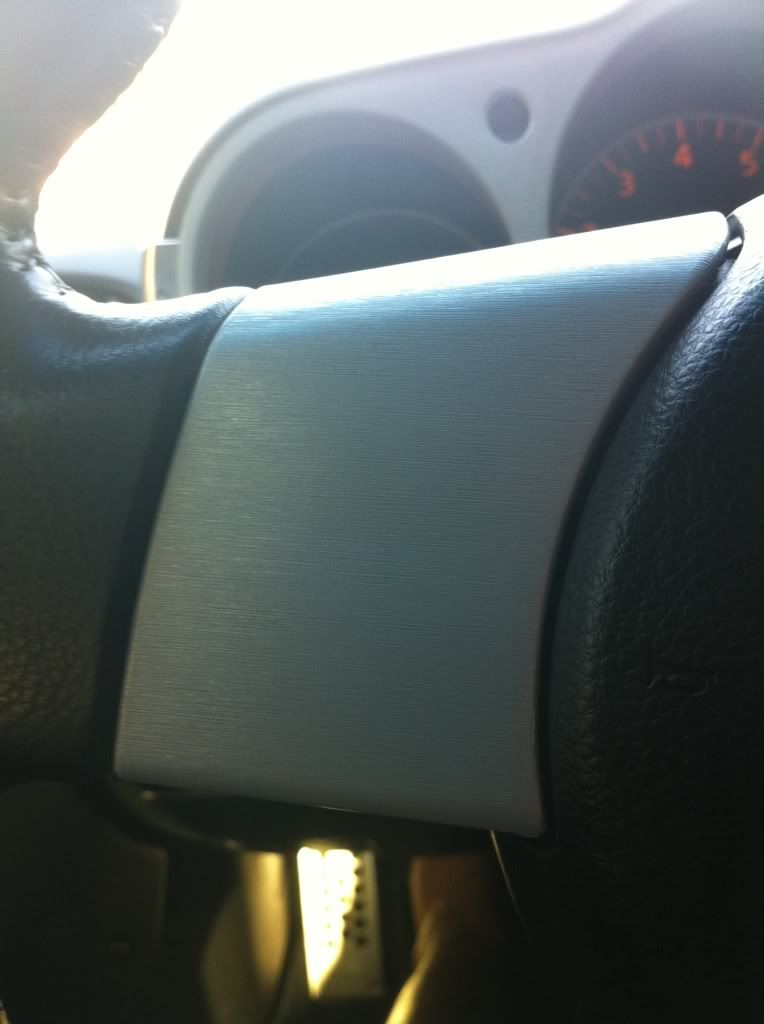
Right Side After:
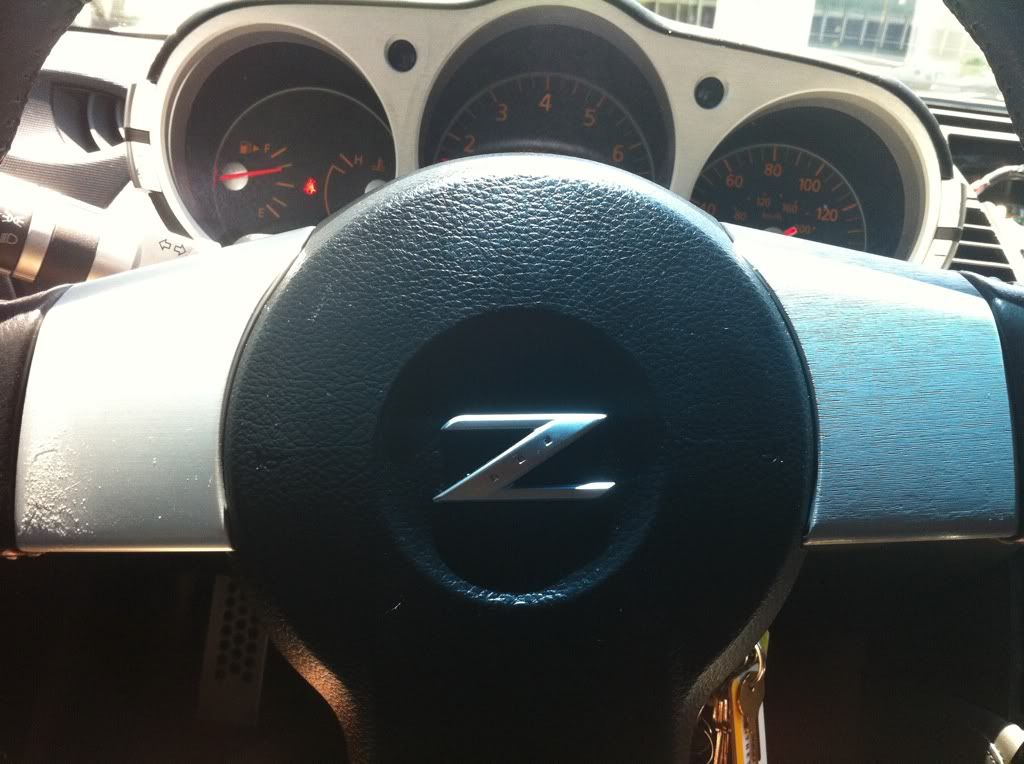
Right side done, left side unfinished:
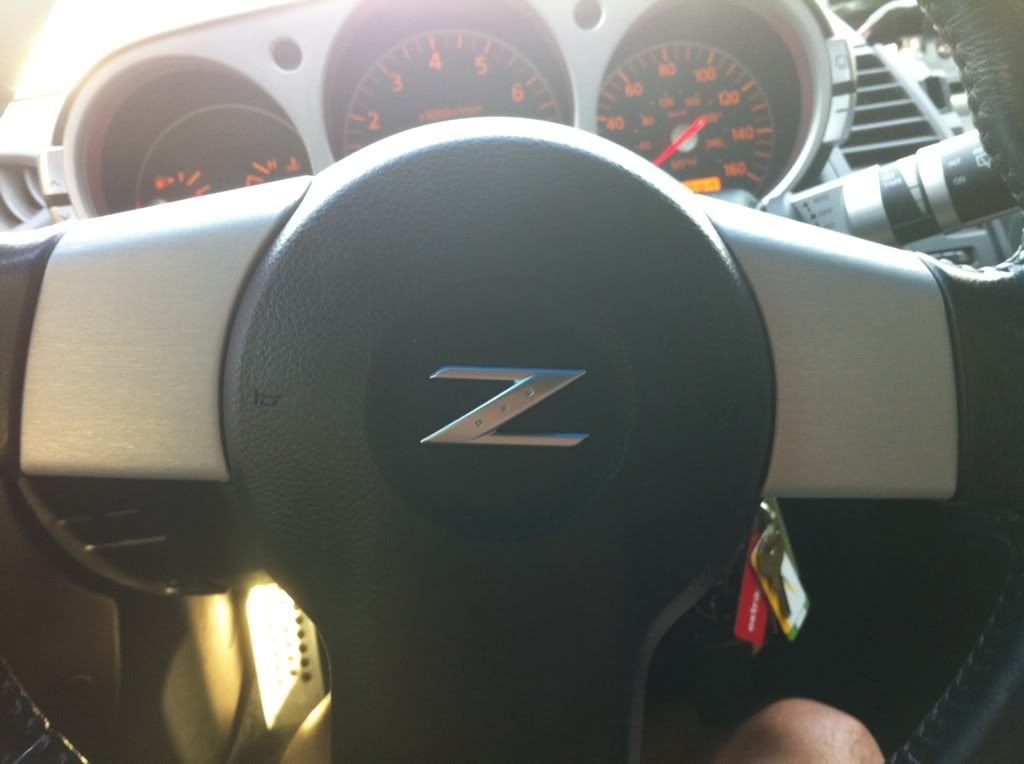
Completed:
Here are a few other samples of vinyl I got:
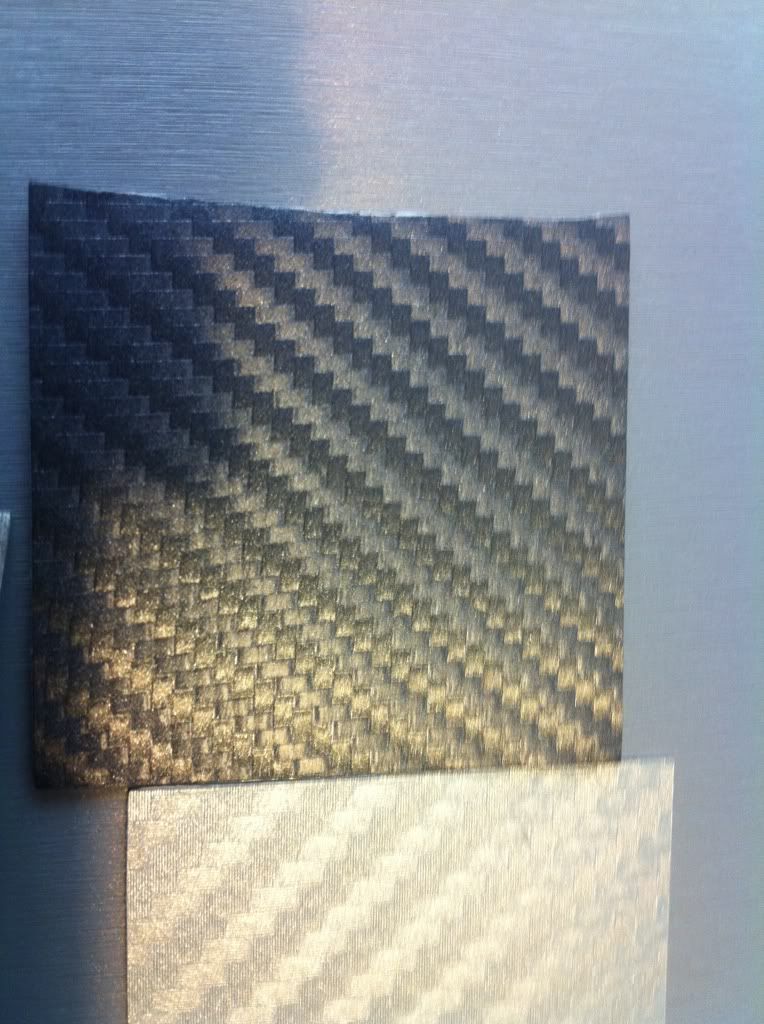
Silver 3M Di-NOC Carbon Fiber
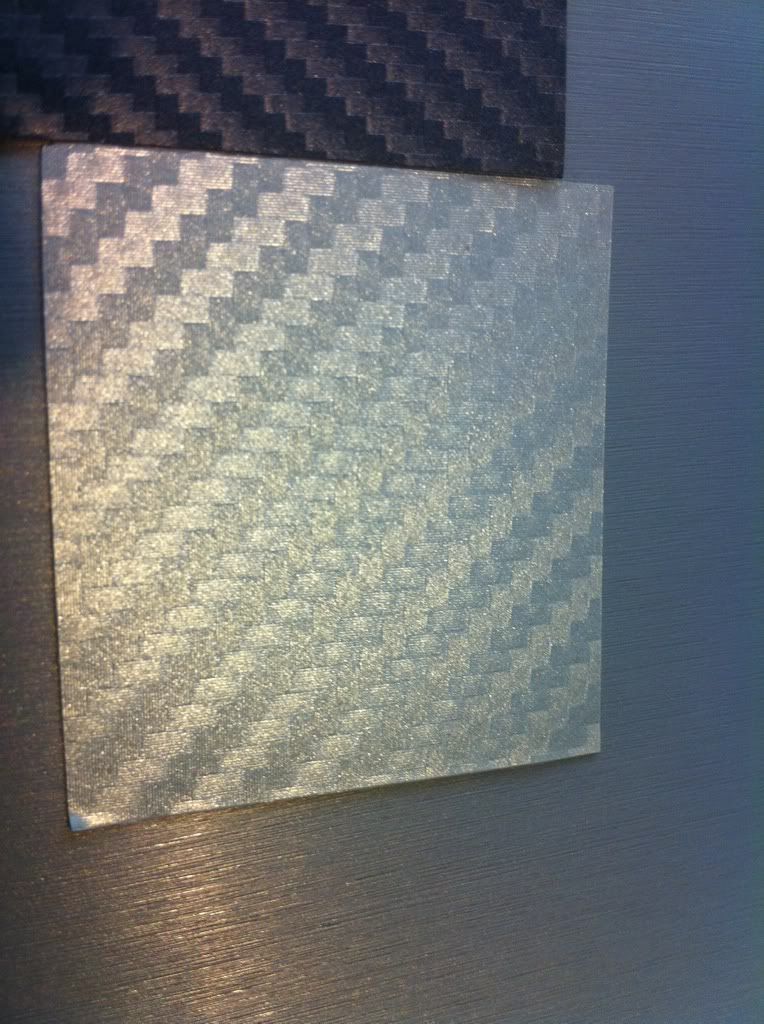
Anthracite 3M ScotchPrint 1080 Carbon Vinyl
3M Scotchprint Brushed Titanium Vinyl compared to the brushed aluminum vinyl behind it and the Silver and Anthracite Vinyl

Tools used:
Isopropyl Alcohol- To clean pieces
3M Primer 94- Applied to edges and curves so vinyl stays in place.
Application Squeege- Helps with getting vinyl down in tight spaces and gets out any air bubbles.
Exacto Knife-Needed to cut away vinyl in tight places
Hair Dryer- Needed to stretch vinyl over curves and edges.
Now what I did was take a screwdriver and take out the two screws on each side of the steering wheel behind the trim pieces. This allowed me a bit more room to work with the vinyl. Now these trim pieces simply DO NOT pop off. In order to get them completely off you have to have a special Torx bit that I believe you can get at Sears that will allow you to take the Steering wheel apart and gain you access to the screw that is holding the trim piece to the steering wheel. So I decided to apply the vinyl while the trim pieces where still attached to the steering wheel. A bit more tricky but not a big pain in the butt to completely take your steering wheel apart.
Now on to the pics:
Left side Before:
left side After:
Right Side After:
Right side done, left side unfinished:
Completed:
Here are a few other samples of vinyl I got:
Silver 3M Di-NOC Carbon Fiber
Anthracite 3M ScotchPrint 1080 Carbon Vinyl
3M Scotchprint Brushed Titanium Vinyl compared to the brushed aluminum vinyl behind it and the Silver and Anthracite Vinyl
Last edited by Diesel350; May 8, 2011 at 02:19 PM.