When you click on links to various merchants on this site and make a purchase, this can result in this site earning a commission. Affiliate programs and affiliations include, but are not limited to, the eBay Partner Network.
Glad I came across this thread. Need to do something with my interior and this might be my route. Mind me asking how much your installer charged to wrap those pieces?
Glad I came across this thread. Need to do something with my interior and this might be my route. Mind me asking how much your installer charged to wrap those pieces?
Who are you asking?
If me, then I did all the wrapping myself. The only thing I had someone else do was the orange double stitch. For the four pieces it cost me like $50 (a lot for some stitching but I liked the guy and like to support local business). I got the Scotchprint from metrorestyling (check their site for price), enough primer 94 to do like 20 of these for like $12, spray adhesive for~$10 at Home Depot, and the suede I had leftover from some other projects (you can find it on sale for $10-15 a yard).
I've done these wraps for other members before. So PM me if you want any tips.
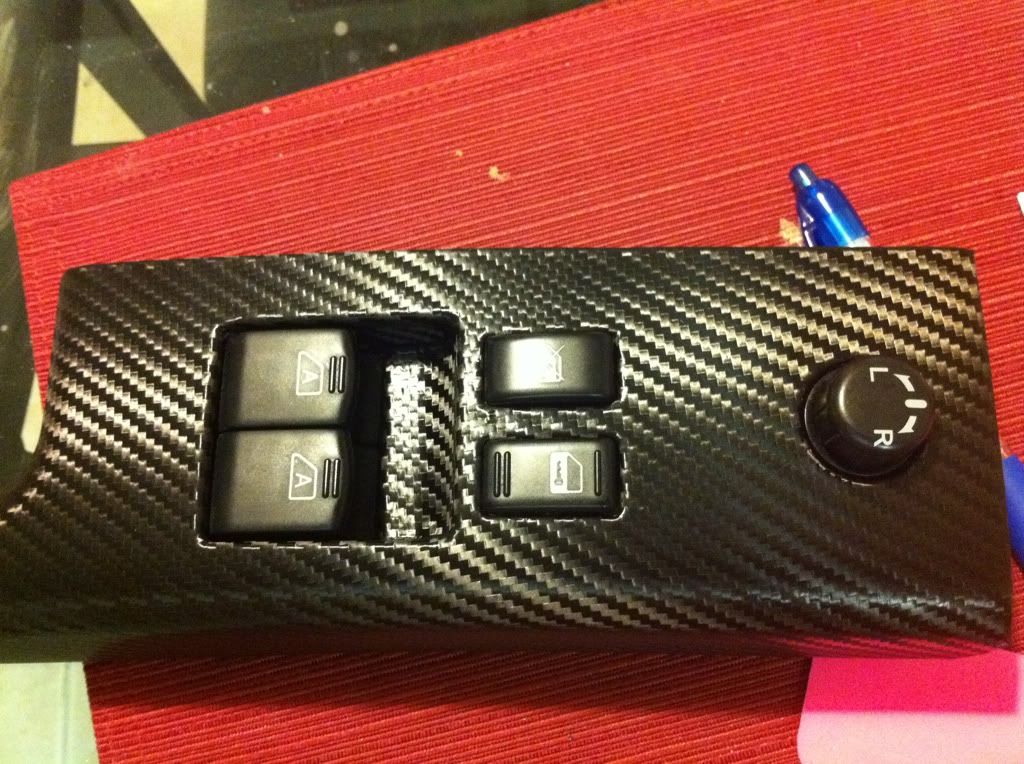
That looks really good! Did you ever have any issues with it coming off on the edges or anything? Also, did you just heat for the tight places like under the window button or did you use glue also?
That looks really good! Did you ever have any issues with it coming off on the edges or anything? Also, did you just heat for the tight places like under the window button or did you use glue also?
I used primer on all edges. The only place where it was coming off was the round section of the displays. I will have to redo those.
Did you pop the switches out? You have to cut a small piece that will fit in there perfectly.
I did, but then I heated up that area, stretched it down and tried to make it stick. It stuck but it's all bubbly because I think I over stretched. So you actually used a small piece and put it in there, makes sense.
How much of the 3m did you guys buy for the center section (waterfall?), around the door vents, and around the door switches? I'm really wanting to do this, but I want to know that I'm getting everything I need to make it happen.
How much of the 3m did you guys buy for the center section (waterfall?), around the door vents, and around the door switches? I'm really wanting to do this, but I want to know that I'm getting everything I need to make it happen.