
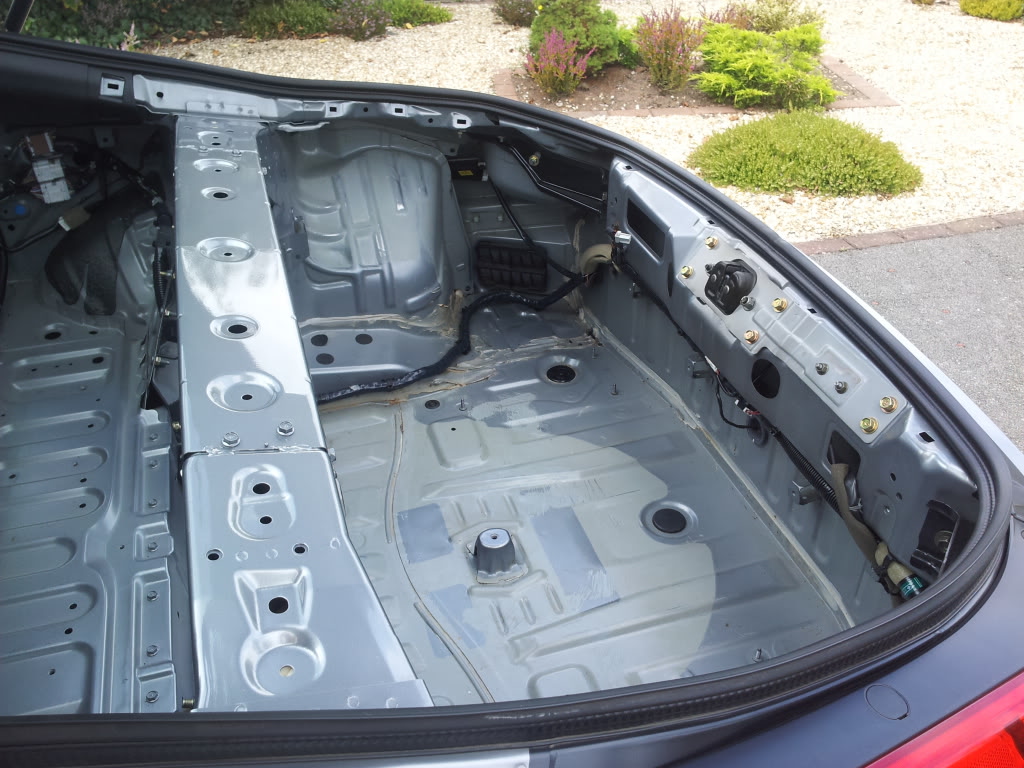
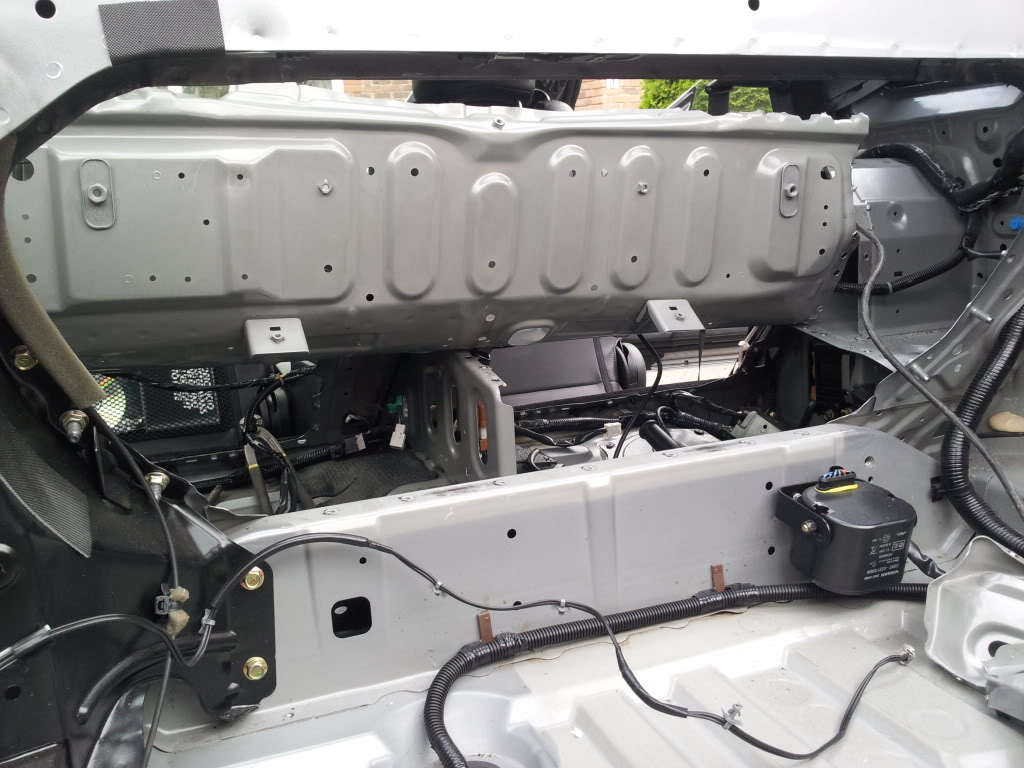
Stripped the rear boot/trunk area out!


You should've used dry ice on the sound deadening.
I used it on my 240 and it works wonders, just let it sit on top for 30 mins or so and you can literally chip the deadening right off without leaving any nasty tar residue.
I used it on my 240 and it works wonders, just let it sit on top for 30 mins or so and you can literally chip the deadening right off without leaving any nasty tar residue.

Thread Starter
Registered User
Joined: Feb 2007
Posts: 908
Likes: 5
From: UK
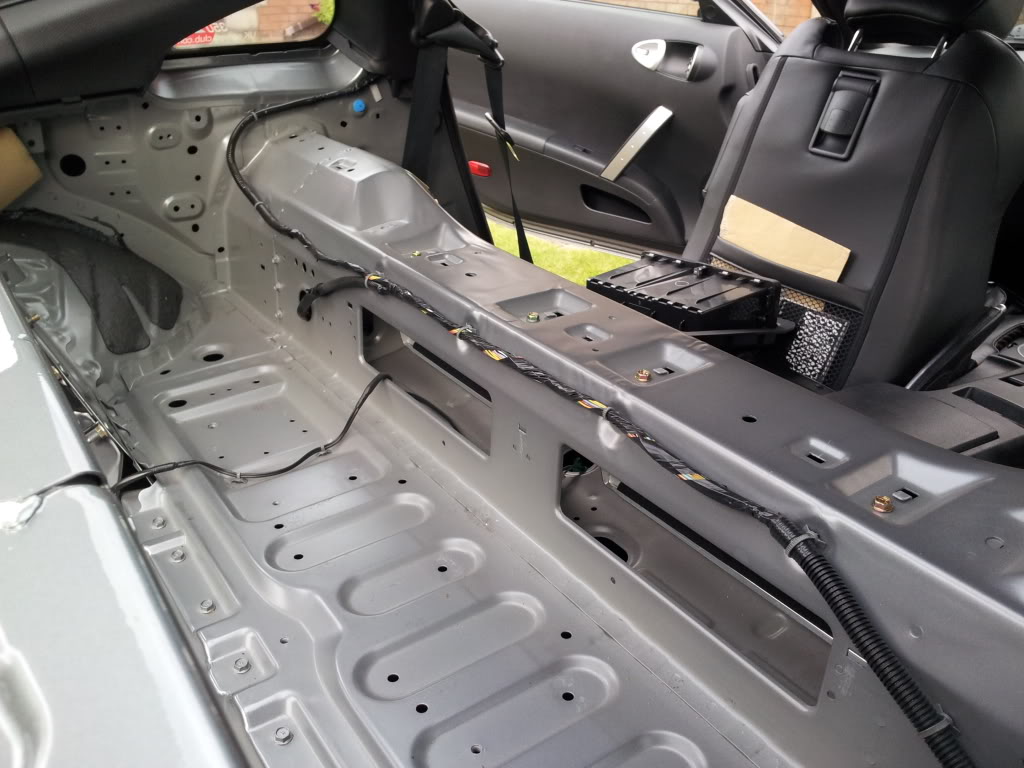
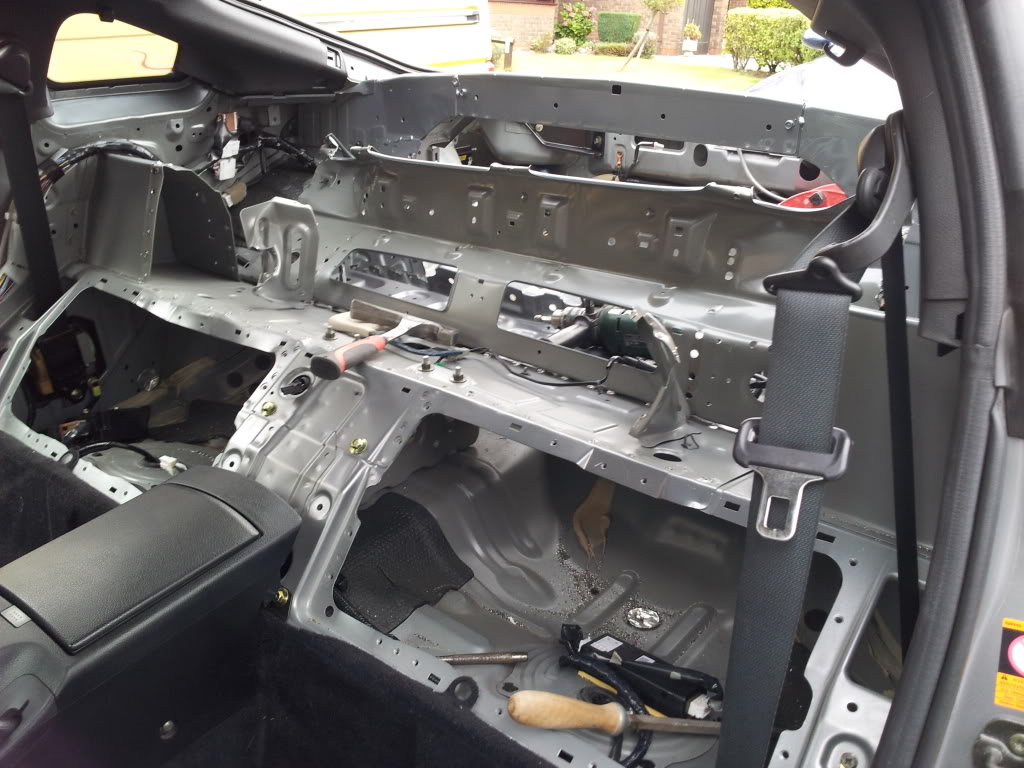
I have also been doing a little more work on stripping the rear end out in pre for a rear half cage. Im just looking where the main hoop will sit at the moment.
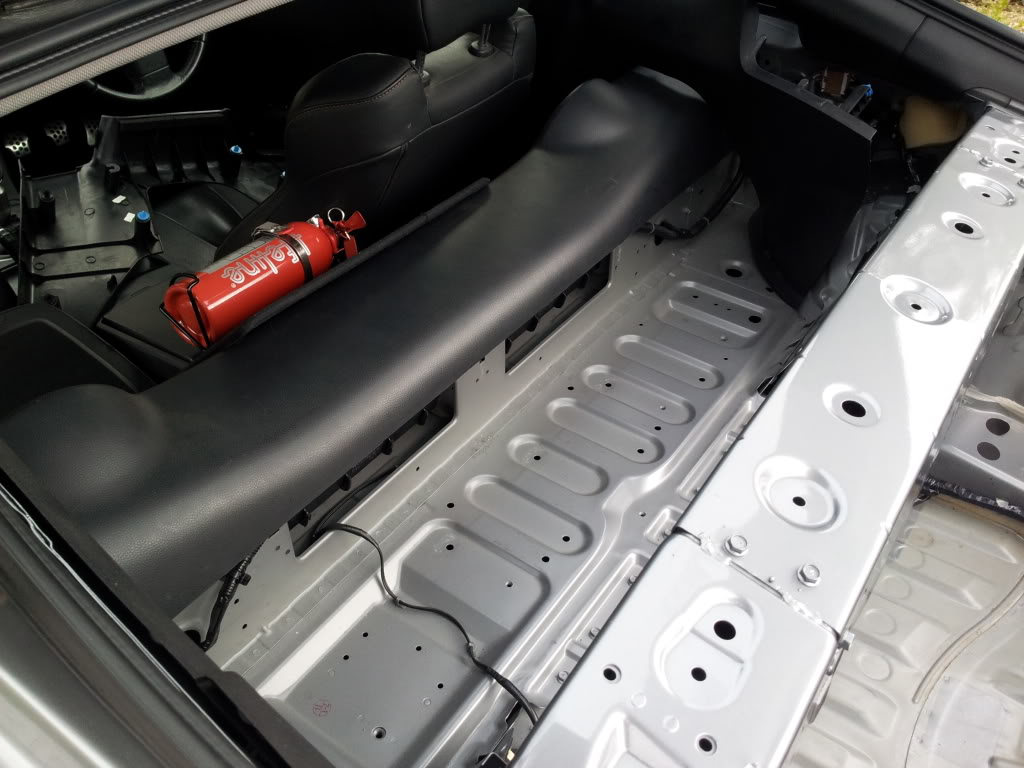
More bloody tar sound deadening for me to remove! lol..
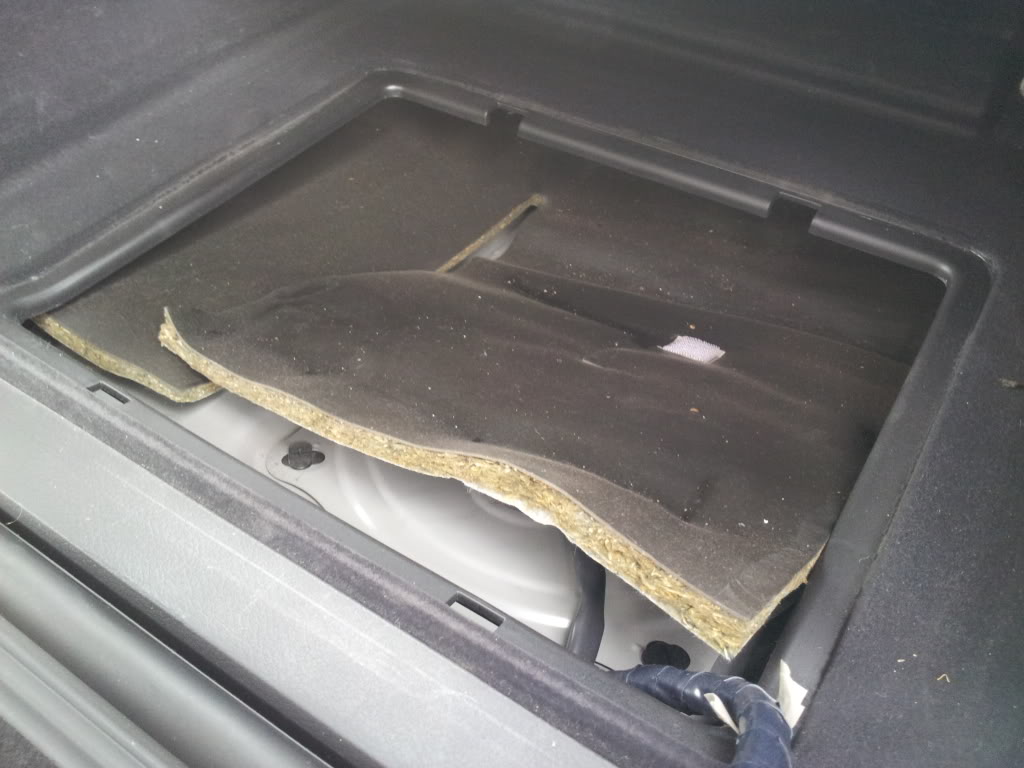
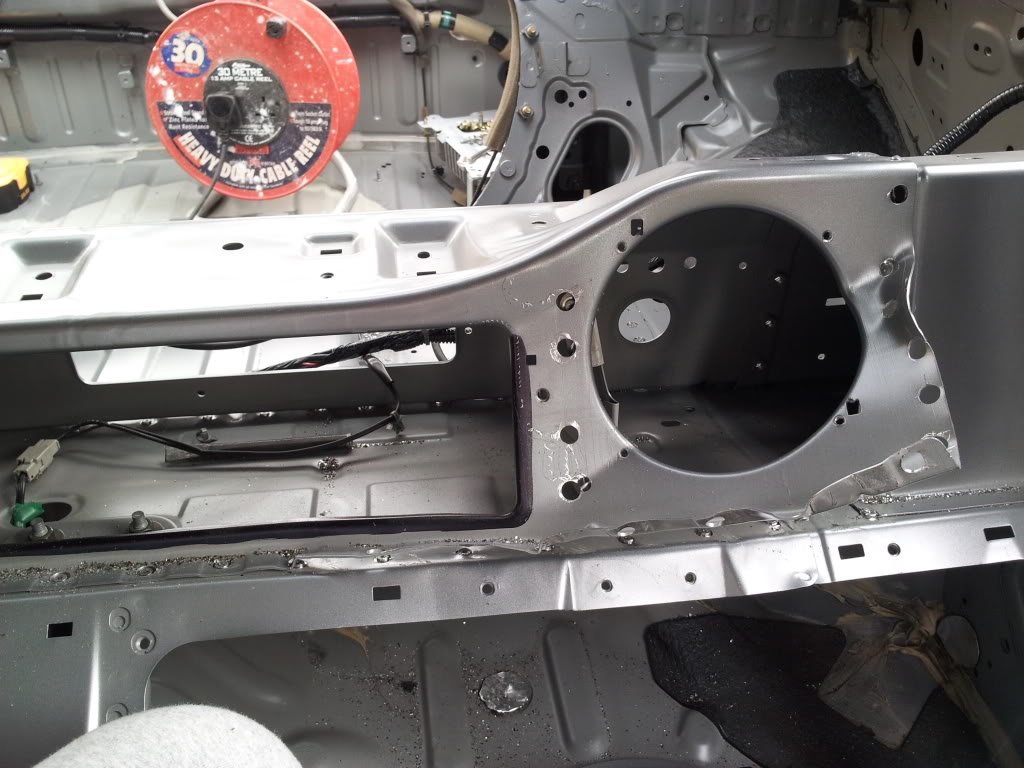
Sound deadening over the fuel tank area and pump access window.
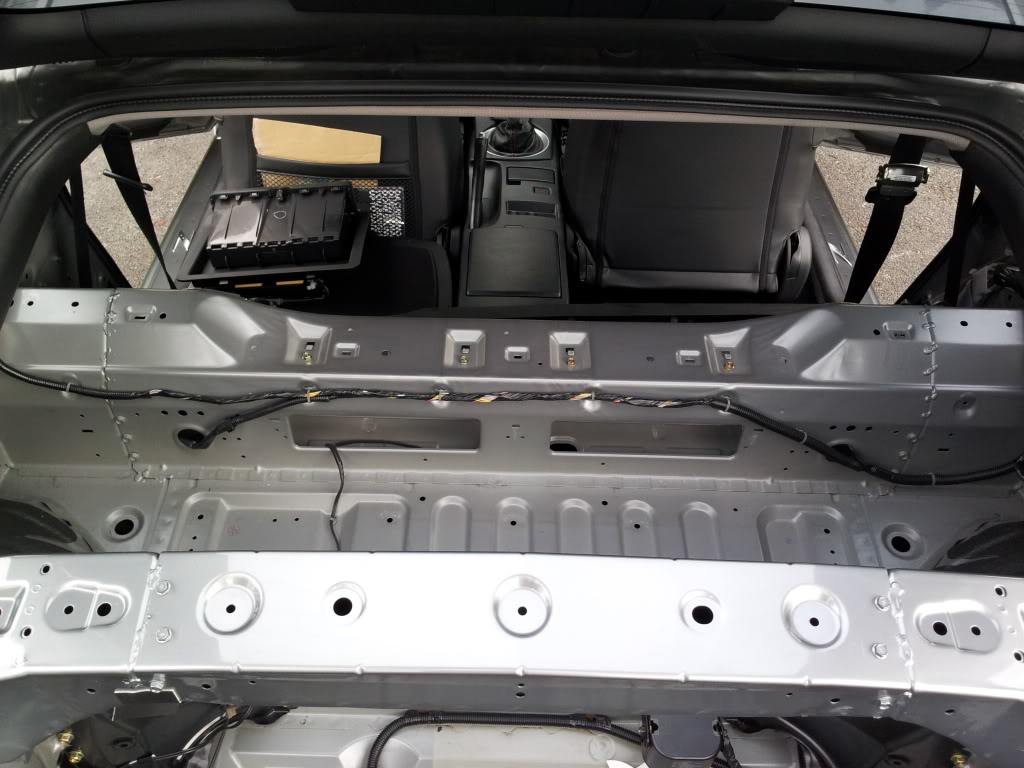
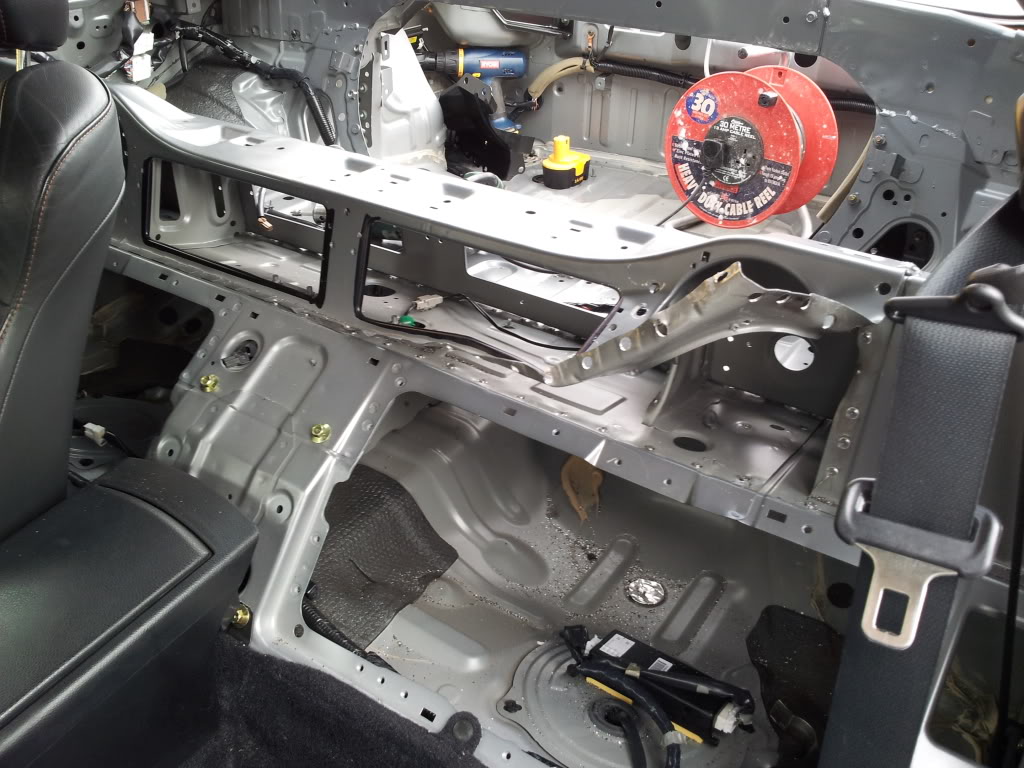
The rear end as it stands for now!
Thats it for today! :P
More bloody tar sound deadening for me to remove! lol..
Sound deadening over the fuel tank area and pump access window.
The rear end as it stands for now!
Thats it for today! :P


Thread Starter
Registered User
Joined: Feb 2007
Posts: 908
Likes: 5
From: UK
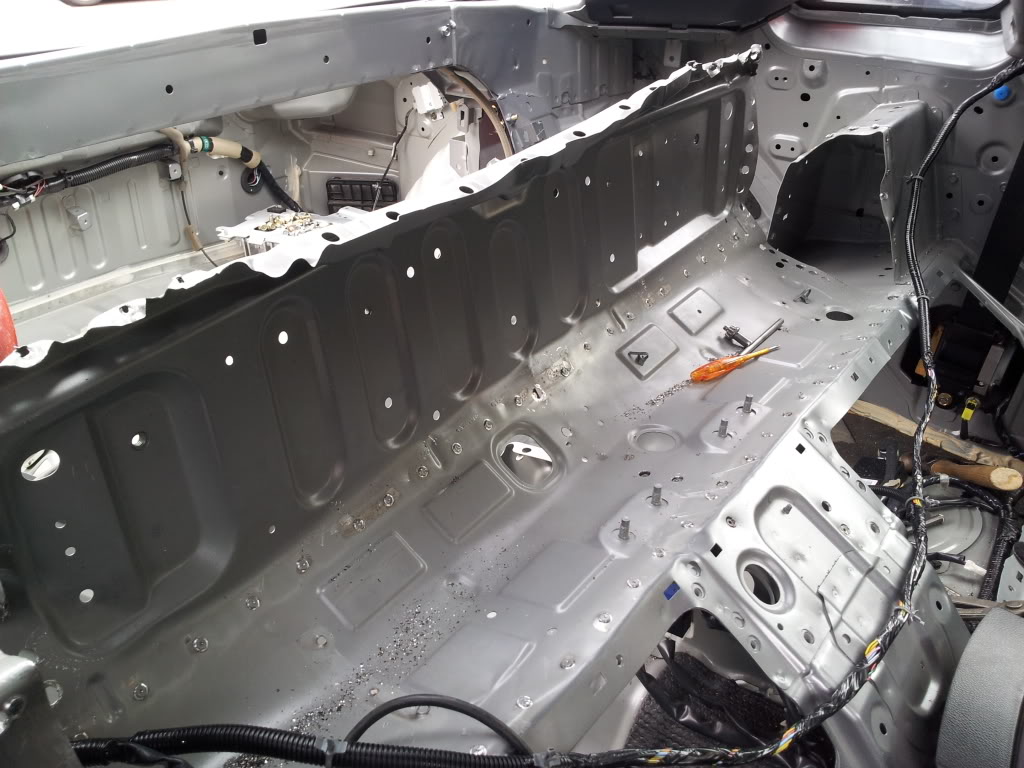
After the roof "fitting" I though I needed a little mechanical therapy to calm me down.
Did a little more stripping out on the rear end. I think the little bit of trim and glove box + sound matting I have removed must be about 5KG's or so which I was quite amazed as the glove box was bolted in with 14 10mm bolts! I think a little over the top for a plastic glove box! ha..
I Need another geo set up soon so I was thinking another drop on the coilovers would be nice, Just 10mm lower would have been good but.....
Im a little close to the floor while getting on and off the drive as it is! haha... I think ill have to get the kerb dropped more so I can go lower! lol...


Thread Starter
Registered User
Joined: Feb 2007
Posts: 908
Likes: 5
From: UK
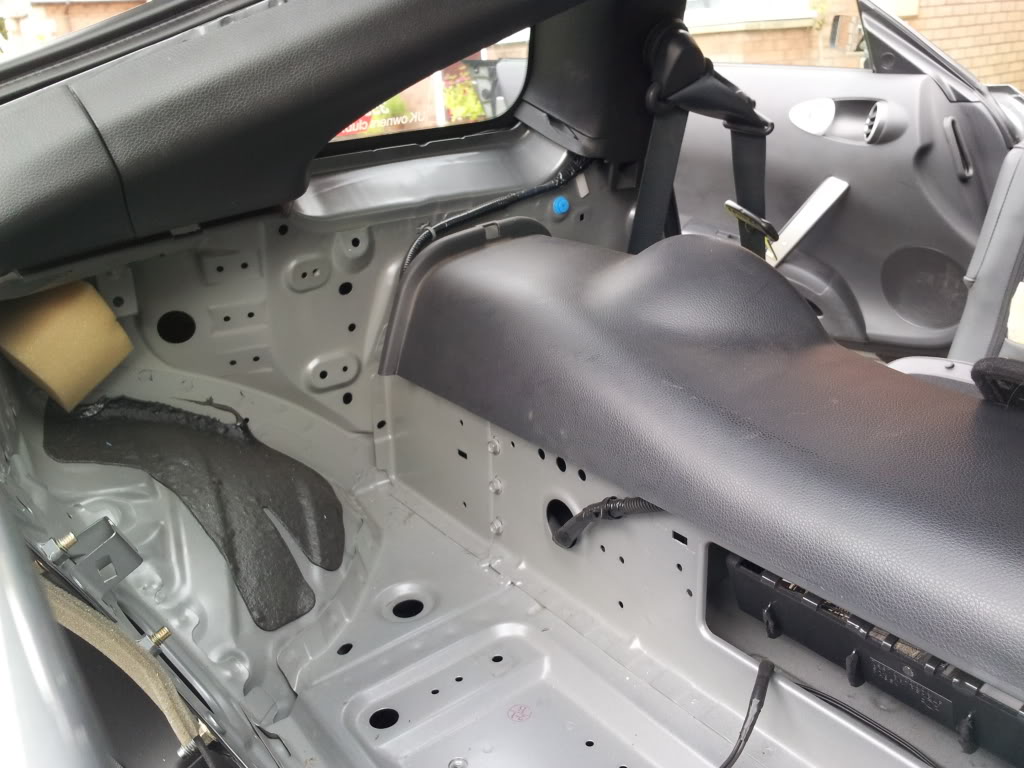
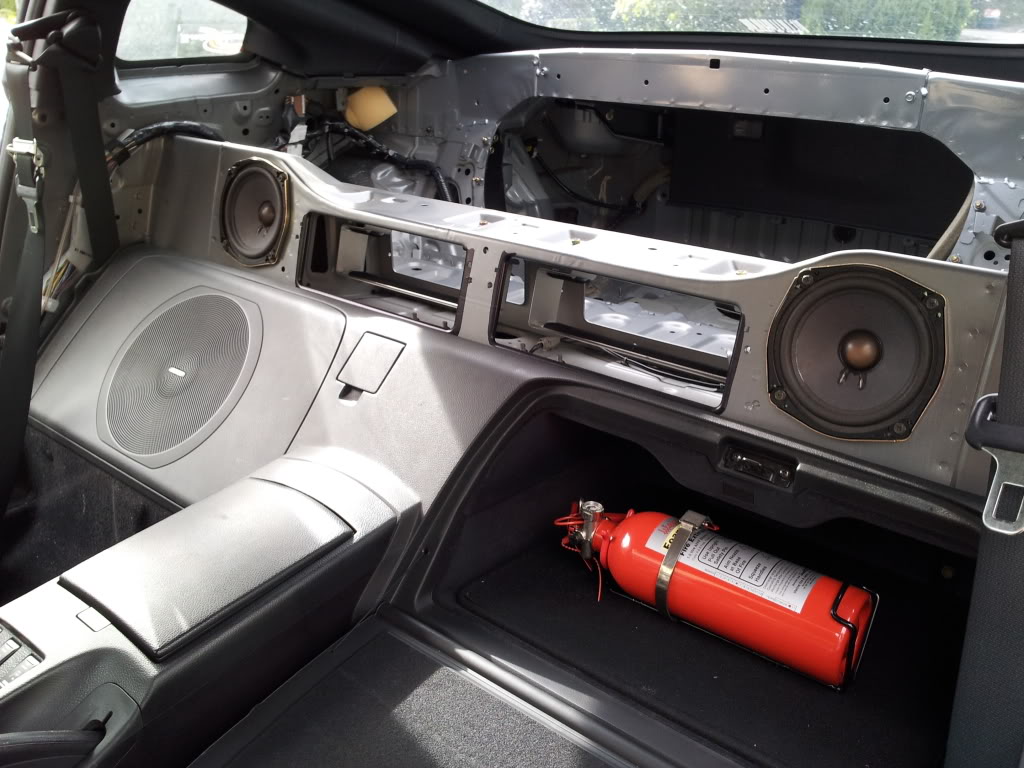
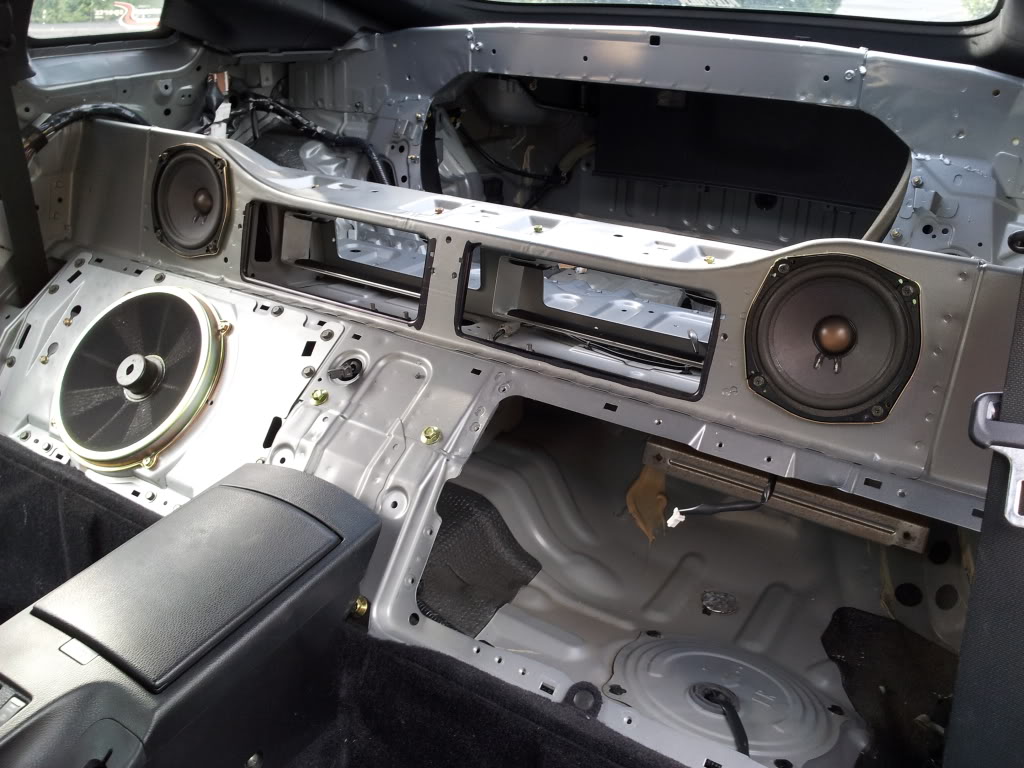
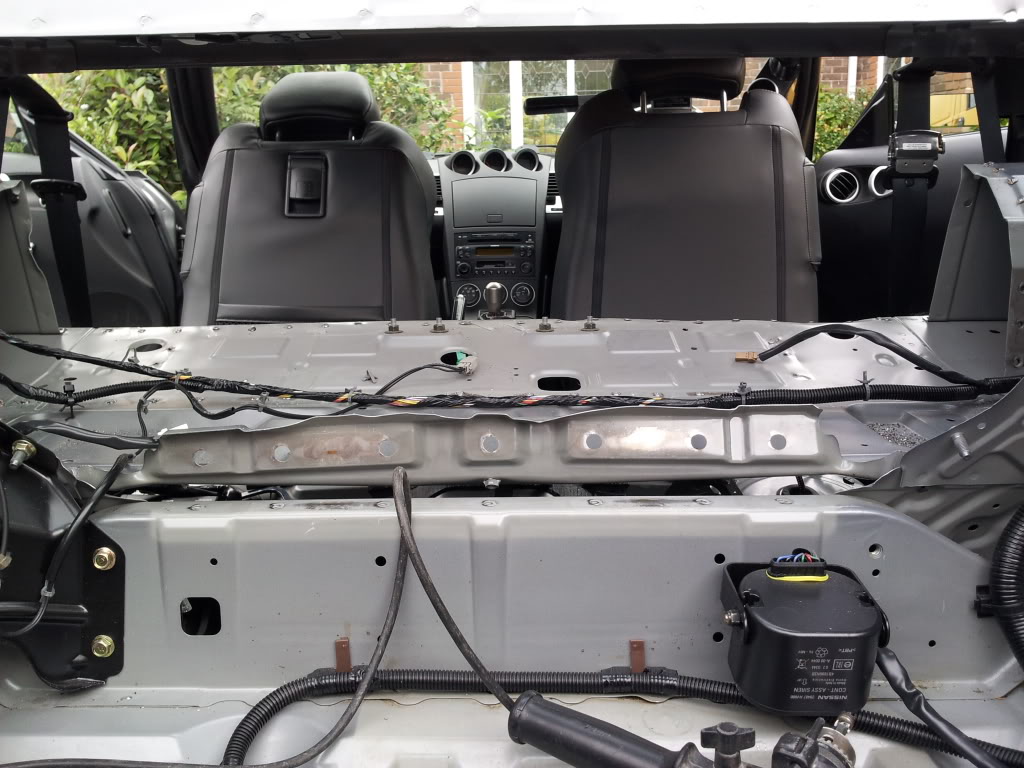
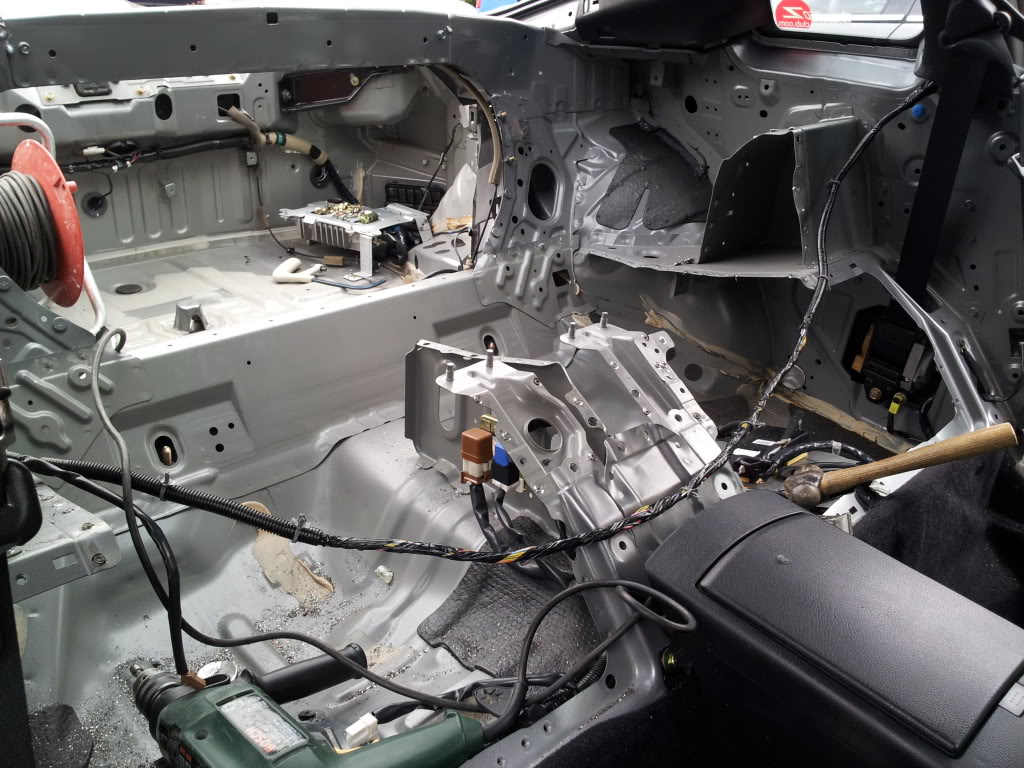
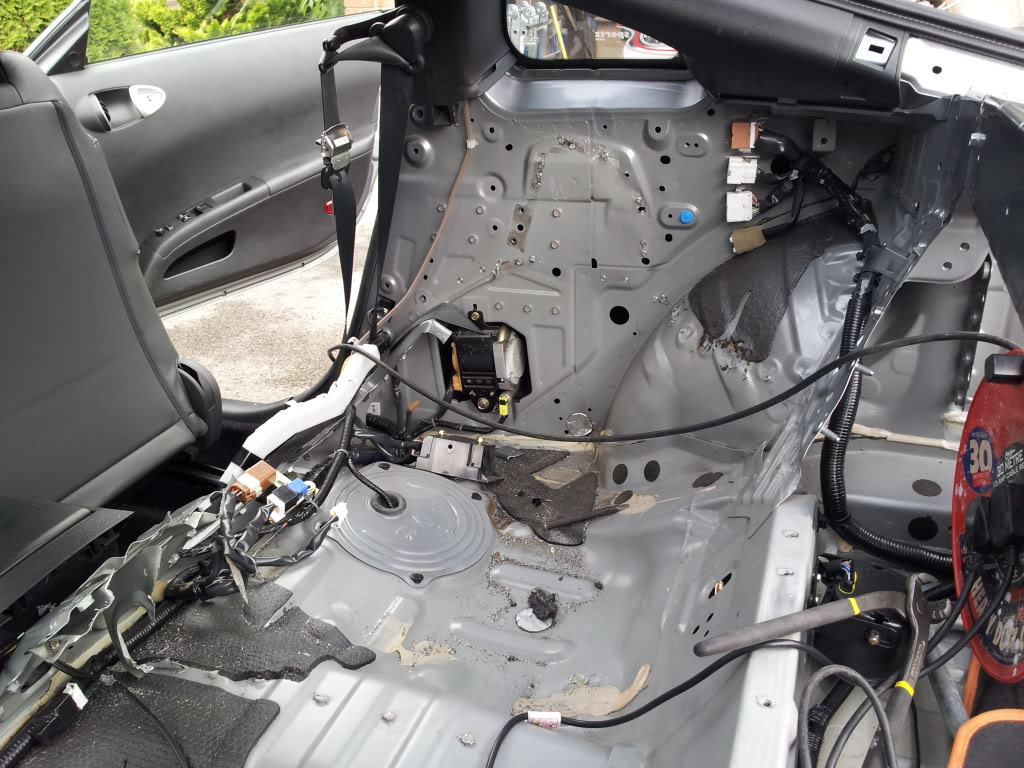
Little more work today! Got round to removing some more trim and parts of the bose system.
Stuff that came out the boot area.
Parts removed from inside the car.
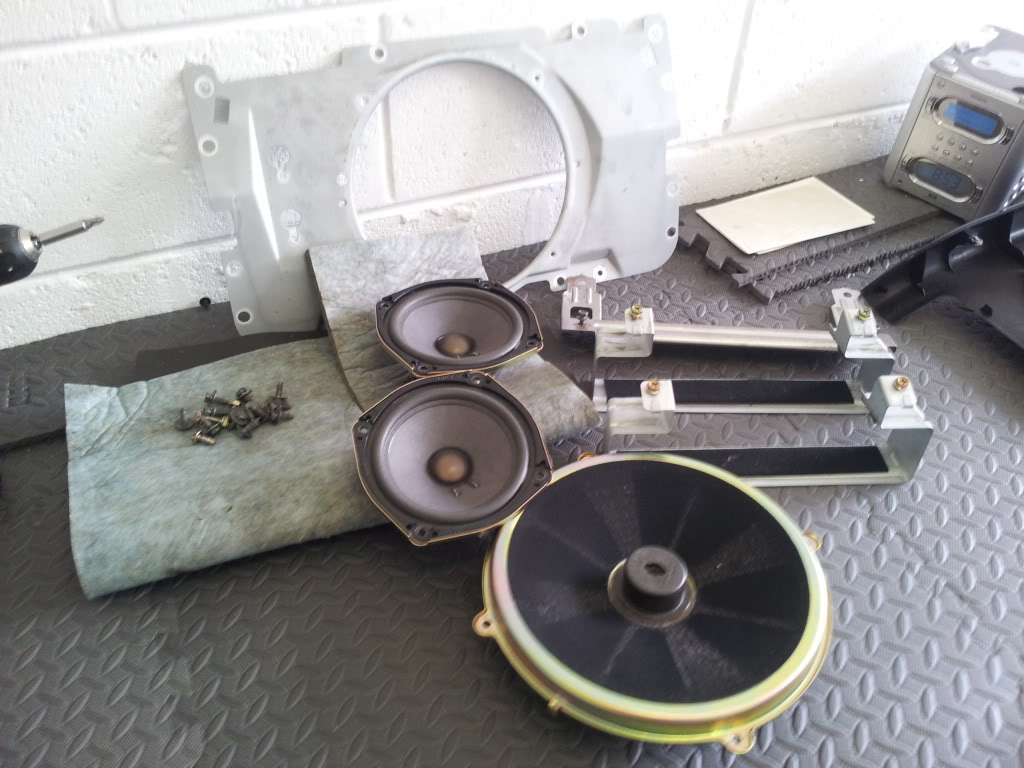
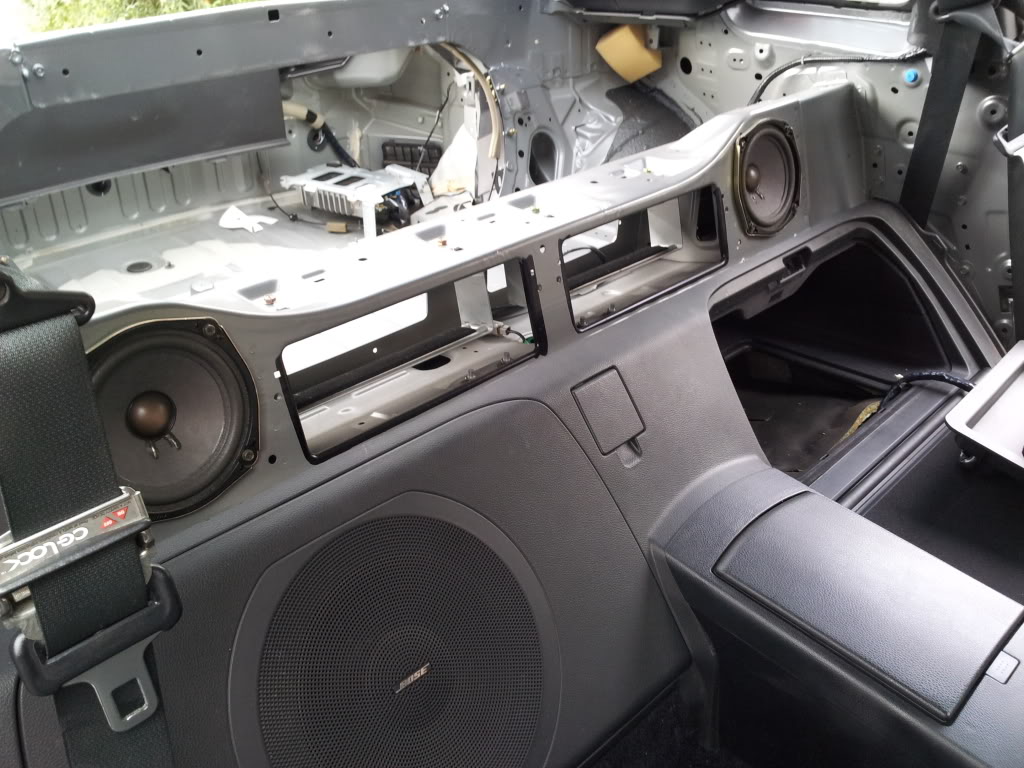
Bose sub and speakers removed + lots of bolts and metal plates etc.
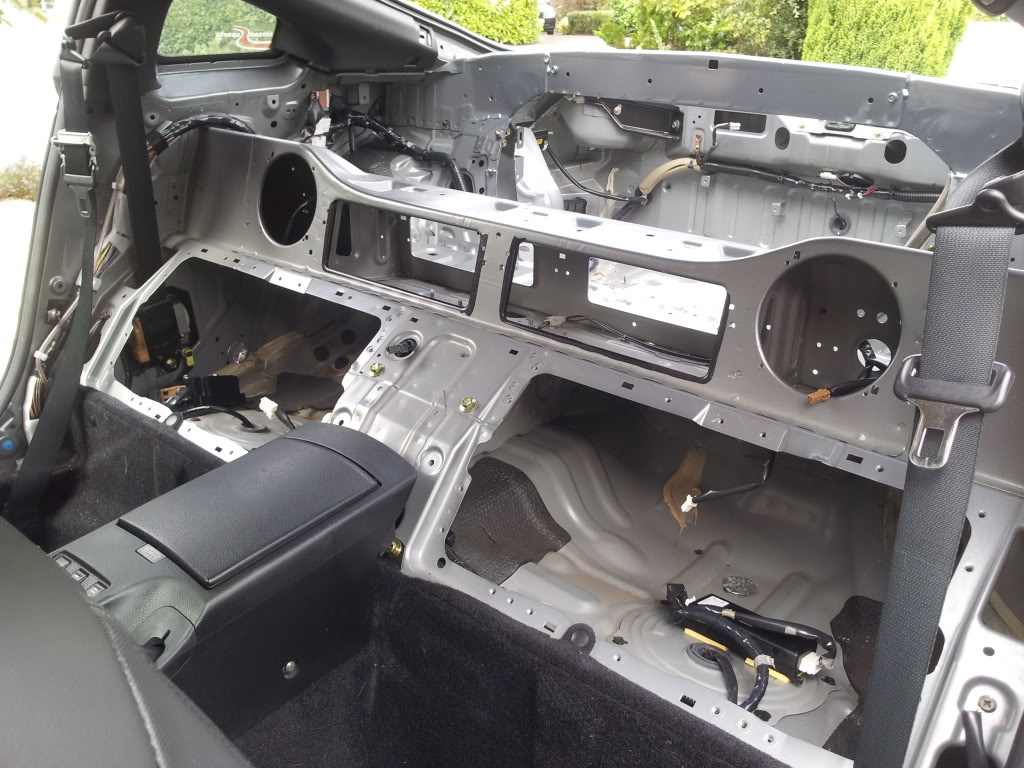
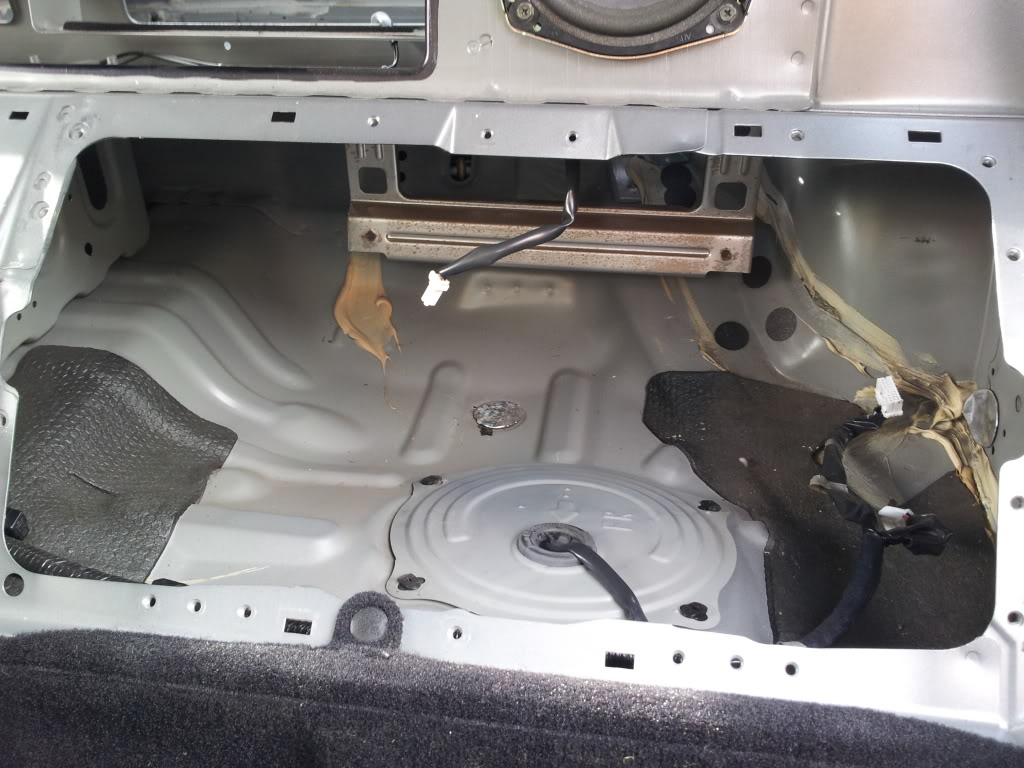
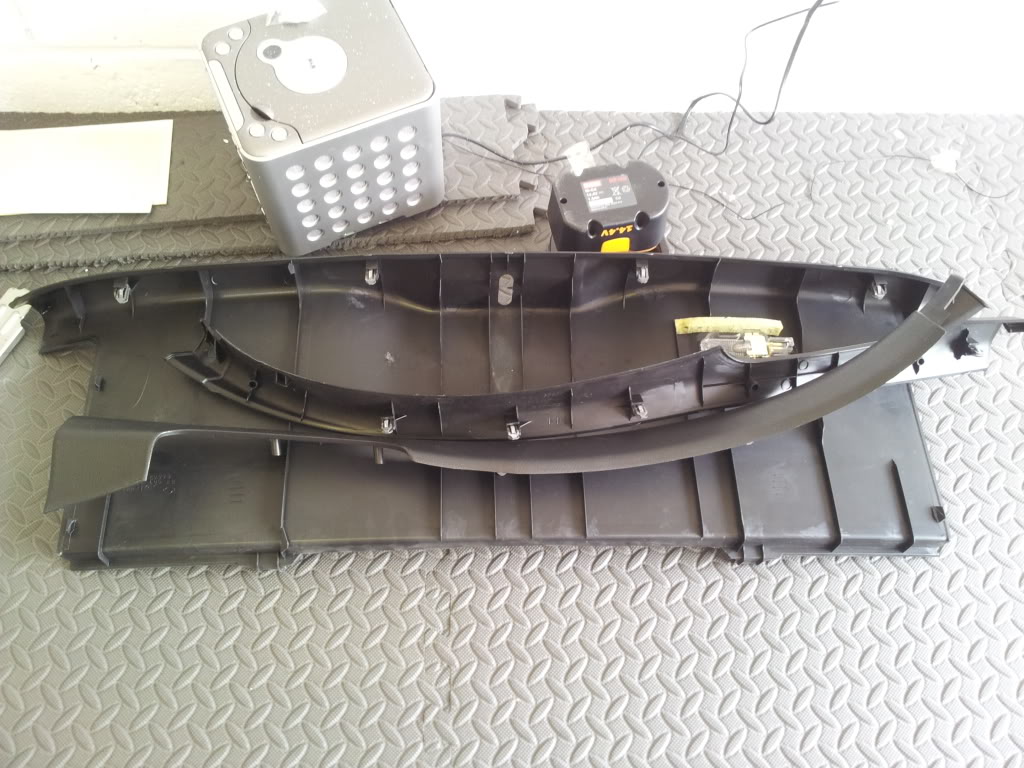
Boot area with extra trim removed.
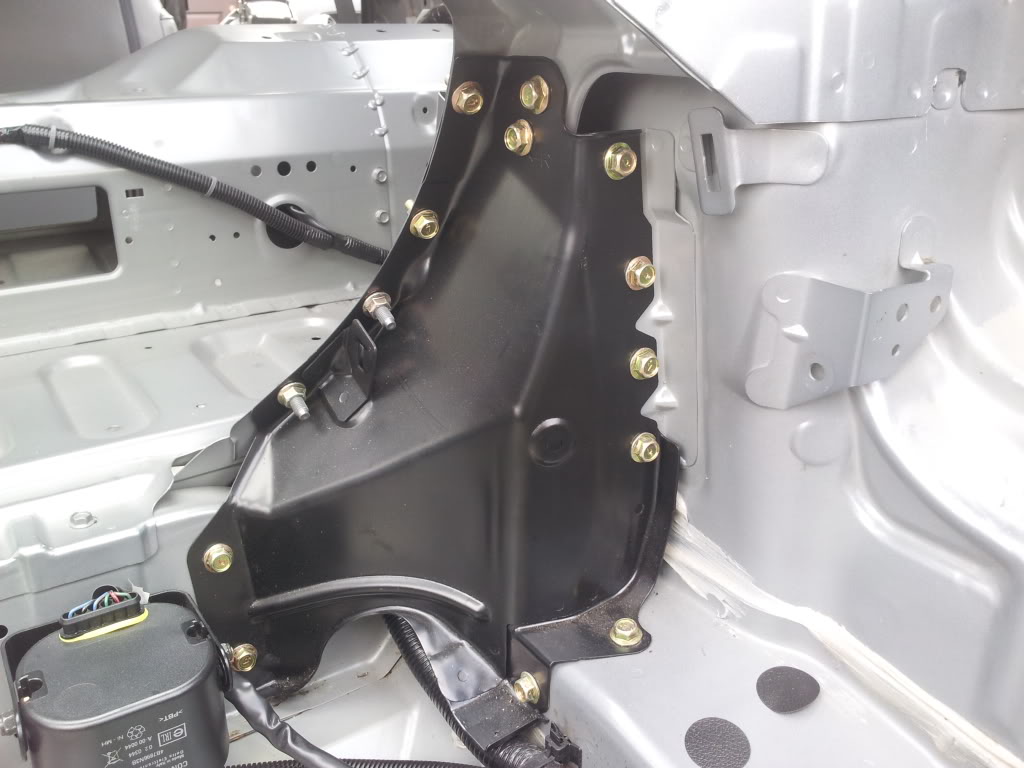
Stiffening plate that will be removed after the cage goes in.
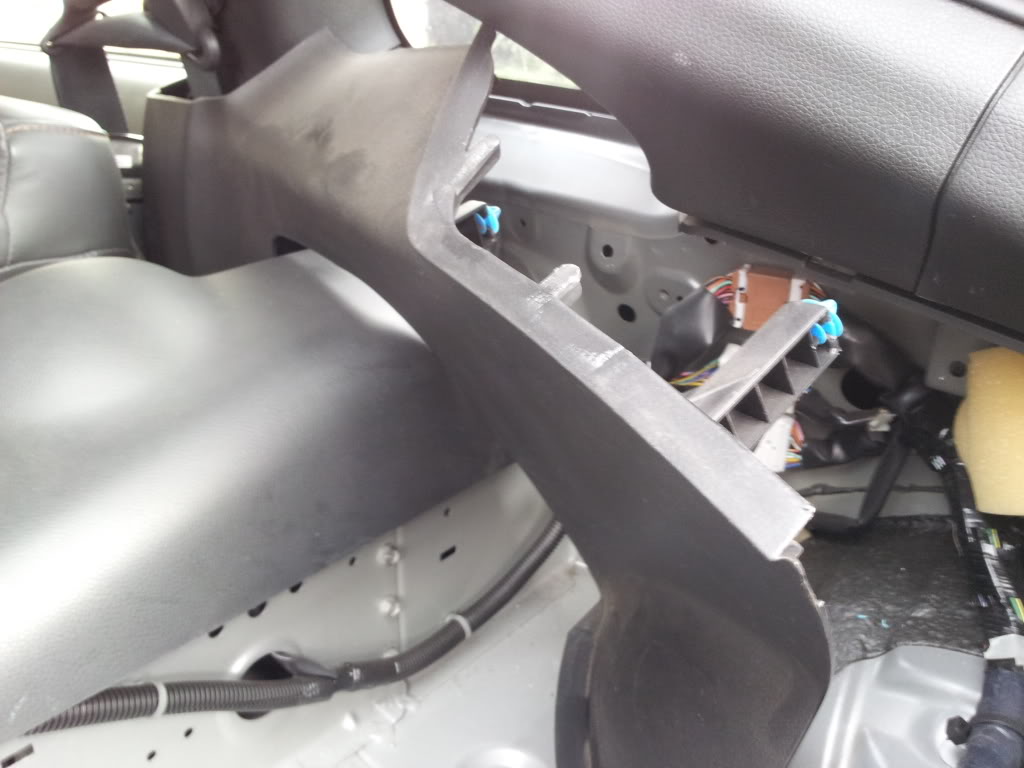
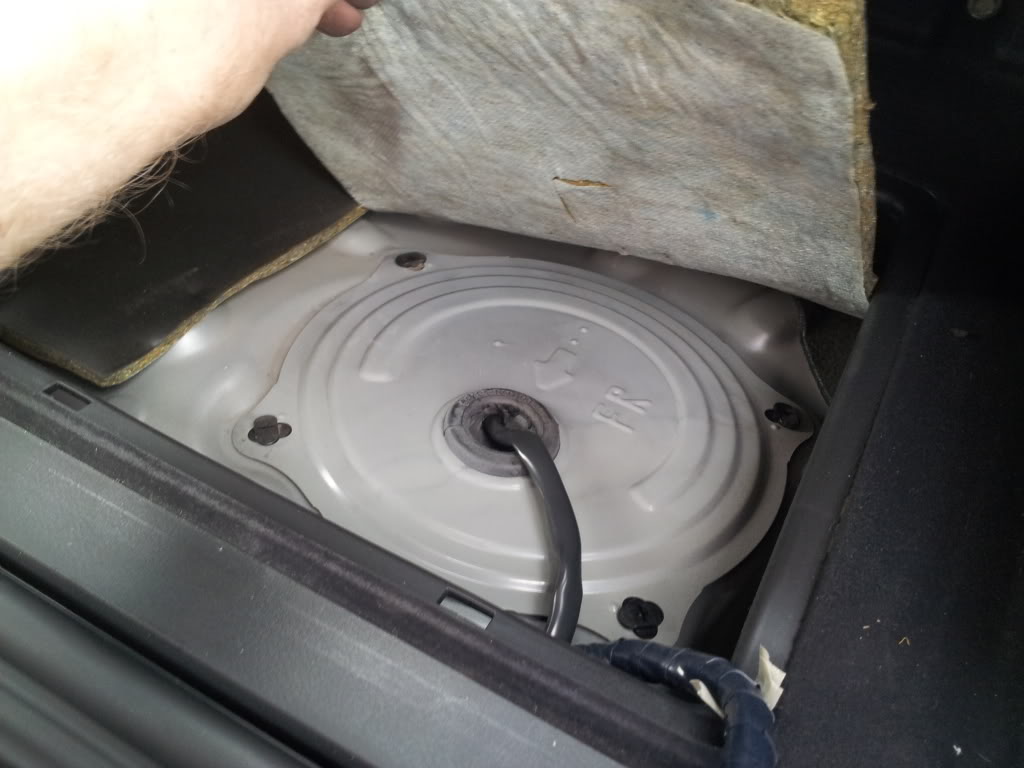
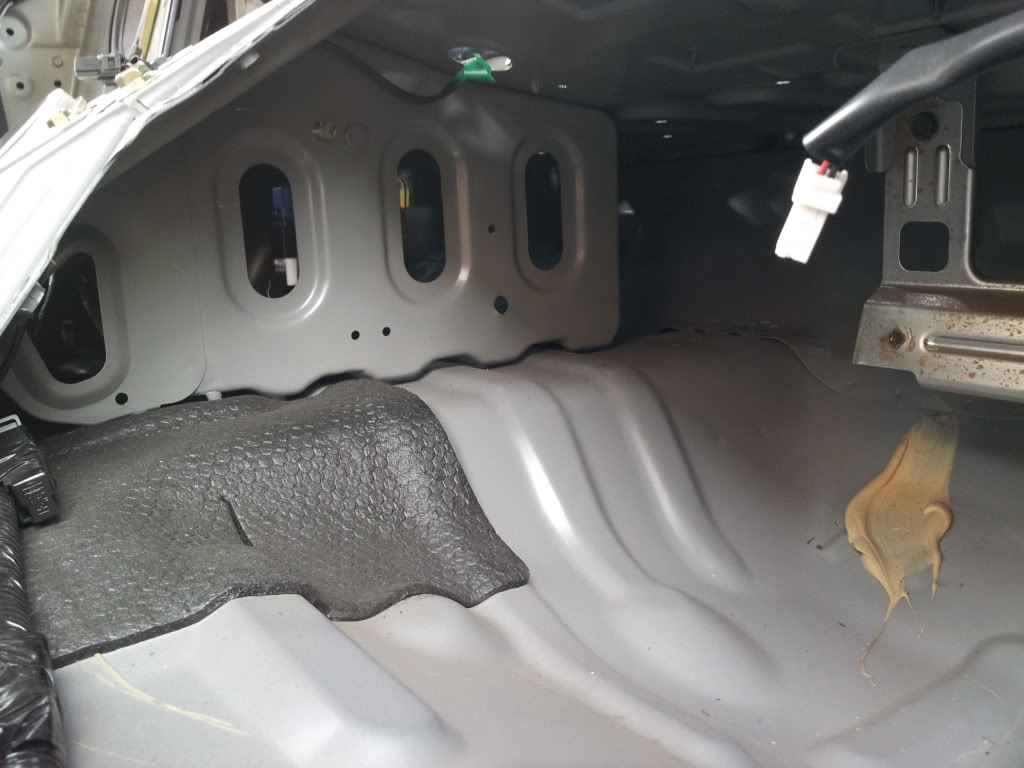
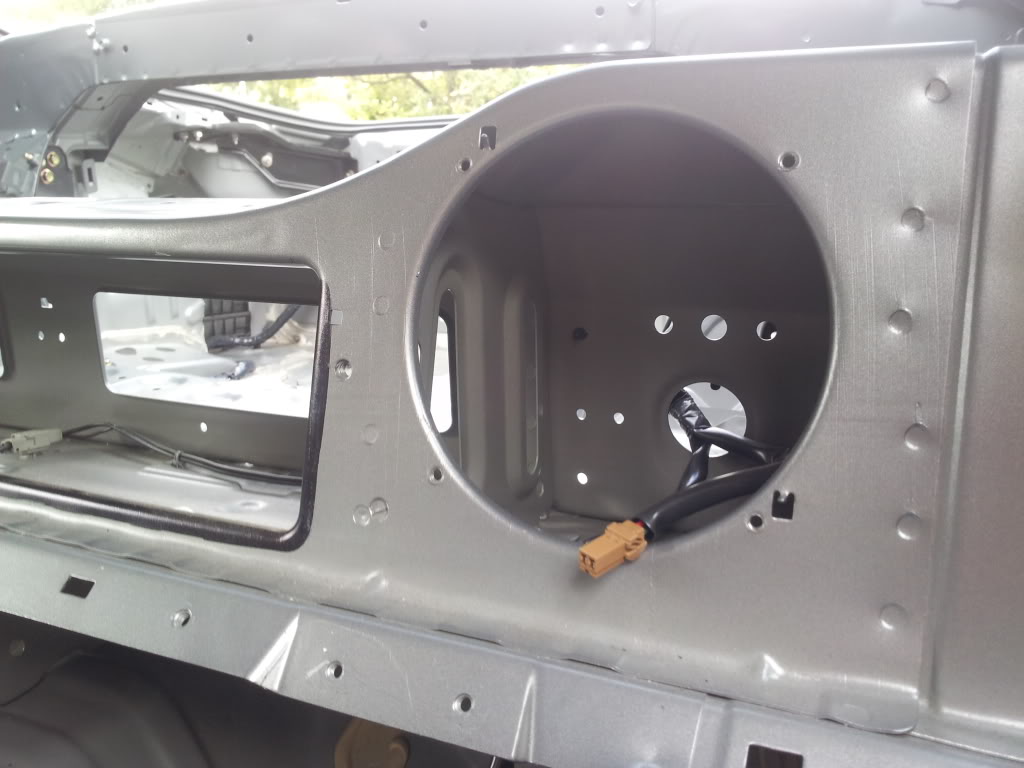
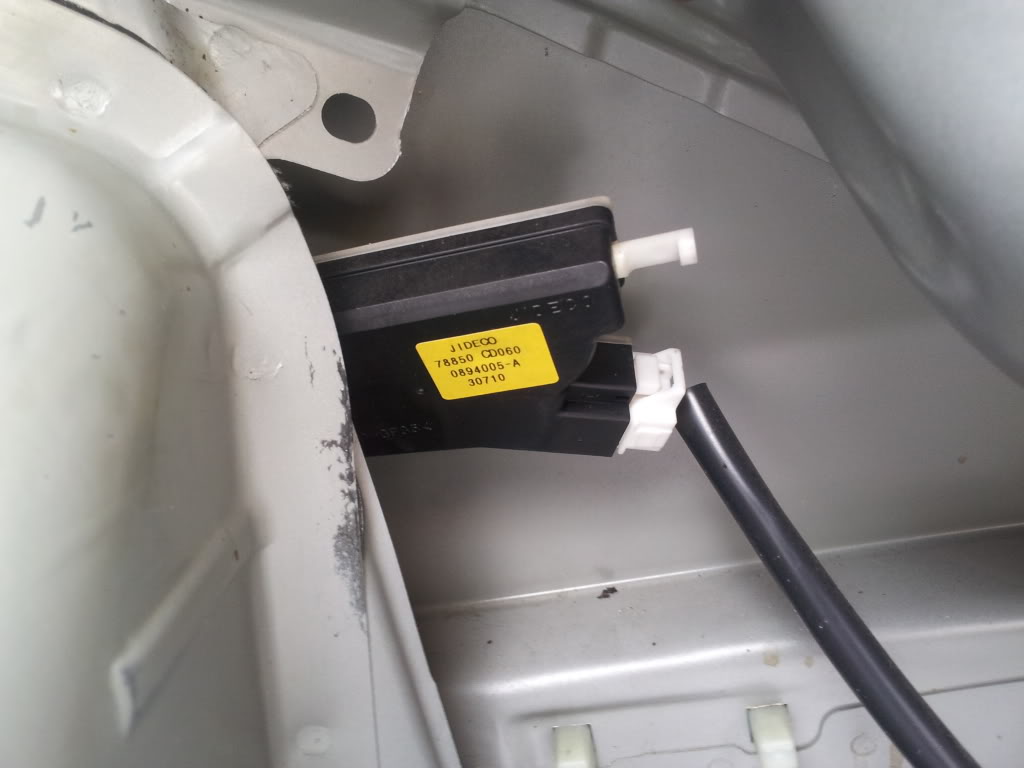
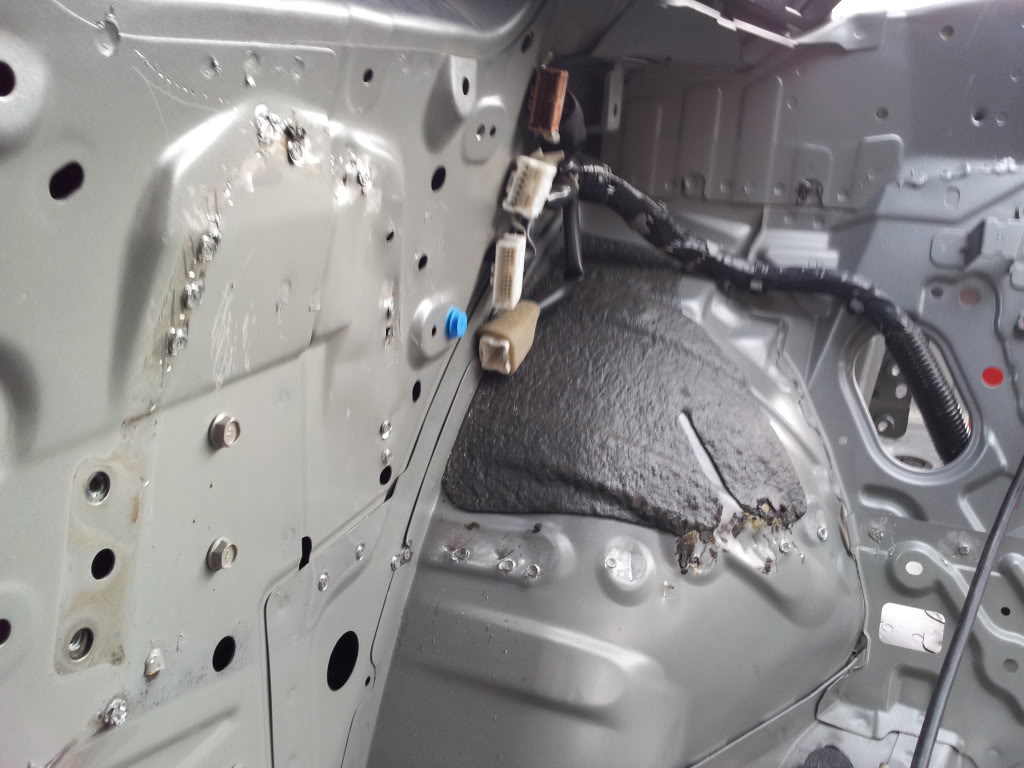
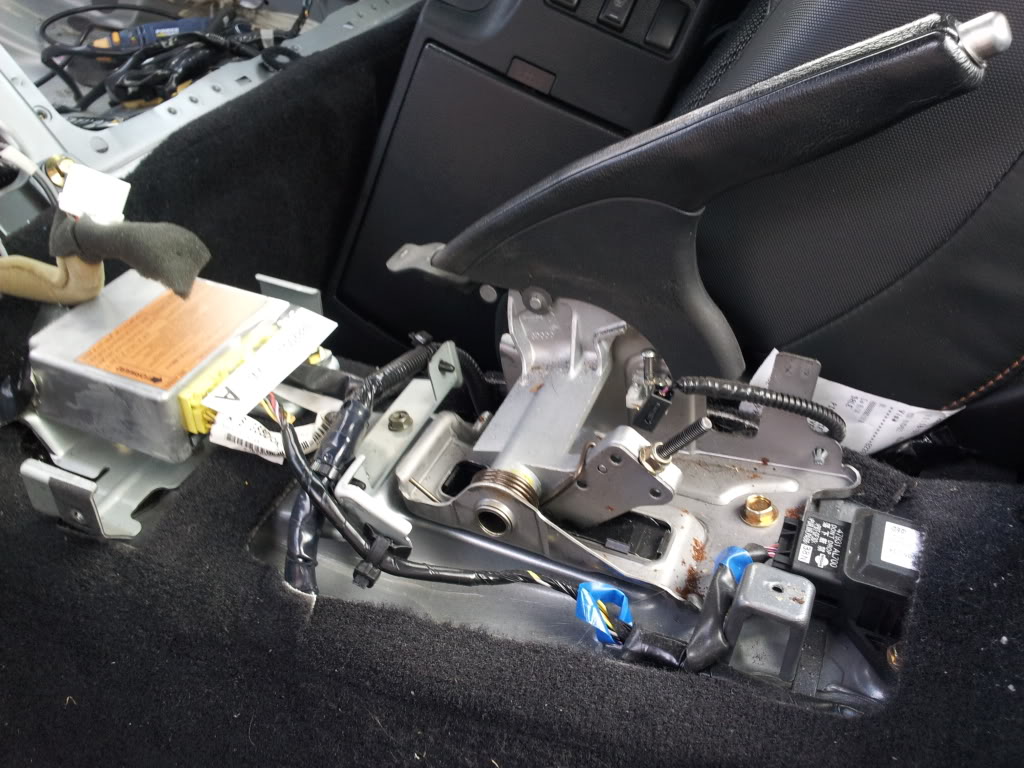
Any one know what this sensor is? May be an air bag sensor for rear end crash?
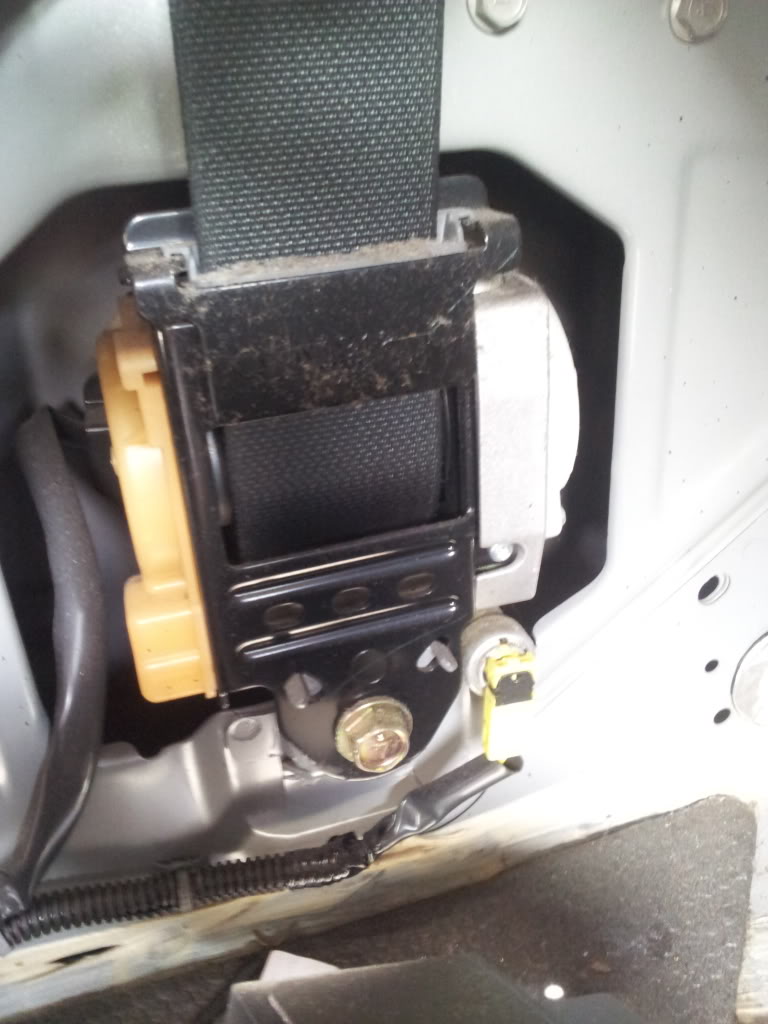
Seat belt system that will be removed after the cage goes in as Ill be fitting 4/5 point harnesses. This thing has some good weight in it (few Kg's so good weight saving here)
I would say another circa 5KG's removed today, the bose sub and rear speaker will more than likely be going back in after the cage is fitted. The speakers will need some little custom mounts/boxes and the sub might fit under the driver seat to be hidden.
Untill next time!
Stuff that came out the boot area.
Parts removed from inside the car.
Bose sub and speakers removed + lots of bolts and metal plates etc.
Boot area with extra trim removed.
Stiffening plate that will be removed after the cage goes in.
Any one know what this sensor is? May be an air bag sensor for rear end crash?
Seat belt system that will be removed after the cage goes in as Ill be fitting 4/5 point harnesses. This thing has some good weight in it (few Kg's so good weight saving here)
I would say another circa 5KG's removed today, the bose sub and rear speaker will more than likely be going back in after the cage is fitted. The speakers will need some little custom mounts/boxes and the sub might fit under the driver seat to be hidden.
Untill next time!

Thread Starter
Registered User
Joined: Feb 2007
Posts: 908
Likes: 5
From: UK
Made a start today! Does not look like much but my god was this a pain in the *** to remove! Lol....
Started by using my spot weld remover drill bit and worked along the rear of the top speaker box.
Nearly out! Lol...
Its out!
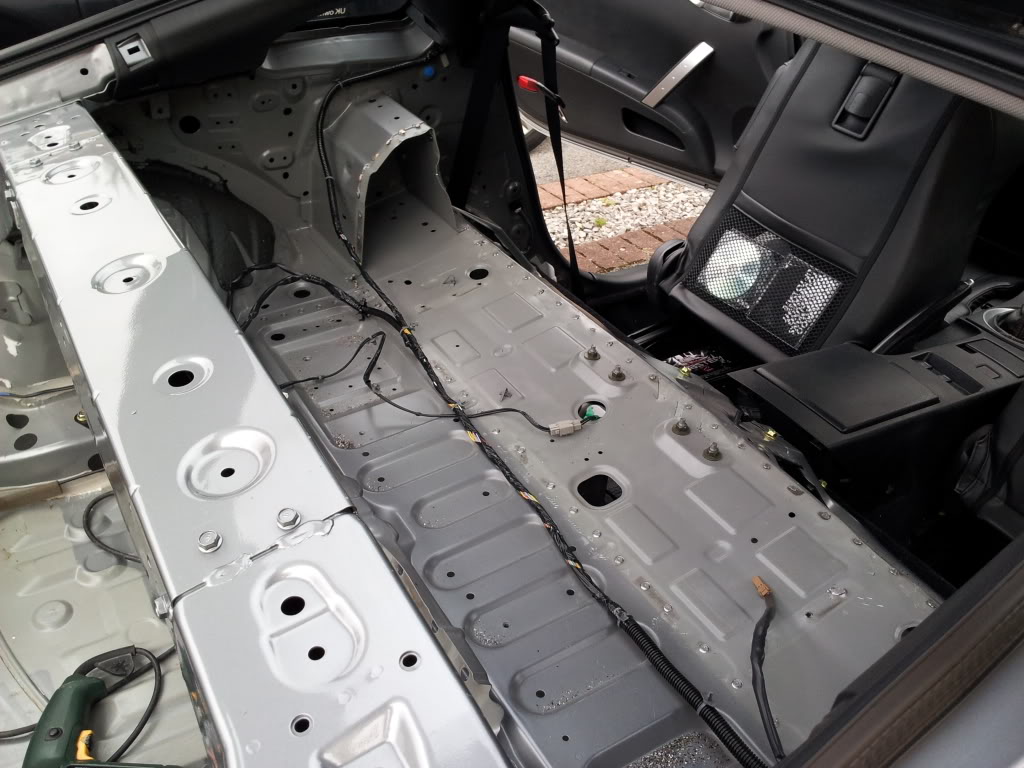
Also got on with removing the rear brace on the driver side.
All in all a good 3 hours of drilling cutting and shouting and im about 1/3 the way there! Lol....
Spot welds come out easy now ive had a few hundred to practice on! Normal tack welds how ever are a major pain in the *** to remove!
More work tomorow if its dry outside and my back feels better haha...
Started by using my spot weld remover drill bit and worked along the rear of the top speaker box.
Nearly out! Lol...
Its out!
Also got on with removing the rear brace on the driver side.
All in all a good 3 hours of drilling cutting and shouting and im about 1/3 the way there! Lol....
Spot welds come out easy now ive had a few hundred to practice on! Normal tack welds how ever are a major pain in the *** to remove!
More work tomorow if its dry outside and my back feels better haha...
Thread Starter
Registered User
Joined: Feb 2007
Posts: 908
Likes: 5
From: UK
More deconstruction work this afternoon! LOL... :blush: :bangin: :bangin: :bangin:
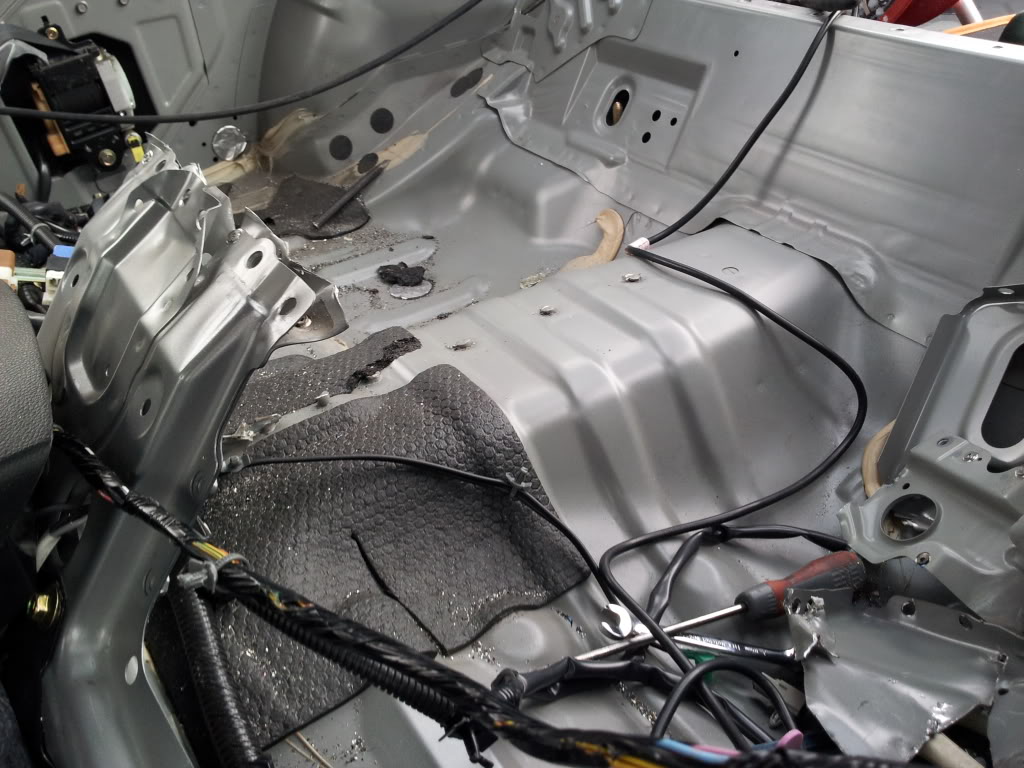
Spent about an hour taking the false floor section out that I had left in yesterday.
Coming out.
Fully removed! :#1:
Im gonna keep this section Incase I want to put the panels back in.......

Well Im about half way there now, I have learnt how to get the spot welds out quicker now but I've burnt the tip off my spot weld cutter! LOL..Ive ordered a new one so that will be here soon. I need to remove the centre support and the front plate where the glove box and sub used to sit and then onto the hard part of removing the metal that joins parts of the car Im keeping!!! I think Ill take A little longer doing those spots than just wizzing these lot out! ha..
Untill next time hey!
Spent about an hour taking the false floor section out that I had left in yesterday.
Coming out.
Fully removed! :#1:
Im gonna keep this section Incase I want to put the panels back in.......
Well Im about half way there now, I have learnt how to get the spot welds out quicker now but I've burnt the tip off my spot weld cutter! LOL..Ive ordered a new one so that will be here soon. I need to remove the centre support and the front plate where the glove box and sub used to sit and then onto the hard part of removing the metal that joins parts of the car Im keeping!!! I think Ill take A little longer doing those spots than just wizzing these lot out! ha..
Untill next time hey!


Registered User
Joined: Sep 2009
Posts: 2,335
Likes: 5
From: Georgia
Please post some pictures of the different types of clips that hold the interior trim panels in place. Knowing what they look like and how they are released would really help anyone trying to work on their car.
Thread Starter
Registered User
Joined: Feb 2007
Posts: 908
Likes: 5
From: UK
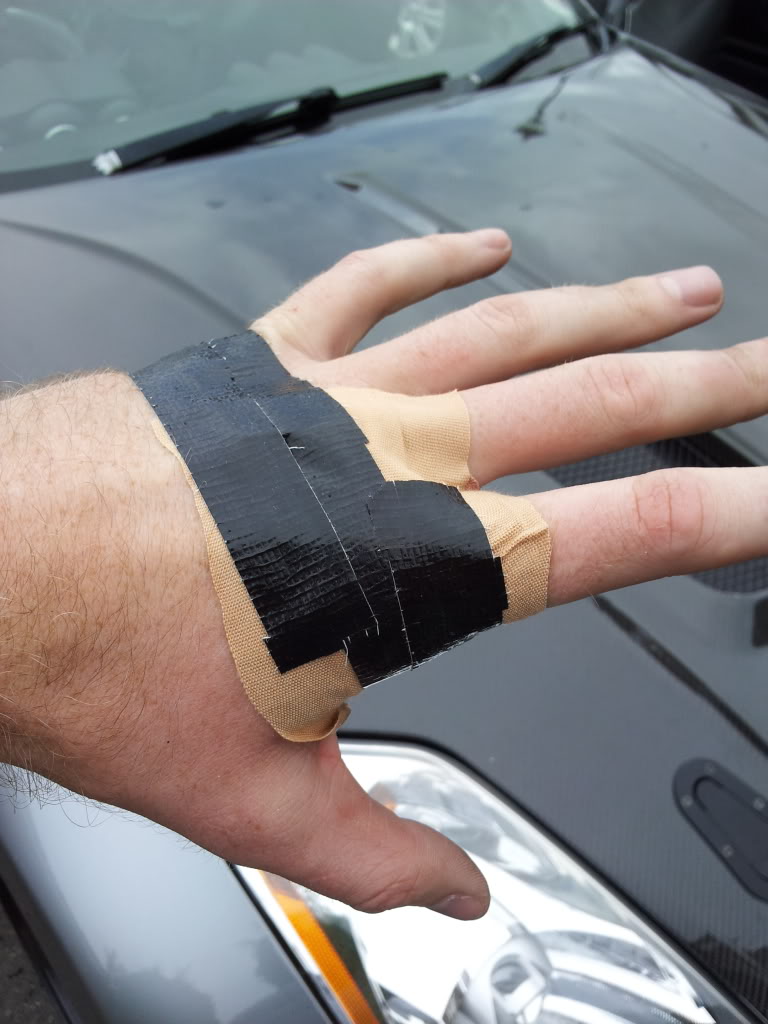
Let me start this off by saying "WEAR GLOVES AT ALL TIMES!!" LOL....I was wearing safety glasses but know gloves and managed to put a nice deep slash in my left hand while pulling a bit out and the weld broke, I caught my hand on a bloody sharp edge of a removed spot weld! :dummy: So blood and sweat has defo gone into this part of the project!! ha..
Bodge job on stopping my hand from bleeding! lol..Should be fun working a 12 night shift tonight with a saw hand! lol..
Anyway back to the job.
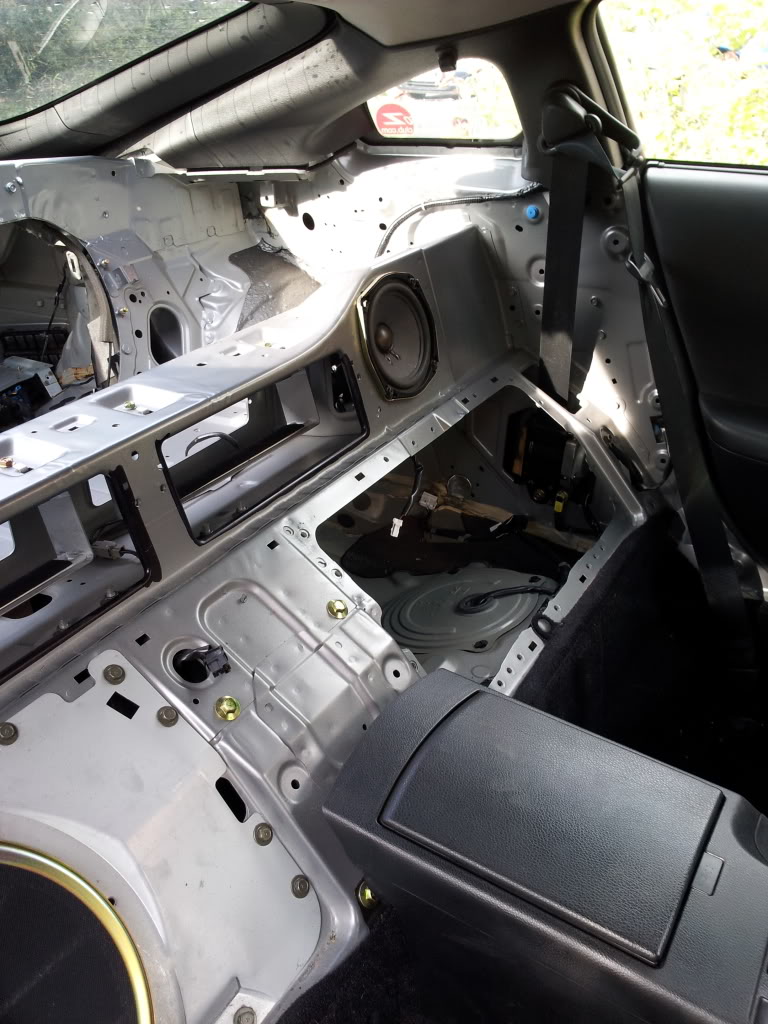
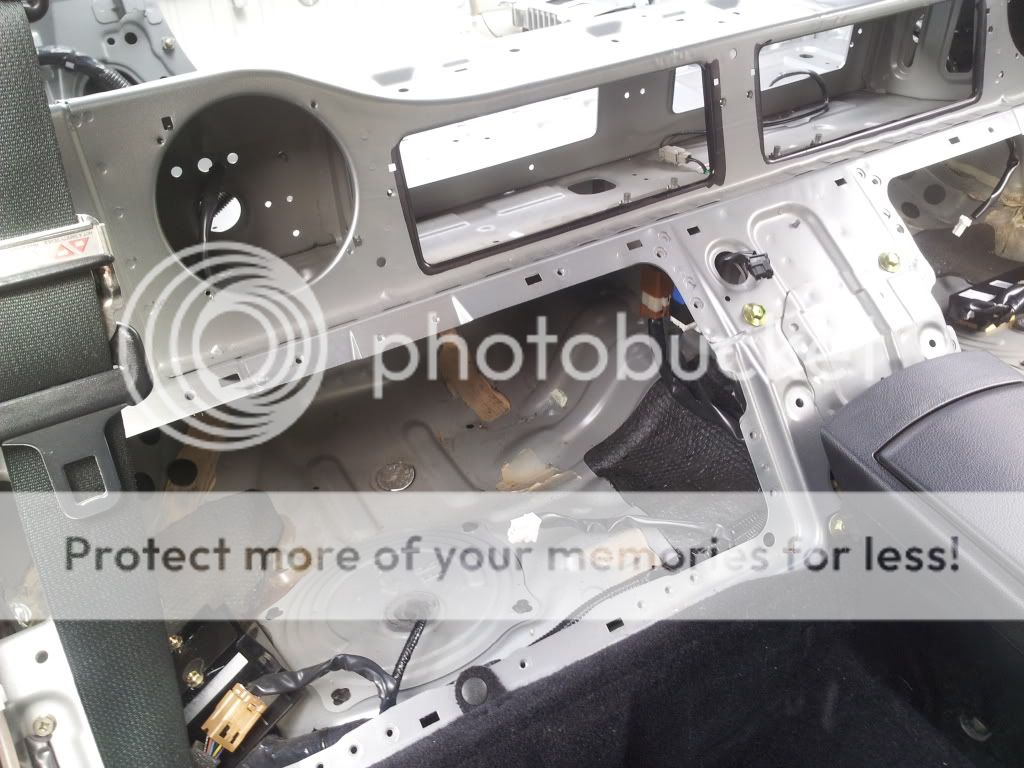
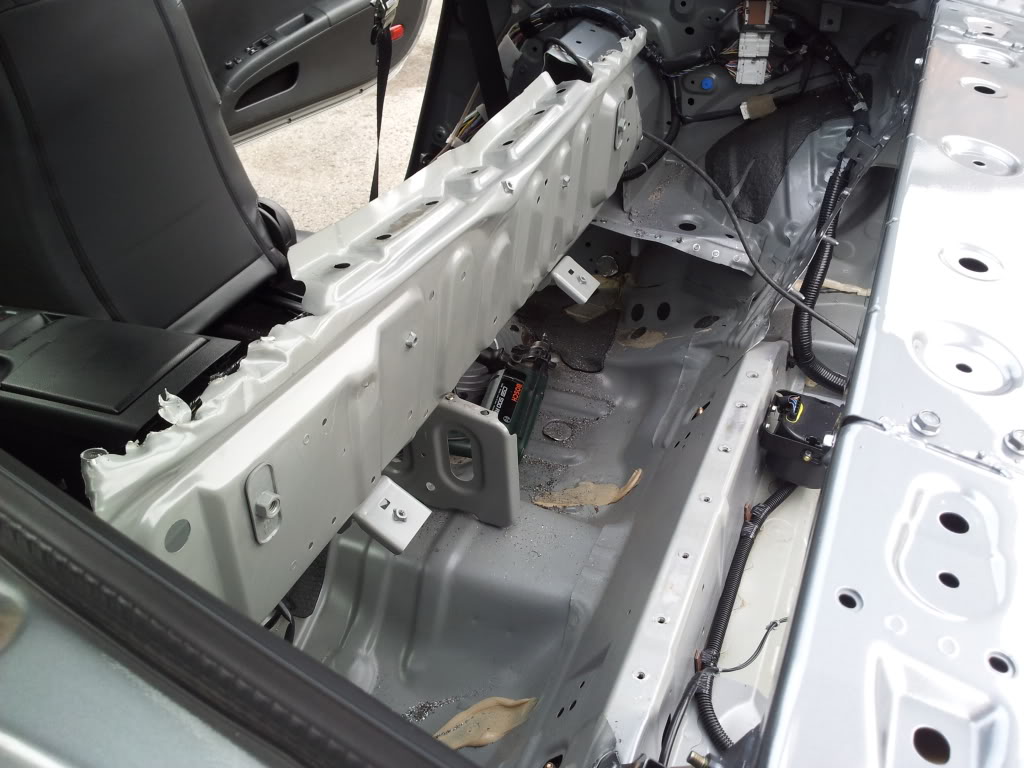
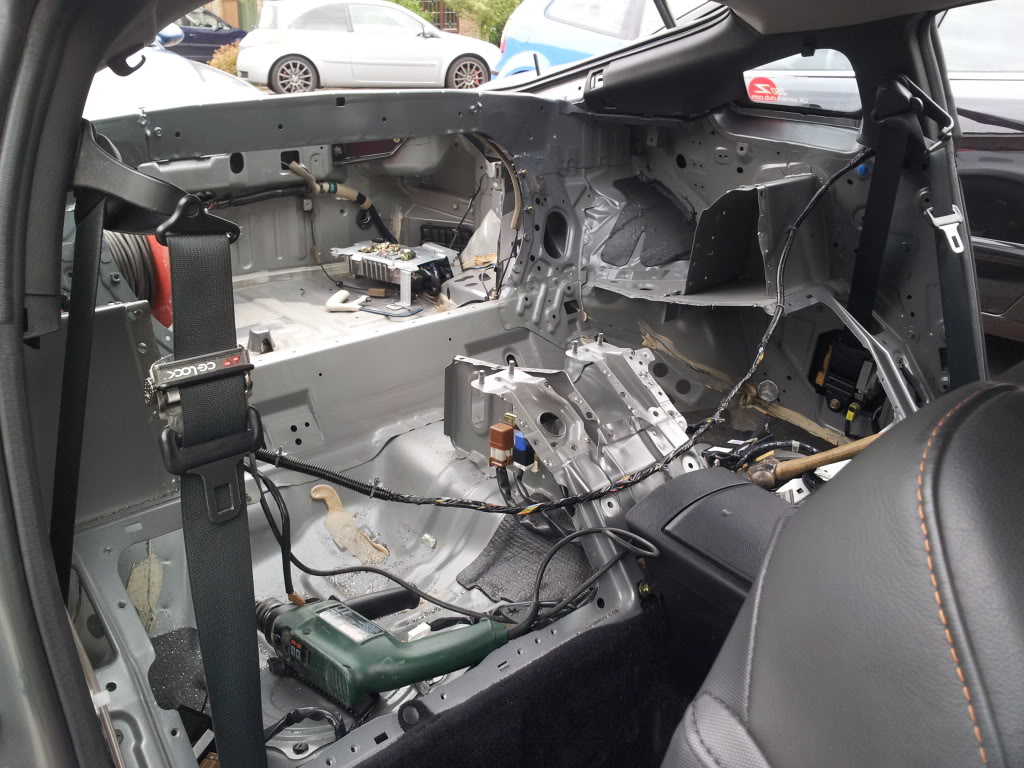
Started today by cutting the centre support out. This gave me some more room to sit in "back seat area" while working.
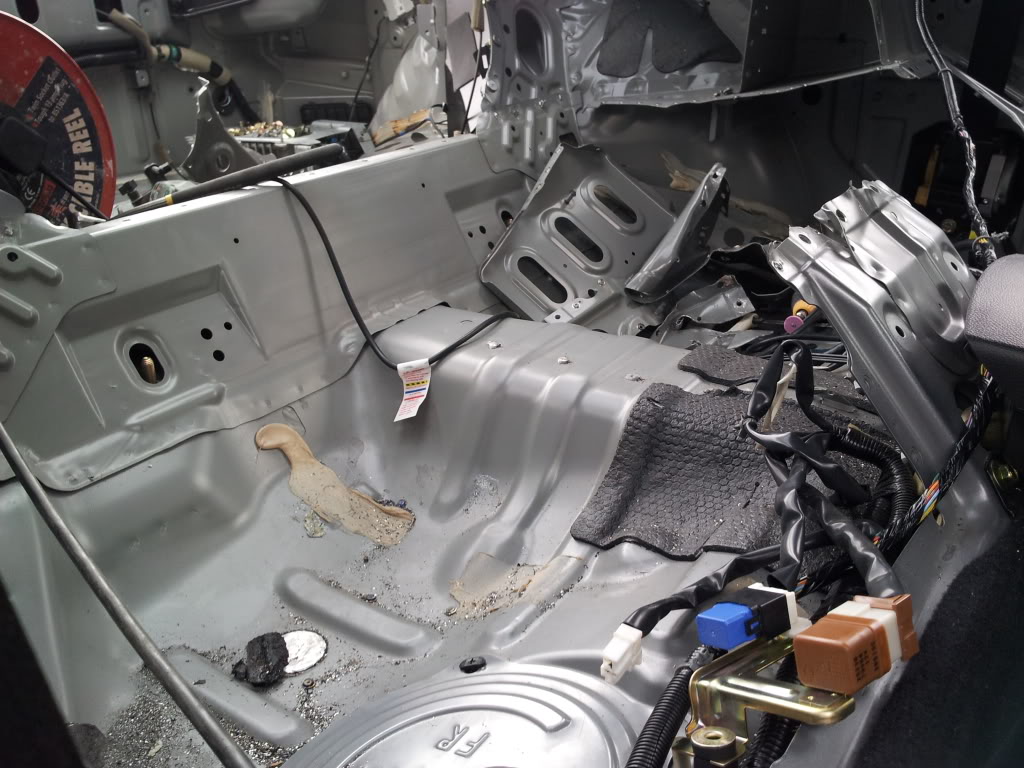
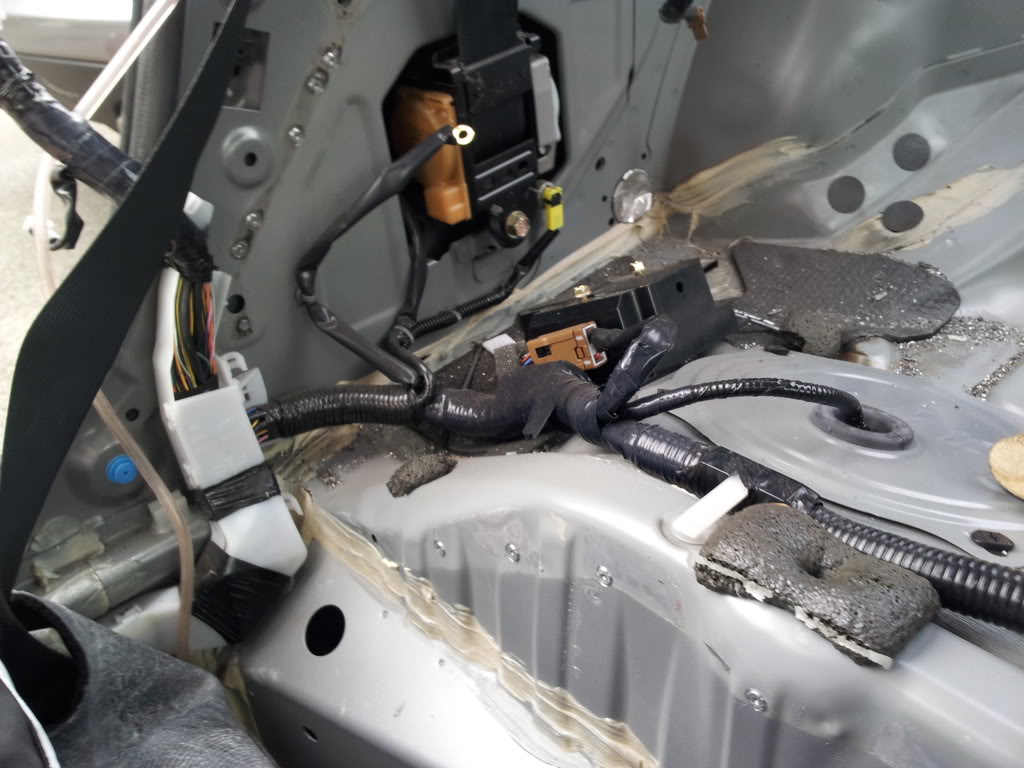
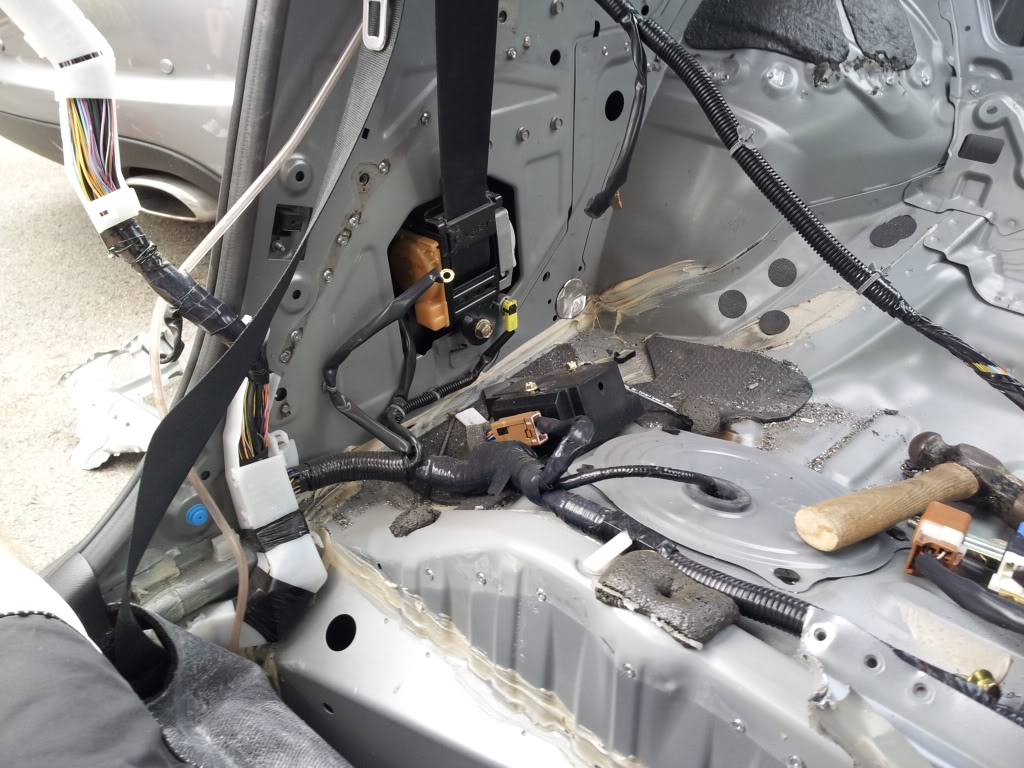
After the centre support was out I moved on to the hard part of removing the last bits of the sub box that were welded to the inner car body skin.
Removing these sections was by far the hardest part of the job so far. The access to these areas is crap and to get the drill in took alot of work with tin snips/gilbow's and hammering the metal out the way! Im glad thats done now!
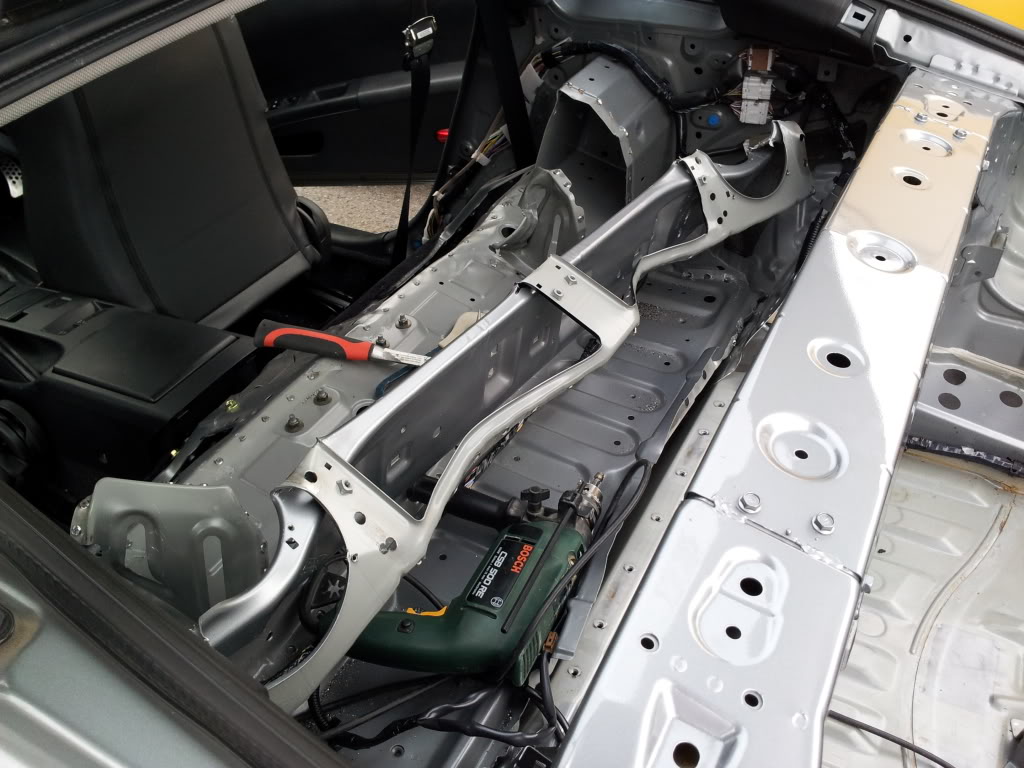
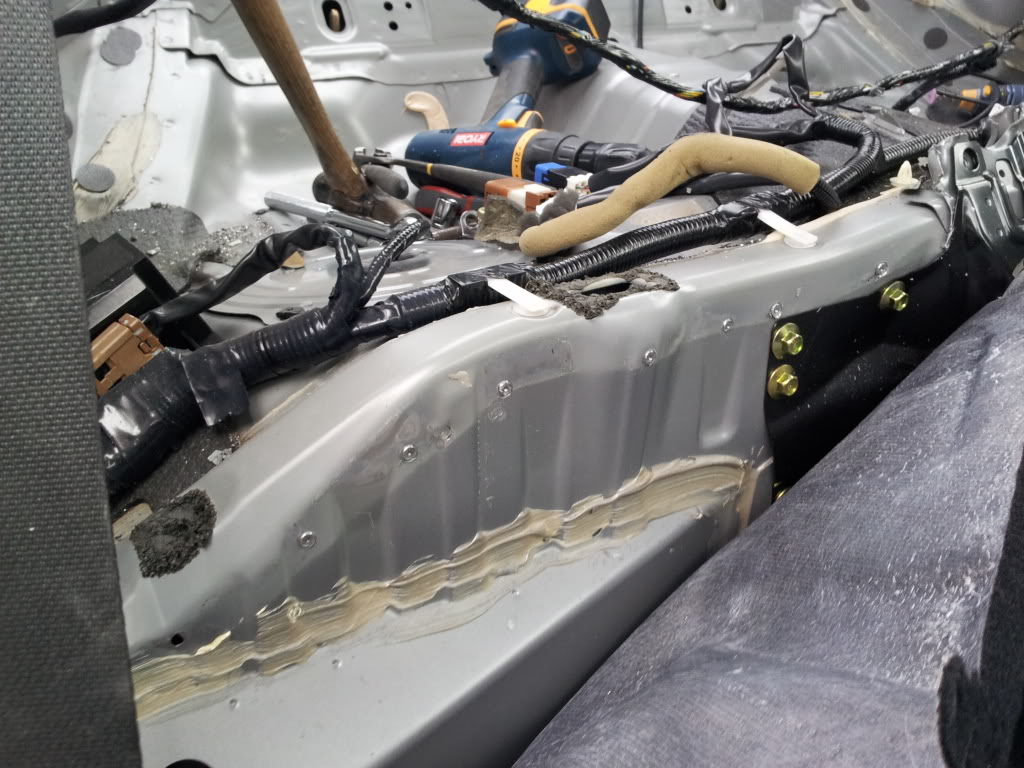
Also removed the last strut brace stiffener.
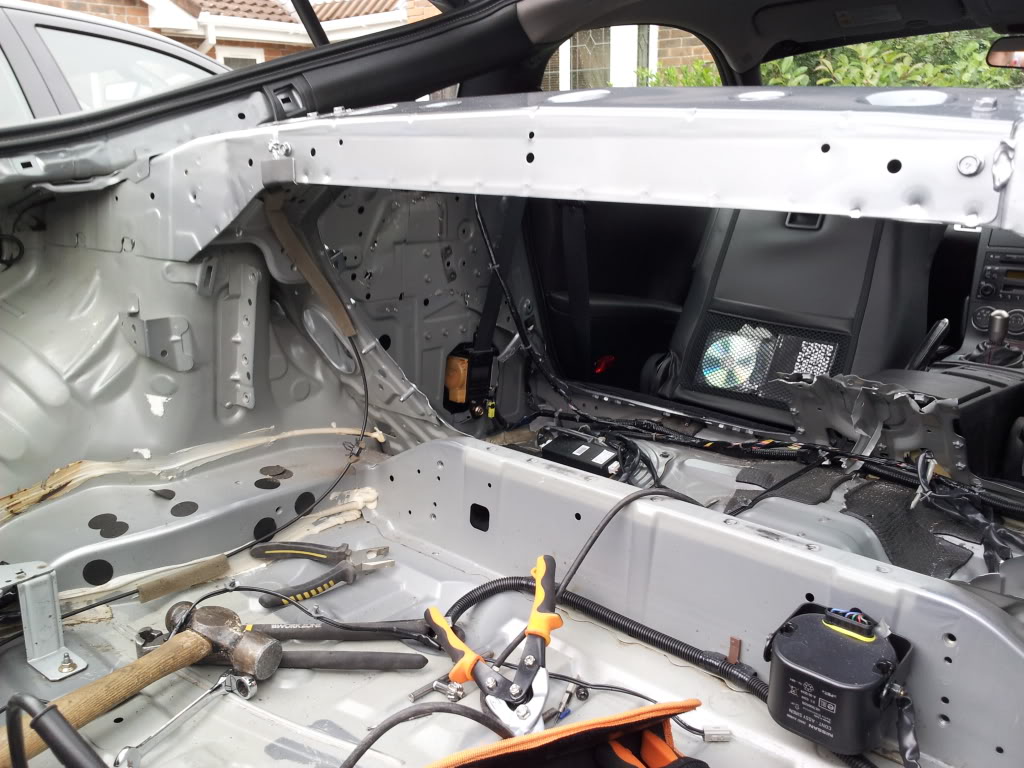
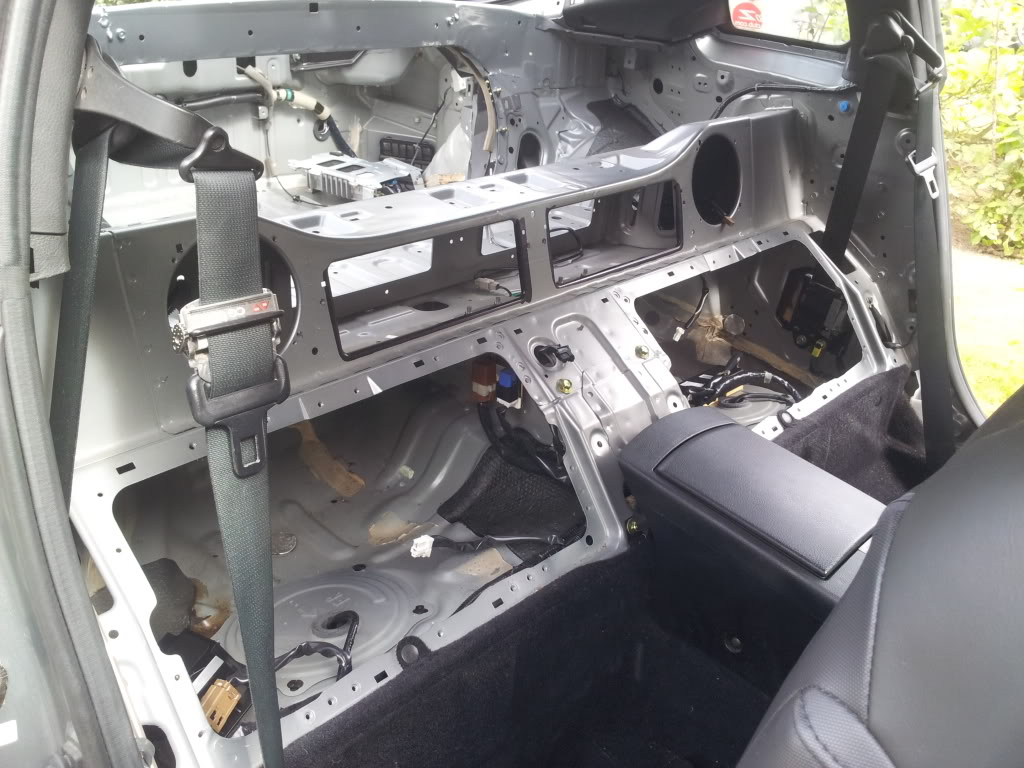
Looks massive in there now!
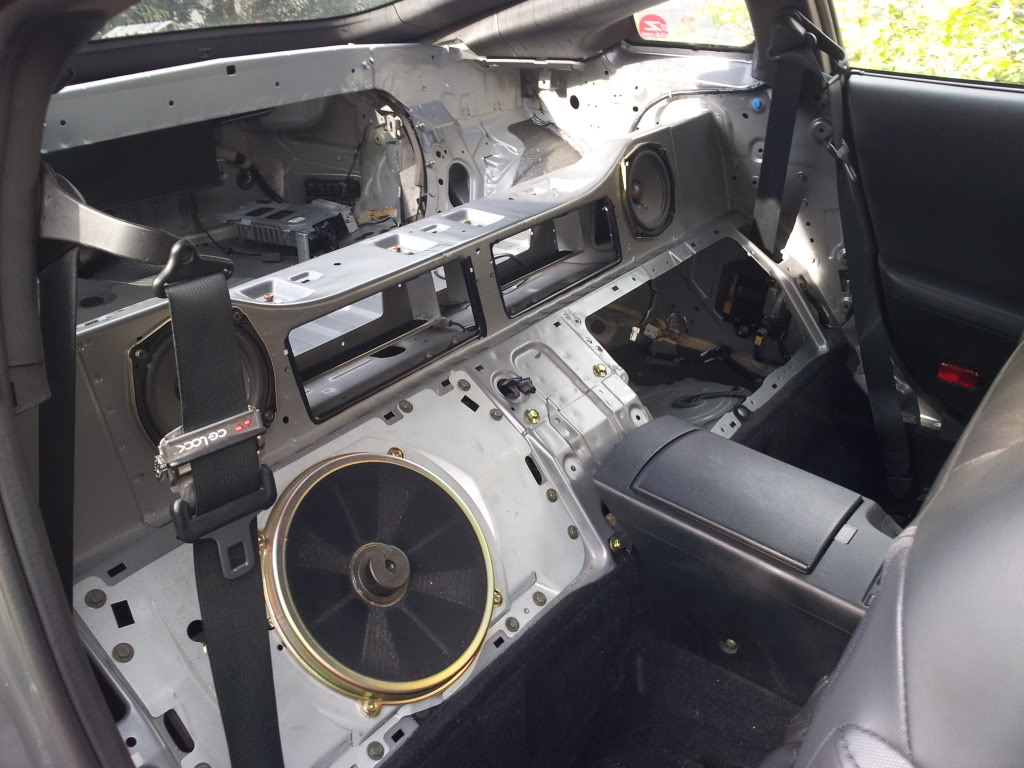
To get the last section out at the front I think the seats are gonna have to come out to get the drill in place to take the welds off. Should be quite easy to get to once the seats are out though.
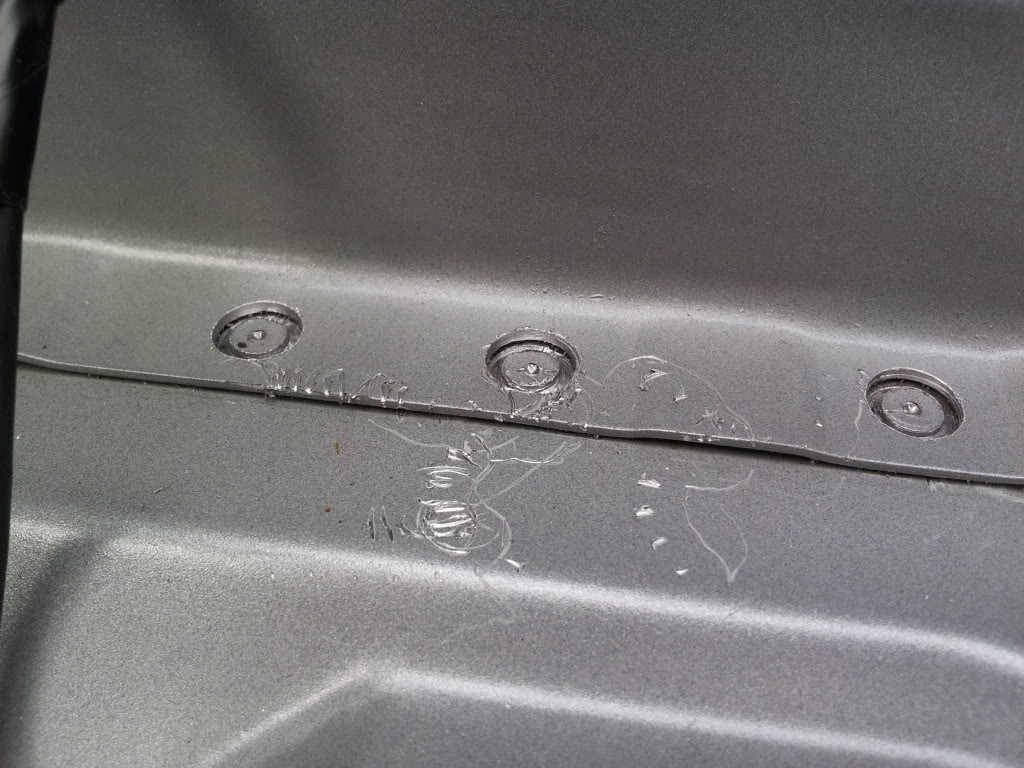
The bad bit is the sections over the wheel arches on the driver side two of the spot welds have pulled some small holes in the outer wheel well skin! Its not a huge problem as ill have the cage fabricators weld over the holes and grind it back flat. Just a little bit of a pain. Im also thinking Im going to make some custom rear "door" cards to cover the are where the sub box has been welded to the inner skin. Carbon fibre sheet or alu would tidy that up a lot IMHO.
Well thats it for today again. :P
Bodge job on stopping my hand from bleeding! lol..Should be fun working a 12 night shift tonight with a saw hand! lol..
Anyway back to the job.
Started today by cutting the centre support out. This gave me some more room to sit in "back seat area" while working.
After the centre support was out I moved on to the hard part of removing the last bits of the sub box that were welded to the inner car body skin.
Removing these sections was by far the hardest part of the job so far. The access to these areas is crap and to get the drill in took alot of work with tin snips/gilbow's and hammering the metal out the way! Im glad thats done now!
Also removed the last strut brace stiffener.
Looks massive in there now!
To get the last section out at the front I think the seats are gonna have to come out to get the drill in place to take the welds off. Should be quite easy to get to once the seats are out though.
The bad bit is the sections over the wheel arches on the driver side two of the spot welds have pulled some small holes in the outer wheel well skin! Its not a huge problem as ill have the cage fabricators weld over the holes and grind it back flat. Just a little bit of a pain. Im also thinking Im going to make some custom rear "door" cards to cover the are where the sub box has been welded to the inner skin. Carbon fibre sheet or alu would tidy that up a lot IMHO.
Well thats it for today again. :P
Thread Starter
Registered User
Joined: Feb 2007
Posts: 908
Likes: 5
From: UK
More work done this afternoon!
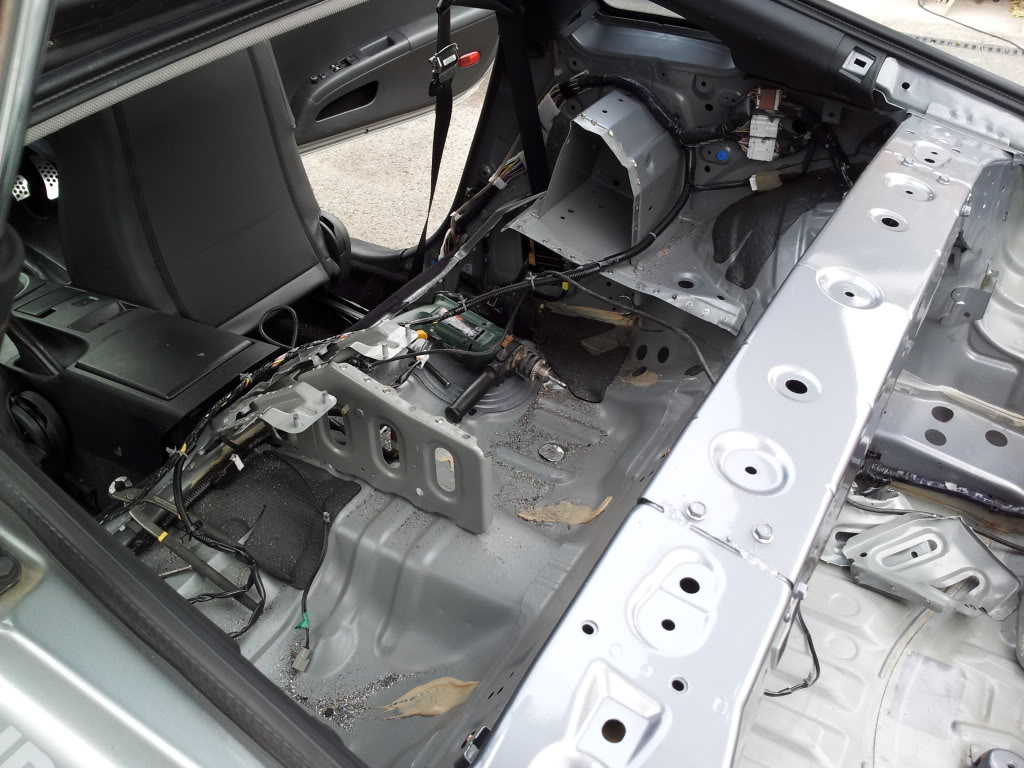
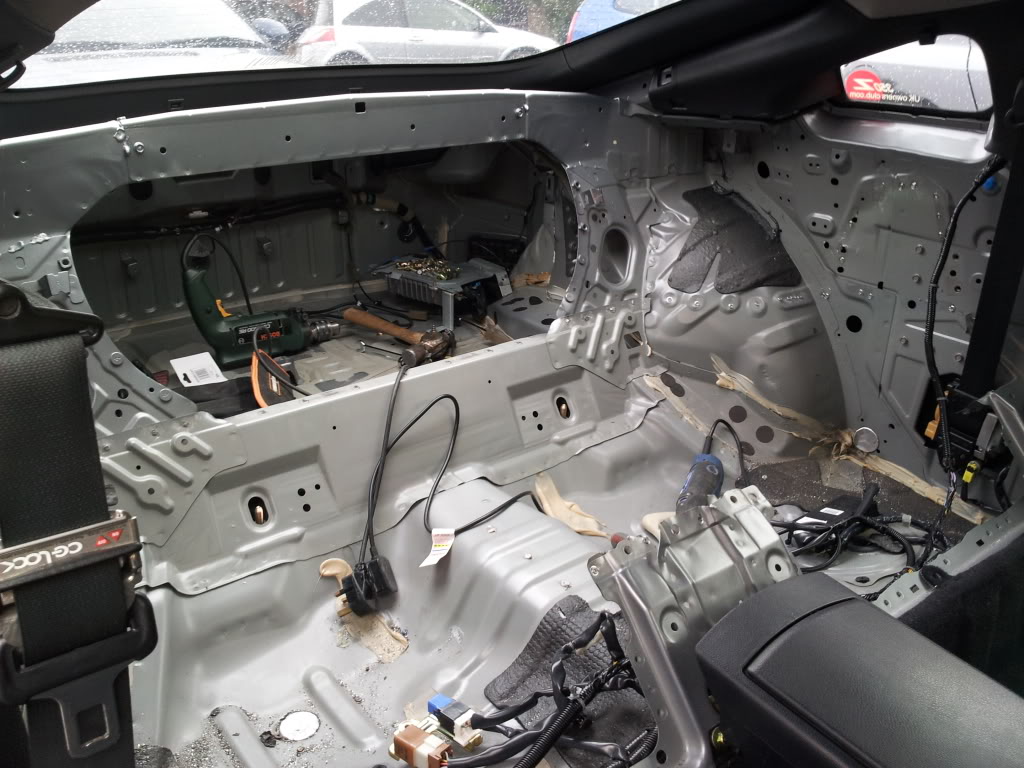
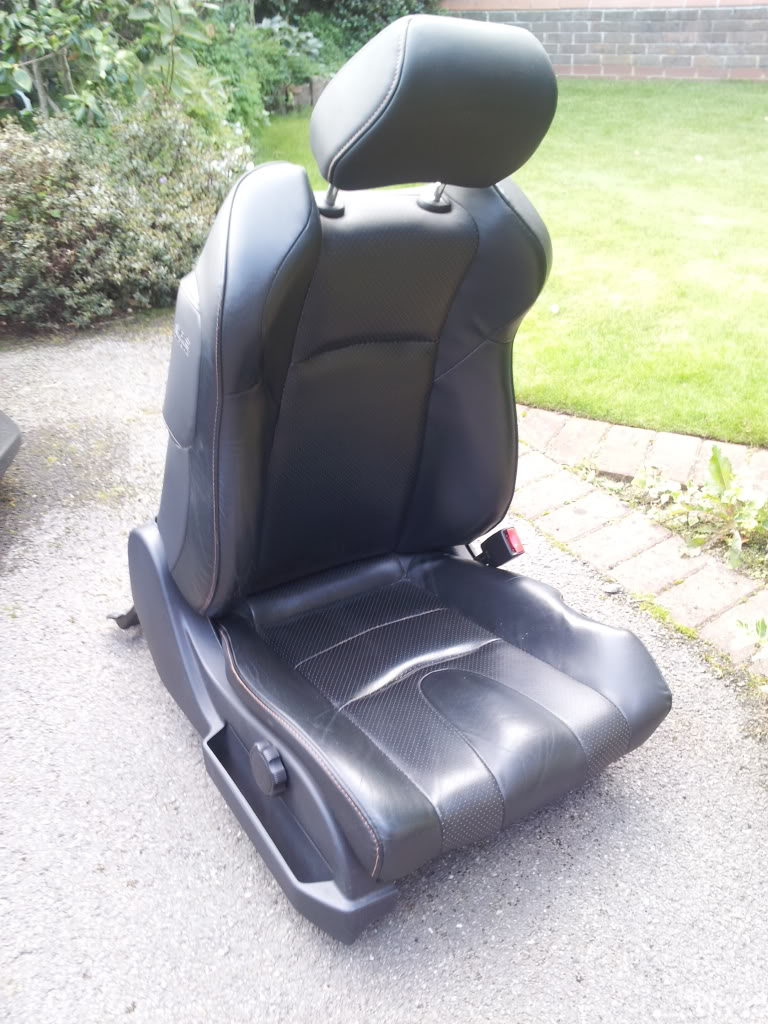
I started by removing the driver seat. (I have wanted to know the exact weight of a UK leather GT seat for ages! I weighed it twice to be sure and for others the seat weighs 21.45KG! Bloody heavy! lol)
Seat removed. Found 50p too
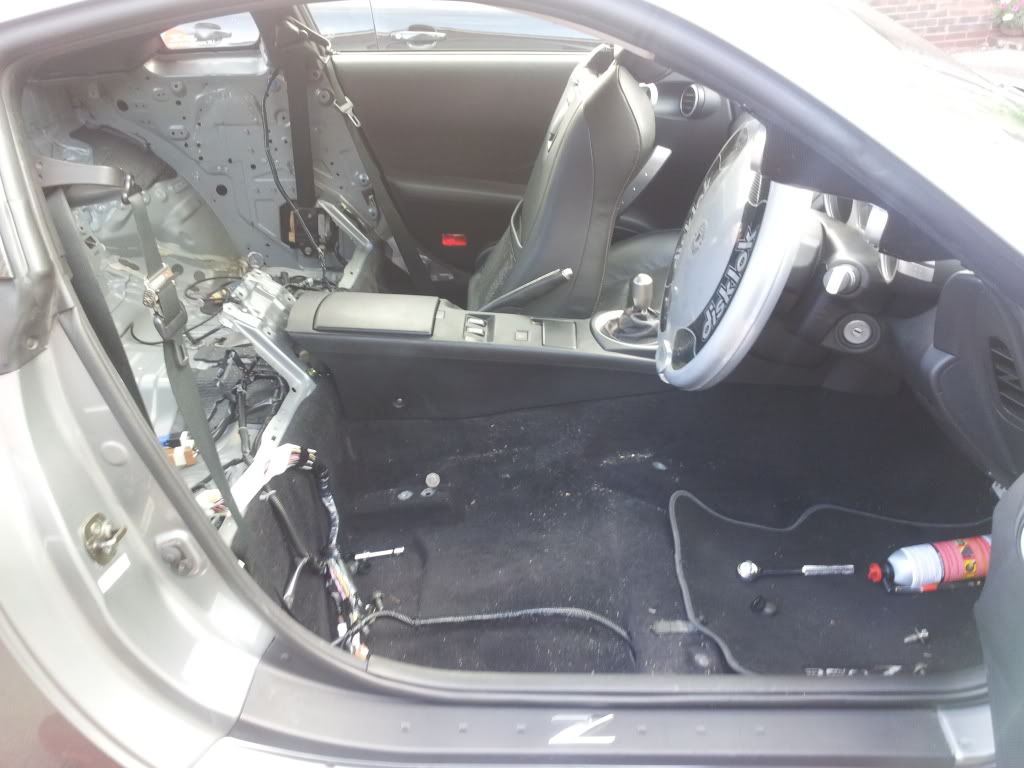
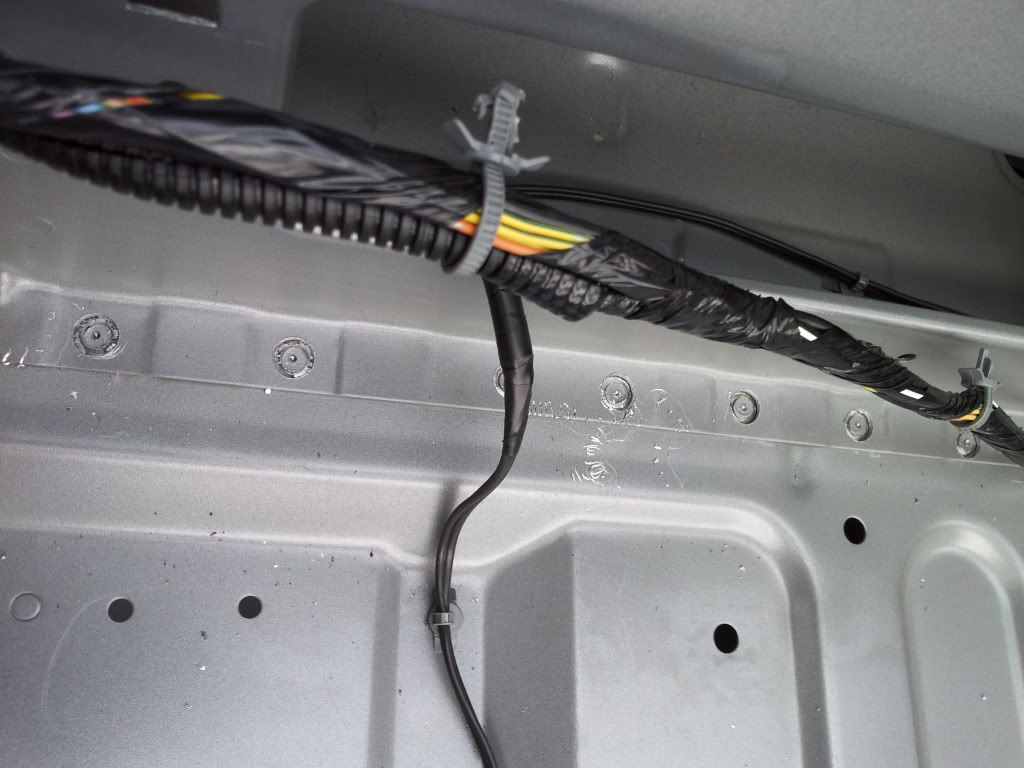
Next item that needed to come out was the drive shaft tunnel trim.
Started to work on removing the last bit on the driver side of the sub enclosure. Quite a lot of work for a small bit of metal too. The access to get the drill in is bad.
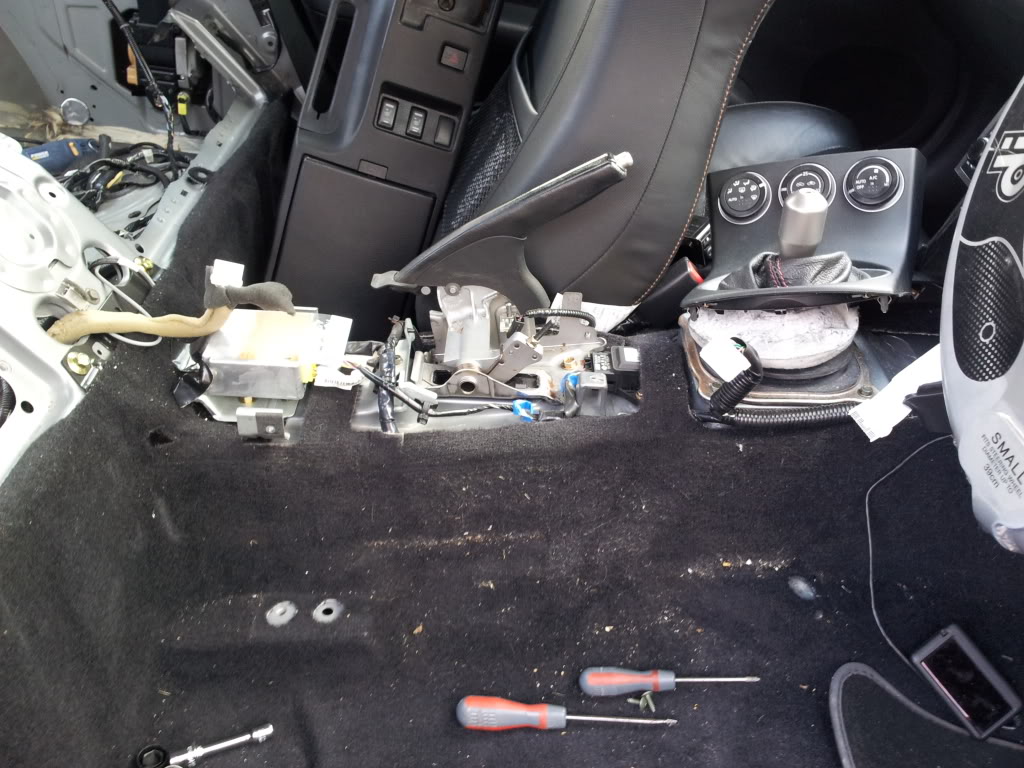
Next bit to go was what was left of the centre support. This needs a big bolted in brace removing to get the whole thing out, It needs the passenger seat out to get to the bolts too. So for the time being I've just cut the top off so Its out the way!

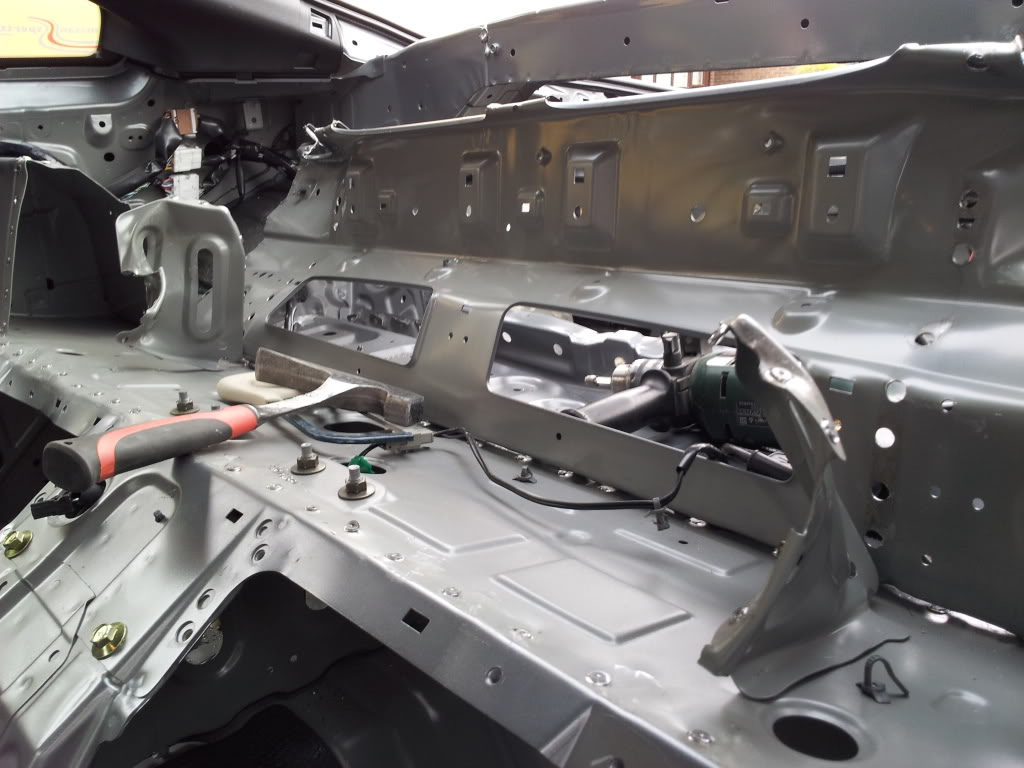
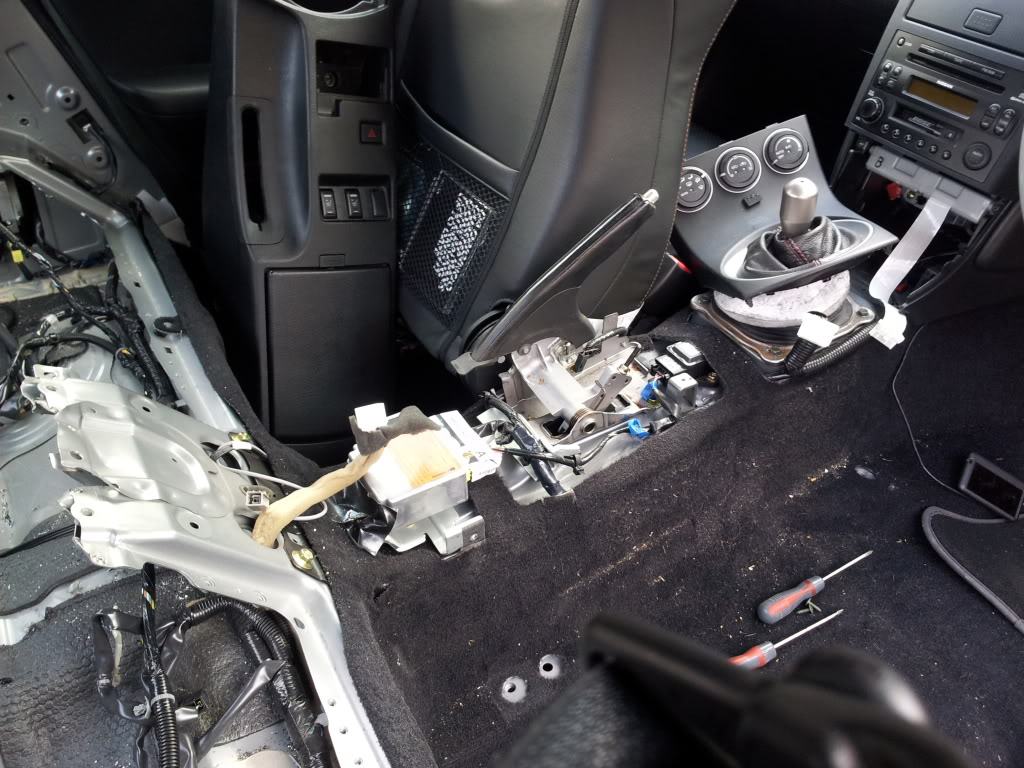
You can see the big black tunnel brace that needs to be removed to get the centre support out. This brace will be going back in.
Nearly there now! Just the passenger side to remove and some small plates on the strut brace. Next job will be clean this massive mess up! :P
I started by removing the driver seat. (I have wanted to know the exact weight of a UK leather GT seat for ages! I weighed it twice to be sure and for others the seat weighs 21.45KG! Bloody heavy! lol)
Seat removed. Found 50p too
Next item that needed to come out was the drive shaft tunnel trim.
Started to work on removing the last bit on the driver side of the sub enclosure. Quite a lot of work for a small bit of metal too. The access to get the drill in is bad.
Next bit to go was what was left of the centre support. This needs a big bolted in brace removing to get the whole thing out, It needs the passenger seat out to get to the bolts too. So for the time being I've just cut the top off so Its out the way!
You can see the big black tunnel brace that needs to be removed to get the centre support out. This brace will be going back in.
Nearly there now! Just the passenger side to remove and some small plates on the strut brace. Next job will be clean this massive mess up! :P