
Stripped the rear boot/trunk area out!


Thread Starter
Registered User
Joined: Feb 2007
Posts: 908
Likes: 5
From: UK
Ok guys after seeing Paul_s guide to removing boot plastics I got on with a job I've wanted to do for quite a while! Stripping the rear end of the car! lol..
As the cars a total toy day to day noises reduction is not a problem so I've removed 80% of the rear plastic trim.
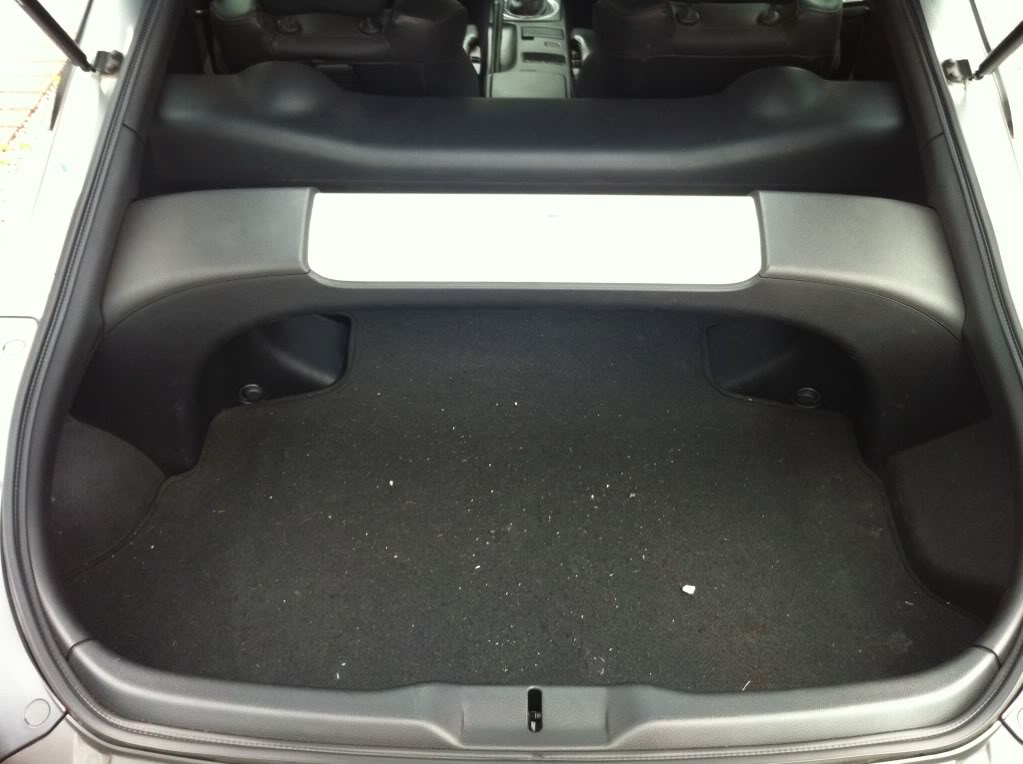
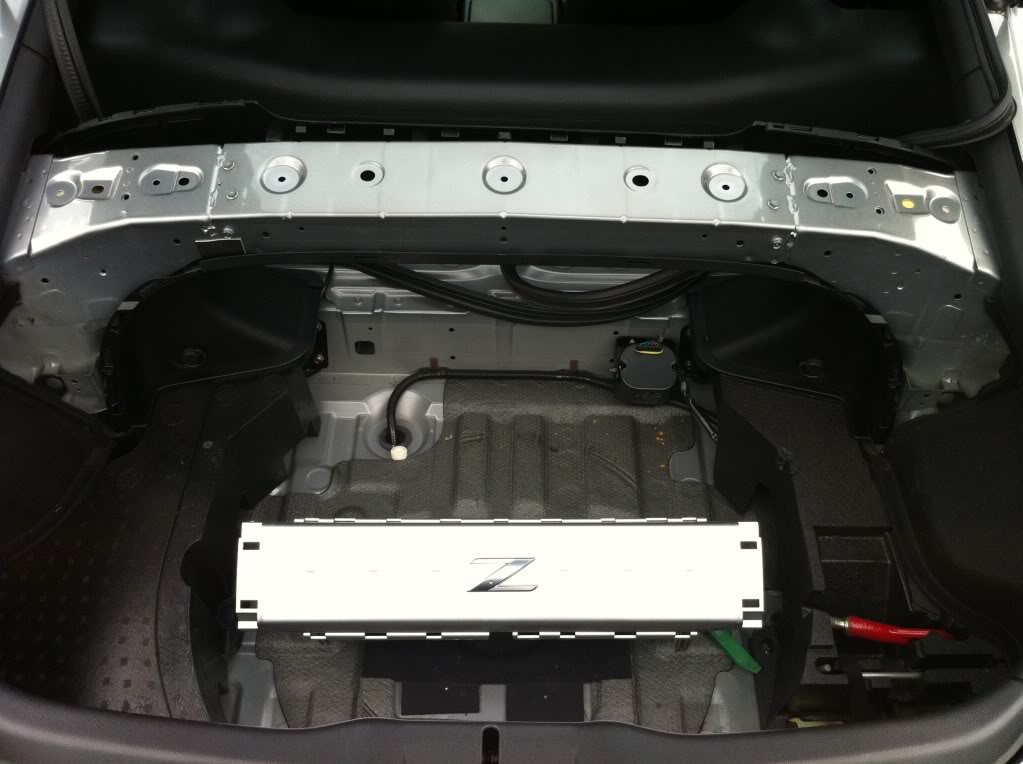
The starting point! Im sure we all know what the zed boot looks like! lol..
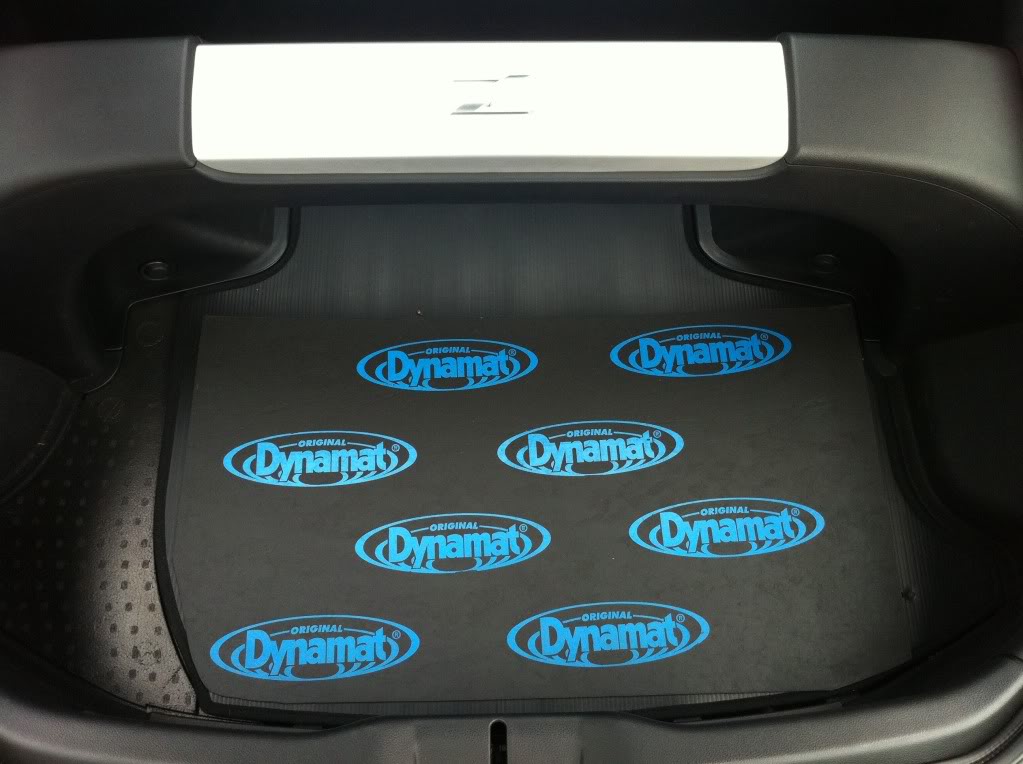
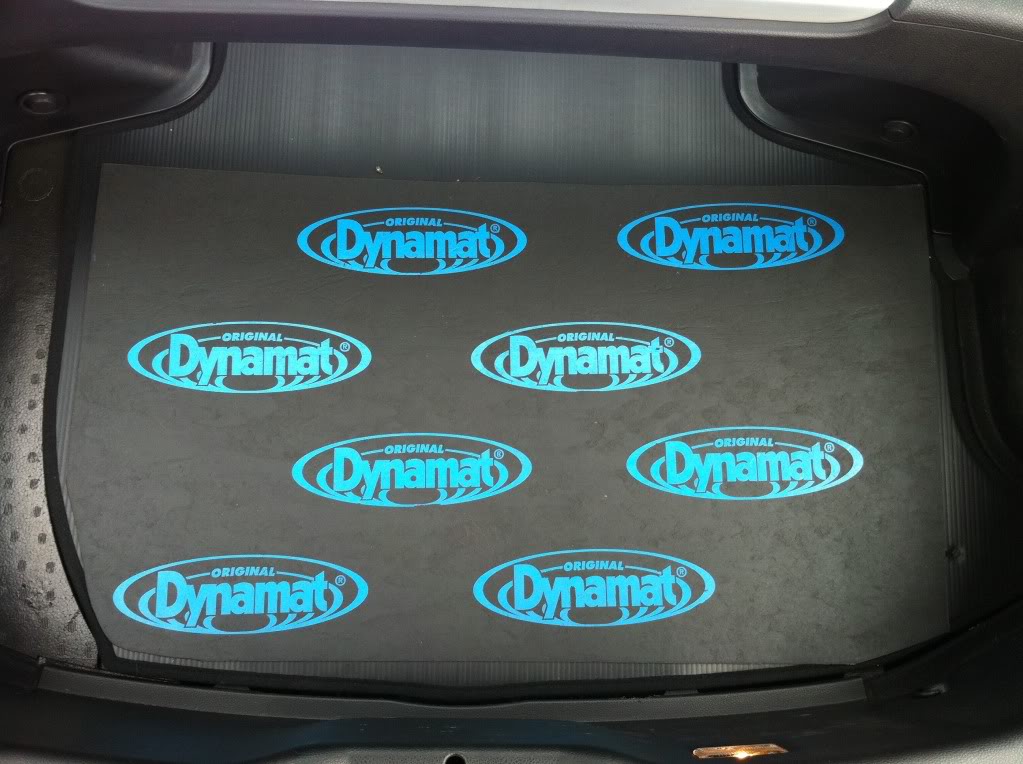
Cargo net and floor mat removed. This is a little bit of dynamat I fitted when the car was driven daily. Dynamat Is really heavy! This little bit of matting weighs 3KG!!!
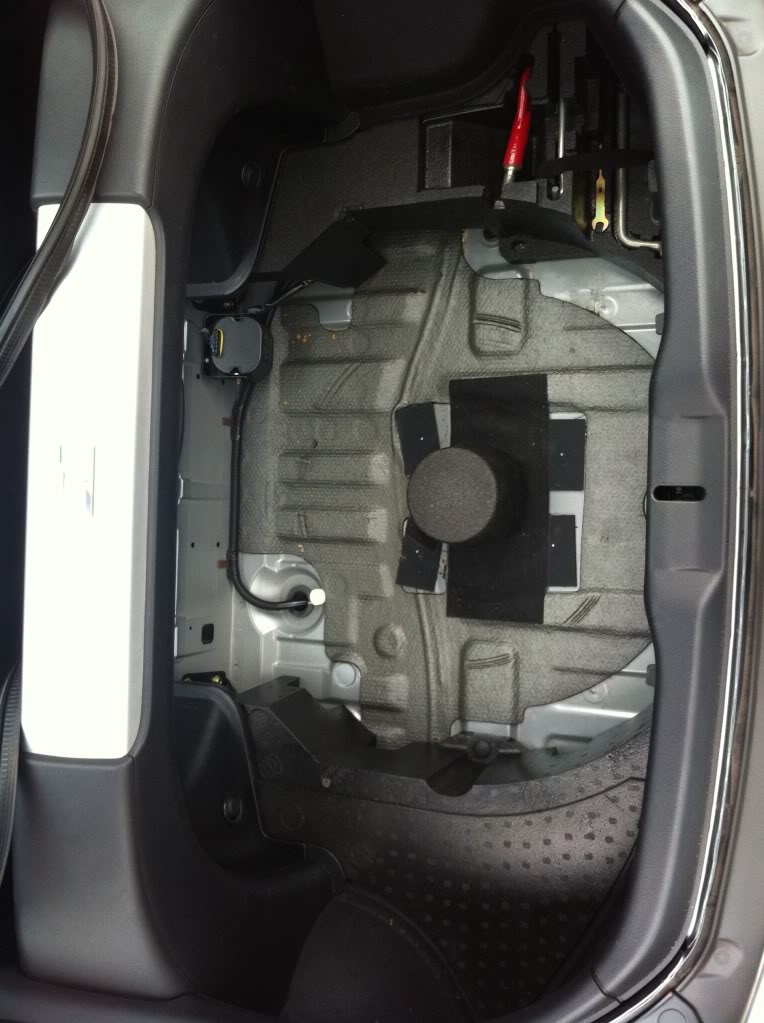
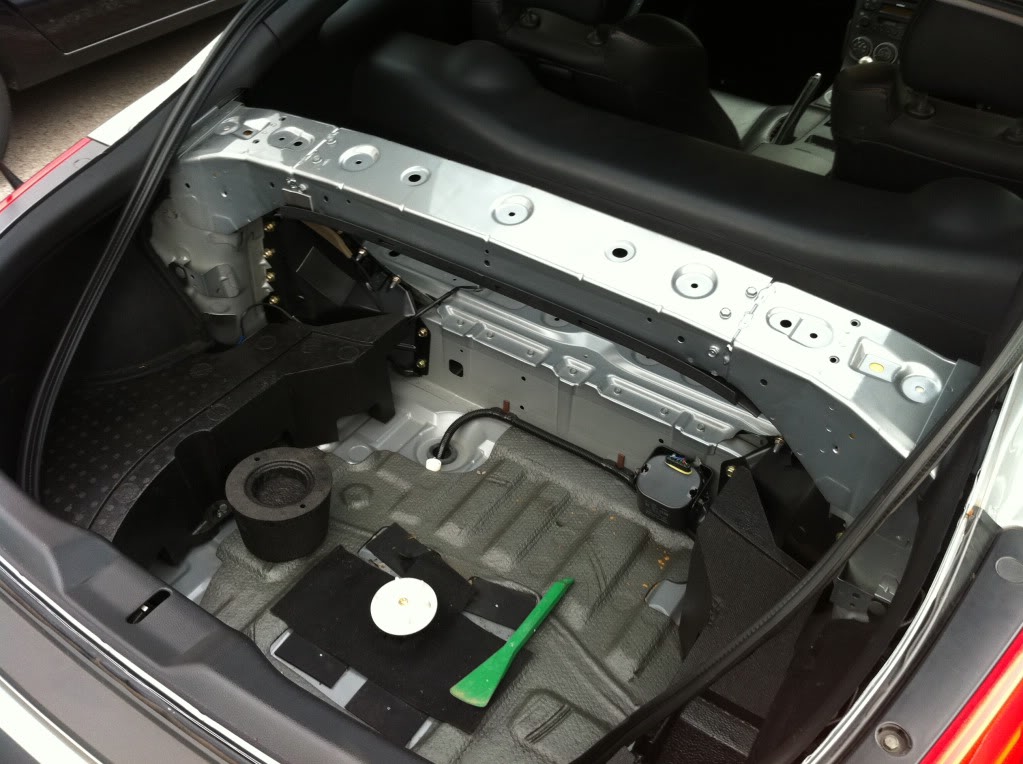
False floor and dynamat removed.
Dirty boot! lol..
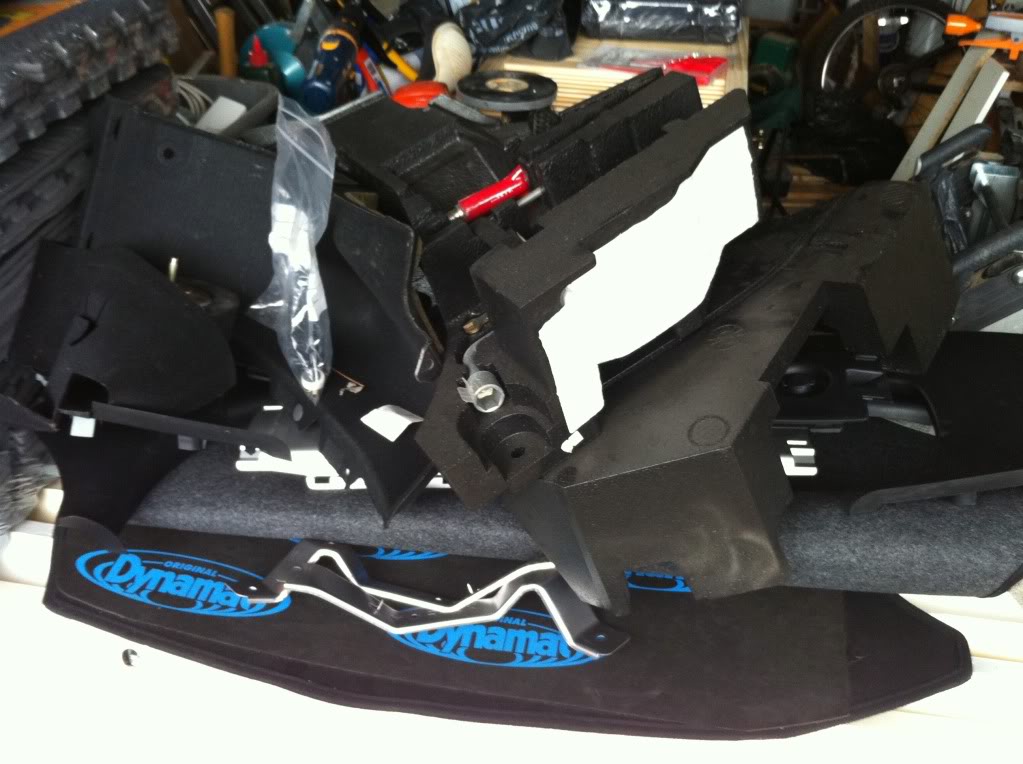
Foam that holds the tools in place and supports the false floor.
Strut bar plastics being removed.
Most of the plastics popped off quickly but any that put up a fight I used the green plastic tire leaver! lol..
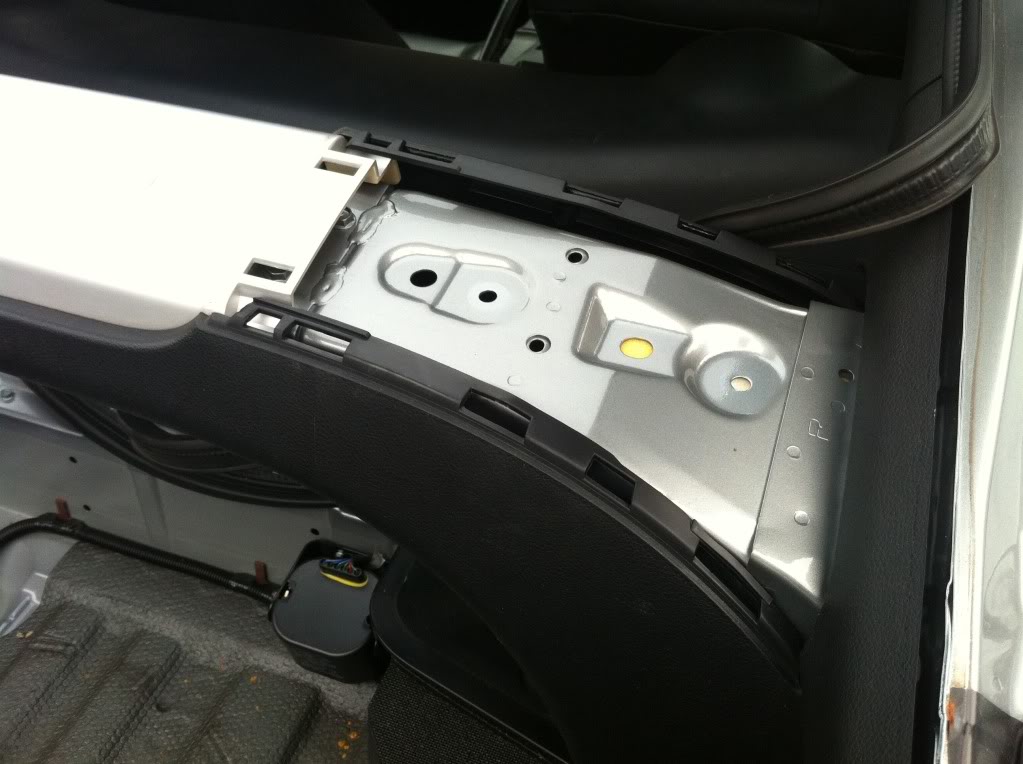
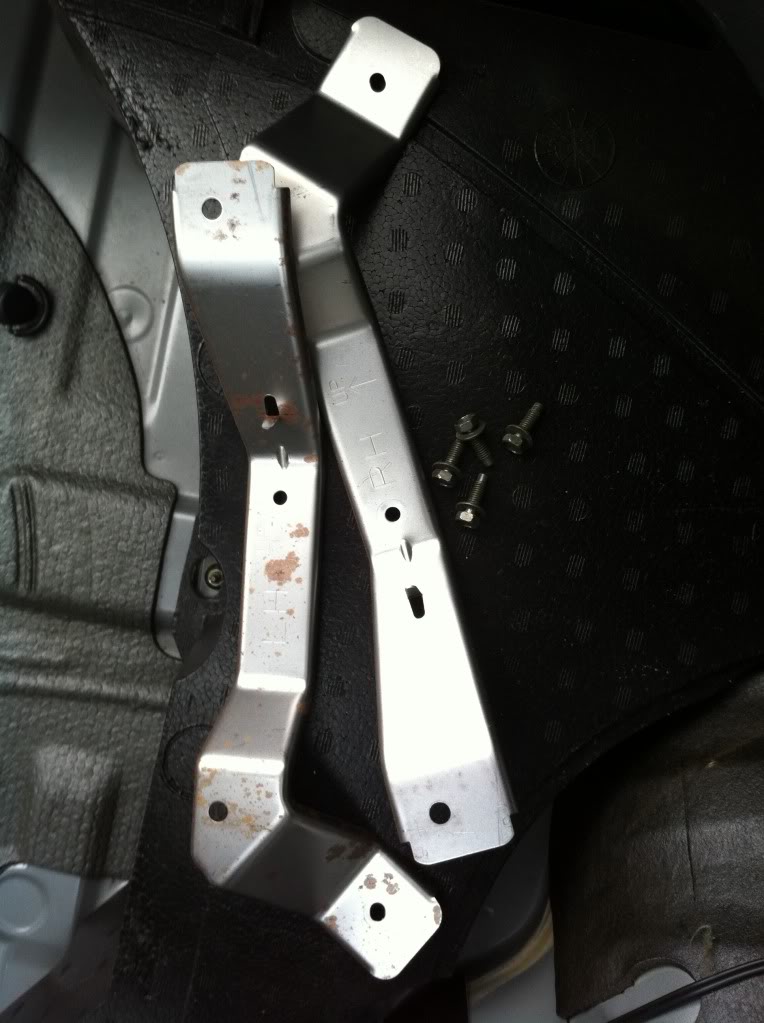
Some extra weight that was now not needed! Steel brackets supported the cargo net fixing points.
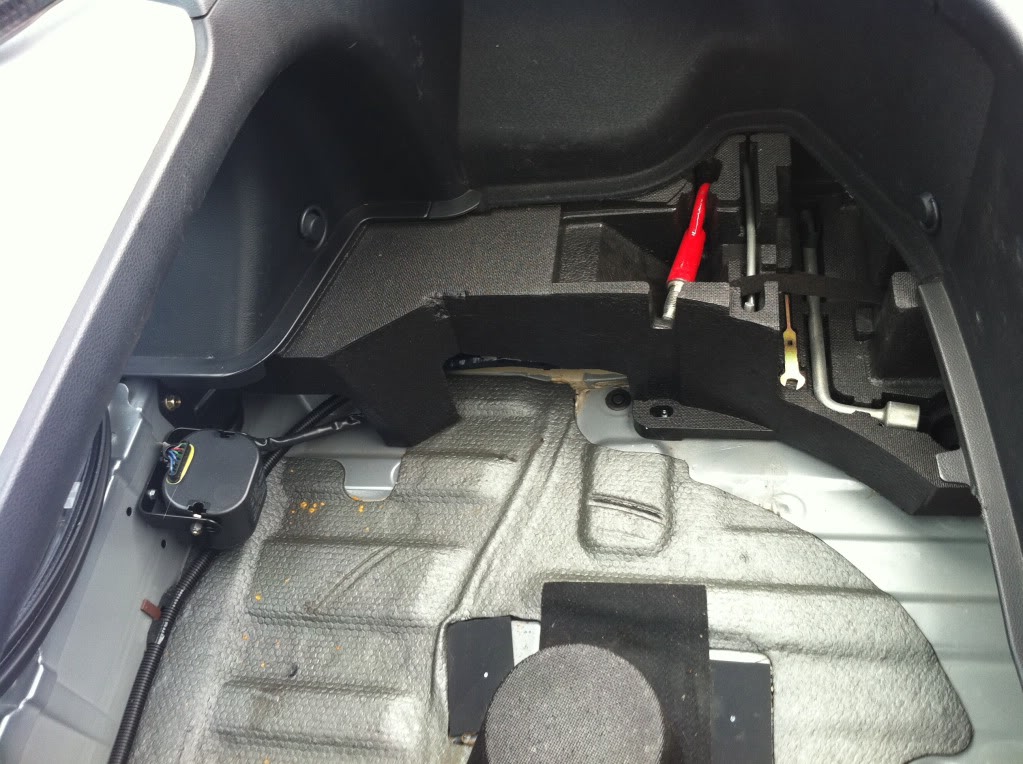
Part of the Bose audio system. Amp may be ? This might get relocated in the the corner of the boot on a new bracket I think.
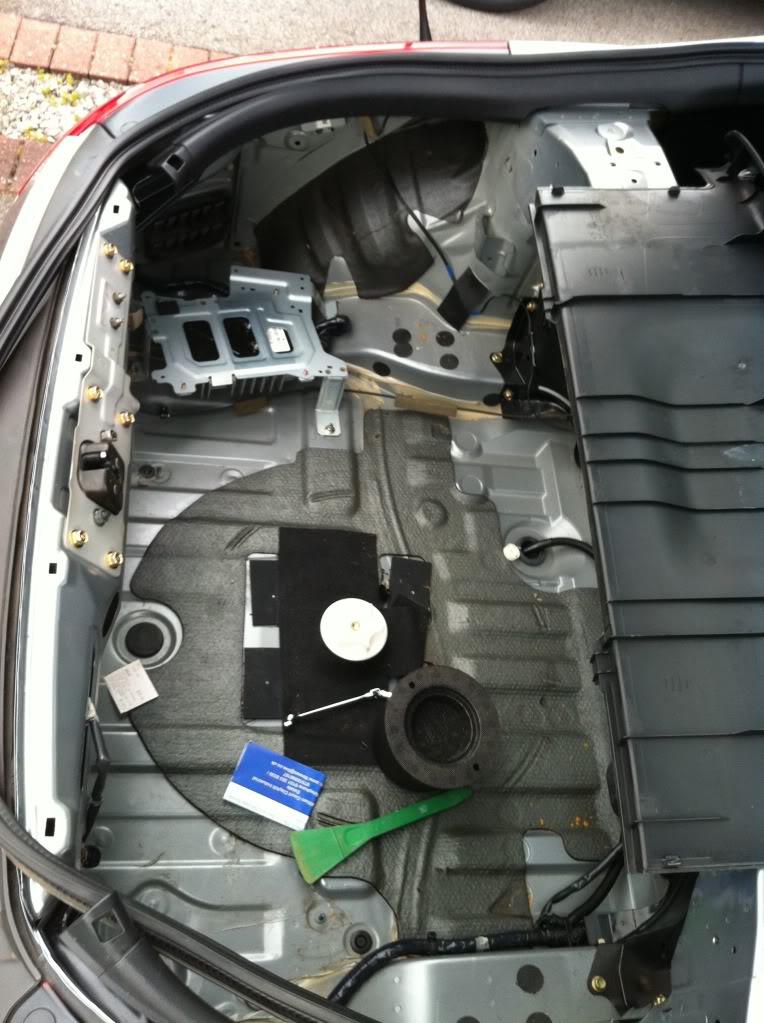
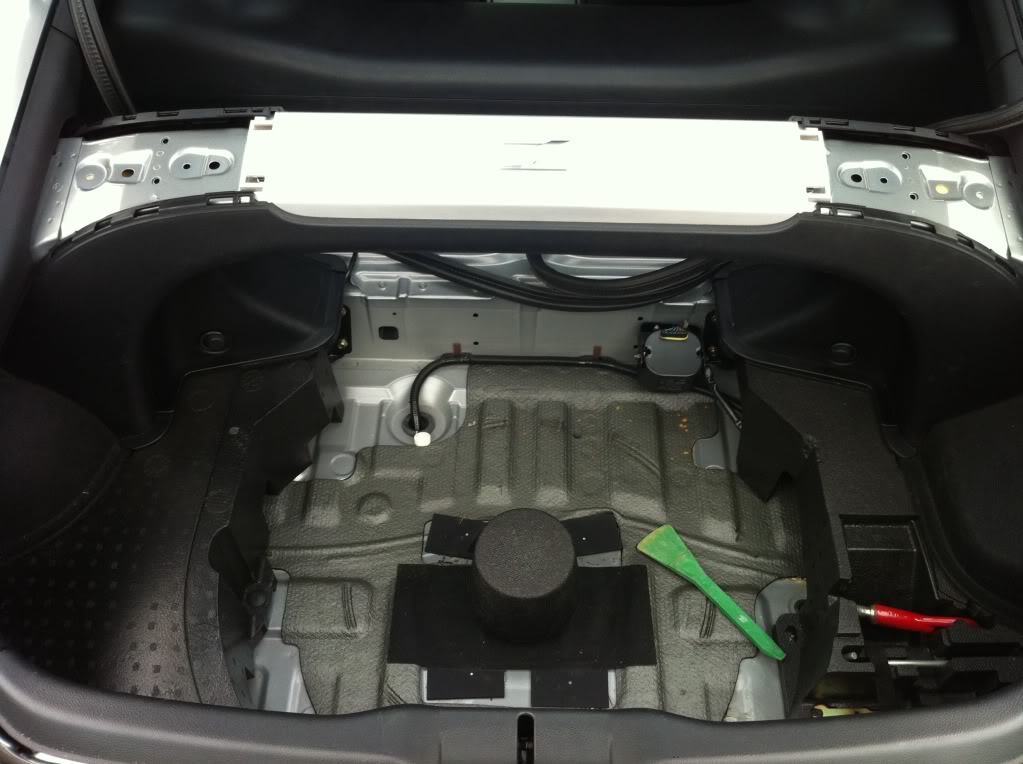
Plastics, trim panels and fixings removed! Lots and lots! ha.
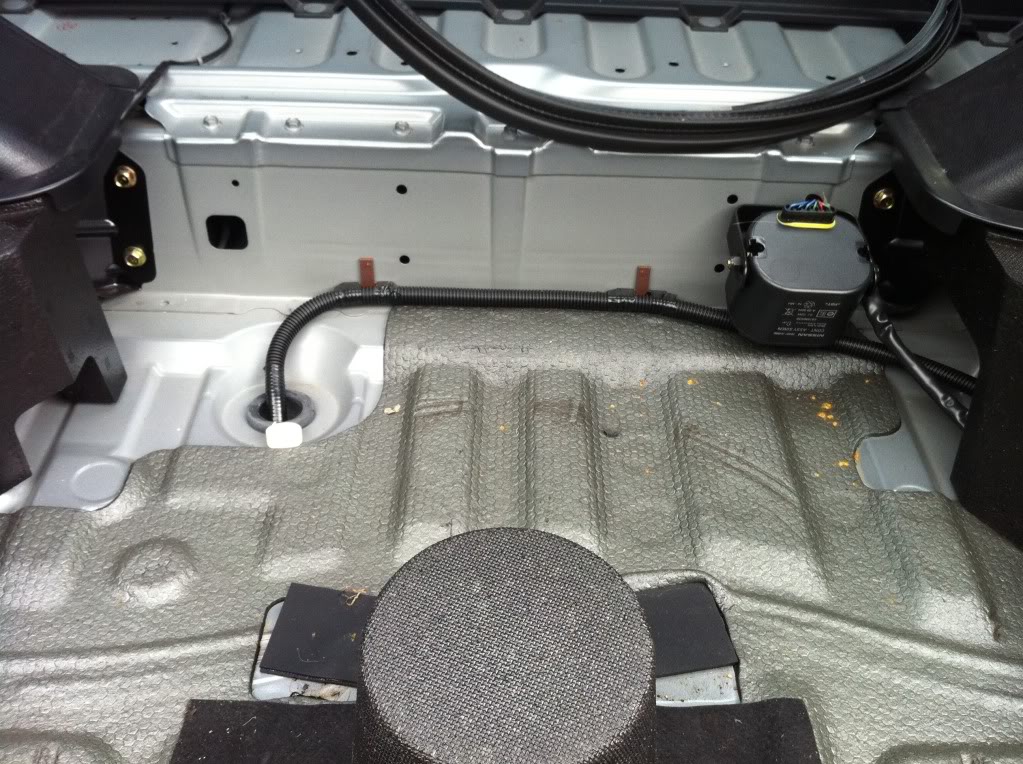
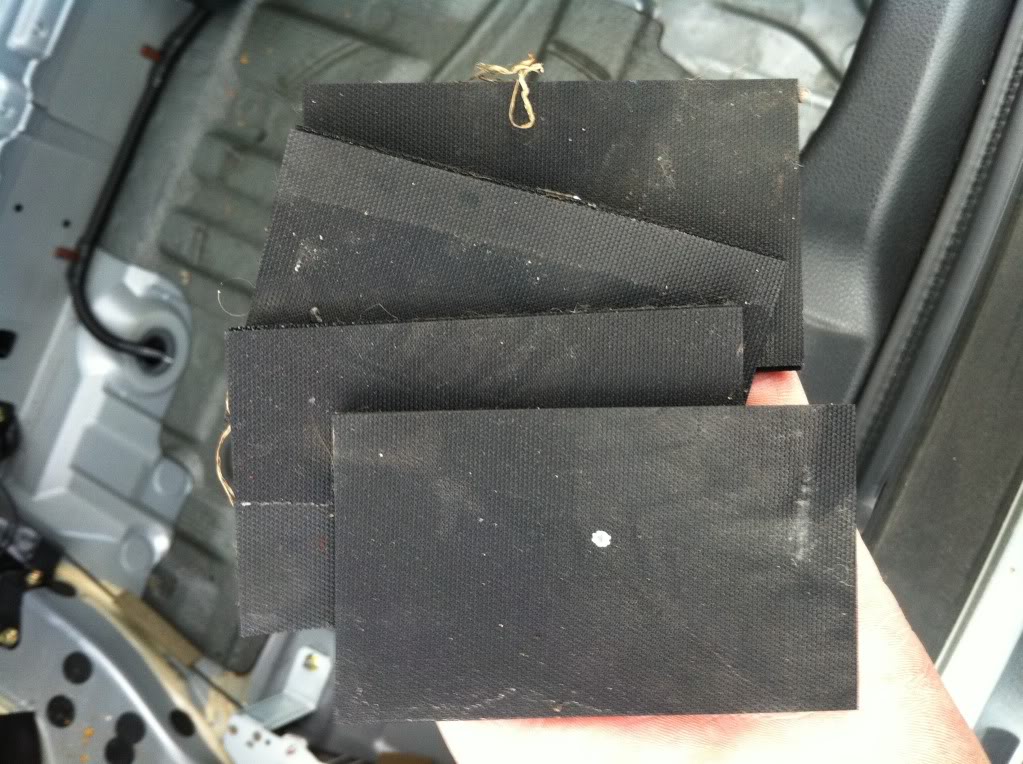
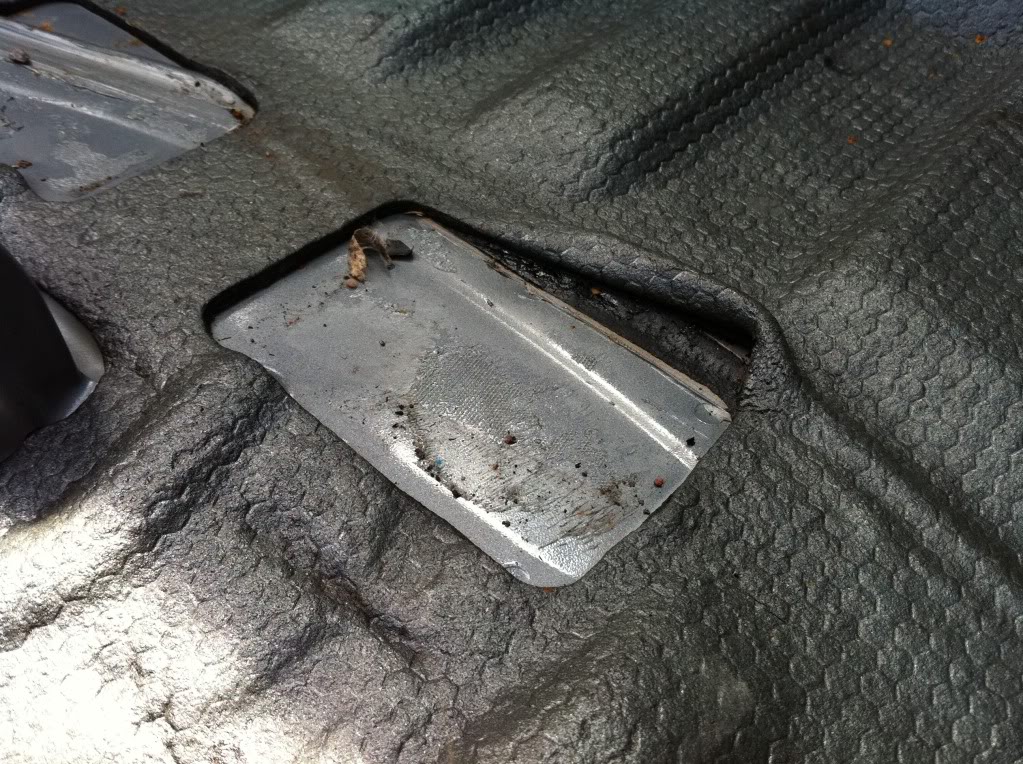
Sticky heavy rubber pads removed from the boot floor. Must be to stop any vibration from the spare wheel.
Rear suspension turett top is hiden under this part of the rear brace, Im looking to use a hole saw drill bit and remove about an inch wide section to allow access to the KW rebound adjuster! This makes setting the suspension settings a hell of a lot quicker as at the moment you need to drop the hole damper unit out to adjust it!! :bangin:
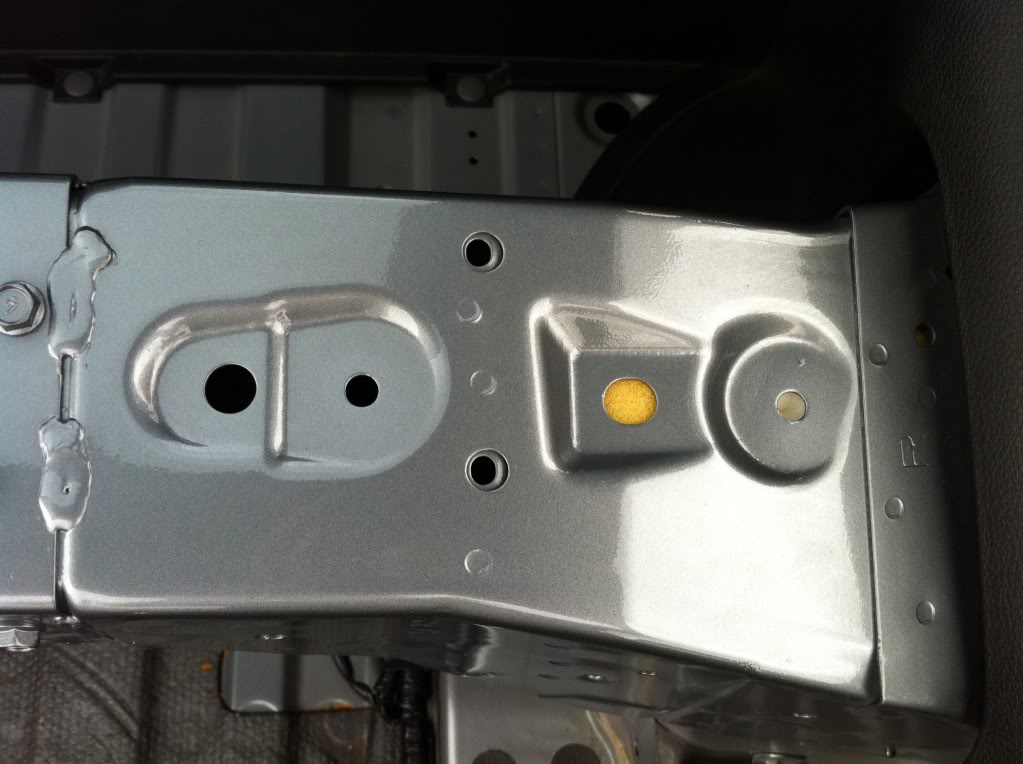
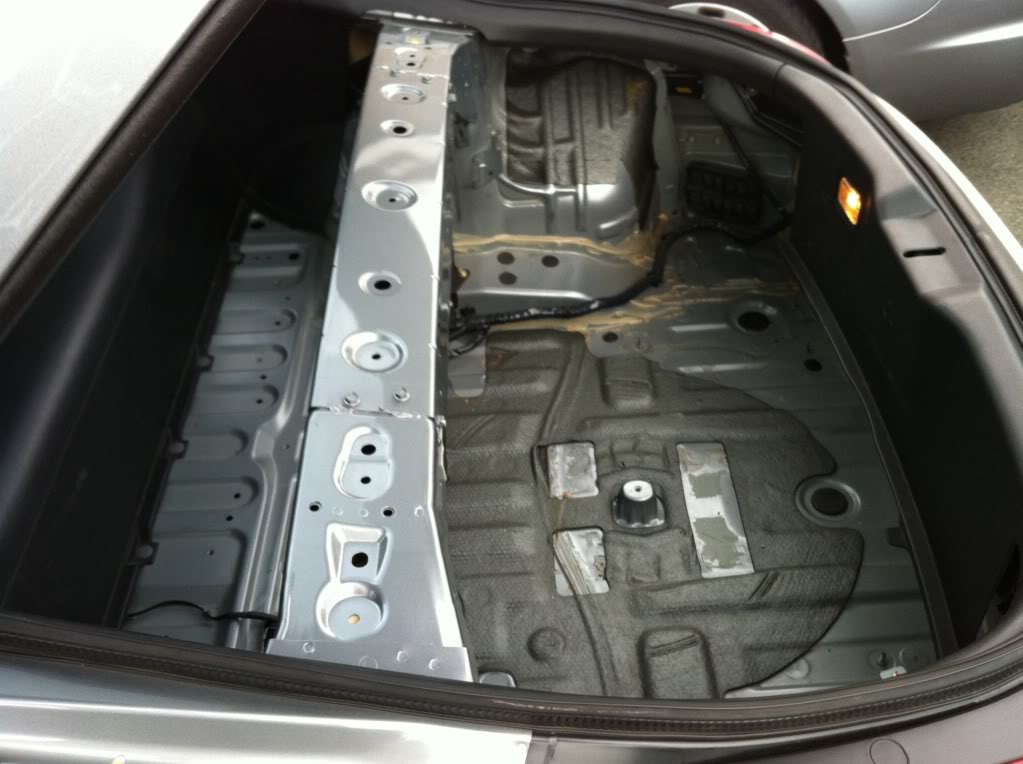
So the next step is to hole saw the turret tops and clean up the boot area, may be get some dry ice and remove the sound deadening. Im thinking about DIY painting the rear boot inside as nissan cheaped out and its just in primer lol...
Oh yeah I forgot to mention, the weight reduction from removing the rear plastics was about 11kg. This does NOT include the spare wheel and jack etc. Im guessing the jack and wheel would be around 20kg's?? So the lot removed saves around 30kgs. Not bad! :-)
Im yet to take the beast out for a spin and see what the in car nosie is like now! ha. Im guessing loud! :blush:
As the cars a total toy day to day noises reduction is not a problem so I've removed 80% of the rear plastic trim.
The starting point! Im sure we all know what the zed boot looks like! lol..
Cargo net and floor mat removed. This is a little bit of dynamat I fitted when the car was driven daily. Dynamat Is really heavy! This little bit of matting weighs 3KG!!!
False floor and dynamat removed.
Dirty boot! lol..
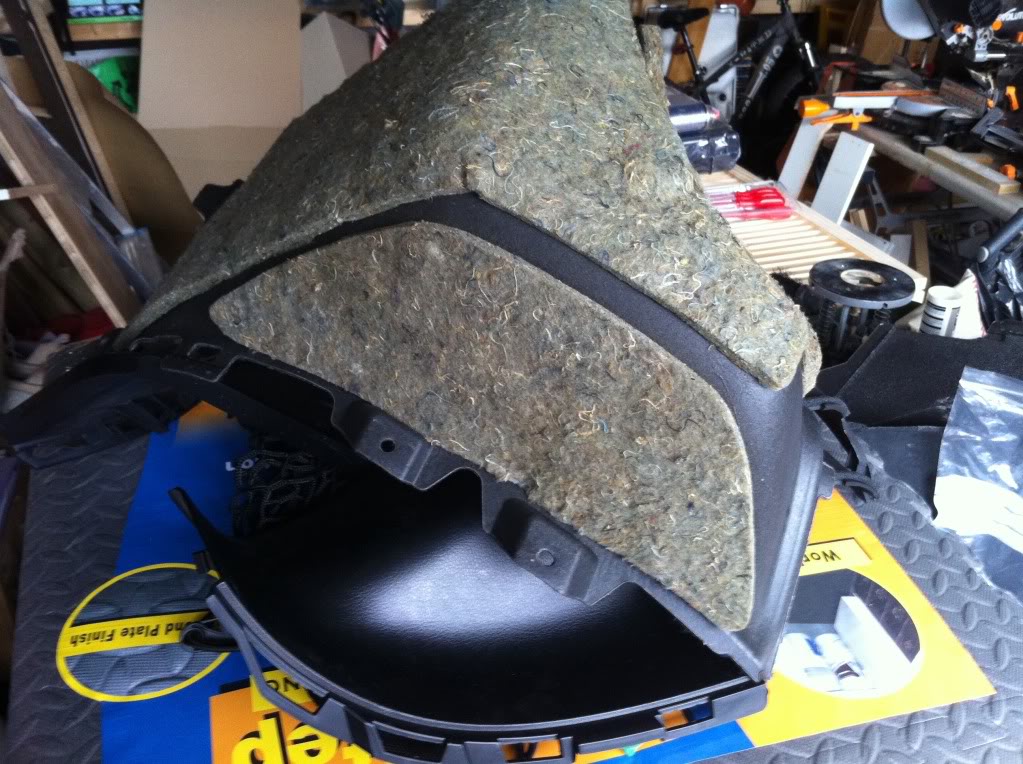
Foam that holds the tools in place and supports the false floor.
Strut bar plastics being removed.
Most of the plastics popped off quickly but any that put up a fight I used the green plastic tire leaver! lol..
Some extra weight that was now not needed! Steel brackets supported the cargo net fixing points.
Part of the Bose audio system. Amp may be ? This might get relocated in the the corner of the boot on a new bracket I think.
Plastics, trim panels and fixings removed! Lots and lots! ha.
Sticky heavy rubber pads removed from the boot floor. Must be to stop any vibration from the spare wheel.
Rear suspension turett top is hiden under this part of the rear brace, Im looking to use a hole saw drill bit and remove about an inch wide section to allow access to the KW rebound adjuster! This makes setting the suspension settings a hell of a lot quicker as at the moment you need to drop the hole damper unit out to adjust it!! :bangin:
So the next step is to hole saw the turret tops and clean up the boot area, may be get some dry ice and remove the sound deadening. Im thinking about DIY painting the rear boot inside as nissan cheaped out and its just in primer lol...
Oh yeah I forgot to mention, the weight reduction from removing the rear plastics was about 11kg. This does NOT include the spare wheel and jack etc. Im guessing the jack and wheel would be around 20kg's?? So the lot removed saves around 30kgs. Not bad! :-)
Im yet to take the beast out for a spin and see what the in car nosie is like now! ha. Im guessing loud! :blush:


 lol
lol 
Trending Topics

Thread Starter
Registered User
Joined: Feb 2007
Posts: 908
Likes: 5
From: UK
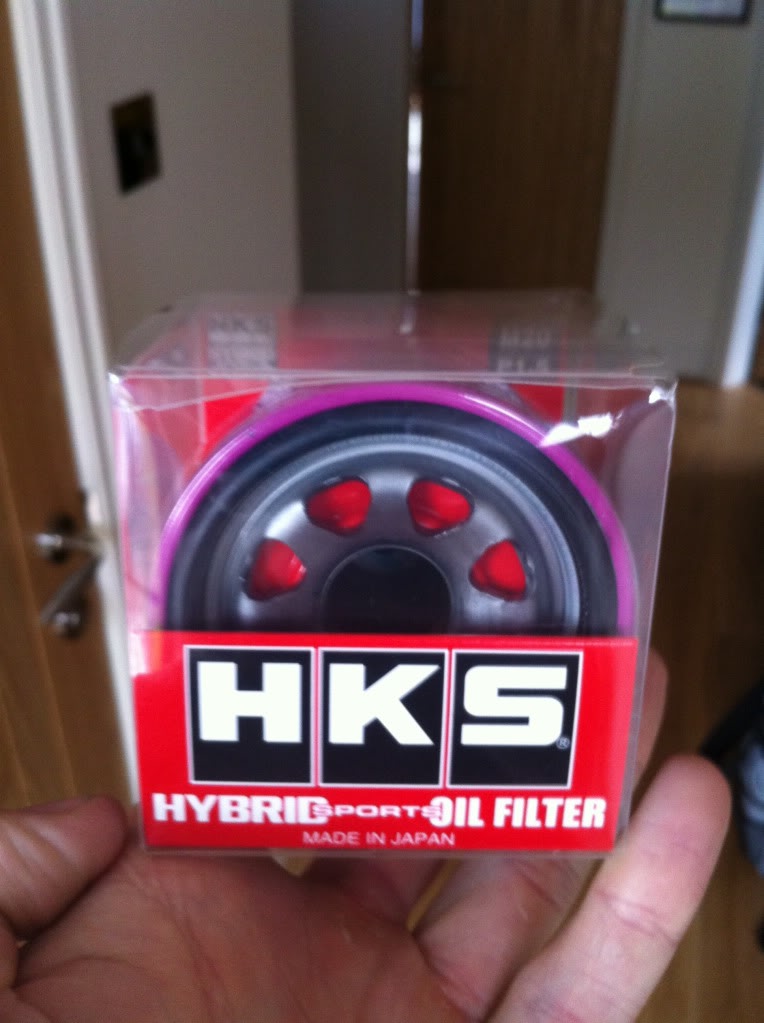
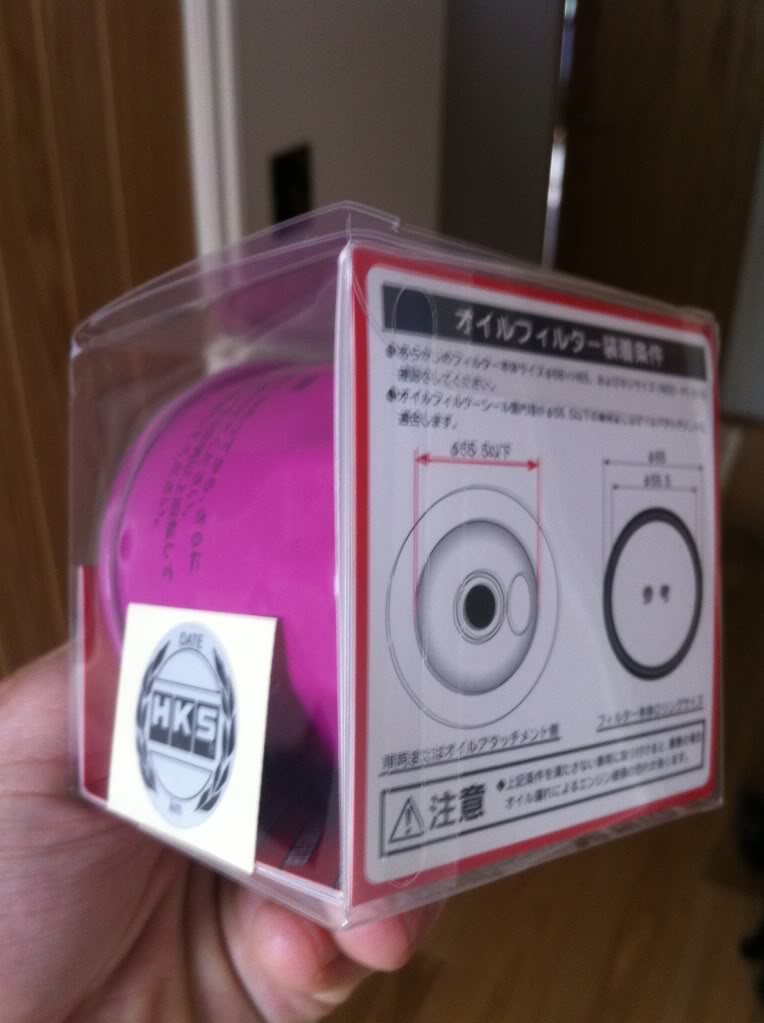
Had a little package through the post today.
A cheeky little HKS oil filter ready for my next oil change. Great quality and should filter better and have less pressure drop than the OEM filter.
Also spent an hour or two prepping the boot area for painting.
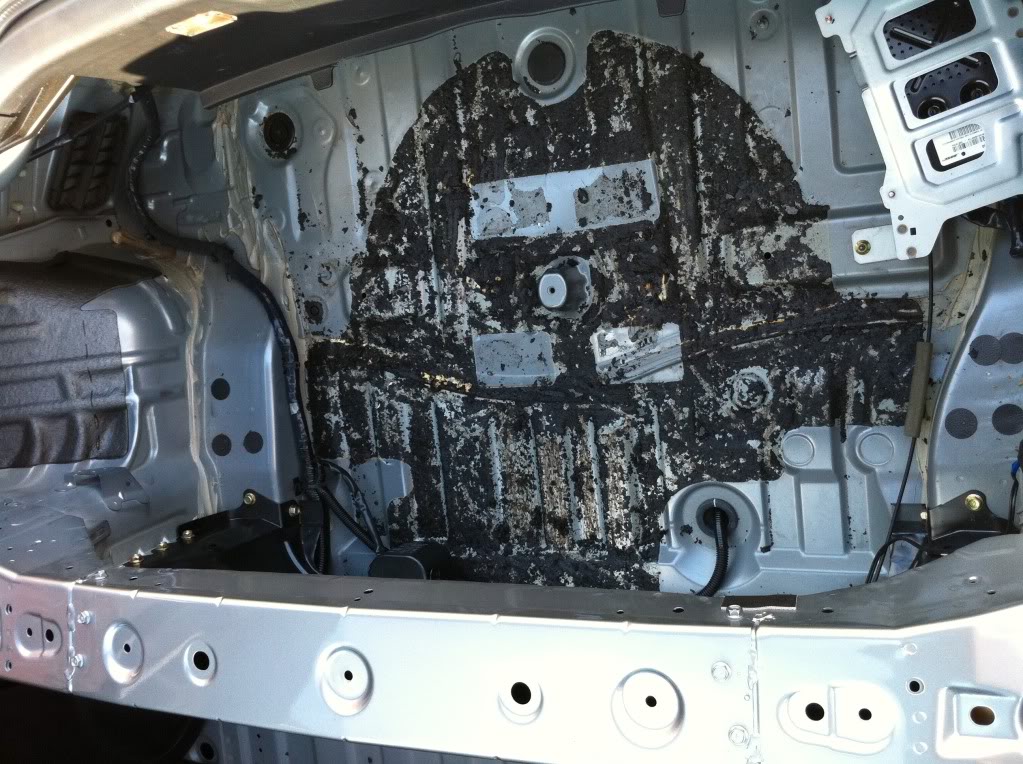
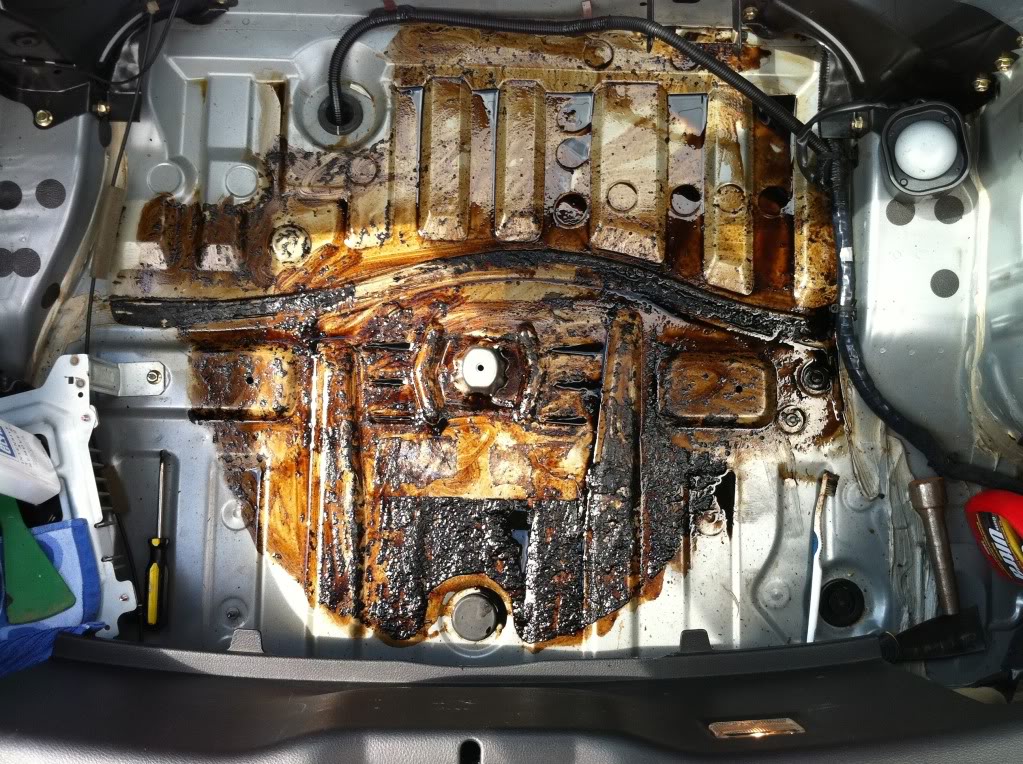
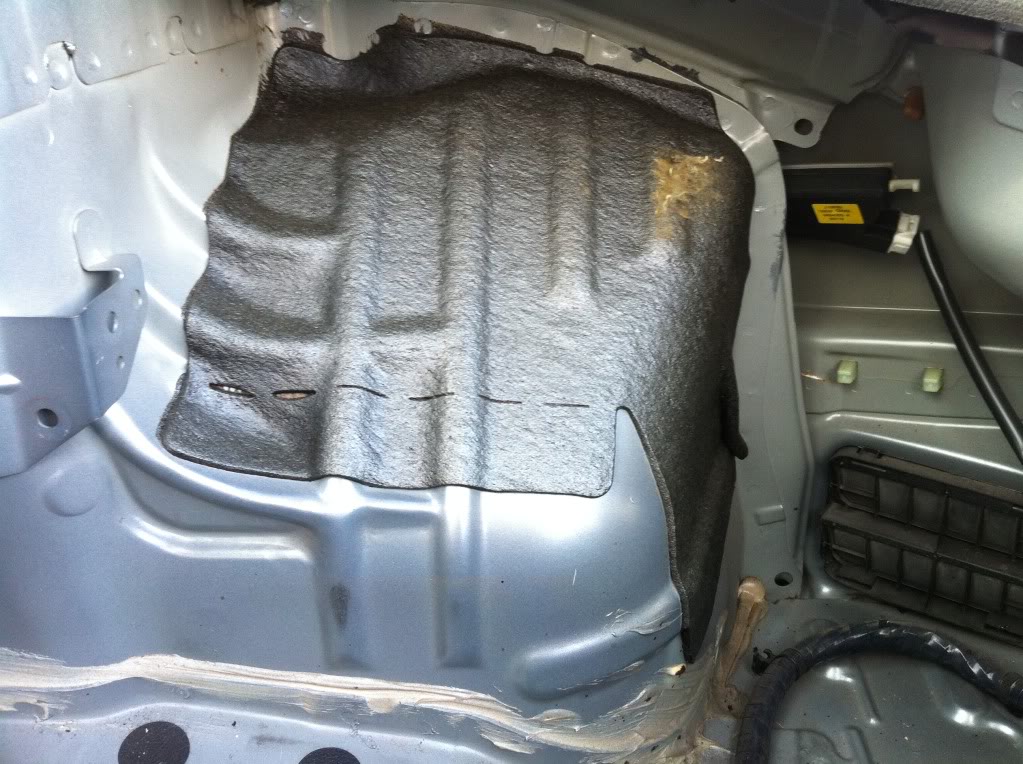
Boot area just stripped.
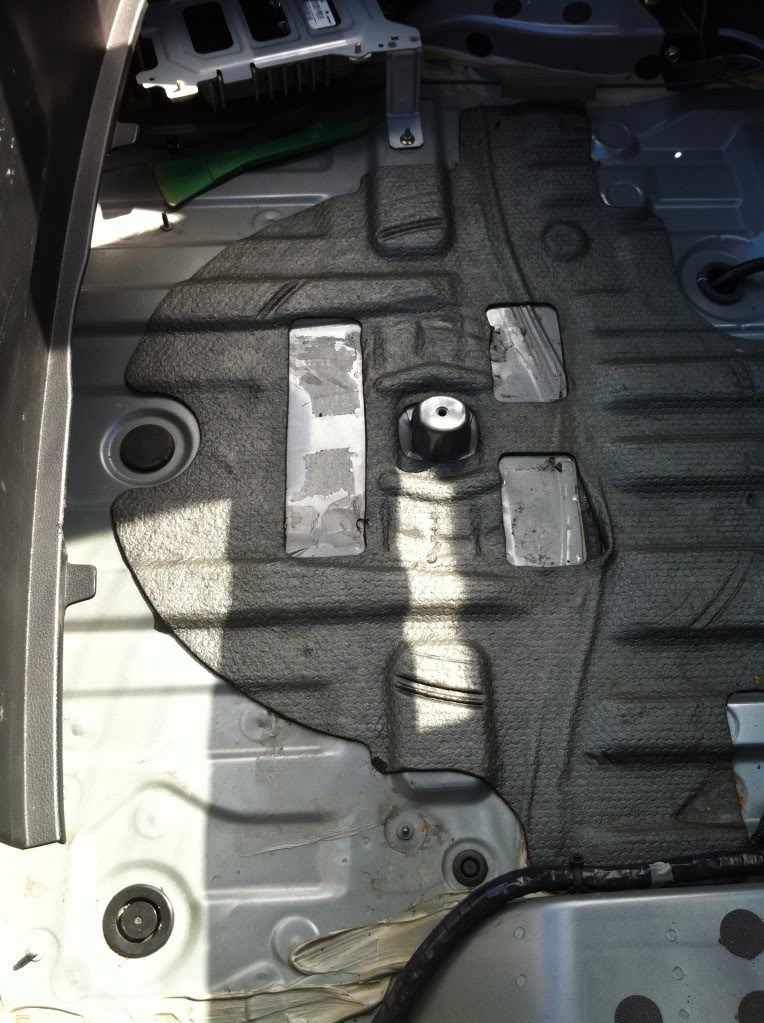
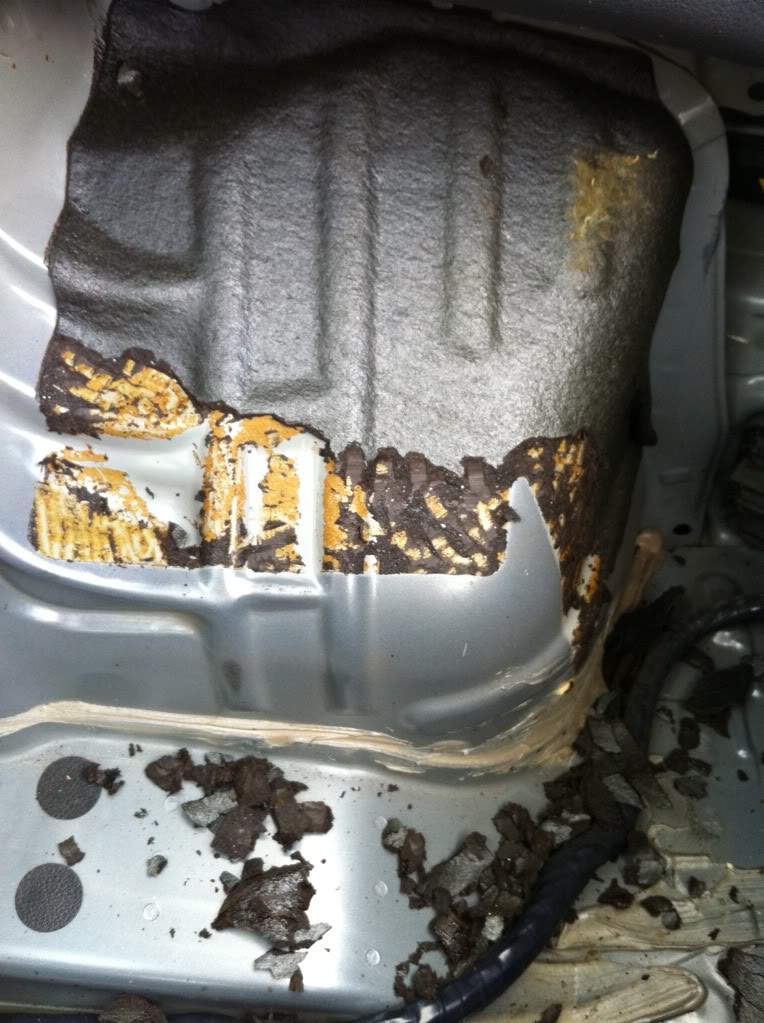
Horrible tar based sound deadening material.
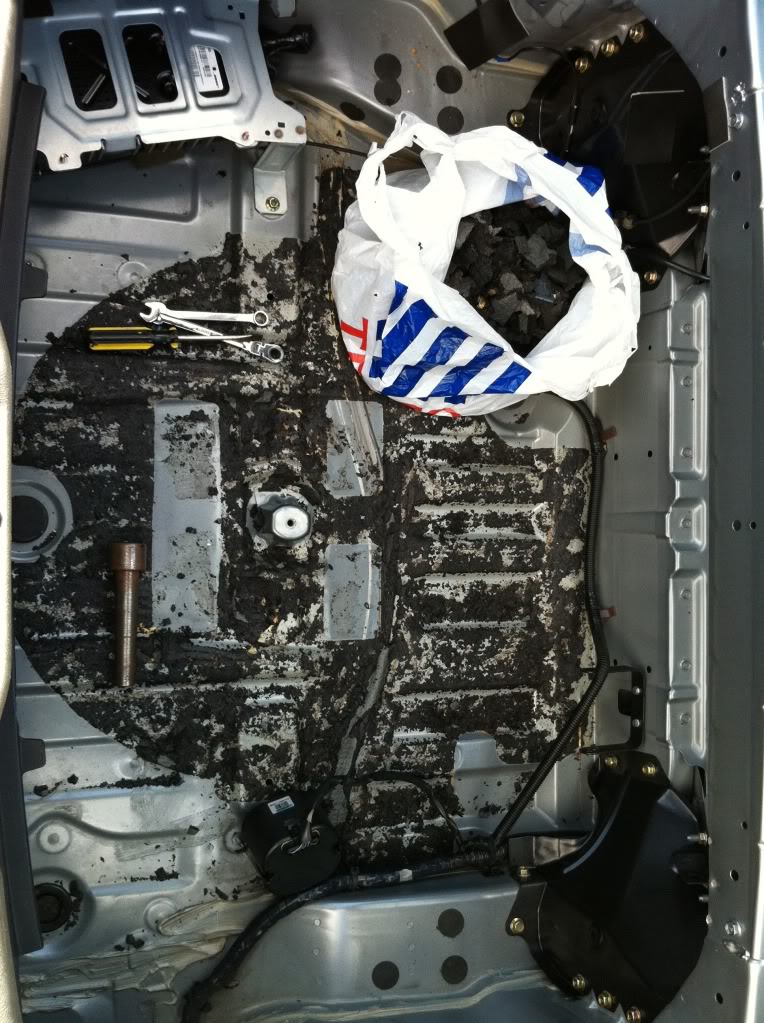
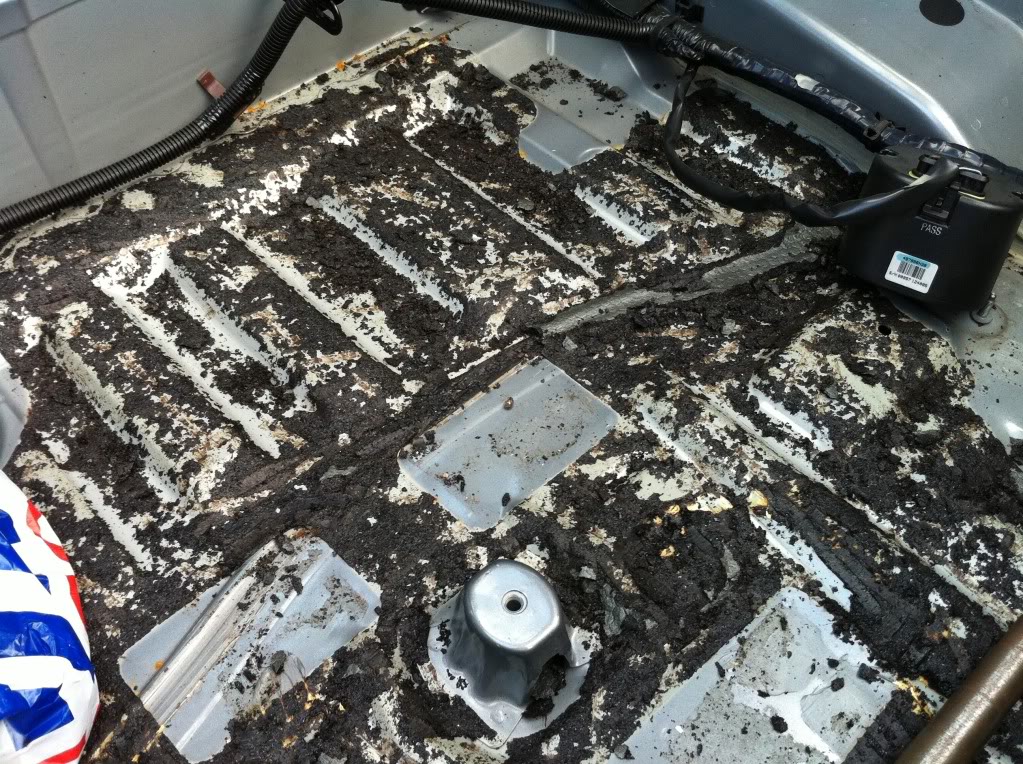
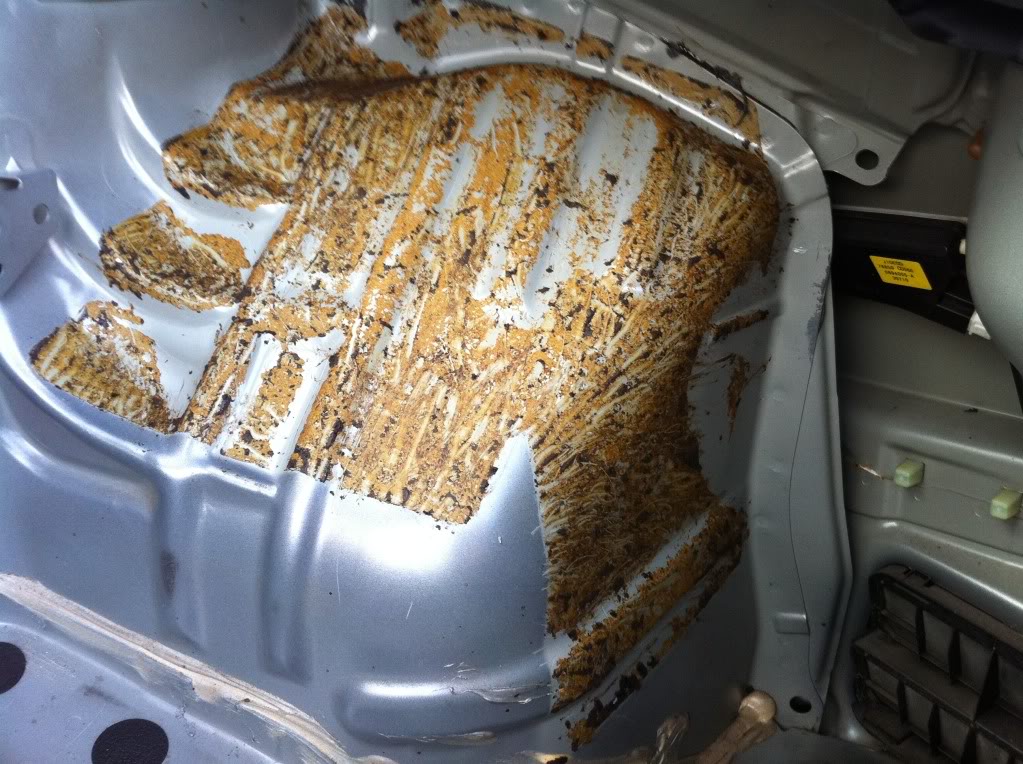
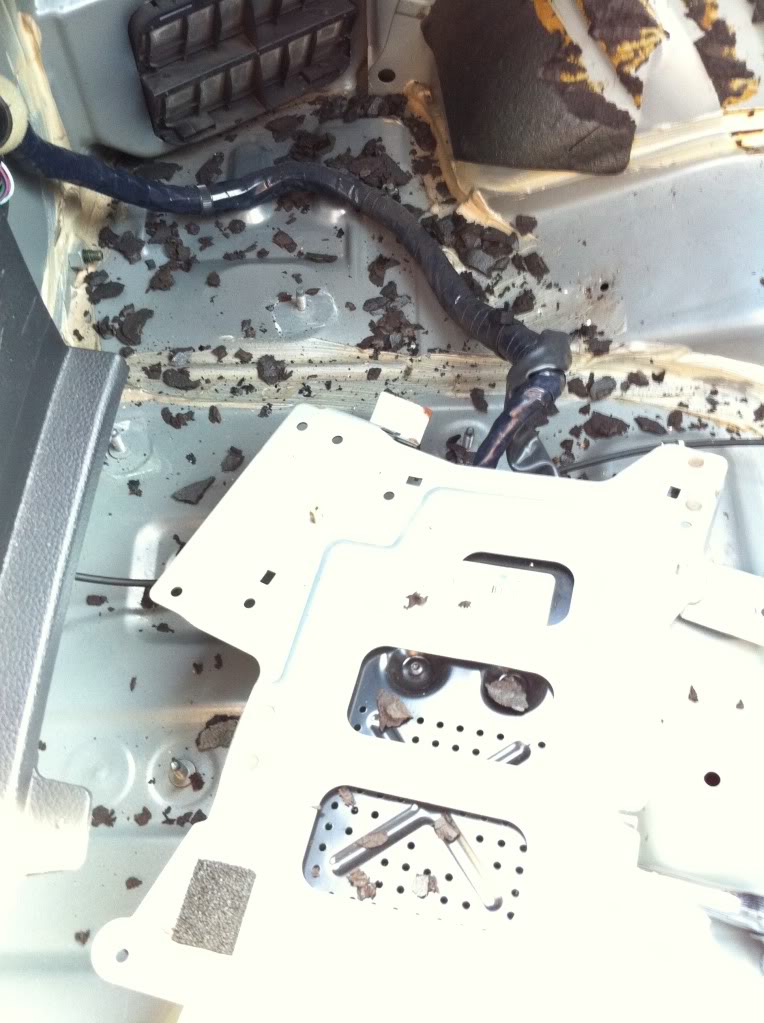
Fully removed the bottom section but KNOW WHERE NEAR CLEANED UP!!!
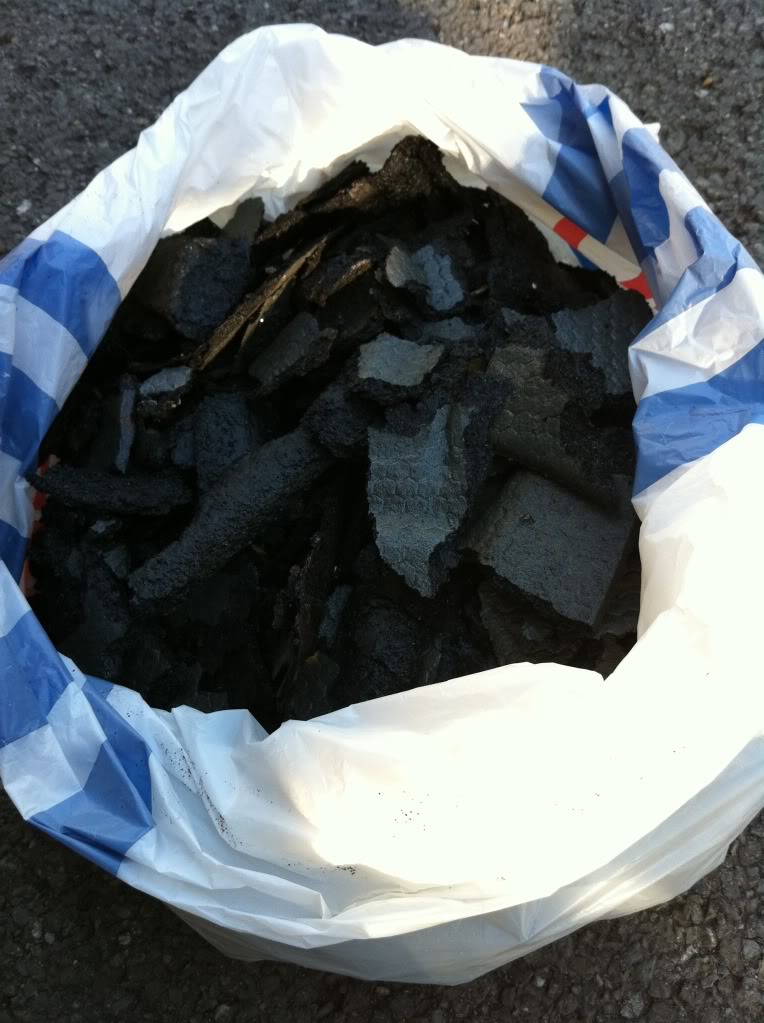
Half a shopping bag full from just the boot floor. Weight is around 3KG.
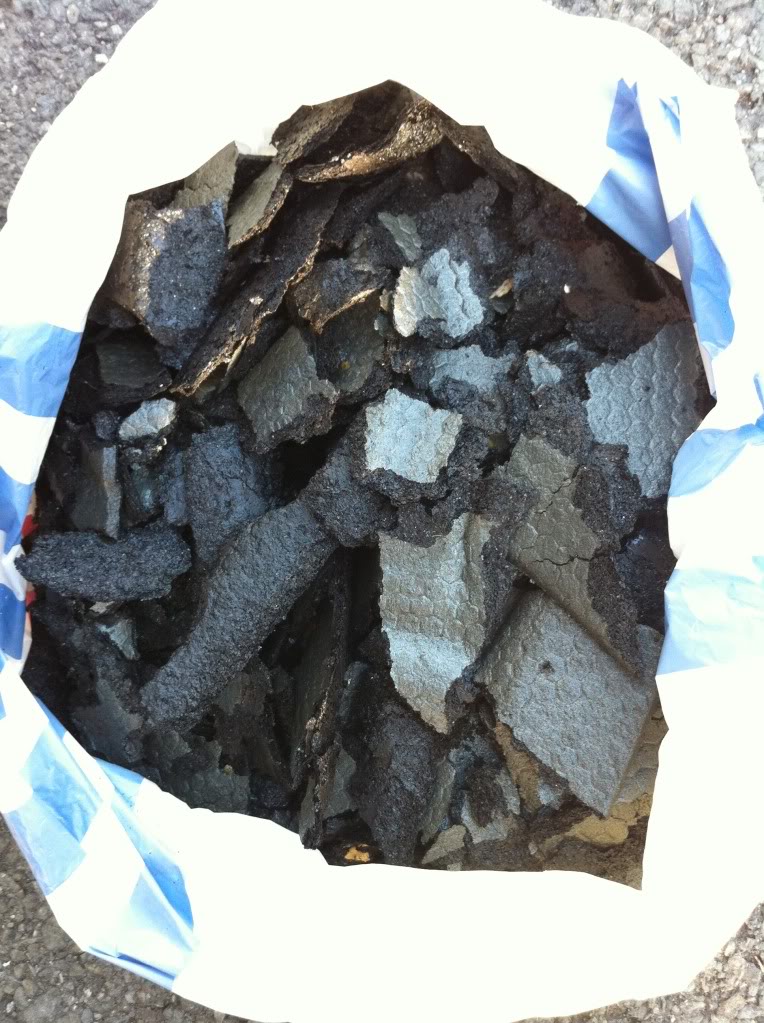
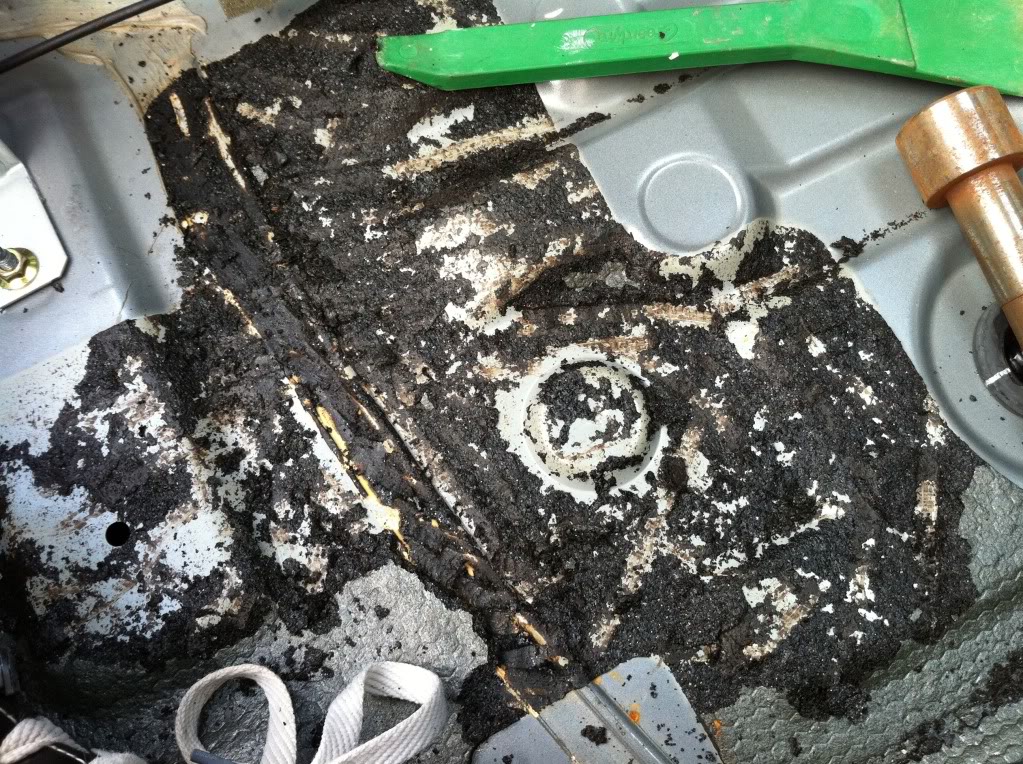
I have looked at may different way to remove tar sound deadening, Heat gun, air chisel, and the best method using dry ice. I looked into where to get some dry ice from but the cheapest I could find worked out at near �50 for 10kg posted to me. This is the best method but far to expensive for what little deadening I needed to remove. So I went with the hand chisel option! lol...When people say its hard work I now understand! lol..To do a whole car like this would take you the rest of you life! ha....
Im going to soak the rest of the tar in GUNK tar remover and clean up as best I can before priming and painting body colour.
That should be a fun job!
Thats it for today guys! :kicking:
A cheeky little HKS oil filter ready for my next oil change. Great quality and should filter better and have less pressure drop than the OEM filter.
Also spent an hour or two prepping the boot area for painting.
Boot area just stripped.
Horrible tar based sound deadening material.
Fully removed the bottom section but KNOW WHERE NEAR CLEANED UP!!!
Half a shopping bag full from just the boot floor. Weight is around 3KG.
I have looked at may different way to remove tar sound deadening, Heat gun, air chisel, and the best method using dry ice. I looked into where to get some dry ice from but the cheapest I could find worked out at near �50 for 10kg posted to me. This is the best method but far to expensive for what little deadening I needed to remove. So I went with the hand chisel option! lol...When people say its hard work I now understand! lol..To do a whole car like this would take you the rest of you life! ha....
Im going to soak the rest of the tar in GUNK tar remover and clean up as best I can before priming and painting body colour.
That should be a fun job!
Thats it for today guys! :kicking:
Thread Starter
Registered User
Joined: Feb 2007
Posts: 908
Likes: 5
From: UK
Another back breaker of a job done! lol...Im such a sucker for punishment!
I continued with the job of removing the deadening today.
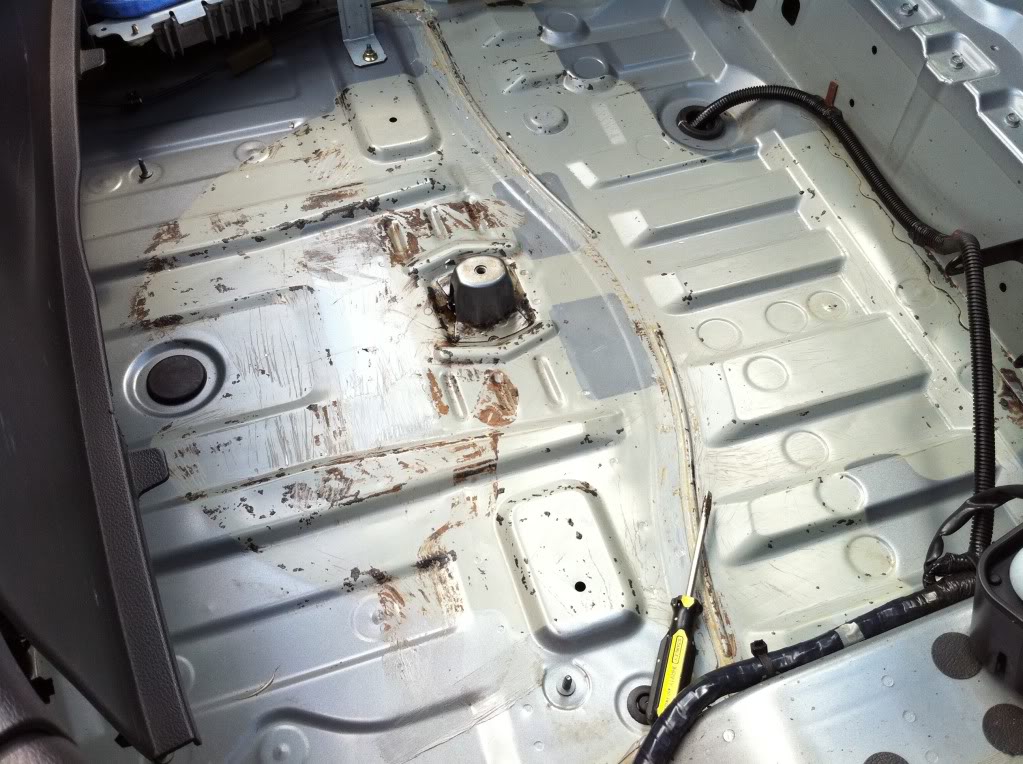
This shows the best I could get it with a chisel....Not very clean! lol.. :P
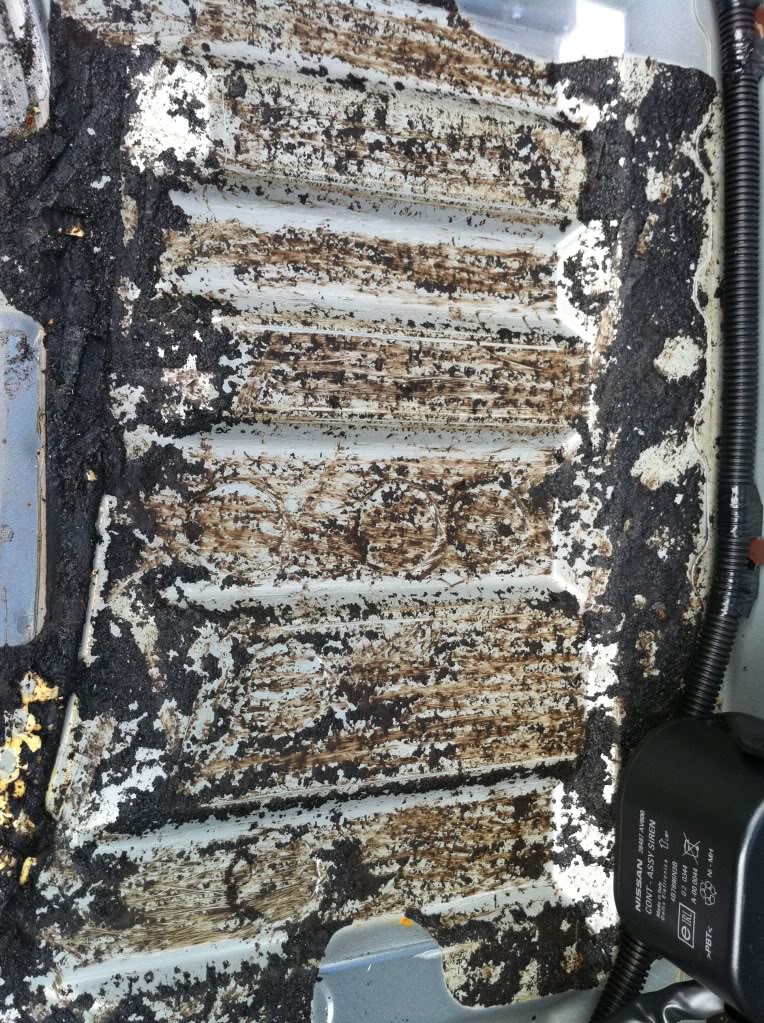
GUNK degreaser didn't touch this stuff so I just used that for cleaning up. This is the megs high strength tar remover soaking.
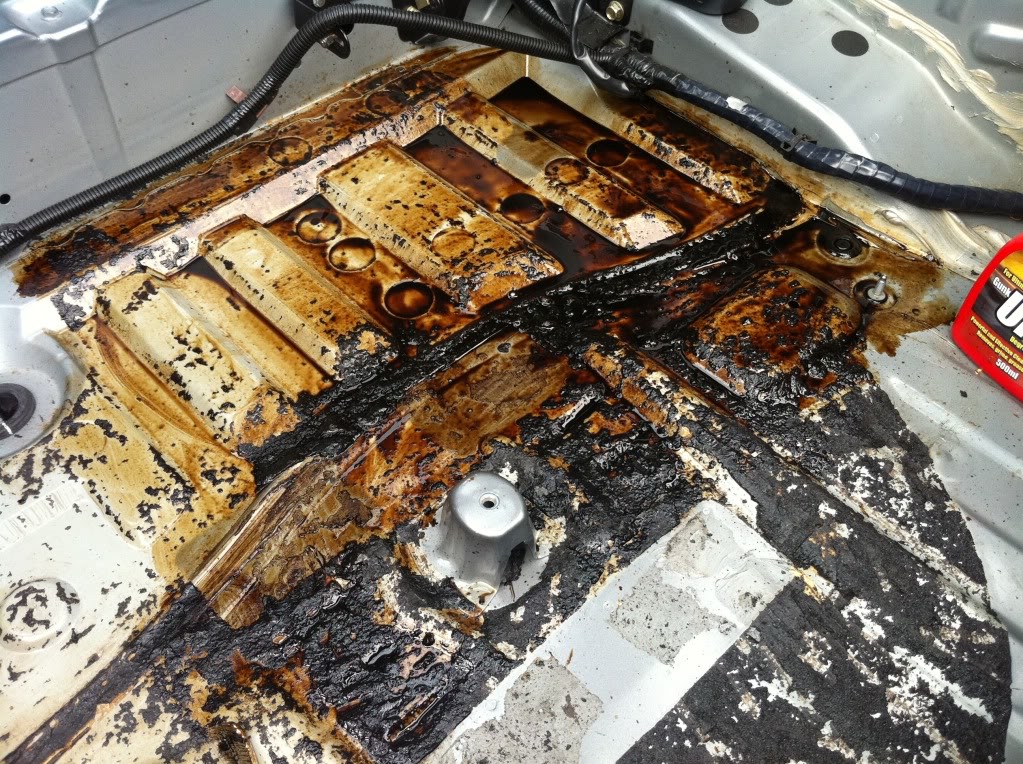
After cleaning up the tar remover and scrubbing like hell with a tooth brush this is how it looked!
More tar remover soaking! I think i did this step about 4-5 times!!
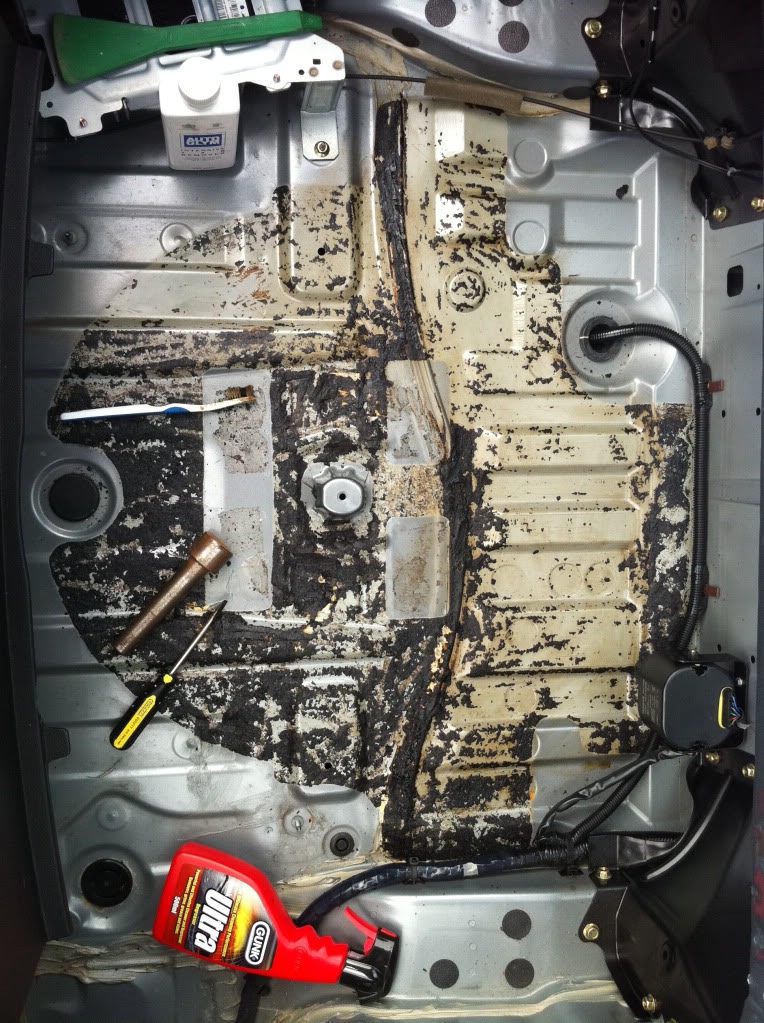
Nearly there!
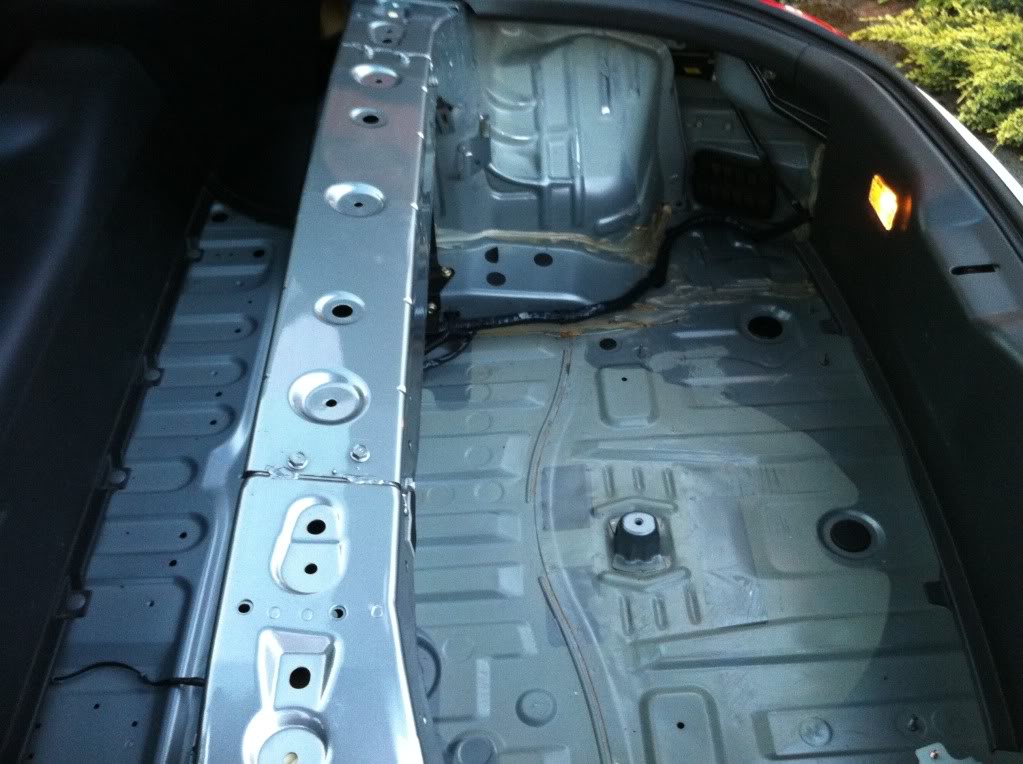
Boot floor done! :#1:
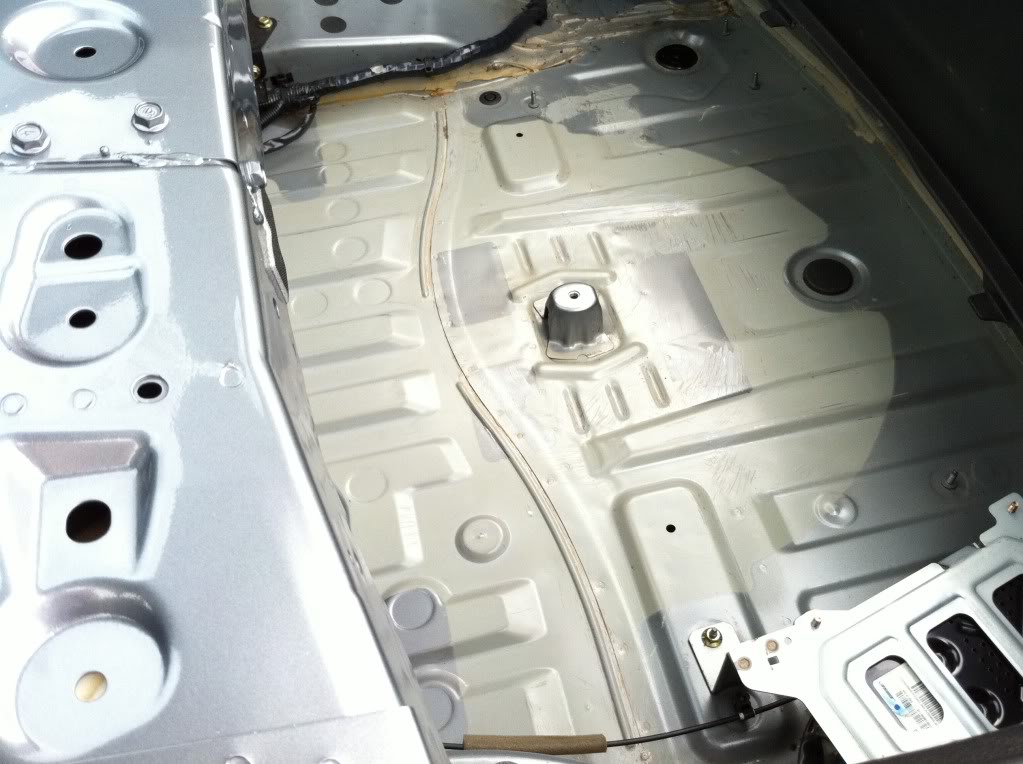
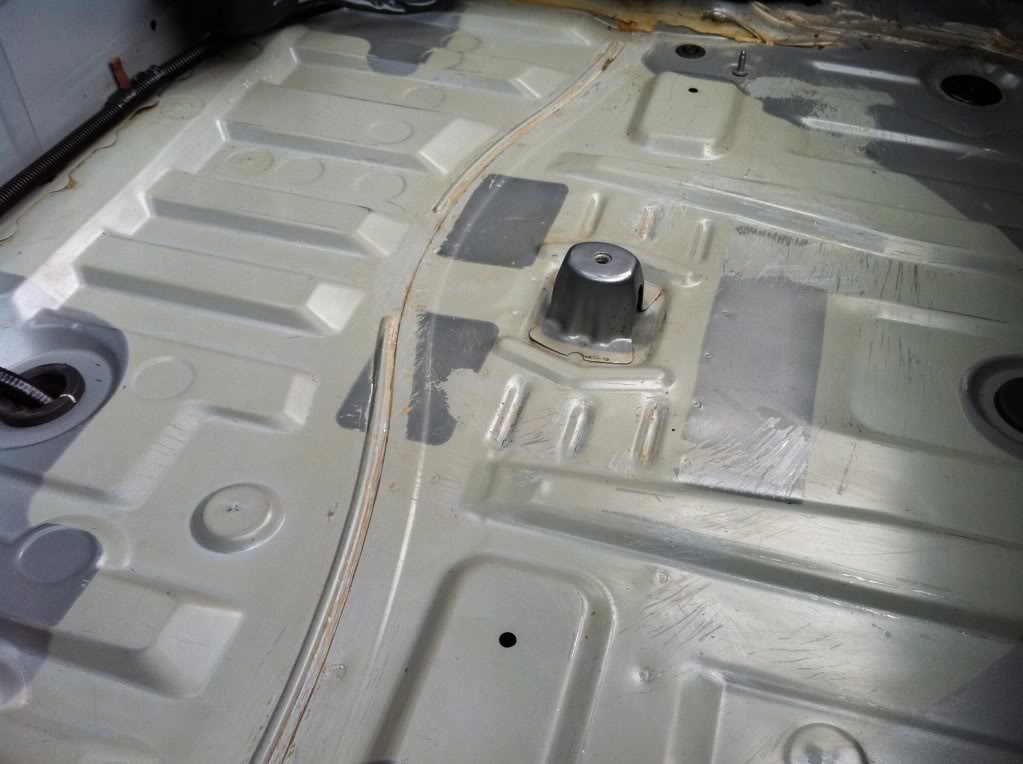
Was a hard job just because its a pain in the a** to bend over and work in the boot for so long! I would say its taken me a good 4 hours to do this!!
Next job is the inner wheel arches!!!! lol...
I continued with the job of removing the deadening today.
This shows the best I could get it with a chisel....Not very clean! lol.. :P
GUNK degreaser didn't touch this stuff so I just used that for cleaning up. This is the megs high strength tar remover soaking.
After cleaning up the tar remover and scrubbing like hell with a tooth brush this is how it looked!
More tar remover soaking! I think i did this step about 4-5 times!!
Nearly there!
Boot floor done! :#1:
Was a hard job just because its a pain in the a** to bend over and work in the boot for so long! I would say its taken me a good 4 hours to do this!!
Next job is the inner wheel arches!!!! lol...

Joined: Jan 2004
Posts: 7,175
Likes: 132
From: Florida
Great job OP. I have had mine stipped since I bought it. Just never took the extra step to actually strip the tar. I might just have to do this now.
Again Great Job.
Chris
Thread Starter
Registered User
Joined: Feb 2007
Posts: 908
Likes: 5
From: UK
Thanks guys! I'm looking at doing the wheel arch tar soon then I'm going to strip all the wiring etc and re-paint and clear the entire boot under the strut area in body colour.
Should look a lot better than it does now! I'm going to get the body strengthening plates powder coated the same colour as the roll bar I'm putting in! I'm not sure what colour to go yet though? Any ideas?? Ha. This weight removed from the tar plus the trim should cancel out the weight of the APR wing I have my eye on too ;-)
Should look a lot better than it does now! I'm going to get the body strengthening plates powder coated the same colour as the roll bar I'm putting in! I'm not sure what colour to go yet though? Any ideas?? Ha. This weight removed from the tar plus the trim should cancel out the weight of the APR wing I have my eye on too ;-)


Thread Starter
Registered User
Joined: Feb 2007
Posts: 908
Likes: 5
From: UK
LOL...NO.. this car is just a toy and only gets driven for fun/track/drag strip etc.. I would not do this to a daily car! My daily is quite as hell...
Im liking the extra noise as you can hear the turbo's spool really really loudly now!
Made a little more progress with the tar deadening this afternoon.
Driver side wheel arch.
After 10 mins of slaving away with a screw driver! lol...
Tar fully removed after 35 mins.. Ready for tar remover solvent tomorrow!

Thread Starter
Registered User
Joined: Feb 2007
Posts: 908
Likes: 5
From: UK
Finally the end to the epic tar removal job! lol..
pax side wheel arch.

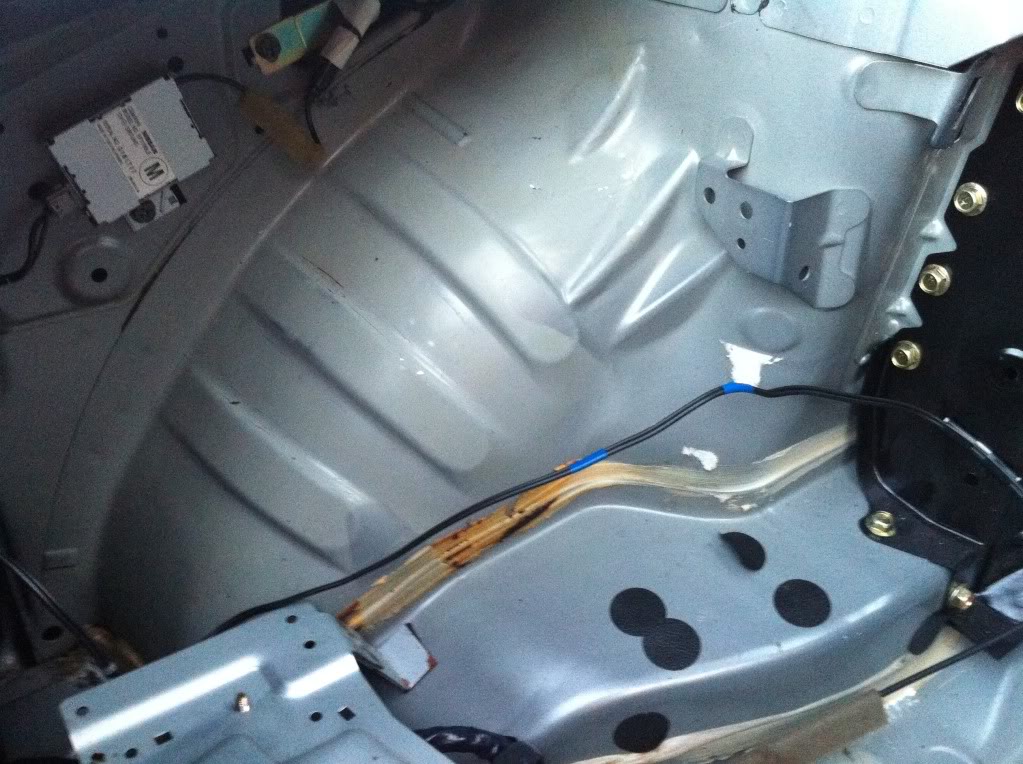
Bose amp moved to allow more room.
Driver side fully cleaned up! I rubber t that hard, Ive rubbed through the paint in some spot!
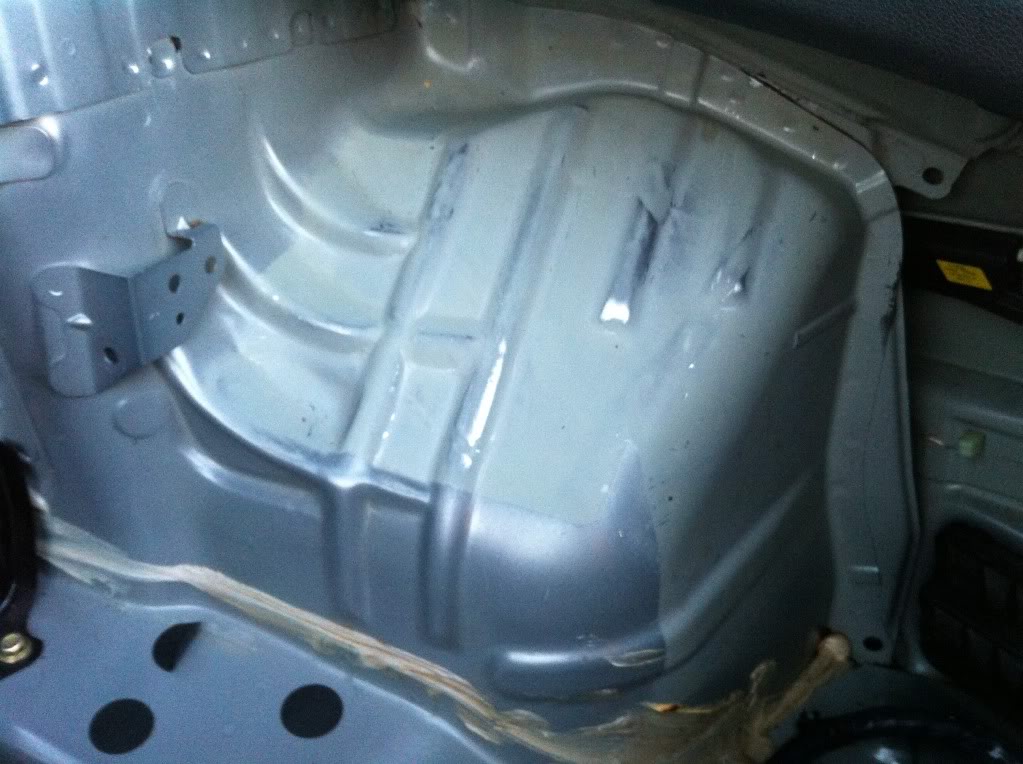
Pax side arch done! This was the hardest part just because of the more complex shape and bad access.
FULLY DONE!!!!
Next job is paint!! woohoo...
Oh and a bonus pic of a burger I had for dinner! hahaha... Was a good burger! lol..

pax side wheel arch.
Bose amp moved to allow more room.
Driver side fully cleaned up! I rubber t that hard, Ive rubbed through the paint in some spot!
Pax side arch done! This was the hardest part just because of the more complex shape and bad access.
FULLY DONE!!!!
Next job is paint!! woohoo...
Oh and a bonus pic of a burger I had for dinner! hahaha... Was a good burger! lol..


