
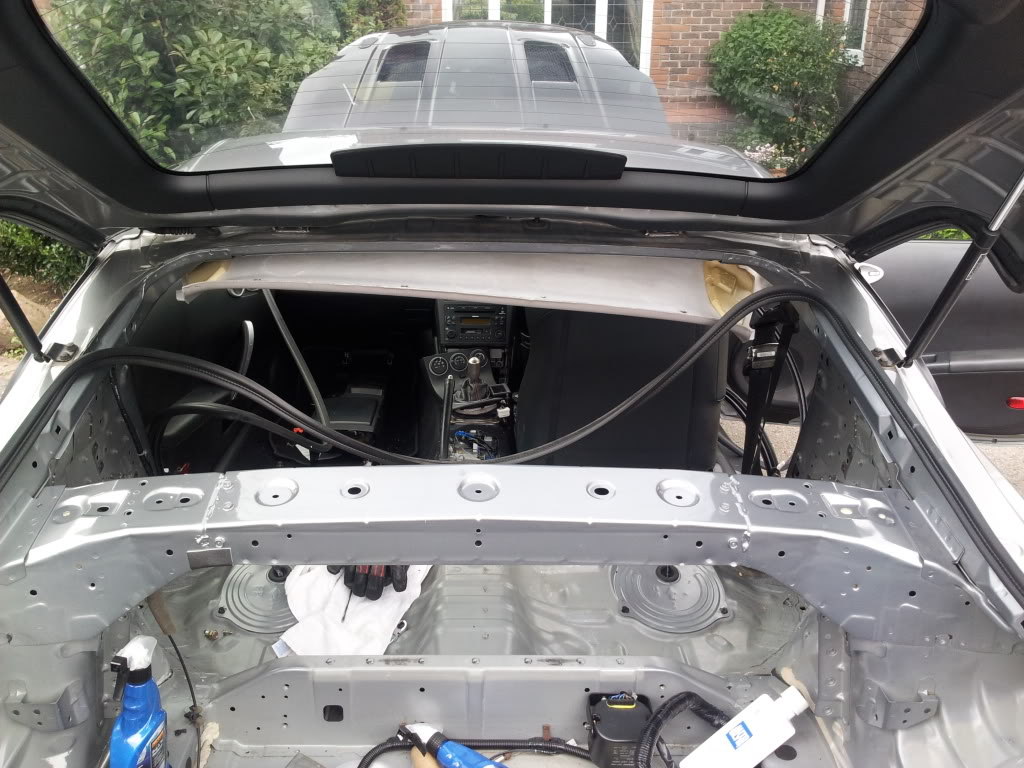
Stripped the rear boot/trunk area out!


Thread Starter
Registered User
Joined: Feb 2007
Posts: 908
Likes: 5
From: UK
Little more work again. This is never ending! lol.
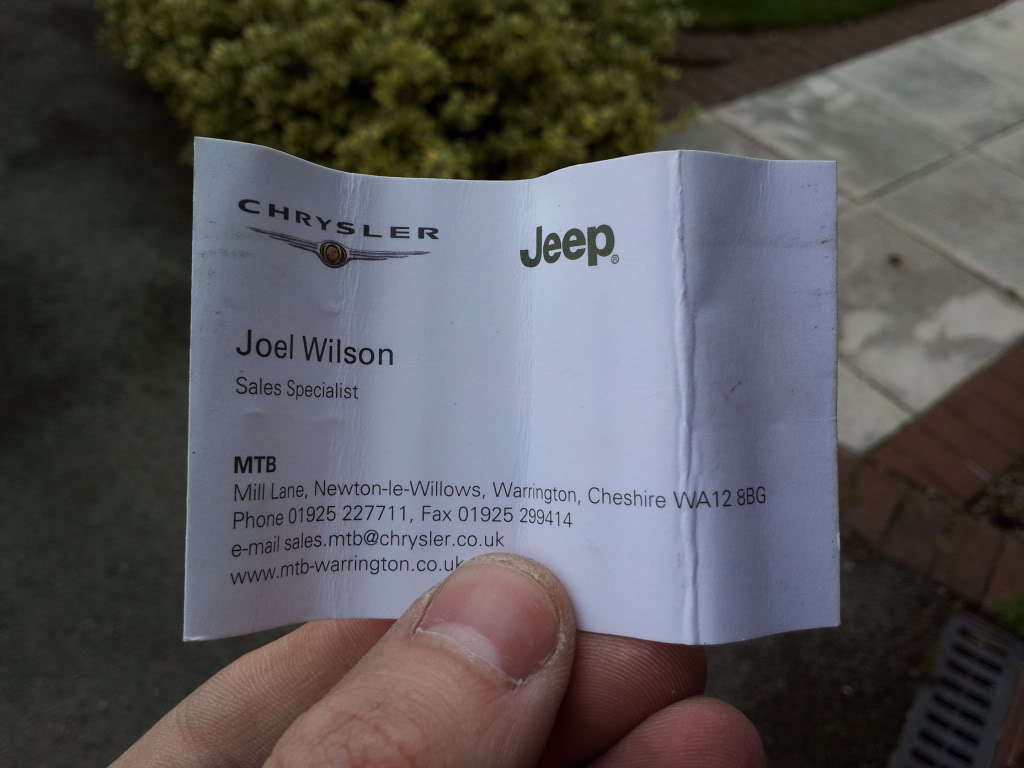
Well as Rick B was the first owner of the car, He said "Im surprised you've not found all the business cards I stuck in the trim to stop the rattles yet!" Well Rick I've found my first one! :P
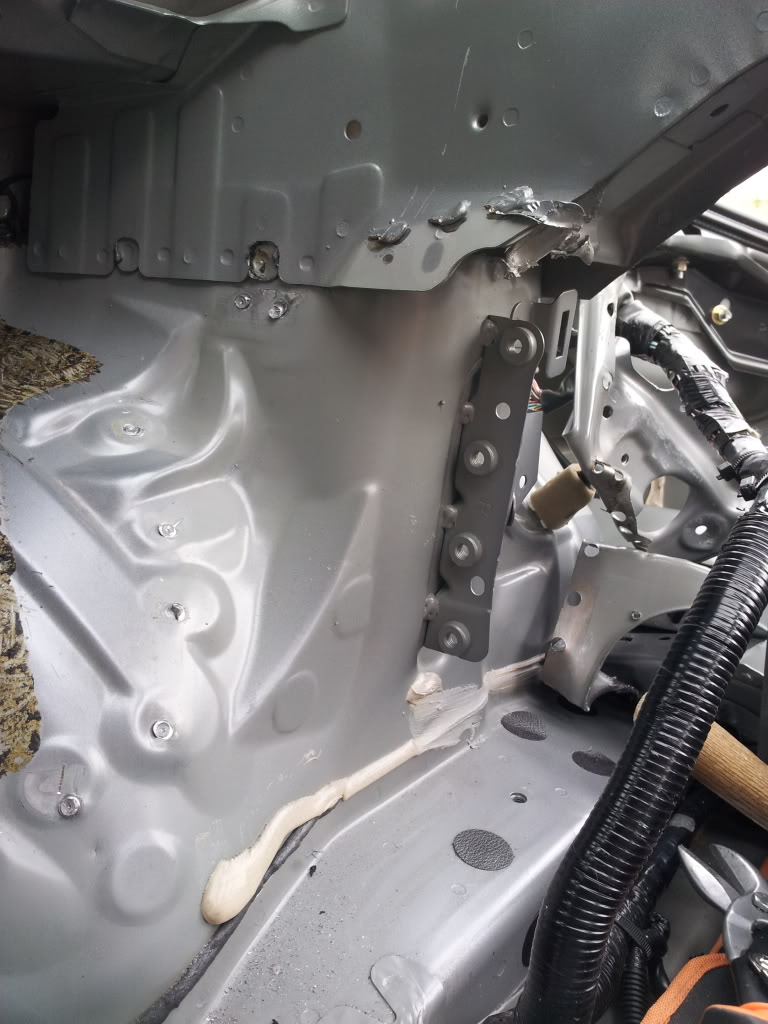
This afternoons efforts went in to the strut brace plates. Not bad getting these out.
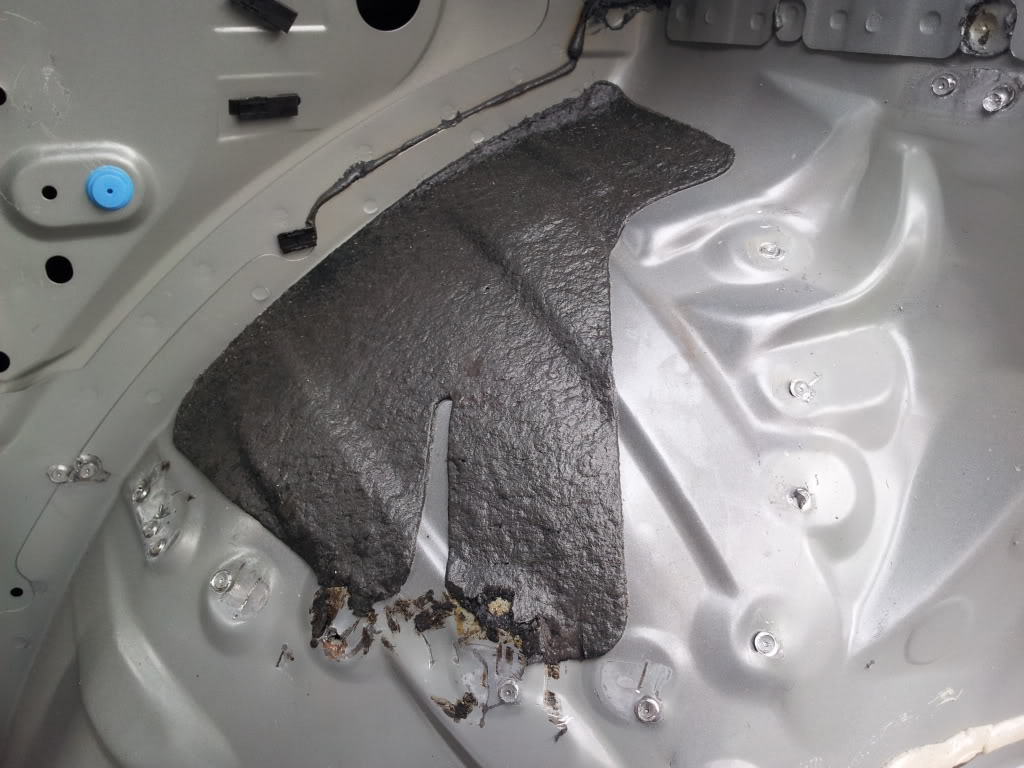
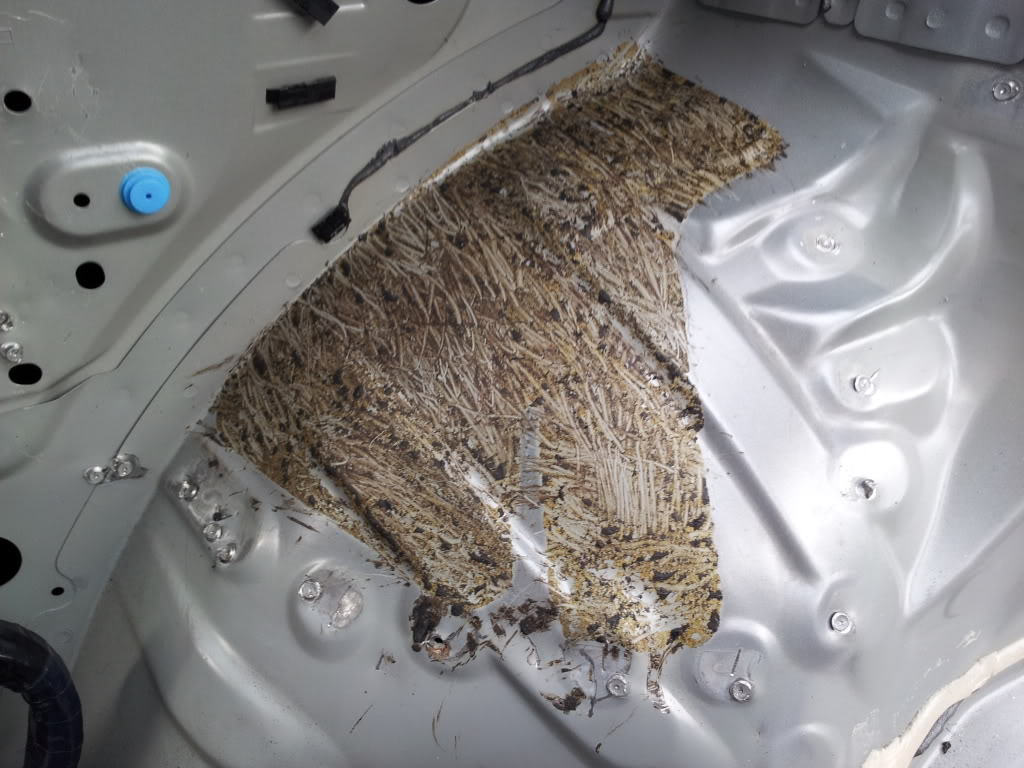
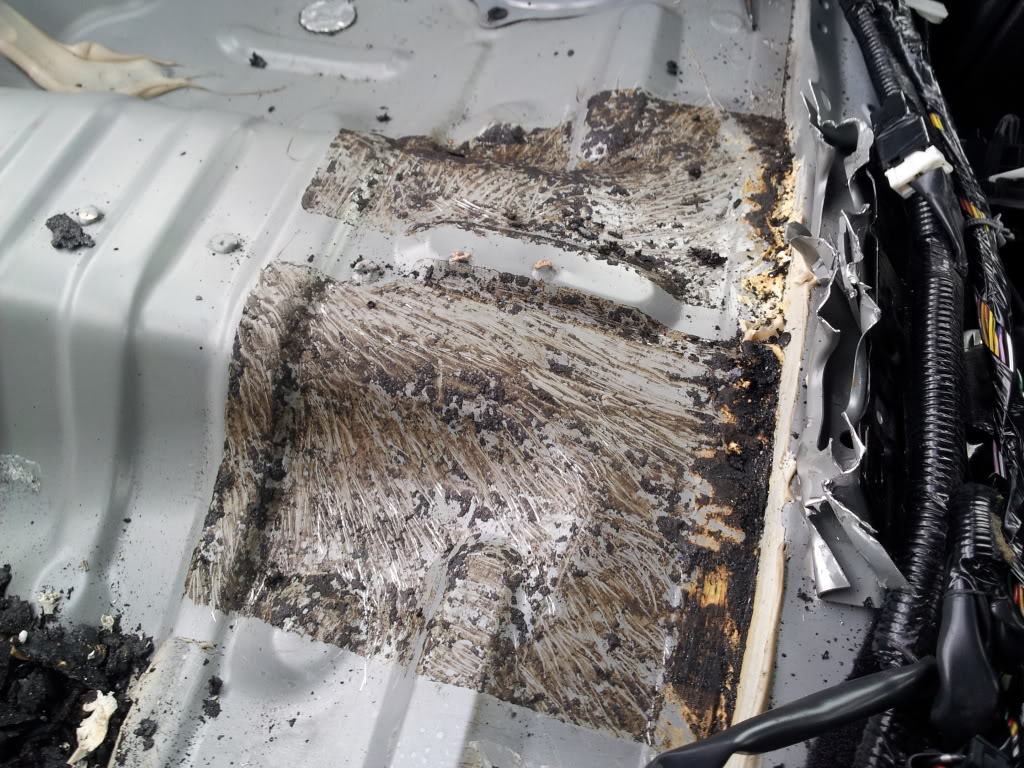
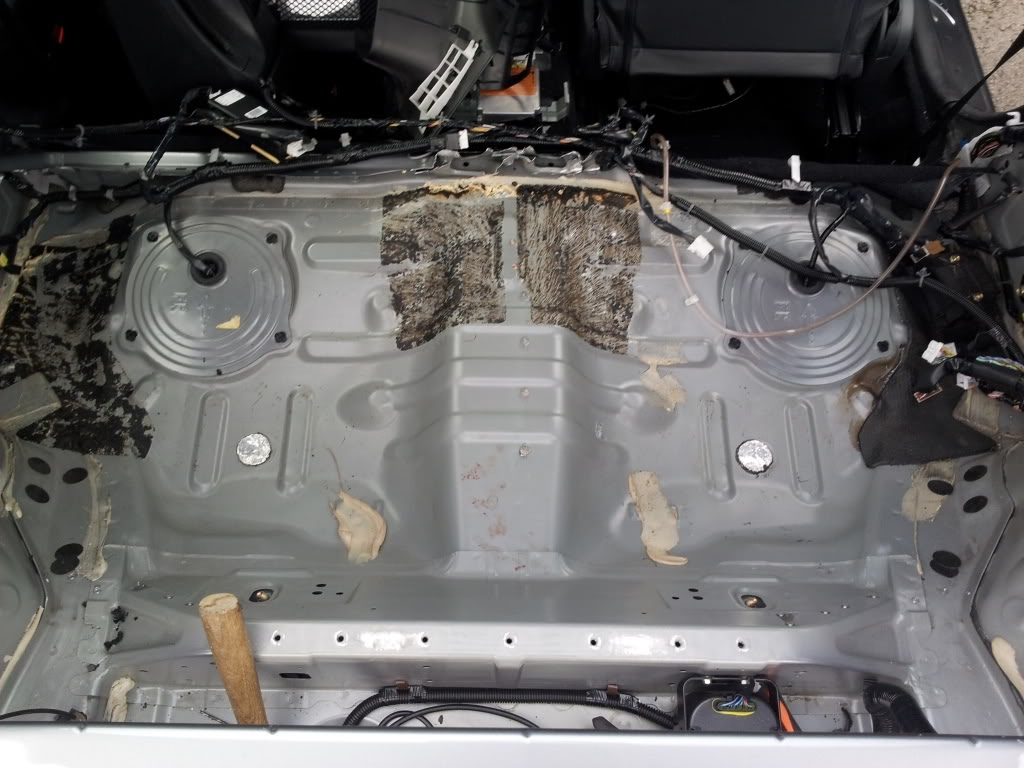
Im waiting for some new cutter bits to come in the post so I've moved onto removing more tar deadening. This brings back memories! lol.. :blush2:
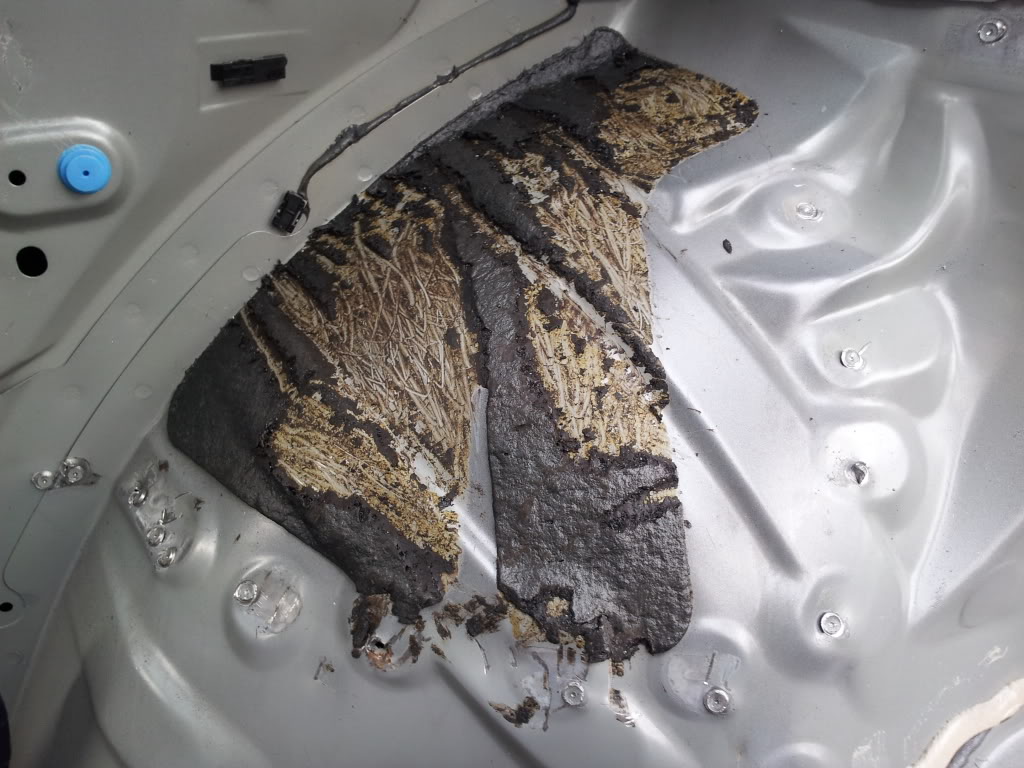
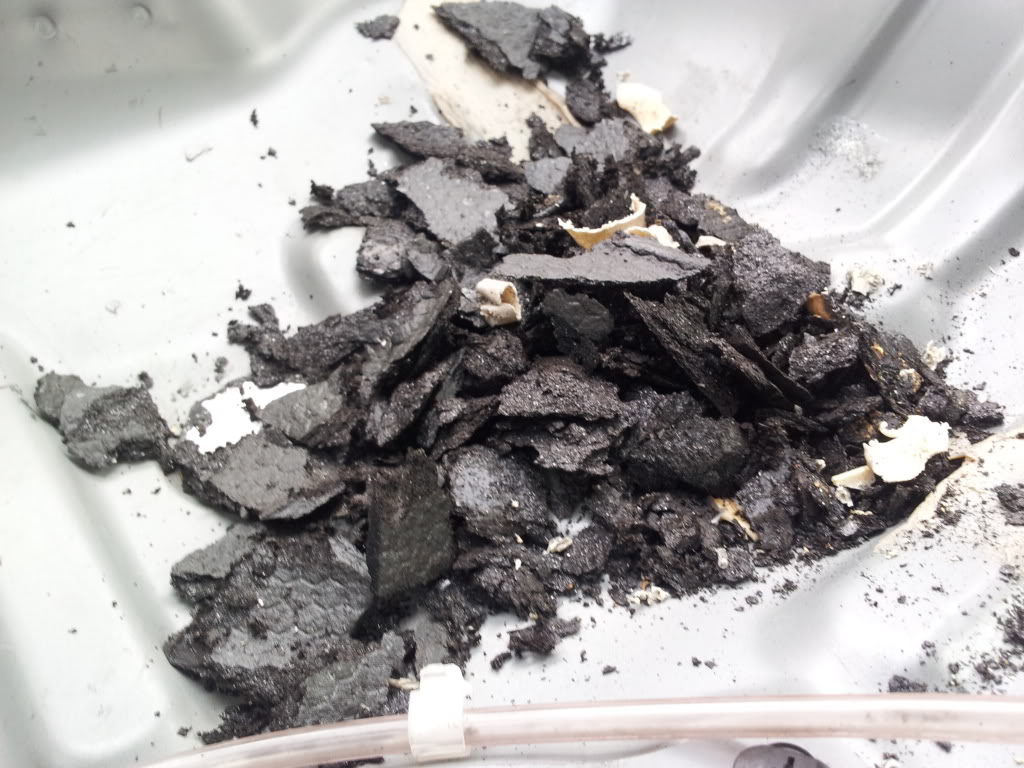
As best I can using hand tools. I need to buy some solvent to get the rest off.
Random pic!
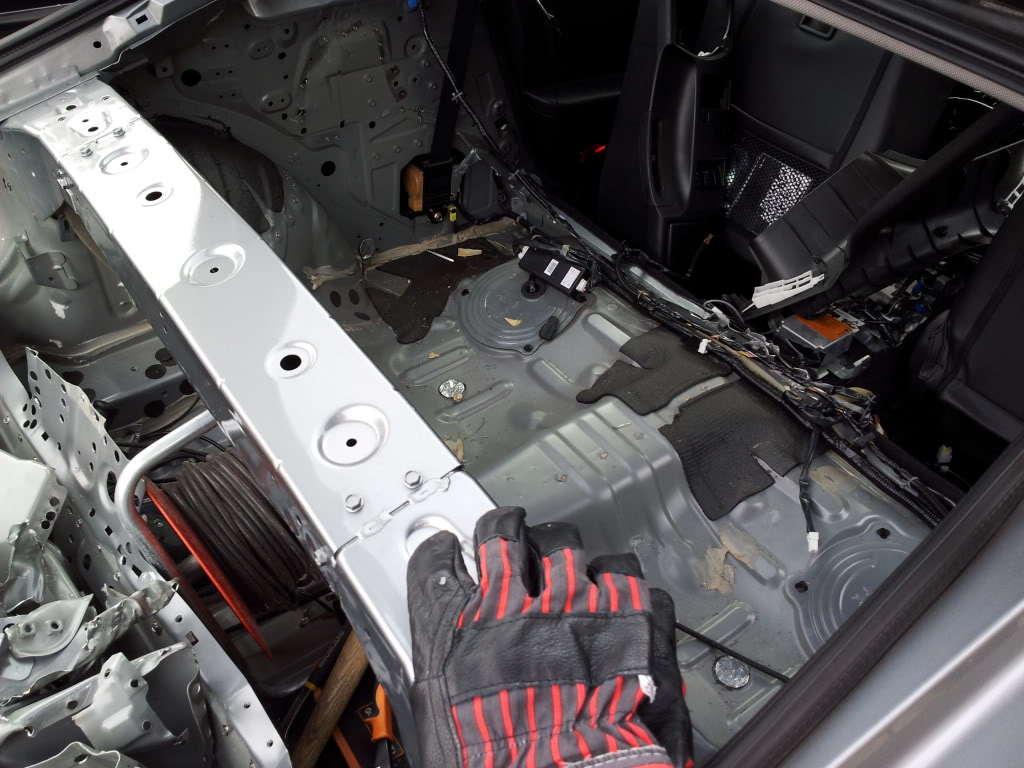
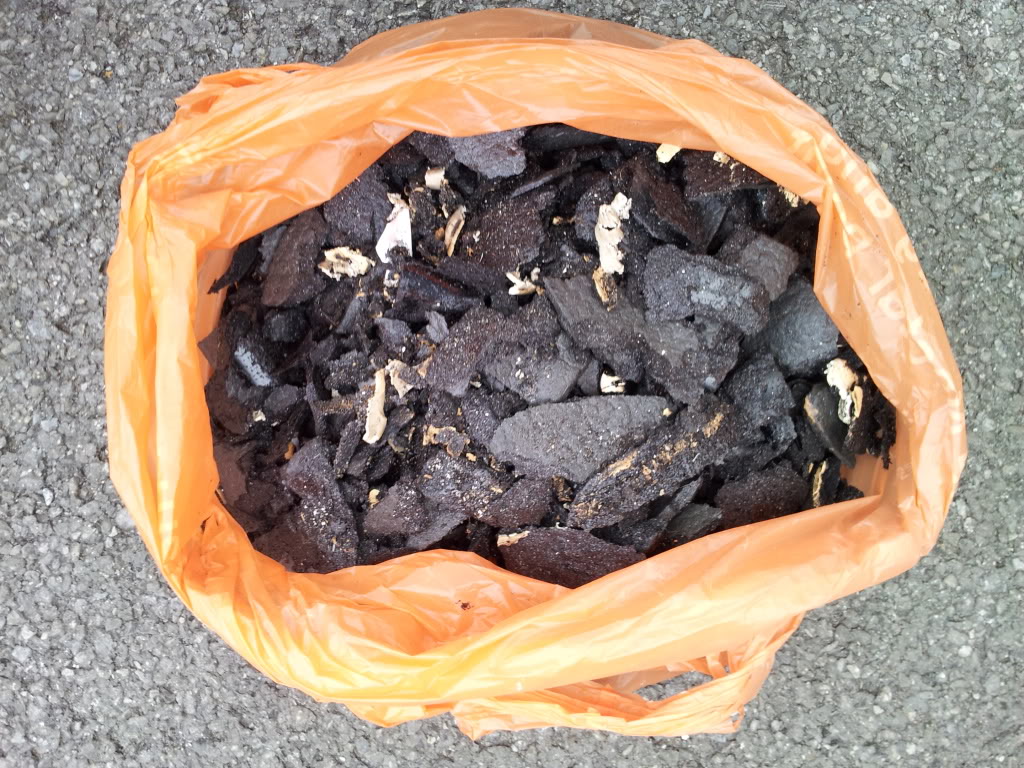
And a quick shot of whats been cut out so far! :ninja:
Well as Rick B was the first owner of the car, He said "Im surprised you've not found all the business cards I stuck in the trim to stop the rattles yet!" Well Rick I've found my first one! :P
This afternoons efforts went in to the strut brace plates. Not bad getting these out.
Im waiting for some new cutter bits to come in the post so I've moved onto removing more tar deadening. This brings back memories! lol.. :blush2:
As best I can using hand tools. I need to buy some solvent to get the rest off.
Random pic!
And a quick shot of whats been cut out so far! :ninja:

Thread Starter
Registered User
Joined: Feb 2007
Posts: 908
Likes: 5
From: UK
Well another day of back breaking labour done! lol..
Ill start off with this! lol...The car takes another chunk out of me! :angry: This time elbow!
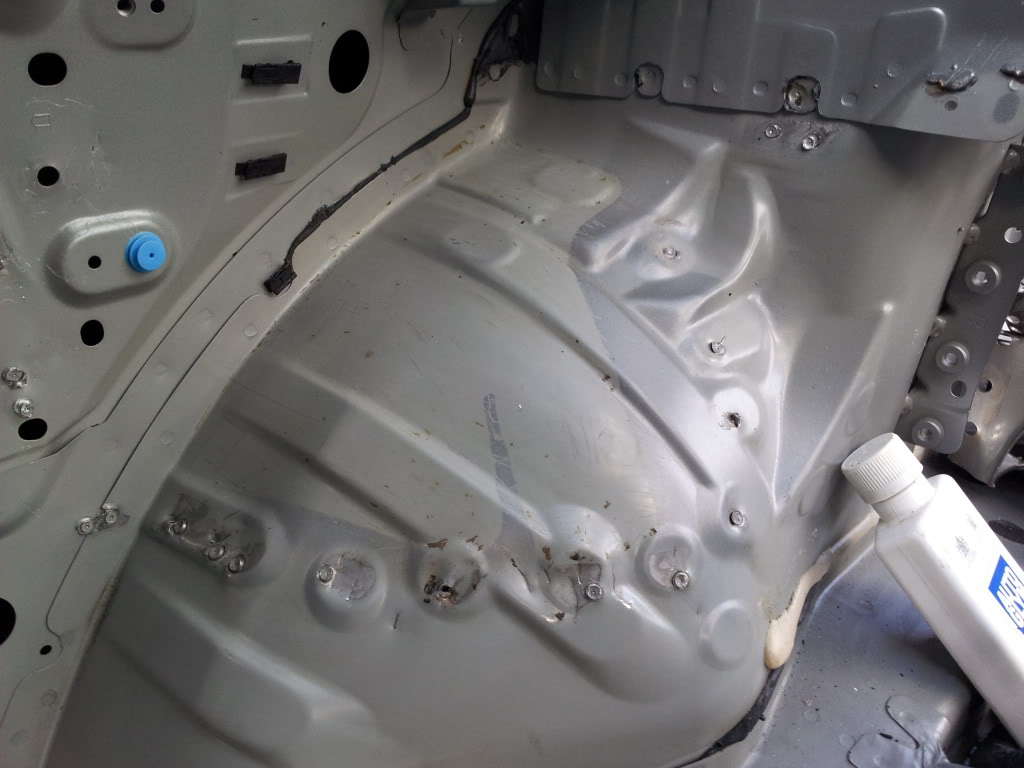
Finished cleaning up the driver side wheel arch. Not fully ready for paint, still needs some more work and grinding etc.
Removed the centre deadening.
Removed another 3-4kg of this stuff in total today!
Nearly got all the centre done.

The next job was to remove the passenger seat to give access to the spot welds I needed to drill out.
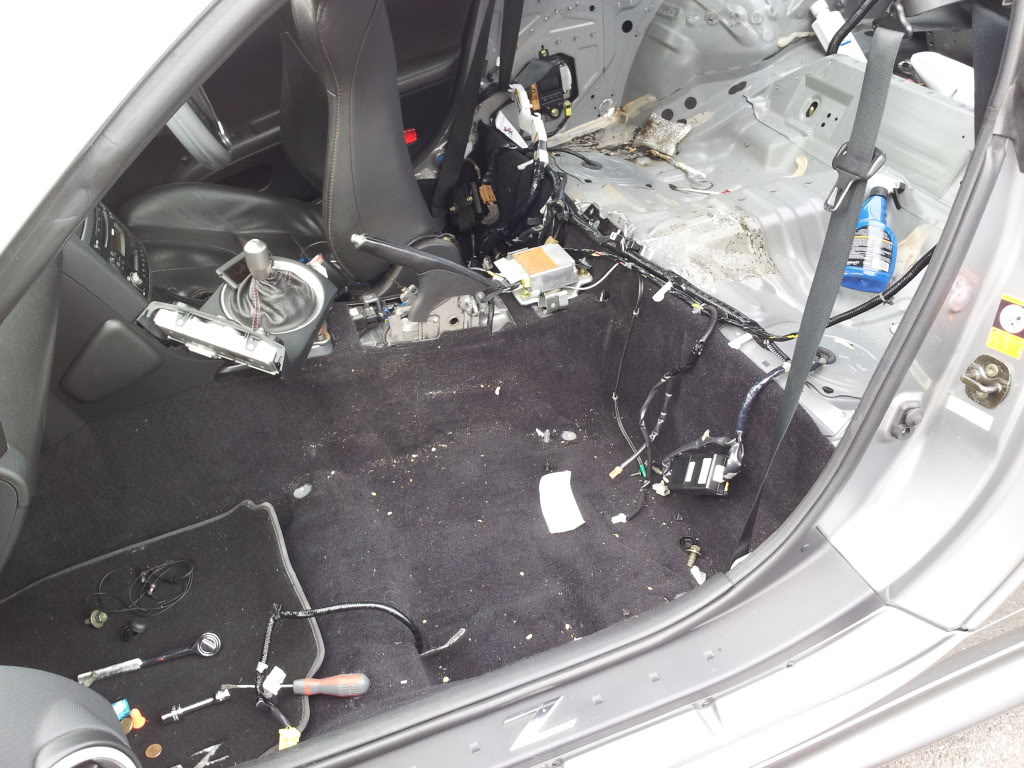
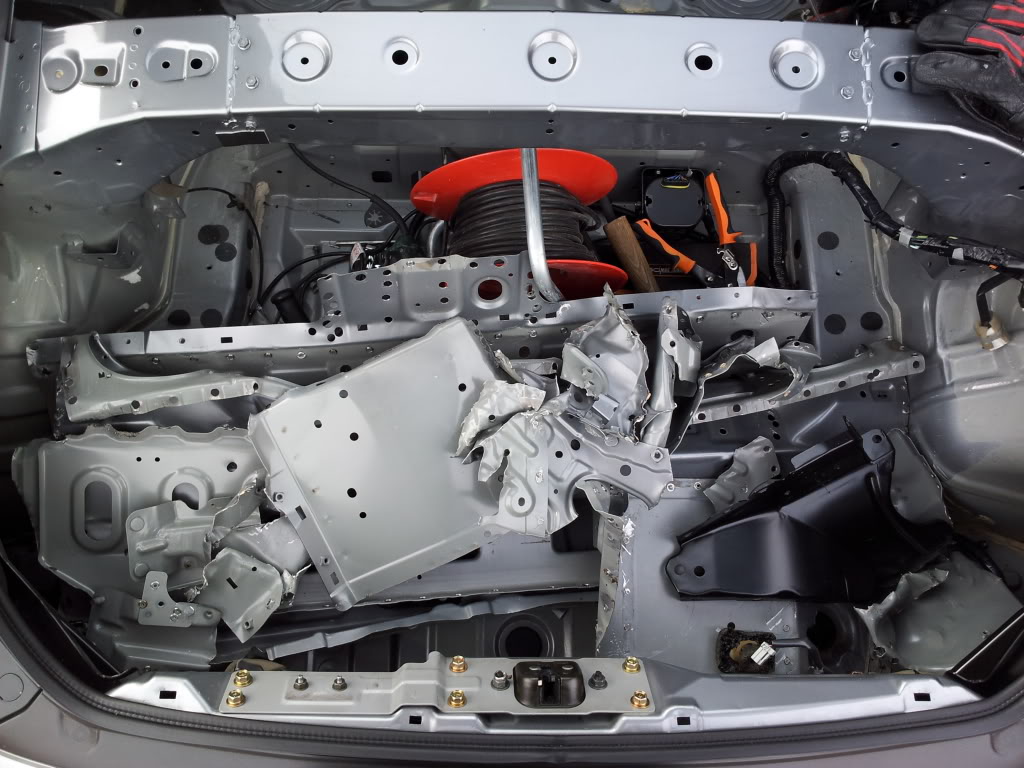
Finally got all the metal out I needed and moved onto the last small section of the centre support.
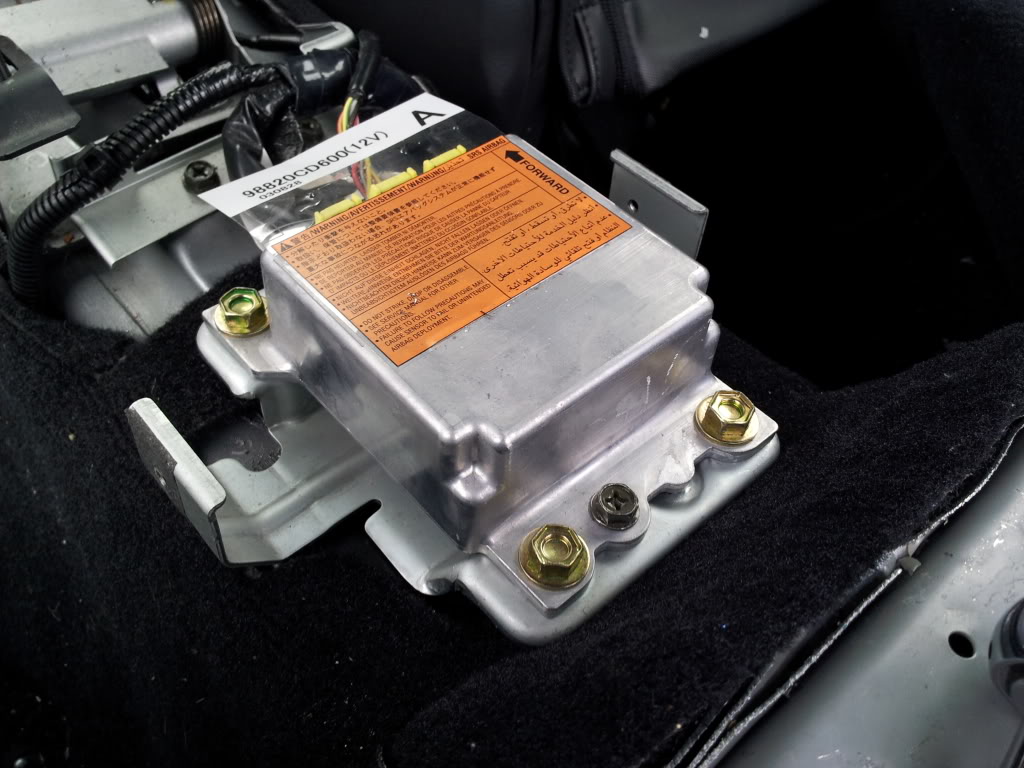
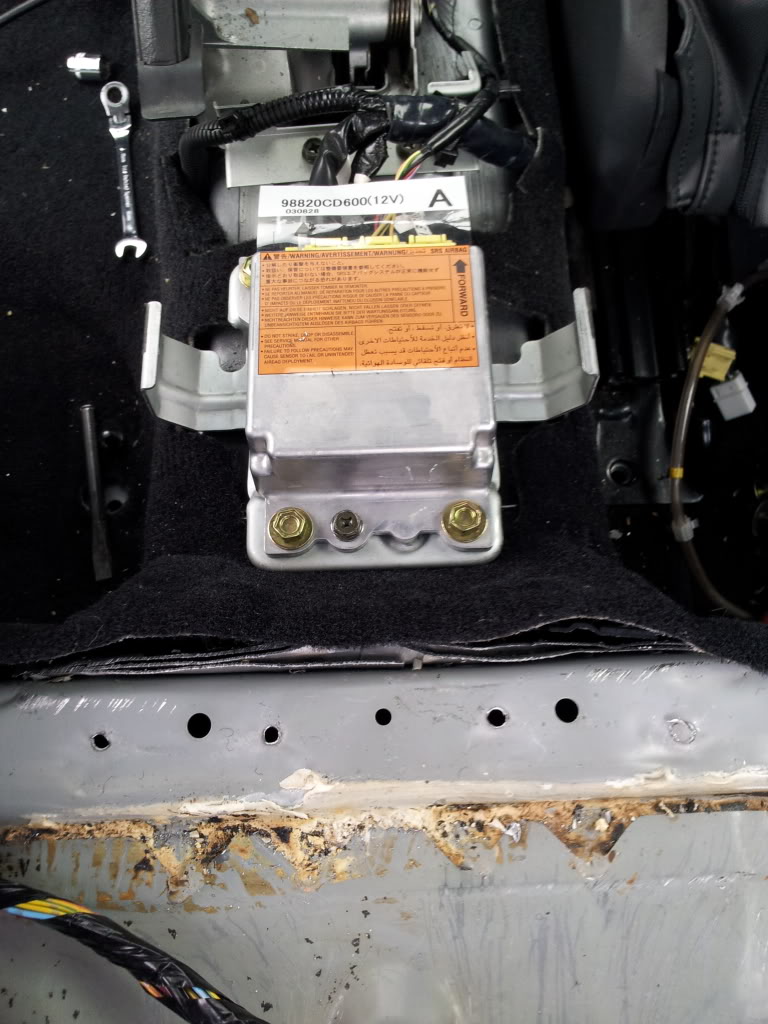
First off I needed to removed this thing. Its covered with warnings about the airbag system going off if its dropped,bumped dismantled etc! :blink: I took this bit off like I was defusing a bloody bomb! ha... :blush:
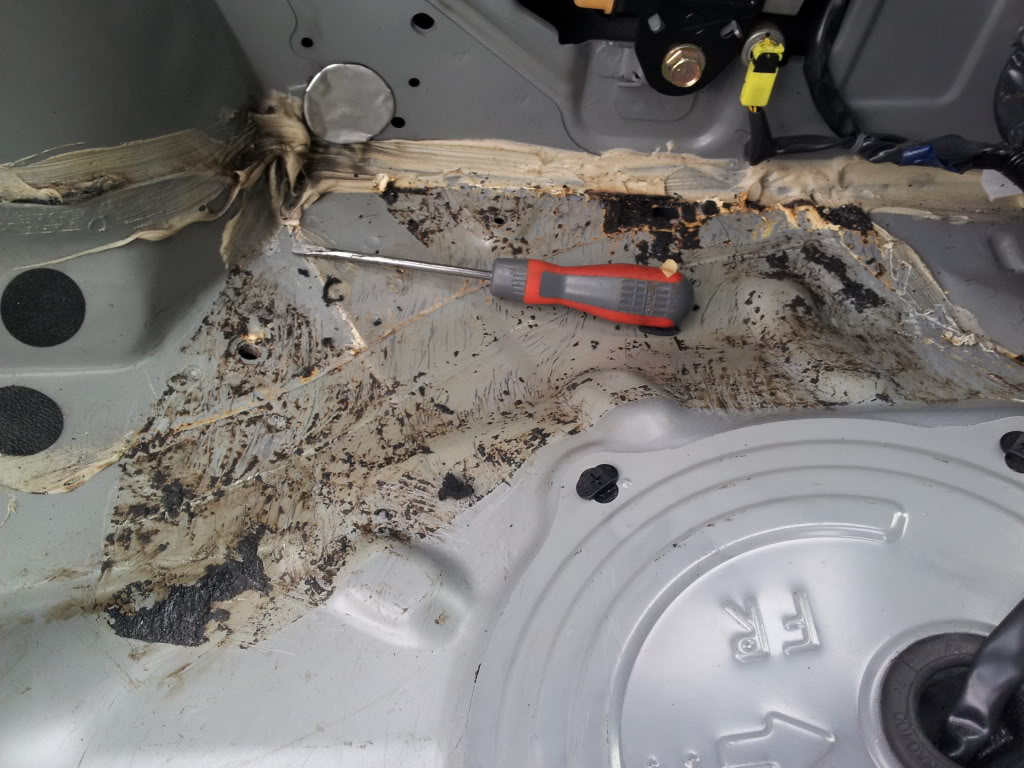
This small centre section took about 40mins of cutting and swearing to remove. I had to cut it out as I could not get to the spot welds to drill them out as the big brace I wanted to remove was bolted in from under the car in the transmission tunnel!
Next job is to fully clean the inside out, I need to get the tar off and vacuum out any left over deadening and metal shavings. Then its off to custom cage's for some sexy welding work!
Ill start off with this! lol...The car takes another chunk out of me! :angry: This time elbow!
Finished cleaning up the driver side wheel arch. Not fully ready for paint, still needs some more work and grinding etc.
Removed the centre deadening.
Removed another 3-4kg of this stuff in total today!
Nearly got all the centre done.
The next job was to remove the passenger seat to give access to the spot welds I needed to drill out.
Finally got all the metal out I needed and moved onto the last small section of the centre support.
First off I needed to removed this thing. Its covered with warnings about the airbag system going off if its dropped,bumped dismantled etc! :blink: I took this bit off like I was defusing a bloody bomb! ha... :blush:
This small centre section took about 40mins of cutting and swearing to remove. I had to cut it out as I could not get to the spot welds to drill them out as the big brace I wanted to remove was bolted in from under the car in the transmission tunnel!
Next job is to fully clean the inside out, I need to get the tar off and vacuum out any left over deadening and metal shavings. Then its off to custom cage's for some sexy welding work!


Thread Starter
Registered User
Joined: Feb 2007
Posts: 908
Likes: 5
From: UK
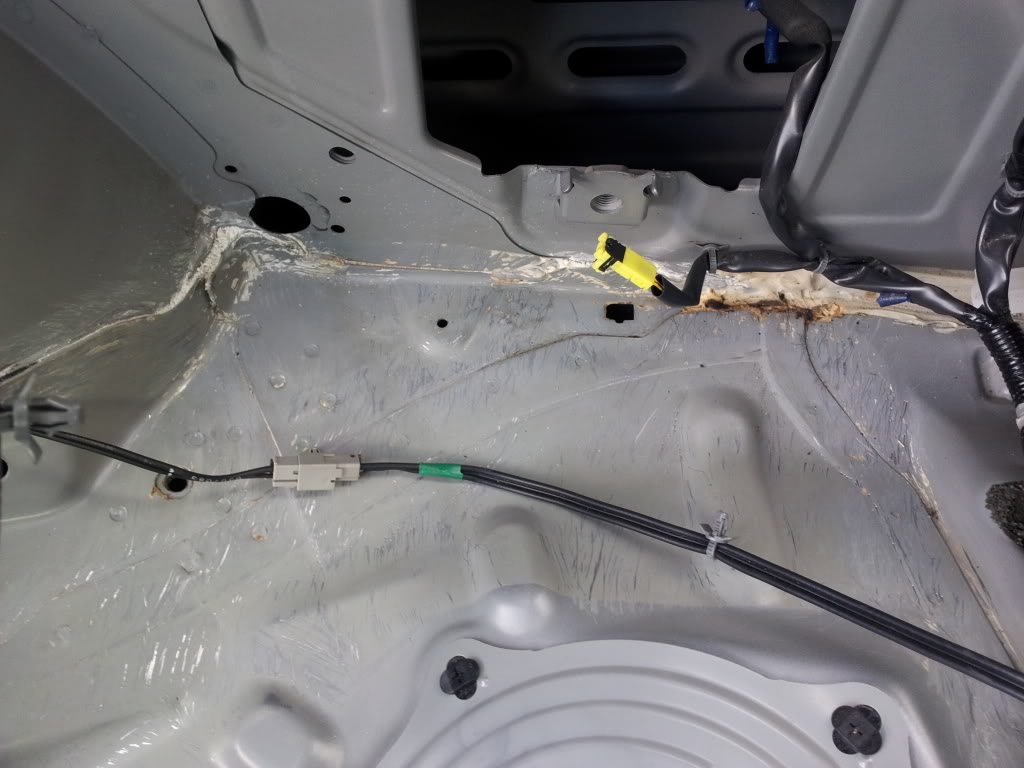
Well I picked up a bottle of chemicals from work and they work a treat! :#1:
Started to clean up the last messy bits this afternoon.

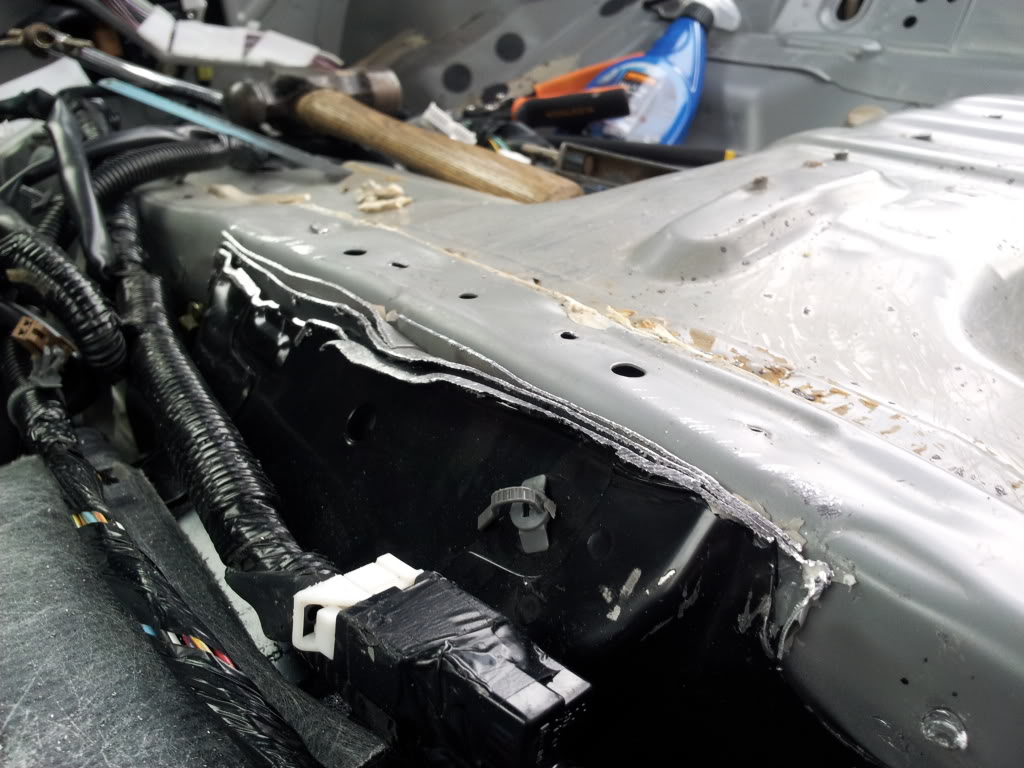
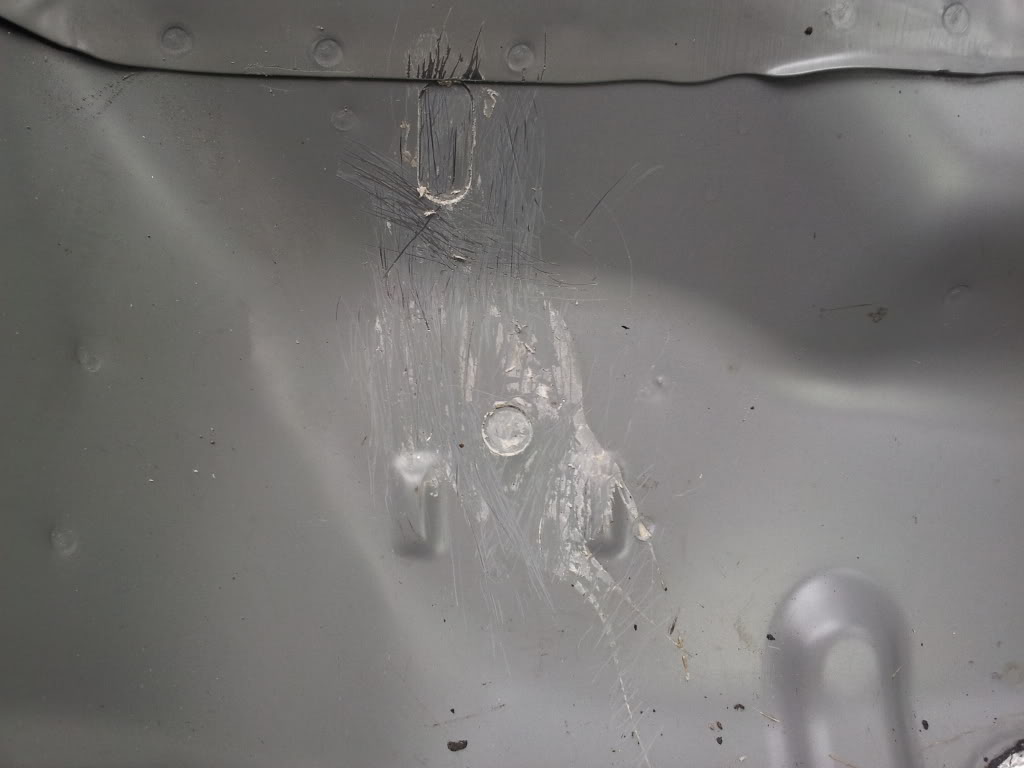
Also I love how much care goes in to the seam sealer! lol...
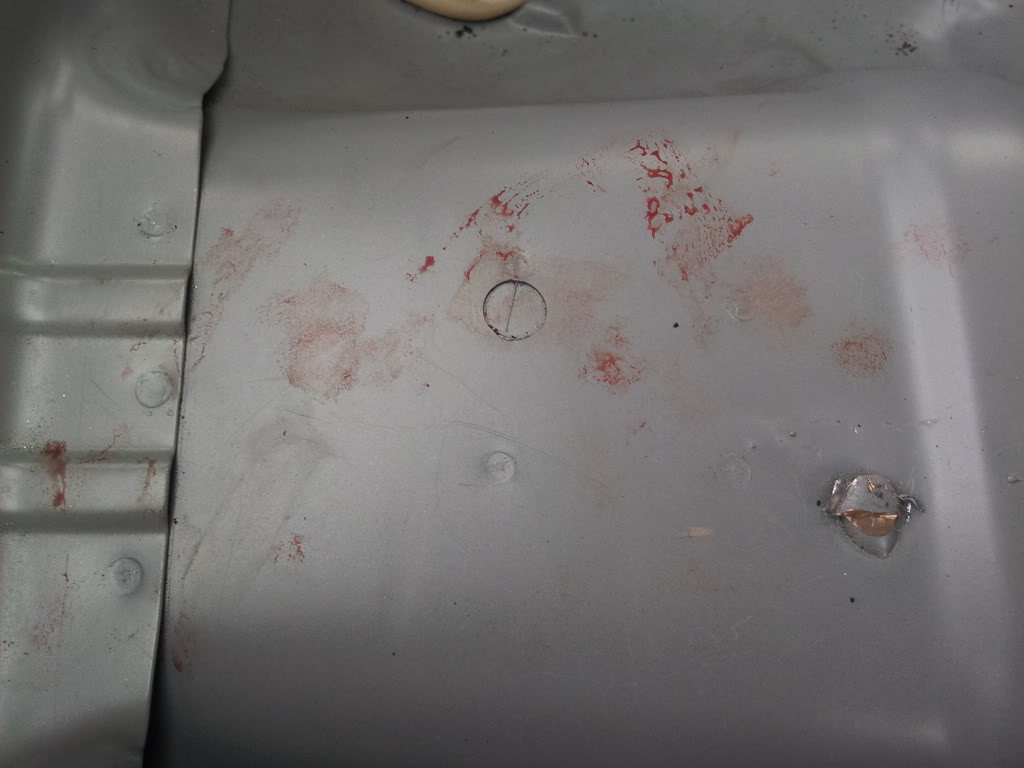
A hole that has a big mess of sealer on!

And the other side that I have cleaned off!
More work tomorrow!
Started to clean up the last messy bits this afternoon.
Also I love how much care goes in to the seam sealer! lol...
A hole that has a big mess of sealer on!
And the other side that I have cleaned off!
More work tomorrow!

Thread Starter
Registered User
Joined: Feb 2007
Posts: 908
Likes: 5
From: UK
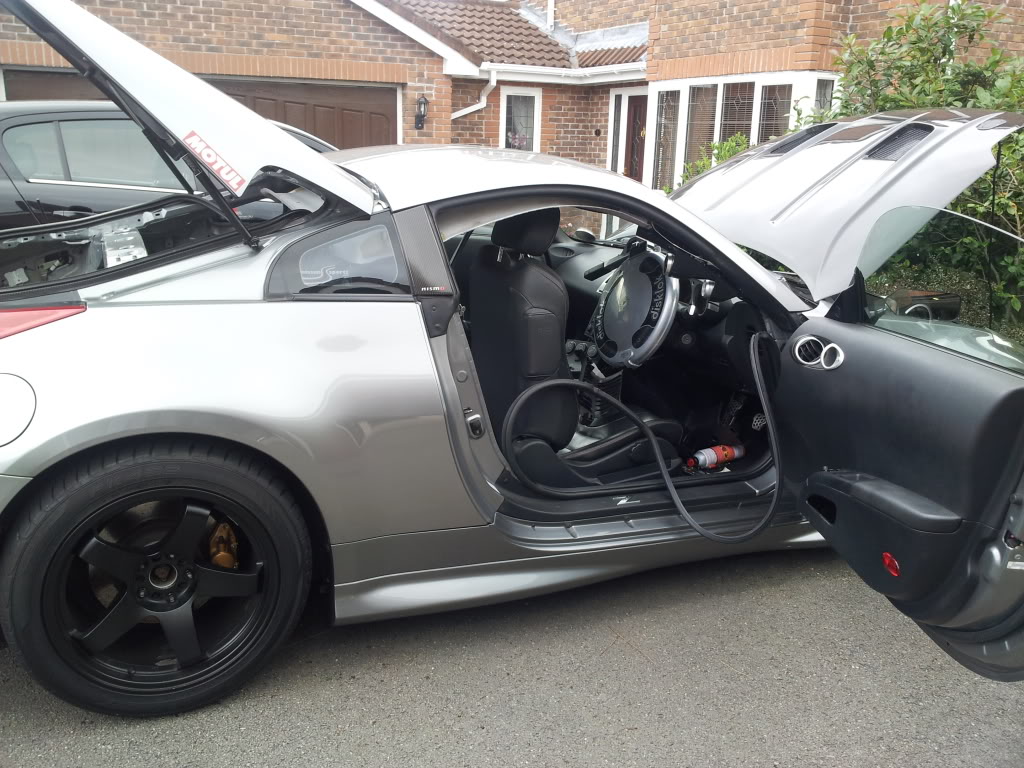
Its been a long slog today getting the car done for tomorrow.
I have removed the passenger seat belt.
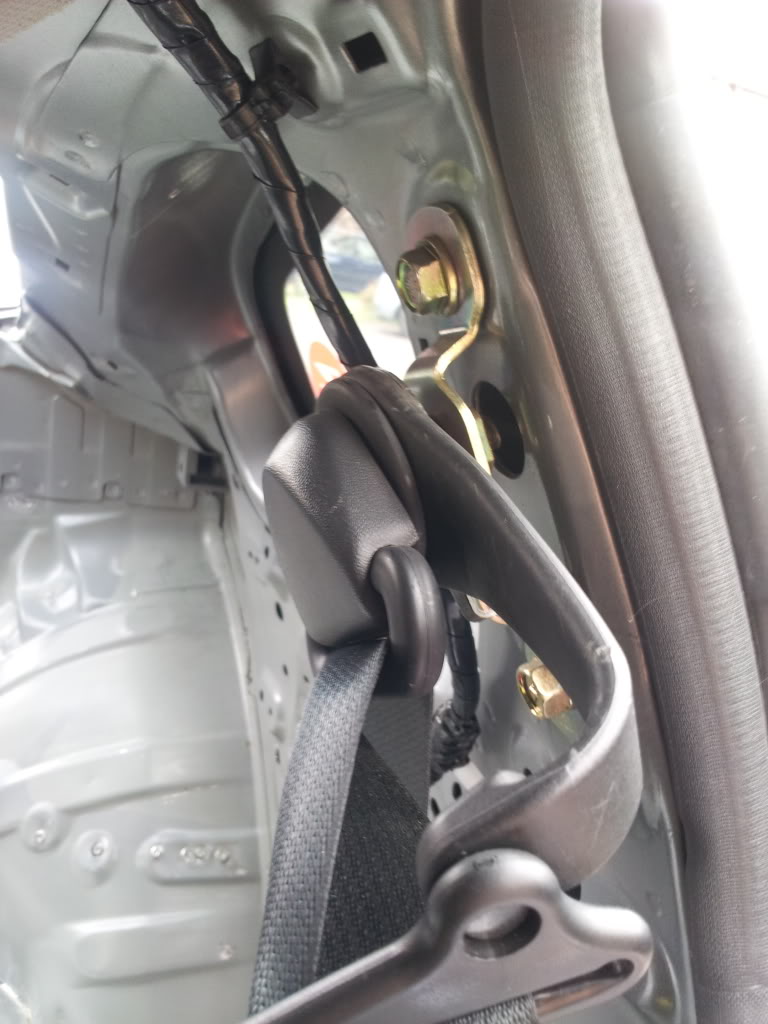
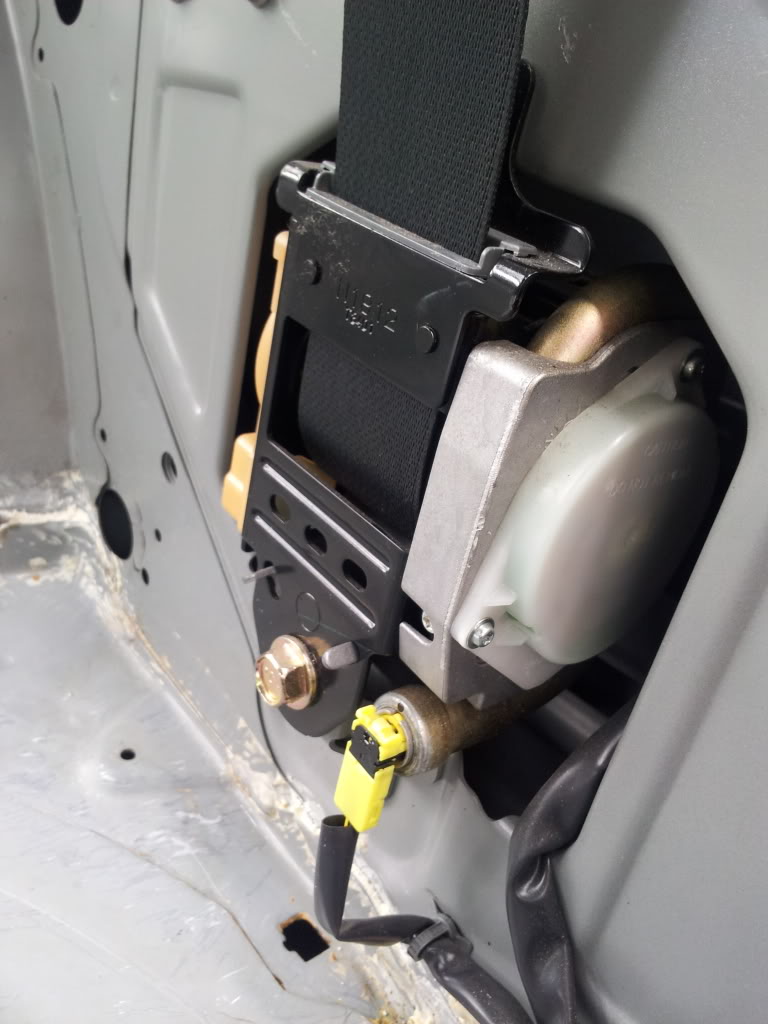
Belt gone!
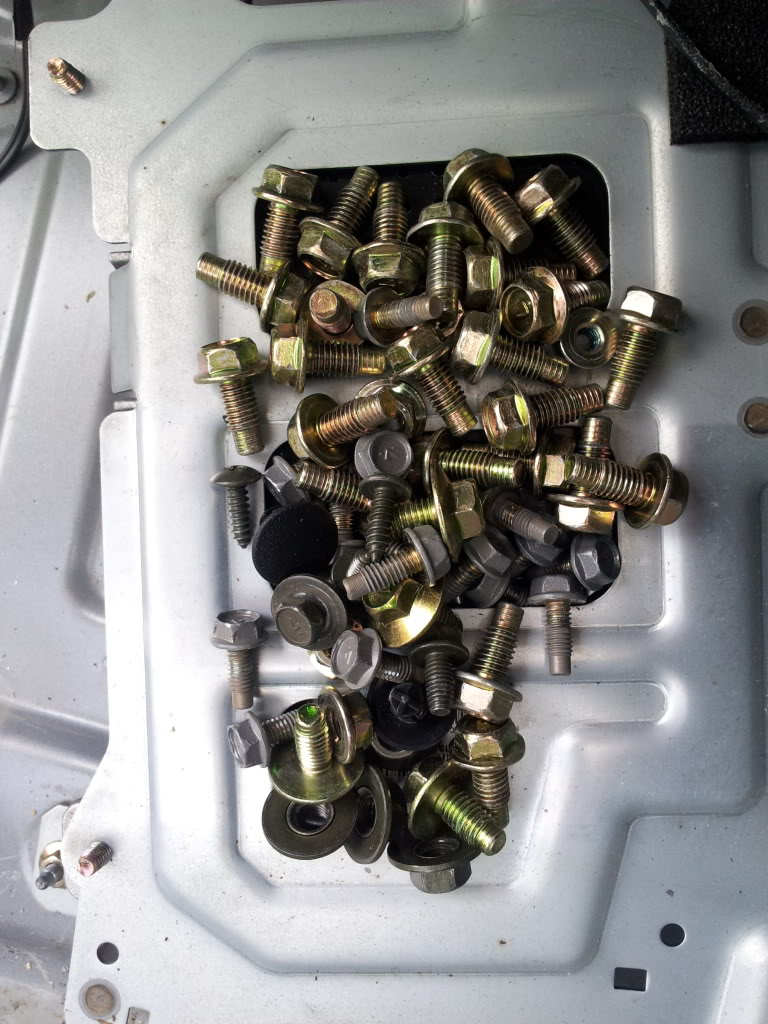
Just a few bolts that arnt needed anymore! lol.
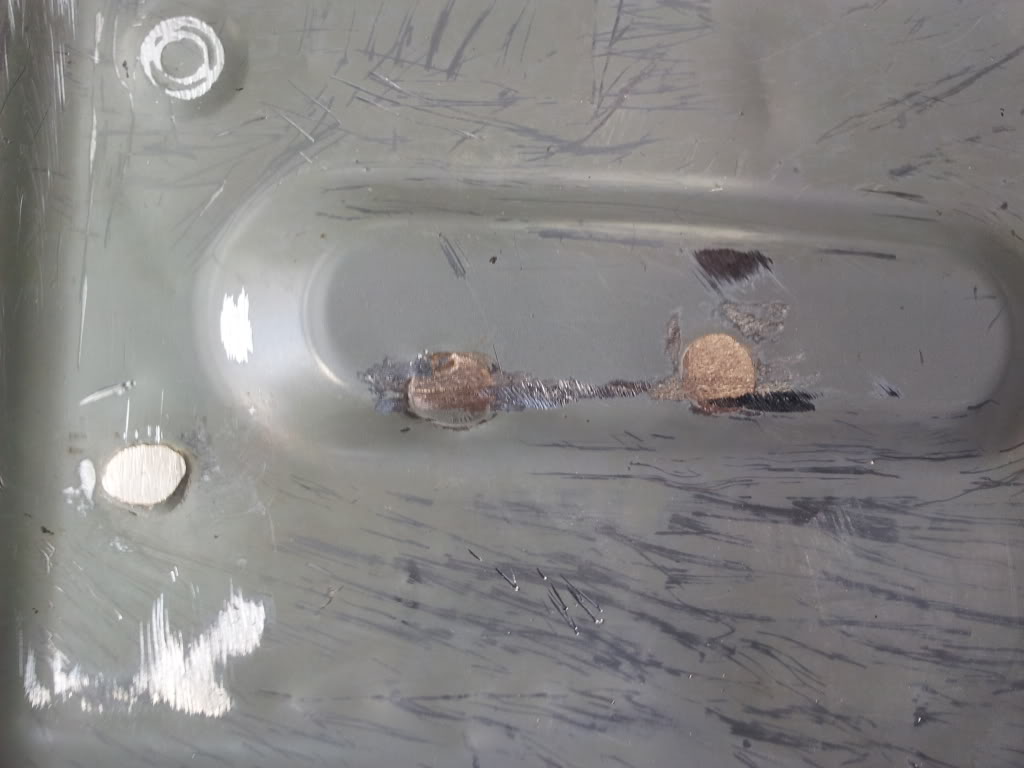
Spent AGES removing all the excess seam sealer I could. I think the back looks ok now but ill spend another day finishing it off before paint! :blush:
I've filed down the weld lumps that were left from the centre support too.
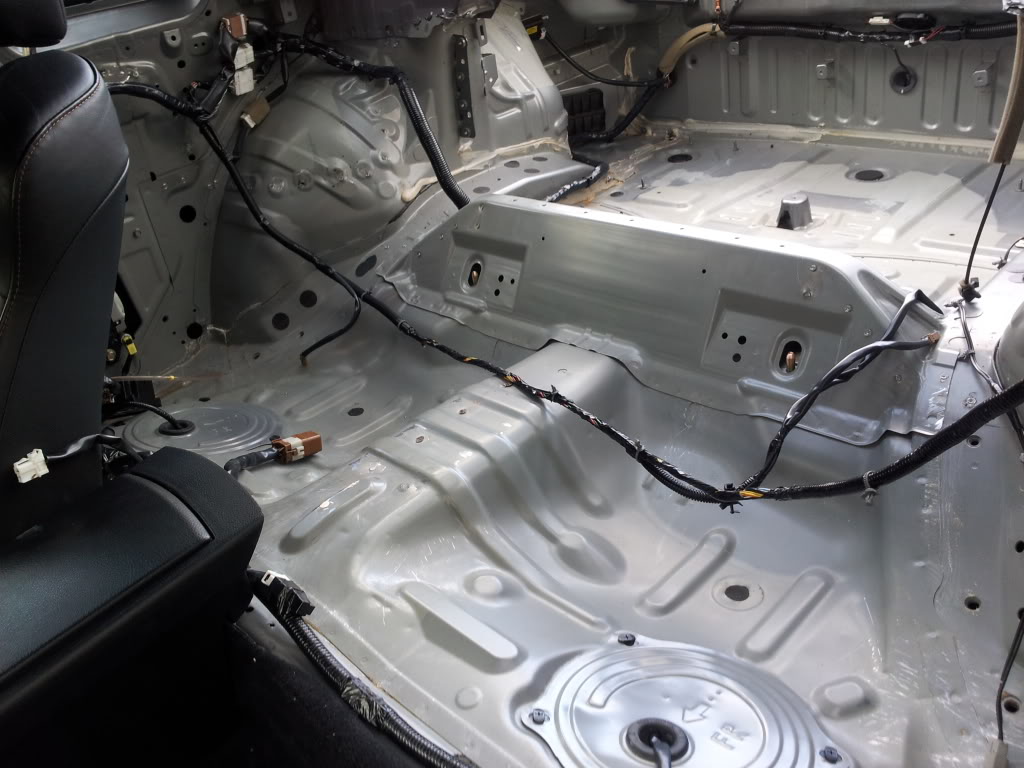
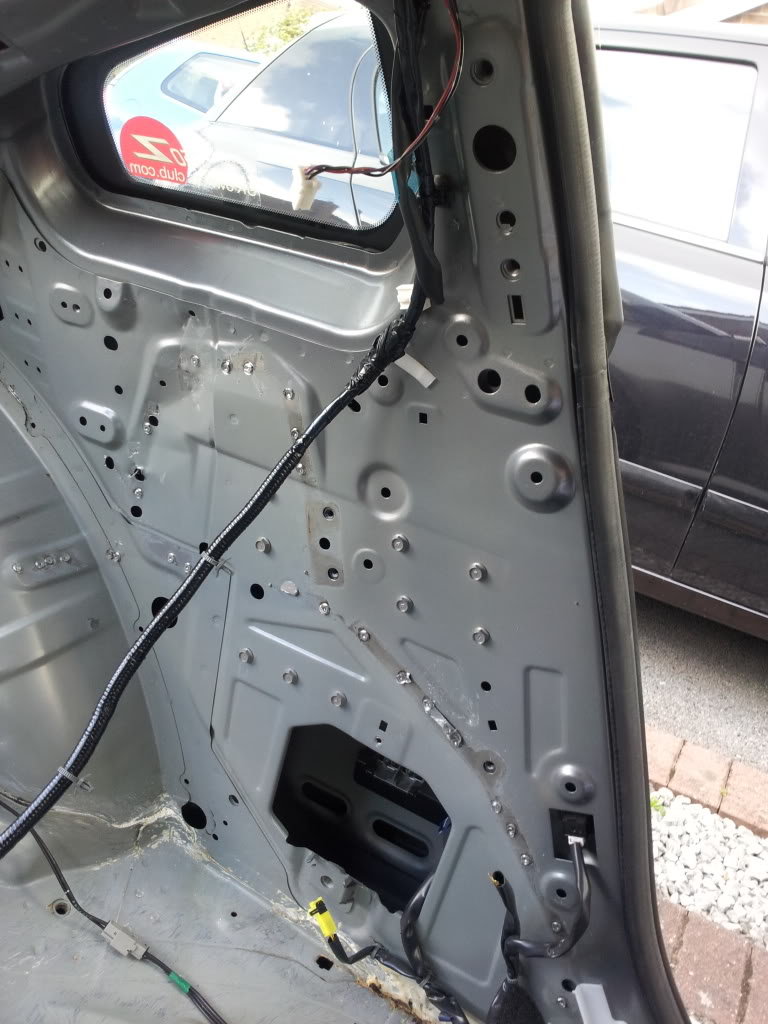
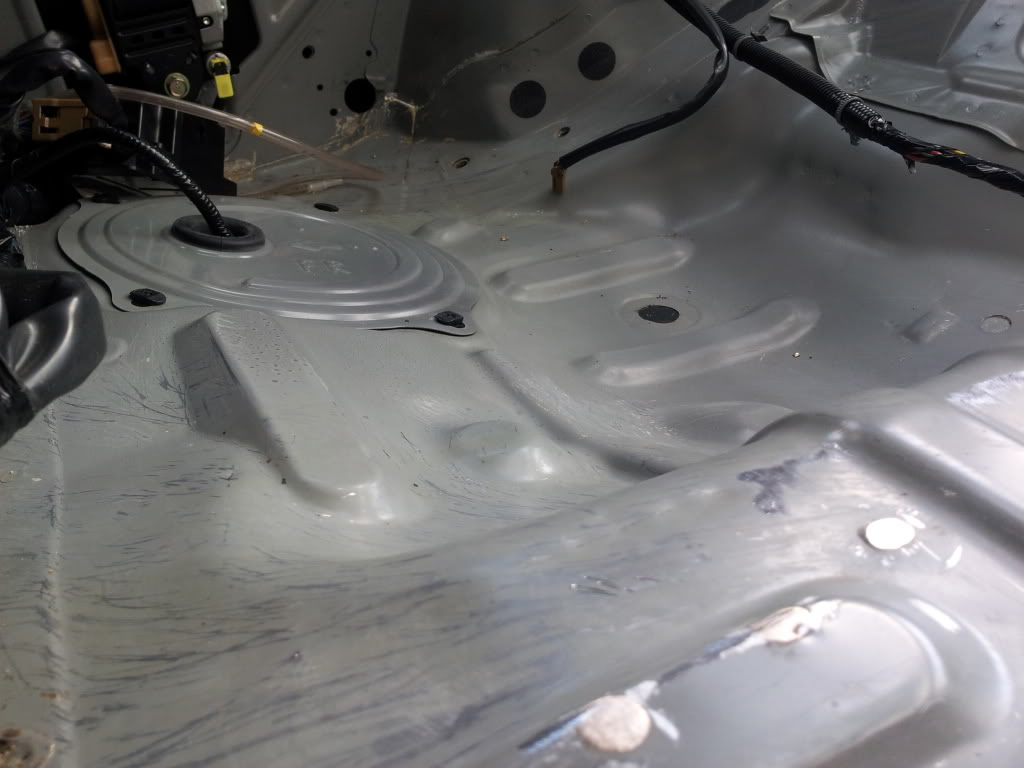
Panel wiped the back end and hoovered it out again!
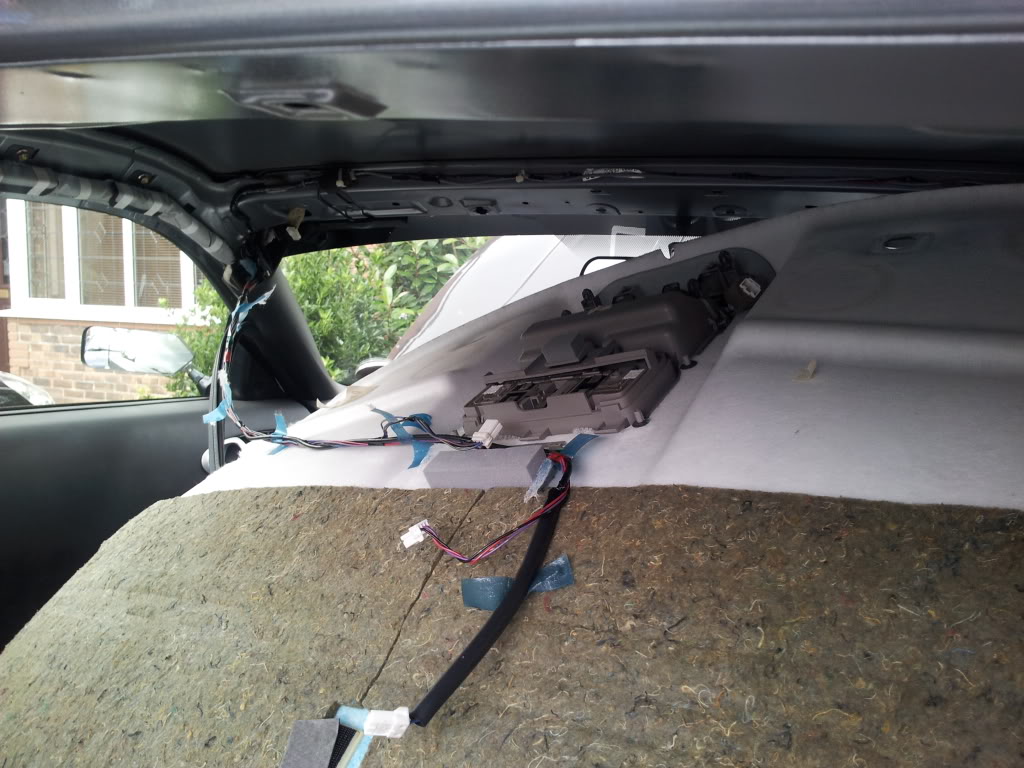
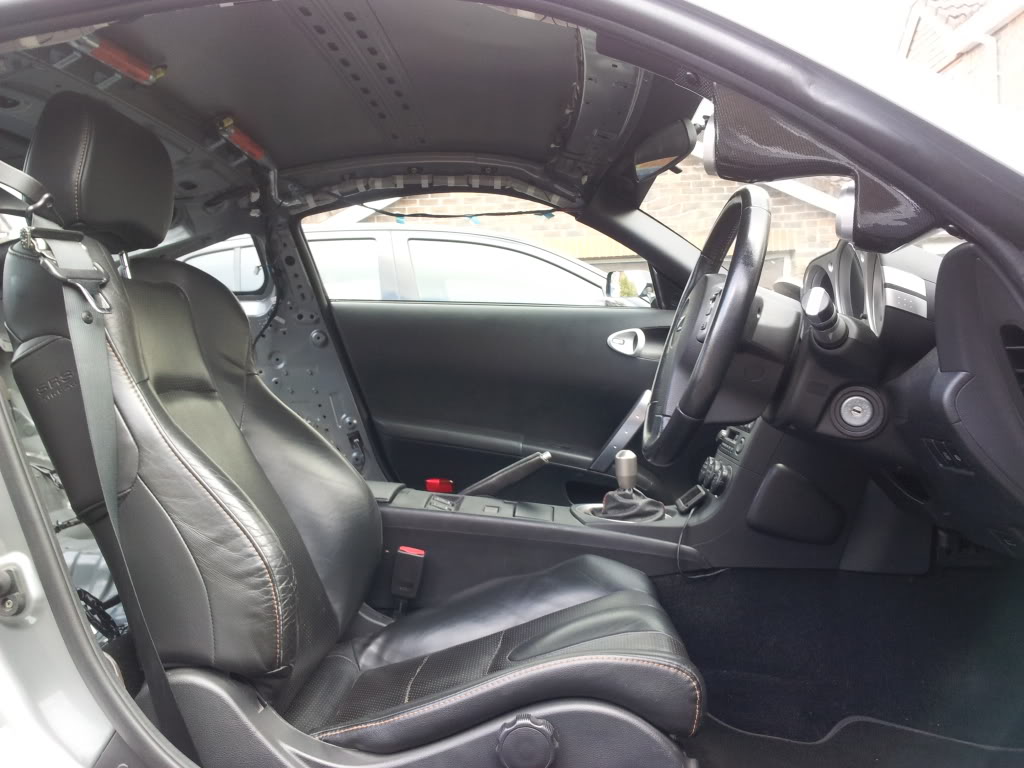
Next job that needed doing was to remove the head liner.
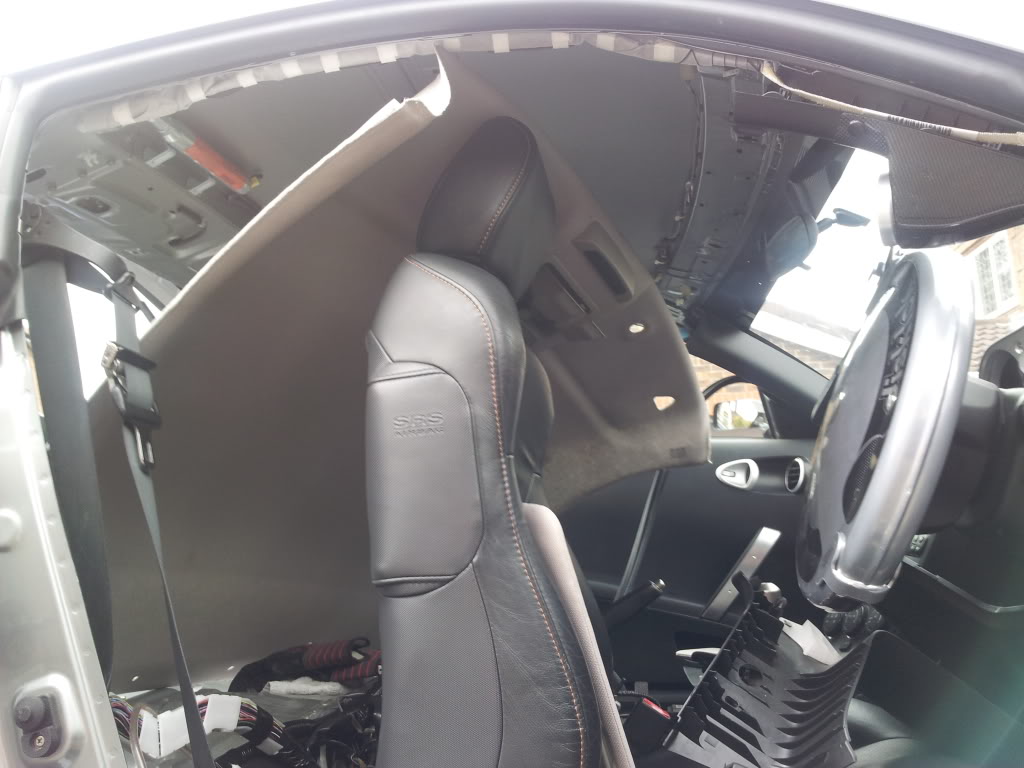
Bit of a mess job getting the head liner out as you need to under all the connections for the door lights and sun visor lights!
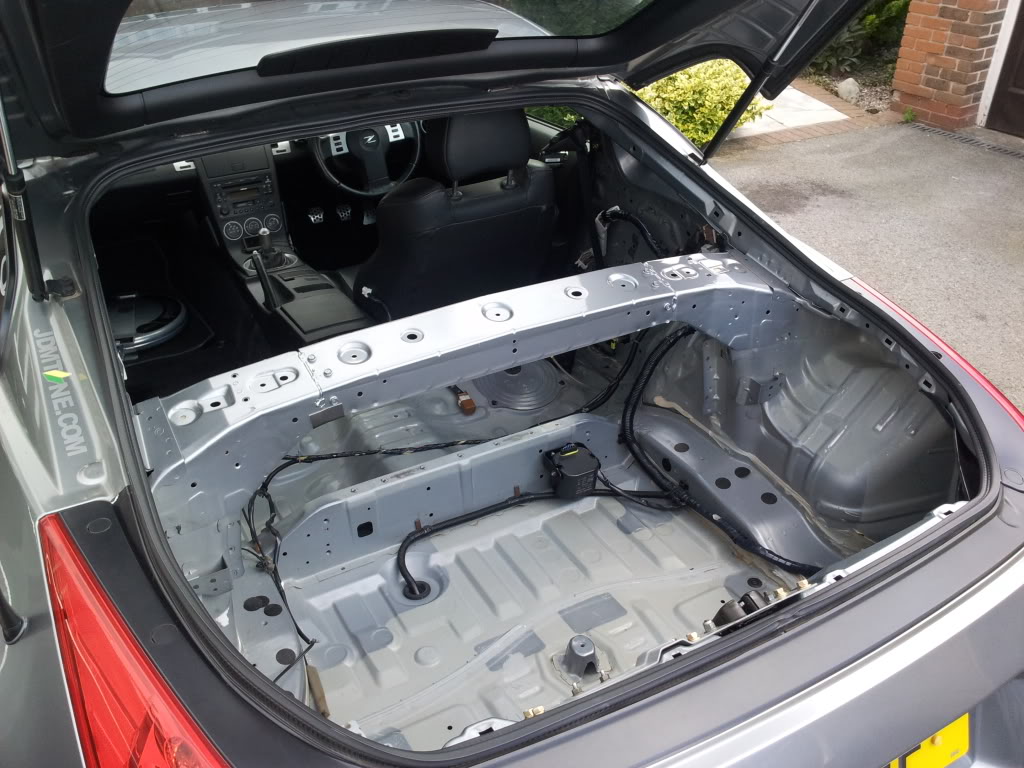
Few "finished" pic's!
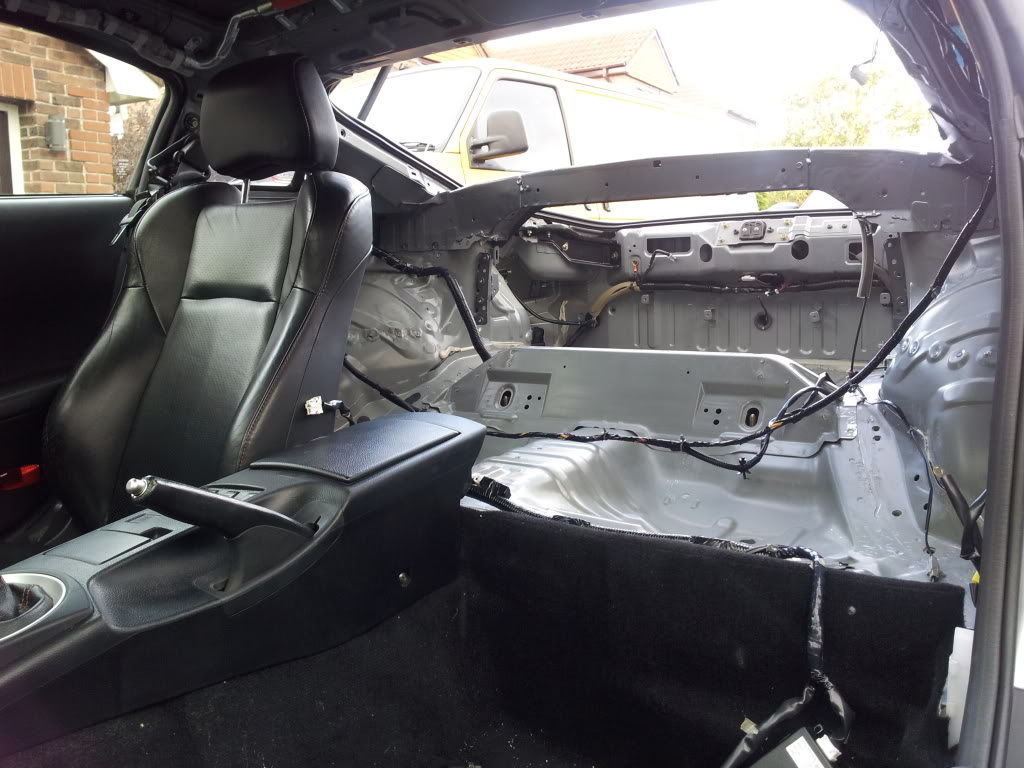
Its taken me a long time to get the car to this stage! I would say about 15-20 hours over many days but at least its done now! Off to the cage fabricator tomorrow!
I have removed the passenger seat belt.
Belt gone!
Just a few bolts that arnt needed anymore! lol.
Spent AGES removing all the excess seam sealer I could. I think the back looks ok now but ill spend another day finishing it off before paint! :blush:
I've filed down the weld lumps that were left from the centre support too.
Panel wiped the back end and hoovered it out again!
Next job that needed doing was to remove the head liner.
Bit of a mess job getting the head liner out as you need to under all the connections for the door lights and sun visor lights!
Few "finished" pic's!
Its taken me a long time to get the car to this stage! I would say about 15-20 hours over many days but at least its done now! Off to the cage fabricator tomorrow!


I wish I could do this to my Z. Until that's a possibility, I will live vicariously through you. Keep us updated on your progress.


^ I think he said he was going to post the final difference between before and after once he's completely done.

