When you click on links to various merchants on this site and make a purchase, this can result in this site earning a commission. Affiliate programs and affiliations include, but are not limited to, the eBay Partner Network.
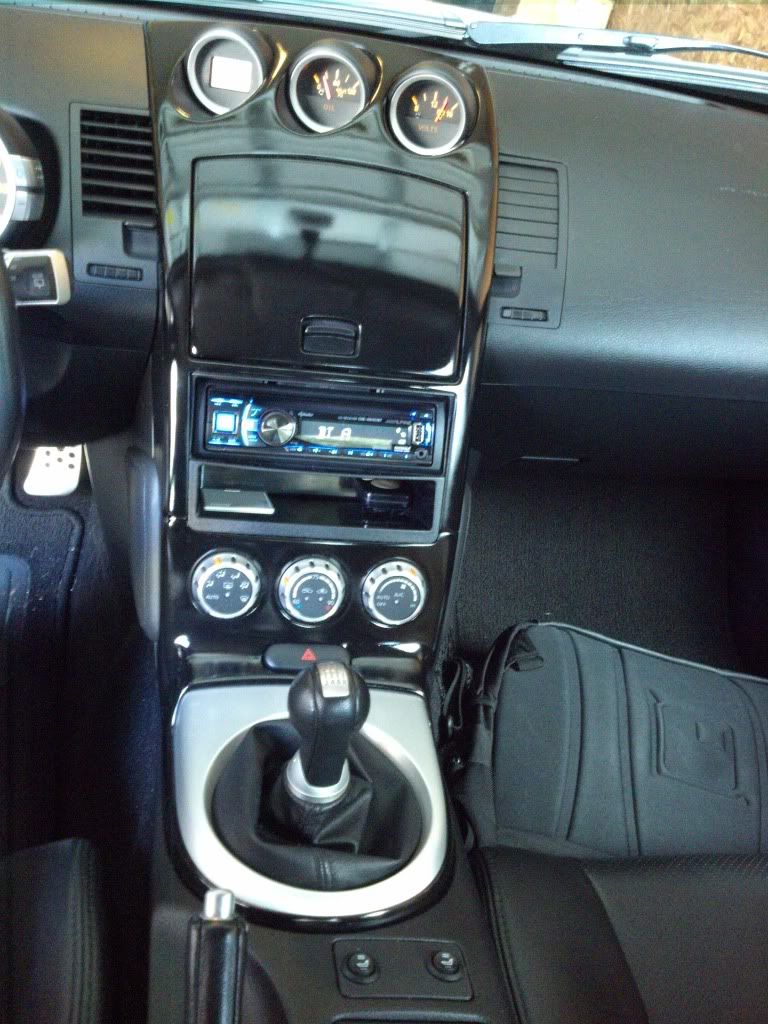
3 weekends later I finished sanding and painting my waterfall 07
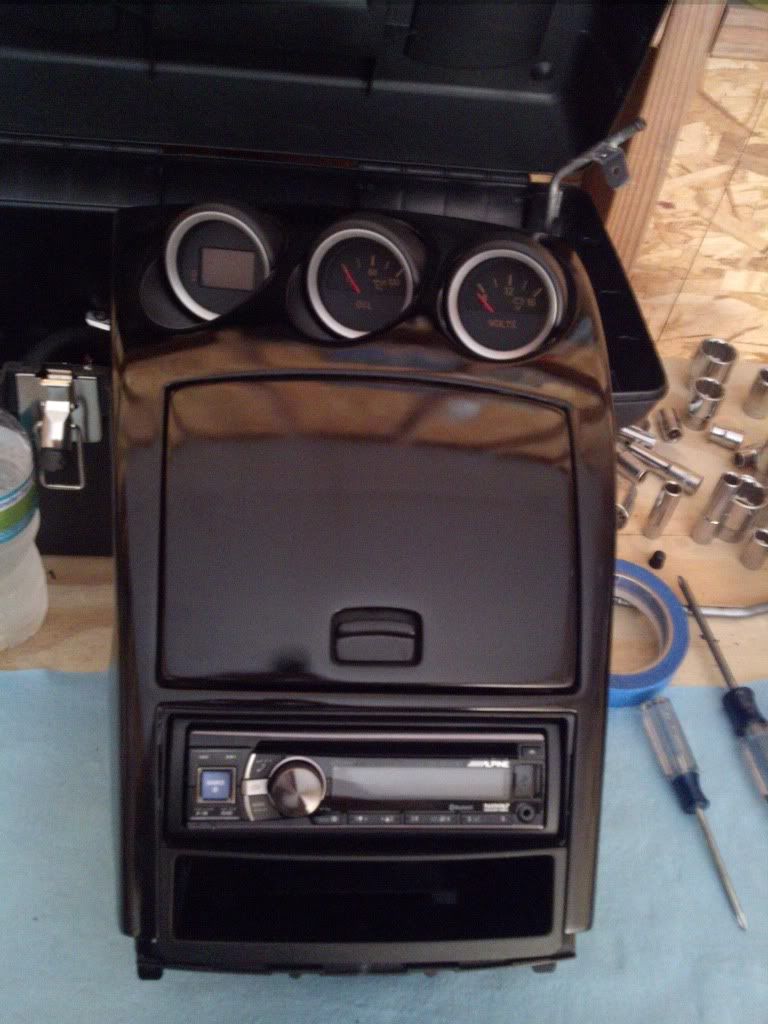
So I got tired of looking at all the small chips in the horrible coating on the tiny bumps on my waterfall and decided to sand and repaint it.
First I disassembled and pried apart the gauges from the main waterfall peice. Disassembled the door, springs and button.
Took 8 hours to sand the parts down and another 4-5 of finishing sanding. Then many coats of primer and paint, sanding and paint then finally clear to get this.
Don't mind my dirty floormat or crappy cell phone pic
Last edited by Marrocco350z; May 30, 2013 at 02:59 PM.
I didn't not like it but I tried a coat of paint before sanding smooth and it just kept clumping in a few spots. The smooth look definitely adds a nice upgraded touch!
Originally Posted by taryon
turned out pretty good man
Thanks! Took enough weekends without a waterfall for it to come out good.
Last edited by Marrocco350z; May 29, 2013 at 04:46 AM.