When you click on links to various merchants on this site and make a purchase, this can result in this site earning a commission. Affiliate programs and affiliations include, but are not limited to, the eBay Partner Network.
The "Actually What Does It Take To Make An Aftermarket Bumper Look Good" Thread
For all those in the market for an aftermarket bumper, but curious just how good they are, this is the thread for you.
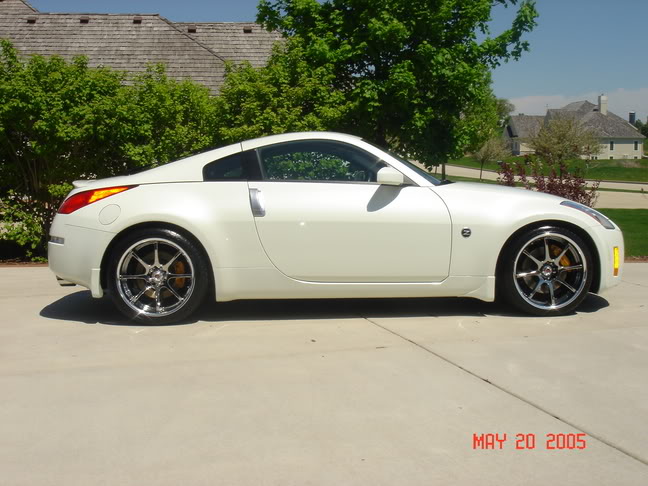
Short backstory: my 2003 350Z Track was rearended on a freeway entrance ramp, which then pushed me into the car in front, blowing my passenger airbag; crumpling my hood, and ruining both front and rear bumpers.
Insurance totalled the car, assessing $7800 in damage. AmFam wrote me a value of $11,500 for the car, which I thought was pretty good, considering it had ~220K miles on it (though not winter driven, and not a ding on it, and in absolutely excellent condition):
So - because it has been the best car I have ever owned - I bought it back (they gave me a check for ~$8600, and I got to keep the car).
I knew I was going to be able to save quite a lot on the estimate to fix the car, including sourcing my own parts (a new airbag brain alone was quoted at $860, and the existing one can be reset/reprogged for $40!). Bottom line: I am going to be able to get the Z back - better than new - for around $4400.
First, I bought an Extreme Dimensions Duraflex rear bumper (based upon the pictures; I like the style); that didn't work out; the part was warped. ED was extremely good about a full refund. I then bought an OEM rear bumper (for $300!), and chose to customize it myself, and cannibalizing extra material from my wrecked rear bumper, hand fabricated vents located on the sides:
I had about 12 hours into the rear bumper at this point. For the front, I chose a Forcewerkz V2 poly bumper ($500, shipped). They're much heavier than I expected (OEM only weighing about 4 pounds; Forcewerkz weighing about 15); their moulds aren't anywhere near as good as OEM (OEM moulds are extremely expensive, but make fantastic quality finished parts).
Not anywhere near as good.
It looked good at first glance, though, and it fit well right away. It quickly became apparent - after brief surface prep, and spraying it with Sikkens Flexible Primer/Surfacer - that it was going to need more than a little 'massaging'. The part had several flaws:
1) dips/ripples/ridges/imperfections/warping on the outside surfaces;
2) Edges of bumper - particularly the wheel well lip, headlight surround, hood edge and grille finish - were rounded, uneven, and in many places didn't have enough material. Compounding this problem: Forcewerkz apparently uses a disc grinder after production to 'smooth out' the edges - but that removed far too much of the material, and still left an unprofessional ripply mess.
The body shop gave me a call and notified me of the trouble, and suggested I do the needed prep work, as they estimated between 10 and 20 hours (@$75/hour!) to get the bumper presentable if they took it on (and they didn't want to). So here's where all the fabrication work was needed.
I used a product called "Rapid Patch Semi-Rigid Plastic Repair" (same material I used to fab the rear vents) - a 2 part Urethane Epoxy mix from Polymer Engineering Corp - to fill in the imperfections, build up and literally create finished edges where there was nothing before:
The light gray is added Rapid Patch Urethane, to build up crappy edges and provide a crisp finished edge for painting
Where you see the dark is the Forcewerkz bumper high spots that showed after block sanding smooth; light spots are low built up areas
The middle of the grille required nearly 1/2" of material added to make a consistent rear edge
Headlight openings were poor, particularly on the top inside edge, and needed to be built up and block sanded/sculpted
Bottom headlight edges were warped
I also cannibalized more plastic from the wrecked rear bumper, to fill in an open area on the top edge of the grille (I'm assuming the bumper was designed this way to accommodate some sort of license plate bracket w/lighting), but all it did was create a 'flat spot' problem on the leading edge of the bumper above that opening; greatly weakening the bumper:
This is a view from the bottom inside of the bumper, looking up at the grafted and sanded part
A view from above - you can see the PPW paint still on the cannibalized plastic - I did the same for lower edge of the horizontal bar on the grill, to bring it flush with the rest of the grille. The grille will be painted gloss black, and had to be straight
Lots of work so far, but - outside of some small imperfections yet to fill and block sand out - I'm almost done with this thing. I have at least 15 hours in it at this point. It better be worth it; next to the shop to again surface with Sikkens (HIGHLY recommend this flex primer; it is an awesome product to block sand out), and see how I did!
I'll keep this posted once I get the parts painted, as I will be assembling myself.
Last edited by Heritage; Oct 30, 2015 at 03:34 PM.
Well, I can't disagree with you wrt the product; I loved the design/pic of one of their bumpers, and have the ability to do bodywork - but the part I got was beyond help.
I can tell you that the people there aren't trash, even if the product is unacceptable. They requested I 'field destroy' the part, and submit pics, and I did, and they provided a prompt and full refund.
If you look very closely at the wheel well lip picture here, you can see the 'teeth' I cut into the Forcewerkz plastic to create the 'bite' needed to add Rapid Patch Urethane material (used painter's tape to create a 'backer' and slathered it on: once cured, sanded/shaped to the finished edge you see here):
Bottom inside corners. Lots of massaging here to get them to look good
See the 'teeth' cut into the bumper to create the needed adhesion?
Just a clarification: this IS the polyurethane V2 bumper that a couple of vendors are selling on this site. It WILL need at least 10 hours of prep work to get it to the point that you'll be happy with what it looks like. I put in more than that.