Glex25 Winter Build
 12-15-2009, 04:50 PM
#41
Turbo Whore

iTrader: (4)
Join Date: Oct 2002
Location: West suburbs of Chi-town
Posts: 7,303
Likes: 0
Received 1 Like
on
1 Post
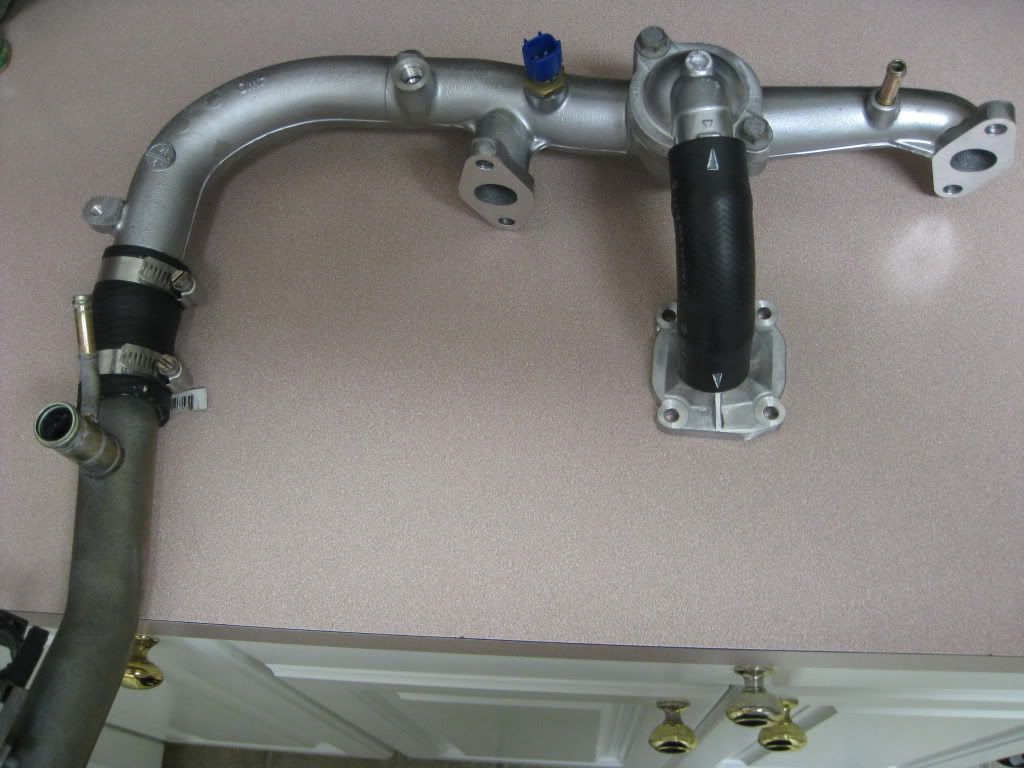
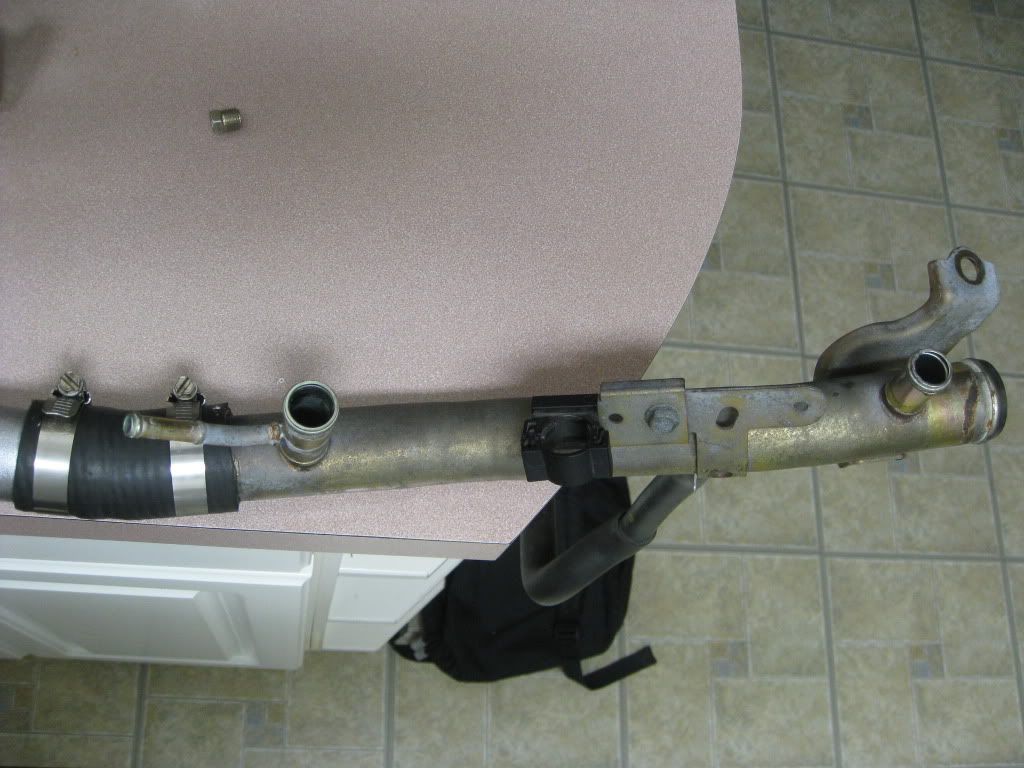
I was putting mine together today and I cut the pipe as it was noted in this thread thanks
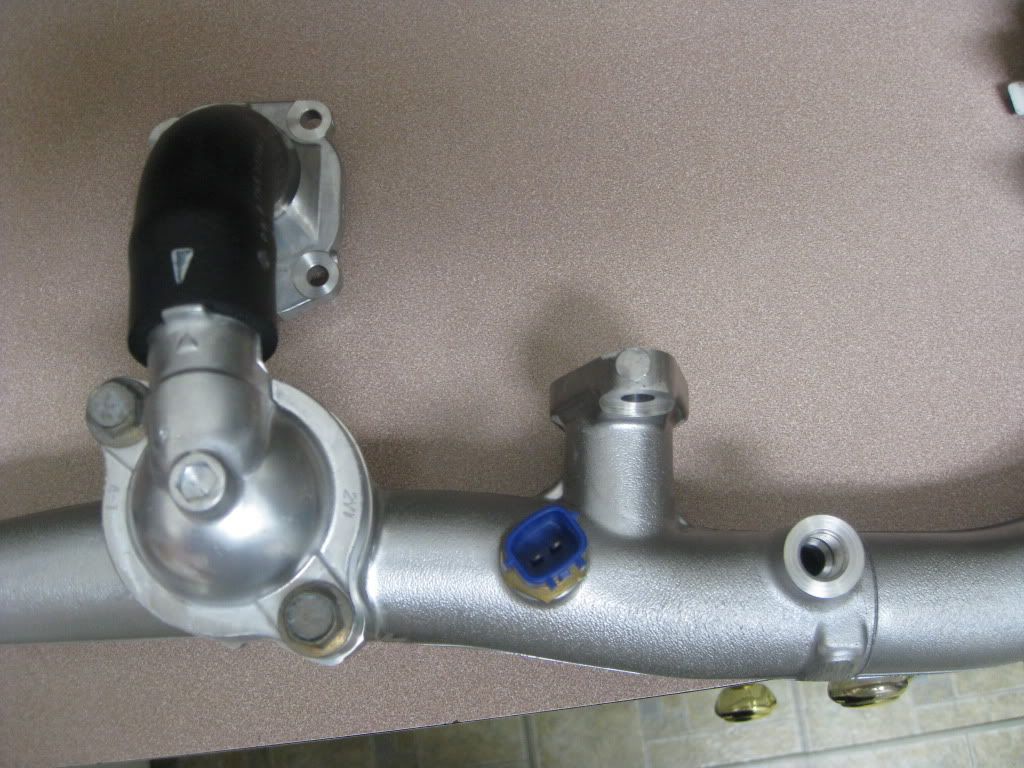
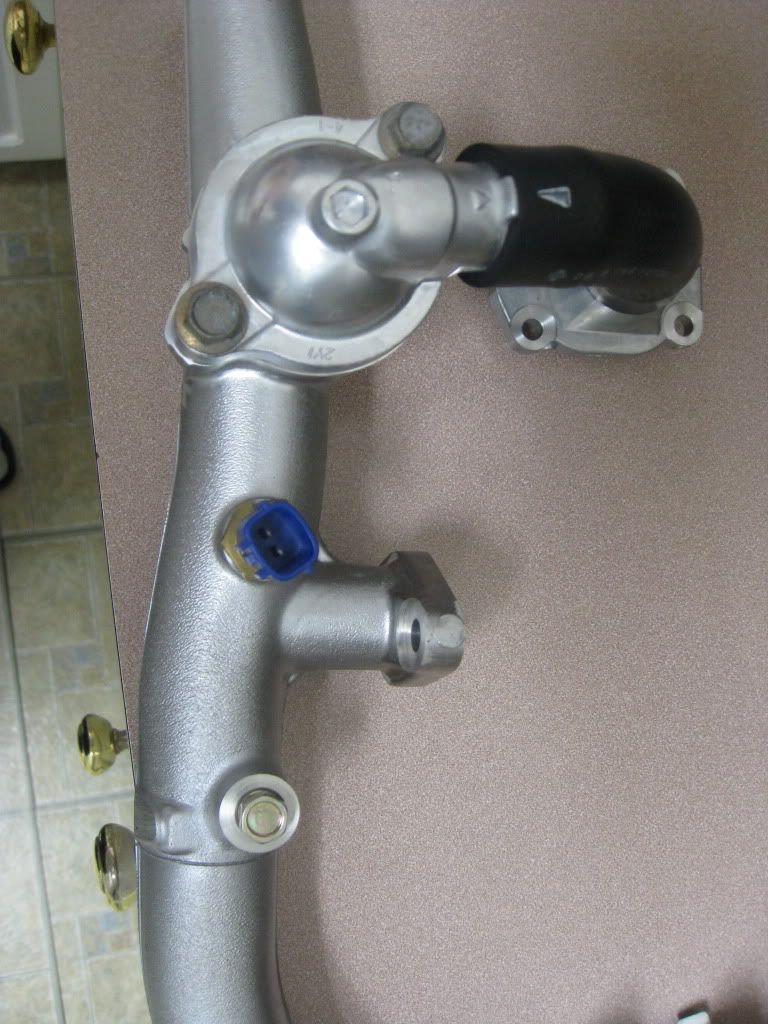
I spent the whole day trying to find a proper plug for the bypass even a barbed fitting I didn't care I found none. The 1/4 NPT or COMP plugs would not fit. The only plug that would fit was some elbows and T's that had 1/4 MPT. I finally went to NAPA and they had a NPT plug which seems to have a little play but it feels tight once it screwed all the way down.
Can anyone shed any light on this conundrum.
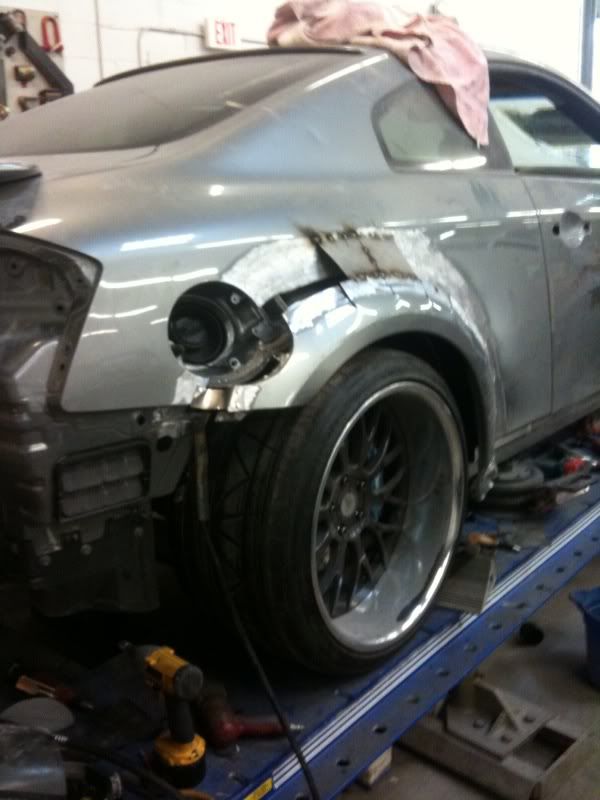
I still have to pickup the pressure collars for the tube that goes from the T-Housing to the Plate and weld the small pipe closed.
Here are some pics so people can get a idea
For the guys that went from a FI'd stock compression motor tuned with a Haltech to a FI'd lower compression motor.
Did you guys have to retune for the lower compression motor?
did you wait until after the break in(No Boost, 4000RPM Limiter enabled)?
Will the Haltech automatically compensate for a tune that was made with 600cc if you change them out for a 800CC and you change the injector size in the proper tables?
Might get the call tomorrow to pick up the block/heads from M2race
I spent the whole day trying to find a proper plug for the bypass even a barbed fitting I didn't care I found none. The 1/4 NPT or COMP plugs would not fit. The only plug that would fit was some elbows and T's that had 1/4 MPT. I finally went to NAPA and they had a NPT plug which seems to have a little play but it feels tight once it screwed all the way down.
Can anyone shed any light on this conundrum.
I still have to pickup the pressure collars for the tube that goes from the T-Housing to the Plate and weld the small pipe closed.
Here are some pics so people can get a idea
For the guys that went from a FI'd stock compression motor tuned with a Haltech to a FI'd lower compression motor.
Did you guys have to retune for the lower compression motor?
did you wait until after the break in(No Boost, 4000RPM Limiter enabled)?
Will the Haltech automatically compensate for a tune that was made with 600cc if you change them out for a 800CC and you change the injector size in the proper tables?
Might get the call tomorrow to pick up the block/heads from M2race
 03-27-2010, 08:20 PM
#42
Registered User
Thread Starter
iTrader: (11)

Join Date: May 2005
Location: New Jersey
Posts: 1,301
Likes: 0
Received 0 Likes
on
0 Posts
Time to update
Was forced to do headwork since the valves were pitted because the previous owner had let the motor sit in his backyard.
Supertech Inconel Valves (Flat)
Ferrea Valve seals
HR Valve Springs
Serdi Valve Job
No porting
Changed up some other parts:
DW 800cc Injectors
Southbend DXD Clutch Stage 5 FE
Now I have run into a snag
I was assembling the block today and found out that JWT never included
the dowel pins on their cams.
I sold my Rev-up cams long ago and now I'm stuck.
I tried looking up the part number for the Dowel pins and it seems that it only offered with the cams no seperate part number.
The Revup cams use 4 dowels pins 2 big ones and 2 small ones.
Anyone have any input on this?
Part number perhaps?
The only reference that the dowel is offered separately is in this thread
https://my350z.com/forum/engine-and-...my-engine.html
Last edited by Glex25; 03-27-2010 at 08:33 PM.
03-28-2010, 07:02 AM
#43
New Member
iTrader: (8)

Join Date: Jan 2007
Location: terre haute, IN; STL, MO
Posts: 6,457
Likes: 0
Received 7 Likes
on
6 Posts
I would be giving JWT and earfull. They should have either sent them or informed you that you needed them for the install.
About the injectors: I'm not a guru by any means but going from 600's to 800's shouldn't cause a horrible problem with the tune. If anything it will cause you to be on the safe side of fuel (rich) which is the best side to be if you have to be. The only thing i can think it would affect is the starting. I'm just starting to tune my 800's in osiris and it starts like crap.
About the injectors: I'm not a guru by any means but going from 600's to 800's shouldn't cause a horrible problem with the tune. If anything it will cause you to be on the safe side of fuel (rich) which is the best side to be if you have to be. The only thing i can think it would affect is the starting. I'm just starting to tune my 800's in osiris and it starts like crap.
03-28-2010, 07:08 AM
#44
Hey Glenn, can you contact any of the reputable motor builder shops, like Forged, SP, Injected, or so forth and see if they have any of the dowel pins, leftover, from perhaps a blown motor. Turbo-toys in Florida also has tons of used Z parts. Why not give them a shot 813-695-6665 ask for Jim.
03-28-2010, 08:41 AM
#45
Registered User
Thread Starter
iTrader: (11)
Join Date: May 2005
Location: New Jersey
Posts: 1,301
Likes: 0
Received 0 Likes
on
0 Posts
Got lucky the guy i sold it to is next state over and he hasn't installed them yet so I'm heading out there see if i can remove them easily.
I will post pics of the block later on
I will post pics of the block later on
03-28-2010, 12:50 PM
#46
Registered User
Thread Starter
iTrader: (11)
Join Date: May 2005
Location: New Jersey
Posts: 1,301
Likes: 0
Received 0 Likes
on
0 Posts
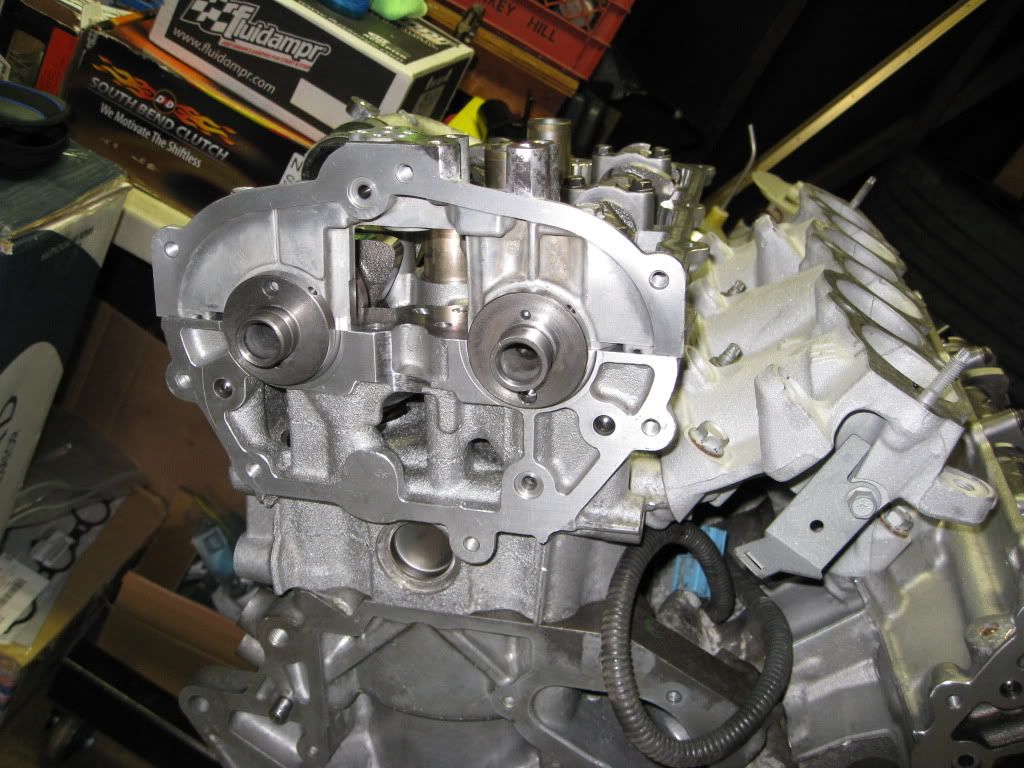
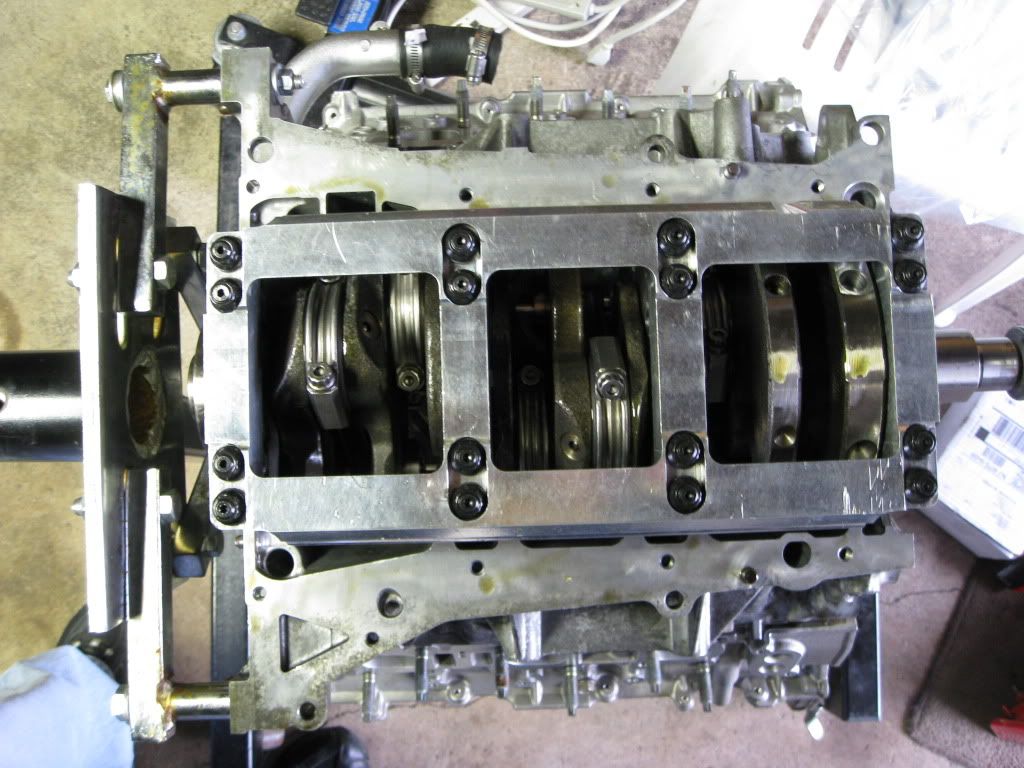
So I panicked a little when I was looking at the service manual and it said the dowel pins were on the cams and so did the parts catalog. My mistake was not looking at the cam gears and looking behind so for future reference on the rev-up motors the cam sprockets are the ones that hold the dowel pins.
Here are some pics.


Here are some other pics


Here are some pics.
Here are some other pics
Last edited by Glex25; 03-28-2010 at 02:22 PM.
 04-14-2010, 10:53 AM
#51
Registered User
Thread Starter
iTrader: (11)
Join Date: May 2005
Location: New Jersey
Posts: 1,301
Likes: 0
Received 0 Likes
on
0 Posts
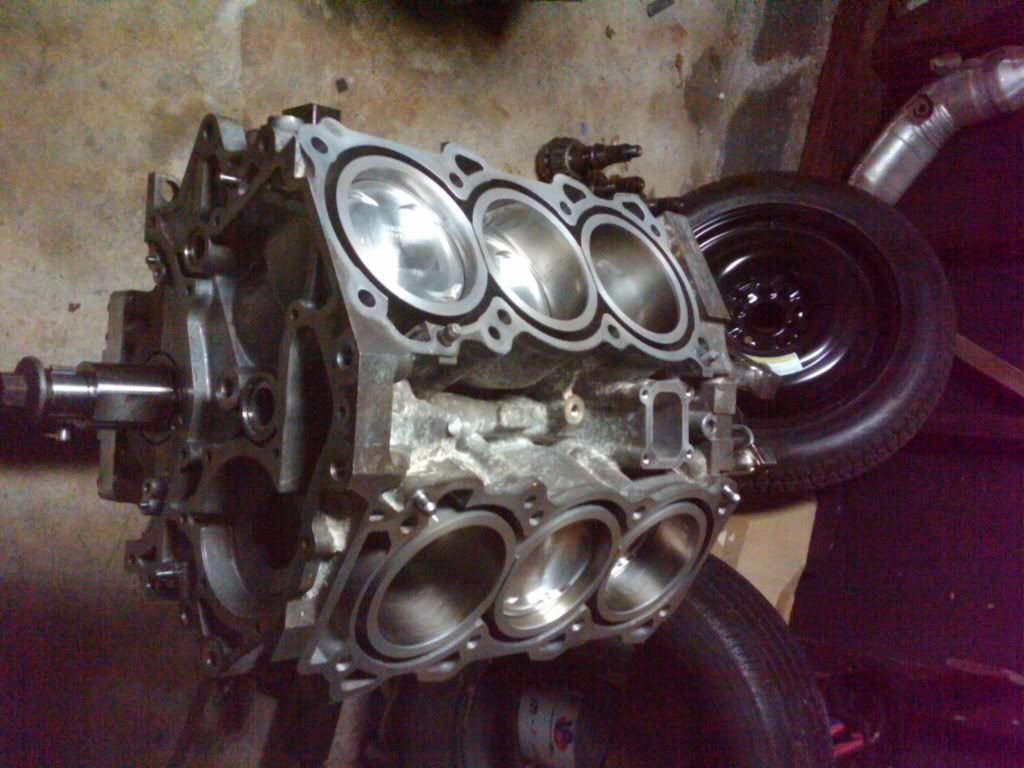
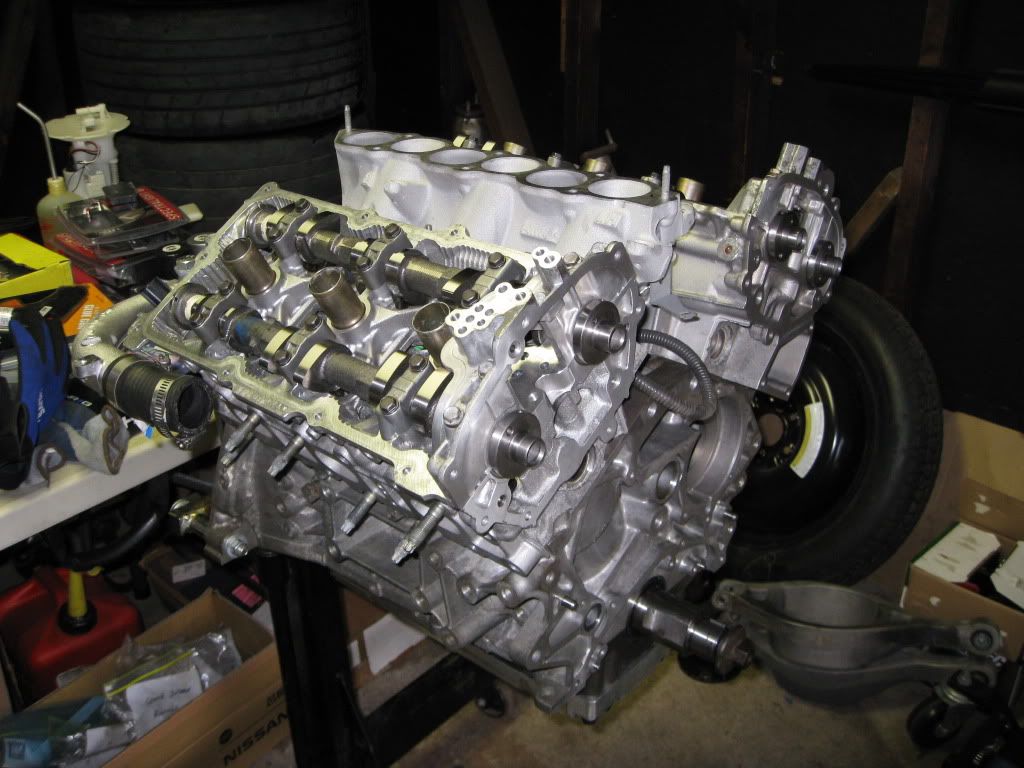
Got the Nissan RTV on Sunday and 1cockyz and I did some work. I was also missing the 4 small O-Ring Seals that go behind the rear timing cover pick those up Monday and installed the rear timing cover. My kids baseball season has started so every day is either drop them off at a practice or taking them to a game which is cutting into my time.I have also been selling some stuff off so boxing up and shipping has also taken my time by the end of the week i hope to have everything together.
Here are some of the progress pics


I should have the car back in my possession in 3-4 weeks according to the shop so we shall see. Some pics from last week


Here are some of the progress pics
I should have the car back in my possession in 3-4 weeks according to the shop so we shall see. Some pics from last week
Last edited by Glex25; 04-14-2010 at 11:48 AM.


 04-14-2010, 07:03 PM
#58
Registered User
Thread Starter
iTrader: (11)
Join Date: May 2005
Location: New Jersey
Posts: 1,301
Likes: 0
Received 0 Likes
on
0 Posts
Wanted to get a second opinion to make sure I got all the timing marks correct.
I tried following the manual to a T including the marks on the chains.
If it's wrong let me know before I seal it up


The motor has been sprayed down with some WD40 and put away for the night
I tried following the manual to a T including the marks on the chains.
If it's wrong let me know before I seal it up
The motor has been sprayed down with some WD40 and put away for the night
