When you click on links to various merchants on this site and make a purchase, this can result in this site earning a commission. Affiliate programs and affiliations include, but are not limited to, the eBay Partner Network.
I'm really not a fan of mixing oil & coolant for the benefit of cooling - my old man had a early 90s MB E190 with a oil to coolant heat exchanger and something inside broke and it seized up his engine...I love the car but I'm not sinking $2600 into a heat exchanger...fork that...I'll get a simple setrab 16 or 25 row replacement.
I'm not a huge fan of mishi stuff in the first place ... are you talking about a oil cooler yea?
There are MUCH cheaper options than that ARC one, but yeah I tend to agree. I just thought it was pretty cool.
That mixing happened with a nissan pathfinder my dad had, between the coolant and the ATF. Same deal... Trashed it.
But yeah my mishi oil cooler was supposedly dual pass, I showed you pics of it. It doesn't appear to have the plate on the inside on the side with the fittings that would force the oil to travel through it in a dual pass manner. From what I can feel the oil just goes straight from the inlet to the outlet port. Would have been better off with a single pass ebay one....
But yeah my mishi oil cooler was supposedly dual pass, I showed you pics of it. It doesn't appear to have the plate on the inside on the side with the fittings that would force the oil to travel through it in a dual pass manner. From what I can feel the oil just goes straight from the inlet to the outlet port. Would have been better off with a single pass ebay one....
yeah, thats BS...Mishi should be ashamed of themselves...when I first got my turbos on, I made my cooling system way way way too complicated. lesson learned, keep it simple.
yeah, thats BS...Mishi should be ashamed of themselves...when I first got my turbos on, I made my cooling system way way way too complicated. lesson learned, keep it simple.
Can't wait to cut it open one day to prove it. Then will post up pics and call mishi out on that bs. I highly doubt they ground and polished the welds out.
if I can plan for it I just get if off ebay ... nothing sexy, make sure it's a reputable seller, make sure its 6061 and the dimensions I need, and it's delivered to my office. Much better prices, I dont have to spend time/gas driving all around denver looking for what I need, not to mention pay retail for it. I try to over-order so I have extra incase I screw up or just to have around for miscellaneous stuff.
I'll buy little stuff from Lowes or Home Depot if it's small and I need it right away.
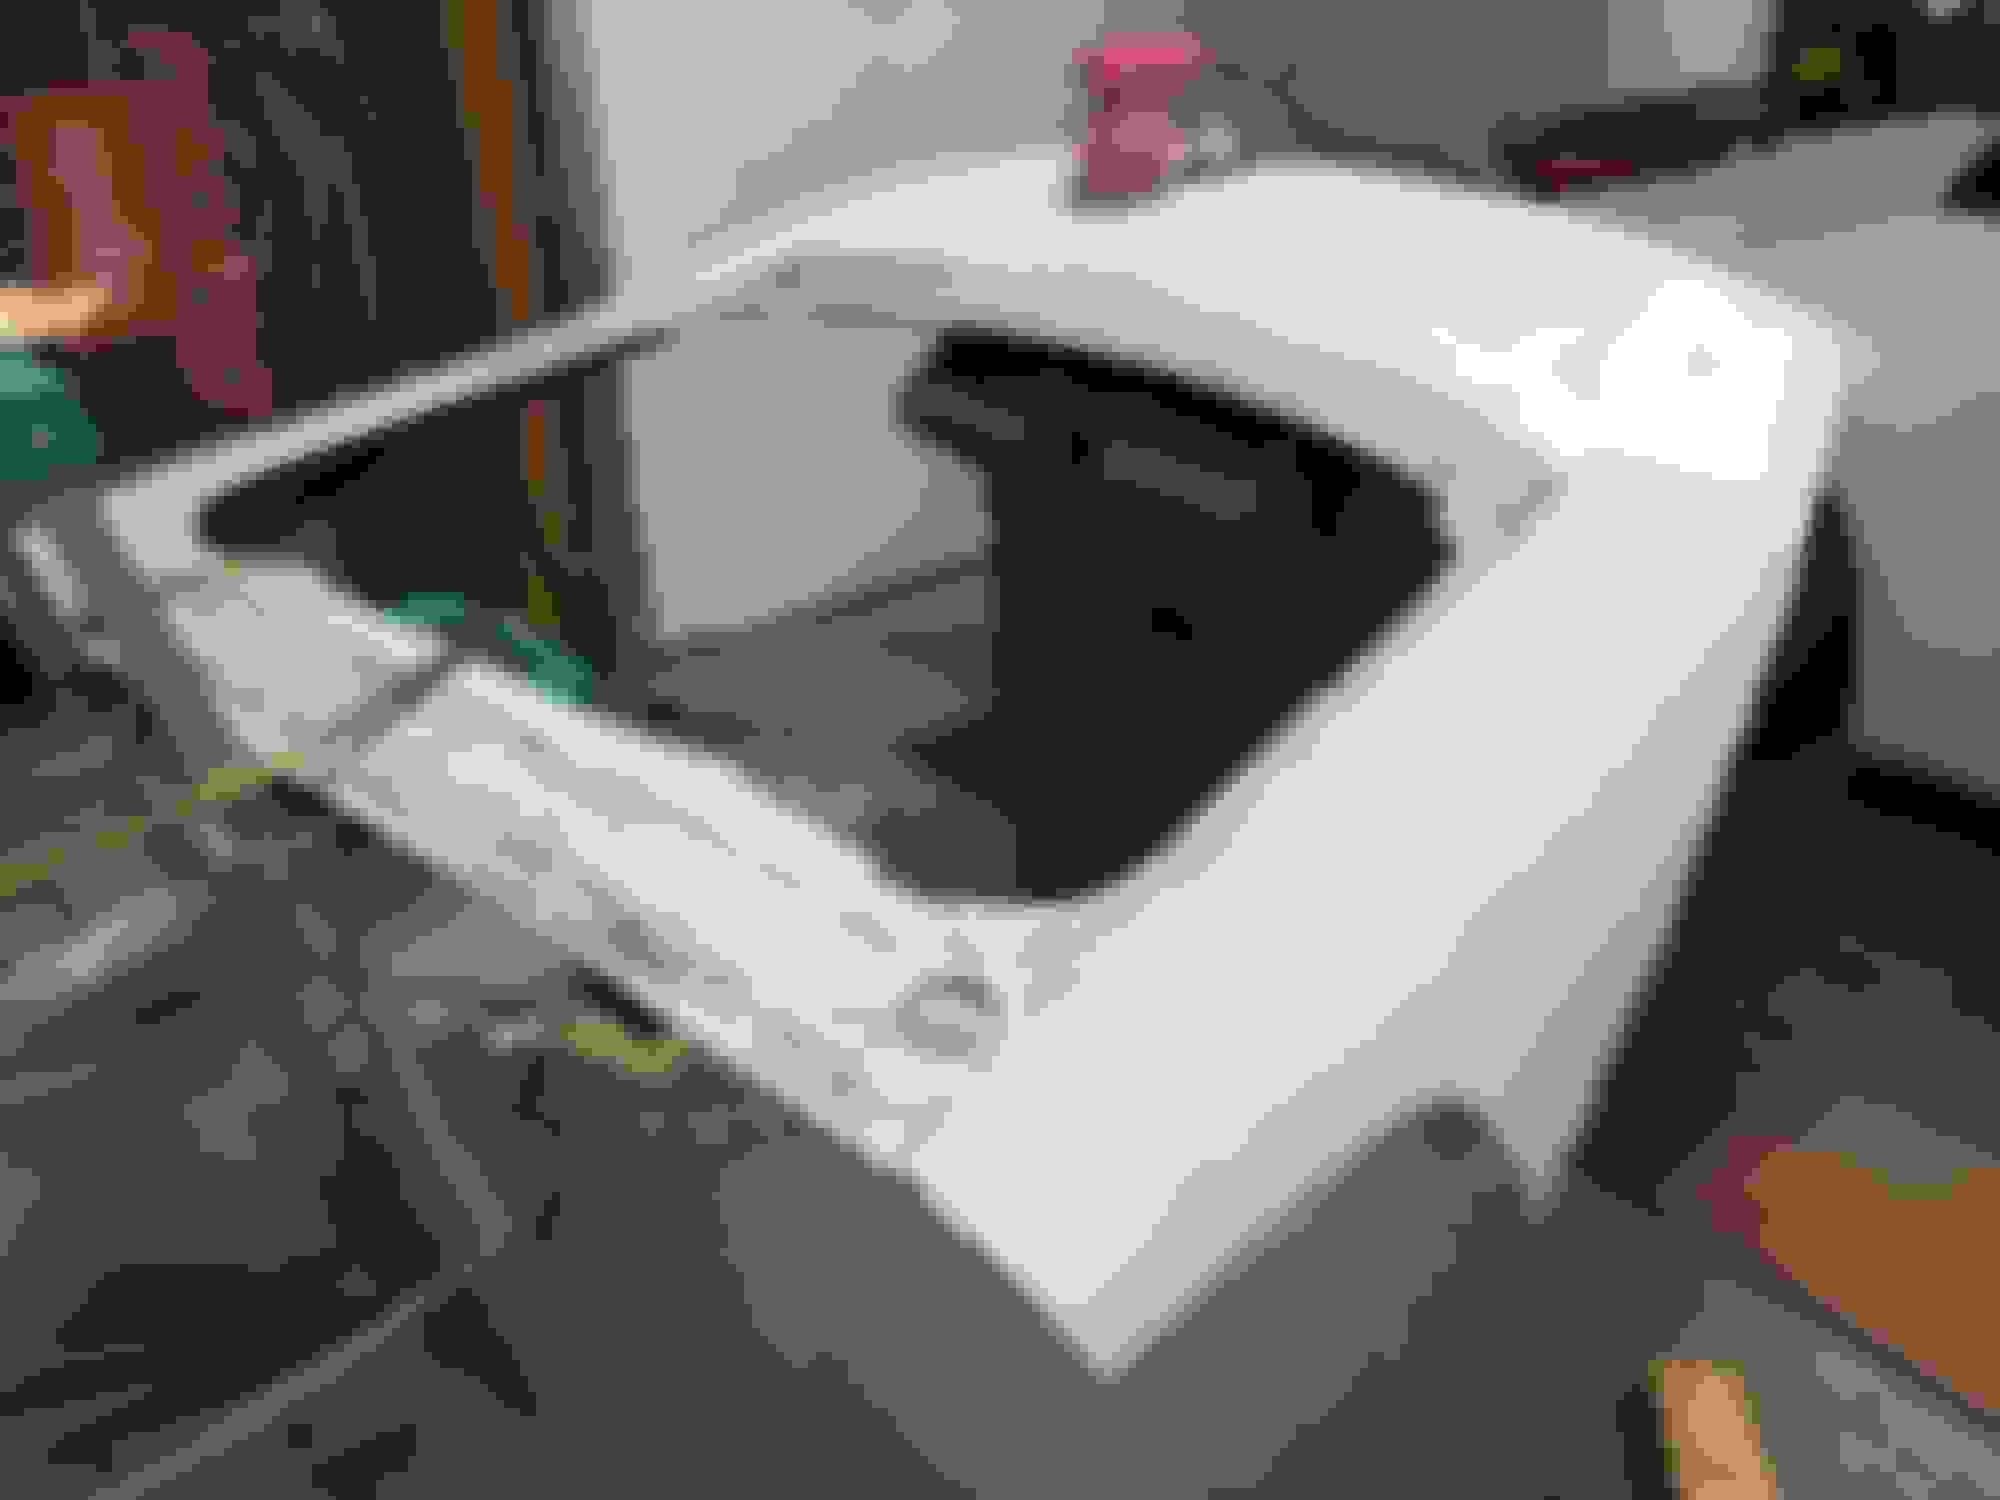
window is out ... its an unbranded / sorta pos fiberglass hatch. The up-side is, the piece is 19lbs. Add some bondo, paint and lexan and I'll be under 25lbs. My OEM is around 80lbs +/- so I can take 50 to 55lbs off the car. Quite possibly could put my car under 2900lbs (depending how much I added with the water meth and all my antics on the front).
Clear coating was scratched pretty bad. I picked it up for $200 and figured I could sell the glass and if it ***** out than oh well...
I don't like the carbon fiber look, even if it was dry carbon I'd still prime & paint it my OEM PPW.
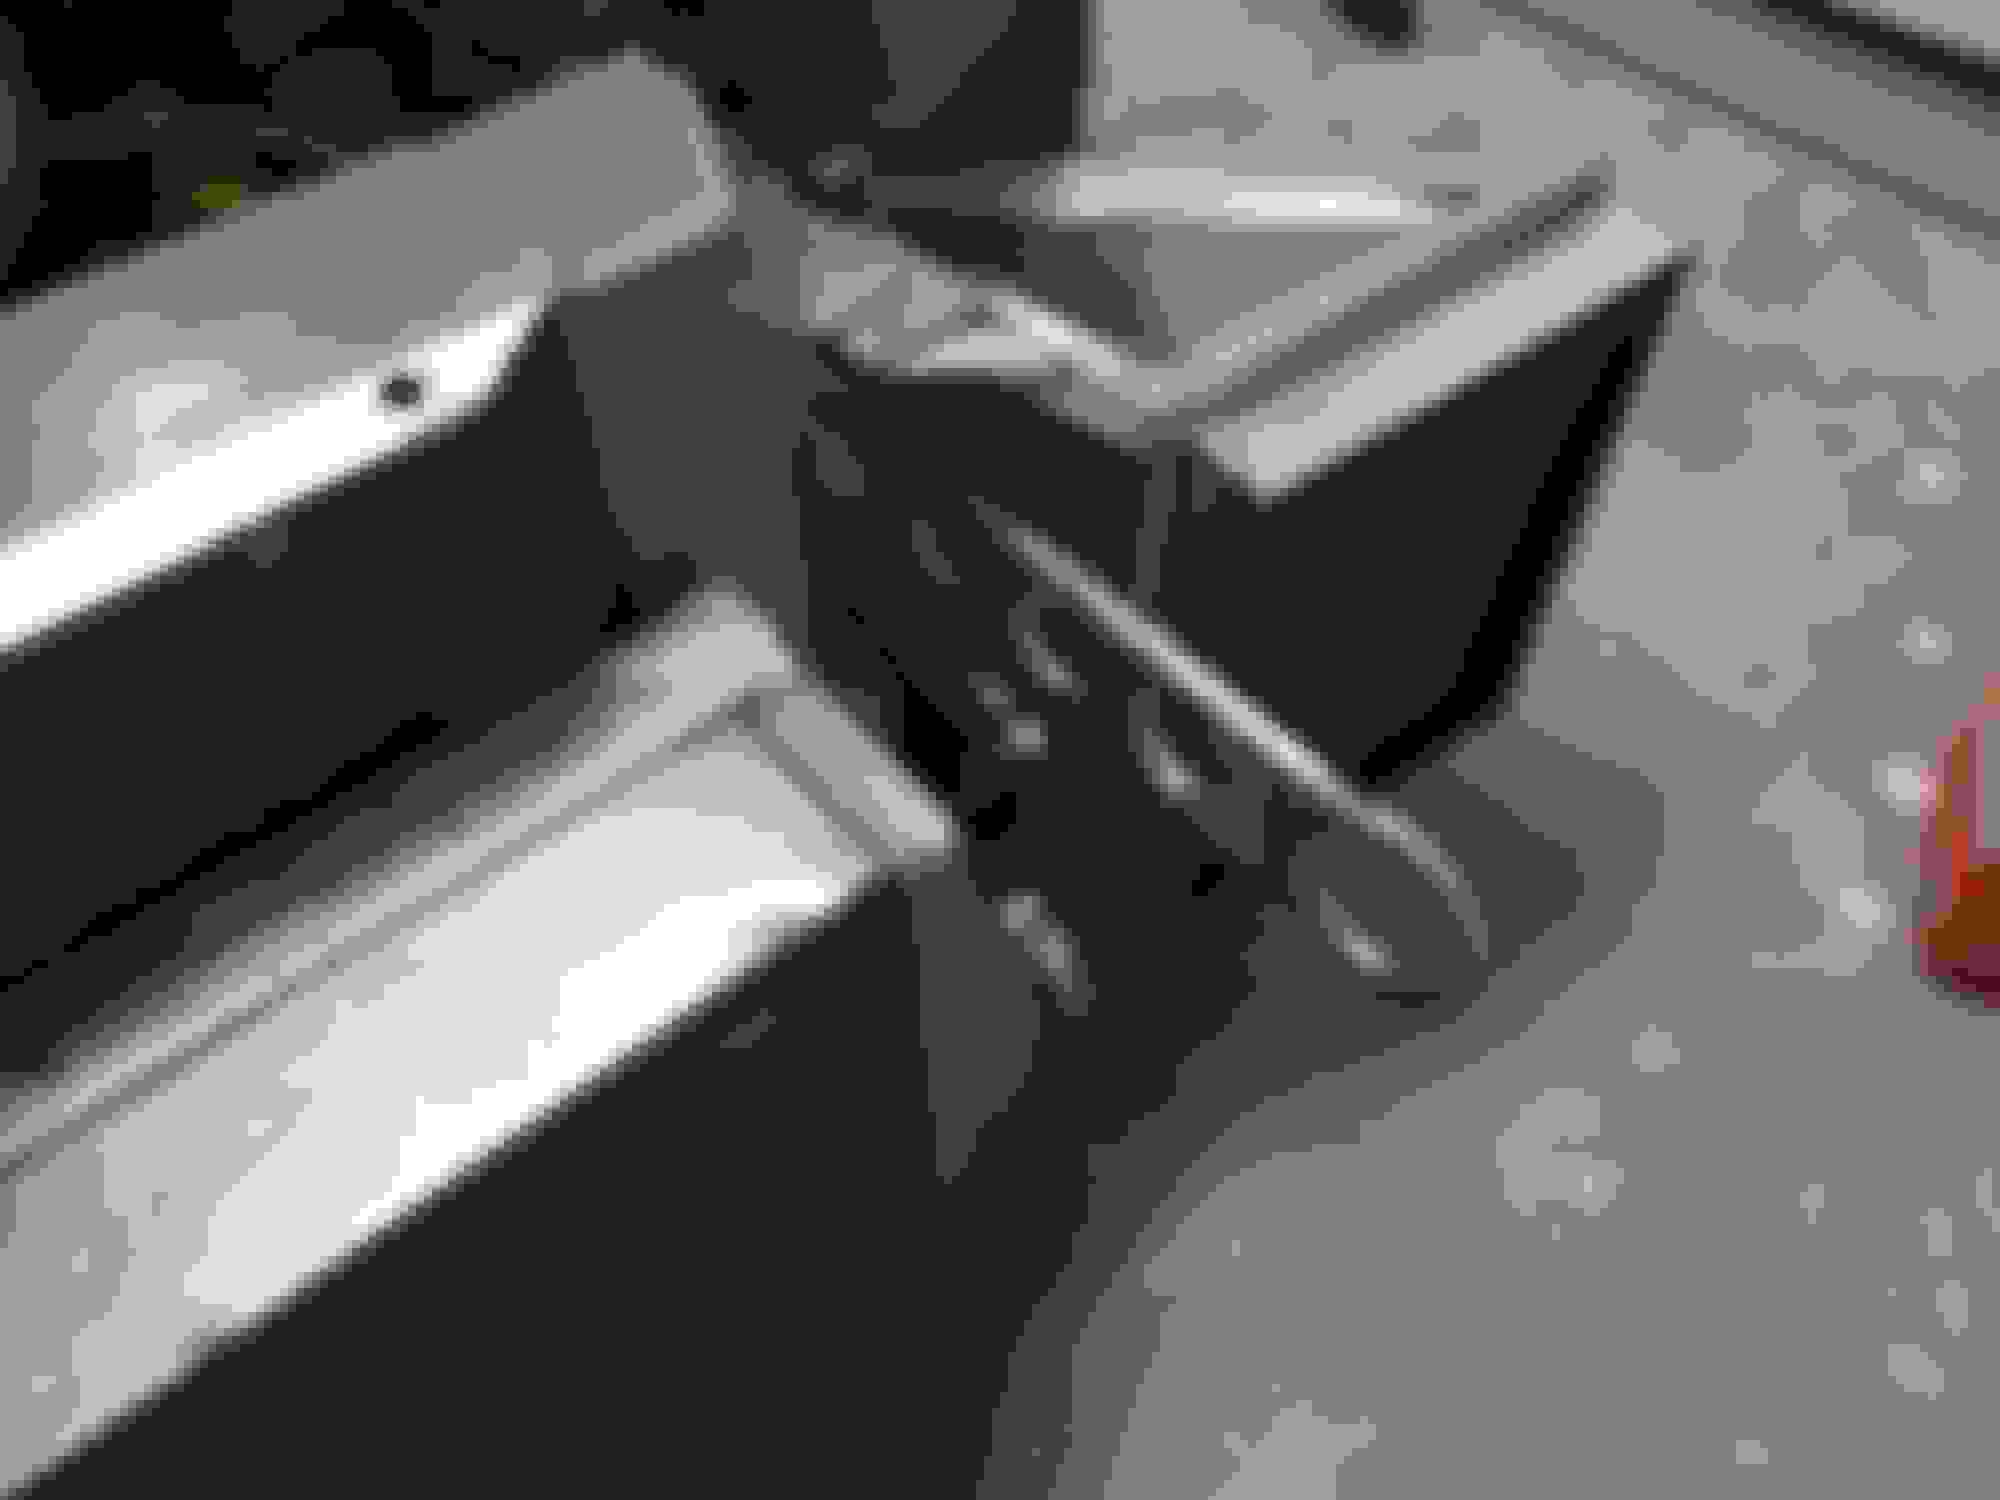
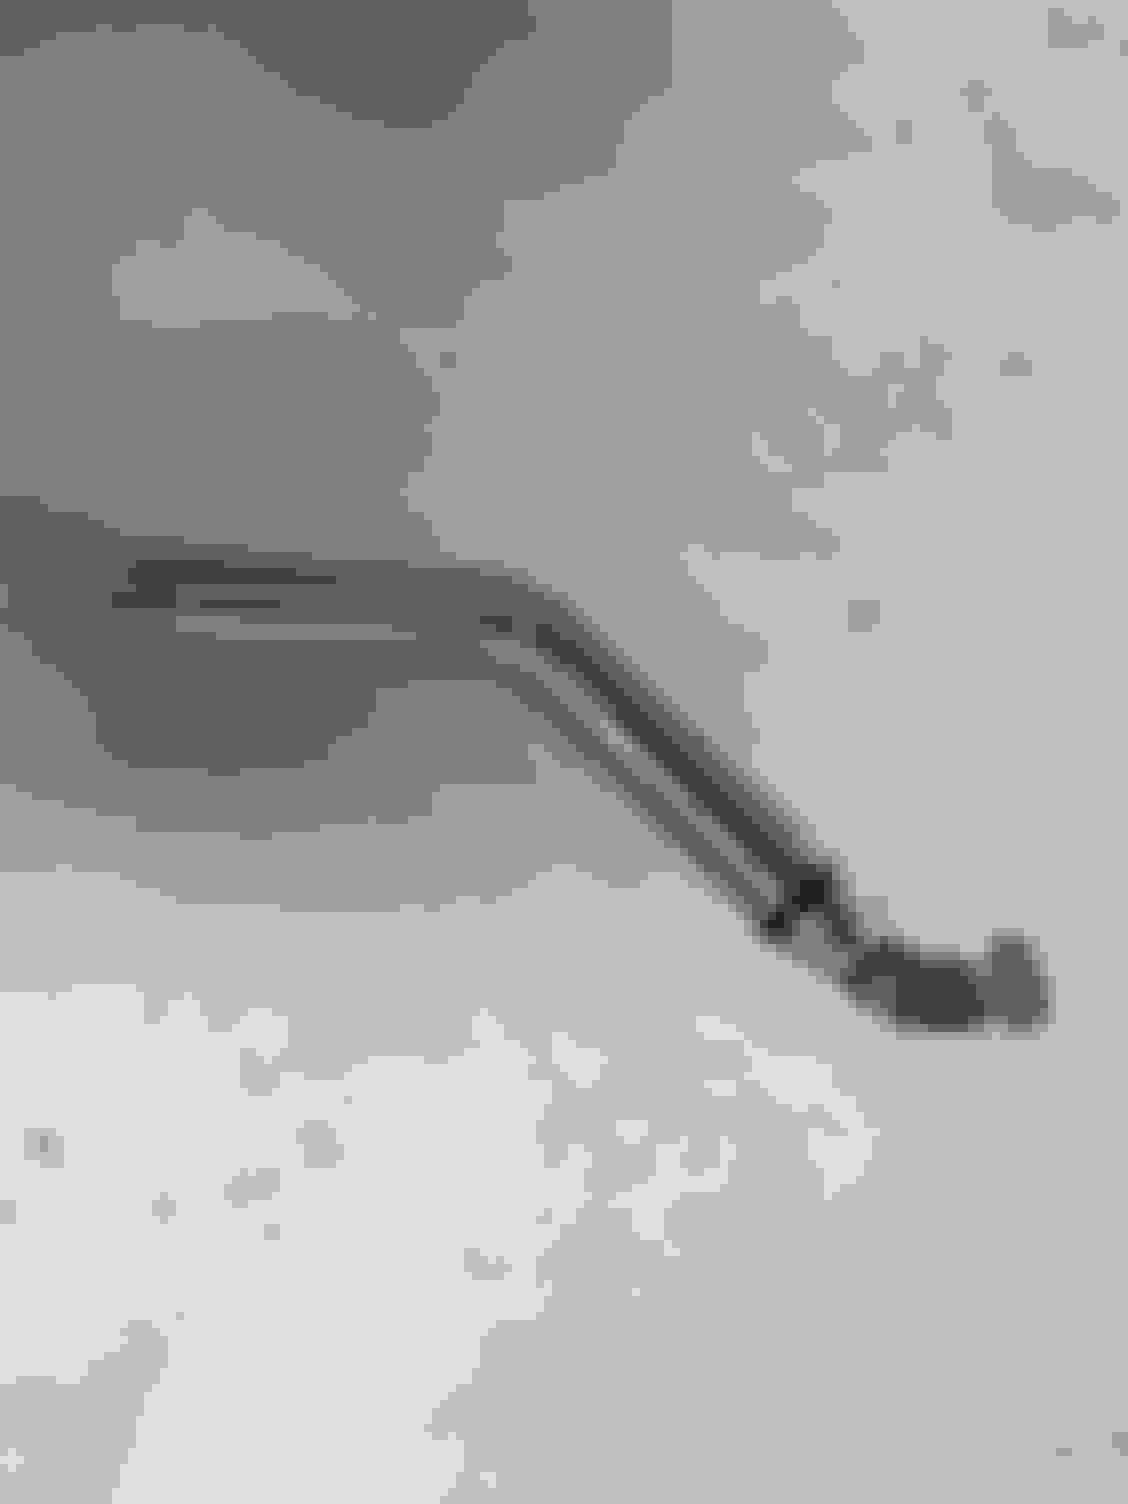
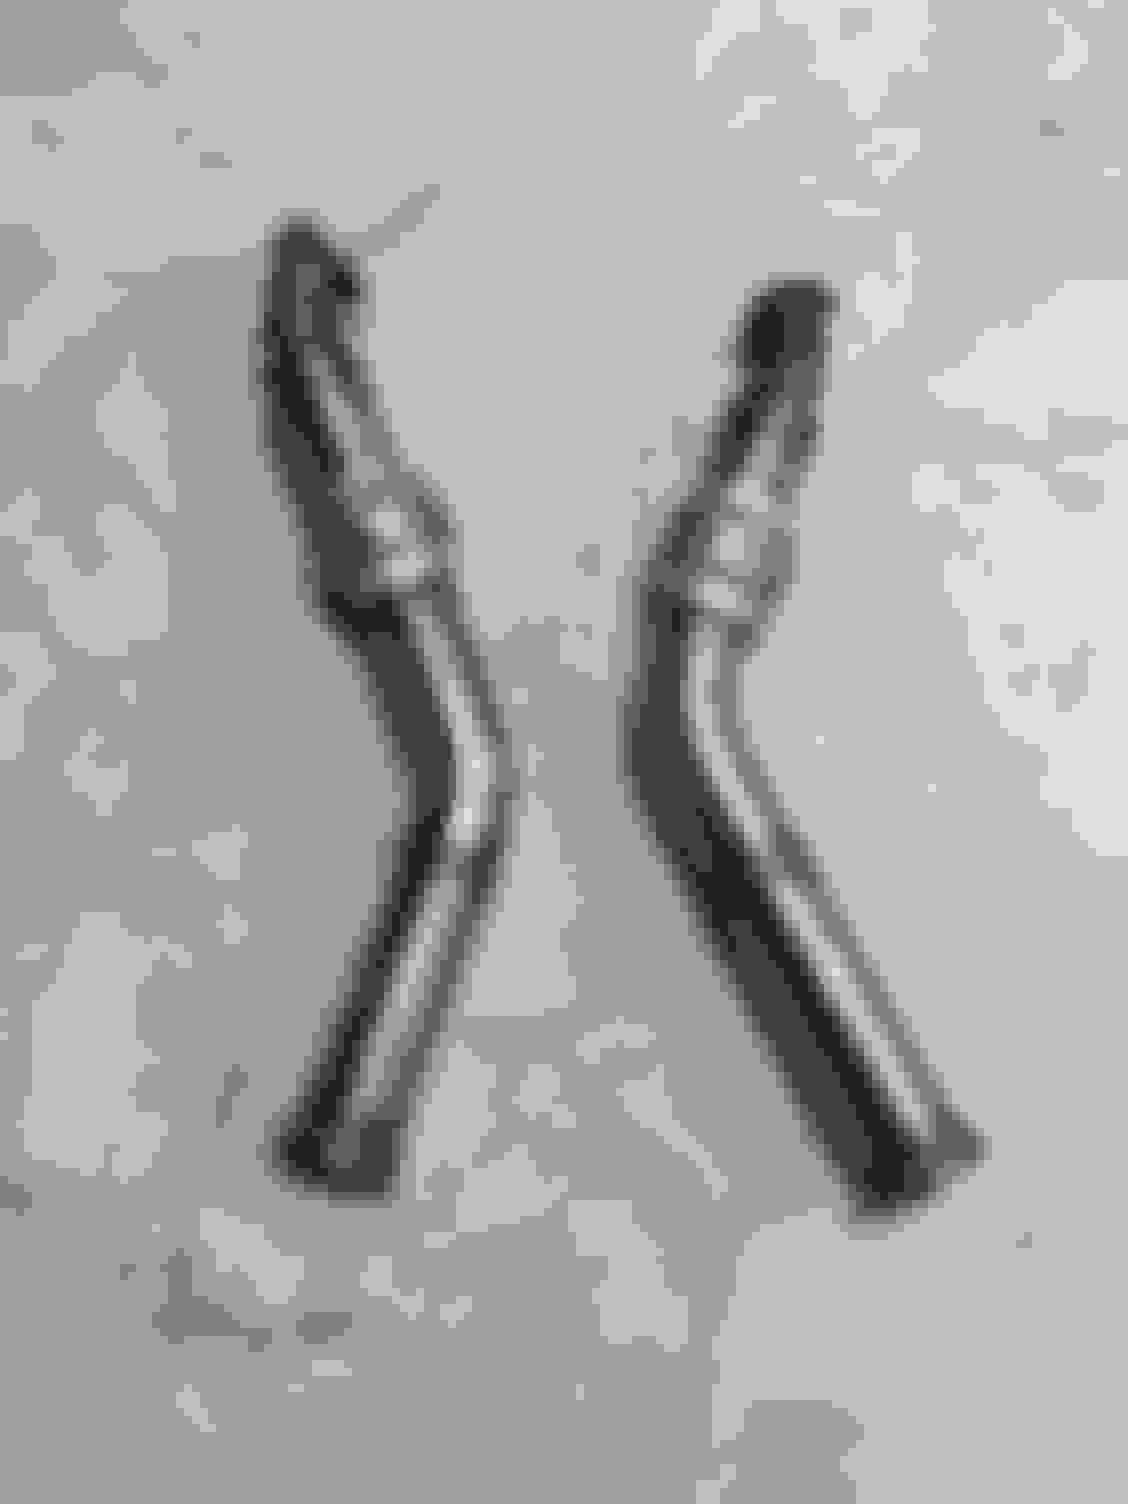
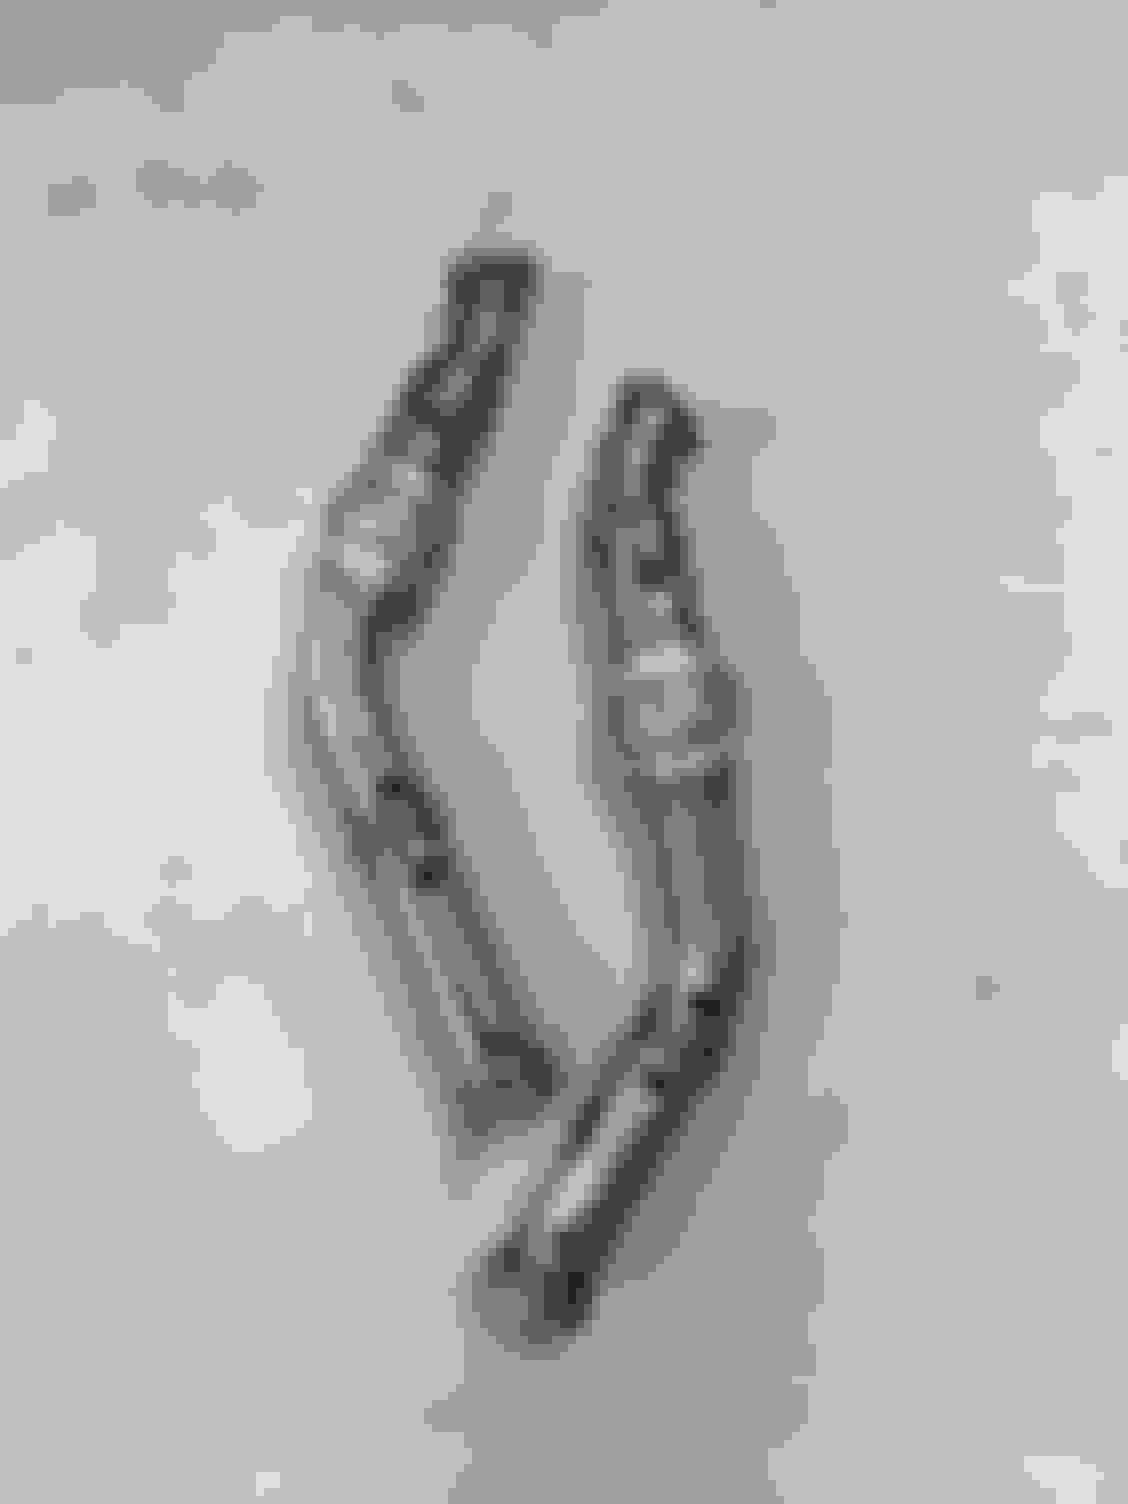
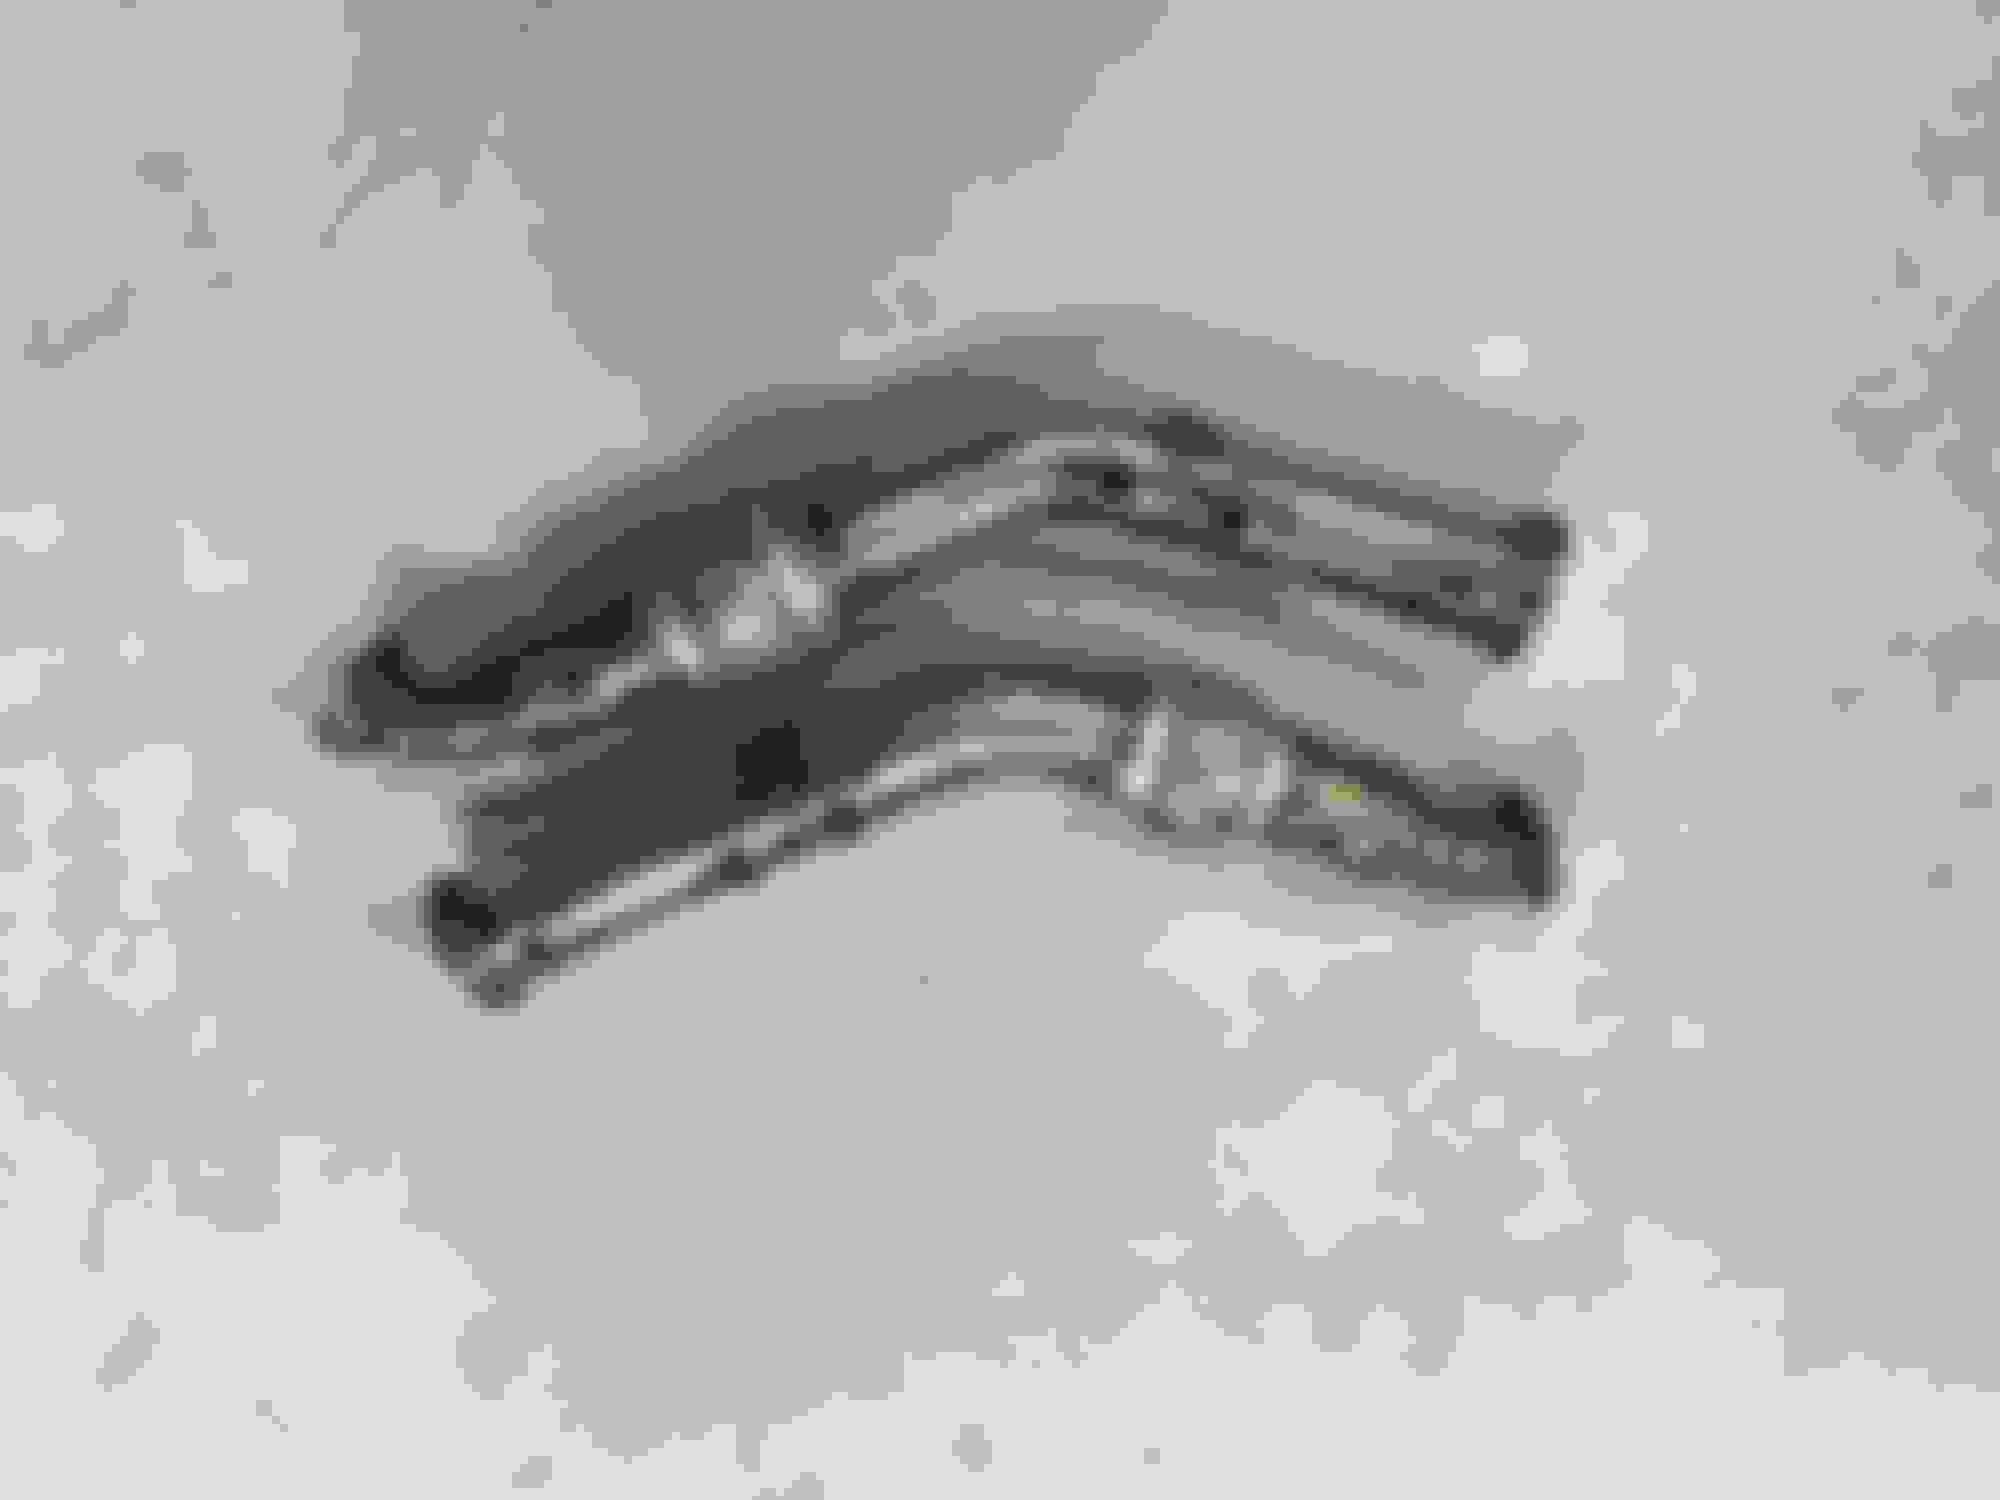
wanted to put time into the exhaust work - the Y-pipe is done and aside from welding the aluminum V-band on the aluminum side, the mid-pipe/muffler is done.
Took Thursday and Friday to peel the chassis bracing, muffler/mid pipe, Y-pipe, testpipes, greddy o2 sensor housing, WG relo kit off.
wanted to put time into the exhaust work - the Y-pipe is done and aside from welding the aluminum V-band on the aluminum side, the mid-pipe/muffler is done.
Took Thursday and Friday to peel the chassis bracing, muffler/mid pipe, Y-pipe, testpipes, greddy o2 sensor housing, WG relo kit off.
I know who to talk to now when I need a custom singe exhaust and y-pipe lol, looks very professional!
^ it looks better in pictures / worse in person ... this is my first SS project and it's going better than I thought. I attribute it to learning TIG on aluminum...
a small update -
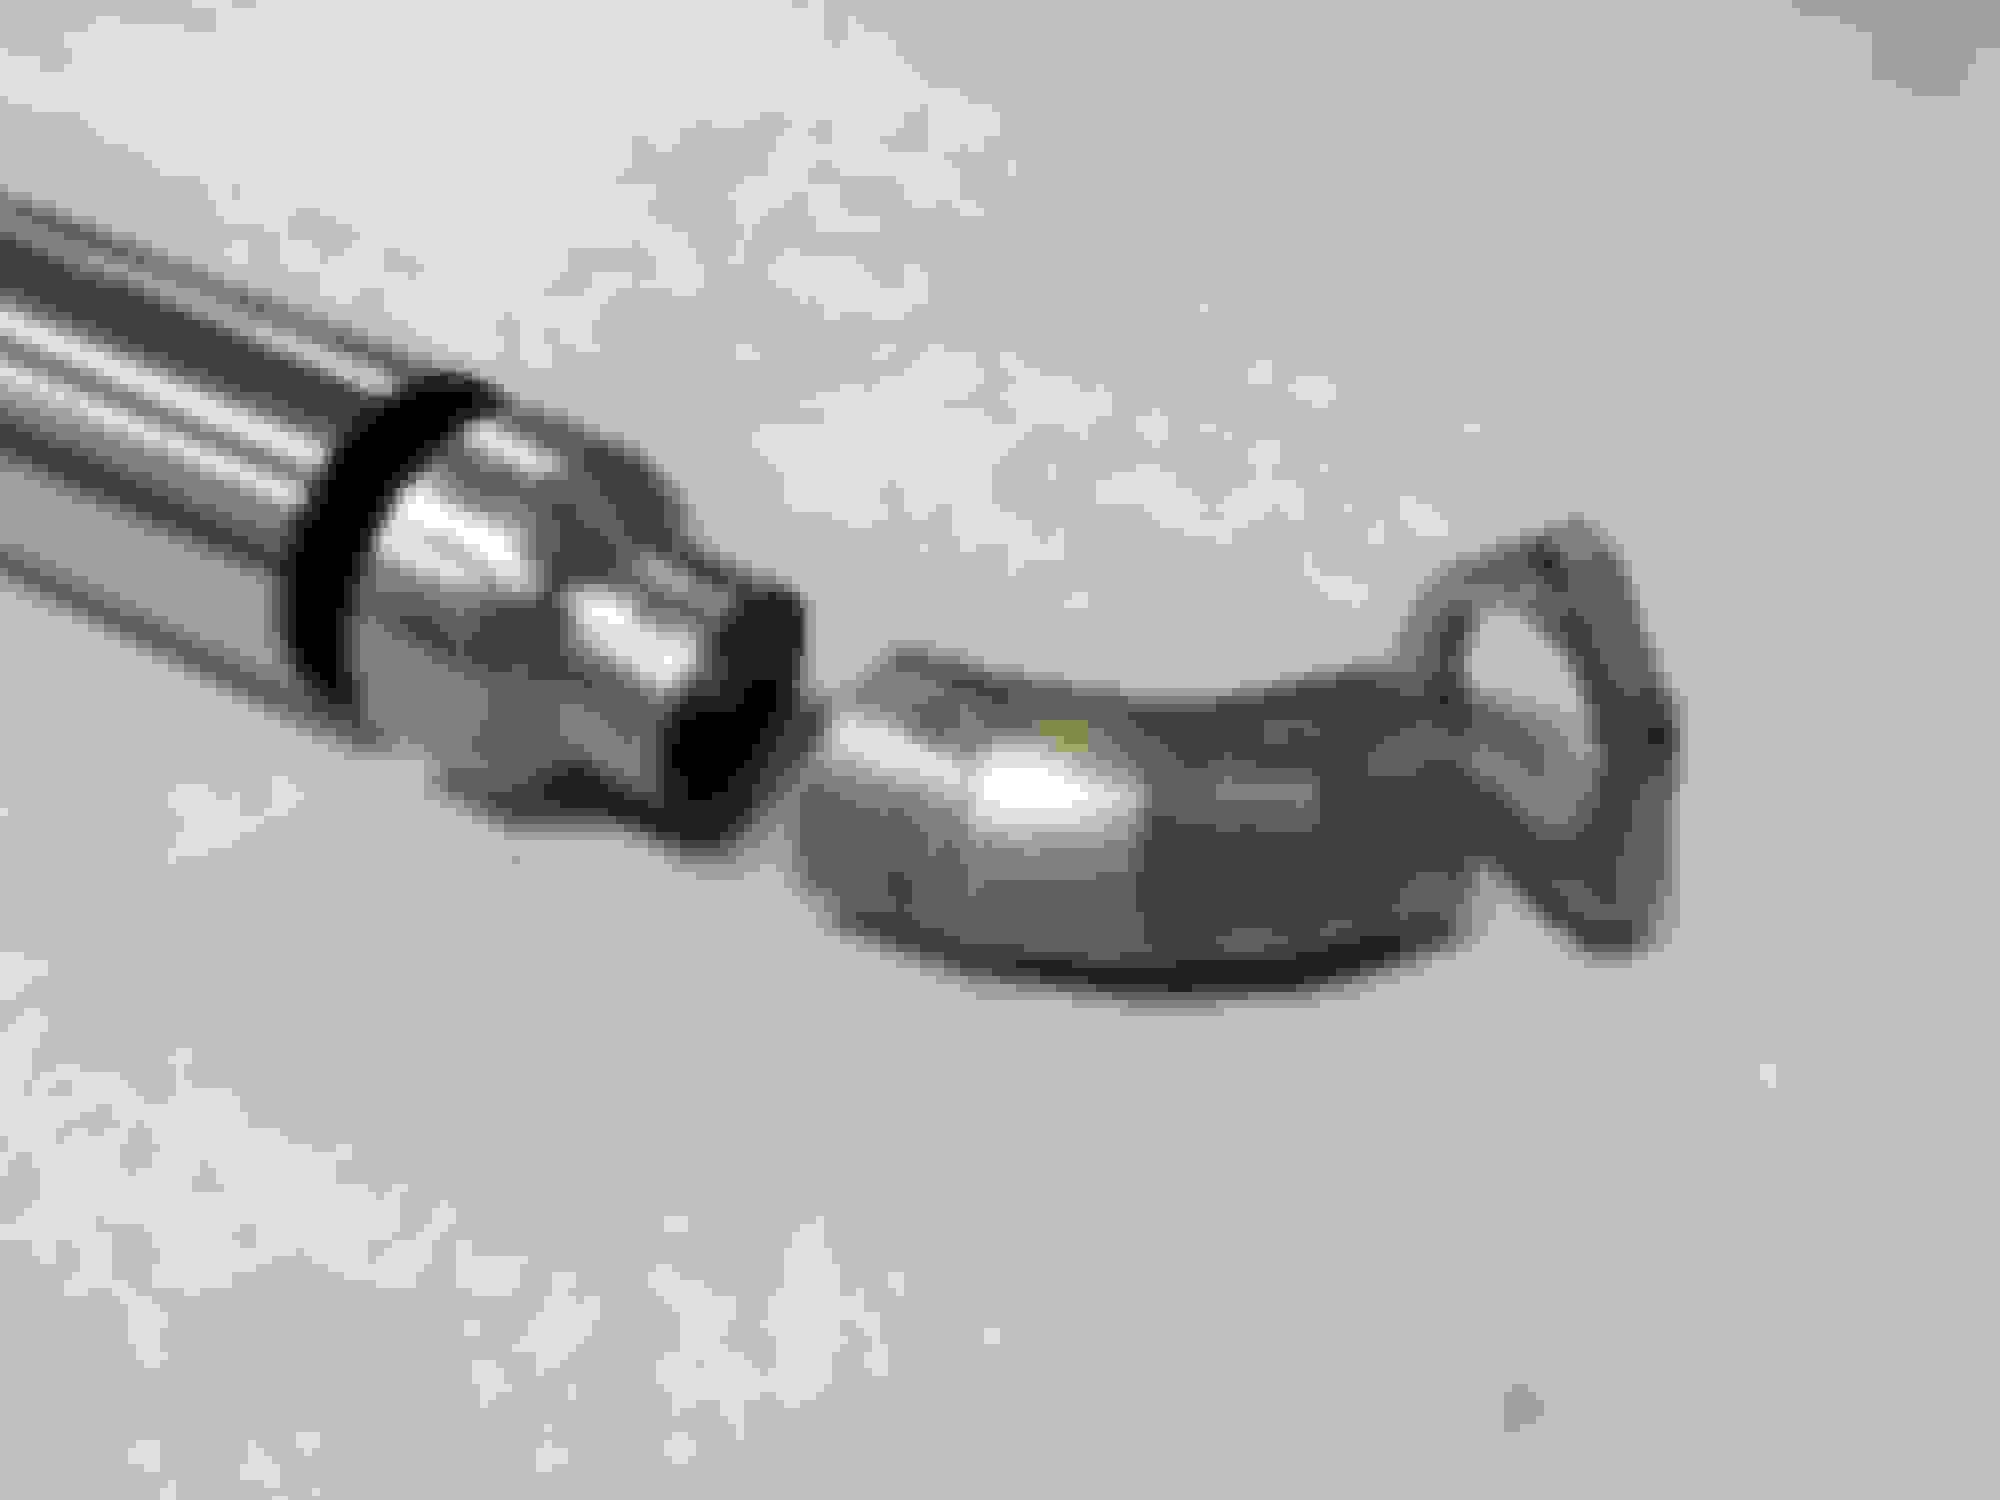
I pre-fab'd a bunch of this, which it hasnt bitten me in the a$$ yet ... I put a 4"OD / 10" in length flex hose in the Y-pipe but I think I gotta take it out to make the 'front to back' alignment work out ... with the flex hose in-place the Y portion of the Ypipe is too far forward and hits the fat part of the transmission
I've gotta run a short (4" - 6") piece of 2" off the back of the exhaust housing as the 3" wont yield enough room for the waste gate pipes ...
I also need to add a ~4" angle'd nub to the mid/muffler pipe to get it's 'left to right' alignment where it needs to be.
an even smaller update ... picked up a stick of 2 1/8 304 SS ... was a pig in **** when the fabricator found a 2' stick of 2 1/8" ss pipe in the scrap pile ... trying to get the ID of this pipe around 2" to best match the back of the exhaust housing
made template, set the band saw up and cranked out 8 pie-cuts (4 per side) but I may only need 6 (3 per side)...tacked it up and I'll dry fit it tomorrow.
also ordered a 4"OD 4" in length flex hose to bridge the gap between the ss y pipe and aluminum exhaust. In reality, I could have V-band'd the ss to the aluminum but it'd have to be a perfect angle and I'm not nearly that good...flex section it is!
found a pile of 2" (.104 wall) 304 about an hour north of denver...gonna go pick up a few sticks tomorrow ... might fab up some tube-style greddy headers at some point in time (ie when I run out of stuff to do)...
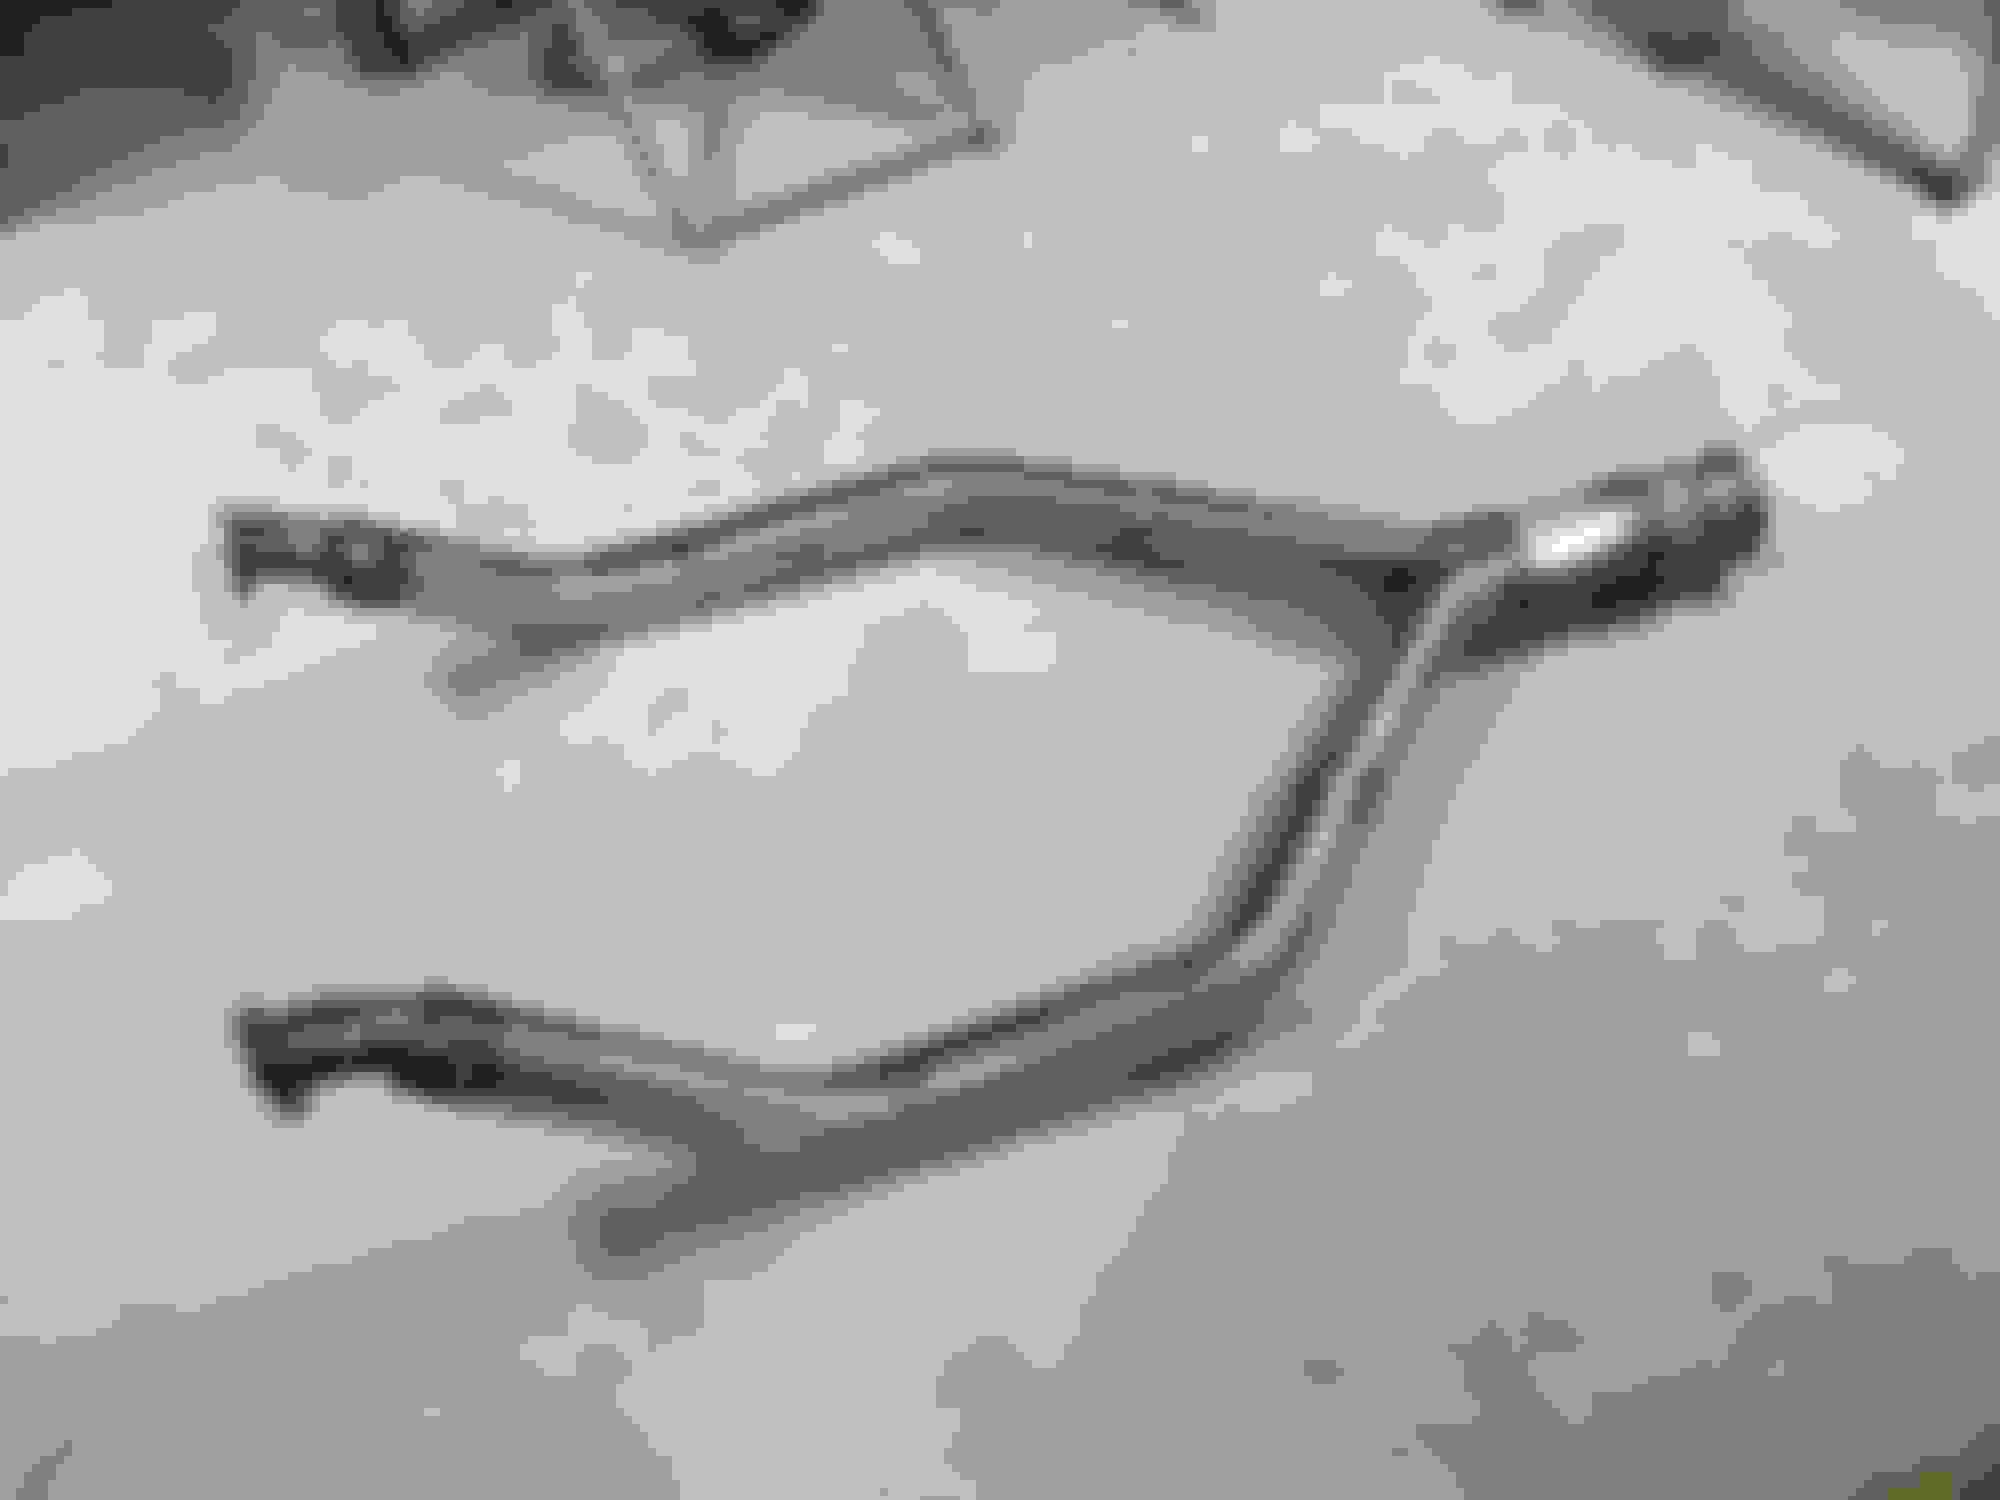
on the green ... got everything put together. My down pipes are a little off but a 3" flex section will soak-up inconsistencies(which I havent installed quite yet.
I also want to add 3" v-bands before the merge for installation ease...more on that later...
I didnt notice this before (and it makes sense based off the greddy headers) the blowers are not symmetrical with respect to the the OEM heads.
I originally had a 10" (in length) flex hose at the end of the Y-pipe, and it was too long ... so I dropped a 4" (in length) in it's place.
I didnt want to reinvent any wheels so I am keeping Jeramiah's waste gate relocation kit.
adding a v-band and a flex in the downpipe...adding the flex section helped in that I didnt have to be super-precise with this connection and will allow for expansion/contraction. Adding the v-band allowed me to rotate the down pipe to where it needs to be. I also like having the ability to remove the Y pipe and mid/muffler pipe if I'm somewhere where I dont have to run with it.
The passenger side fitment was close enough to finalize the welds (currently tacked) but the driver side needs to extend about 1/8" at a minimum...might take it to a 1/4" for good measure.
with no wastegate relocate kit, the flange & 2 1/8" OD pipe right off the exhaust housing fastening the 3 bolts is unbelievably easy / easier than what greddy had with their O2 sensor housing...not sure if I go with a hex head bolt or install a threaded rod and attach with nut...might be a combination of the two.
SS O2 sensor bungs on the way...hopefully they'll be in by the weekend. Gotta relocate that fuel line!
cut some welds and adjusted...still need to do the top half of the 3" flex sections.
I might place & pilot hole the o2 sensor bungs over the weekend and see about re-routing that fuel line. I think the fuel line needs an extension which I have a original CJM piece I can add in.
I have a 10 or 12 pieces of 3" dia scraps that I may pie-cut to make two 90* turn-down pieces that'd direct exhaust down (rather than back). I'd install at the 3" v-band junction(right before the Y-pipe) when the y-pipe/mid/muffler are off the car.
I also want to add a AN-3 fitting near the where I can install a pressure gauge and check exhaust pressure ... Hat tip to TCode Tom who has some good insight on a little exhaust back-pressure.
Thanks to the greddy cast o2 sensor housings (about 4lbs each) the new setup is approximately 5 to 7 lbs lighter than the old(every ounce counts)!
Greddy Cast O2 sensor housings 4lbs each
Stillen test pipes 5.5lbs each
Unbranded Y-pipe 10.9lbs
JKB AL mid/muffler 13.2lbs
total - 43.1lbs
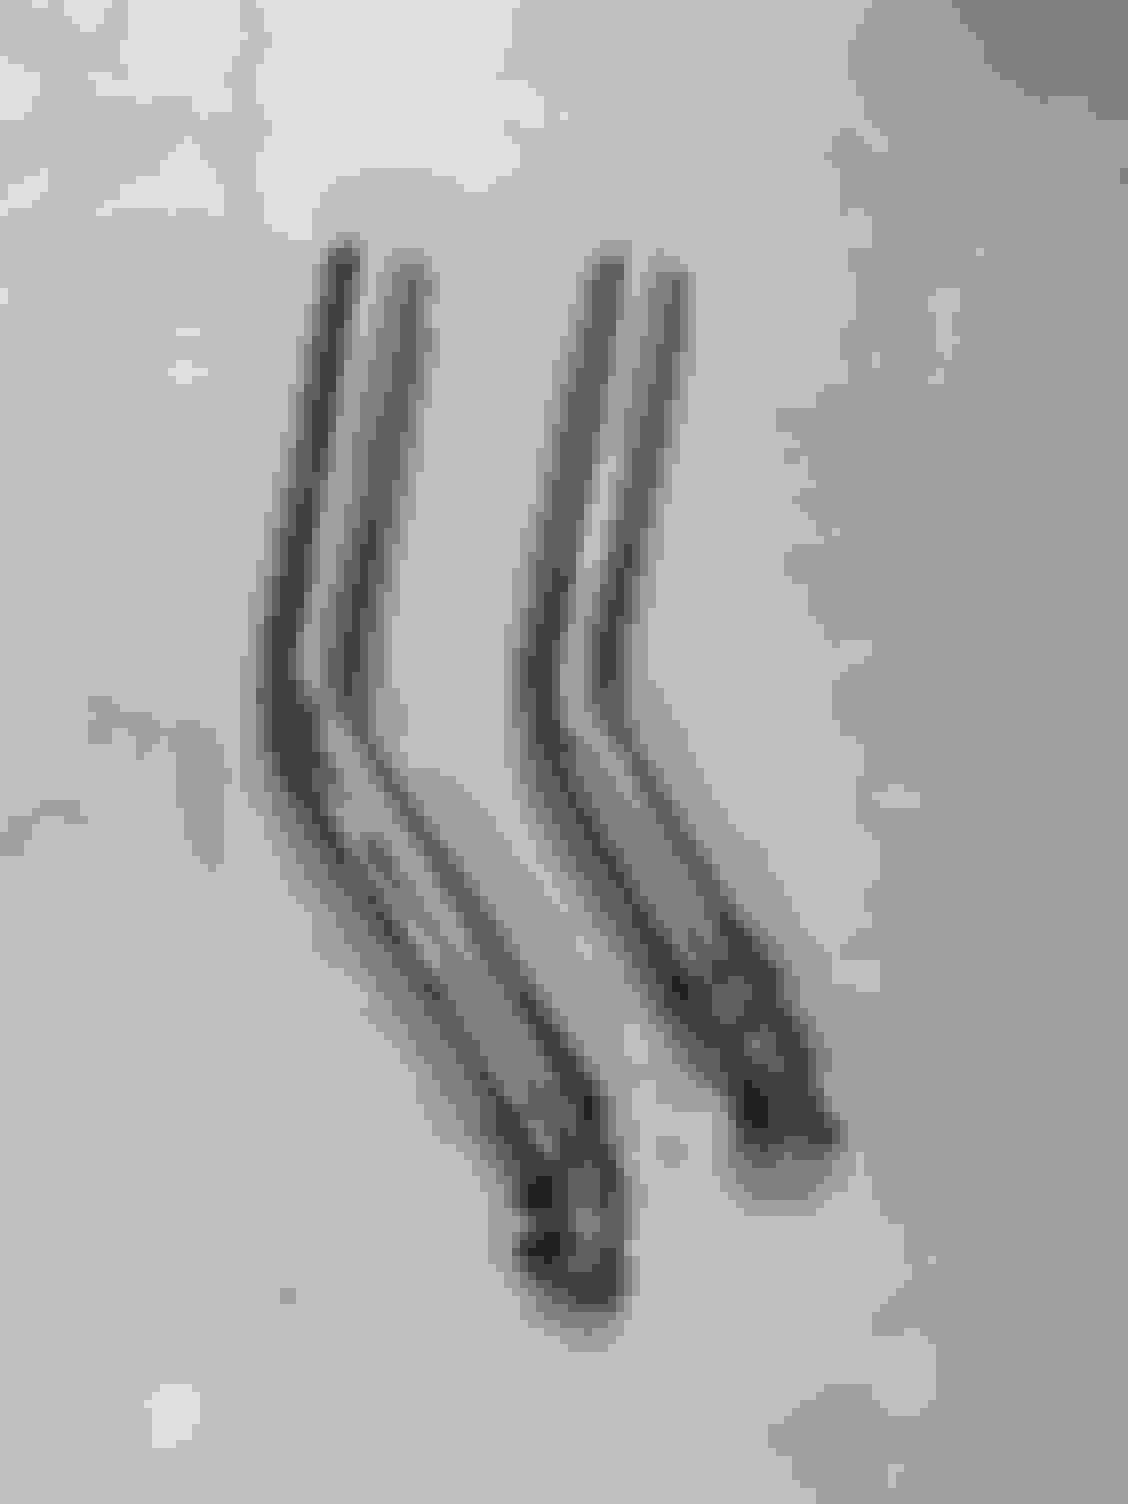
JKB Downpipes 5.7lbs each
JKB Y-Pipe 11.3lbs
JKB AL mid/muffler 13.2lbs
total 35.9lbs
screw body work lol. I can't do it, need a mentor or something.
I'm looking for a mentor! stainless seems much more forgiving than aluminum!
I re-welded a few spots yesterday to give the downpipes a ~1/8" more length and finalized those welds on the flex sections.
Going through my OEM nissan hardware I came across these studs with a star bolt on top and I think I'm going to use them...it sorta scares me because they might be a grade 8 hardware but it might be smart to use a weaker stud on those and use a grade 12.9 nut ... let the nut tear-up the bolt if it seizes-on??
would glady take opinions on this.
my previous though was use a grade 12.9 hex-head bolt or use a grade 12.9 bolt and thread-on nuts. I 'may' be overthinking this.
Originally Posted by yosip1115
Exhaust is looking good. You shaved 40 lbs in exhaust alone? That's freaking nuts!!!
I think my stillen exhaust was around 85lbs to 90lbs ... getting to a ~35lbs to 40lbs mark is awesome!
Gotta love aluminum...Titanium is sweet but not at the exponential cost!!
I think the benefit is that I have 6 less '2 bolt' flanges on this setup. I eliminated a few joints and used Vbands where I could.
If Im somewhere where I can delete the mid/muffler and the Y-pipe that's another 23lb deduction...
I think I'm going back to the 12.9 hex-heads ... the deciding factor is the physical size of the bolt head against the flanges...
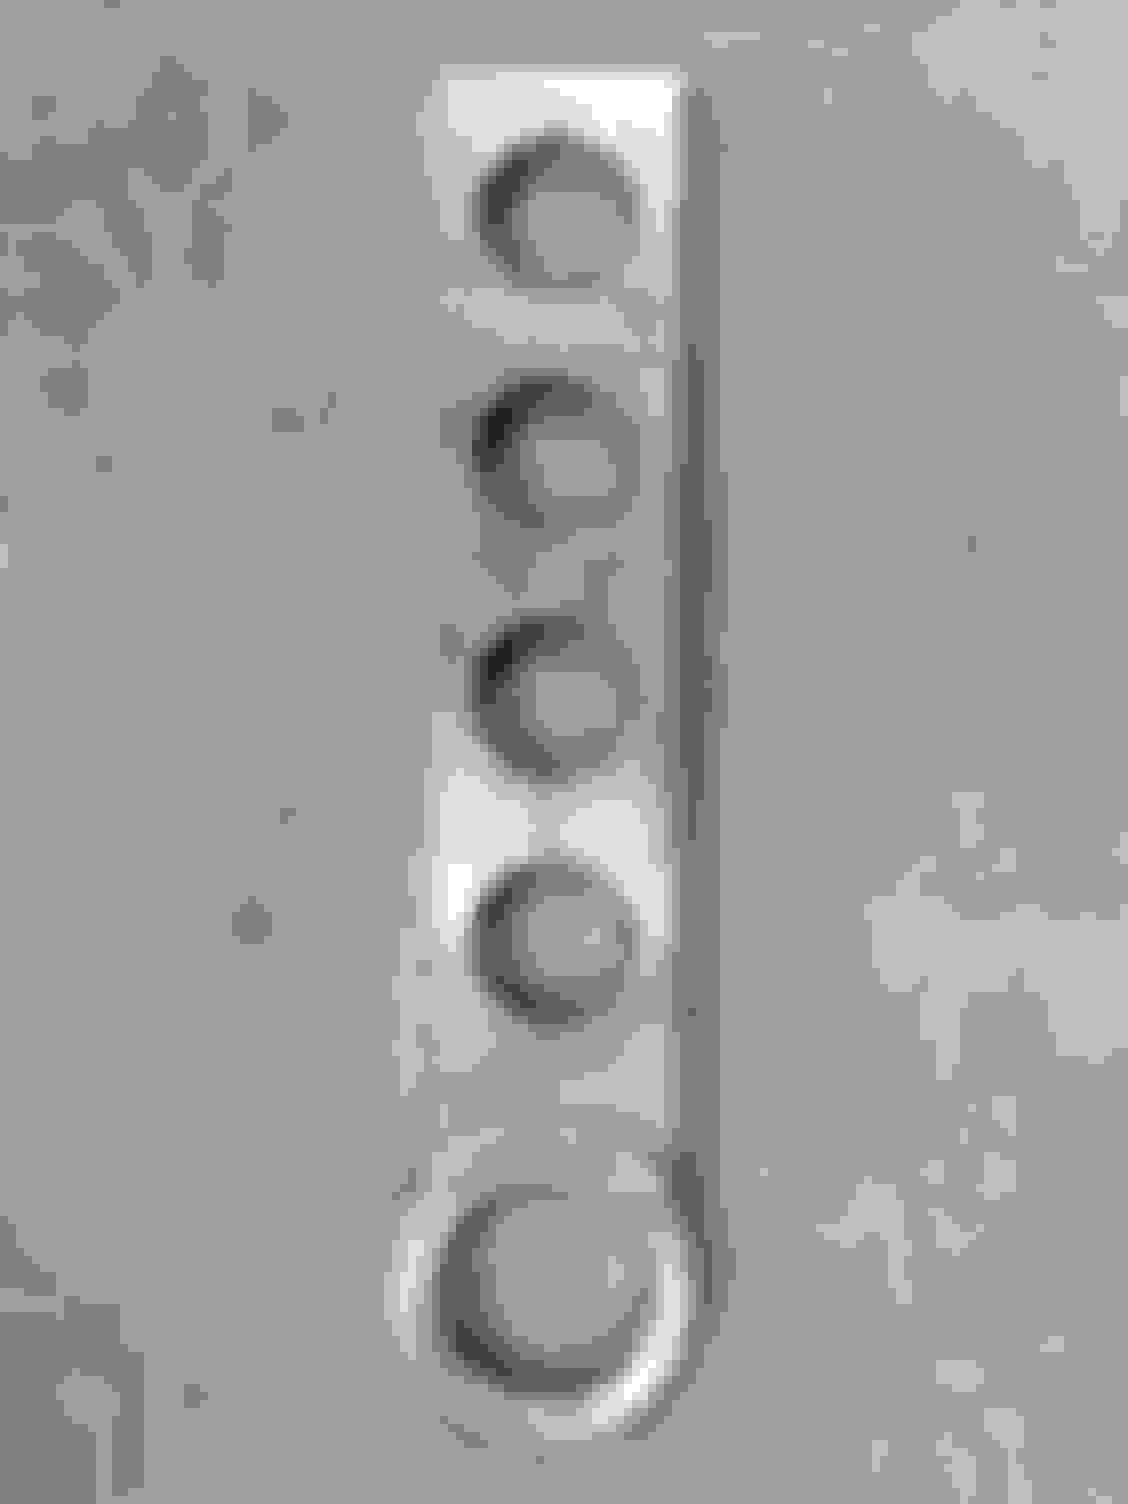
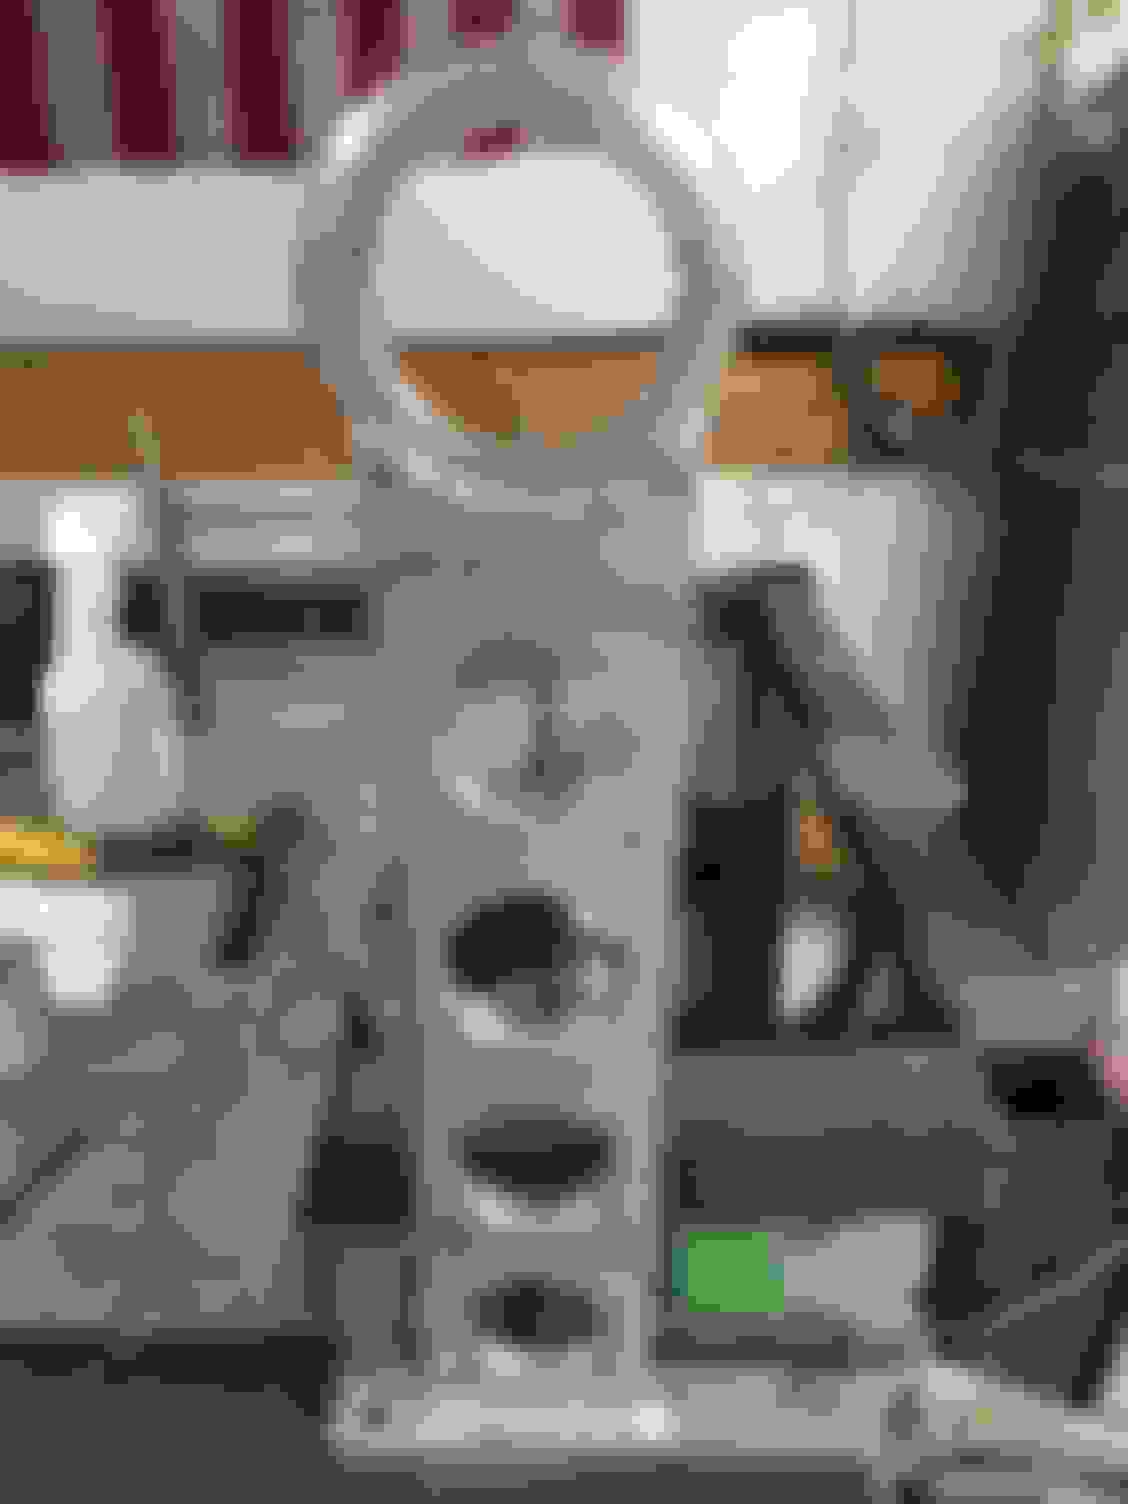
Drilled out 8 f'ing O2 sensor bung-holes (lol)...welded 4 mild steel to stainless steel bungs in and completely jacked 2 of them. (Planning on using the mild-steel bungs for the OEM sensors and I've got stainless steel bungs coming tomorrow for the haltechs/AEMs) The bung bolt seized-up in the bung...I didnt use anti-seize and/or rotate it every few minutes...so had to grind them out!
I think I'm going back to the 12.9 hex-heads ... the deciding factor is the physical size of the bolt head against the flanges...
Drilled out 8 f'ing O2 sensor bung-holes (lol)...welded 4 mild steel to stainless steel bungs in and completely jacked 2 of them. (Planning on using the mild-steel bungs for the OEM sensors and I've got stainless steel bungs coming tomorrow for the haltechs/AEMs) The bung bolt seized-up in the bung...I didnt use anti-seize and/or rotate it every few minutes...so had to grind them out!
I always though you wanted to stagger your holes so that they would all be hit with there "own" exhaust. Maybe i'm just over thinking it and it makes no difference.
I'm mostly concerned with the Haltech widebands as they're most intimately involved with the closed-loop fuel control.
With that being said - the tune is plenty rich in critical/boosted areas of the map and I'm more concerned with accurate timing than AFRs.
Likely the first and last will be OEM, second will be haltech and third will be the set of AEM that are on gauges but don't influence the tune.
Evening Edit:
I'm dumb ... dumb dumb dumb ... I got ahead of myself last night and used a set of mild steel bungs and that was stupid - stupid stupid stupid. The stainless steel bungs do much much much better than the mild steel dealing with heat. two of the four seized up even with antiseize paste applied. I'll be hacking out the mild steel bungs and replacing them with the stainless...lesson learned.
I'll see about getting the fuel line extended tomorrow and I can start bolting everything back together.
With just "right" ECU I'm fine with only one wideband lambda sensor. For tune, idle&partial throttle correction and display gauge. If I'm you, would seriously consider stepping up to a full stand alone ECU, not just because of this downpipes mess..