When you click on links to various merchants on this site and make a purchase, this can result in this site earning a commission. Affiliate programs and affiliations include, but are not limited to, the eBay Partner Network.
Well shucks ... I dont think I'm gonna make my tuning appointment ... I was thinking this morning that its ok and that if the car isnt ready than youre wasting your time and the shops time.
Made great progress still ... I think I royally funked up my tilton master cylinder ... I didnt want to use their soft line and tapped a AN-3 fitting and I dont think it worked for **** ... so that was a $250 mistake - lesson learned. Bought a autoparts store master, installed and bled it - looks to be working but it probably has a short life with the JWT clutch - which is ok ... I'll get another tilton down the road.
a smaller set-back in that I had to install 2" couplers on the passenger side bank in-order to install the headers ... I was hoping I could get away without doing this by relying on the flex in the flex hose but it was not happening. It cost me about 3 hours of time but did make installation beyond fast.
another setback - I have a very very slight warp in the turbo coolant return plate (plate that mounts to the block and returns coolant to the engine) and coolant immediately drained out past the OEM gasket. My immediate solution is to RTV the seal (rather than an OEM gaskets). I cleaned up both surfaces and applied RTV to the plate and reinstalled. I am gonna wait to refill the coolant until it has ample time to setup.
Other than that fab'd up a quick bracket to hold an oil cooler and not sure how/where to put my pre-turbo oil fitler so it's just slapped on the car with some misc hoses and i'll figure out where to put it.
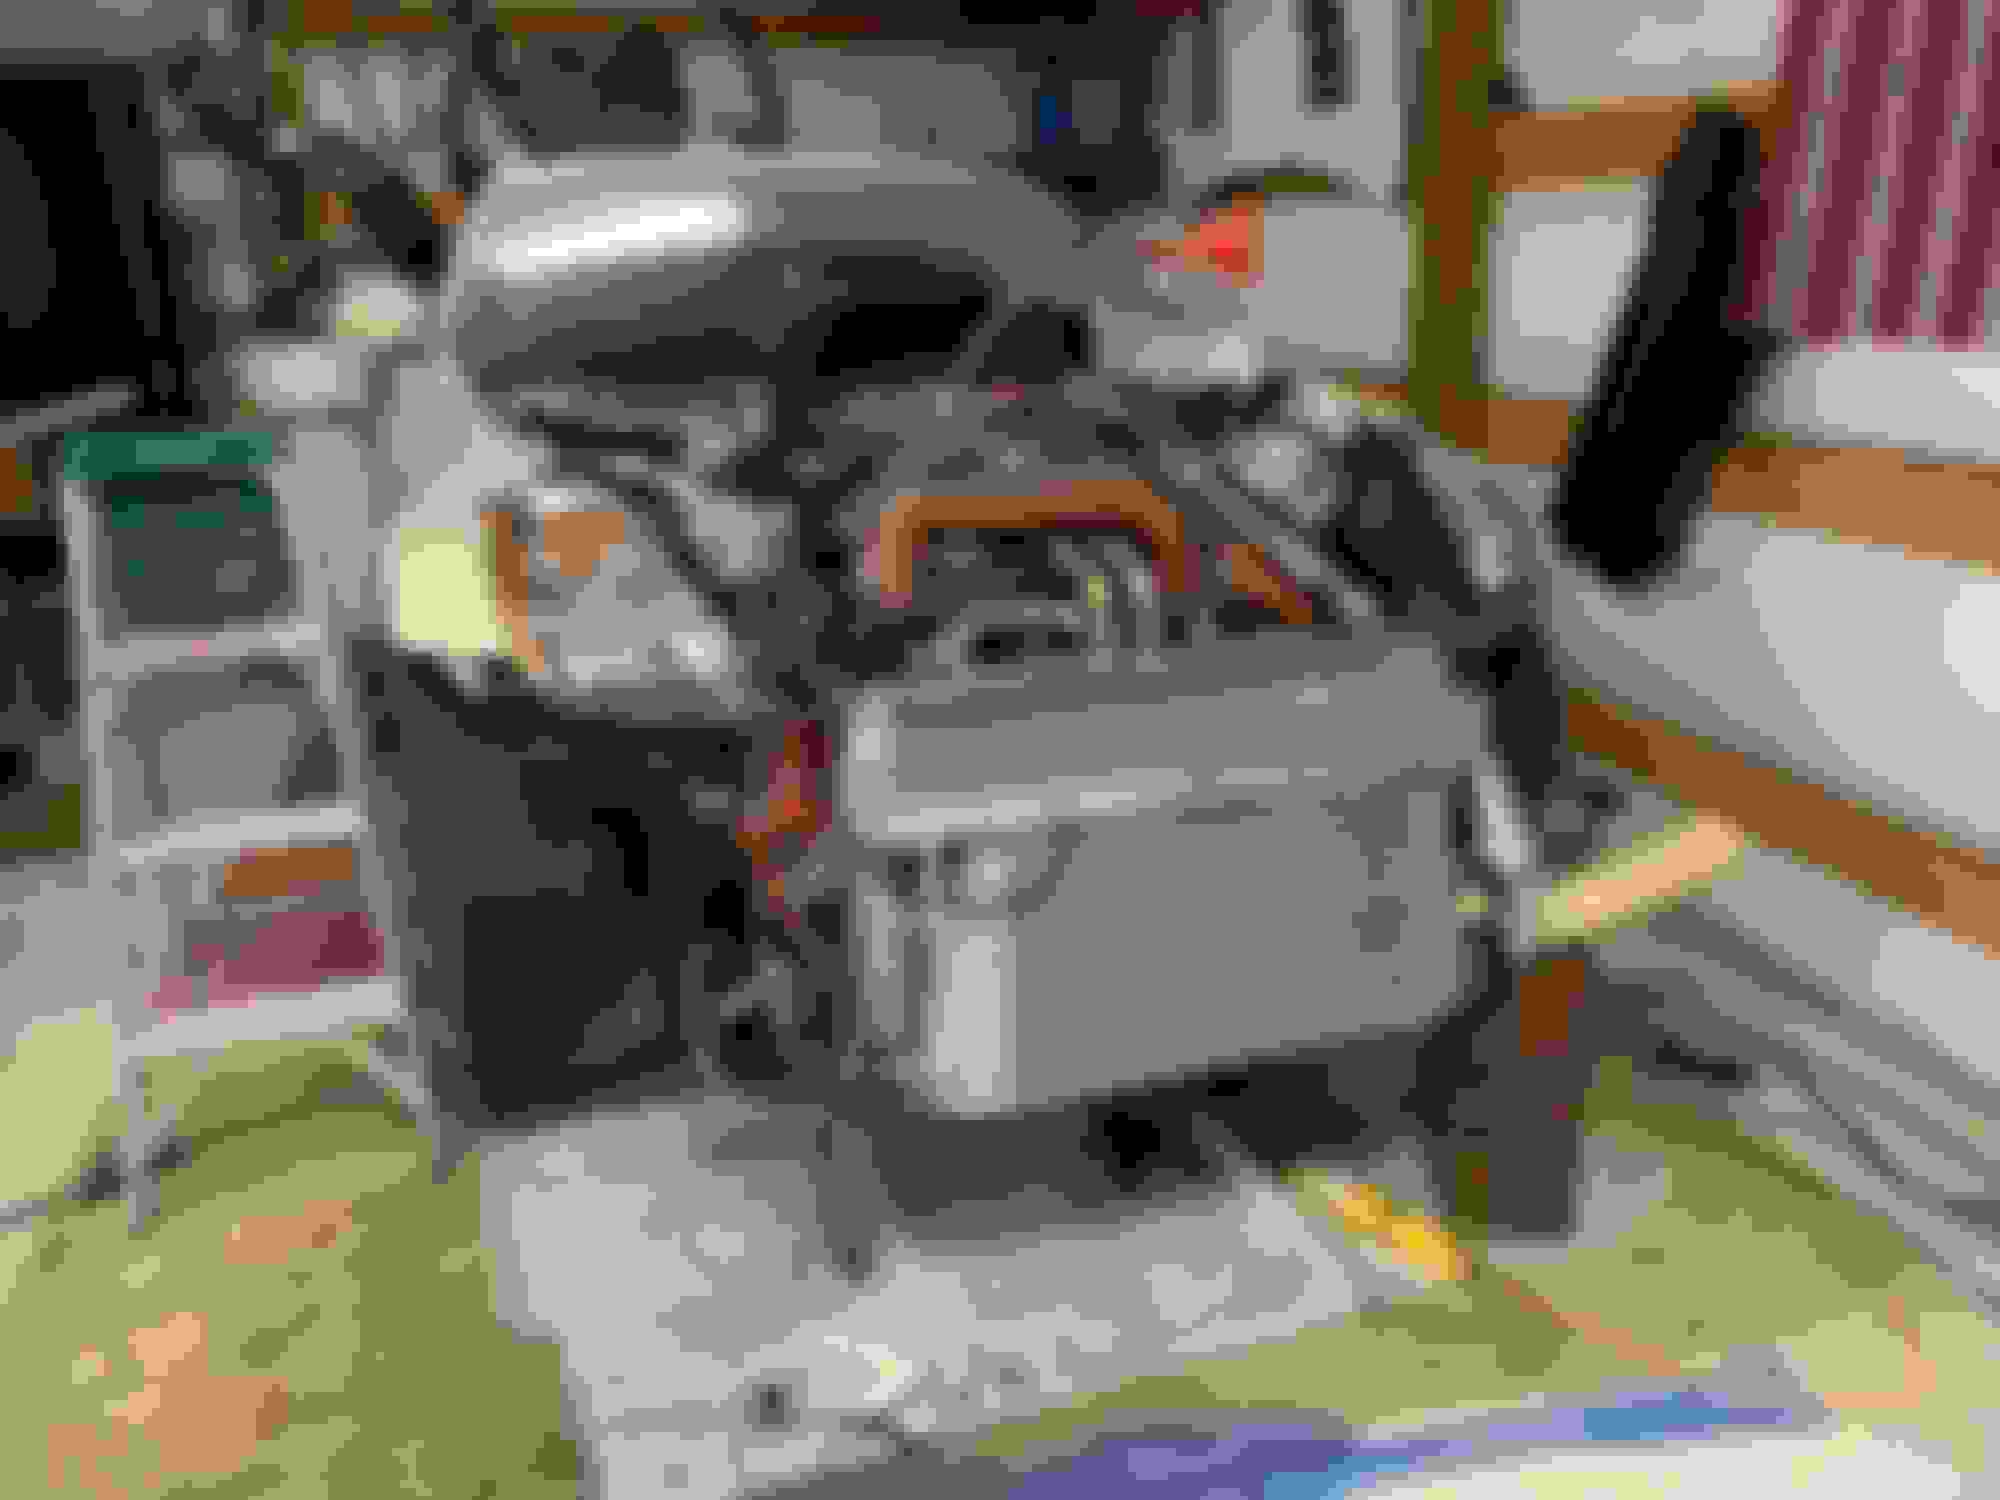
Headers installed
turbo installed
oil feed/return & coolant feed/return installed
oil pressure sensors installed
waste gates & vac lines installed
BOV & vac line installed
IC & charge pipes installed Radiator installed and hooked up
Exhaust installed (still fab'ing a bracket)
sry to hear of the mishap with the tilton, i love mine. Quite pricey but was well worth it especially combined with the rjm pedal.
much appreciated ... I'm dumb and I did something I shouldnt have and it will cost me $320 in stupid tax and a bunch of time ...shizzle happens I'm a little smarter. The 'power torque' master was $60 and will suffice for a year or so.
Lil Nugg passed away July 31, 2016 - likely due to complications with a tumor removal. She is missed and passed relatively painlessly in her sleep the early early morning of the 31st.
I've been looking at another pup and gave myself 'permission' to get another husky or black-lab if I pass the PE exam (which I did) so its just a matter of finding the right dog!
Sorry to hear about your husky, they are great dogs, and very loyal companions.... you will have to get your Z work finished so you can spend some time raising a new pup!
About to spend the next 6 hours catching up if work permits
Thanks for your support! It's been a journey!
Weekend update � missed my tuning appointment - humbling to call the shop and let them know. I feel like schmuck!
Far from tunable right now � discouraging as hell.
Water leak from the turbo coolant plate fixed but the OEM gasket on my thermostat housing is leaking about a drop every 10seconds. Deep deep breaths! Doing some research and chatting with Conway decided to remove both plates and use a coolant-specific RTV. Permetex makes one that's resistant to glycol. The internal debate was get something that is resistant to glycol or get something that is high-temp. Removed both housing & plate are re-sealed.
Also swapped out the hardware for both plates. OEM has simple 10mm bolts. I swapped those out to identical studs (the same studs that are on bolt #7 and #8 between the intake manifold and plenum connection) and 10mm nuts. My thought was it's less wear & tear on the threads inside the block and I can tighten them a slightly tighter than a bolt - I took them up to the top-end of the OEM spec - I think it was 120in*lbs.
back on it and surer than **** my radiator is leaking. Another mistake in that the radiator wasn't leaking before and I suspect that I put too much heat into it earlier when I fixed a fitting - stupid tax. The worst thing about this is that my front end is fabricated around that radiator. I can get a similar radiator but they are all relatively custom. A new C&R is out of my budget. I did find one that's 1" thinner (3" core) with a AN-20 top fitting and a 1 3/4" lower fitting. I'm beyond intimidated to weld on a AN-20 fitting on the outlet side and mounting brackets without researching how to weld a radiator without melting the cooling tubes.
Any input here is welcome - can I fill the radiator with water to absorb the heat? Is there a better way to ensure the soldered/braze'd seals wont melt away.
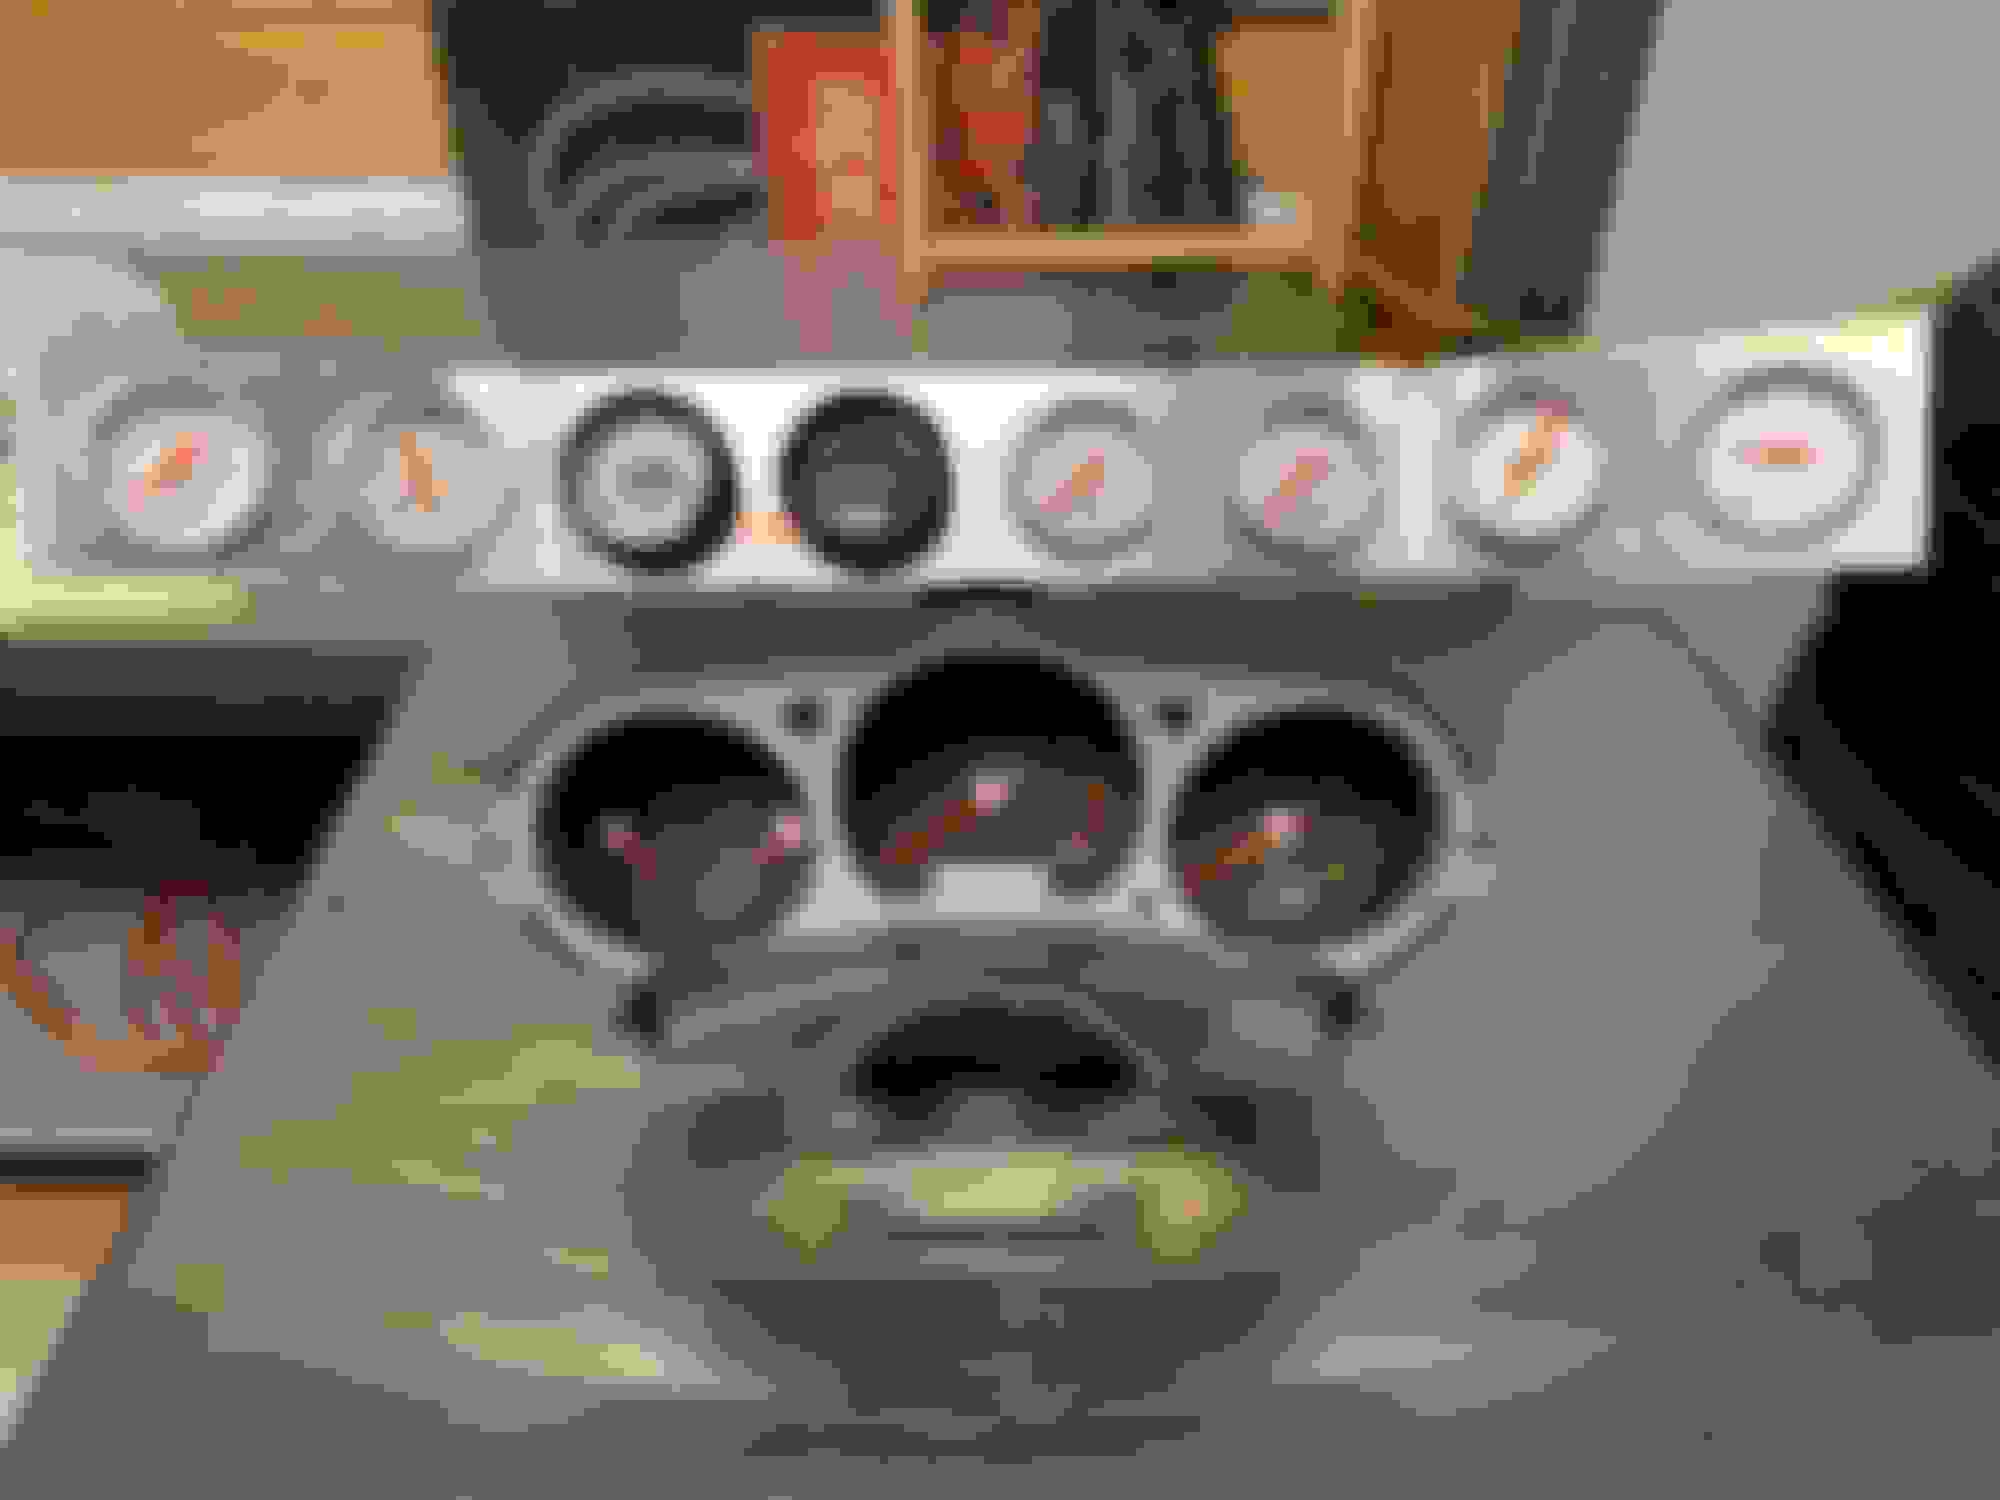
I need to give the coolant RTV a day or so to cure and brainstormed ideas on a gauge mount. Came up with this (although it's been slightly modified as its hitting the backside of the steering column. Ended the night by hooking up the wideband sensors, gauges, and wiring and the fuel pressure regulator wiring - I'll get better pictures.
New air filter came in over the weekend and I picked up a used but not installed PTP turbo blanket.
I'd like to attempt to start the car this week. Oil is filled and my connections are all tight. I simply connected the radiator hoses and if nothing more I can get coolant cycling through the block and find the next thing that wasn't sealed!!!! lol!!
Coolant filled and no leaks
Oil filled and no leaks
Engine cranked (fuel pump fuse pulled) and engine is building oil pressure - after 4 crank sequences (of 10-15seconds each) I'm building 10psi.
Replaced the fuel pump fuse and no fuel pressure.
Ground is confirmed
12v battery power source confirmed
OEM trigger - no voltage
Not sure if the ECU is powering and wondering if Im missing a fuse for the ECU or if I forgot to plug a harness back in … more trouble shooting tonight!
continue...
Coolant filled and no leaks
Oil filled and no leaks
Engine cranked (fuel pump fuse pulled) and engine is building oil pressure - after 4 crank sequences (of 10-15seconds each) I'm building 10psi.
Replaced the fuel pump fuse and no fuel pressure.
Ground is confirmed
12v battery power source confirmed
OEM trigger - no voltage
Not sure if the ECU is powering and wondering if Im missing a fuse for the ECU or if I forgot to plug a harness back in � more trouble shooting tonight!
continue...
I found the problem … my battery to relay wire is too big and is burning up my connector-pins. I put a 12gauge wire from the battery to the pump and it's putting too much current/energy through that line and burning up the connector. Initially this burnt-up the wires connections. My second attempt burnt up the fuel pump assembly's pin and I am fairly sure it trashed the fuel pump assembly's harness connector.
I found the problem � my battery to relay wire is too big and is burning up my connector-pins. I put a 12gauge wire from the battery to the pump and it's putting too much current/energy through that line and burning up the connector. Initially this burnt-up the wires connections. My second attempt burnt up the fuel pump assembly's pin and I am fairly sure it trashed the fuel pump assembly's harness connector.
Two big of a wire won't cause that problem. Thicker wire will not cause more current to flow in a circuit that is working properly. You probably have a short or too much current draw somewhere that is causing the connectors to overheat. It's also possible the connectors are not rated for the current they are carrying. The fuse should be blowing before you do damage to the connectors or wiring.
Two big of a wire won't cause that problem. Thicker wire will not cause more current to flow in a circuit that is working properly. You probably have a short or too much current draw somewhere that is causing the connectors to overheat. It's also possible the connectors are not rated for the current they are carrying. The fuse should be blowing before you do damage to the connectors or wiring.
I appreciate your input.
Im dumb and did not put an inline fuse - I overlooked it and didn't go back. On my initial setup I had a smaller wire (I think a 14 gauge) and an inline fuse and it worked like you'd expect. I'm running the same setup but with a bigger wire (I think it's probably an 8 or 10 gauge). I bought 12 gauge wire, an inline fuse, and a relay holder. I'm gonna disassemble tonight and check it out.
brainstorming - where could a short be if the main power is coming from the battery and it's being grounded to the chassis?
Re-fabed the fuel basket assembly to have the wire poke through a 1/4" hole and jb-welded the hole closed from the top & bottom.
I remade the fuel temp sensor, fuel level sensor, and associated ground from OEM wires of similar gauge. I ran a 12gauge wire from the battery to the pump and a 12 gauge wire ground. I used a 6pin deutch connector at the basket to replace the OEM.
I also remade the relay wires, including a relay holder and the aforementioned 20amp inline fuse. The pump is pully 3.9amps of current while running/priming.
My mechanical gauge says it working fine(why I love mechanical gauges), my autometer 0-5volt sensor gauge isn't quite reading right … it's getting 12volts for power but between the 5volt signal power/ground/reference - something isn't reading right. This 0-5volt signal is sent to the autometer gauge on my dash and also an input on the Link to monitor fuel pressure.
Check all my fuses and check power from each fuse slot - everything is fine from all three fuse boxes
The Link is giving me 3 sensor codes but they are all 'rescue' sensors (two fuel pressure and one oil pressure codes) and shouldn't stop the car from starting. I ought to disable them while I trouble shoot. I have noticed that I am not getting an RPM signal during starting. The link has a neat feature where you can go into the computer and turn on & off components so I'll be doing this to trouble shoot the injectors, coils, solenoids, etc. and also has a feature called 'trigger-scope' where the ECU and computer act like an oscilloscope and will visually display trigger sensors … so this would be a good place to start.
If I remember right the RPM signal is taken from the driver side cam sensor on startup?? Anyone to confirm? Regardless - I will be trouble shooting both the cam and crank position sensors.
New radiator came in. I found a discontinued C&R Racing bare-bones dual pass 3 core 3.25"x26"x19" radiator from Speedway - it was $200 shipped. My other solution was to buy a used near similar radiator (which I may still do). I welded my AN-20 fitting on the bottom/outlet port. The weld came out alright. I re-used a -20 male bung from my old radiator and cleaned as best I could but there were some contaminates that came out but it'd done and it's sealed.
I filled the radiator up with near-freezing ice/water to ensure I did not burn through any cores. Thus far it's looking good. I am not sure how to mount to the car. The radiator slot is about 32" wide (might be a little less) wide while the radiator is 26" wide.
I inclined to mount the radiator center as a default but I tempted to offset the radiator to the drivers side and leave a 4" to 5" gap on the passenger side as this is where the air filter is and I could create a airbox from the front of the car, past the radiator and straight to the air filter (I'm bat-shot crazy about not feeding the turbo hot air). I'm not tied to anything yet
and any ideas on how to attach this to the chassis are welcome - draw me a sketch
Had a few mods/fixes on oil lines that filter/cool/feed the turbo.
Got the Tilton clutch master cylinder back out and put vacuum on it. The master has held 21 in*hg of vacuum over a 24hr period losing .5 in*hg in the 24hr period … I'll probably box it back up and install it once my OEM replacement craps out. My leak was coming from the fitting I installed … I installed lock-tite on it but no Teflon tape … I used Teflon tape for this test. I may TIG the fitting in or jb-weld the threads.
Big picture - I didn't make Airstrip Attack over the weekend - pretty bummed but out of my immediate control but still hung out with friends at the event.
Further good news … pulled the fuel pump relay and used the Link to confirm that the injectors and ignition coils are indeed firing.
trouble-shoot'd the fuel pressure gauge. The sensor is fine … with 5volts on it and hooked up to the air compressor the signal varied depending on air pressure. Checked wires between the sensor, gauge, connectors, and ECU and all tested good. I suspect the wire harness isn't making a good connection or the gauge is de-funct. I ordered a replacement wire-harness and I'll further test the gauge. The alternate is to wire the sensor directly to the ECU and I'm not wanting to do this.
thank you thank you!
It was the best move with the smallest cost that gave me a fighting chance to still make Airstrip Attack and still provide a long-term solution. It is about 15lbs lighter than my previous setup too.
I did start cutting aluminum to fabricate the mounting brackets. I should have about a 5" gap to allow fresh air directly to the air filter.
I printed out the harness and ground portions of the FSM and did a deep dive on the engine and cab harnesses.
I speculate that I am missing a ground somewhere and/or my camshaft or crankshaft sensors aren't picking up a signal. I did 'trigger scope' in the link and I need to do a little digging on how it operates - doesn't appear as straight forward as I initially thought. Worst case scenario I put a volt meter on it and look for change in voltage or dust-off the old oscilloscope!
I did miss the NATS antenna connection under the speedo. Got it connected but still no start. Conway mentioned that with an aftermarket ECU the NATS is eliminated.
I f'n LOVE Link … love these guys … if you are in the market for an ECU they have the best technical support in the world.
Chatted with a tech and provided some details and he gave me a game plan to check my crank and cam sensors … I'll knock this out tonight! Totally looking forward to this!
Wish you much luck... electrical gremlins are the biggest pain in the butt to chase. Usually turns out to be something silly like a bent pin. When i was swapping my engine just a little while back i was going to use the cam sensors that came with the engine. Had a hard time starting the car and threw a code. Bank2 cam sensor had a pin that was completely flattened out, couldn't see it while in the car but was very obvious once i pulled the sensor. Thankfully i kept my other spares and was a quick swap out.
Wish you much luck... electrical gremlins are the biggest pain in the butt to chase. Usually turns out to be something silly like a bent pin. When i was swapping my engine just a little while back i was going to use the cam sensors that came with the engine. Had a hard time starting the car and threw a code. Bank2 cam sensor had a pin that was completely flattened out, couldn't see it while in the car but was very obvious once i pulled the sensor. Thankfully i kept my other spares and was a quick swap out.
Thank you! I'm getting there and these are excellent teaching moments.
I'm hopeful that this is something simple - Im the one who built the harness and I had a few continuity checks along the way during assembly.
1. I'm optimistic that the wire connections are good and pinned correctly (but I will be checking this for sure!)
2. (humbly) I didn't mix up the passenger cam with the crank position sensors during install (not even sure if this is possible)
3. The sensors and harnesses are installed snug & correctly
4. The sensor is getting it's 5volt power supply, grounded to the ECU, and the sensor wire is providing a signal
5. The sensors are functional (I can swap in another set of sensors from my stock)
The Link has an initial check to ensure the crank(trigger #1) and the cam(trigger #2) are communicating with the ECU - right, wrong, or indifferent - are the sensors providing any signal?? Im speculating that this is the problem because I get zero RPM reading when I crank the engine when I should be seeing ~300rpm or so.
The next step is to verify that the Link is getting the correct signal. This is done through the 'trigger scope' feature. At this point, I'd get a datalog and let Link help me out.
I agree with Rusty. Chasing connection issues are the worst! I've had a few times with older cars where I wanted to set the car on fire, but then realized several hours later that it was simply the case of a bad ground wire. I wish you the best of luck, but I am confident you will sort this issue out.