When you click on links to various merchants on this site and make a purchase, this can result in this site earning a commission. Affiliate programs and affiliations include, but are not limited to, the eBay Partner Network.
This is my second 350Z that was purchased from a member on the forum 7 years ago(2013).
It immediately needed new bushings (LCA, Compression and diff) but after those it was a pretty slow process of watching for deals here and on marketplace. In that time it got
-SPL compression rod bushings
-Whiteline front end bushings
-ES Rack bushings
-New Rack
-Whiteline diff bushing
-Full ES rear bushing set including subframe
-New OEM front wheel bearings
-Snatched a full Brembo swap for 100$
-KW Coilovers
-SPC rear camber arms and toe bolts
-Kinetix front uppers
-Borla TD exhaust first
-MD Bastardization of the dual 3", Nova, and TDX2
-Stillen Lip
-Custom 34 row oil cooler
-Z1 cat deletes
-Uprev tune
-Koyo Hyper V Rad
-Gallery Gaskets replaced
-JWT LW Flywheel and clutch
-Zspeed CMAK kit
-Comically large rock chips
-Rear ended by a DUI driver
-Backed into at a Cars and Coffee
-Stuff I am probably forgetting
Until it looks like it does today.
The car has done 60+ autocrosses, 7 or 8 track days, quite a few trips to Tail of the Dragon and 100k miles of daily duty (on top of the 80k miles it had when purchased). After college with a ton of extra time and a little more disposable income I decided that that the 250hp was not quite enough. I am completely content with how the car corners and stops, but the desire to go was increasing.
I looked at both NA and turbo options and read through every FI build thread I could find in here and the370 also to make sure I understood what I was getting myself into. I had done FSAE in college and had alot of experience with mechanical fab, electrical fab, tuning, engine rebuilding etc. I found that the Boosted Performance Kit kept getting my attention as it had the most information out about it because of a few things. Its completeness, the oilless aspect of the turbo, the single dual scroll rather than twins, the cost, and some people local to me have them and had only positive things to say. With that said I reached out to Sasha and bugged him for a few months with questions before going forward and buying the kit. I got the HR kit with the COMP 6467 oilless 1.15 ar turbo, without uprev or oil cooler. I decided to stick with Uprev for now because the only real option for aftermarket ecu is the Dynosty Haltech 2500 piggyback and I wasn't ready to drop that much more yet on this. The time will likely come though in the future. I also purchased an AEM wideband/boost failsafe and the Greddy Profec for boost control.
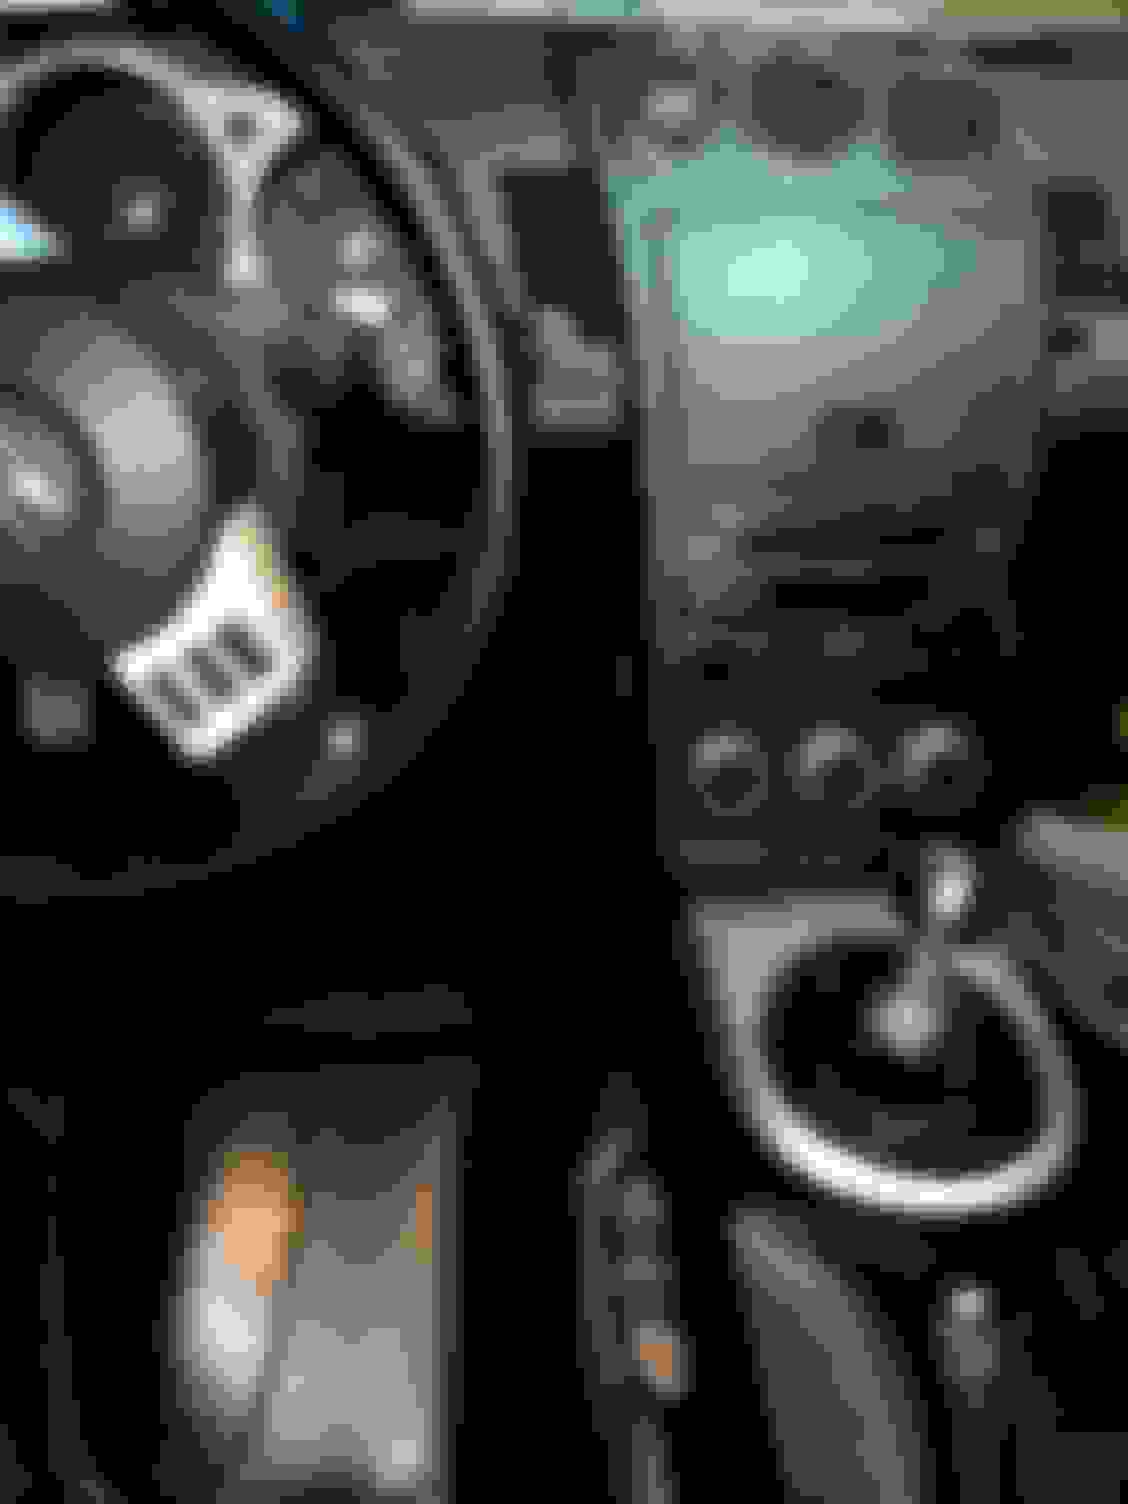
There were 8 different packages that I was waiting on coming from all over and nearly a month between the first and last delivery dates. The boost controller and gauge arrived first so I went ahead and installed those to get that out of the way. I wish I had more photos, but hopefully later I will remember to take pics as I go. I used a fuse tap to get power from the interior fuse box on the ACC rail for these. I basically had to remove the entire front interior and it was a PITA, but ended up with both gauges mounted in the cubby and the harnesses running though the OEM firewall port by the passenger cowl. The profec controller is in the battery compartment and the solenoid is mounted to the firewall.
At this point the intercooler(brand unknown, possibly CX racing) arrived along with the T clamps and Couplers. This thing is cast, probably 1/8" thick atleast and quite heavy .
The injectors also arrived a few days later. They are unlabeled, but supposed to be Bosch EV14 750cc injectors and the accompanying pigtails.
The heat sheathing, titanium header wrap, and some more vacuum lines also arrived from Summit. This is not included in the kit, but the goal is to protect the WG lines and nearby electronics from the additional heat from the turbo.
The package from Sasha finally came in with the fuel pump, hot and cold piping, vacuum lines, filter, gaskets, coolant lines, etc. The packaging on this was fantastic. It was by far the most well done package. It is a huge box with a ton of bubble wrap.
once I laid everything out:
Looking good! Excited to see it all come together!
whats the story with the $100 Brembo swap?
I still think a 1.15ar is too big but I respect that it's your build...If you care and can be convinced to further investigate and want to shell out a little cash for some professional level guidance(on everything engine building and tuning) consider a membership / subscription to High Performance Academy - starts at $19/month
but they did a webinar on turbo selection -
What's the maintenance schedule for the oil-less turbo? I don't know what to think with these...
Looking good! Excited to see it all come together!
whats the story with the $100 Brembo swap?
I still think a 1.15ar is too big but I respect that it's your build...If you care and can be convinced to further investigate and want to shell out a little cash for some professional level guidance(on everything engine building and tuning) consider a membership / subscription to High Performance Academy - starts at $19/month
What's the maintenance schedule for the oil-less turbo? I don't know what to think with these...
Same here. Spent most of the day trying to figure out how to mount the oil cooler, PS cooler, crash inertia switch and the intercooler. They all seemed to want to occupy the same space. I am envious of your ample room with the modified front bumper.
For the brembos I saw a guy had wrecked his G35 Local to me and he was saying that insurance was getting it the next morning. I told him I�d give him a bill if he would let me swap the brakes and he said no problem. So I swapped em.
Yeah I agree that the 1.15 seems high, especially with my modest goals right now but it is what the kit builder recommended, So I am going to see how it does. If it doesnt pan out it shouldn�t be too bad to pick up a different one from COMP.
Its 3k interval, so the same as my oil. We shall see how it goes.
I am envious of your ample room with the modified front bumper.
It's a double edge sword ... trying to fit on an OEM bumper is a botch ... but it's not by accident that I have next-to-nothing in that area...
Originally Posted by GreyZ
For the brembos I saw a guy had wrecked his G35 Local to me and he was saying that insurance was getting it the next morning. I told him I’d give him a bill if he would let me swap the brakes and he said no problem. So I swapped em.
thats a find! I love stories like that!
Originally Posted by GreyZ
Yeah I agree that the 1.15 seems high, especially with my modest goals right now but it is what the kit builder recommended, So I am going to see how it does. If it doesnt pan out it shouldn’t be too bad to pick up a different one from COMP
Youre gonna have like 10 people telling you 'I told you so' ... and I will be one of them!! but all in good fun of-course! And there have been many things that people told me not to do, and I did it anyways, and I had to recourse and eat-crow! But it's all good...
My fear for you is that the turbo will spool annoyingly late (like rear-mount turbo late) - I dont think you'll build boost until 4 rpm - you'll hit 400hp but you wont get the kick-in-the-pants feeling that youre expecting and the car will drive like an NA car from idle to 4k rpm... but you're are correct in that you can always downsize to a smaller housing if you choose.
Originally Posted by GreyZ
what the kit builder recommended
Who is building the kit? I would research what others in your situation are doing and talk to seven to ten people who have been in your shoes and see what they have done.
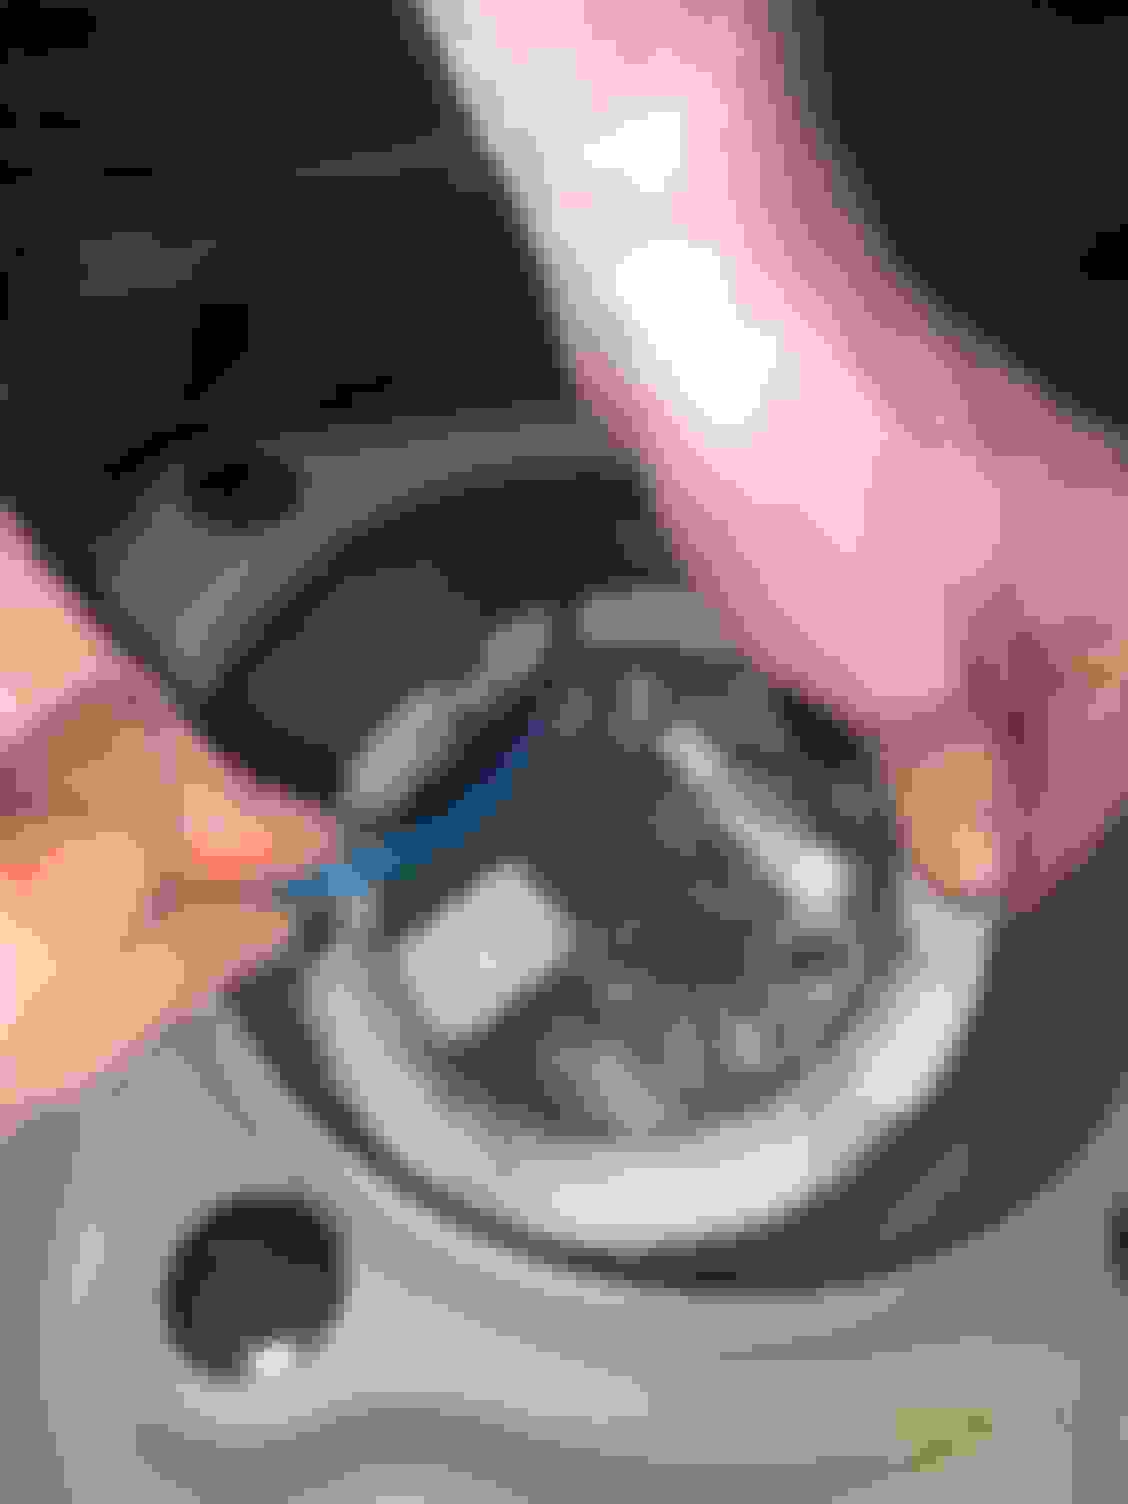
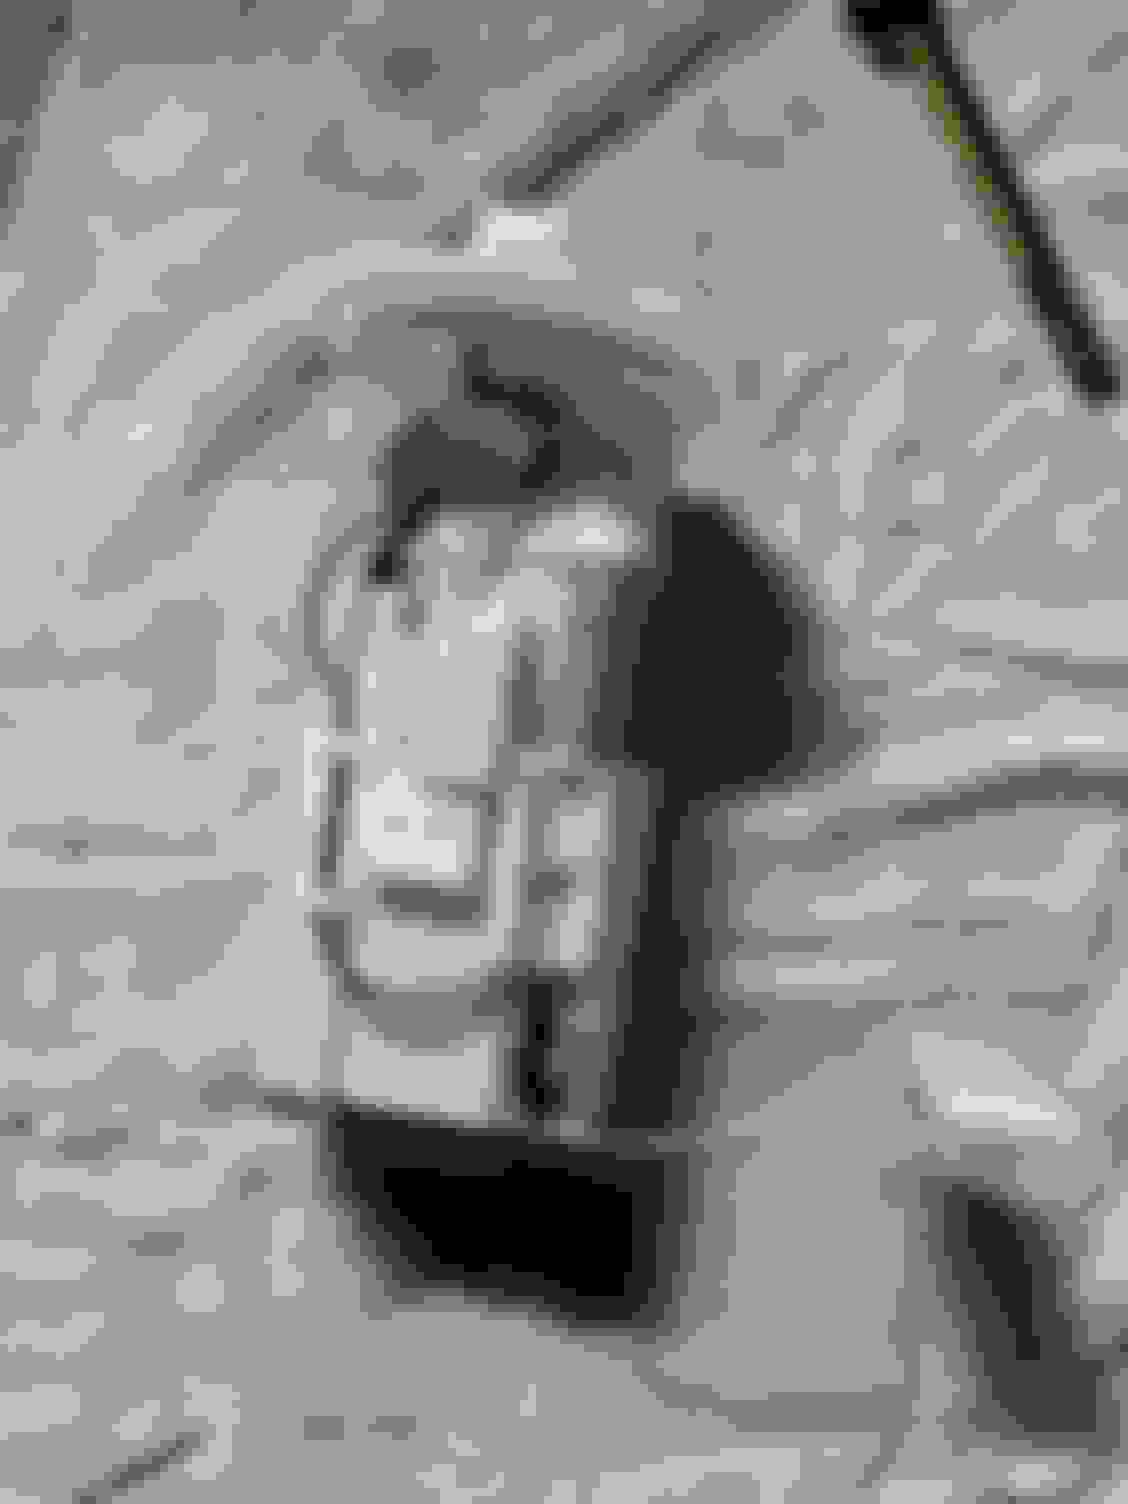
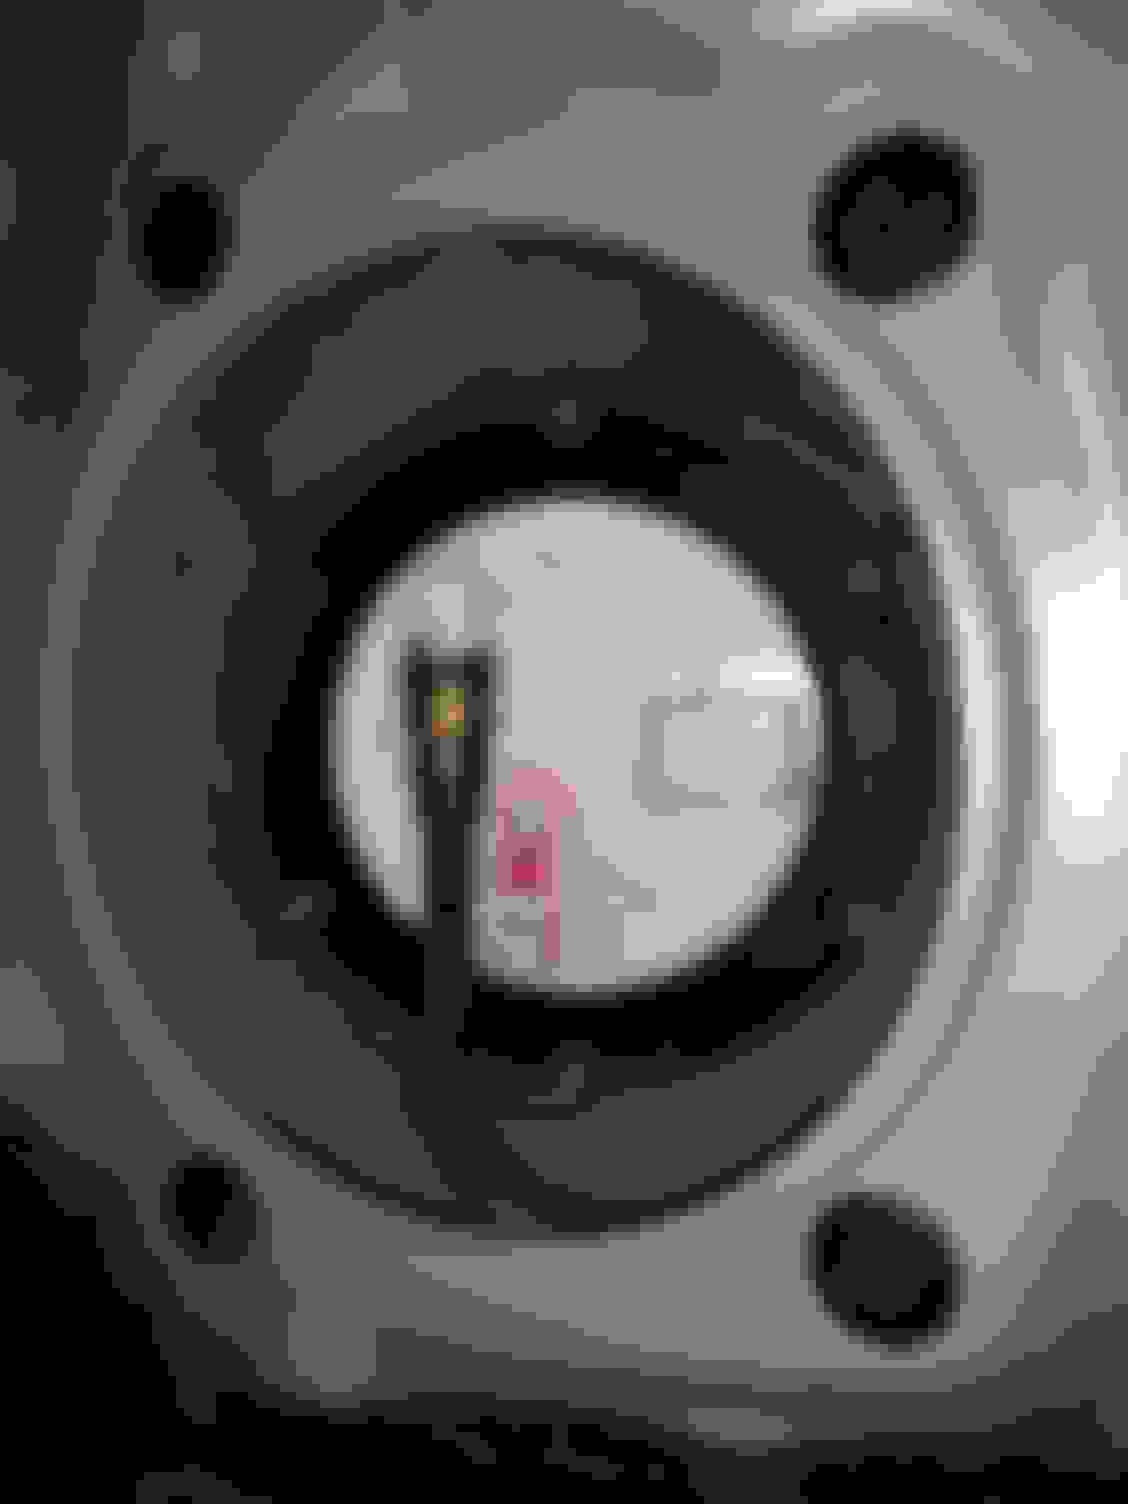
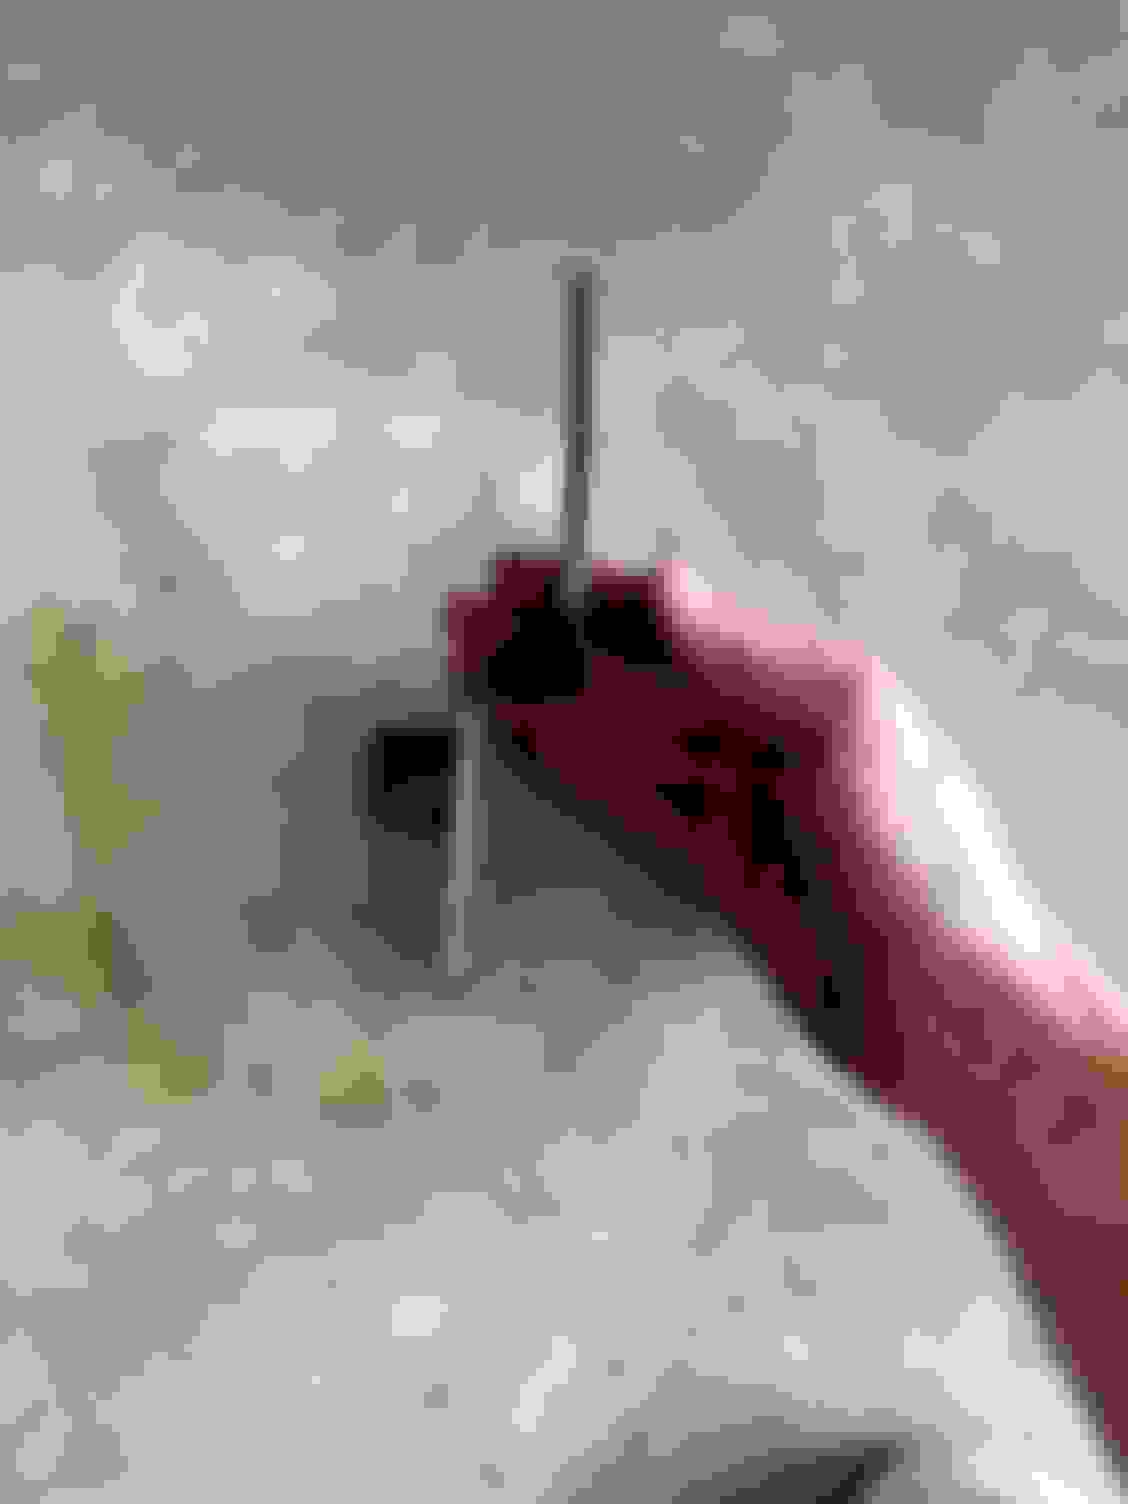
So the fuel pump that comes with the kit is a 340lph pump that drops into the factory location with minor trimming. There are a ton of write ups on how to do this, but the best one is the instructions from CJ Motorsports link here.
When it came to drilling the venturi and the pressure relief regulator there was alot of guess work. I ended up doing area ratios and measuring the factory holes with some calipers to come to the conclusion of drilling the venturi with a .082" bit and the regulator to a .116" diameter. I dont have a way to log fuel pressure at the moment, so I validated this with data logs of cranking, idle and driving. Everything was identical so I considered it a solid good enough. Here are some pictures of the process.
It went smoothly and I made sure to crank it and make sure the wires were not getting hot at all. Some pumps will draw enough amperage that you will need to run heavier gauge wire to the fuel pump. A simple test is to crank it and feel the wires for 5 minutes, if there is any heat you can discern, you will need larger wires.
Worked on the actual install. I started by removing the air boxes, intakes, manifold, undertray, crashbar, and front bumper.
This is when the problems began. My oil cooler was mounted to the crash bar. The BP kit replaces the crashbar with the intercooler. There is no longer room for my oil cooler. There is also not room for the power steering cooler, horns, or (what I believe is) the crash inertia switch. I replaced the hardline power steering line with softline and utilized the ambient air temp sensor mount and one of the factory mounts that I cut and riveted to the crash bar to mount the power steering cooler. The oil cooler is mounted to the intercooler mount, and a .5x.5 aluminum angle that is riveted to the radiator support. I moved the inertia sensor up to the hood latch bolt and maintained the same orientation and it is firmly mounted.
(picture of oil cooler and ps cooler)
This means that I would need longer oil cooler hoses, and will still require a .2" spacer for the intercooler mount to get everything to mount without contact. So those are ordered. I needed new hose anyway because I had incorrectly put hose clamps on socketless hose.
I moved on to the fuel rail and it sucks to get off the first time. The lower manifold was also pretty nasty in the injector ports so I removed that and cleaned it while I was there. This means new gaskets needed to be ordered. @Z1motorsports. After reinstalling the new injectors to the rail and then attempting to install the rail I cross threaded one of the fuel rail mount bolts and had a nice time of drilling the bolt out. Fun. I also found that the injector adapters were not correct. I let Sasha know and he immediately had a set on its way.
With the top of the engine in waiting for parts and the front waiting for parts it was time to work on the underside. I pulled the test pipes (in about 10 minutes, glad I had removed the converters already.) and got the turbo manifold ready to mount.
This was not for power gains, as I will be nowhere near needing the last little bit from this system, but more to protect the electronics, trans, clutch, and floor from the added heat. Then I mounted it up. This was actually super easy and the fitment was spot on.
(Pic of manifold mounted up)
From there I started with the lower intercooler piping and worked my way back to the turbo. It was a challenge figuring out which coupler went where and there were a few times where I said there is no way it is going to work. It turns out that I had an incorrect coupler. I had a 2.25" straight when I needed a 2.5" straight. Again a message to Sasha asking if something was wrong and he had a new one on its way.
The HR installation is a bit tricky because there are no instructions for the HR. There are 370 instructions that are close that I used heavily, but they differ in some aspects that let to some trouble shooting as the layout was determined.
I do have the CMAK that was causing all kinds of fitment issues between it at pipe #1. I ended up having to modify the CMAK mount by cutting off some of the outer material and bending it just slightly to tuck it higher to the trans.
This helped, but still having some serious contact. Along came the hammer.
No more contact and my system is .5% less efficient.
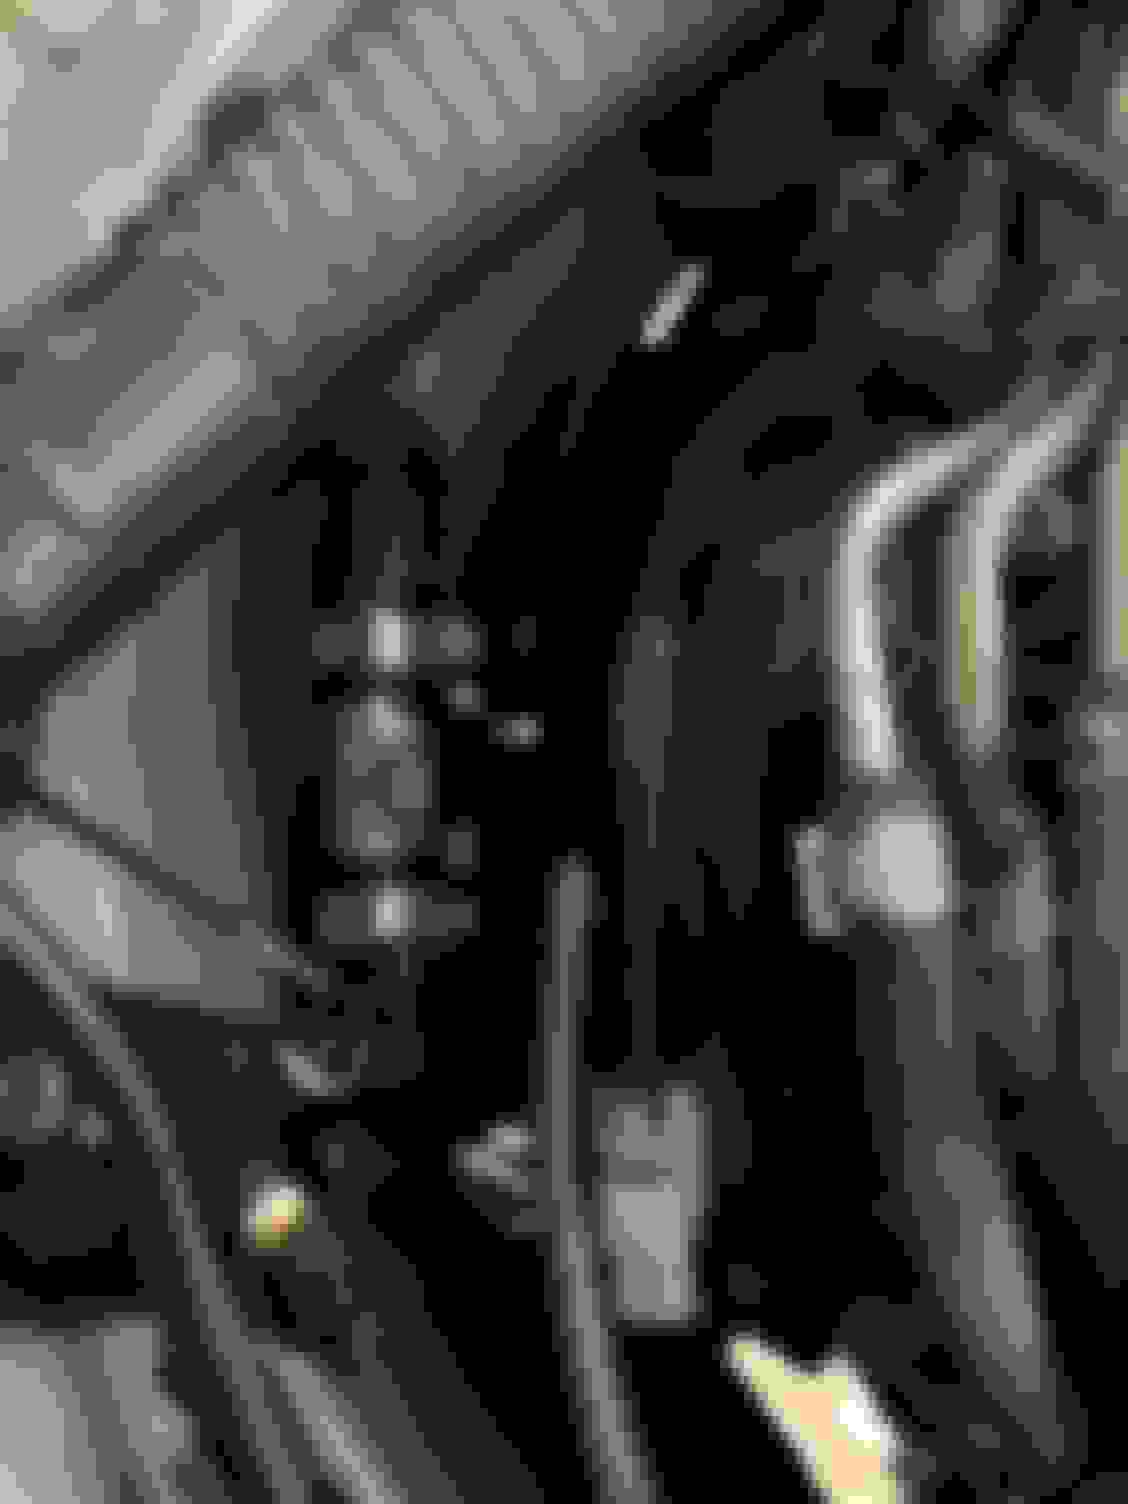
With the cold side mostly sorted I moved to the coolant lines for the turbo. These tap in to the heater core pipes. It was a huge pain to get the passenger side hose off of the coupler that is there OEM, but with that I got the new ones in. I recommend draining 1/4 gallon of coolant for this. I also recommend starting the AN fittings to the coupler before inserting the coupler into the heater line. It is very easy to cross thread aluminum AN lines. It would be much easier if either end of theses coolant lines to the turbo had a swivel on them, but they do not. I did retain the bleed on the driver side by just cutting and splicing the new coupler in. This stainless line is the passenger side. This goes forwards and loops down to the passenger side of the turbo. The driver side coolant line goes to the driver side of the turbo. You can see the EBC solenoid mounded and capped to keep crap out of it until those lines for it get run.
Then I moved to the WG, BOV, and down pipe.
I did have to remove the passenger side heat shield and cut the mount stud for it to fit the down pipe. The WG and BOV install was straight forward as it gets. I went with the red ~5lb spring in the waste gates. I did loctite the WGs and the banjo bolts for them also.
Everything is still loose, but it all lined up well. The exhaust connects to what remains of my motordyne nova/tdx2 exhaust. It did shift the exhaust forward about .75" but there was plenty of room on the hangars to allow for that.
So far this is about 15 hours, with atleast half of the time, and probably closer to .75 of the time messing with the oil cooler and the CMAK. Without those items this would have likely taken about 5-6 hours with just basic tools.
I wrapped up installing the spark plugs, manifold, filter, hot piping and 95% of the cold piping. The filter location sucks. I am not going to try to beat around that bush. It looks like the turbo will need to be removed from the flange and shifted back for every filter change. Turns a 60 second air filter change into a hour but that is the way it is. I had to do some more shifting around on my oil cooler and PS cooler and then rerun new lines. It ended up looking like this. There is only about .1" between the oil cooler and the intercooler, but it fits. I did also have to wash out the intercooler. It had quite a bit of aluminum powder and casting release powder still in it. No a big deal since it was off.
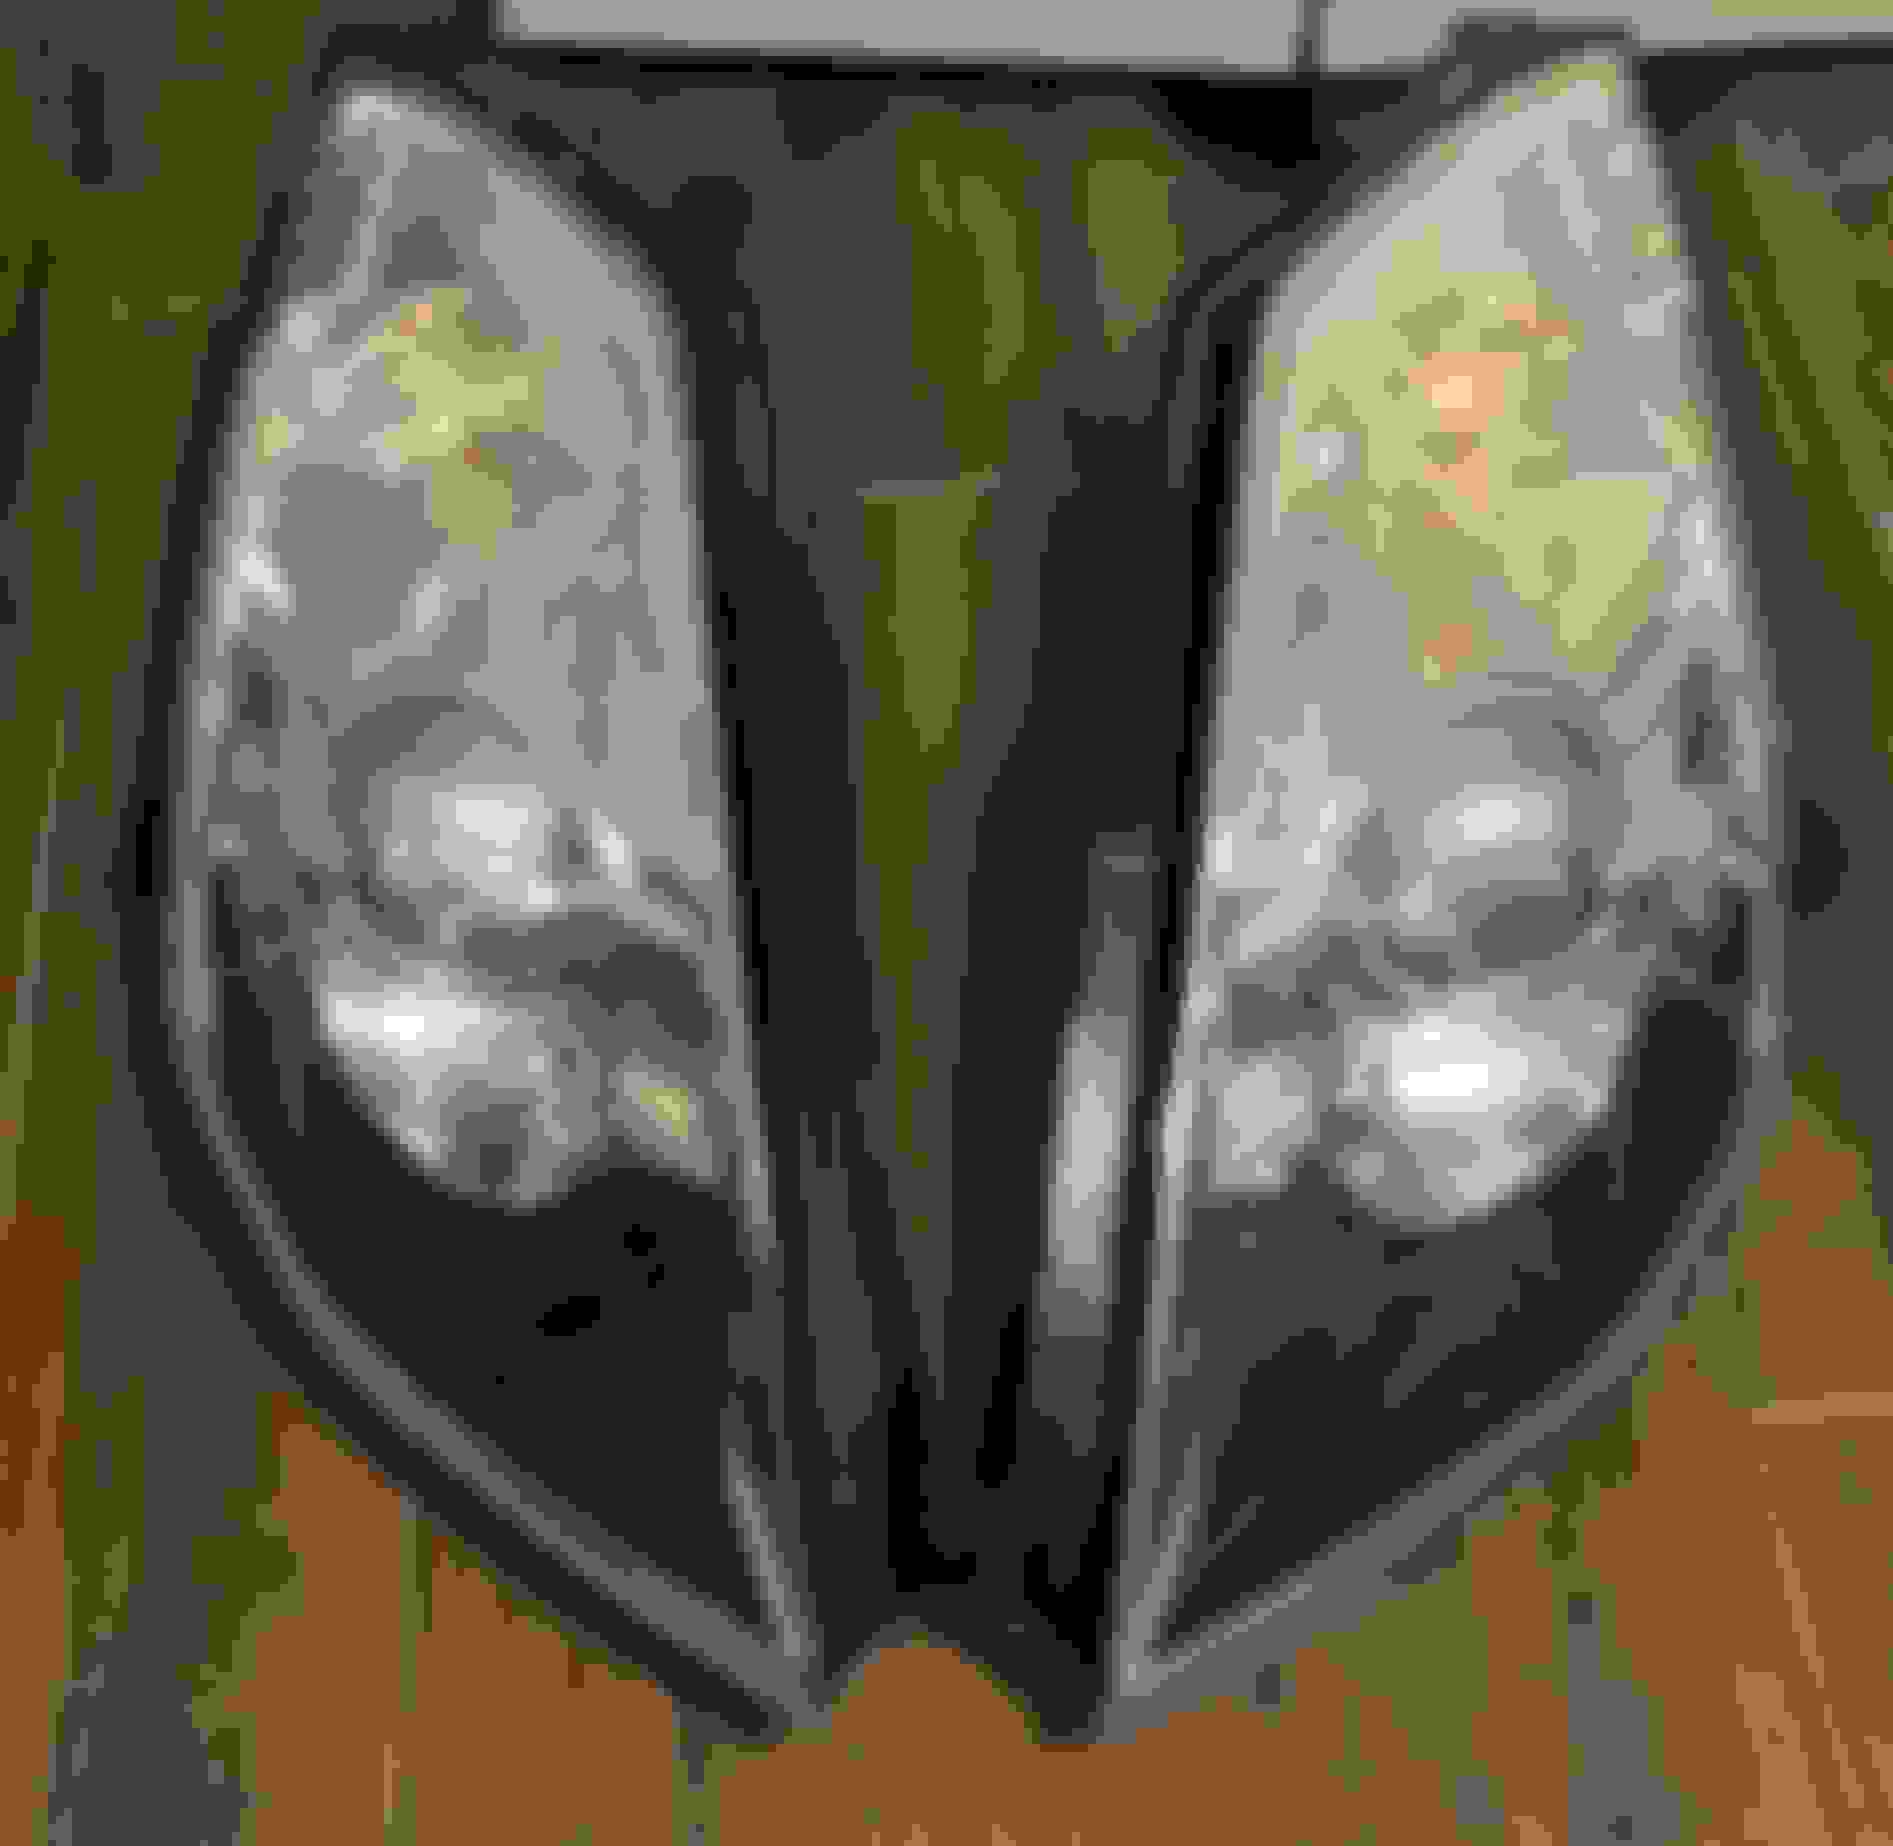
I am reclearcoating my headlights with some urethane UV clear while it is easy to remove them today and then all that should be left is the crankcase vents and running vacuum lines.
Conway had a good experience where this hole wasnt big enough (if I remember correctly) and caused some fuel pressure issues. And he drilled it out bigger and it solved it ...
Originally Posted by GreyZ
Some pumps will draw enough amperage that you will need to run heavier gauge wire to the fuel pump.
I went secondary relay when my 320lph pump wasnt enough fuel (which was around 525hp to 550hp) and I used a 12ga wire(IIRC). Pretty common in the aftermarket world. I think once you go return fuel system and/or bigger pump it'd be wise to do the same wire-gauge upgrade.
Originally Posted by GreyZ
The filter location sucks. I am not going to try to beat around that bush.
You may want to hunt around, research, google, pinterest, etc. what others have done to solve this issues ... maybe an extension or a quick release to take the filter off. But I bet theres a solution out there for it!
My headlights have been getting pretty bad, so I figured while the front end was apart and I was waiting on parts it would be a good time to pull them and clean them up. I sanded with 400, 600, and then 800 and then had a friend spray them with a two part urethane UV clearcoat. They came out great and should stay this way for quite a while.
Conway had a good experience where this hole wasnt big enough (if I remember correctly) and caused some fuel pressure issues. And he drilled it out bigger and it solved it ...
Yeah, I had read through his. I wanted to keep is as small as possible though and it seems that the .082" is enough for the 340lph because it has been running like this for a few weeks. Conway went to a 485lph, which is alot more flow.
Originally Posted by bealljk
I went secondary relay when my 320lph pump wasnt enough fuel (which was around 525hp to 550hp) and I used a 12ga wire(IIRC). Pretty common in the aftermarket world. I think once you go return fuel system and/or bigger pump it'd be wise to do the same wire-gauge upgrade.
Yeah, I was definately prepared to run new lines. If I have to go up to a larger pump I would plan to regardless. The power to the fuel pump in mine was 14 gauge if I remember correctly. I do not know if the DE vs the HR have different fuel pump wires, but I wouldn't think so.
Originally Posted by bealljk
You may want to hunt around, research, google, pinterest, etc. what others have done to solve this issues ... maybe an extension or a quick release to take the filter off. But I bet theres a solution out there for it!
Midmount setups just don't have much room(no HR kit has room). The filter is in the pocket under the passenger side header and above the front chassis brace. It may be easier to remove the chassis brace to swap the filter. I do not currently believe there is room for a 4" pipe to relocate the filter to any other location. On the 370z version of this kit the filter can be routed to just behind the radiator, but with the 370z frame rails being so much wider there is room to run it inside the frame rail. On the 350 it would have to run outside the frame rail (like the IC piping currently is on the driver side) and even then, I do not see where it could fit.
I put my ATI Superdamper on last night. It did not go super smoothly, but pretty well. My Koyo rad is large enough that I cannot get to the tensioner 1/2" hole, so I had to pull the coolant lines and remove the radiator fans. With those removed it was simple to get the serpentine belt off. I did borrow the flywheel lock from a tech at the local dealership. 100% recommend and I would argue it is required if you plan to try this without removing the radiator for an impact. I used a 2ft breaker bar, with a jack handle slid over it to remove the stock pulley. It was extremely tight. The oem pulley came off with very littler persuasion from a pry bar. I was anticipating needing the pulley puller, but did not. The ATI Superdamper is 4% under driven and is apparently for some LS2 application. I got it from concept Z for a good price. The instructions should warn you that it is a press fit going on. I would bet that mine was slightly tighter than called for. To get it on I was able to slide it in the first few mm and get the crank bolt started. I then used the crank bolt to pull it on. That also took a ton of force. About half way through I realized that a dab of grease under the head of the crank bolt would make it significantly easier and with that it went on the rest of the way with not too much more effort. The FSM says to tighten 35 ft lbs and then 60 more degrees. I was already well over the 35 ft lbs tightening in on, but I found another aftermarket pulley that speced 140 ft lbs final torque. This seemed reasonable for a bolt with a 19mm head so that is what I did.
I wish I had a picture of it installed, but you can't see anything other than the tiny gap between my fans and the pulleys.
So now I am just waiting to get it tuned. and waiting. and waiting. I specifically want a load based dyno on uprev which is rather limiting. The car will be tracked and I would prefer to have a well built timing map for all load and rpm which dictates needing a load dyno rather than an inertial dyno. Secondly there is only one Uprev tuner in Louisiana (although I would travel 6+ hours if I could find somewhere I was happy with.) With Covid going on and then my tuner expecting a kid this week it is just a waiting game for when they will have openings on the dyno. I tuned the stock base map to the new maf housings and injectors so that it will crank and idle very well but I am not comfortable getting in to pressure due to having no idea on timing, so currently limited to less than 2k rpm. It's now just waiting to get in and put in on a trailer to head to the dyno.
I did see that ProEFI just released a 112 ecu standalone for the HR... Which is the ONLY off the shelf standalone for this platform. So many bad reviews in the porsche world have me second guessing that path, along with the only tuners near me for Proefi being drag cars and inertia dynos.
I specifically want a load based dyno on uprev which is rather limiting
Yea - it's a wise move and will yield better results but inertia based are not the end of the world, plenty of cars are tuned on inertia-based and making good power. Also, you can tune each cell of the fuel/ign map but you will primarily be in the 'diagnol line' across the map. But I agree with you that load-based is wayyyyy better.
Originally Posted by GreyZ
I tuned the stock base map to the new maf housings and injectors so that it will crank and idle very well but I am not comfortable getting in to pressure due to having no idea on timing
do you have the uprev version where the ignition timing is based off actual degrees BTDC or is it the burn-rate?? I'm sorta confused on how/why uprev does it this way but it is what it is.
If you want starter ignition timing map (from HPA) to get your car up and running let me know ... I would tell you to put a few hundred miles on the car before you tune ... Assuming you have a safe timing map, closed loop fuel control, and a knock listening device you're fine to push the car into light boost(under 4psi of boost). The last thing you want to do is finally get on the dyno and realize you have problems that would have been ironed out with some light driving in the weeks leading up to the tune.
Originally Posted by GreyZ
I did see that ProEFI just released a 112 ecu standalone for the HR... Which is the ONLY off the shelf standalone for this platform. So many bad reviews in the porsche world have me second guessing that path, along with the only tuners near me for Proefi being drag cars and inertia dynos.
It hard to believe that the HR doesnt have the support that the DE does ... weird...
Yea - it's a wise move and will yield better results but inertia based are not the end of the world, plenty of cars are tuned on inertia-based and making good power. Also, you can tune each cell of the fuel/ign map but you will primarily be in the 'diagnol line' across the map. But I agree with you that load-based is wayyyyy better.
do you have the uprev version where the ignition timing is based off actual degrees BTDC or is it the burn-rate?? I'm sorta confused on how/why uprev does it this way but it is what it is.
If you want starter ignition timing map (from HPA) to get your car up and running let me know ... I would tell you to put a few hundred miles on the car before you tune ... Assuming you have a safe timing map, closed loop fuel control, and a knock listening device you're fine to push the car into light boost(under 4psi of boost). The last thing you want to do is finally get on the dyno and realize you have problems that would have been ironed out with some light driving in the weeks leading up to the tune.
It hard to believe that the HR doesnt have the support that the DE does ... weird...
I also have a good bit of experience with these guys in the past, but the waiting just drags.
All uprev timing maps are originally the burn rate maps. The oem ECU is in burn rate so that is how uprev did it. I do have the license to do the timing in BTDC that the ecu will use above 2k rpm, so I may take you up on that offer.
The standalone support for the HR and the 370 is trash. I think it is due to issues with CAN sniffing to get oem equipment was difficult to work and lack of demand for many years. Supposedly haltech is working on getting the 2500 to a standalone option though rather than the piggyback. I talked with LINK and they have no plans to release it. Emtron and Syvecs have both been used in the past but as custom setups with a shop doing the wiring and resetting up the oem can system basically.
Yea - strange how things work in the car world!
is that what Uprev calls it? 'burn rate'?
I've heard good things about ECUTEK but it sounds like that's just Uprev version 2.0.
I've been running this 'safe map' since my rebuild and will take the car up to 5k rpm and I've pushed 4psi easily without worry, I've done a few 9psi pulls when I re-routed a boost reference line and I pushed 14psi (scared the S out of me). Obviously, do your due dilligence and make sure there are no other compensation maps that are influencing the ignition timing.

 04-09-2020, 08:45 AM


 .
.