Notices
Media Share Z Related Photos and Video

My daily driver: 1st Domestic Bagged Chrysler 300c

Thread Tools
 
Search this Thread
 
Old Feb 20, 2015 | 07:27 PM
  #401  
Rickdogg's Avatar
Rickdogg
Thread Starter
Out of hiatus
Premier Member
iTrader: (234)
 
Joined: Jul 2004
Posts: 10,759
Likes: 4
From: My350z
Default

After looking at the boring factory interior for a while, I decided to try to learn something new and skin the interior pieces for a different look. I opted for black and silver (actually texalium) in place of where the factory silver bezels are to somewhat retain a factory look, but with some bling!

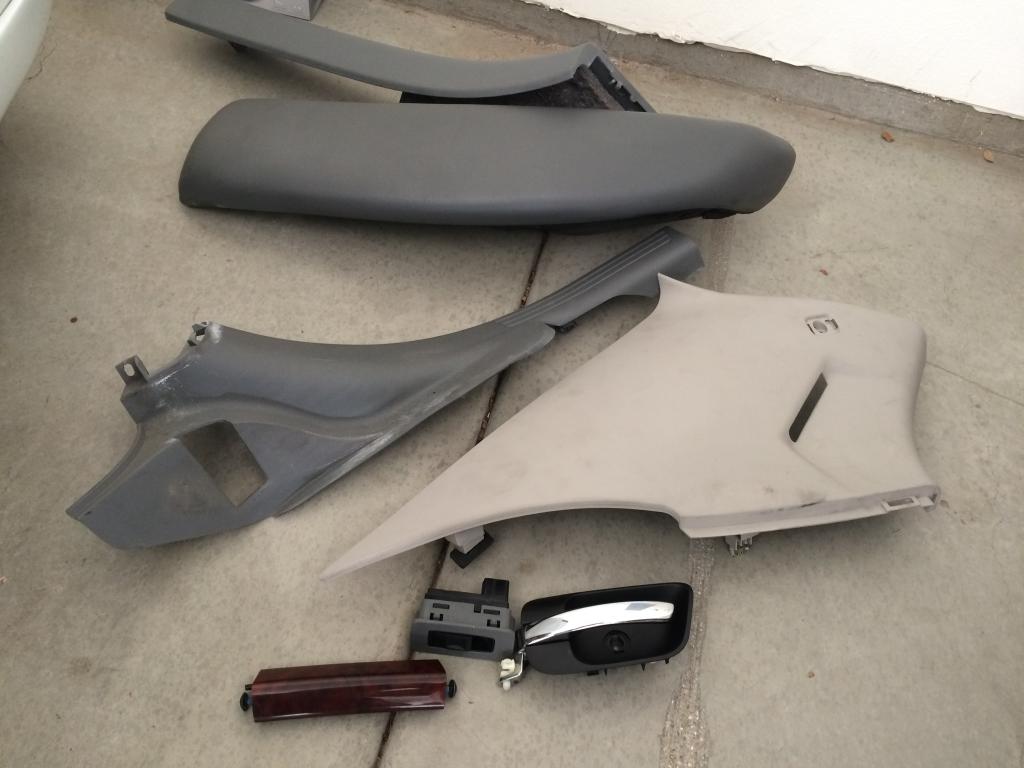
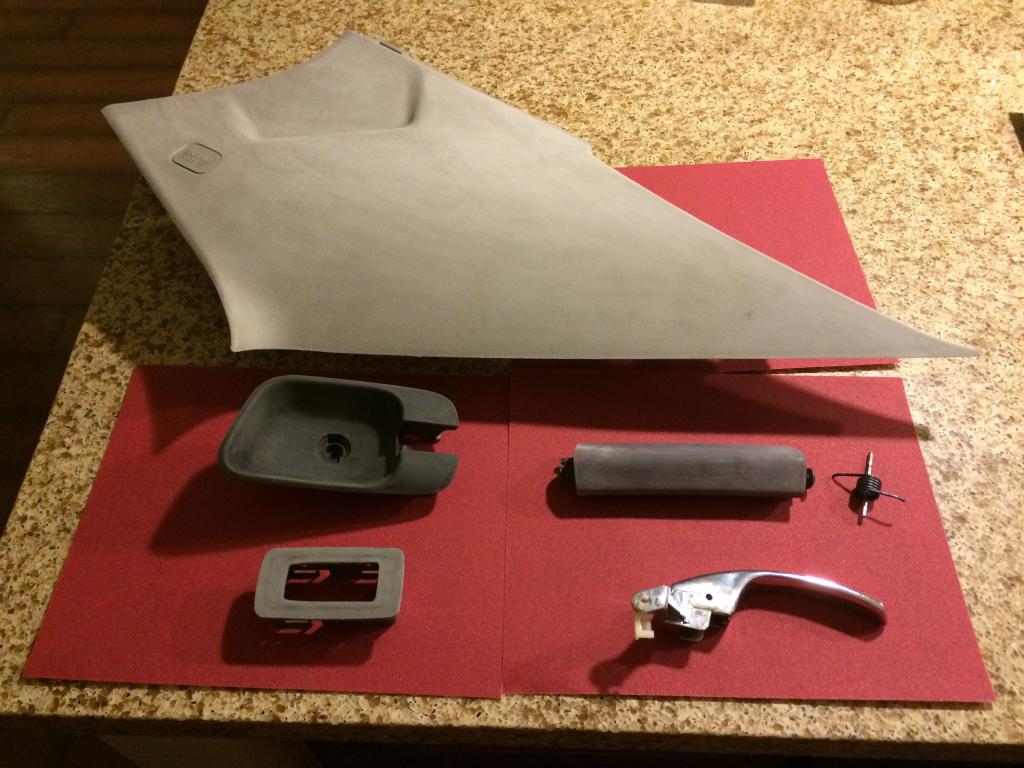
Since it was my first time trying i pulled some random test pieces to experiment with.

Name:  7ABAD6BE-A89D-4257-B5BF-77535A036C6F.jpg
Views: 118
Size:  83.6 KB

Name:  1147E741-80CA-48F4-9DB3-8442058600E3.jpg
Views: 106
Size:  104.1 KB

Name:  FF72CC4E-2A21-4070-AB92-FD3EB0F791AC.jpg
Views: 110
Size:  67.9 KB

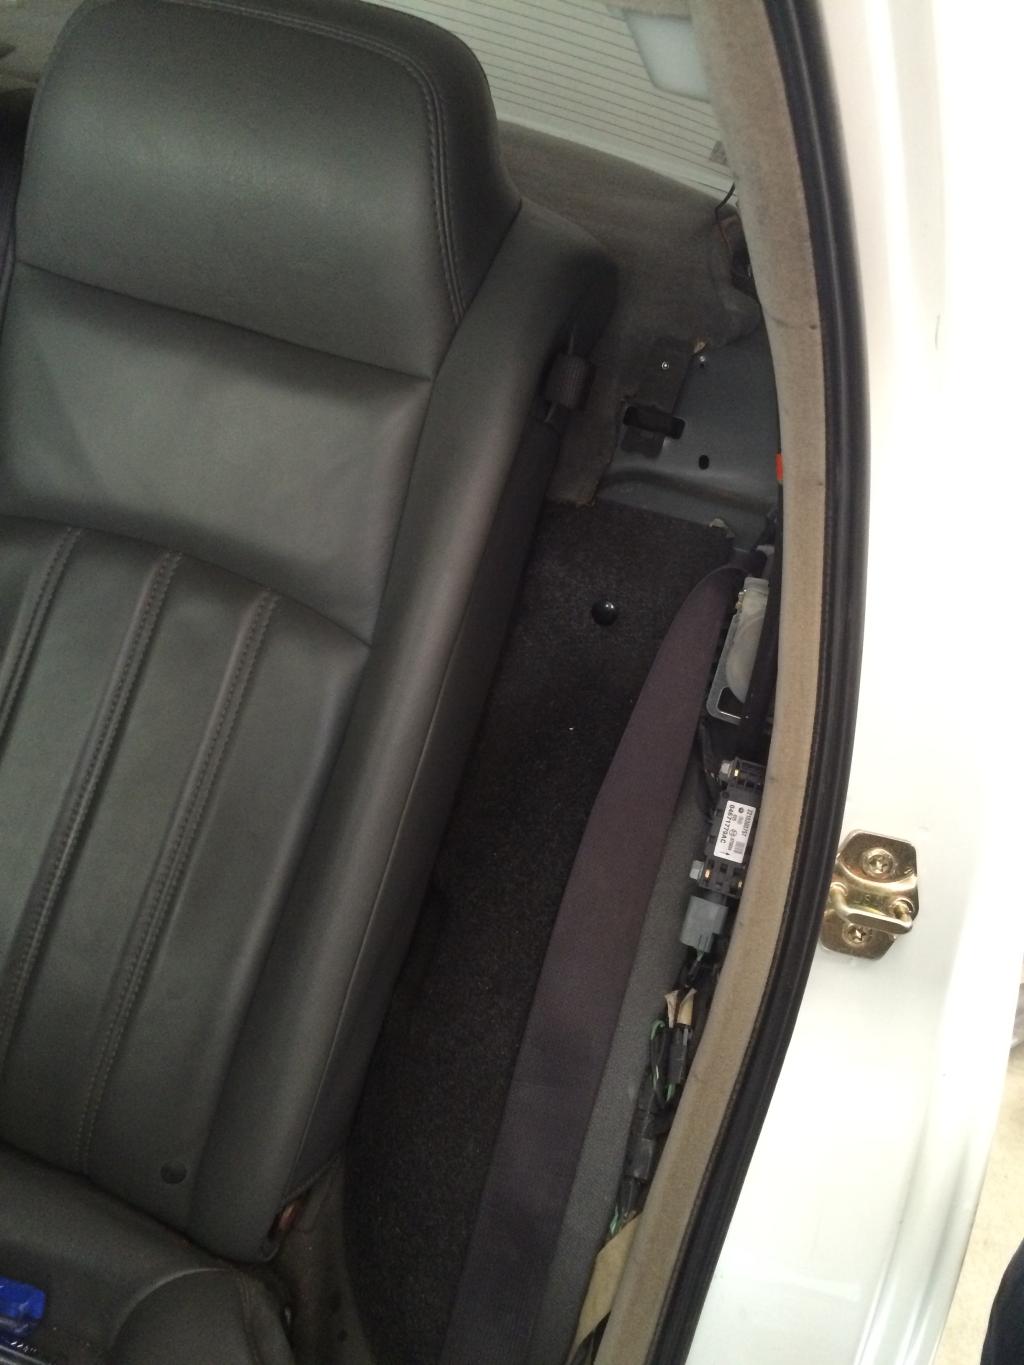
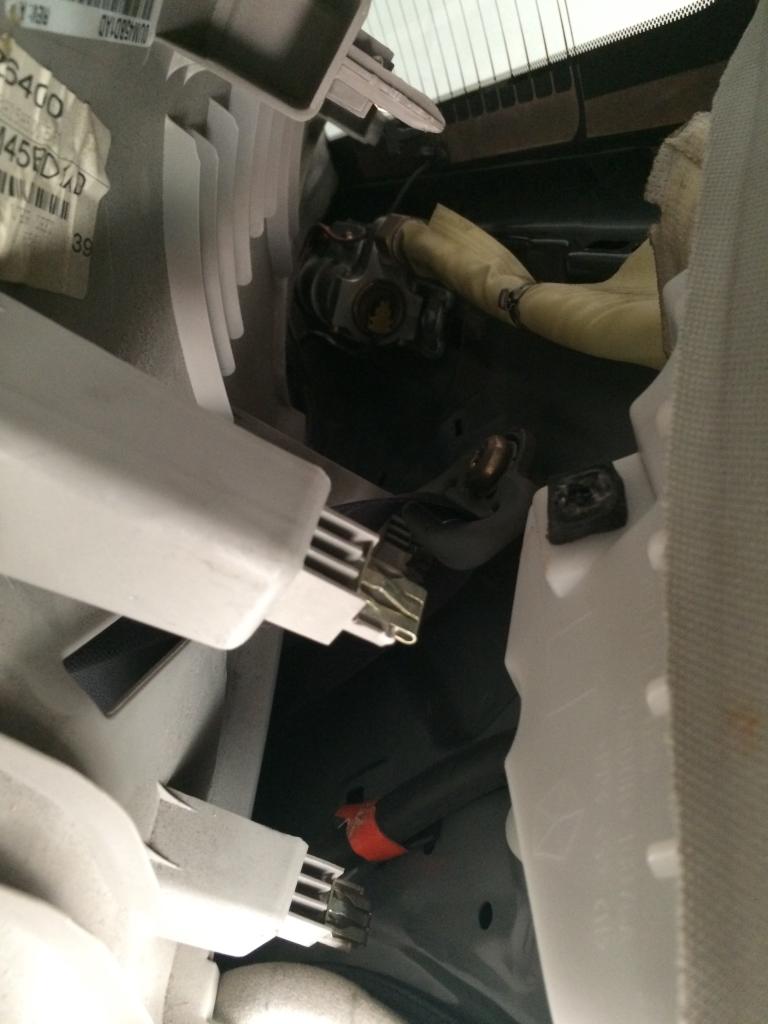
I swear that rear pillar on the back window is a pita to work with. I don't look forward to reinstalling it.
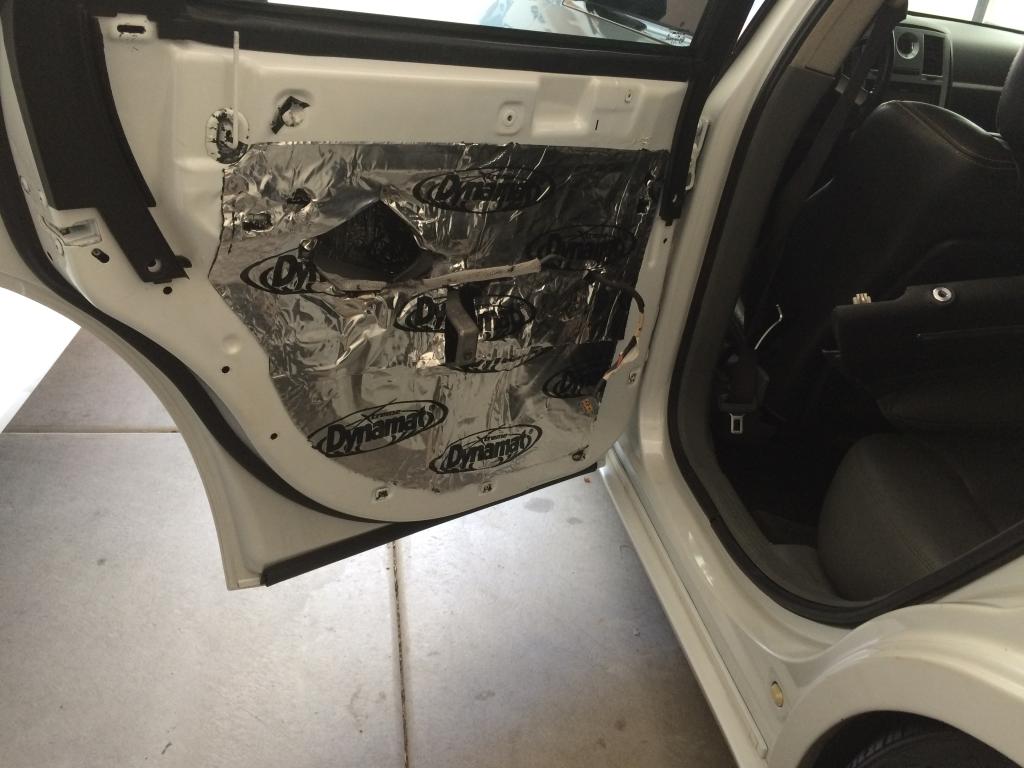
Name:  18A446B6-9F9B-47C1-8041-A5C2B13964FE.jpg
Views: 106
Size:  64.7 KB

Some initial prep:

Name:  17300762-5F8D-45B3-9913-AE7A90FC0DF4.jpg
Views: 104
Size:  103.9 KB

Name:  2E0122B1-AB87-4EEB-BC8B-4139FDC1CBC6.jpg
Views: 115
Size:  94.4 KB
Reply
Old Feb 20, 2015 | 07:34 PM
  #402  
Rickdogg's Avatar
Rickdogg
Thread Starter
Out of hiatus
Premier Member
iTrader: (234)
 
Joined: Jul 2004
Posts: 10,759
Likes: 4
From: My350z
Default

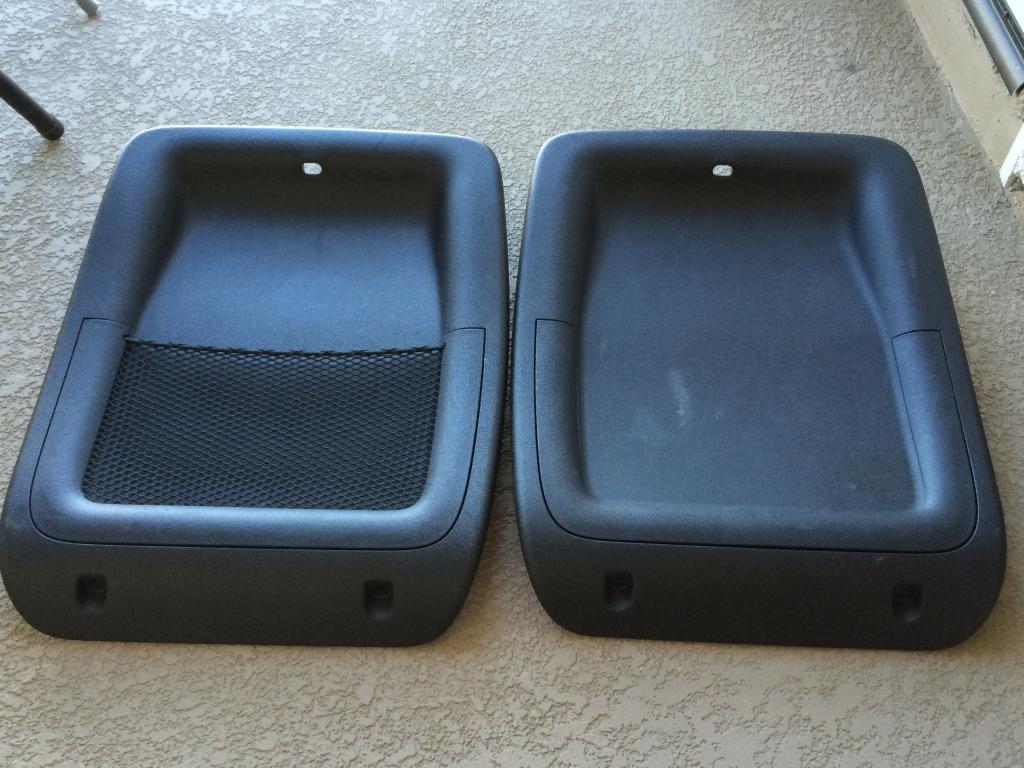
Decided to yank the backings on the 2010 challenger seats as well

Name:  CA9C2A92-5BD3-4970-AEBF-5E71520B5671.jpg
Views: 114
Size:  114.5 KB

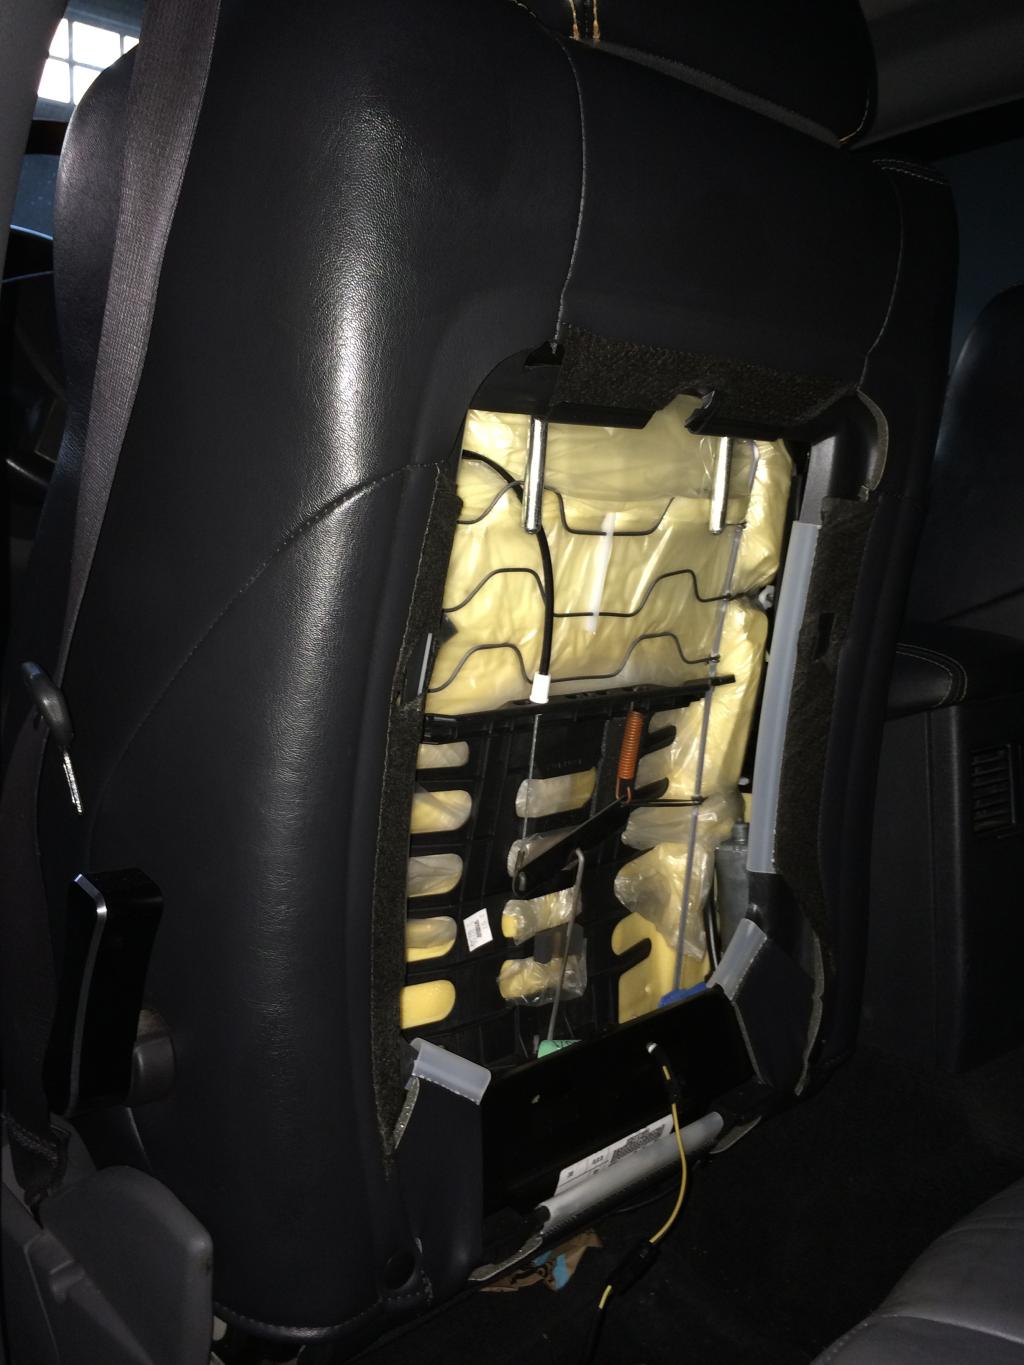
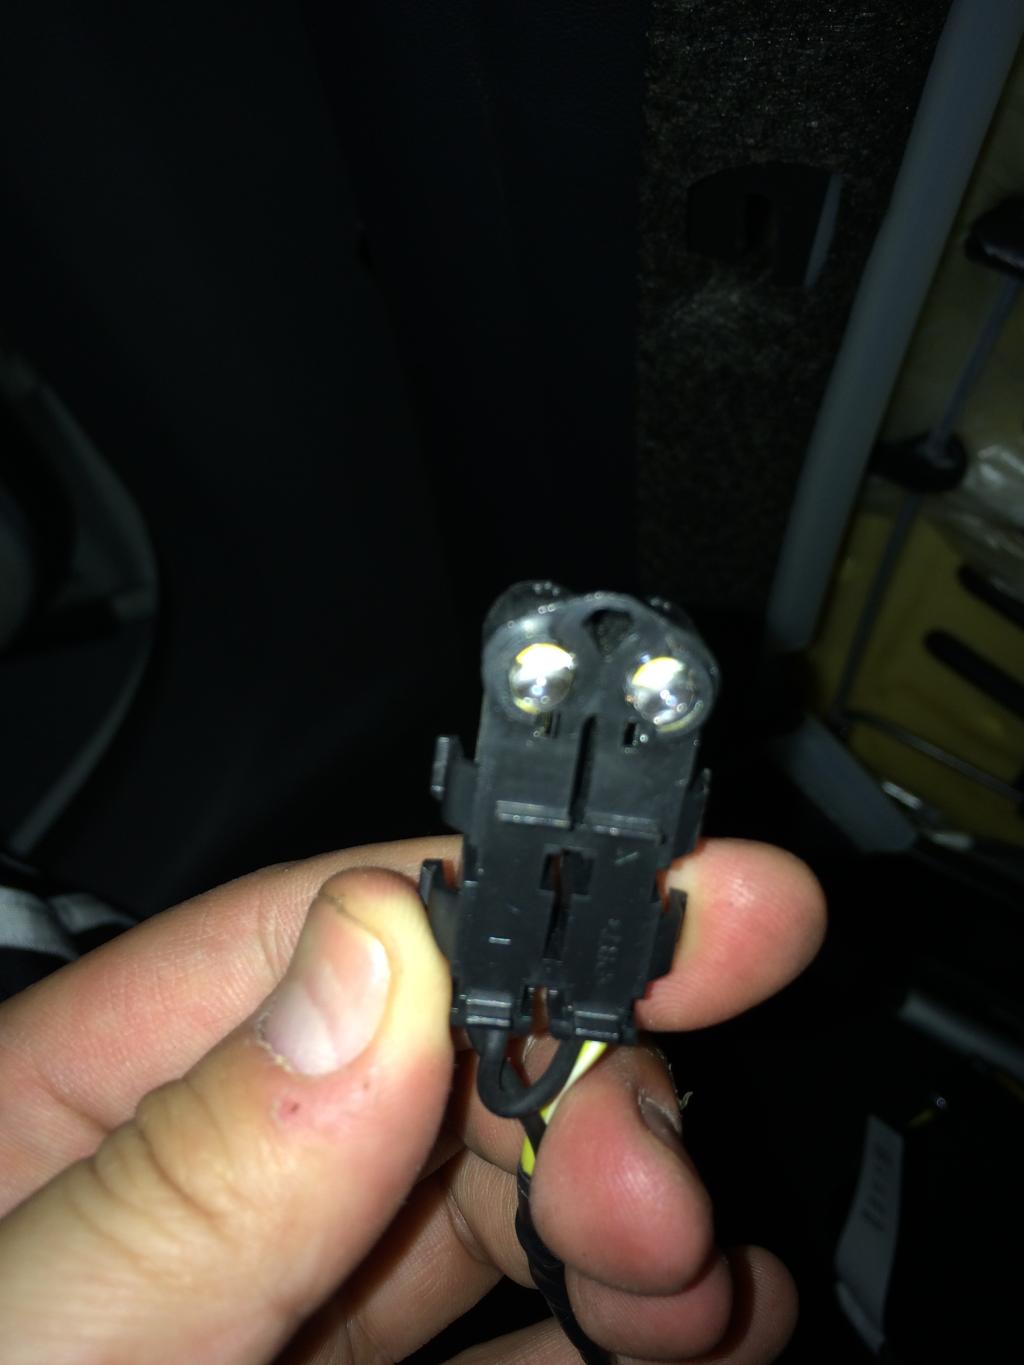
Diboblo and I are thinking of swapping the led's in the seat backings out to something custom

Name:  55E68D0B-453A-4AAD-B677-04D718F05EA5.jpg
Views: 117
Size:  69.0 KB

Name:  1B6096CD-0F6E-49C1-AD04-5FAB2D4641E4.jpg
Views: 103
Size:  311.3 KB

Name:  30C4B383-52C1-4ECA-9298-904086E3BB3B.jpg
Views: 113
Size:  110.7 KB

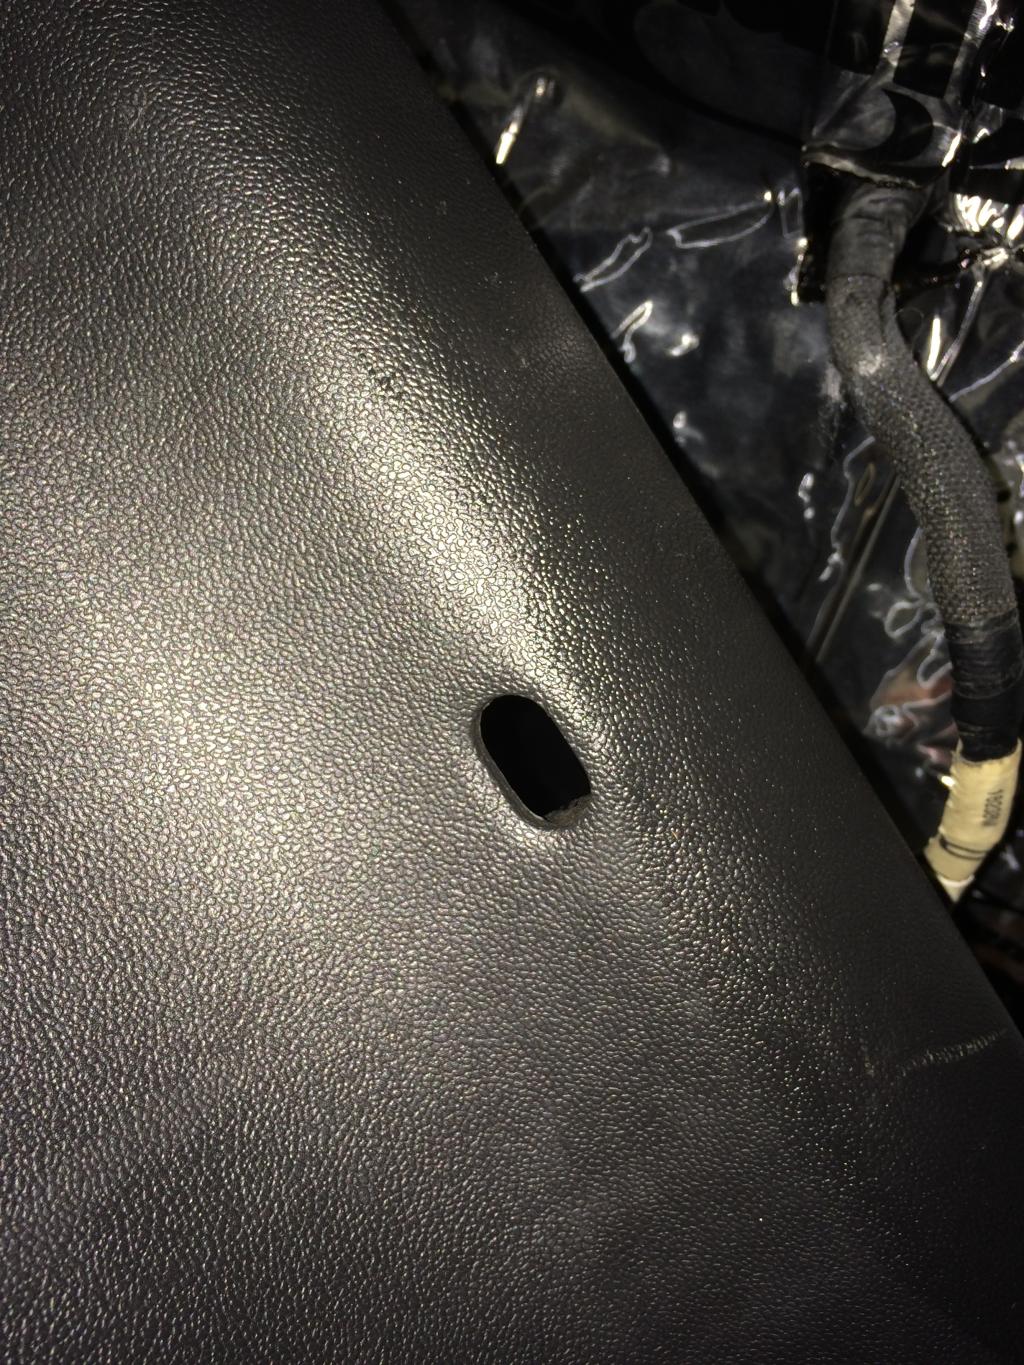
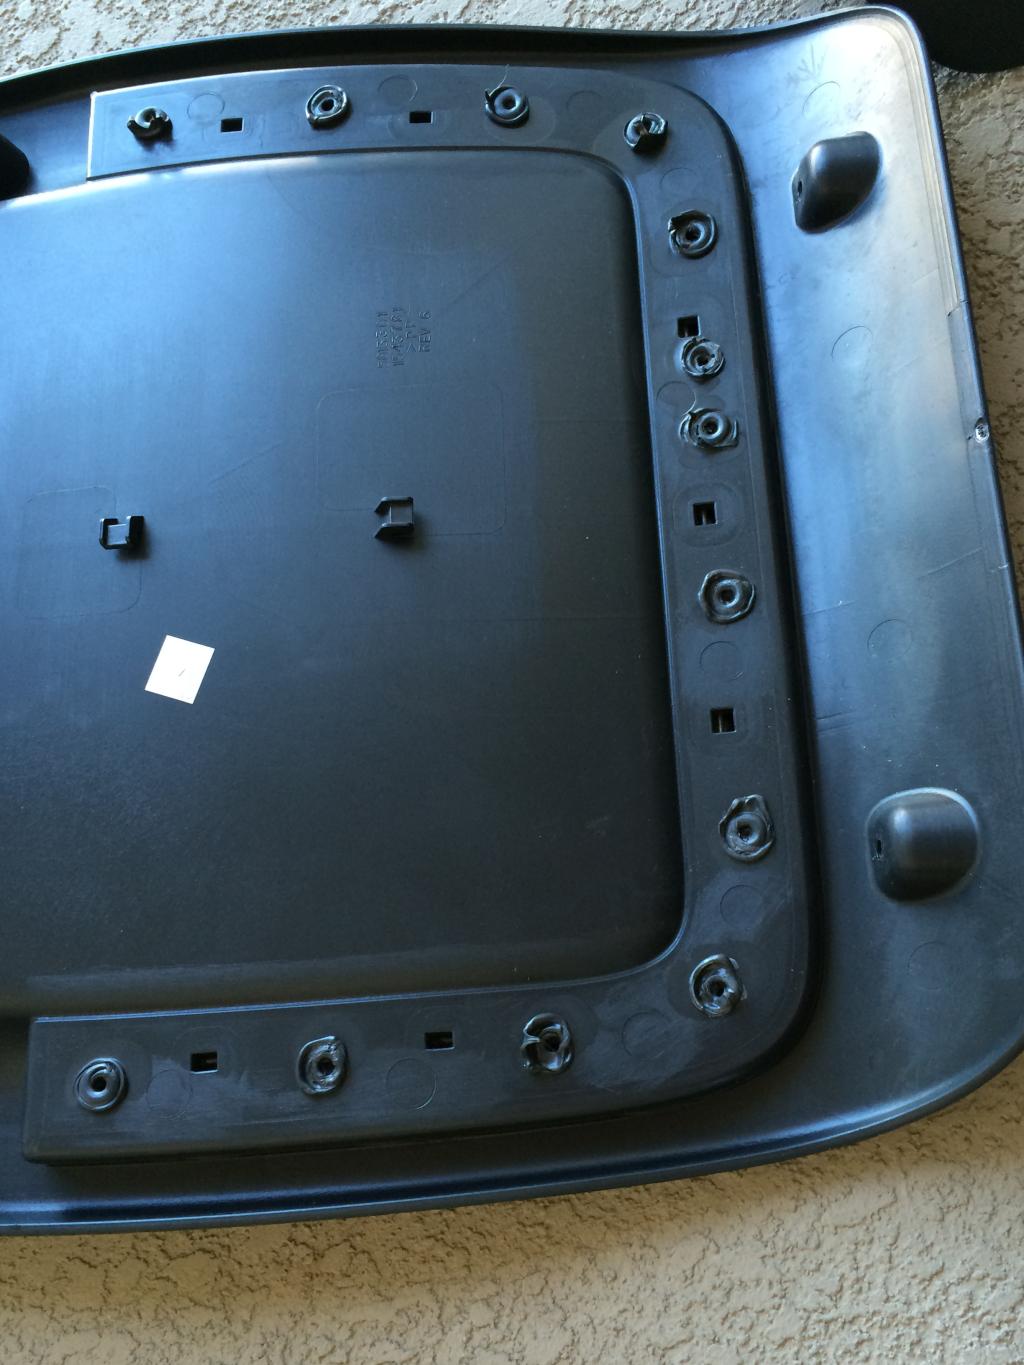
The "horseshoes" or u-shaped pieces on the backing were all siliconed in so had to remove them to allow the cf process

Name:  D886E648-CA79-4EF4-ABB5-C0D0CBFCD436.jpg
Views: 101
Size:  134.4 KB

Name:  535B3CB8-AF23-45C0-9A4C-03F80F063084.jpg
Views: 112
Size:  119.9 KB
Reply
Old Feb 20, 2015 | 07:38 PM
  #403  
Rickdogg's Avatar
Rickdogg
Thread Starter
Out of hiatus
Premier Member
iTrader: (234)
 
Joined: Jul 2004
Posts: 10,759
Likes: 4
From: My350z
Default

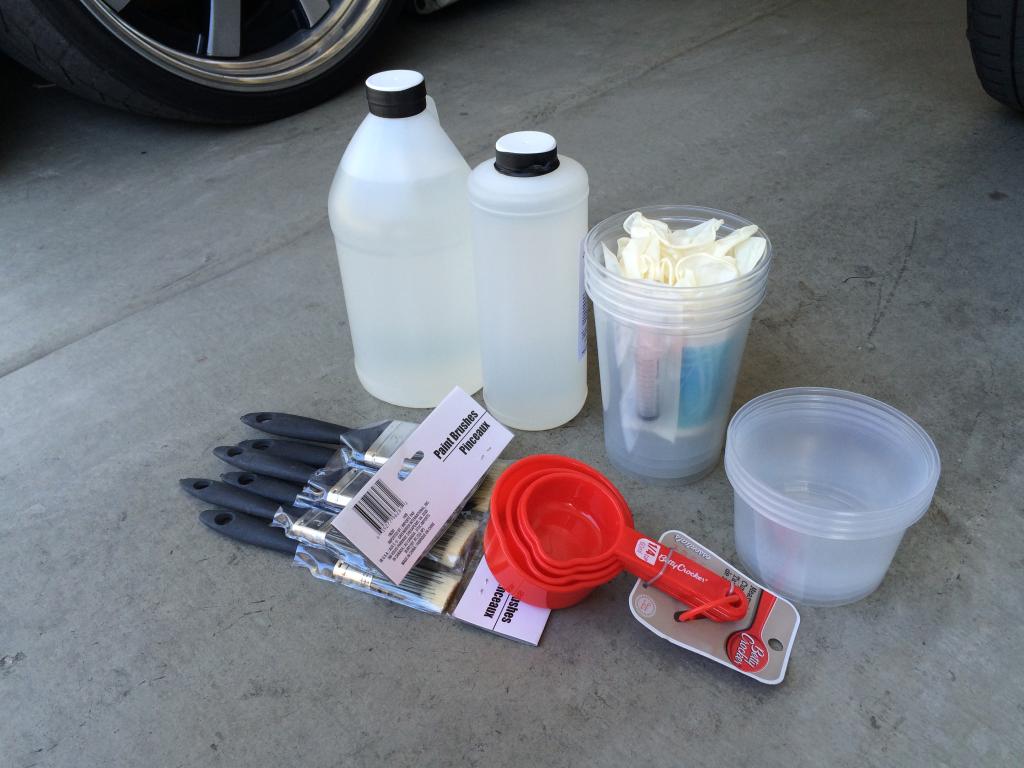
Some chemicals and my miscellaneous starter kit with Betty Crocker of course

Name:  85452FD6-76EA-44ED-8918-CA53539DEC94.jpg
Views: 107
Size:  87.2 KB

Name:  FE54ED36-8369-4313-BF44-C1DA0A148A8A.jpg
Views: 100
Size:  188.1 KB

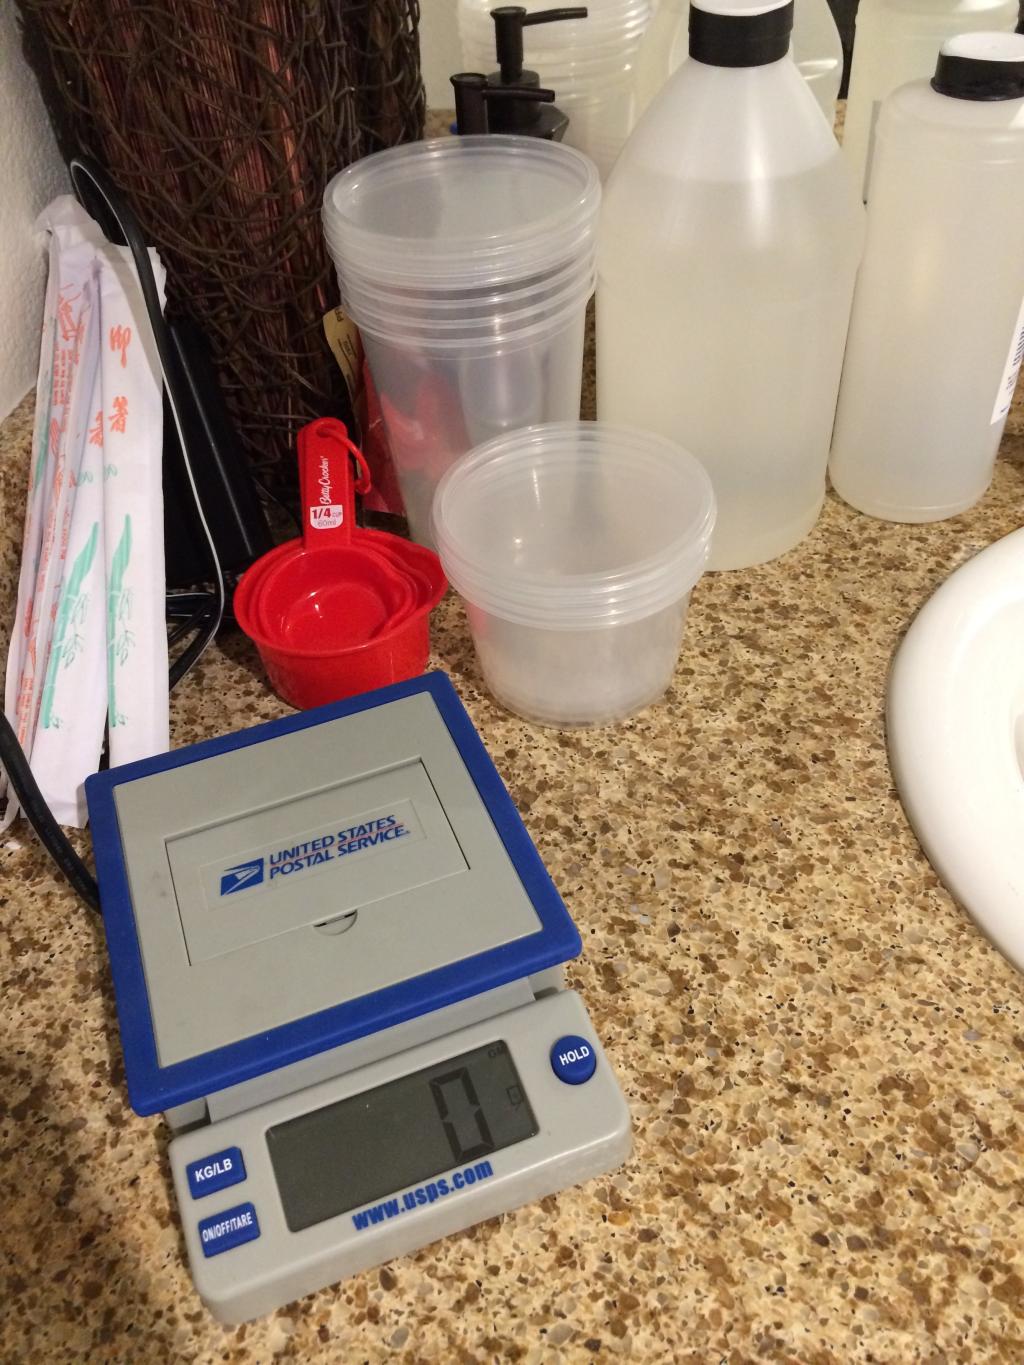
Never had use for the bottom floor bathroom, but made my "a beautiful mind" setup for this experiment.

Name:  46700616-AD2D-41B4-95D8-775A4BF3C92D.jpg
Views: 105
Size:  56.5 KB

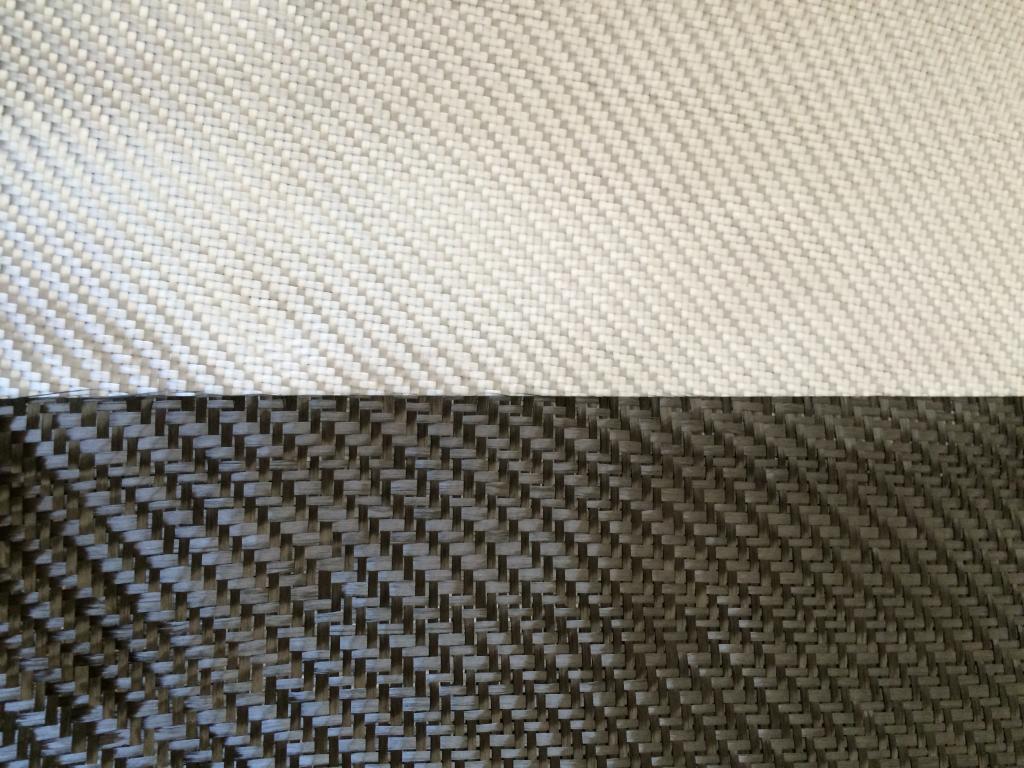
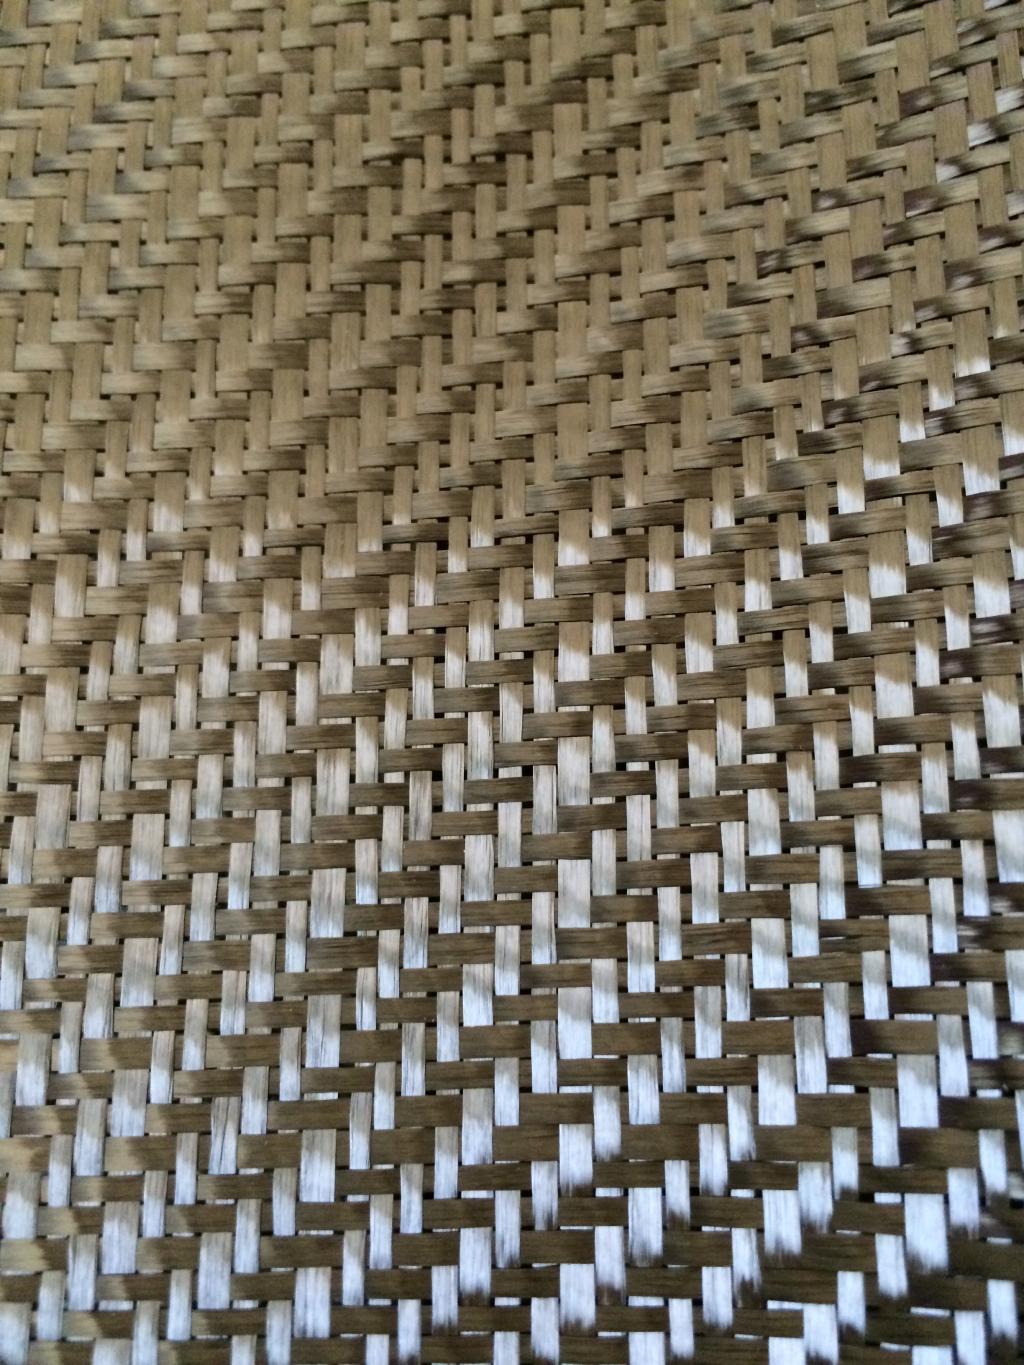
The fabric has arrived!
Name:  F3184F7E-DCCF-4DAB-AAD0-6138CD190D1A.jpg
Views: 104
Size:  137.3 KB

Name:  529F3761-4221-438E-8780-8BDB5CDC2821.jpg
Views: 108
Size:  218.3 KB

Name:  6A81B730-4ED2-476E-9CDE-7A54E5D0E1A4.jpg
Views: 103
Size:  145.6 KB
Reply
Old Feb 20, 2015 | 07:39 PM
  #404  
Rickdogg's Avatar
Rickdogg
Thread Starter
Out of hiatus
Premier Member
iTrader: (234)
 
Joined: Jul 2004
Posts: 10,759
Likes: 4
From: My350z
Default

The first 4 guinea pigs are the 2 horsehoes, rear window switch bezel, & one rear door pull

Name:  43EAB30A-F3B0-43F2-A970-0D0B8F71EFE5.jpg
Views: 100
Size:  120.3 KB

First time pressing the fabric on to the pieces

Name:  96F0AA68-C1C0-4570-BB78-6A5D7E9D748F.jpg
Views: 96
Size:  183.4 KB

Name:  5141736A-88B5-4E72-89FB-F4CDFB82854A.jpg
Views: 115
Size:  149.3 KB

Name:  87242084-BBA9-4C28-83D4-A0AE838138F1.jpg
Views: 104
Size:  140.0 KB
Reply
Old Feb 20, 2015 | 07:41 PM
  #405  
Rickdogg's Avatar
Rickdogg
Thread Starter
Out of hiatus
Premier Member
iTrader: (234)
 
Joined: Jul 2004
Posts: 10,759
Likes: 4
From: My350z
Default

The initial layer of epoxy

Name:  22B8151D-EA53-47F9-914D-483EBA3065D6.jpg
Views: 147
Size:  165.4 KB

Name:  D3B38E7C-8EF6-4EBE-B1B7-1410D1DD4BCD.jpg
Views: 98
Size:  107.9 KB

Name:  22B8151D-EA53-47F9-914D-483EBA3065D6.jpg
Views: 147
Size:  165.4 KB
Attached Images
Reply
Old Feb 20, 2015 | 07:42 PM
  #406  
Rickdogg's Avatar
Rickdogg
Thread Starter
Out of hiatus
Premier Member
iTrader: (234)
 
Joined: Jul 2004
Posts: 10,759
Likes: 4
From: My350z
Default

The first trim after the first coat dried

Name:  F2FF518B-0C3A-4E2B-A29D-4406BFDAF415.jpg
Views: 97
Size:  156.8 KB

After some more trimming and second coat of epoxy down

Name:  0347CFA8-C101-4CC0-8D31-6D1B6CDAA47F.jpg
Views: 93
Size:  150.2 KB

Name:  522938C1-6443-432E-B1A4-75C6F695EA71.jpg
Views: 101
Size:  152.0 KB
Reply
Old Feb 20, 2015 | 07:44 PM
  #407  
Rickdogg's Avatar
Rickdogg
Thread Starter
Out of hiatus
Premier Member
iTrader: (234)
 
Joined: Jul 2004
Posts: 10,759
Likes: 4
From: My350z
Default

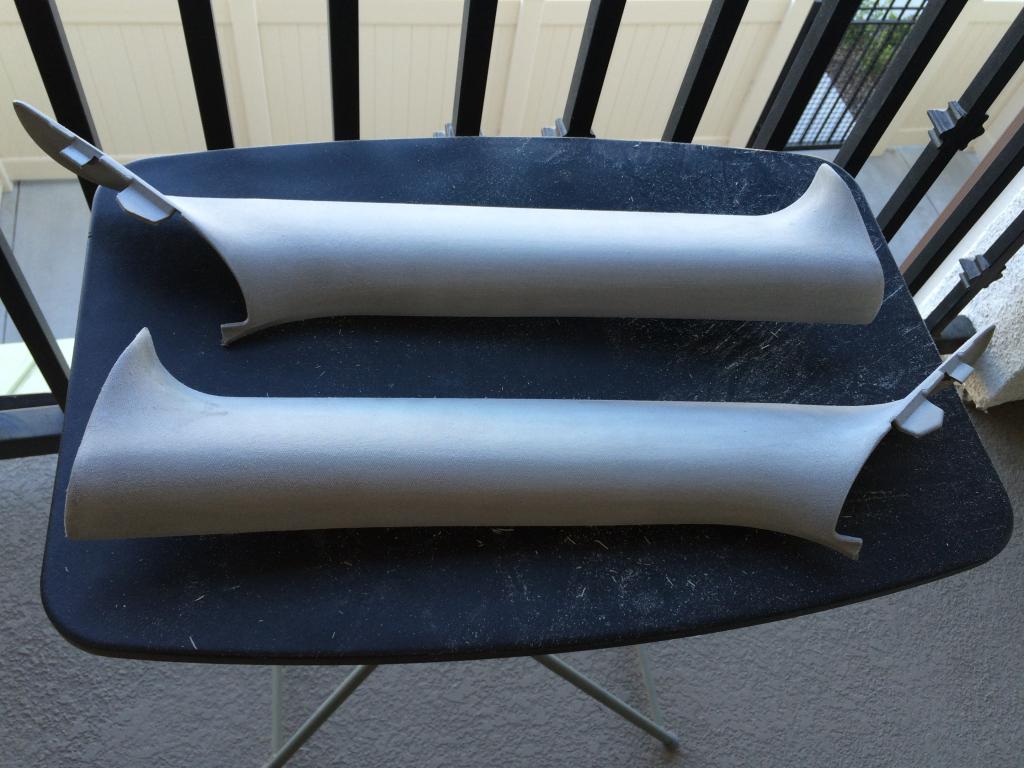
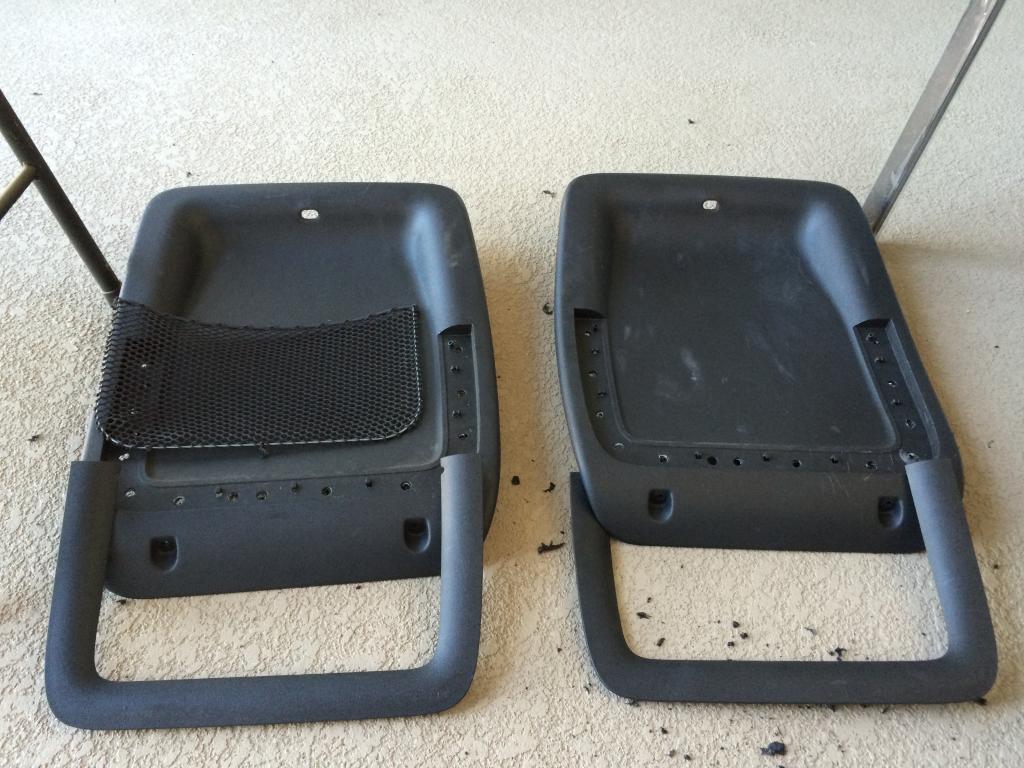
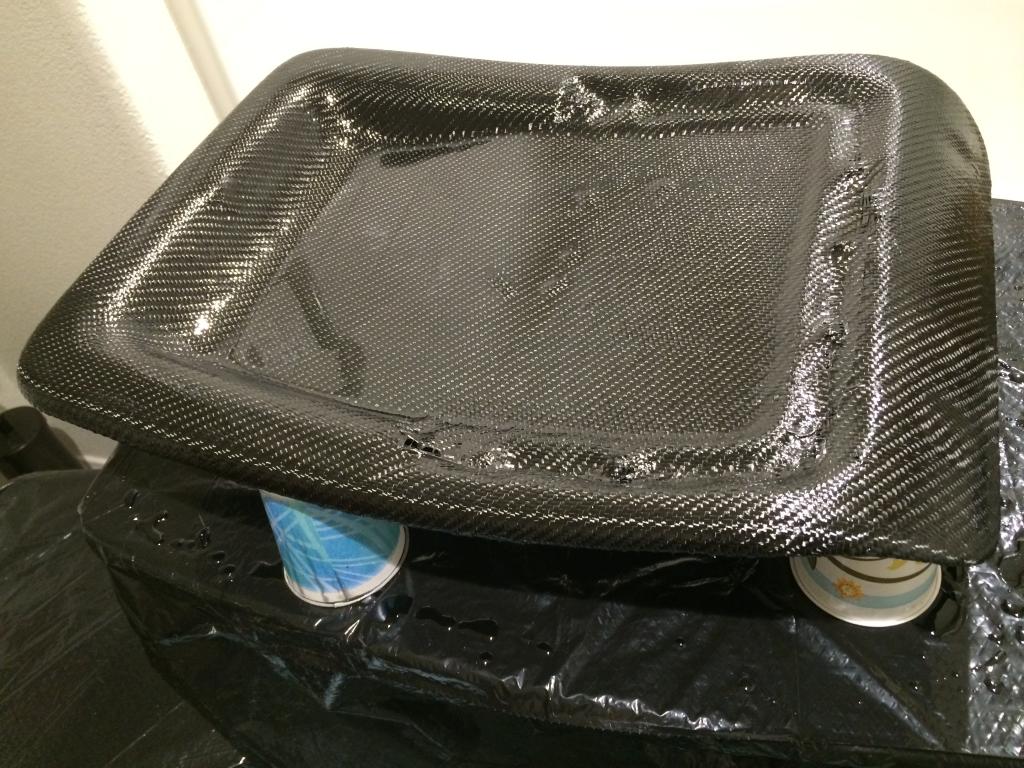
Plenty of steps left, but I just wanted a quick test fit so I could trim the main backing as much as possible while the epoxy is thin before I layed down more layers.

Name:  7DEBD59D-A541-4FF5-8F0A-63AA1E538245.jpg
Views: 99
Size:  224.5 KB
Reply
Old Feb 21, 2015 | 07:27 PM
  #408  
Silly Wabbit's Avatar
Silly Wabbit
Registered User
 
Joined: May 2009
Posts: 310
Likes: 2
From: SoCal
Default

Oh noes my OCD kicking in... why horseshoe pattern in different direction than the backing??? Unacceptable pls do over thx!
Reply
Old Feb 22, 2015 | 12:29 AM
  #409  
Rickdogg's Avatar
Rickdogg
Thread Starter
Out of hiatus
Premier Member
iTrader: (234)
 
Joined: Jul 2004
Posts: 10,759
Likes: 4
From: My350z
Default

Originally Posted by Silly Wabbit
Oh noes my OCD kicking in... why horseshoe pattern in different direction than the backing??? Unacceptable pls do over thx!
Lololol. I did that on purpose for constrast of the two parts, although it won't be noticeable anyways since it sits on the back of the seats anyways lol.
Reply
Old Feb 23, 2015 | 12:08 AM
  #410  
Rickdogg's Avatar
Rickdogg
Thread Starter
Out of hiatus
Premier Member
iTrader: (234)
 
Joined: Jul 2004
Posts: 10,759
Likes: 4
From: My350z
Default

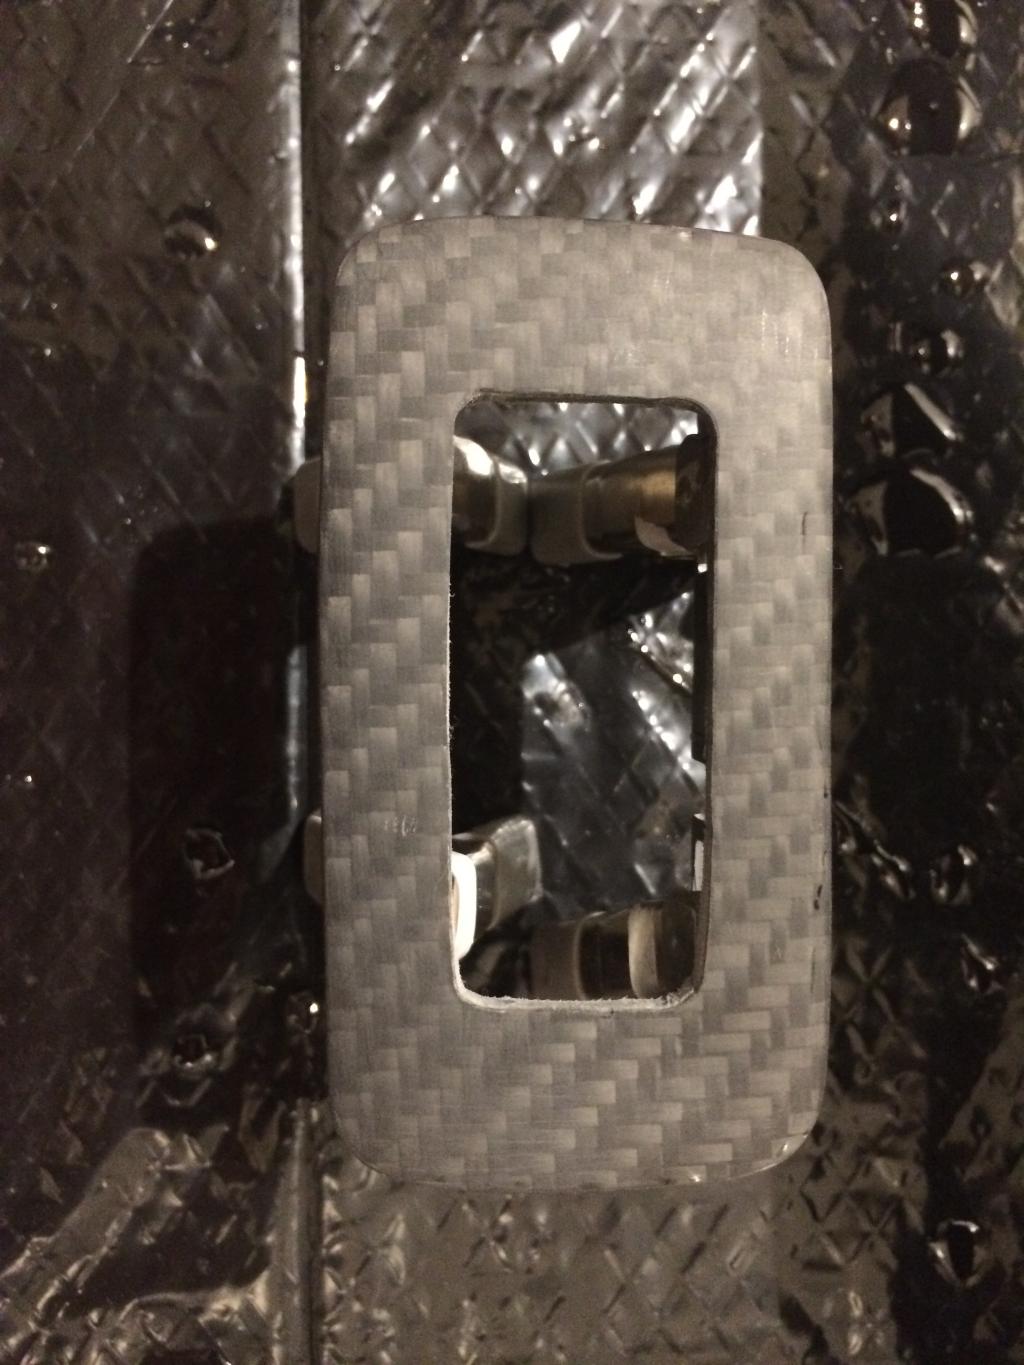
Here is the rear window switch after a mild wetsand. Just needs a little bit more sanding and then some cleaning up on the inside corners etc before I lay the clearcoat and do more sanding.

Name:  E9928DB3-E809-482E-80DB-21E07F75CEF0.jpg
Views: 97
Size:  136.6 KB

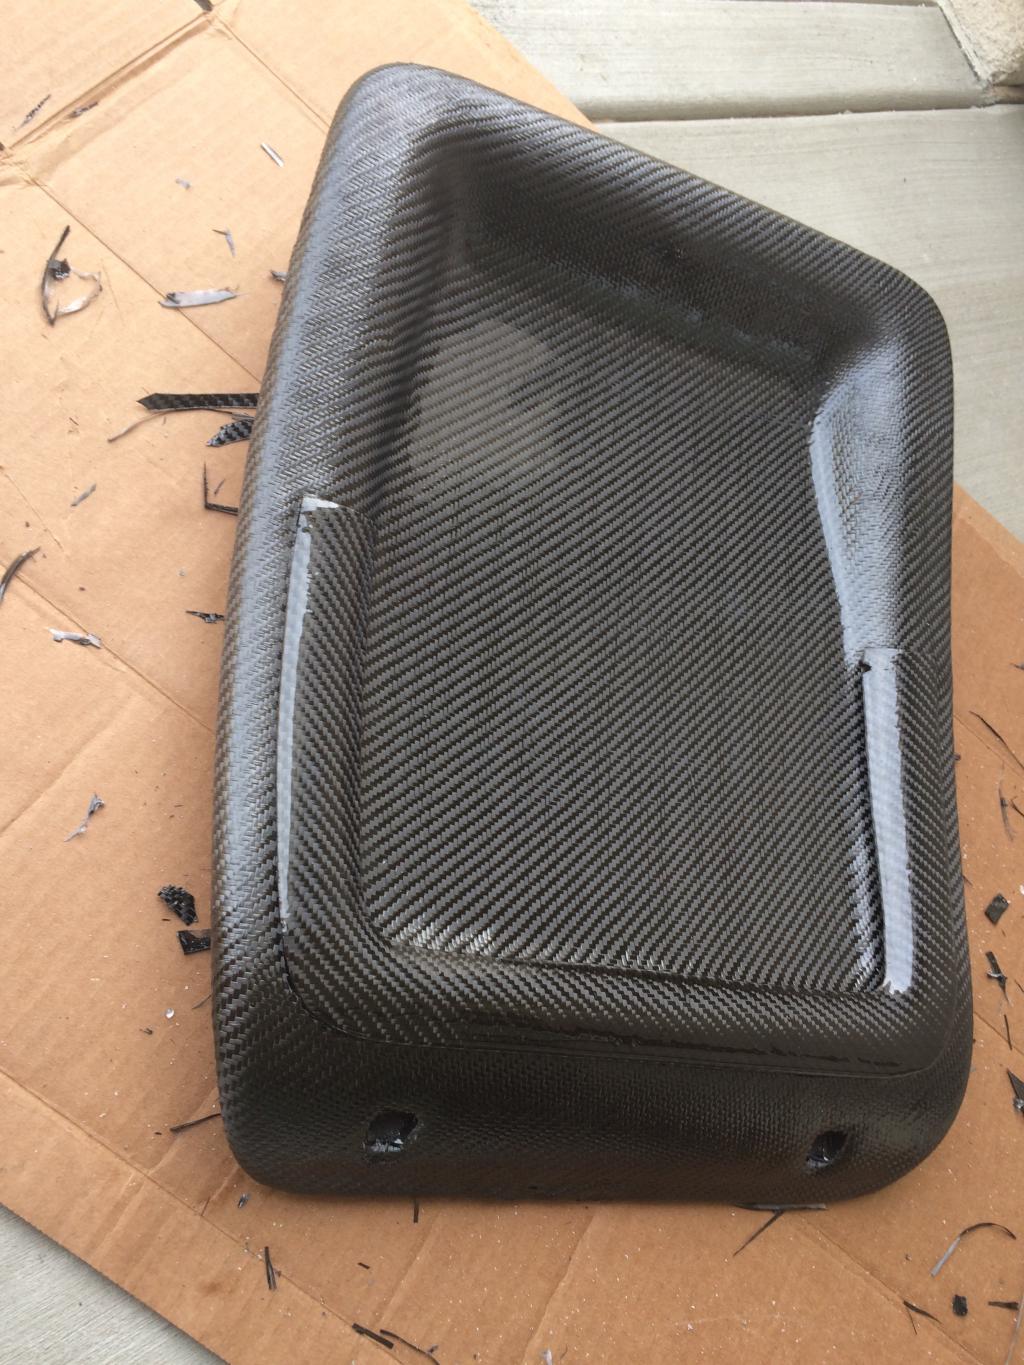
This is the driver side seat backing. The passenger side was my guinea pig and I learned a lot from it so the driver side should be cleaner an the fabric should be much tighter from the extra prep work I did for it.

Name:  A5975470-55F1-4361-BE95-00DC2CA672AC.jpg
Views: 103
Size:  341.6 KB

Name:  9E1F631E-5606-44B1-B0C5-D4AFF300C84E.jpg
Views: 107
Size:  187.5 KB

Name:  7D3C4486-9AE1-447E-9F0F-263D4FEB03C3.jpg
Views: 103
Size:  158.7 KB
Reply
Old Feb 26, 2015 | 10:27 AM
  #411  
Rickdogg's Avatar
Rickdogg
Thread Starter
Out of hiatus
Premier Member
iTrader: (234)
 
Joined: Jul 2004
Posts: 10,759
Likes: 4
From: My350z
Default

Here is he driver side seat back raw with no trimming, wetsanding, or clear yet...just wanted to see how it looked.

Name:  4129F491-6170-4AF8-9E78-402E02287067.jpg
Views: 95
Size:  144.6 KB

Started on the front pillars as well.

Name:  672DD820-CF0B-477C-97AA-A727BC326645.jpg
Views: 116
Size:  130.5 KB
Reply
Old Feb 26, 2015 | 05:56 PM
  #412  
Rickdogg's Avatar
Rickdogg
Thread Starter
Out of hiatus
Premier Member
iTrader: (234)
 
Joined: Jul 2004
Posts: 10,759
Likes: 4
From: My350z
Default

Quick test fit of the front pillars. They still need sanding and clear etc. Why do the gen 1 versions for so awful even in factory form?

Name:  12AD067E-78D2-401F-970C-2A456D15DB51.jpg
Views: 98
Size:  79.8 KB

Passenger side

Name:  502E4A0D-1C23-45EB-BAC4-1CA61112C1E3.jpg
Views: 98
Size:  69.5 KB

Name:  BAB5511C-DAC4-4044-9DA6-645E6798DF5C.jpg
Views: 94
Size:  228.4 KB

Name:  CAE617DB-5813-4A08-BFDF-FC884EB50594.jpg
Views: 100
Size:  206.0 KB
Reply
Old Feb 26, 2015 | 06:16 PM
  #413  
mr. sparco's Avatar
mr. sparco
New Member
iTrader: (13)
 
Joined: Dec 2005
Posts: 7,090
Likes: 460
From: Sunny Beaches
Default

Nice work, cf is a pain to work with but that hexcal texalium is nearly impossible to get around curves.
Reply
Old Feb 27, 2015 | 11:17 PM
  #414  
Rickdogg's Avatar
Rickdogg
Thread Starter
Out of hiatus
Premier Member
iTrader: (234)
 
Joined: Jul 2004
Posts: 10,759
Likes: 4
From: My350z
Default

Originally Posted by mr. sparco
Nice work, cf is a pain to work with but that hexcal texalium is nearly impossible to get around curves.
Blah about to try and mess with the texalium in the next few days.

Name:  38E3131E-9AD6-4B89-B80A-4299A15E09C1.jpg
Views: 108
Size:  97.1 KB

Name:  B1F3A71D-E5C8-46D3-BA0E-33C68CCA2B3F.jpg
Views: 103
Size:  76.3 KB

Name:  DFC1ED15-CB8A-4122-9621-23340E38DA35.jpg
Views: 92
Size:  76.1 KB

Name:  6C7095FC-50B1-4686-8AFE-5EF44E6829C4.jpg
Views: 97
Size:  141.8 KB
Reply
Old Feb 28, 2015 | 11:15 PM
  #415  
Rickdogg's Avatar
Rickdogg
Thread Starter
Out of hiatus
Premier Member
iTrader: (234)
 
Joined: Jul 2004
Posts: 10,759
Likes: 4
From: My350z
Default

Name:  38132017-8F21-470D-AA92-AD6EFE52E324.jpg
Views: 95
Size:  128.5 KB

Name:  5EE522DA-39A0-4C26-84F5-8E422351D141.jpg
Views: 103
Size:  117.9 KB

Name:  8897D6C3-ED01-4E94-BC4C-DADD6E0E05EF.jpg
Views: 98
Size:  209.7 KB

Name:  B5547FC0-FED5-4F16-875E-D1BC9960910B.jpg
Views: 110
Size:  99.6 KB

Name:  989C82C8-BD2C-4E92-8698-C2DB33615D8E.jpg
Views: 99
Size:  132.8 KB

Name:  82BA65A1-DC92-4839-9BC6-7865D3DFC951.jpg
Views: 113
Size:  131.9 KB
Reply
Related Topics
Thread
Thread Starter
Forum
Replies
Last Post
Lt_Ballzacki
Brakes & Suspension
39
Aug 6, 2021 06:19 AM
350Z_Al
Exterior & Interior
133
Oct 29, 2020 07:44 PM
sherm
Engine & Drivetrain
15
Apr 11, 2020 05:21 PM
MicVelo
2003-2009 Nissan 350Z
34
May 30, 2017 03:28 PM


All times are GMT -8. The time now is 08:43 PM.