When you click on links to various merchants on this site and make a purchase, this can result in this site earning a commission. Affiliate programs and affiliations include, but are not limited to, the eBay Partner Network.
Had a little time to work on the z the last couple days finally. Found one of the rear springs was installed upside down on the passenger side when i was doing my dif bushings a few weeks ago, fixed that. Also ordered centric brake disc hardware for my front and rear calipers in which i finished installing today.
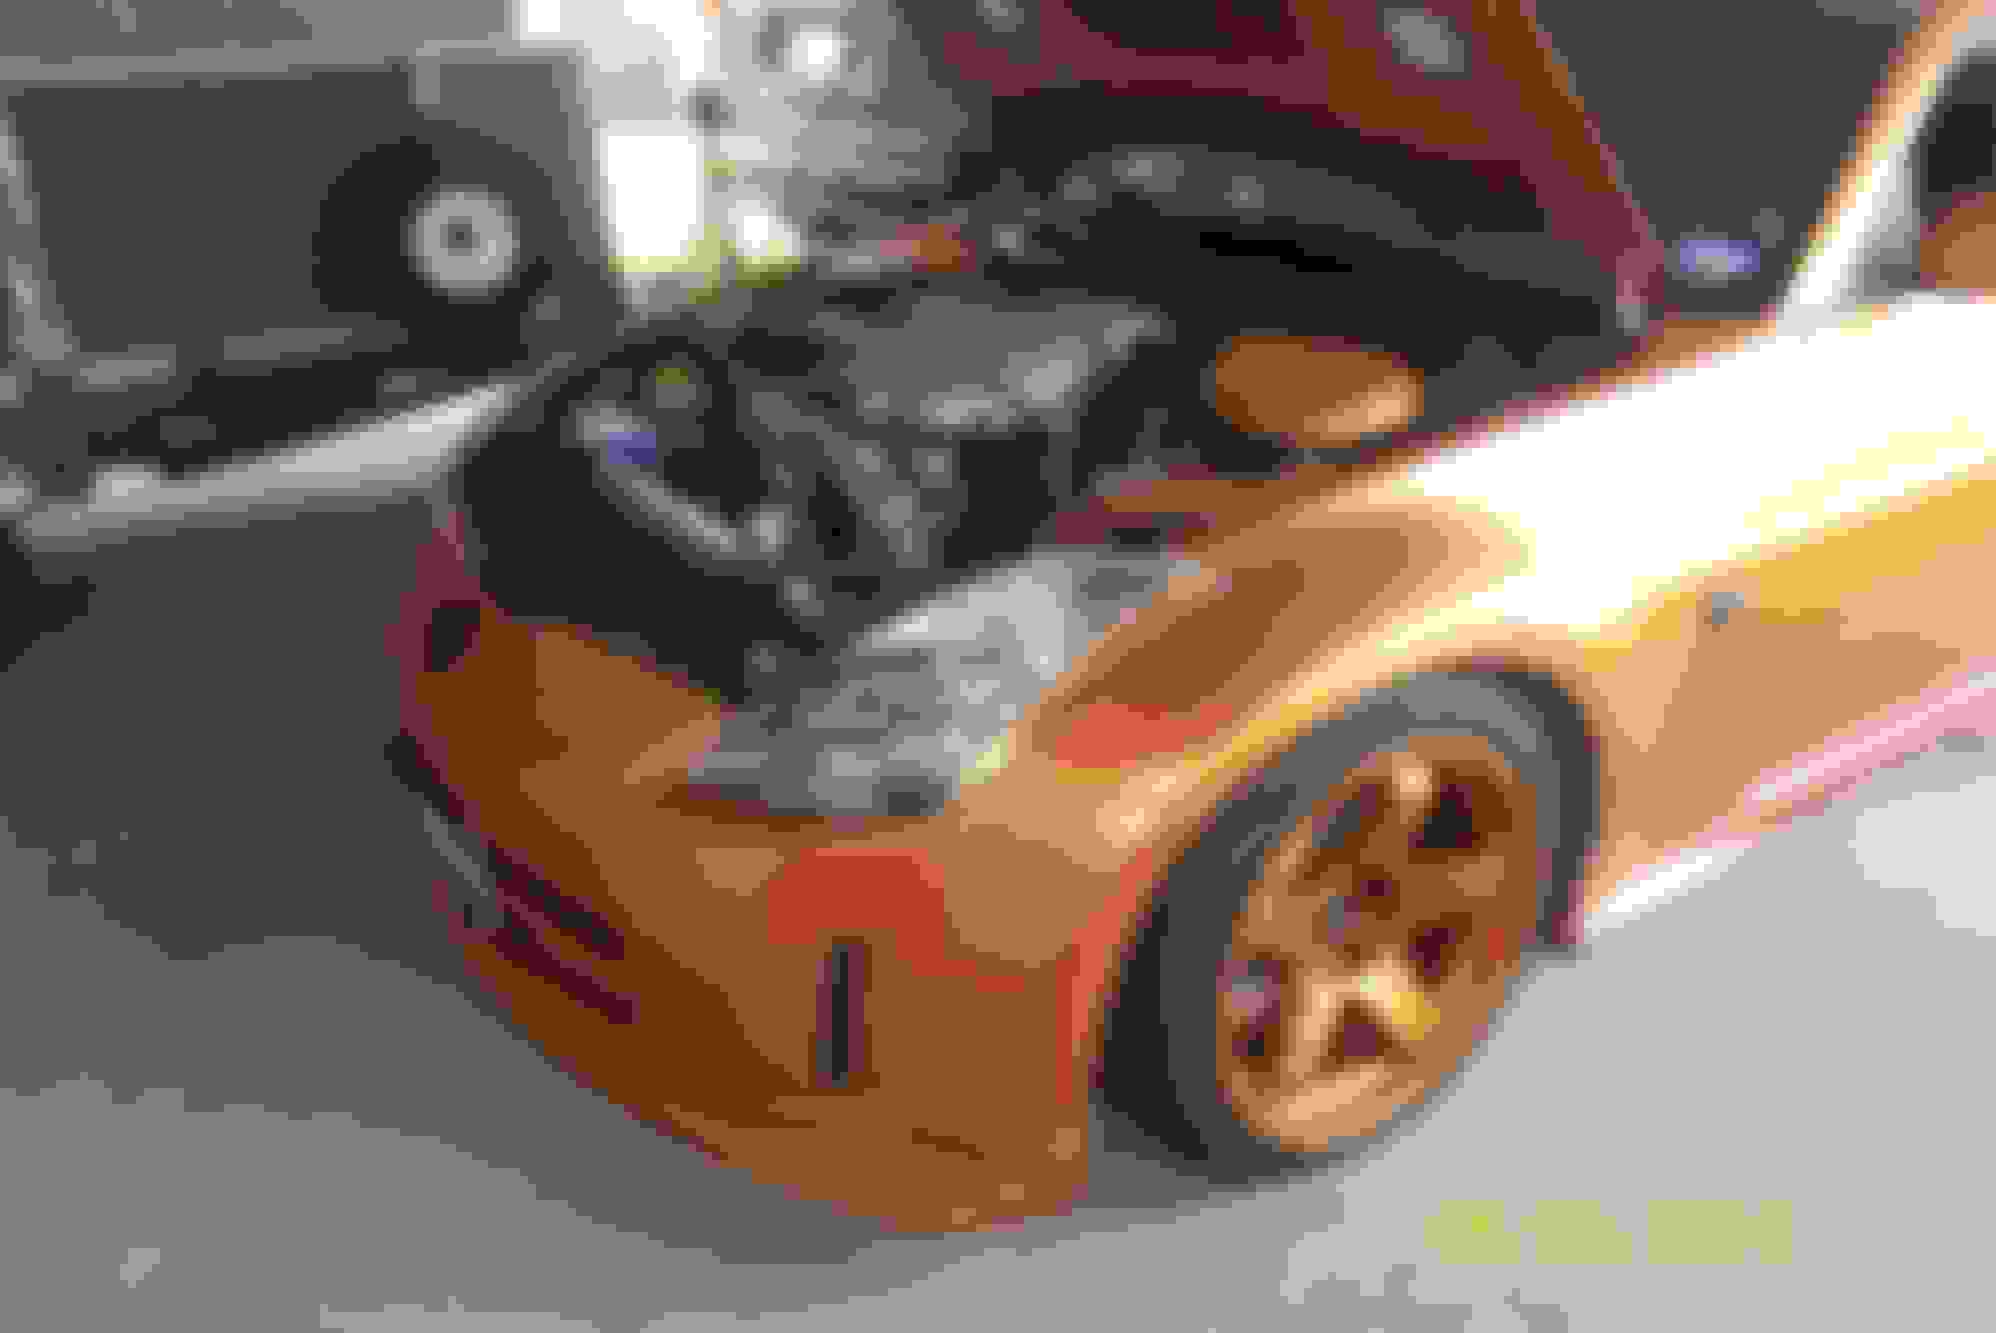
After i was done i still had some time and felt the itch so i decided to trim back the black plastic frames that hold the covers so that the edge doesn't overhang the false firewall. My son cleaned the 2 covers for me so i could paint match them to my wheels. Also pulled out the rubber grommets that held the wire looms before i did the wire tuck. Enough of the babble time for the pics.
The plastic that i used to fill the grommet holes i used my wheel paint, it is going to be temporary. Once i get a chance to get some factory paint mixed up I will sand down the areas a little and repaint. At least the ugly holes are not there anymore
For now it is still in the electrical tape that I used earlier in the thread. Eventually i have more plans for changing what i am using for looming. Currenly am looking at the velcro DEI for the main harness from the false firewall to the back of the engine. I still have some more figuring on how i want to change up some of my wire routing for the 02 sensors and crankshaft position sensor. That will be quite some time though.
Next on my agenda will be doing the complete hydraulic clutch system. Already have the CSC and SS clutch line. Also picked up some DEI sheilding tape that i am going to wrap my fuel lines that are next to my HFC. Currently saving for my tilton CMC. Almost got enough. Hopefully this payday.
Finally got around to zip tying the wires under the wiper cowl today and a little more bay dress up. Here are the pics of the hidden wires and some more progress pics.
Hadn't checked back in here in a while. Looks like you have been making some progress. Crazy how much extra wire nissan put in the engine bay. A pound of copper you got stuffed in the wiper cowl area!!
Yeah that for sure, 1 lb of copper and 5 lbs of insulation lol. Can't wait to figure out what I can cut back. Plus source new pins so i can shorten the wires properly at the pigtail.
appreciate the offer on the connectors, so far I don't see any need for any since mine are decent shape. Yeah i did end up doing the fuel damper tuck/relocation. Super easy and removed an extra piece that wasn't needed. Even modded the EVAP tubing and location to trim out some more room as well as my current mod that i still need some more goodies for on my coolant tuck.
Today I felt a little froggy and have been wanting to rebuild or replace my strut bar to help with asthetics. Dug out a few tools and commenced to cut and grind to smooth out the stock bar. Also cut down the stud on both sides so it doesn't stick out so much.
Color scheme is starting to come together, won't make much sense though until I can get more of the parts cleaned, replaced and painted.
Its been a while since i did those bolts, they are actually a standard size. When i had bought the car almost all the holes were stripped out so i found a standard size that was the next size up from the metric and retapped the threads out for the new size. I need to step up 1 more size eventually since I still had to be very carefull about over torqing the threads. If i remember correctly though the origional bolt size is M10x1.25. Once i get around to redoing my bolts i will probably go with a low profile head to give a cleaner flush style.
Its been a while since i did those bolts, they are actually a standard size. When i had bought the car almost all the holes were stripped out so i found a standard size that was the next size up from the metric and retapped the threads out for the new size. I need to step up 1 more size eventually since I still had to be very carefull about over torqing the threads. If i remember correctly though the origional bolt size is M10x1.25. Once i get around to redoing my bolts i will probably go with a low profile head to give a cleaner flush style.
Well i think i am going to turn this into a very slow build thread. Finally got my new tilton CMC, ss line and centric slave along with stoptech dot 4. Hard to say how much difference this system makes since my oem cmc was failing hardcore. Here is a couple pics of the old and new.
Finally a new update. The temporary hook up i had for the heater hose going to the coolant pipe is fixed. Got my pathfinder kit by fedex yesterday. Did the tear down and a slight mod to the pathfinder rear log to have a new heater hose access. Also while i had the intake manifold i did a whole lot of grinding and sanding on the upper and lower plenum. Last but not least threw a coat of paint on it. Made a few adjustments to my wiring behind the mani and rerouted the fuel line from where i had it to get it away from the head heat.
Still need to find where i want to mount my evap now and eventually more harness work. More then likely the harness work will wait till next year after i buy a harness rebuild kit.