When you click on links to various merchants on this site and make a purchase, this can result in this site earning a commission. Affiliate programs and affiliations include, but are not limited to, the eBay Partner Network.
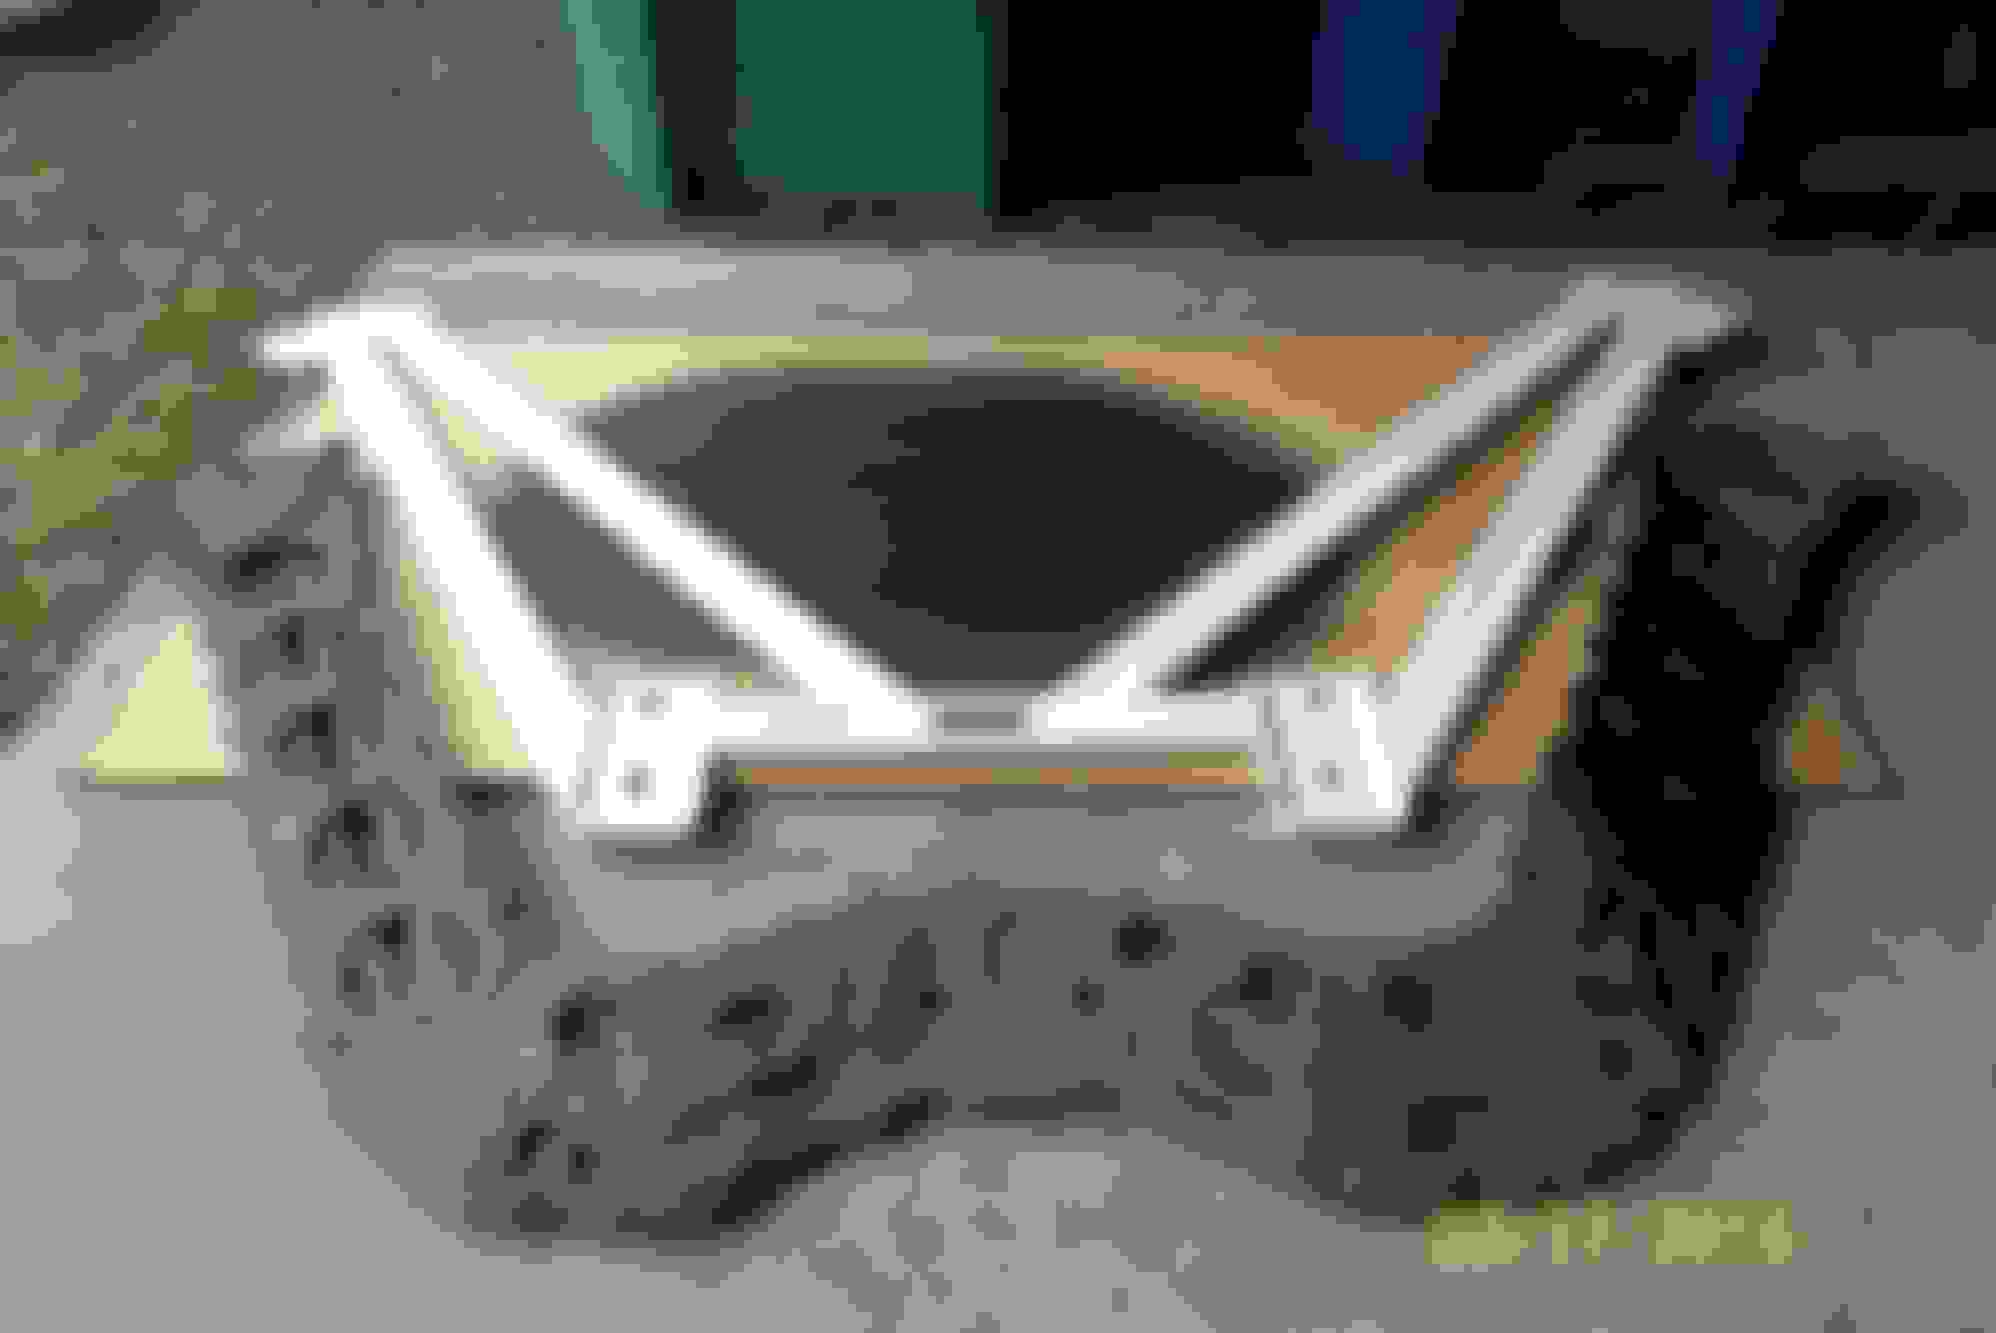
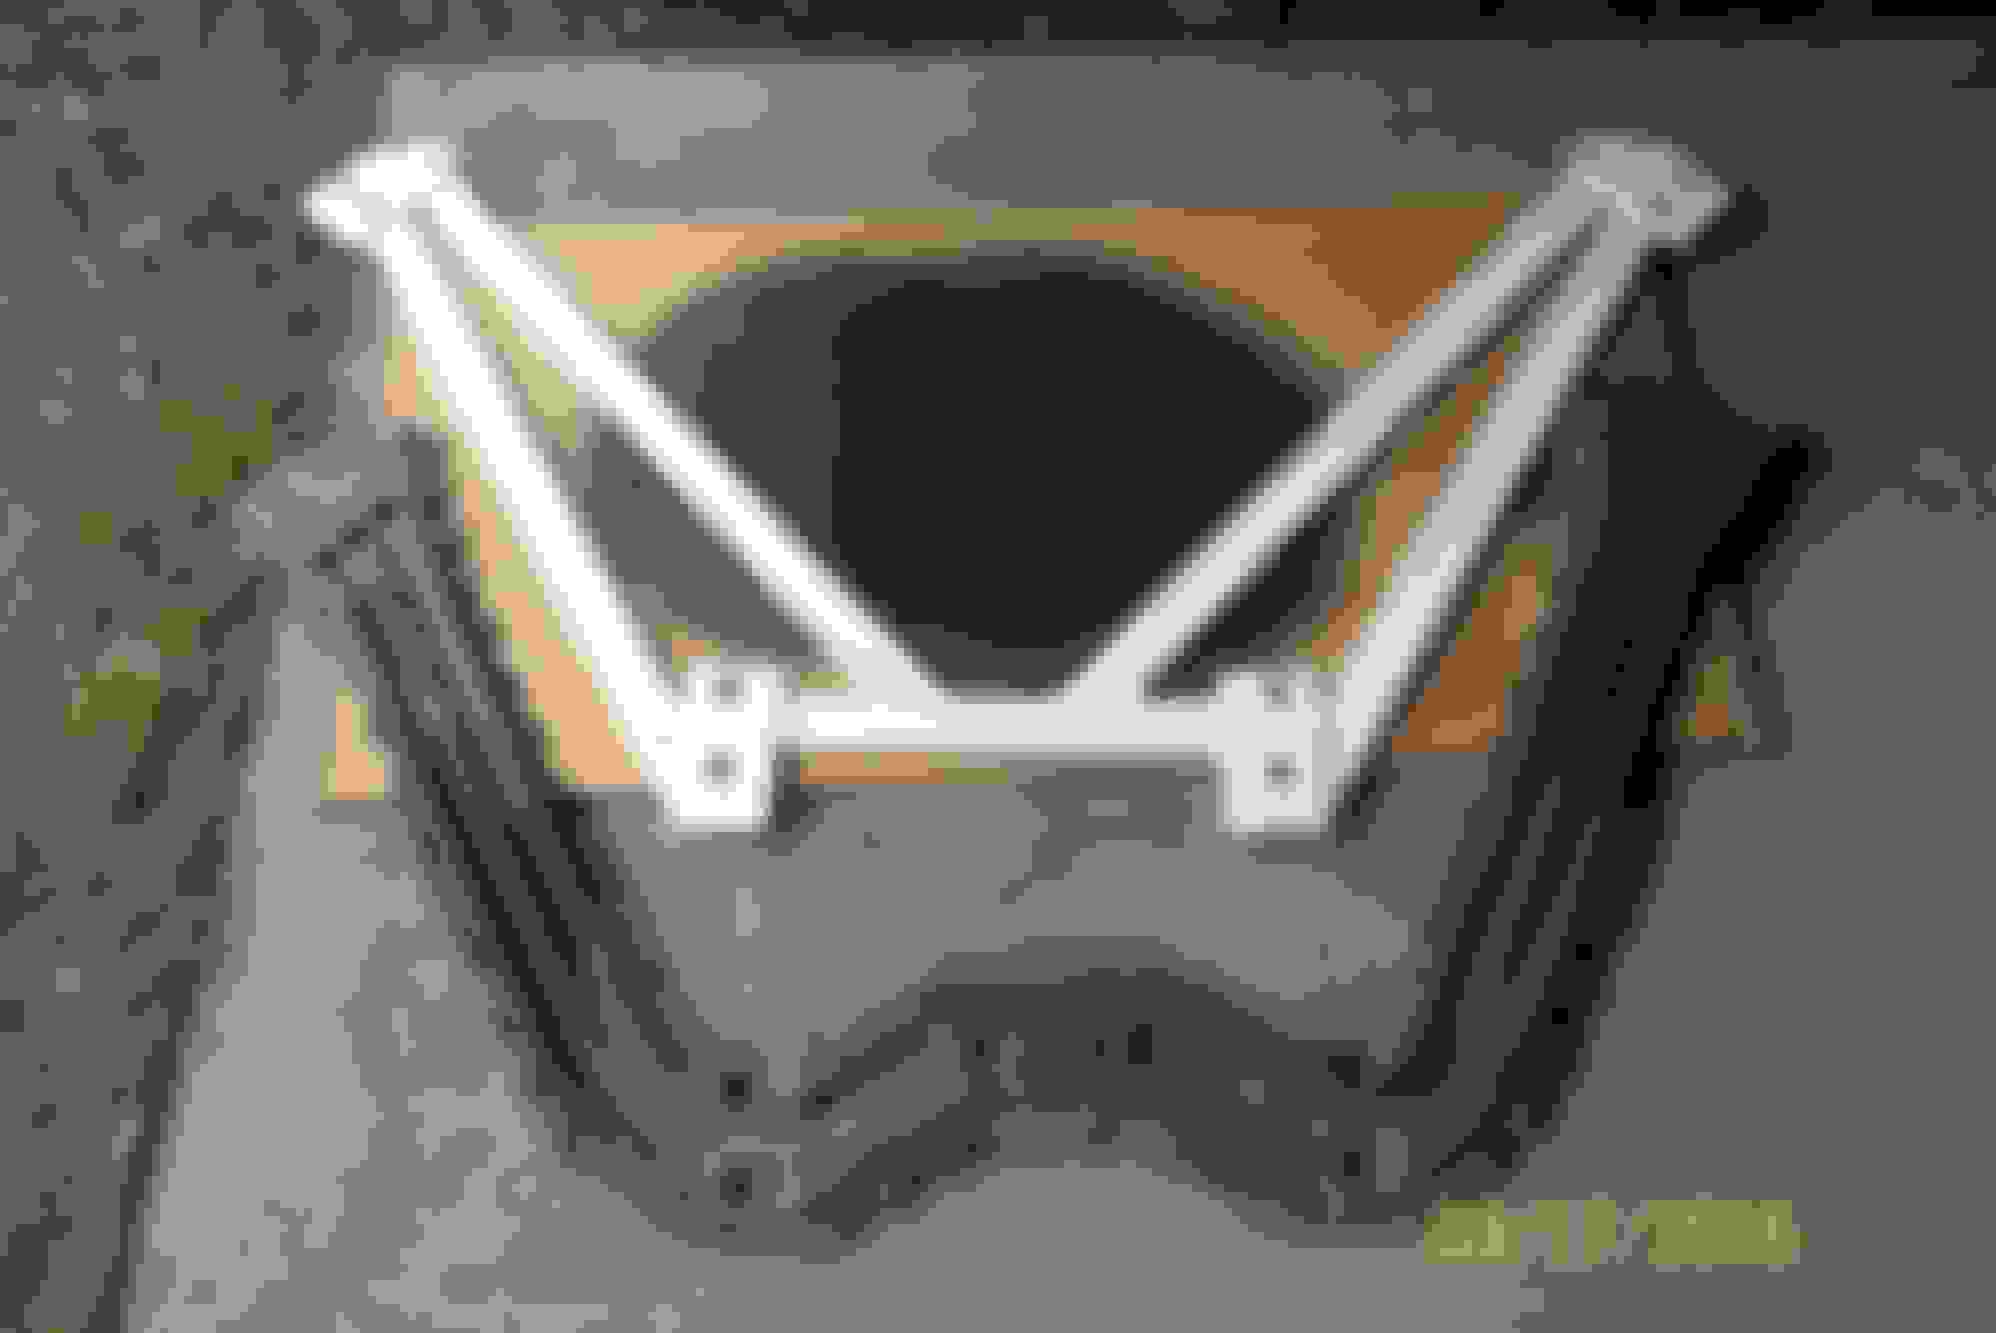
Finally got my rear subframe connector brace from ultra racing. Ever so slightly heavier then the OE brace. Gives more clearance for accessing the exhaust flanges which is a major plus that i was not expecting. Definitely looks alot better then the damaged brace that I bought the car with.
Not much for updates atm on the Z, but did just buy the house we had been renting for the last 3 years. Have a few things to sort out around the house before I do too much more on the car. I did just have some spc toe bolts come in that I will be installing soon. Removing some of the excess camber. Also still have not finished installing my rear control arm bushings and still have subframe to do as well. If all goes according to plan I hope to start working on the bushing next week. Will try to get some updated picks in the process.
Well we closed on our house on 5/12, 5 days ago our a/c went our so we completely installed 100% new. We were planning on needed to replace the system just much sooner then we hoped.
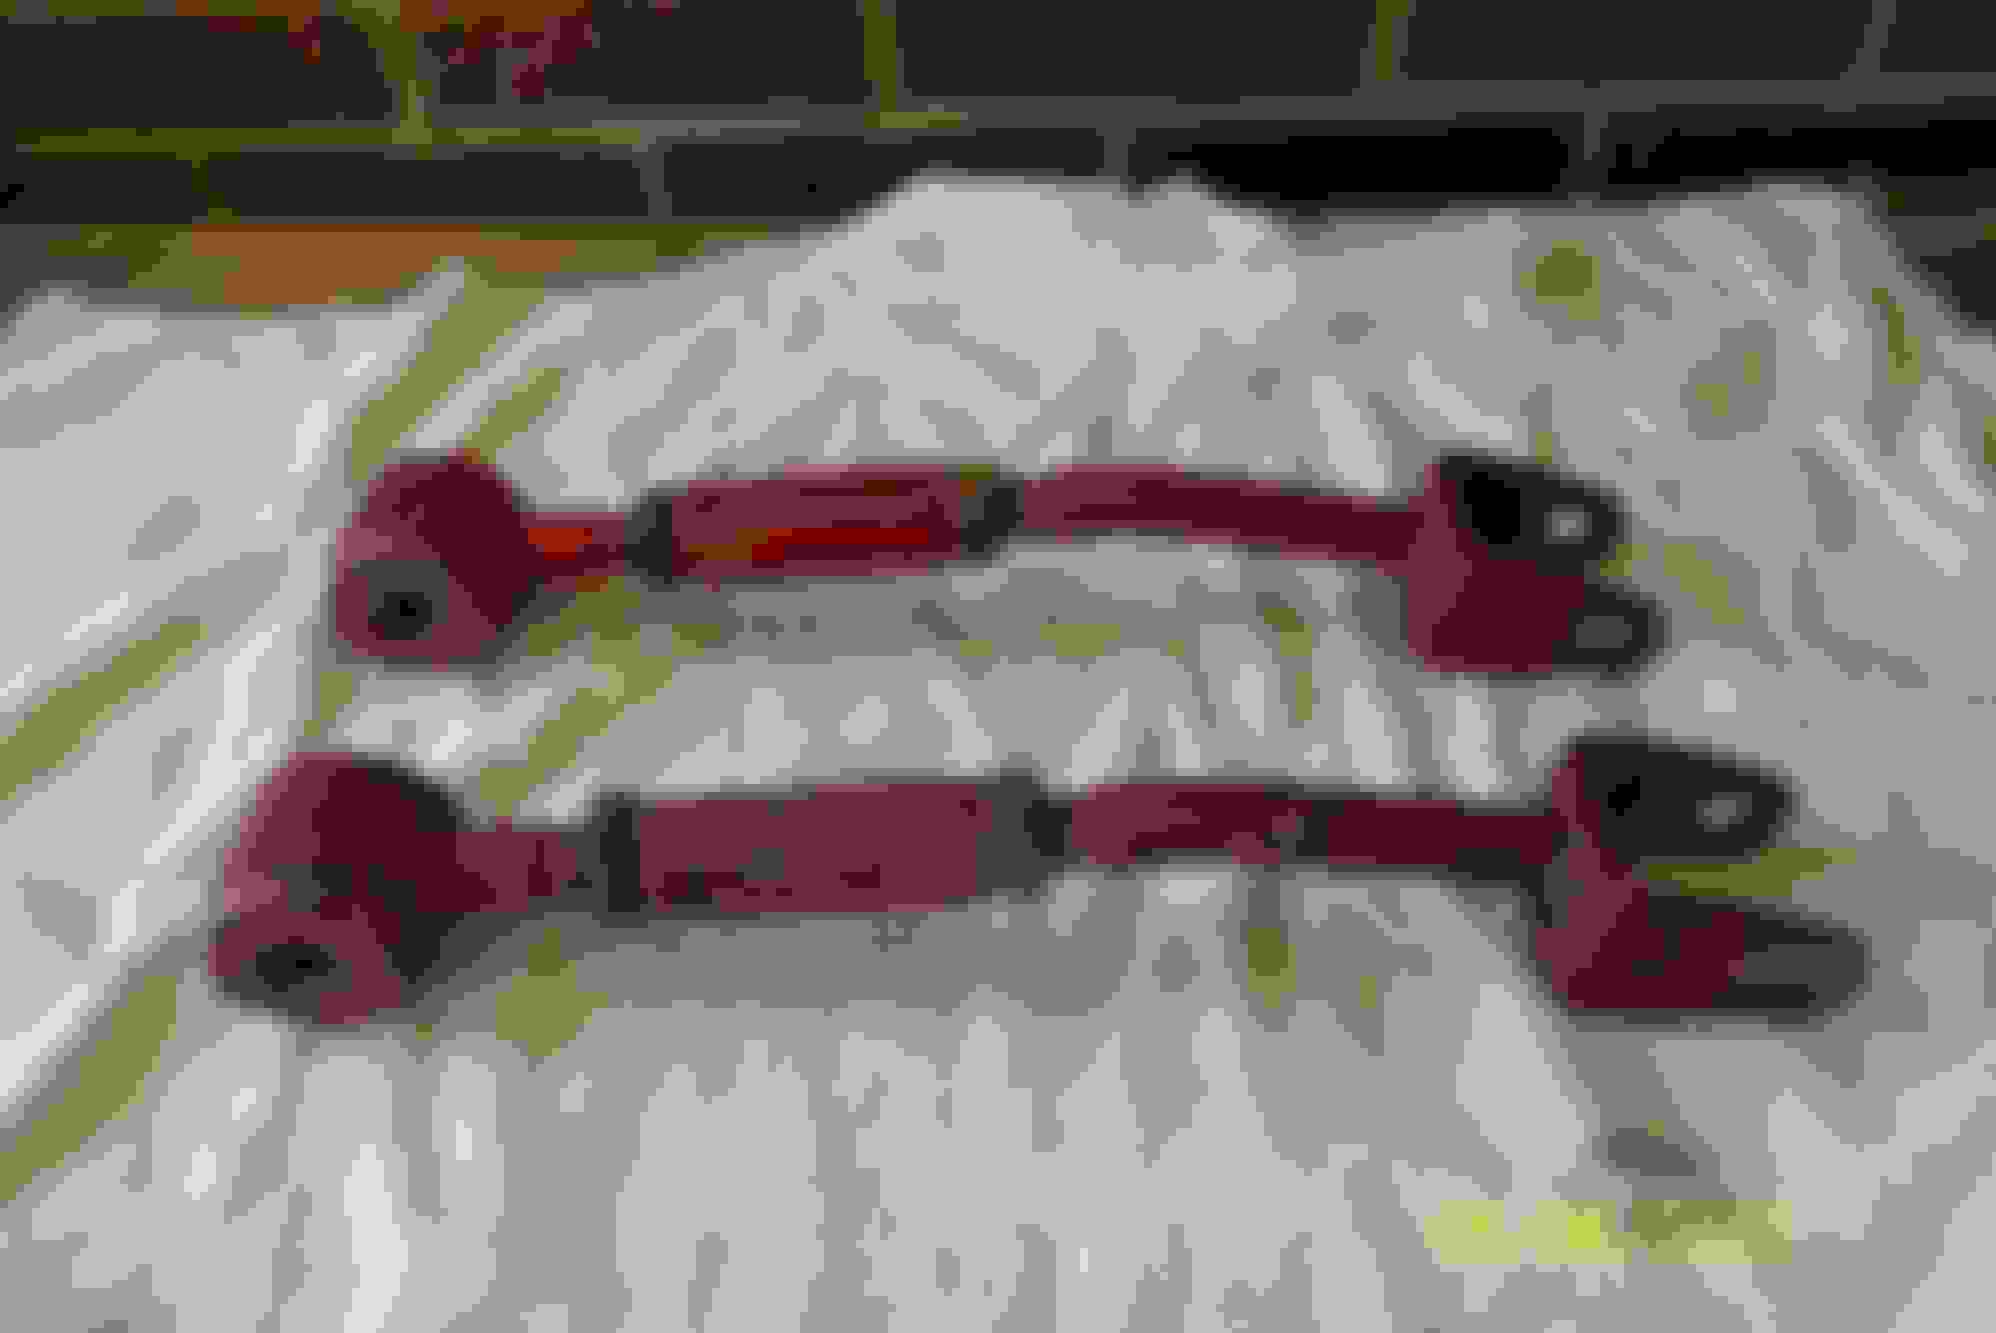
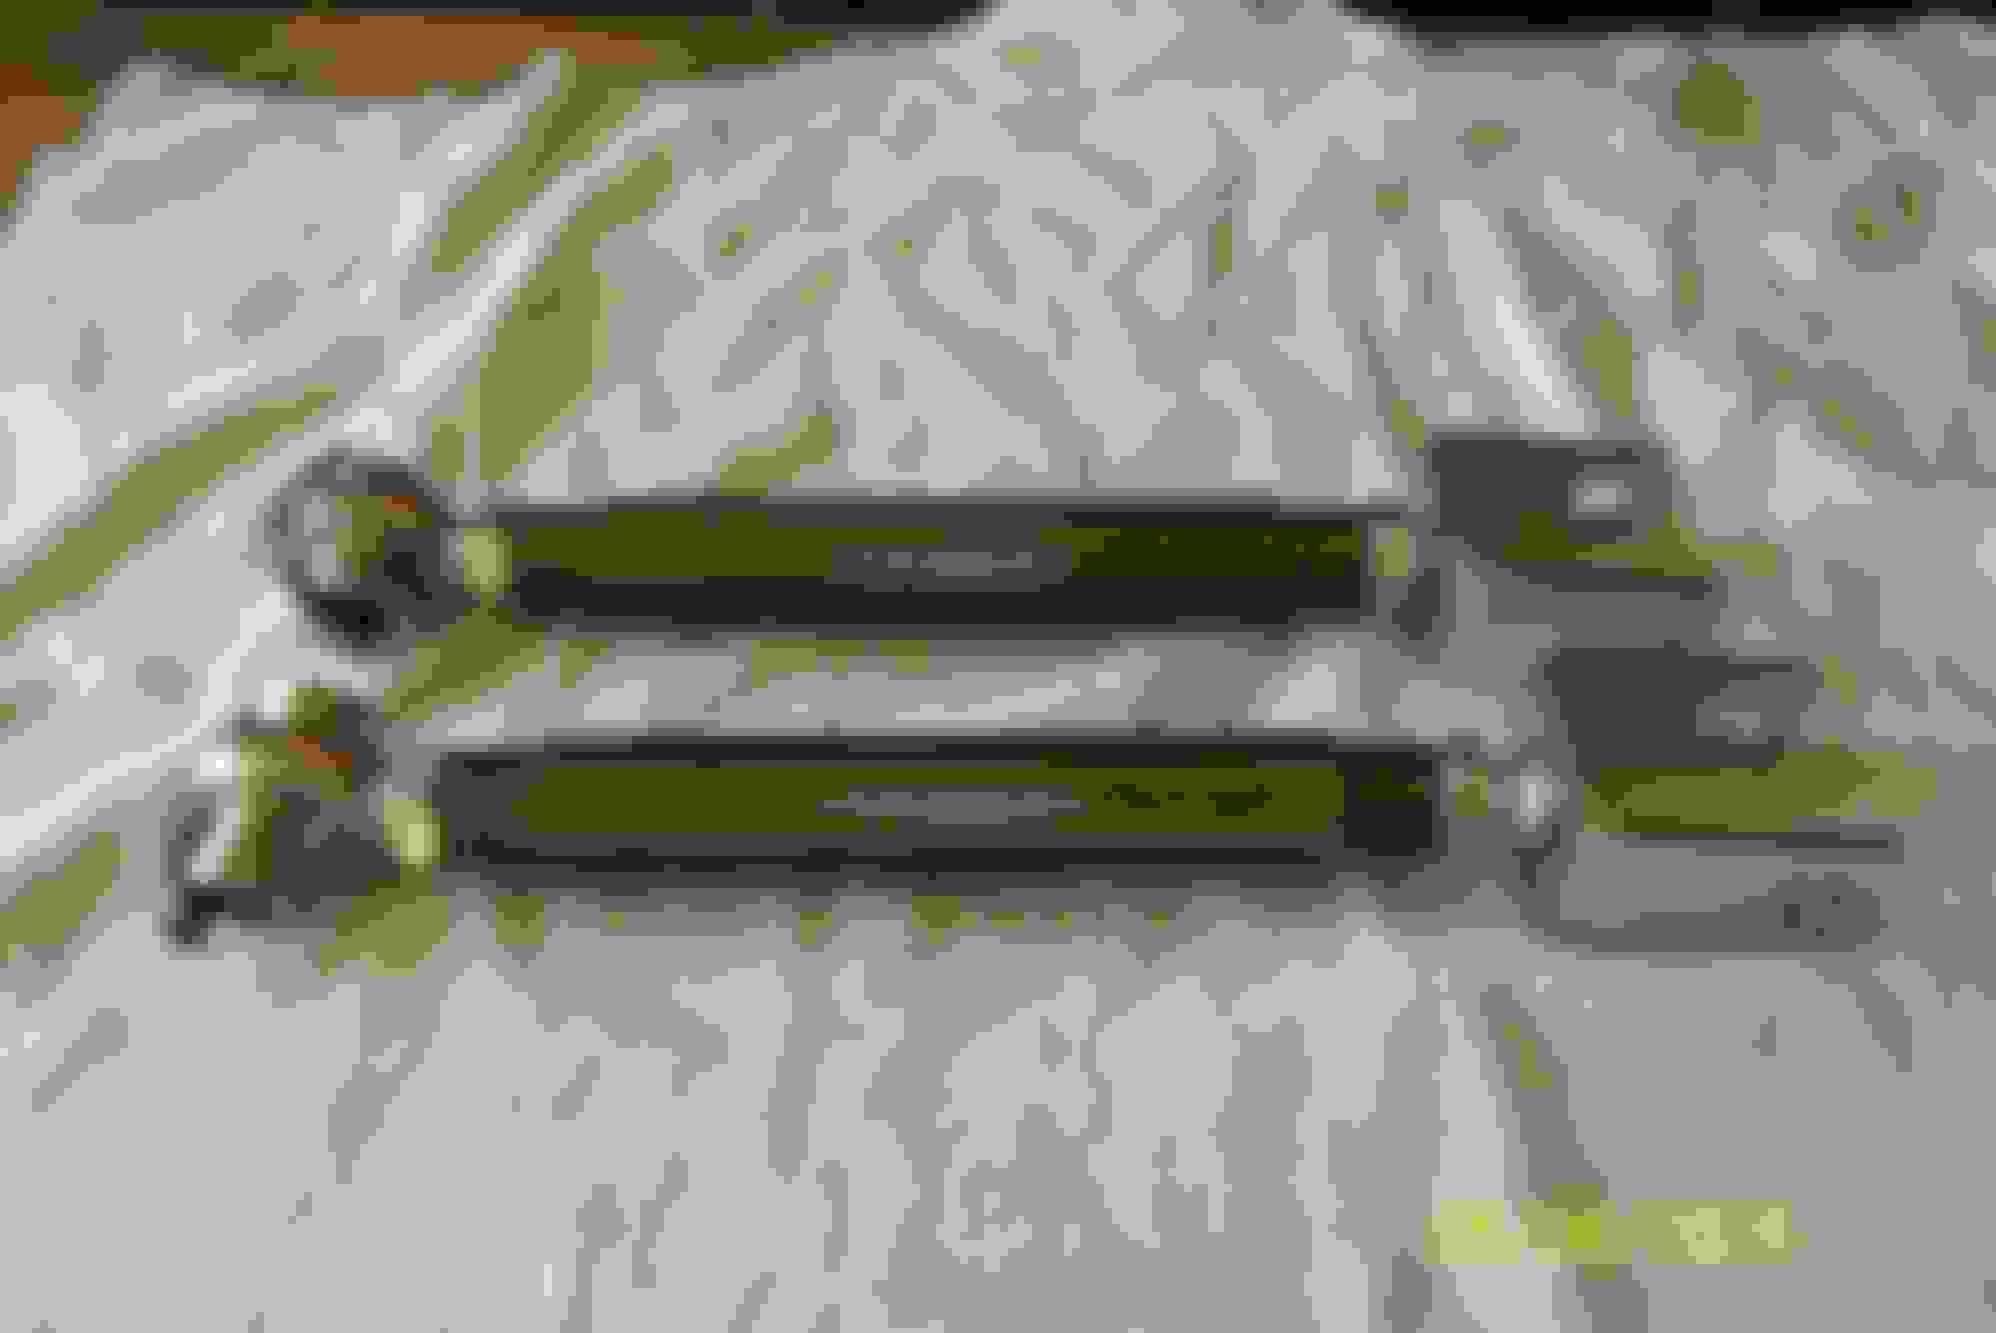
I did manage to install some new camber arms that were way over due to be replaced. 2 years ago a few months after I bought the z the bushings blew so I customized some es bushings I had lying around to limp it by. They were only meant to be there a few months lol. Voodoo13 gave me a deal I couldn't pass up. Hoping to eventually replace the traction arms later on since a couple member on here mention rod ends make a huge difference there. Well enough babble.
Here is the old modded arms.
Here are the new voodoo13 arms.
I don't have installed pics. Planning on posting those up soon. Still have spc toe bolts to install. I wanted to do those as well today but just didn't have the energy to do more. So .. more pics to come.
Its been over a week but I did finally install the toe bolts and made a few adjustments. Ride quality is much better. Still have quite a few bushings to do once I feel up to it. Next time I manage to get the car in the air will take a few more pics. Will say this, with the amount of difference i have seen with the camber arms, definitely want to buy traction arms now!!
No pics today but just installed 5 new SMP ignition coils. Had plans on upgrading to something higher end but budget not compliant ... lol. Have had 2 coils go bad since i bought the car, first one I replaced with a cheap amazon coil which was right after I bought the car so $ was tight. 2nd coil was replaced about 5 months ago after another failed. Bought and SMP that time around. My father inlaw lives with us and decided to buy the last 5 coils for me for my bday. They just came in the mail this morning and within 10 minutes were installed. A couple slight misses that i had are completely gone and the engine is running sooooo much smoother. BTW there was no SEL before I changed the coils. Just new they were aged with 138k miles and 13 years so it was time.
Hopefully now that some other projects are getting wrapped up around the house I will finally get around to getting the installed voodoo13 camber arm pics.
Well, time for a set back. Upper timing chain tensioner went out. Currently have the engine mostly torn apart to install a new timing set. Also going to change my oil pressure sensor, vvt solenoids and a whole lot of cleaning and painting. The order went in for all the parts today including gaskets. As much as I have to tear the engine down I wish I had enough money to buy cams while I am at it.
Tommorrow I plan on taking several pics of the current progress and more as I progress.
Keep getting delayed finishing this up but have my timing chain installed now, reassembly 85 percent done.
First pic is of my crecent wrench that i broke while breaking the cam bolts loose....phew that was tight.
Then a few teaser pics of reassembly.
Will post up some more final pics later this week after i finish assembly. Didn't have the time to paint everthing I had planned on since this is my daily and some issues at work with an associate having a heat attack.
All that is left for the repair is filling fluids and initial start up that will be completed tommorrow. Engine bay still needs a full detail but does look better than before the tear down.
Well the repair didn't go fully as planned, chain tensioner noise is gone. Still have a loud clicking coming from the heads. Gonna have to tear back down again and check spring caps, springs and compression. Doesn't sound like rod knock.
Ultra Racing out of malaysia still makes the rear brace. I got mine from a seller on ebay. Took almost 6 weeks to get it.
Appreciate the props on the engine bay! Gonna be attending to even more details soon since I will be tearing the engine back apart this week.
Oh yeah and I totally agree, I would not use megan products either. I used one of there parts on a mazda protege I have years ago and was made very cheap. The Z deserves alot better.
Lol, I will pass on the rusted parts. I grew up in upstate New York, salt damage sucks. Love living in the south now!!
Tucking isn't really hard, if you check the first couple pages, should be able to get the jist of it. Just take your time and lable what everything is. Use zipties at first to generalize the layout. Then wrap the wires.


 Thanks greatly MicVelo really appreciate it.


