
Got bored waiting for gaskets to get here ...


Decided to do an engine wire tuck 
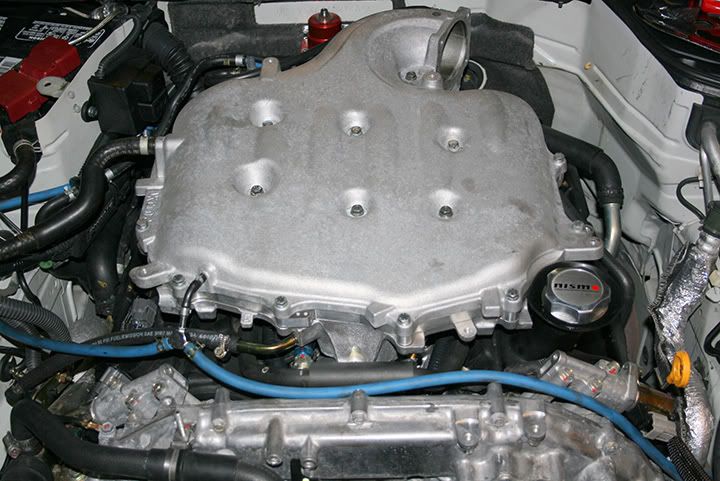
Step 1. Remove upper plenum
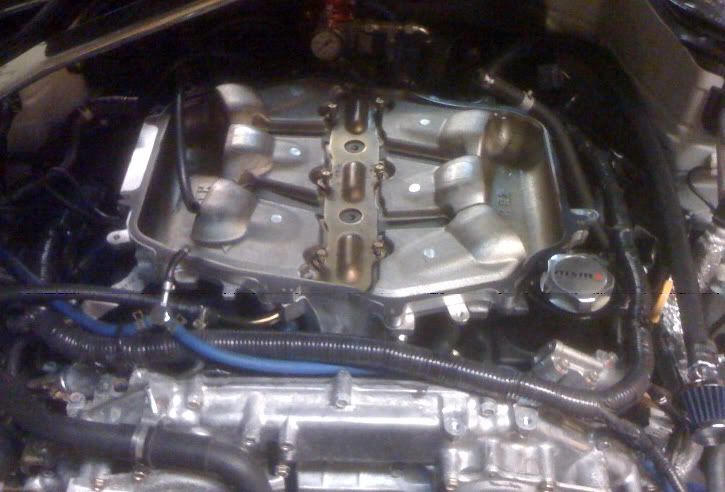
Step 2. Expose all of the main harness
Step 3. Need to find a new home for the driver's side coil pack ground

More tomorrow ...
Step 1. Remove upper plenum
Step 2. Expose all of the main harness
Step 3. Need to find a new home for the driver's side coil pack ground
More tomorrow ...
Last edited by cersoft; Jun 9, 2010 at 08:47 AM.


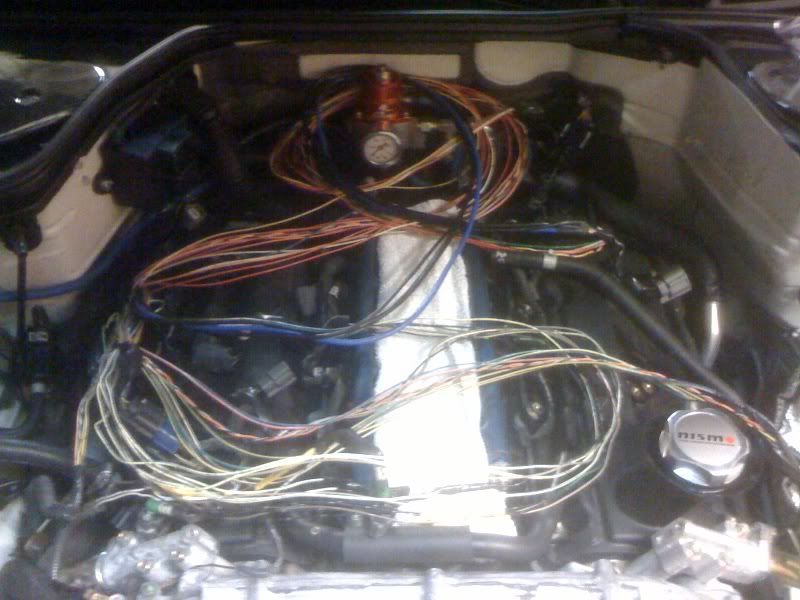
Update: My buddy from work, Matt, came over and we made great progress, my goal for today was to figure out the layout of each of the sub-harnesses.
The basic idea is to seperate out each of the harnesses, run the driver side ones behind the plenum and each side goes down the channel by the injectors and only pop out when able to go directly to plug.
The biggest pain in the *** so far was splitting open the plastic harness holder back near the bulkhead by the battery, absolute pain ... Fortunately, lexan scissors were uber handy
Edit: Also, sorry the absolutely crap iPhone pictures, I'll take some with the Rebel when we have all of the sheathing done.
This is the routing for Driver's side coil packs, VTC and MAF
This is the routing for Passenger's side coil packs and VTC
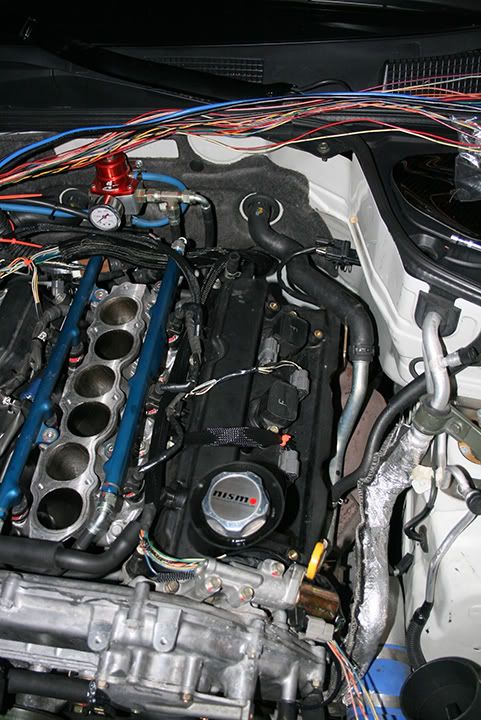
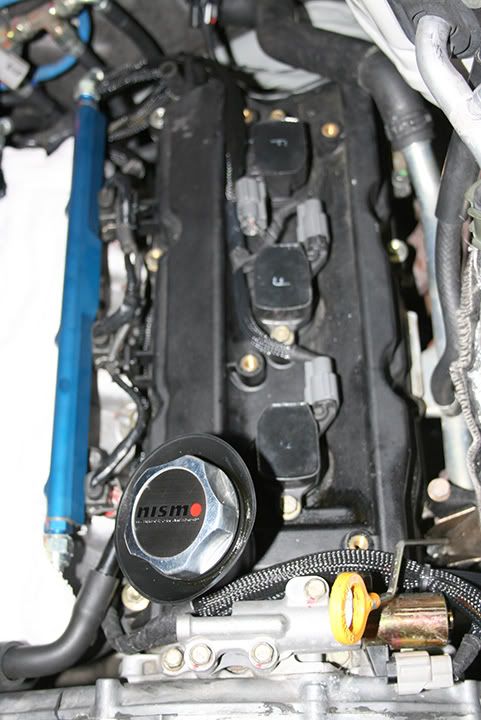
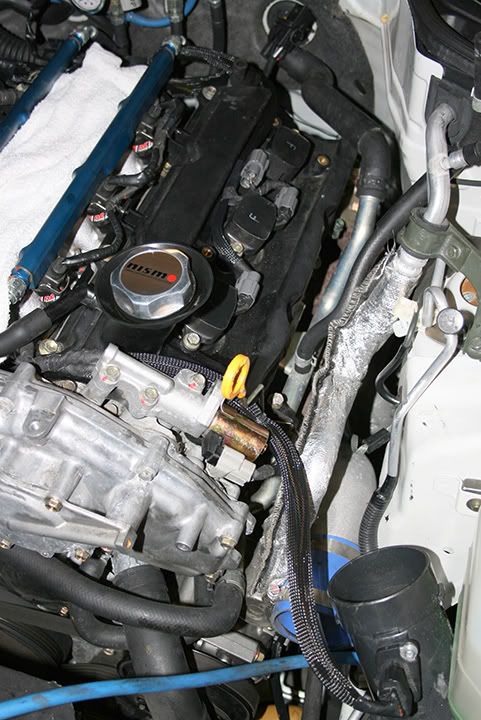
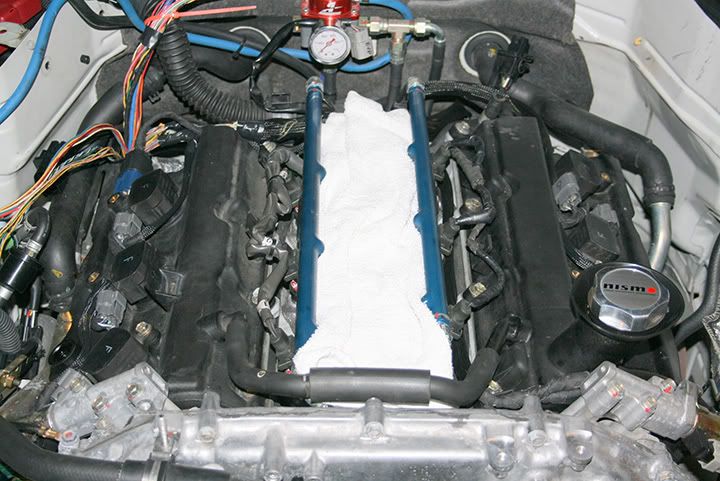
Test fitting the plenum to see what can be seen, keep in mind that this weekend the valve covers are coming off to be painted (a nice metallic red same as my engine cover) ... So the contrast with the black coil packs and minimal wiring should be quite striking

Ooo, and something came in the post

The basic idea is to seperate out each of the harnesses, run the driver side ones behind the plenum and each side goes down the channel by the injectors and only pop out when able to go directly to plug.
The biggest pain in the *** so far was splitting open the plastic harness holder back near the bulkhead by the battery, absolute pain ... Fortunately, lexan scissors were uber handy
Edit: Also, sorry the absolutely crap iPhone pictures, I'll take some with the Rebel when we have all of the sheathing done.
This is the routing for Driver's side coil packs, VTC and MAF
This is the routing for Passenger's side coil packs and VTC
Test fitting the plenum to see what can be seen, keep in mind that this weekend the valve covers are coming off to be painted (a nice metallic red same as my engine cover) ... So the contrast with the black coil packs and minimal wiring should be quite striking
Ooo, and something came in the post
Last edited by cersoft; Jun 9, 2010 at 01:09 PM.
Trending Topics
Day 3: Solo-ing it today, got all of the passenger and driver's side coil packs and VTC, MAF etc done and then I ran out of 3/4" sleeving 
I changed the routing a bit from yesterday, the new route maintains unobstructed valve covers where the cams run, did the same on both sides for symmetry ...
Now if only there wasn't that stupid passenger side connector block :|
I still may change the routing to run to the left of the coil pack and I'll do this if it moved that connector back past the rear most coilpack.
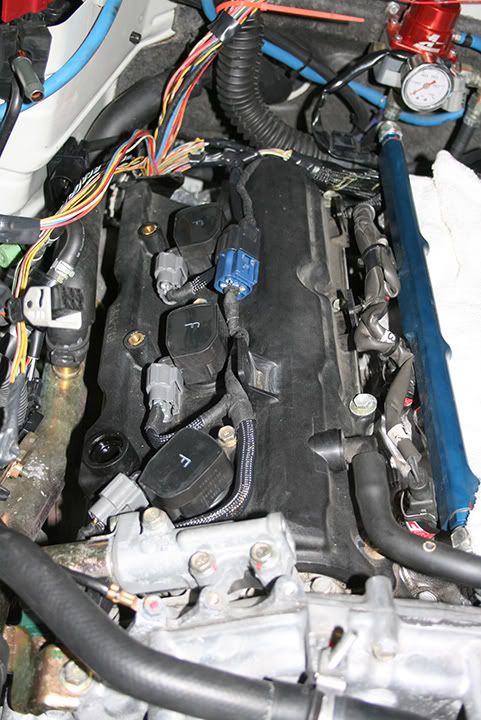
From this point on it's just a case of hiding all of the rest of the wires behind the plenum, the front of the engine is DONE !!!
I changed the routing a bit from yesterday, the new route maintains unobstructed valve covers where the cams run, did the same on both sides for symmetry ...
Now if only there wasn't that stupid passenger side connector block :|
I still may change the routing to run to the left of the coil pack and I'll do this if it moved that connector back past the rear most coilpack.
From this point on it's just a case of hiding all of the rest of the wires behind the plenum, the front of the engine is DONE !!!
Last edited by cersoft; Jun 9, 2010 at 09:28 PM.
And as soon as I made that post I went out and moved the passenger side wiring to make it flow a bit better ...
Mmmmm, tidy
Mmmmm, tidy
Last edited by cersoft; Jun 9, 2010 at 09:47 PM.
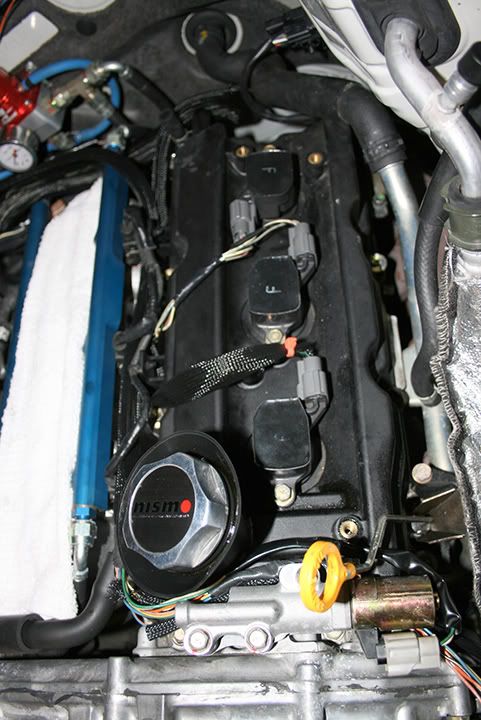
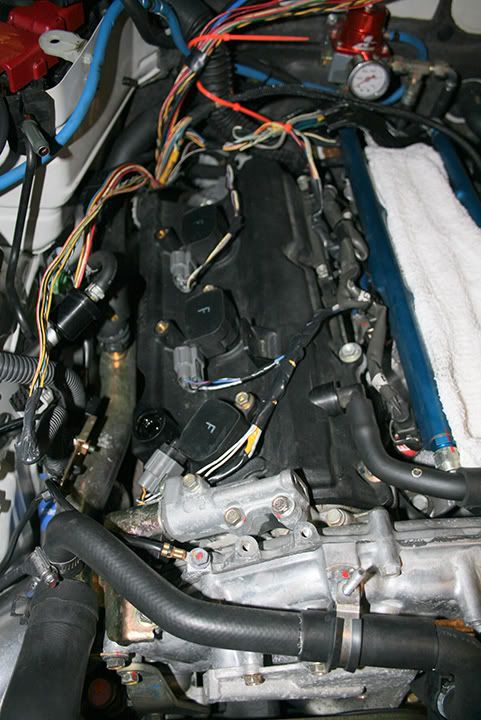
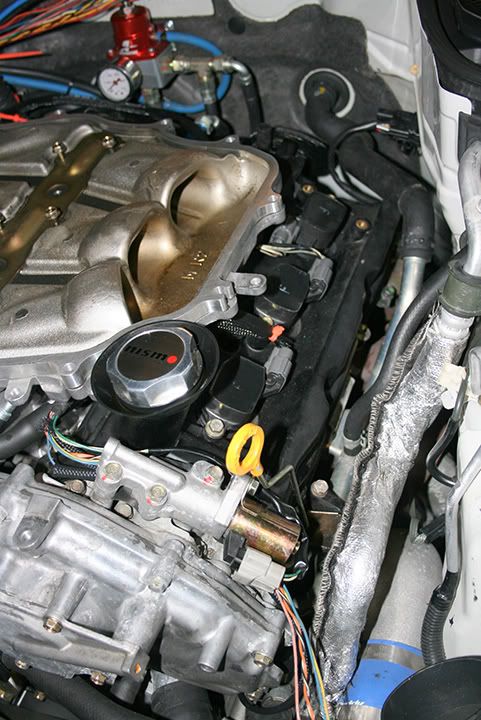
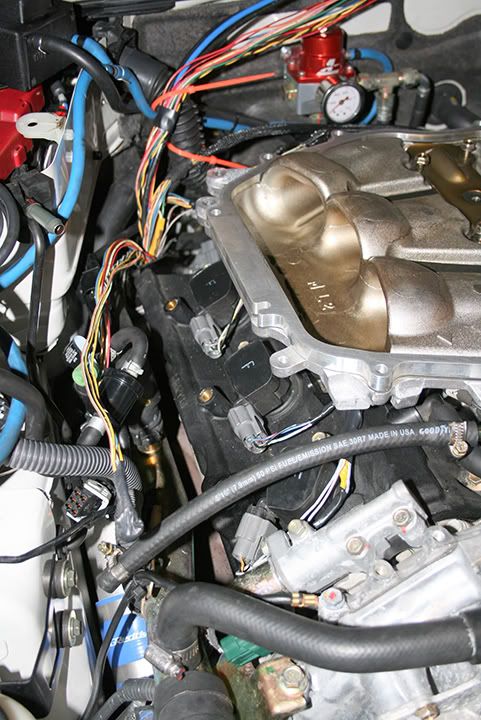
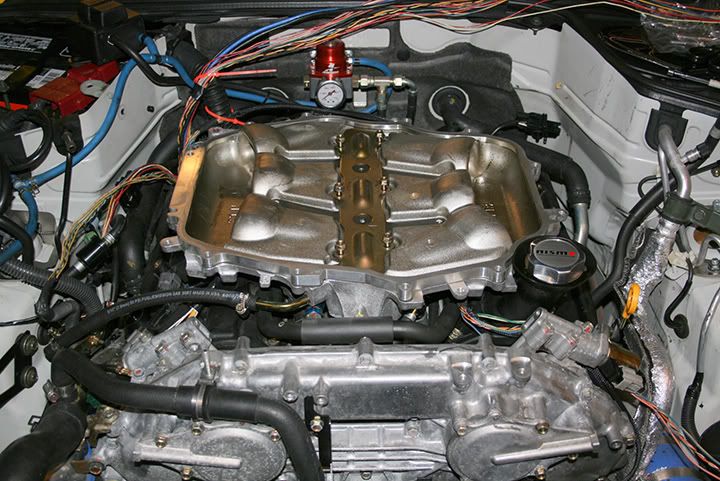
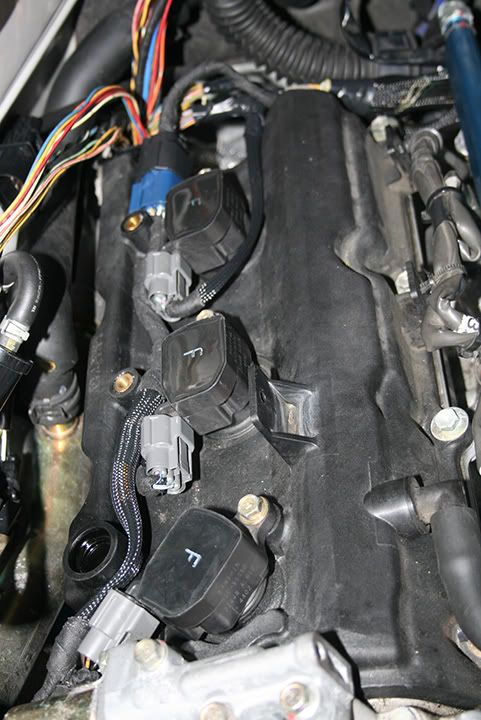
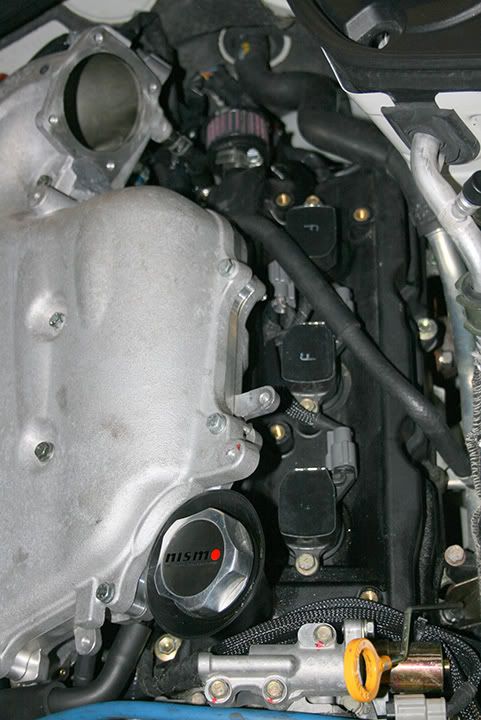
Day 4: Wrapped up the wire tuck.
I ended up routing the rest of the wires that needed to go to the driver side of the engine (DS cam sensor, throttle etc) down around the front of the plenum, right next to the injectors, it was pretty cramped but I felt that this was a better solution than bundling the wires back behind the throttle body.
The original plan was to paint the valve covers while they were exposed but given that I have had zero cooling issues I didn't really want to take off any of the cooling pipes in order to take the valve covers off.
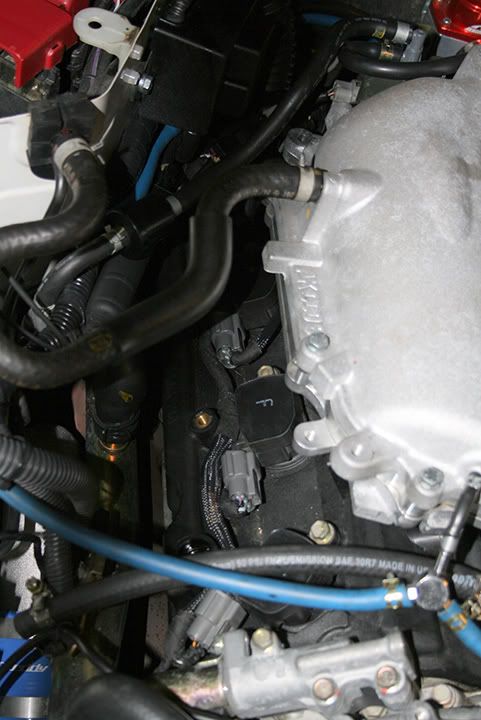
The lack of the harness around the front of the engine tidies things up so much
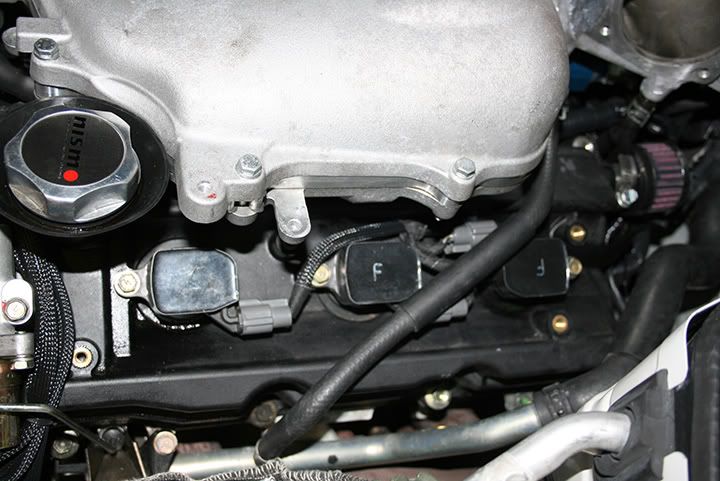
Close ups of each side ...

I ended up routing the rest of the wires that needed to go to the driver side of the engine (DS cam sensor, throttle etc) down around the front of the plenum, right next to the injectors, it was pretty cramped but I felt that this was a better solution than bundling the wires back behind the throttle body.
The original plan was to paint the valve covers while they were exposed but given that I have had zero cooling issues I didn't really want to take off any of the cooling pipes in order to take the valve covers off.
The lack of the harness around the front of the engine tidies things up so much
Close ups of each side ...
Last edited by cersoft; Jun 12, 2010 at 10:36 PM.

Thread
Thread Starter
Forum
Replies
Last Post