
iPad MINI Install...Lots of pics


Thread Starter
Registered User
Joined: Oct 2011
Posts: 81
Likes: 0
From: Vancouver B.C
Ok guys I have been wanting to install an iPad for quite some time but I just didn't like the look of a full size iPad in the Z so when the mini came out I was pretty pumped. I wanted to make it look like the Z could have came with an 8 inch screen from the factory, so using a side slider wouldn't have worked very well so I decided to do a fixed mount where the factory pocket goes. Having the ability to wireless sync the iPad works perfect for a fixed mount. I will be using the iPad with a new JVC KW-AV61BT head unit; I wont be controlling the iPad from the head unit rather using the iPad to display my music library and sent it to the head unit via usb input on the head unit.
So here are some pics to where I'm at so far...I hope to finish the set up on the weekend
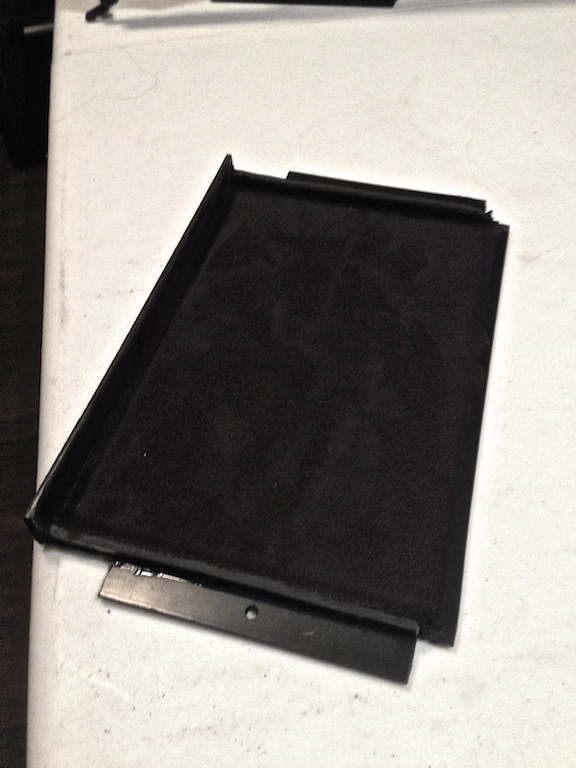
This was the first piece I made; I needed a good solid mounting plate to slide the iPad in to place before I started the dash.
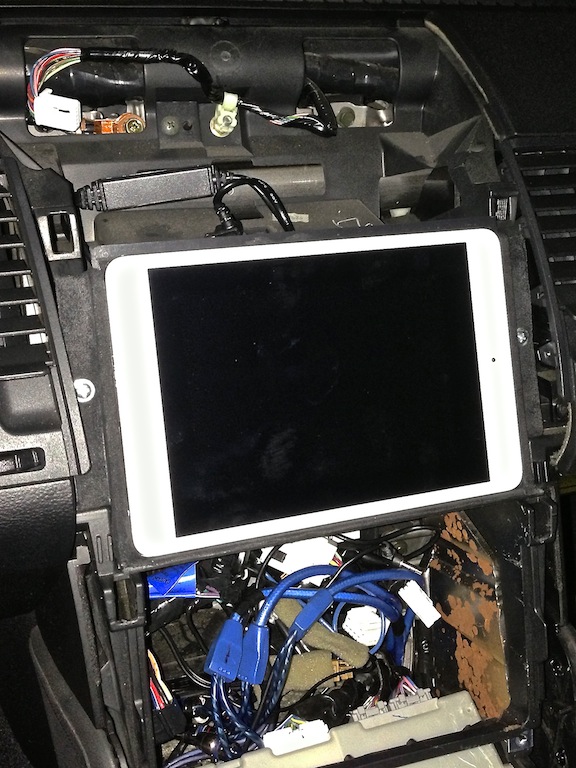
I used abs plastic to make the mount, then cover it in suede and mounted it in the dash with 2 screws. The iPad slides in for a perfect fit.
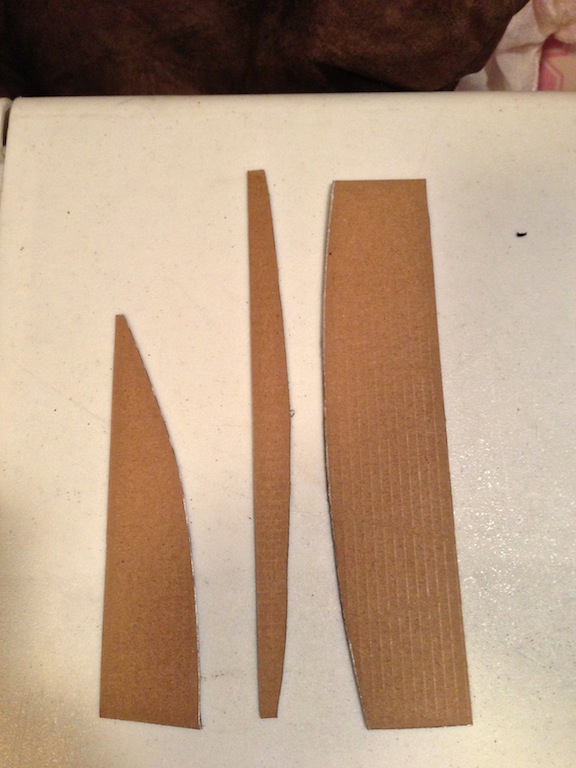
Next I cut out templates out of cardboard.
Using the cardboard to get the lines just right before cutting out the pieces with abs.
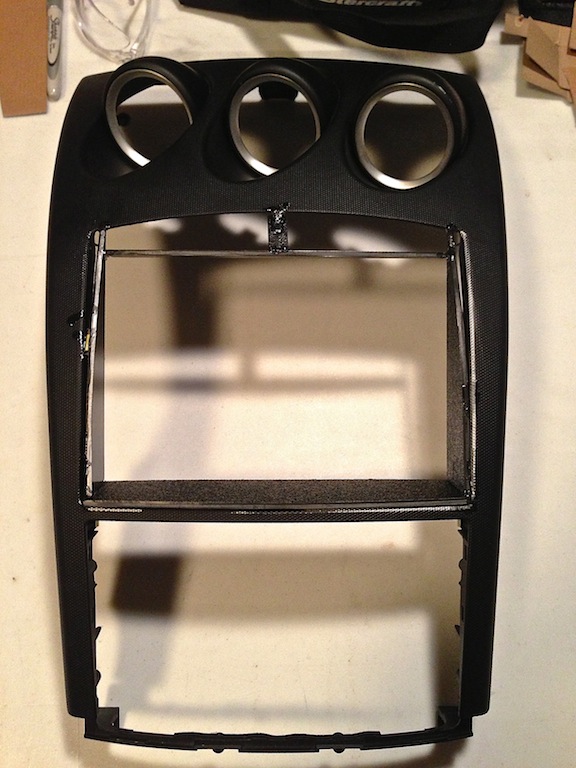
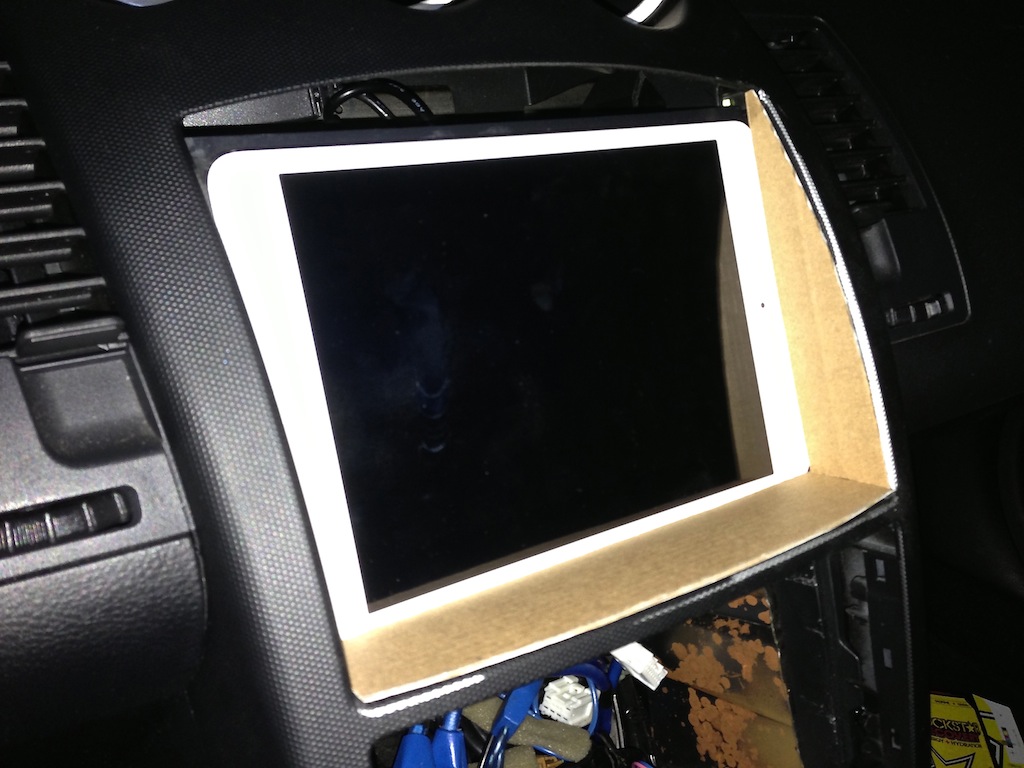
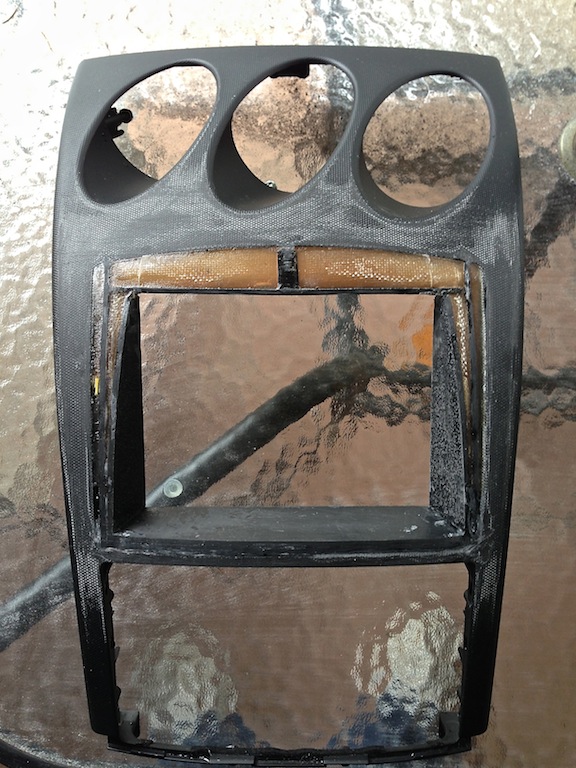
I then cut out all the pieces of abs and glued them in place to make a frame using Metra's Insta-Cure CA glue; the CA glue works really good when placing the abs pieces in to place. I also used Metra's Insta-Set accelerator spray to cure the glue instantly.
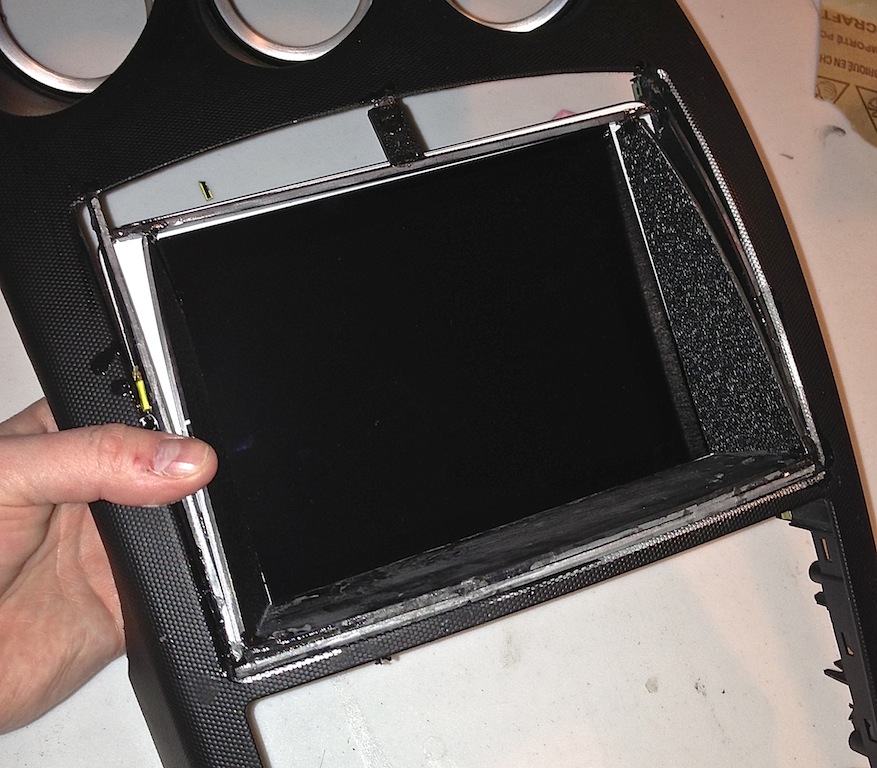
I then had to make the decision to show or hide the home button; I decided to completely cover the white part of the screen and the home button showing only the screen it self. Using the iPad gestures will eliminate the need for the home button giving the cleaner look of just the screen and a similar look with the angled abs pieces as the factory navigation.
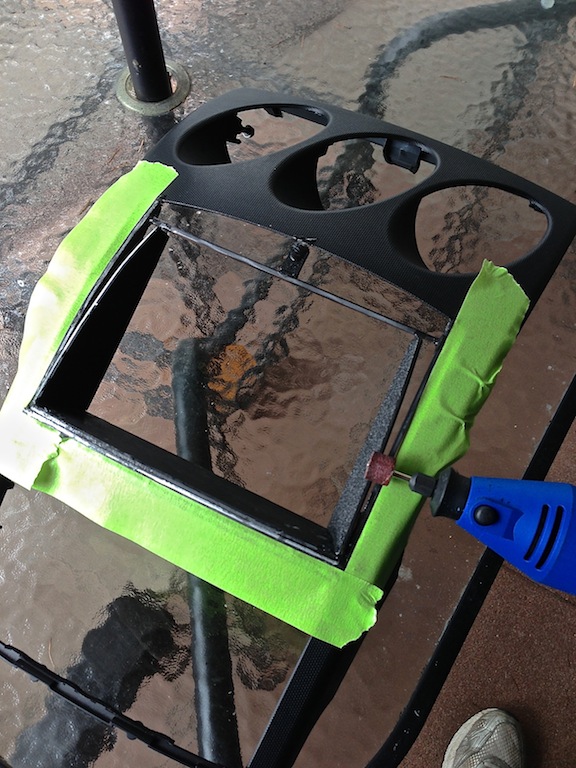
I then grinded down the abs plastic to match the curve of the dash a bit more.
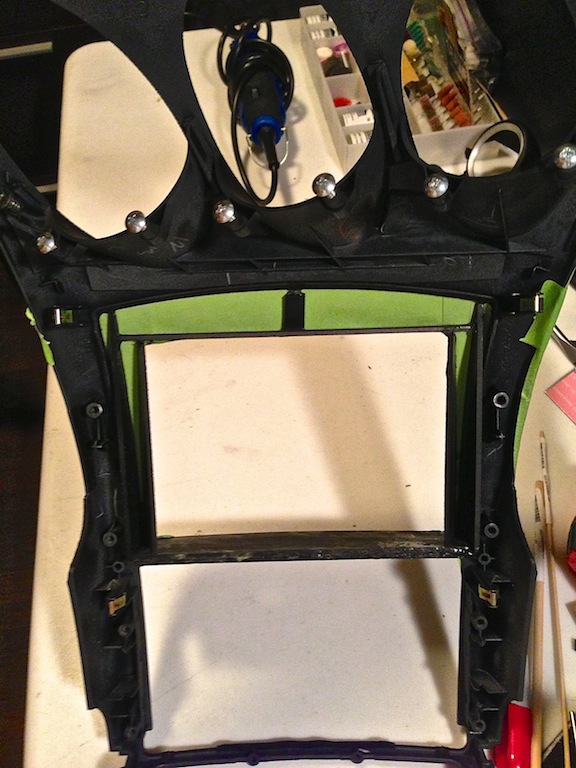
Using masking tape to fill in the spots where the fibreglass matting will go.
Next I filled in the back of the dash with fibreglass matting and resin let it dry and sanded down all the rough spots.
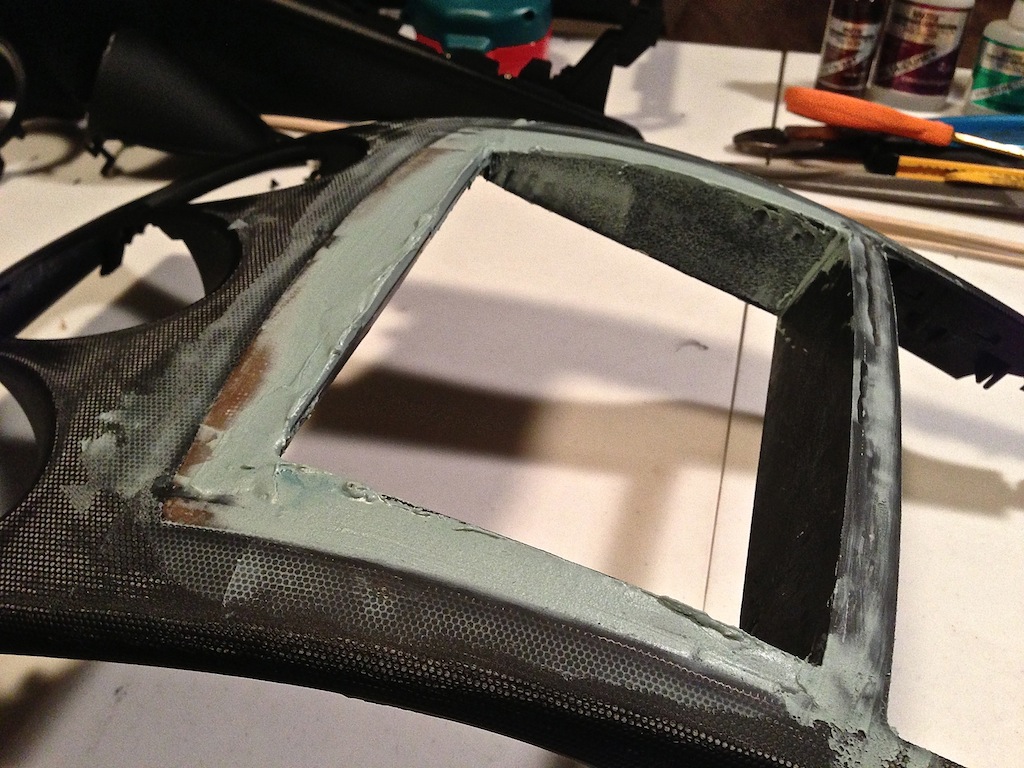
I then filled in the dash using Evercoat lightweight body filler to blend the dash together. I also sanded down the ping pong texture of the Z dash.
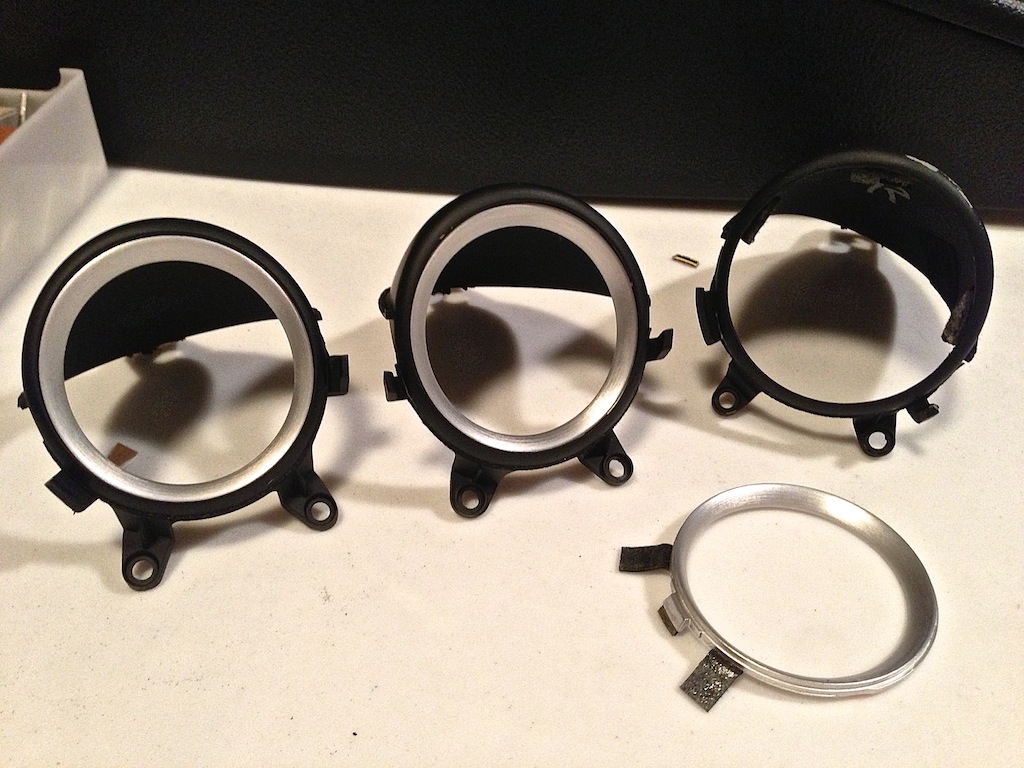
While I was at it I decided to re paint the gauge pods also.
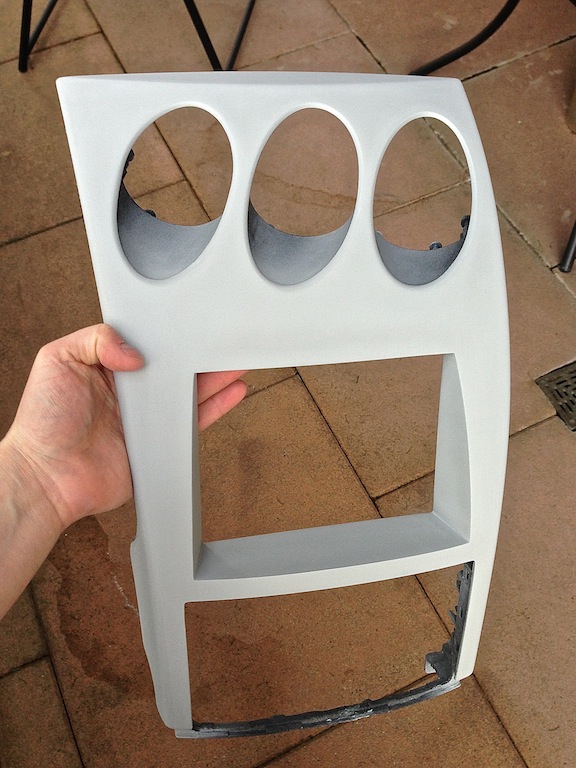
I primered the dash with SEM High Build Primer and sanded smooth; the SEM primer is great for filling in all the sanding scratches.
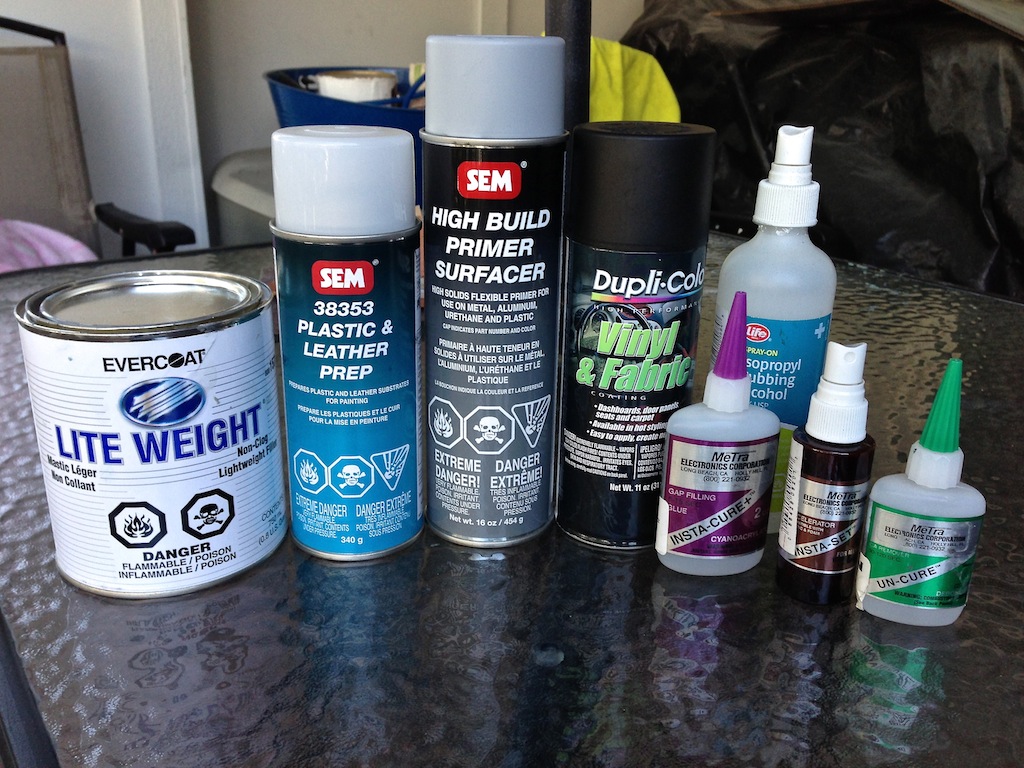
Here's a pic of the products I used for the build so far.
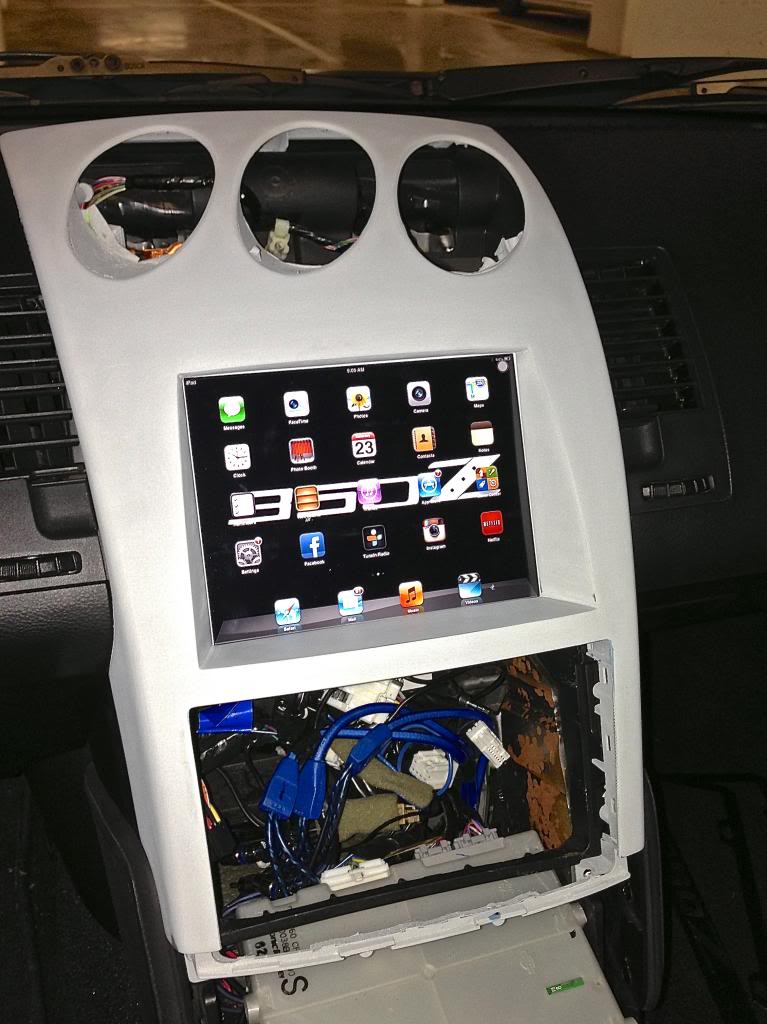
So this is where I've gotten to so far! I will be painting the panel using the Dupli-Color Vinyl & Fabric flat black paint; its some of the best paint I've used and it's only 5-6 bucks a can. I will be installing a black iPad mini and not the white one shown... just waiting on the iPad mini 2!!!
I will post more pics as I finish up the project!
So here are some pics to where I'm at so far...I hope to finish the set up on the weekend
This was the first piece I made; I needed a good solid mounting plate to slide the iPad in to place before I started the dash.
I used abs plastic to make the mount, then cover it in suede and mounted it in the dash with 2 screws. The iPad slides in for a perfect fit.
Next I cut out templates out of cardboard.
Using the cardboard to get the lines just right before cutting out the pieces with abs.
I then cut out all the pieces of abs and glued them in place to make a frame using Metra's Insta-Cure CA glue; the CA glue works really good when placing the abs pieces in to place. I also used Metra's Insta-Set accelerator spray to cure the glue instantly.
I then had to make the decision to show or hide the home button; I decided to completely cover the white part of the screen and the home button showing only the screen it self. Using the iPad gestures will eliminate the need for the home button giving the cleaner look of just the screen and a similar look with the angled abs pieces as the factory navigation.
I then grinded down the abs plastic to match the curve of the dash a bit more.
Using masking tape to fill in the spots where the fibreglass matting will go.
Next I filled in the back of the dash with fibreglass matting and resin let it dry and sanded down all the rough spots.
I then filled in the dash using Evercoat lightweight body filler to blend the dash together. I also sanded down the ping pong texture of the Z dash.
While I was at it I decided to re paint the gauge pods also.
I primered the dash with SEM High Build Primer and sanded smooth; the SEM primer is great for filling in all the sanding scratches.
Here's a pic of the products I used for the build so far.
So this is where I've gotten to so far! I will be painting the panel using the Dupli-Color Vinyl & Fabric flat black paint; its some of the best paint I've used and it's only 5-6 bucks a can. I will be installing a black iPad mini and not the white one shown... just waiting on the iPad mini 2!!!
I will post more pics as I finish up the project!
Last edited by Qtip350z; Apr 10, 2013 at 07:12 PM.


Registered User
Joined: Feb 2011
Posts: 219
Likes: 0
From: SoCal
Looks good, can't wait to see the finished product!
I'm surprised you went with the cheapo Dupli-color stuff since you were already using SEM products. I personally think the Dupli-color interior paints give a cheap-looking finish as opposed to the factory-like finishes of the SEM Color Coat.
I'm surprised you went with the cheapo Dupli-color stuff since you were already using SEM products. I personally think the Dupli-color interior paints give a cheap-looking finish as opposed to the factory-like finishes of the SEM Color Coat.
Thread Starter
Registered User
Joined: Oct 2011
Posts: 81
Likes: 0
From: Vancouver B.C
Looks good, can't wait to see the finished product!
I'm surprised you went with the cheapo Dupli-color stuff since you were already using SEM products. I personally think the Dupli-color interior paints give a cheap-looking finish as opposed to the factory-like finishes of the SEM Color Coat.
I'm surprised you went with the cheapo Dupli-color stuff since you were already using SEM products. I personally think the Dupli-color interior paints give a cheap-looking finish as opposed to the factory-like finishes of the SEM Color Coat.
I tried many different flat black finishes and to my surprise the dupli-color sprayed on smooth, dried fast and has a great factory finish. The sem color coat is a fantastic paint but my local auto parts stores charge a ridiculous $40+ bucks per can.


Trending Topics


Thread Starter
Registered User
Joined: Oct 2011
Posts: 81
Likes: 0
From: Vancouver B.C
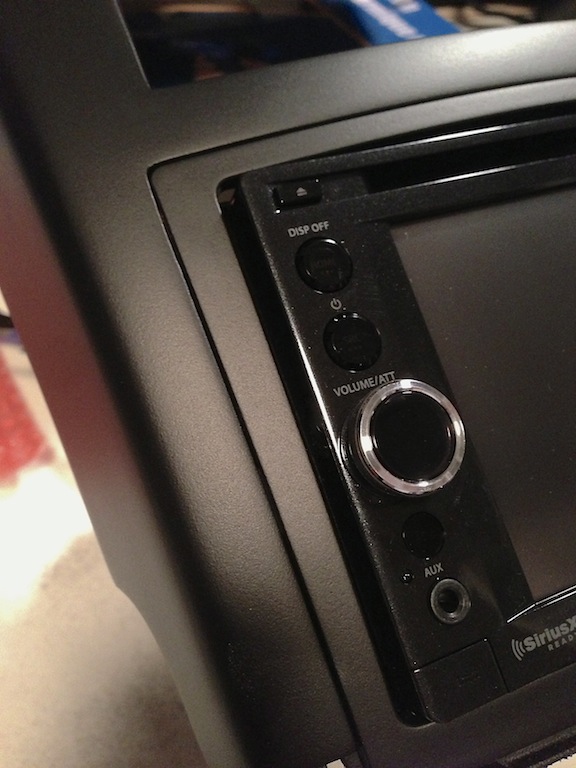
Ok I test fitted the JVC head unit with the Metra trim ring and painted the trim ring to match the rest of the dash.
I also finished the lower ac and shift boot panel, I wrapped the brushed aluminum part with some Avery brushed aluminum vinyl wrap to cover all the scratches from over the years, and a new TWM shift boot.
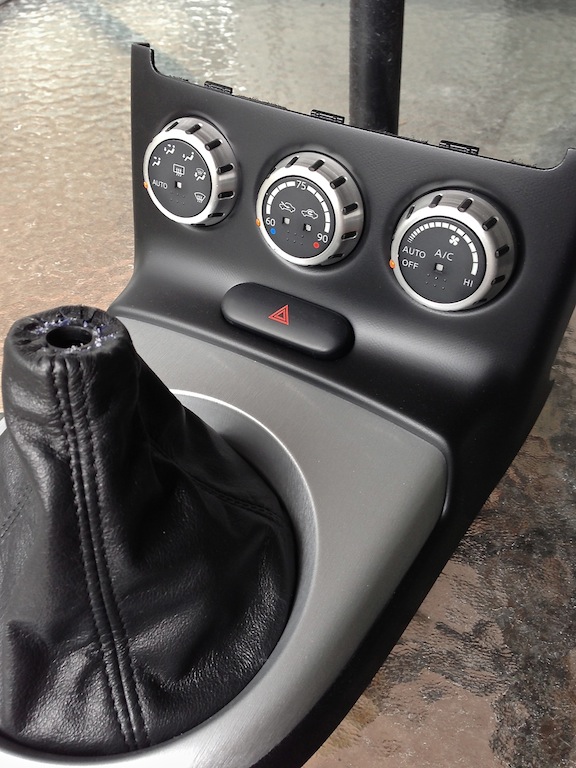

I also finished the lower ac and shift boot panel, I wrapped the brushed aluminum part with some Avery brushed aluminum vinyl wrap to cover all the scratches from over the years, and a new TWM shift boot.


