When you click on links to various merchants on this site and make a purchase, this can result in this site earning a commission. Affiliate programs and affiliations include, but are not limited to, the eBay Partner Network.
About me: I have only posted a handful of times, as I'm just a big lurker; but, I figured I would start a build thread as there have been many times I wish I had something documented or forgot something. Been almost 9 years in ownership, about time I started this thread lol. I got very sick about 4 years ago (has not driven in 4 years, engine has not turned over in 2 years), right when I got a 2nd car and turned my z into a project car. I'm finally on the upswing and able to work on the car again. I was in the middle of many projects when I stopped, so I am redoing and fixing a lot of small issues/mistakes while completing them all. Also will be a photo dump as I find older pics and progress pics of small projects.
Car: 2004.5 ~ NA/Nitrous
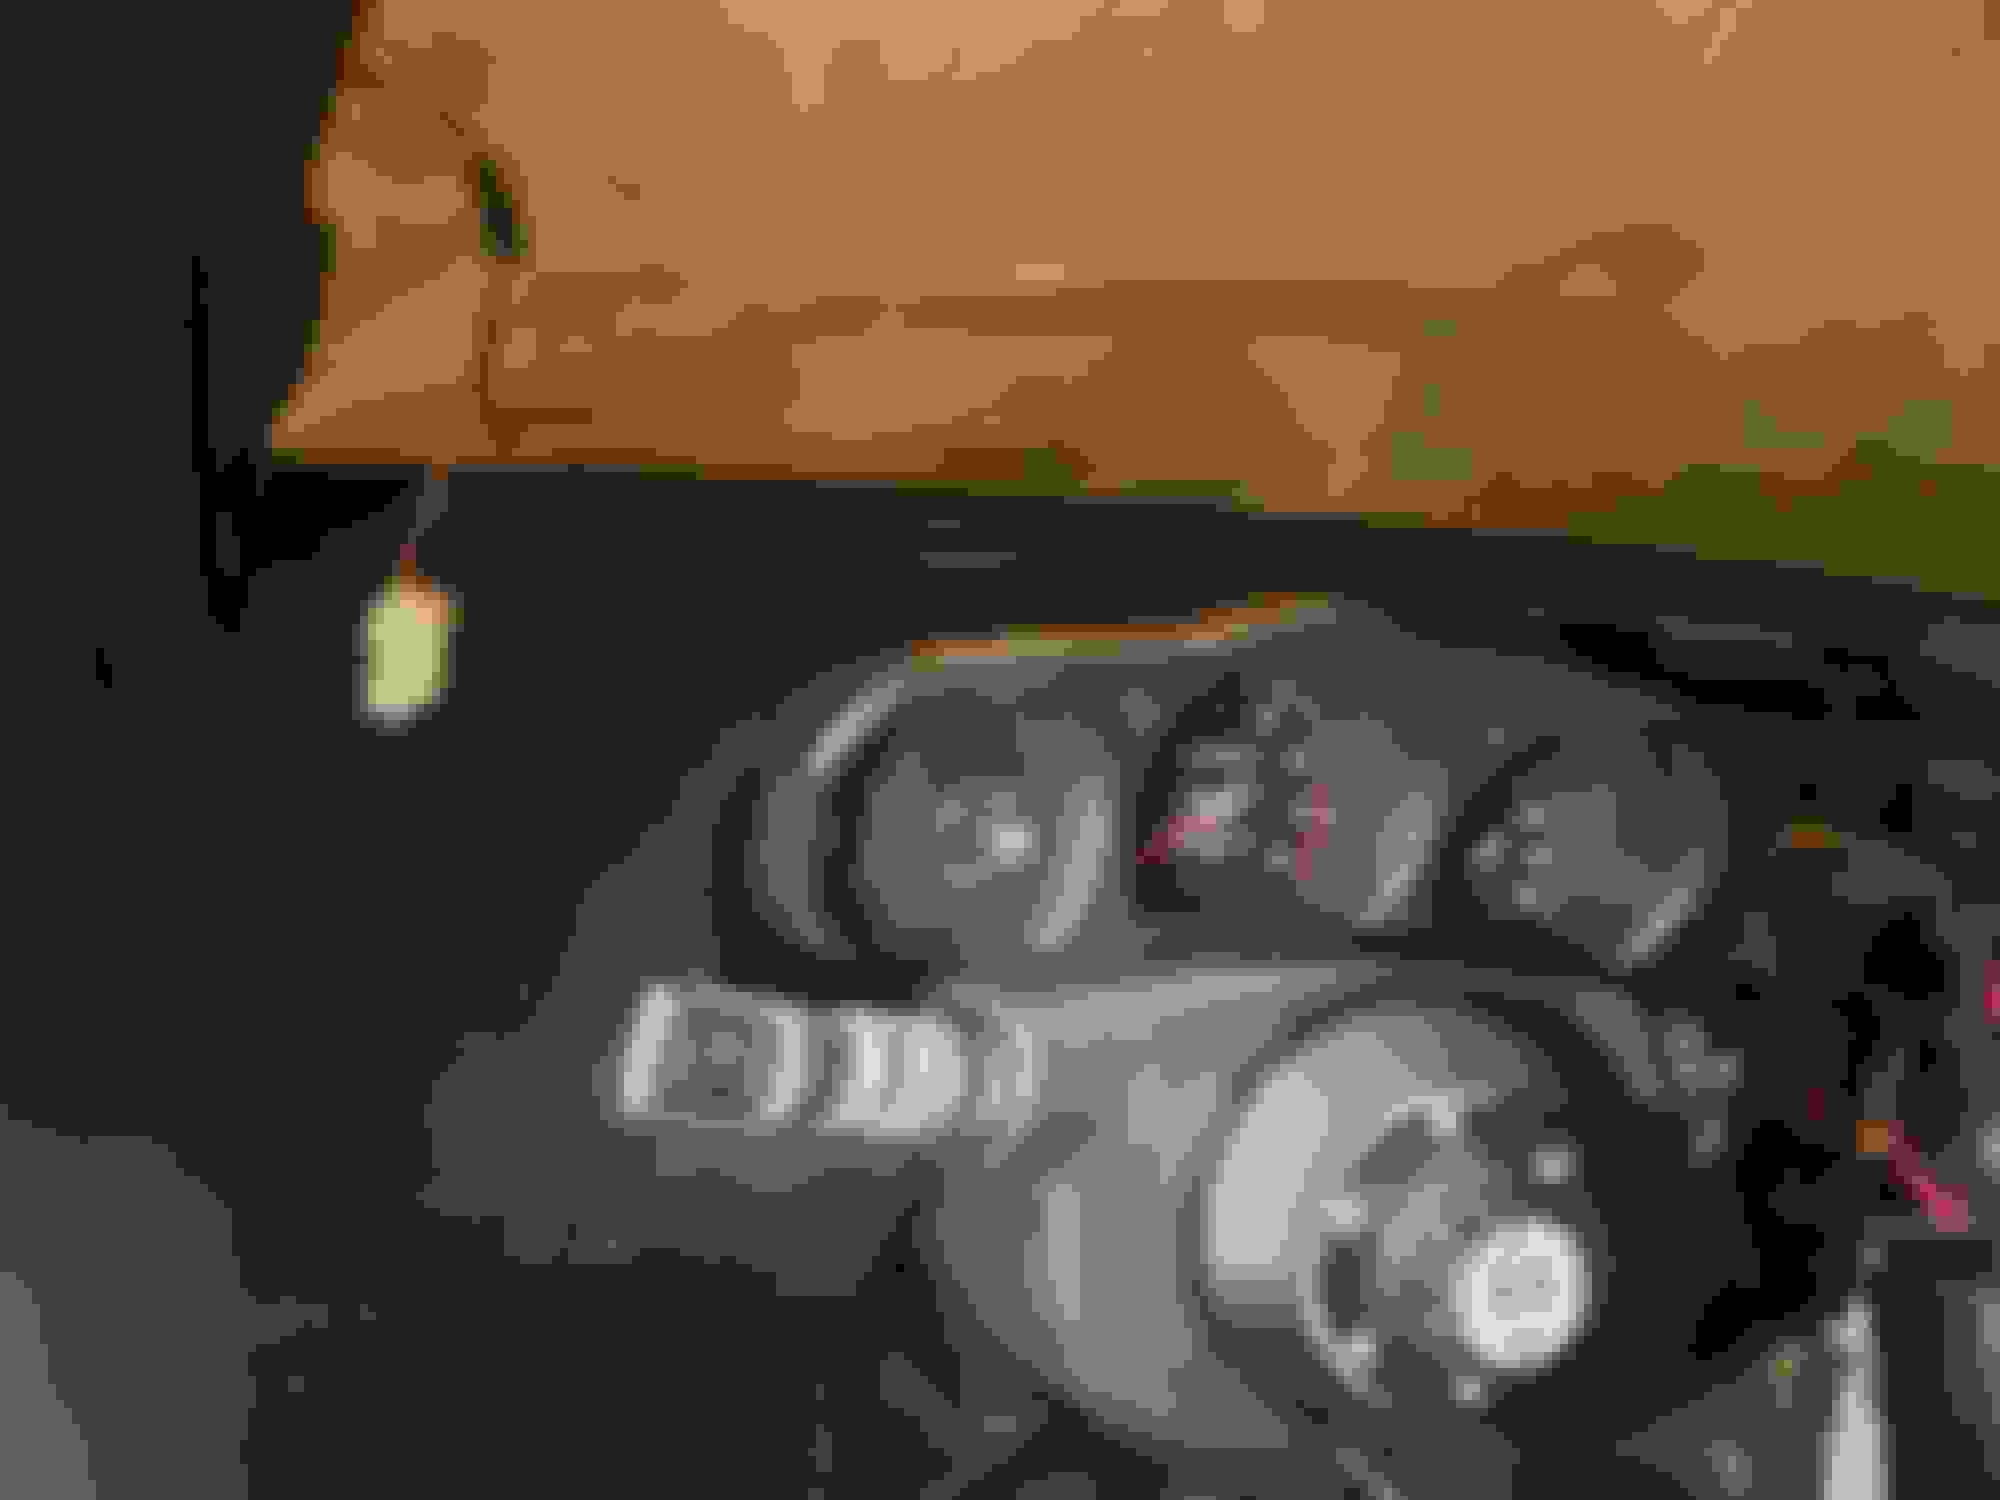
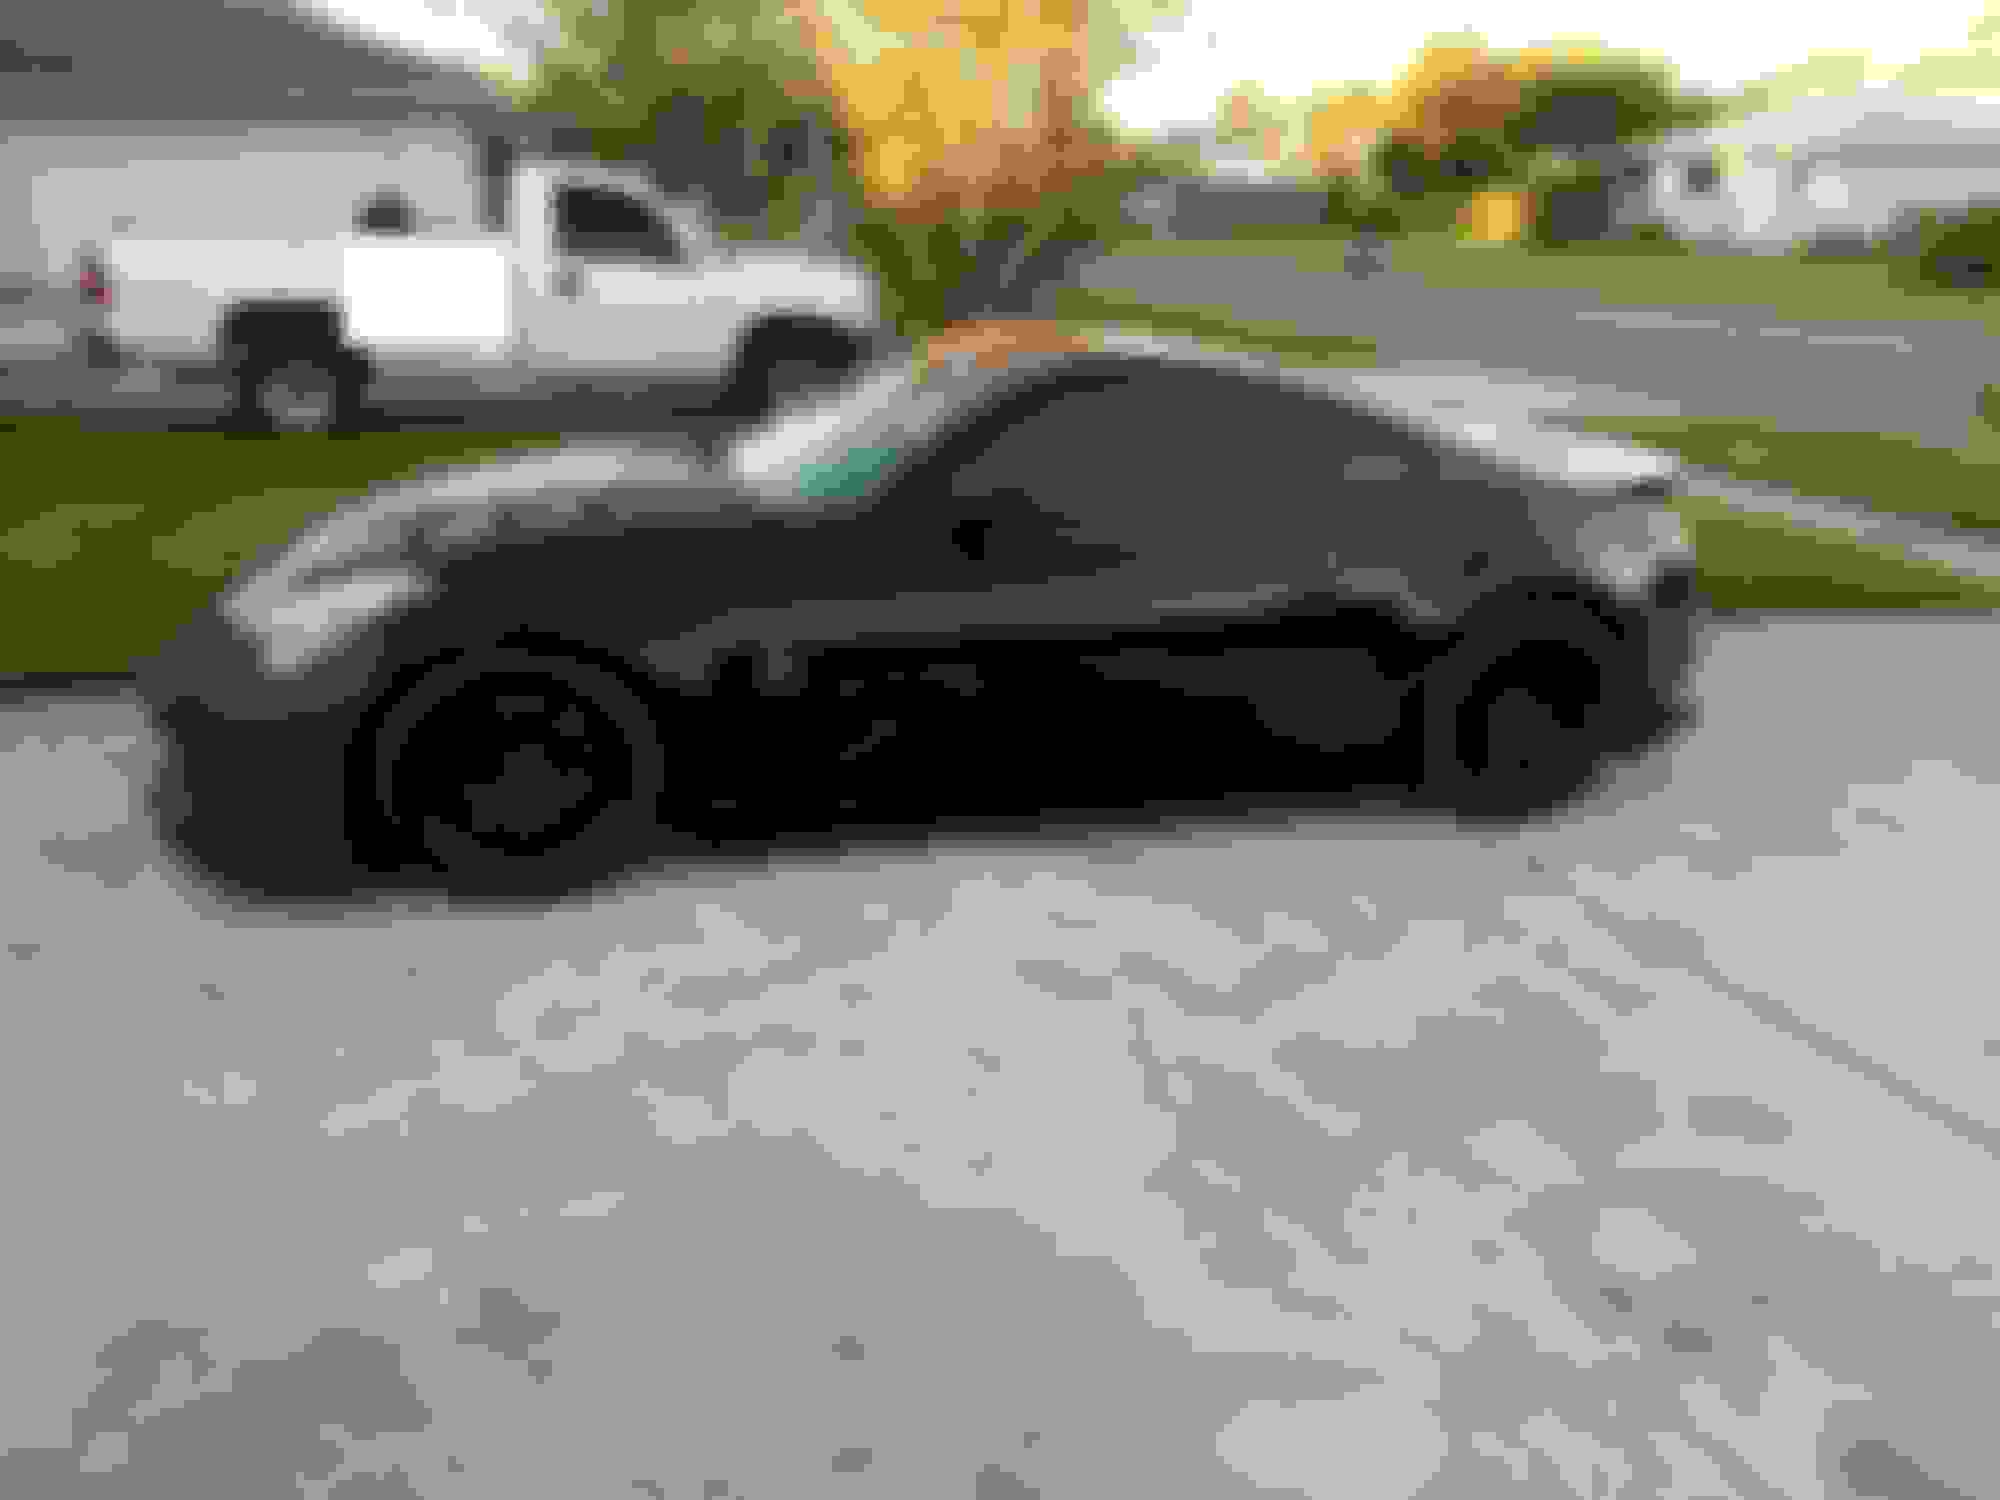
Old Pic - Took it after installing the new front bumper, back when this was my daily.
Old Pic - Few months ago when I moved.
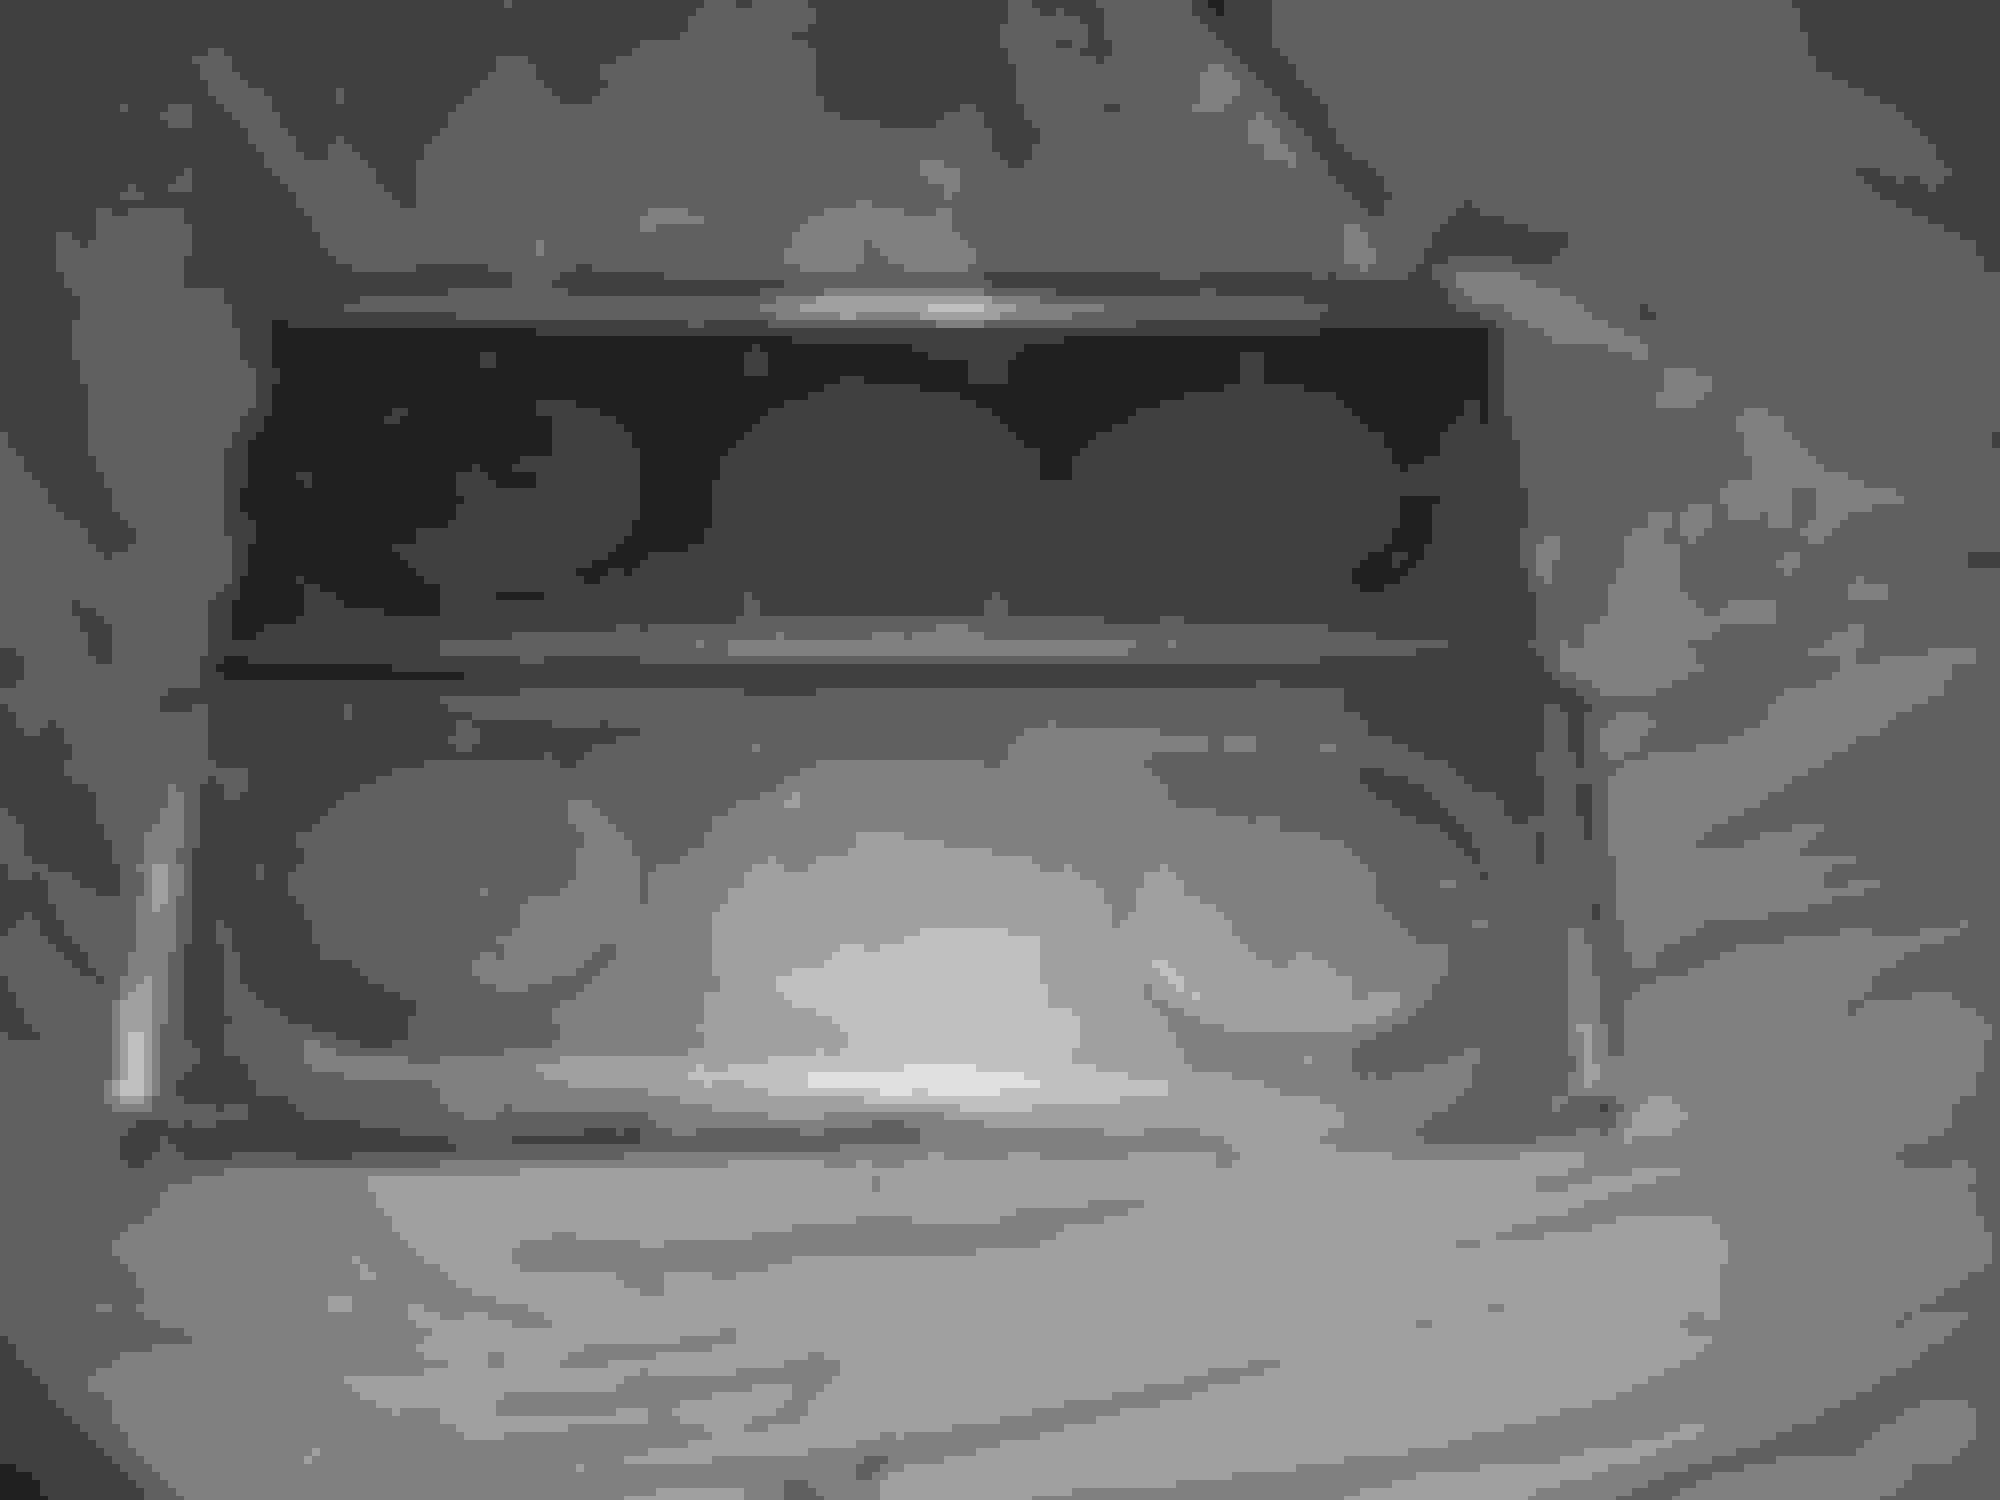
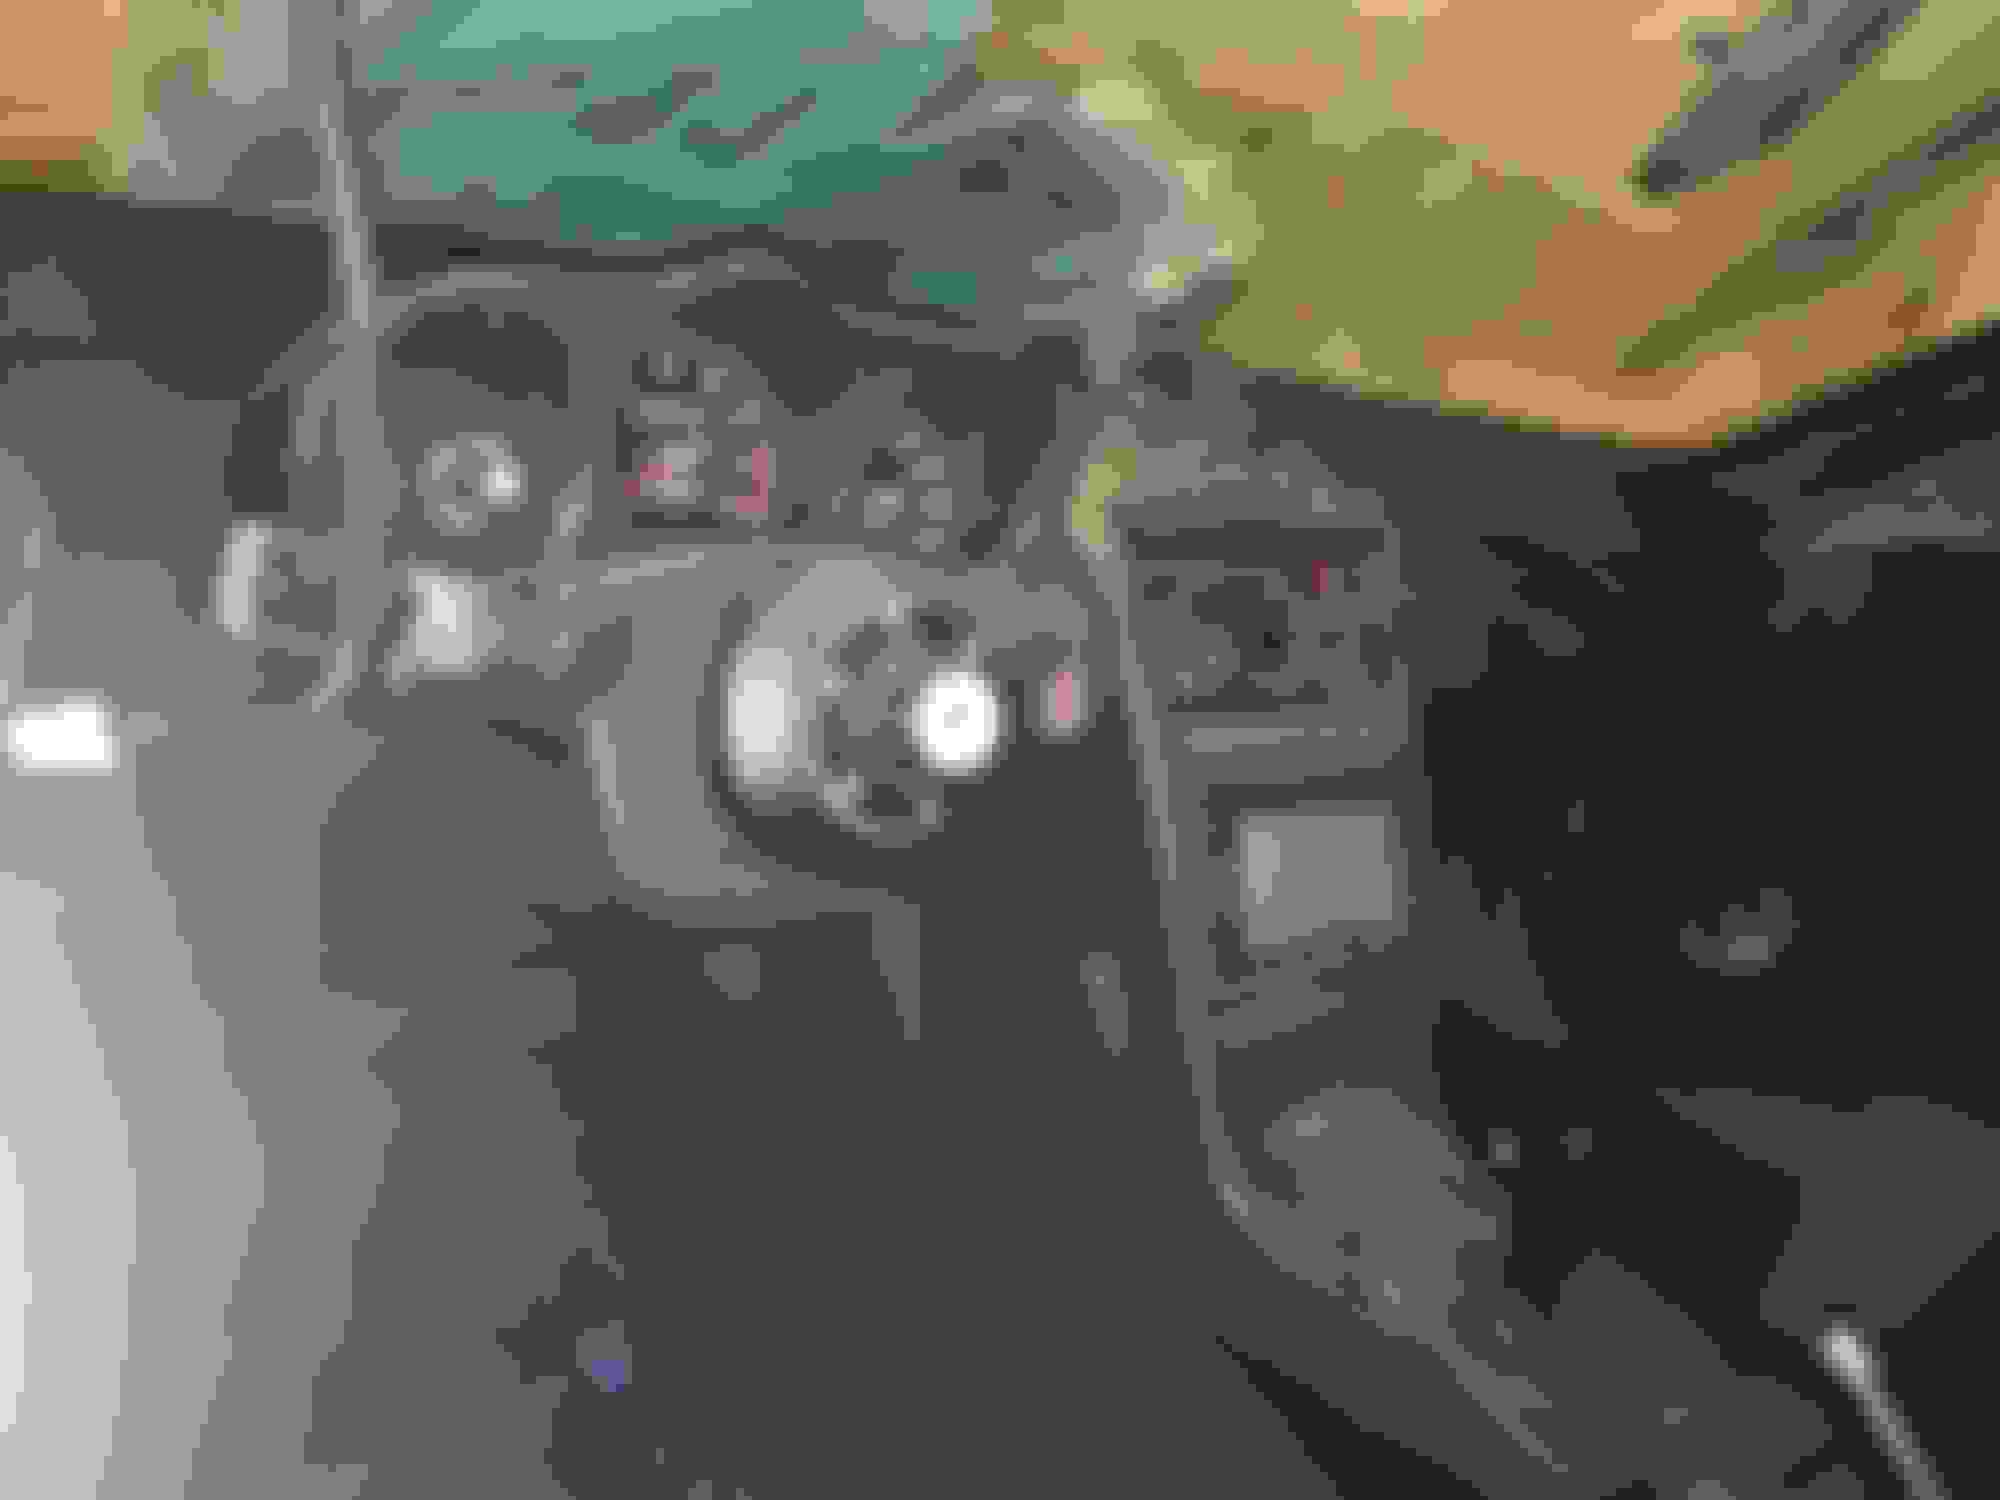
Old Pic - Center console from about a 2 years ago.
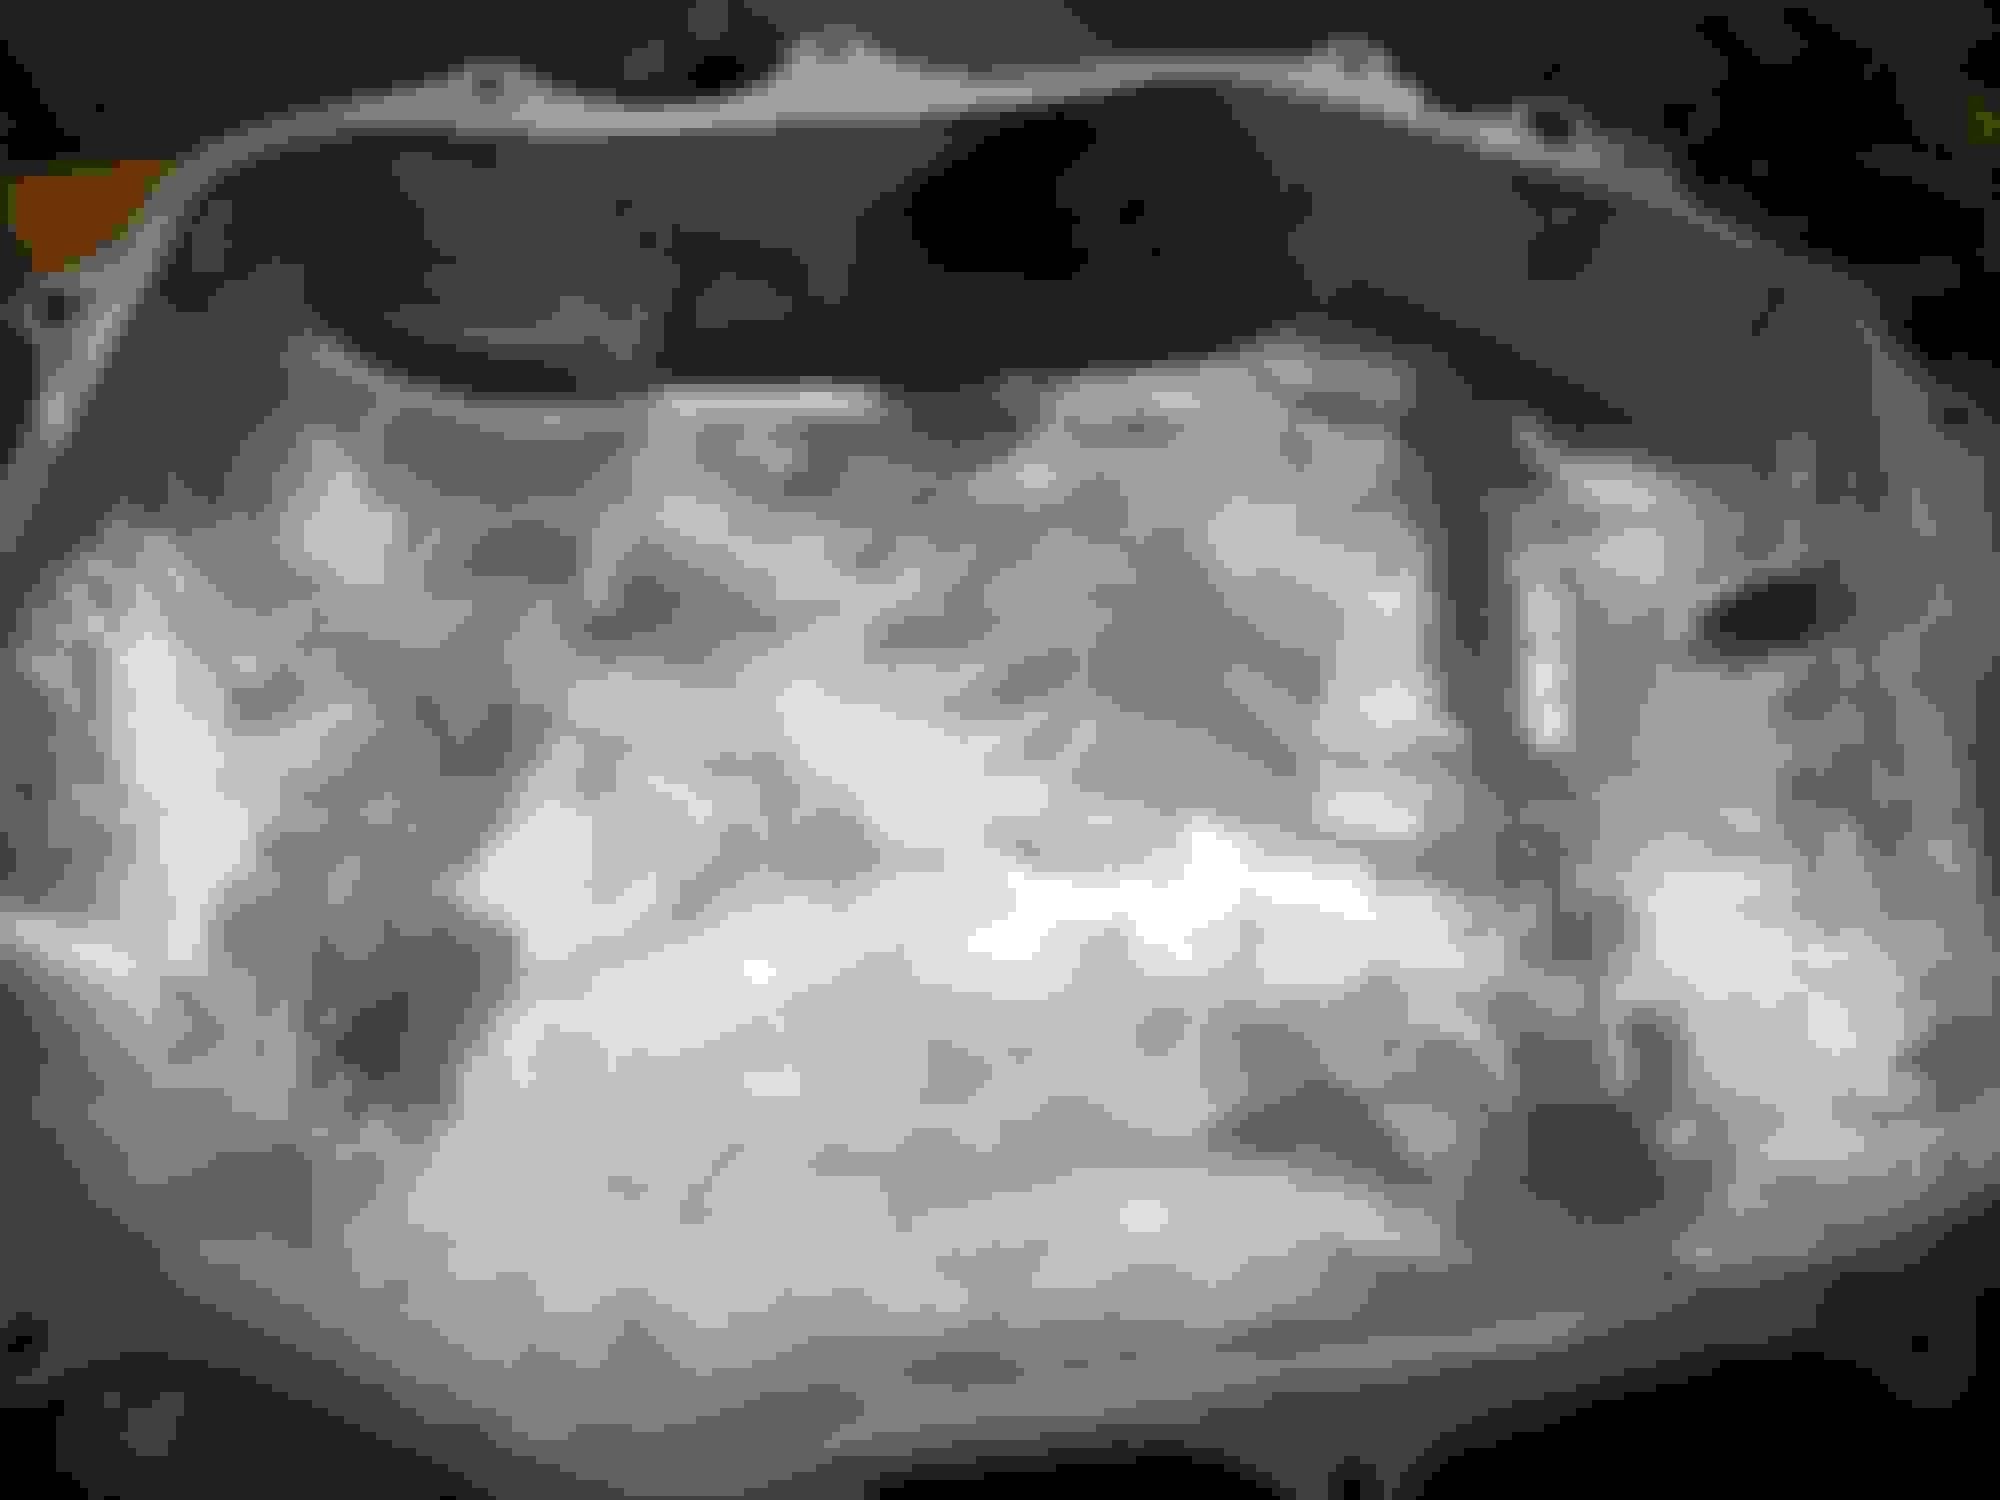
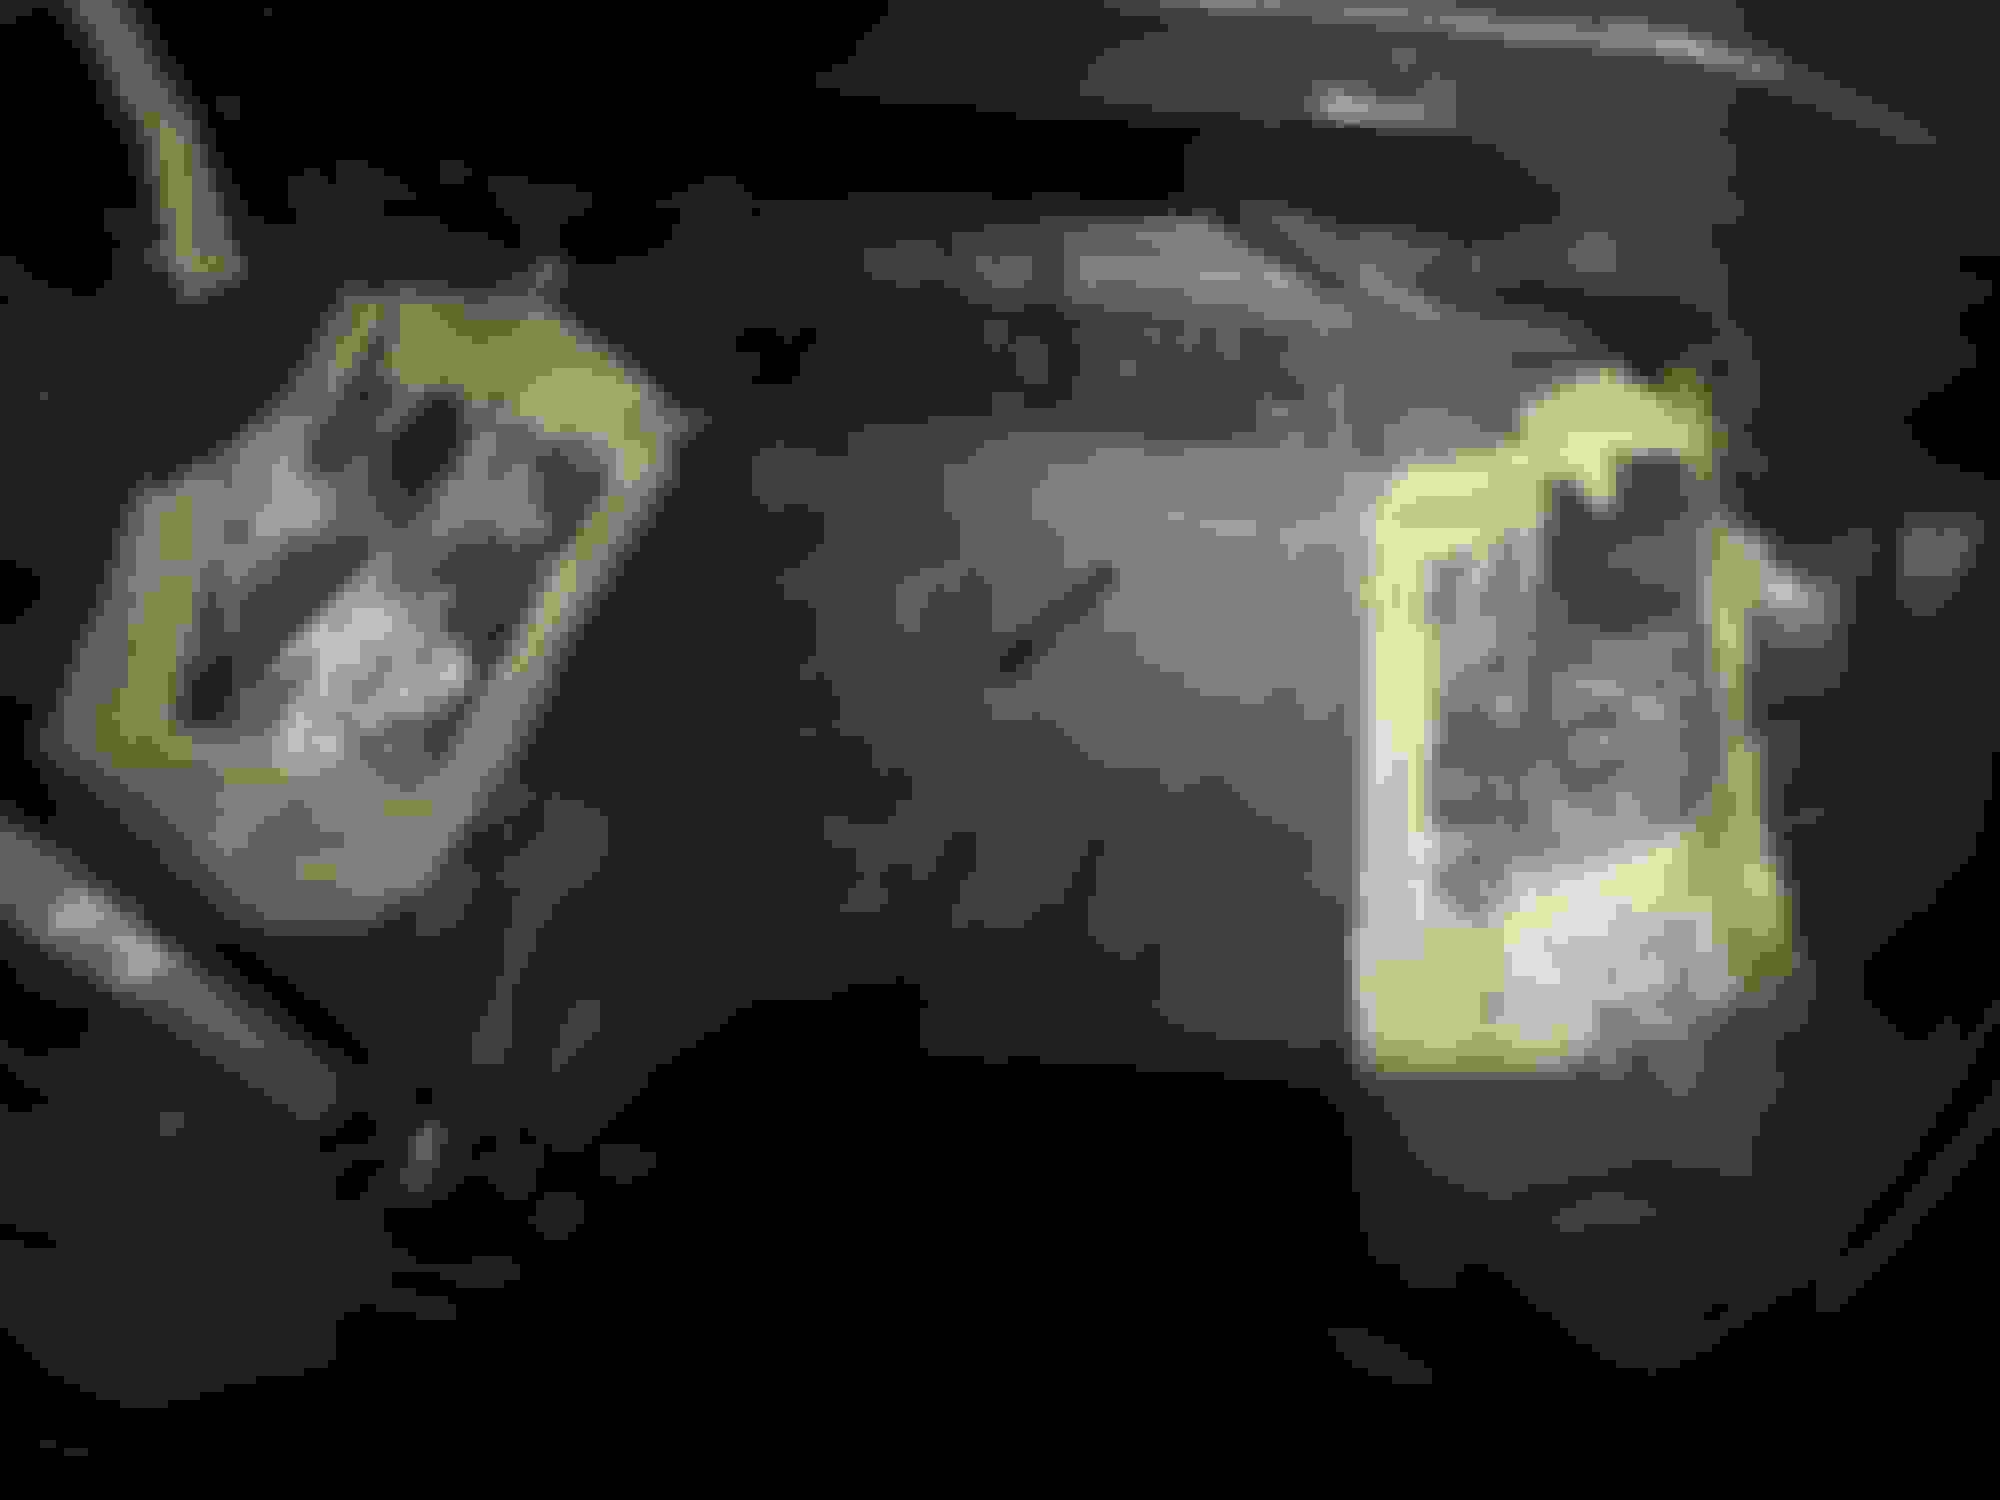
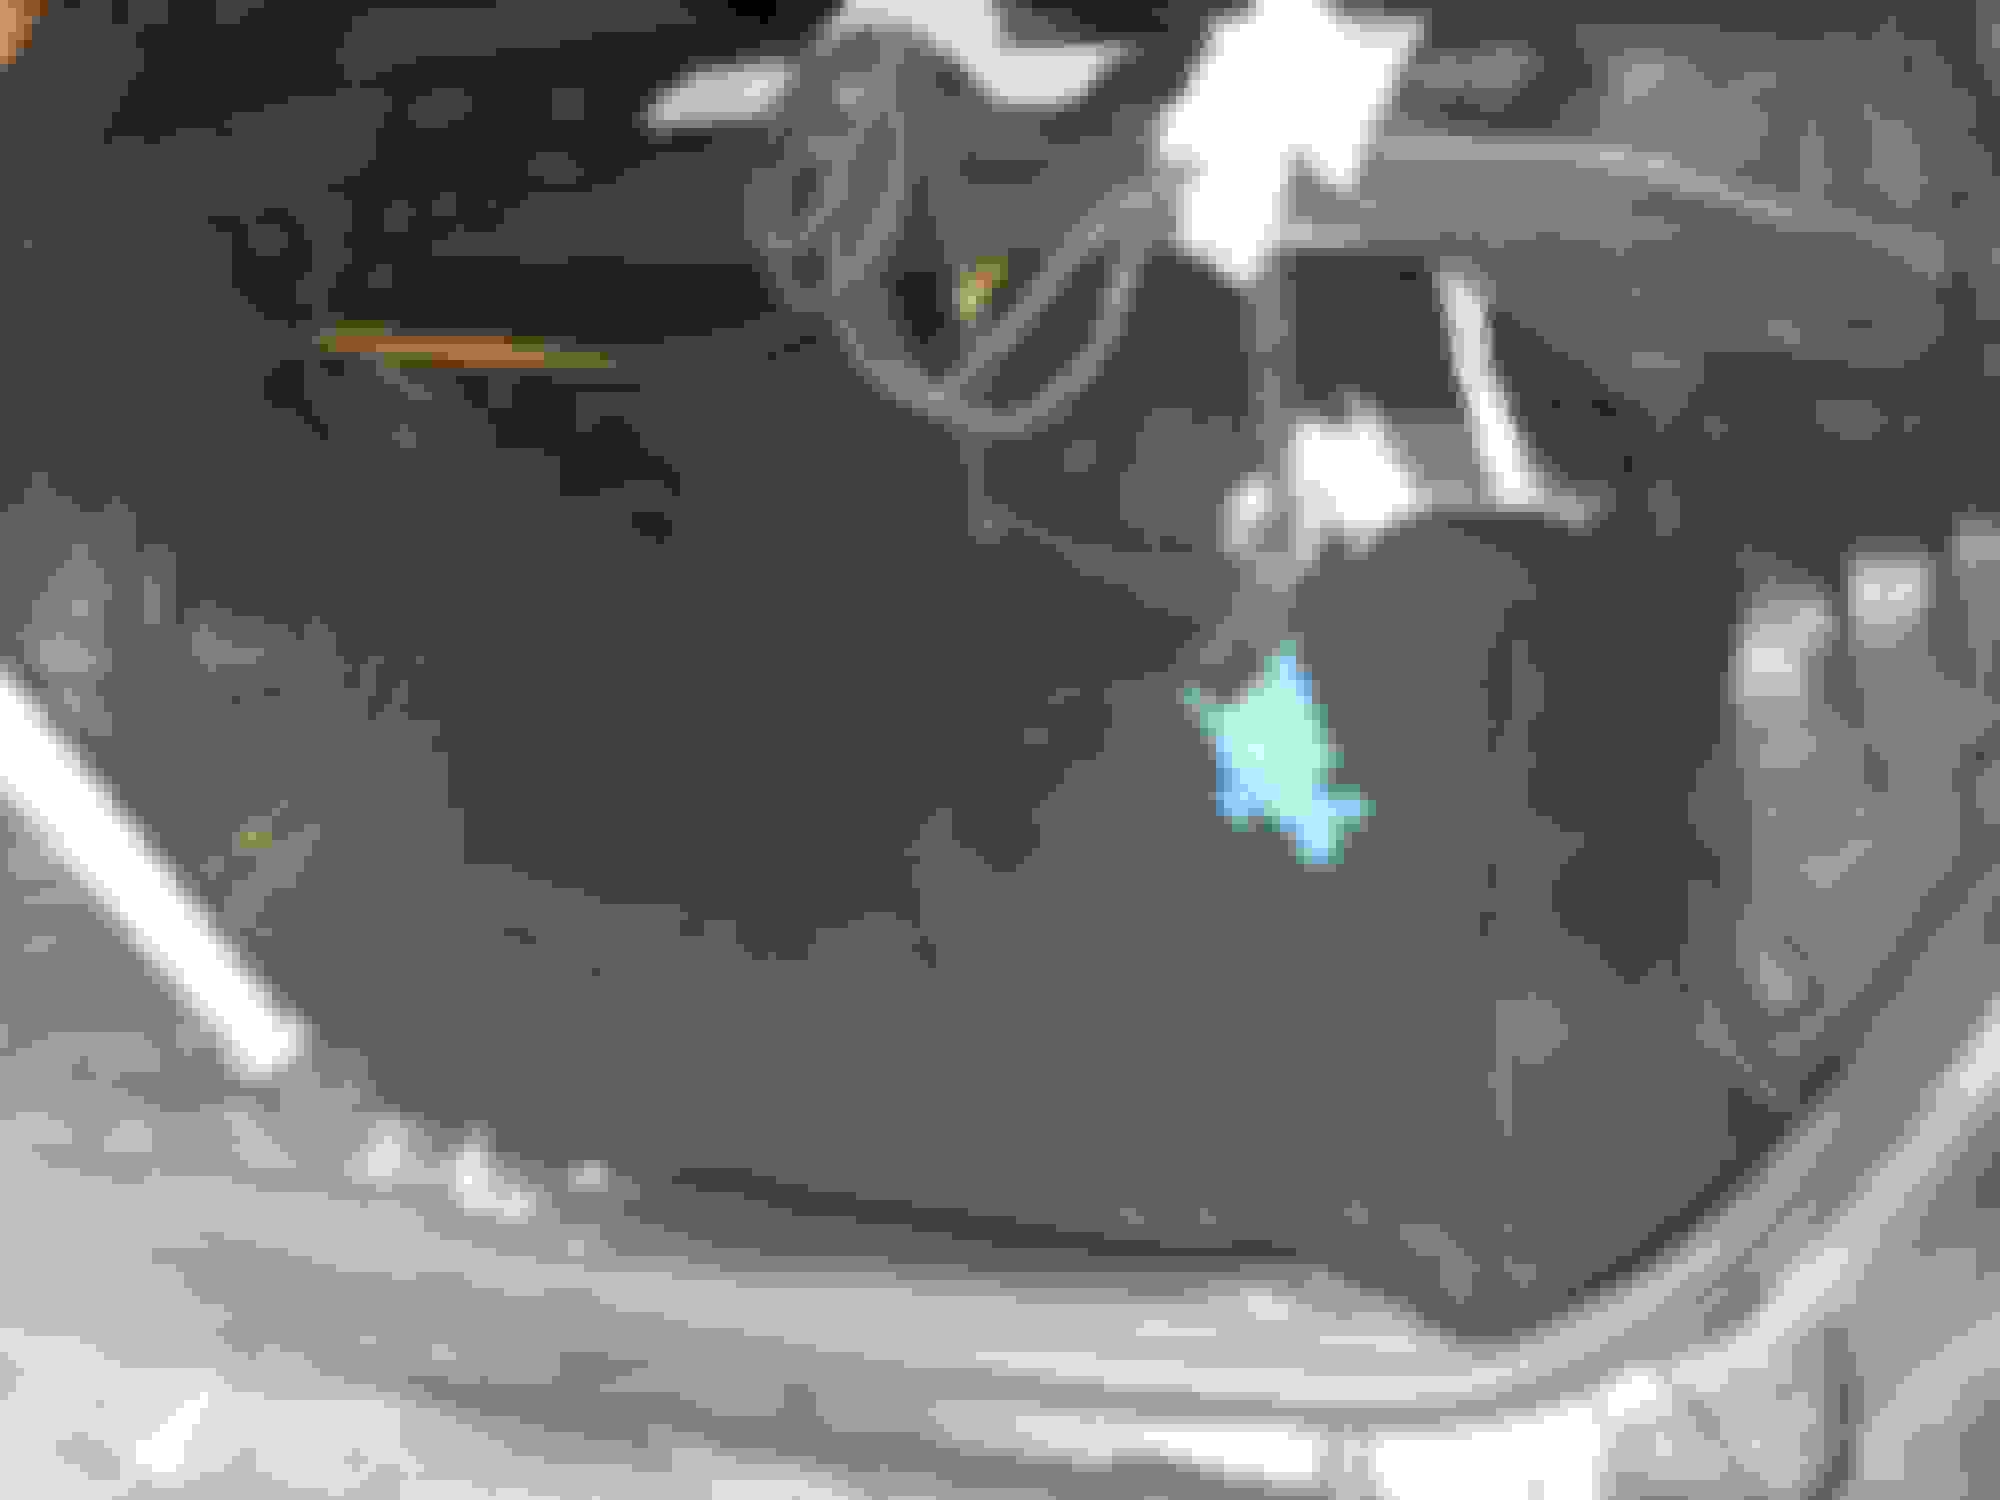
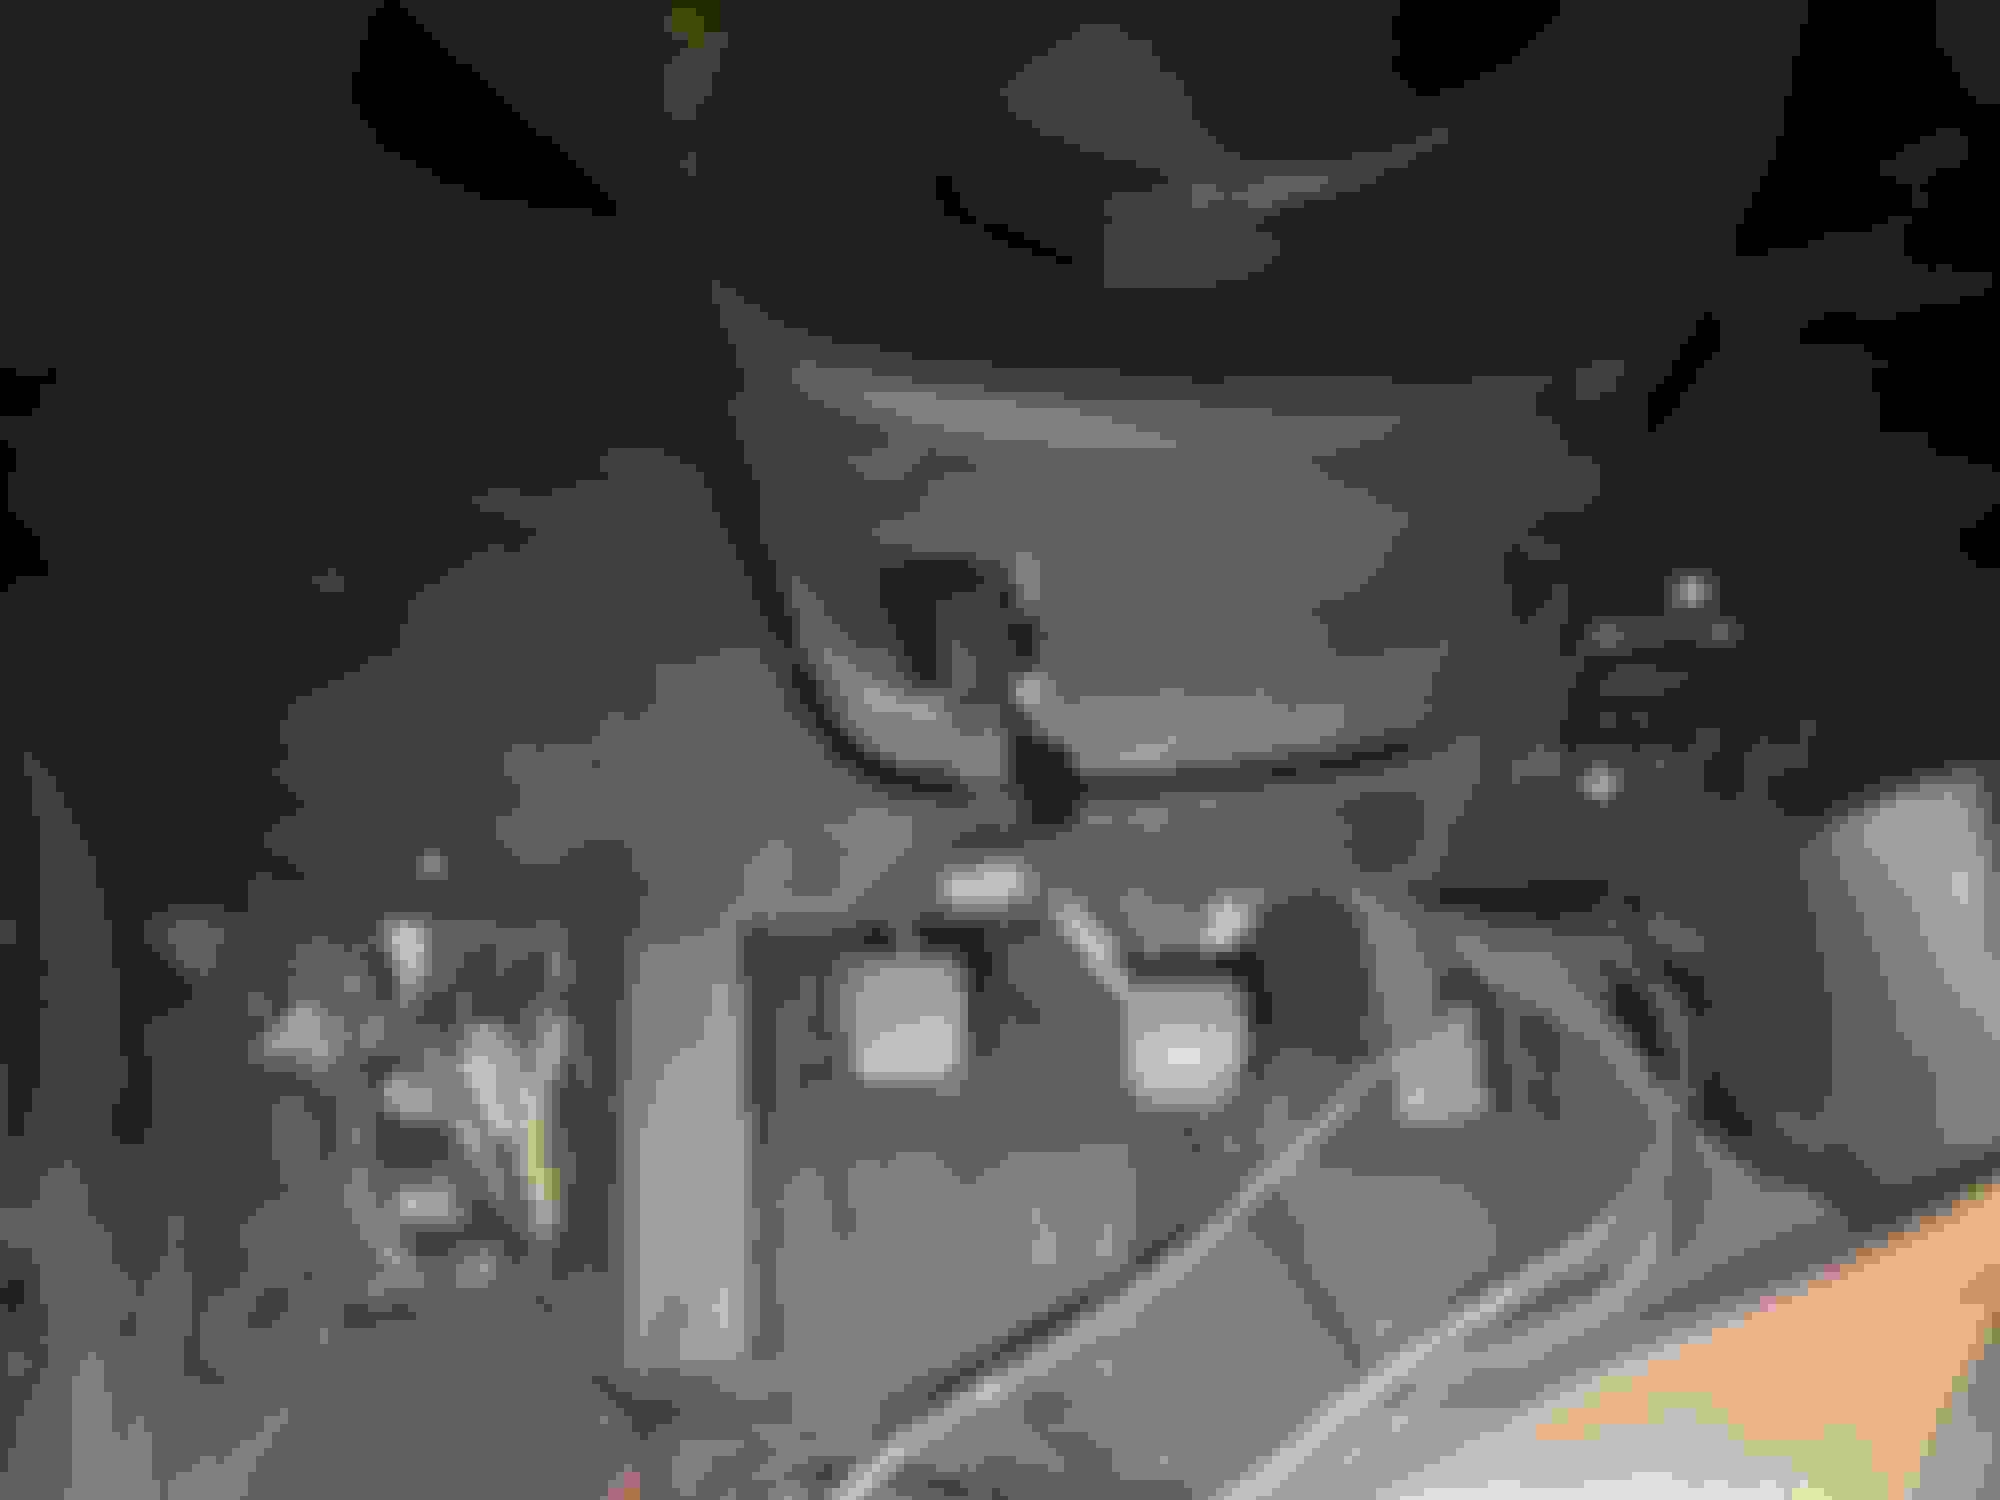
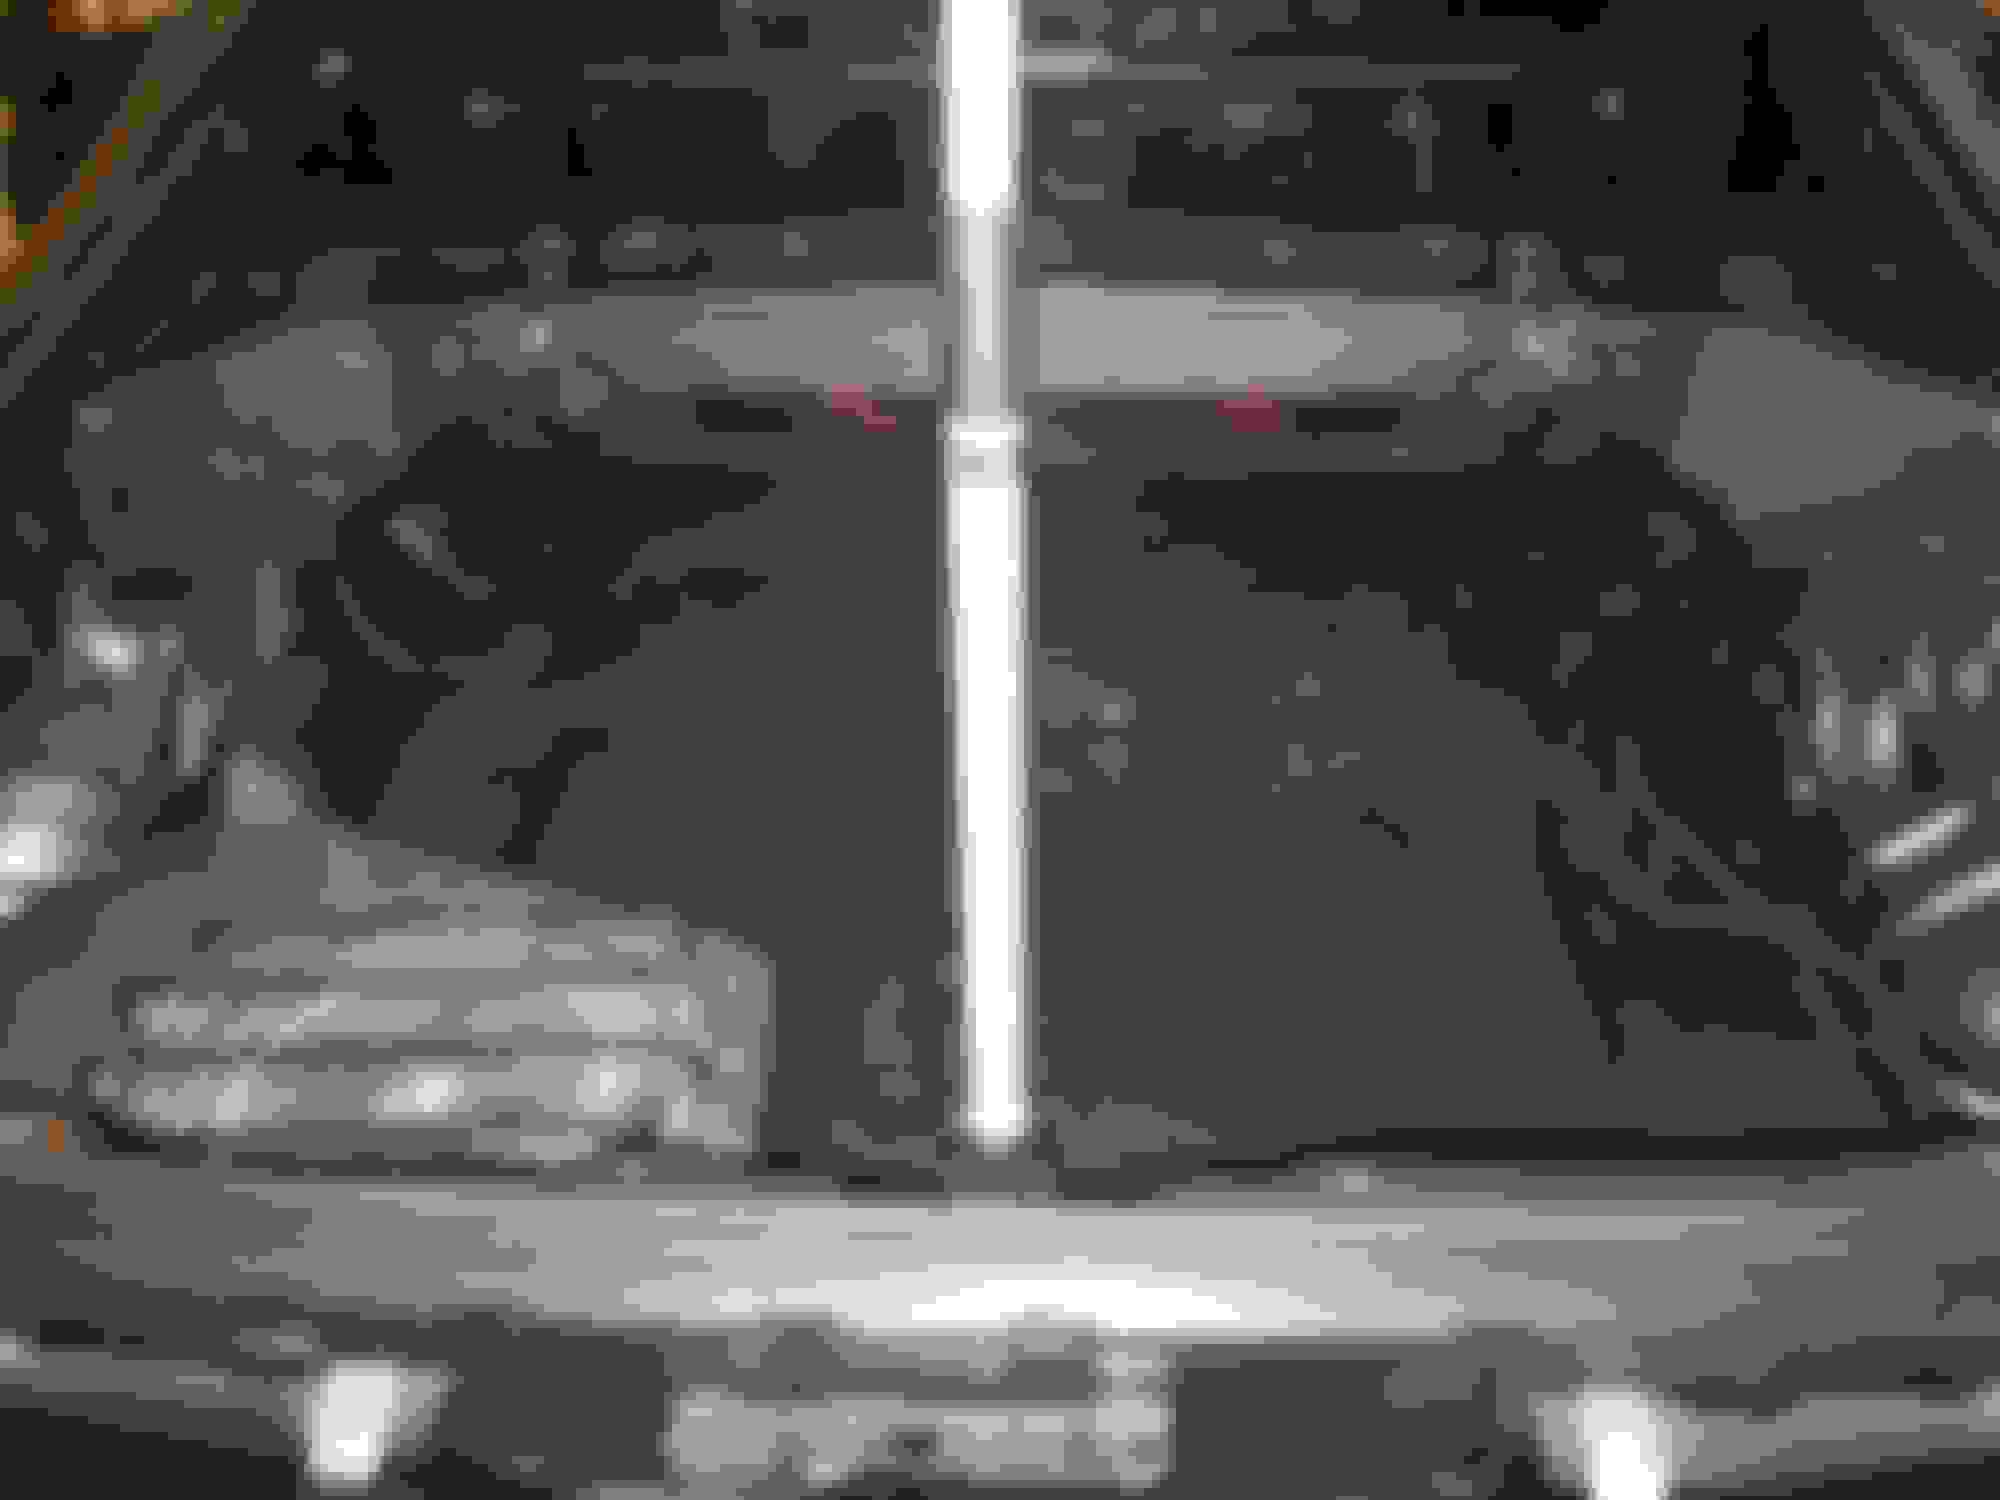
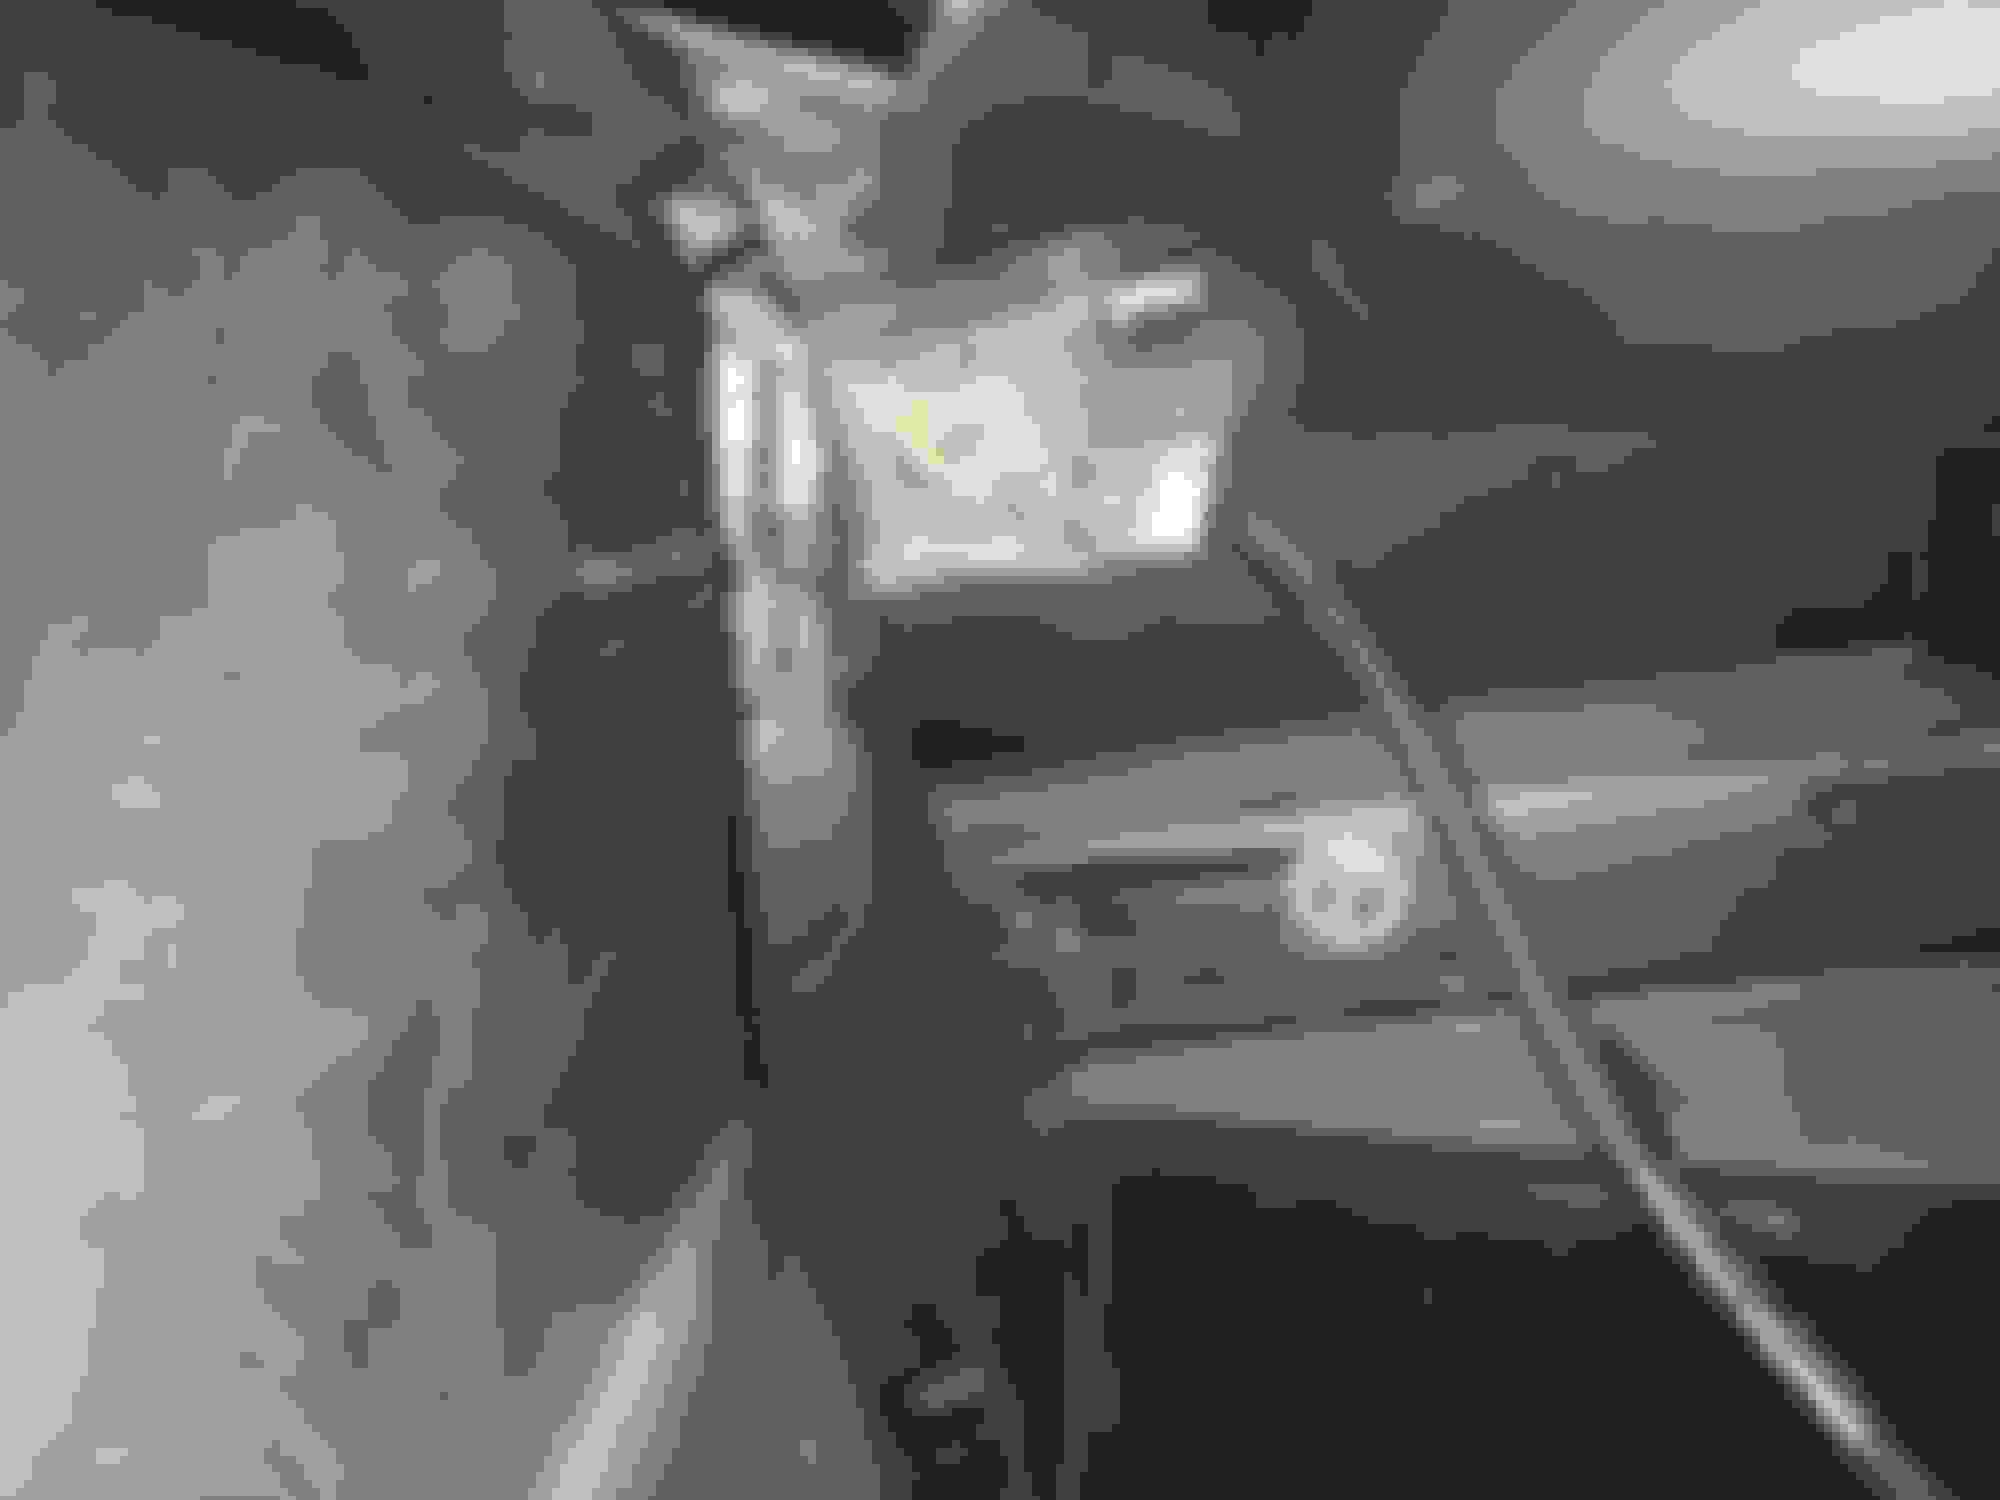
Current state of the car. Very dirty. In many pieces.
Rear bumper quick release done. Love them. They made the rear bumper so much sturdier. Bumper is now held on by the quick releases, 2 zipties underneath, and 2 bolt where the hatch meets the top of the bumper. Also trimmed the bumper to be removed without taking off the tail lights.
Took apart the dead switches on the driver side dash, cut it up, added an aluminum plate n painted.
Added stainless hardware to the hatch latch assembly.
Insulation added to the firewall, finally plugged up the holes to the engine bay.
Inline 3'' fan mounted and routed.
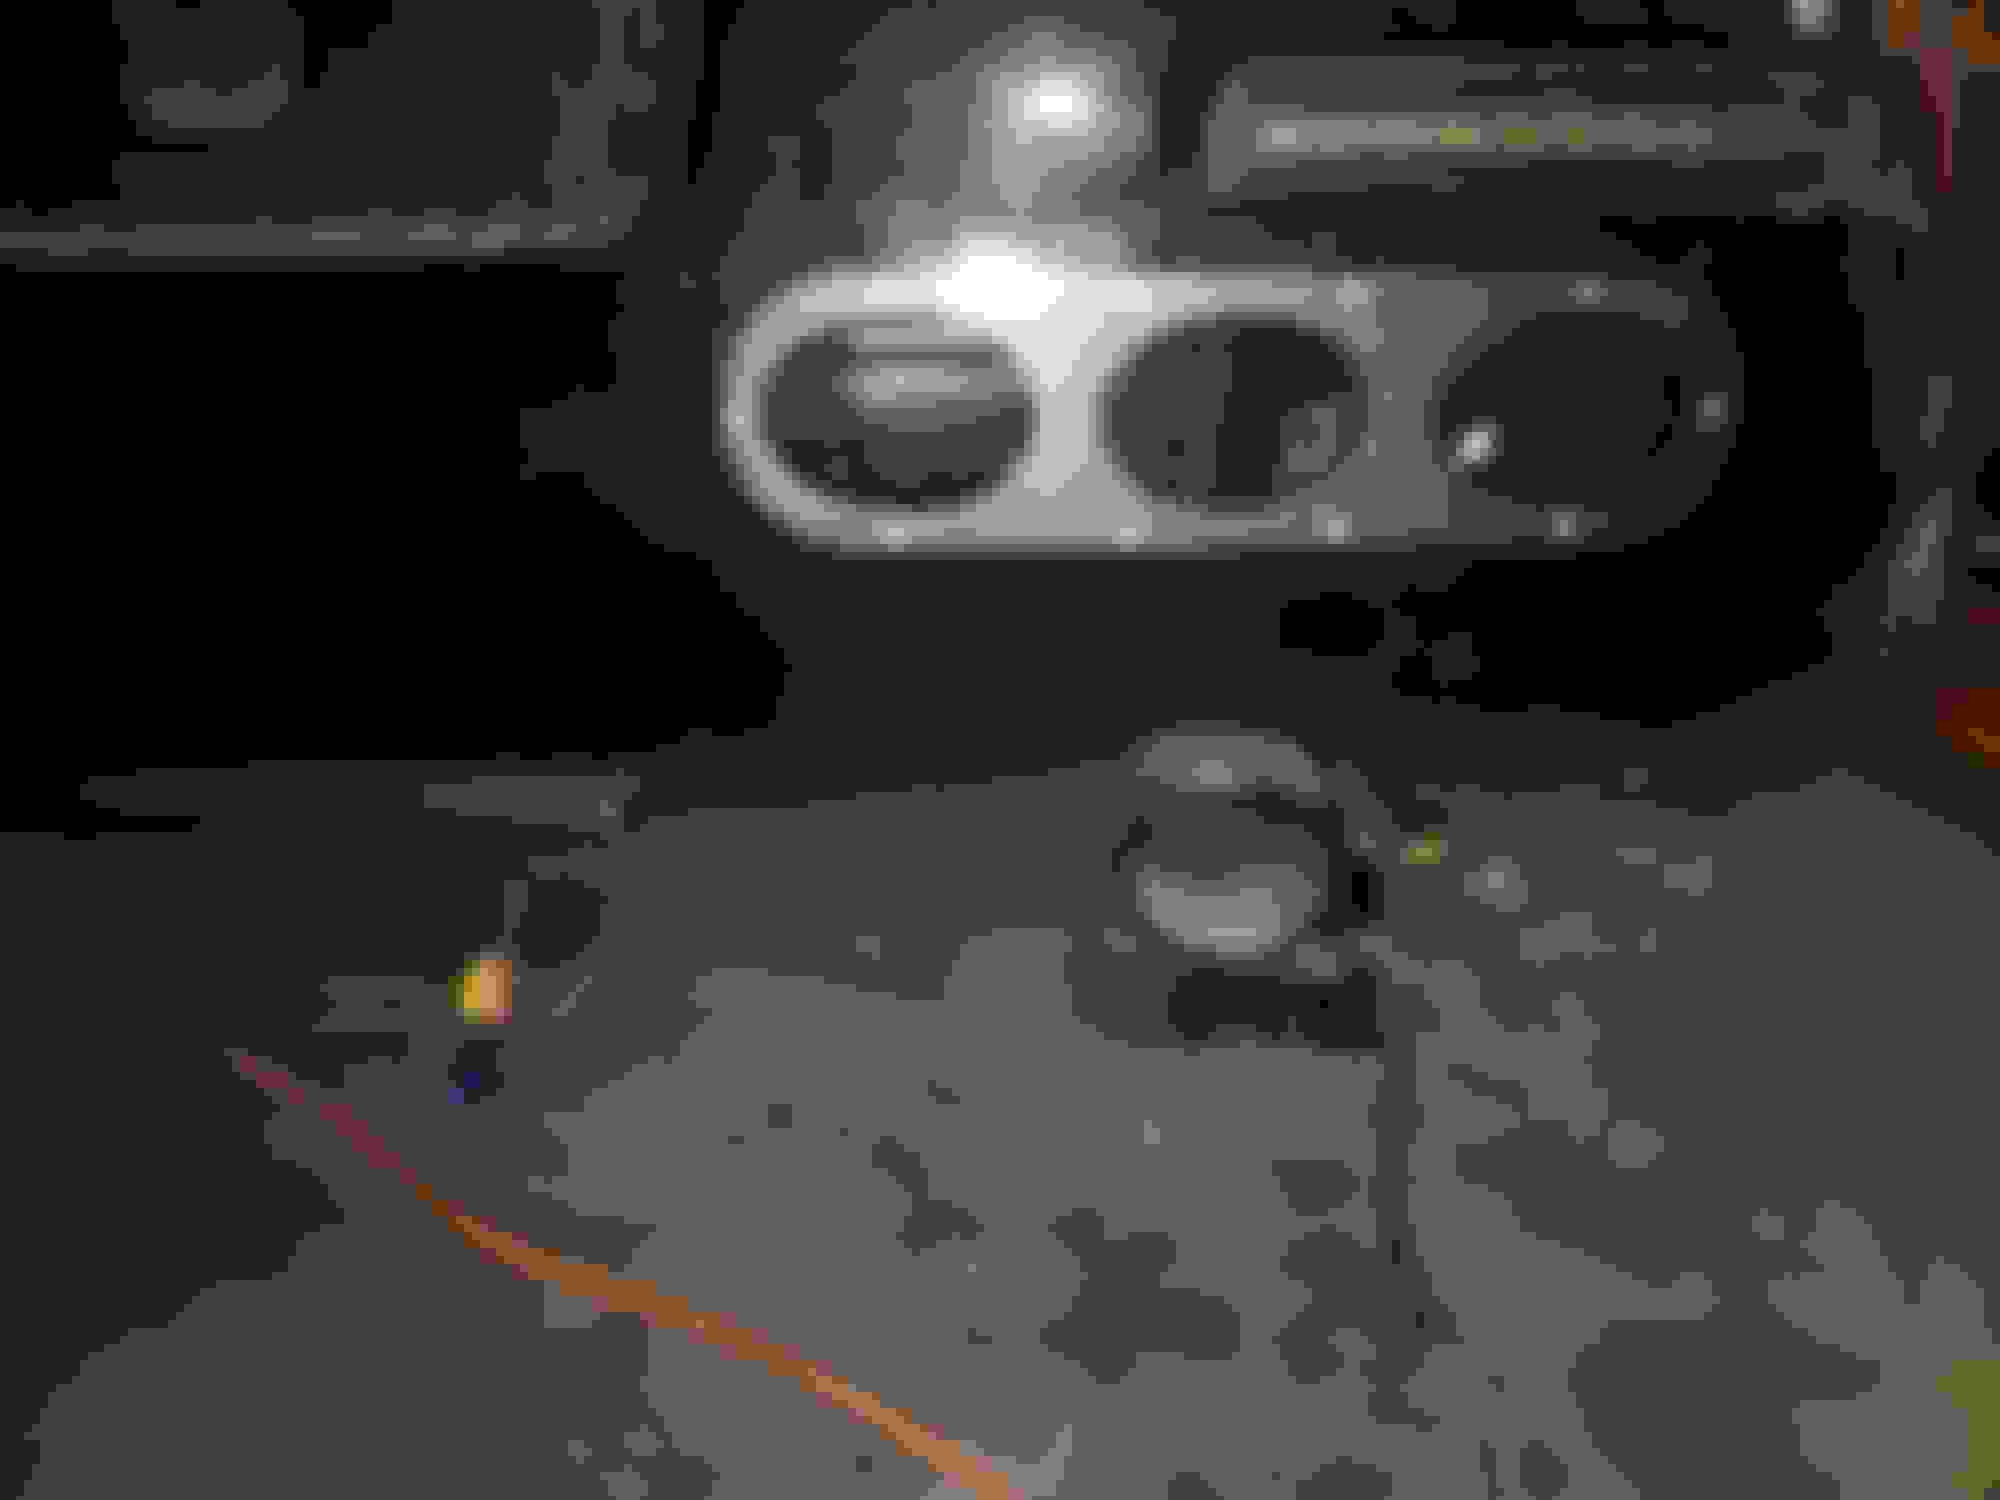
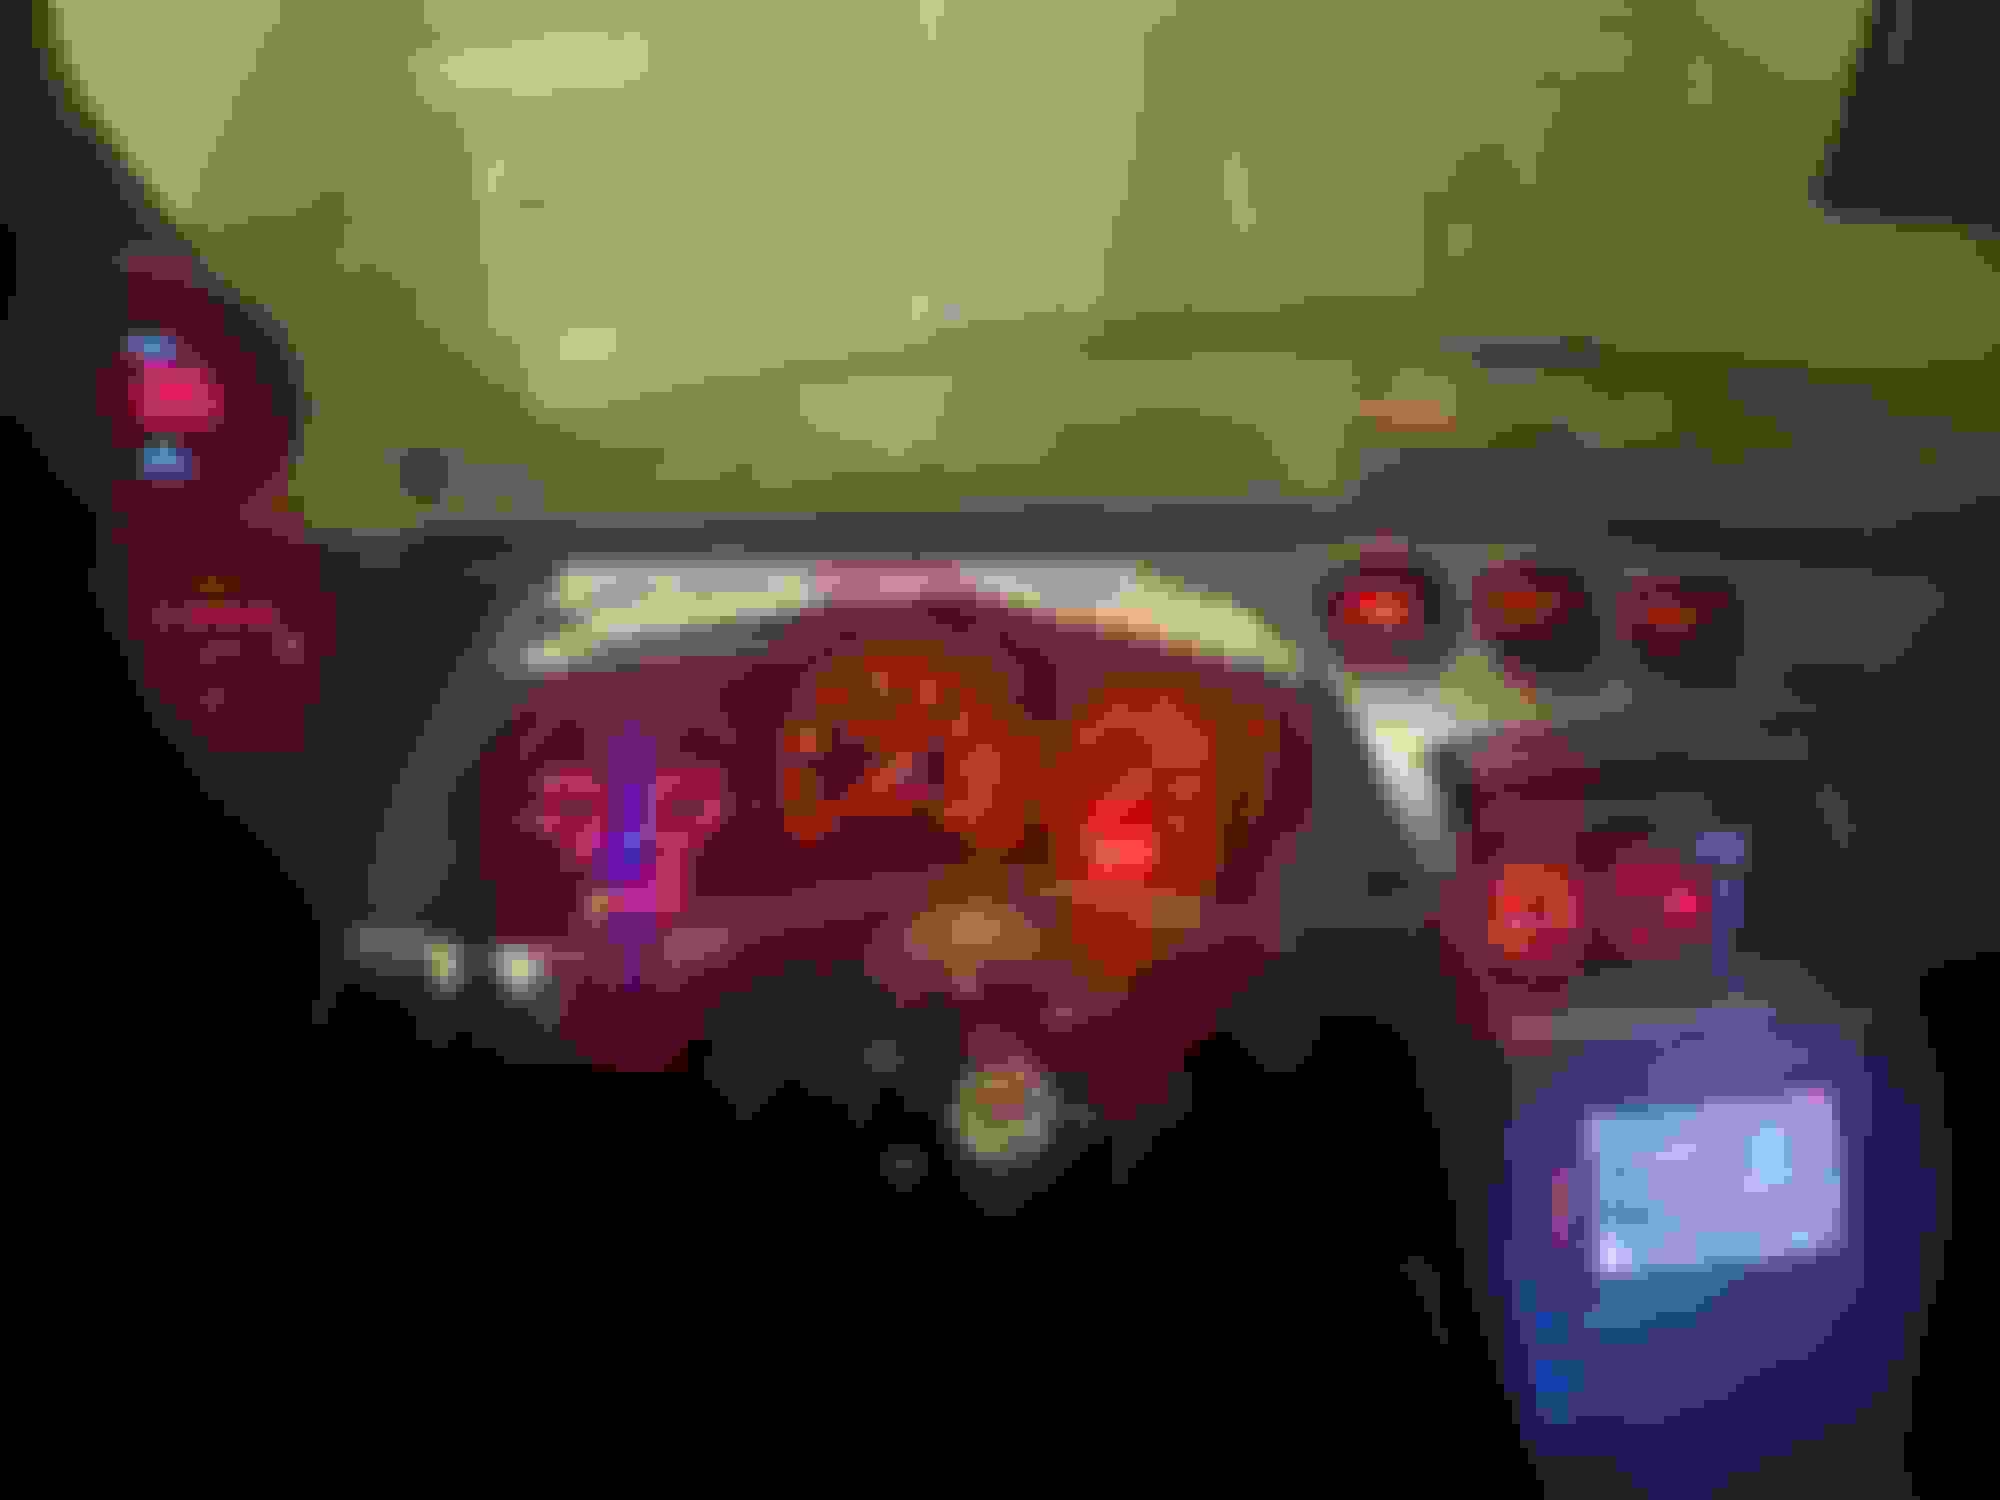
Got most of the dash put back on and everything works thankfully.
Honestly like the best $10 ever spent. The quick negative disconnect is so nice. I also ended up destroying my last negative cable due to taking it on/off so many times, so it shouldn't happen again.
Organized, reloomed, redid connections, and labeled all wires/looms. Pic was taken in the middle of it all. I like to have accessories wired separately unless they are running parallel with one another, which causes a lot of connections. I used a busbar for the 12v connections to simplify connections.
Installed a backup camera and added some hatch lighting while I played with wires all day.
Hatch harness all wired, loomed, and labeled now.
Passenger side window, which I have to start tomo more than likely.
I use HP blue shocks and eibach sportline springs, so I use the oem tophats still. They are ugly and have surface rust, so I figured I make some covers for them that thread on.
Love flock, got the "dash" flocked as well, and that is the plan for the hatch. The hatch floor is ugly, and constantly gets damaged with anything in there. I'm Using EVA foam as a base. Apparently it is used a lot for cosplay/costumes. So far its been very easy to work with and also sands very easily. Rough pic of just some piecing and gluing.
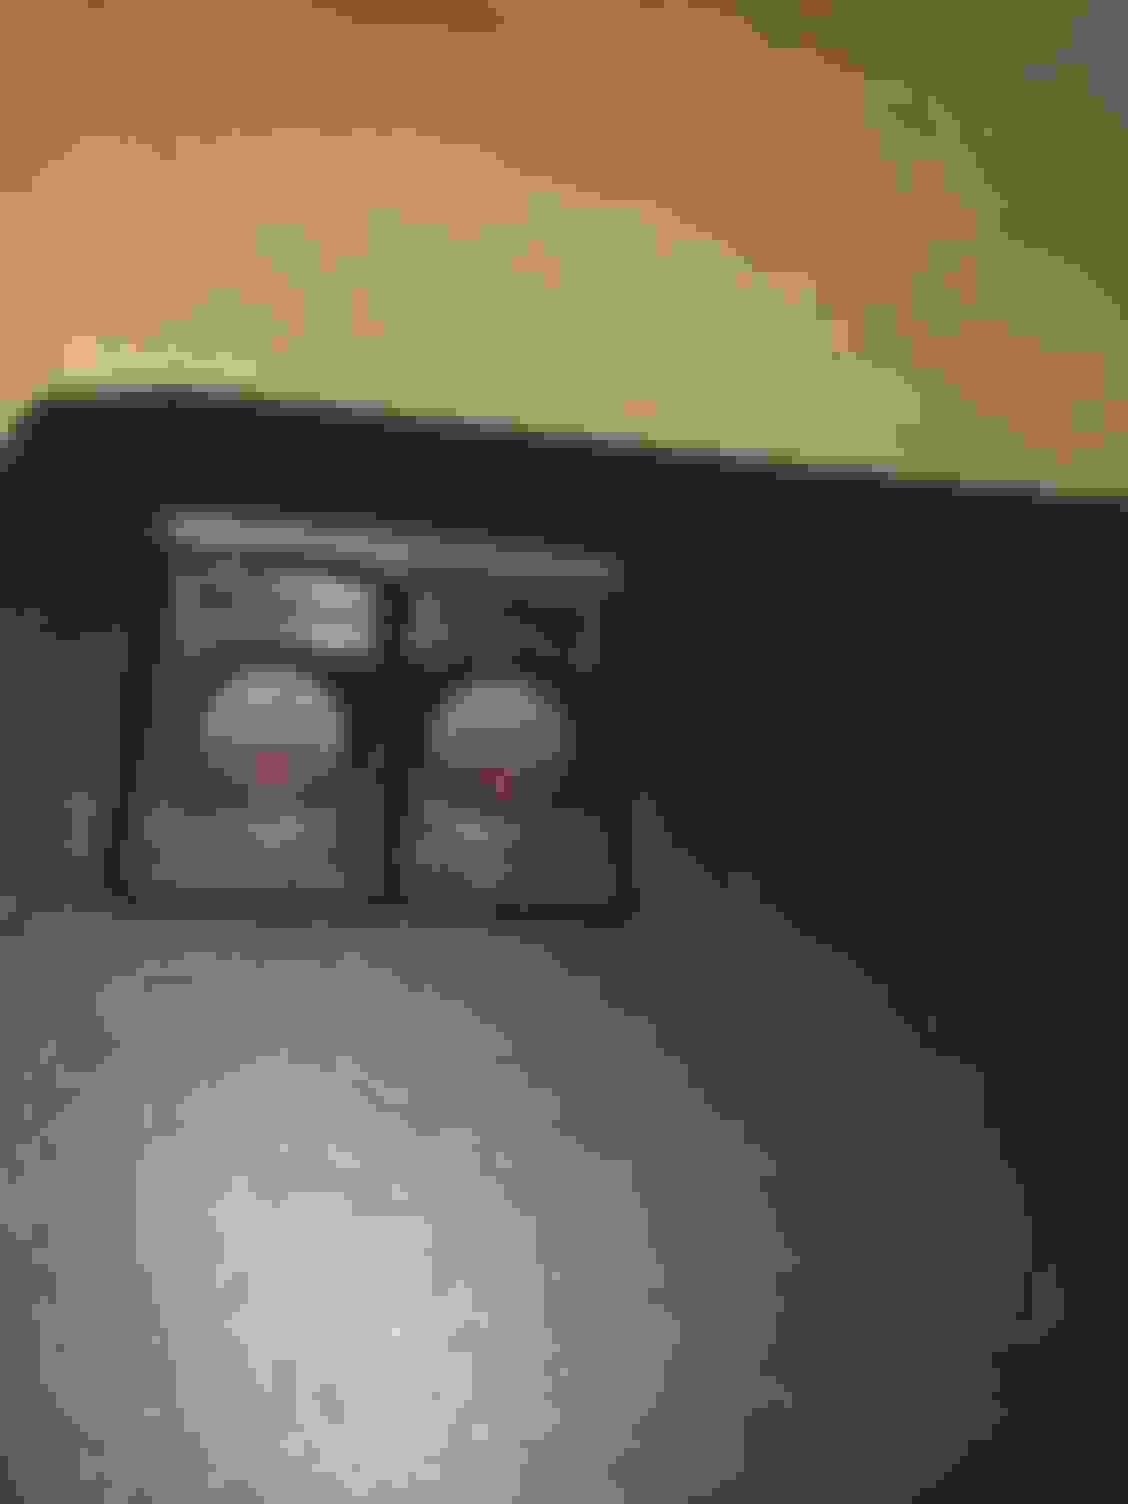
Switch panel painted and back in.
I use all Stainless hardware everywhere I can pretty much (love button head hex). Always have to go to ace and usually have a hard time getting metric bolts, not to mention the high prices. I've ordered from sites in the past, but it usually ends up with having to buy bulk, which I don't always need. I used a site called Belmetric, very good prices, don't need to buy in bulk, and already made another order.
More progress of the EVA foam. This is when I tried some sanding and was surprised how well it sanded smooth.
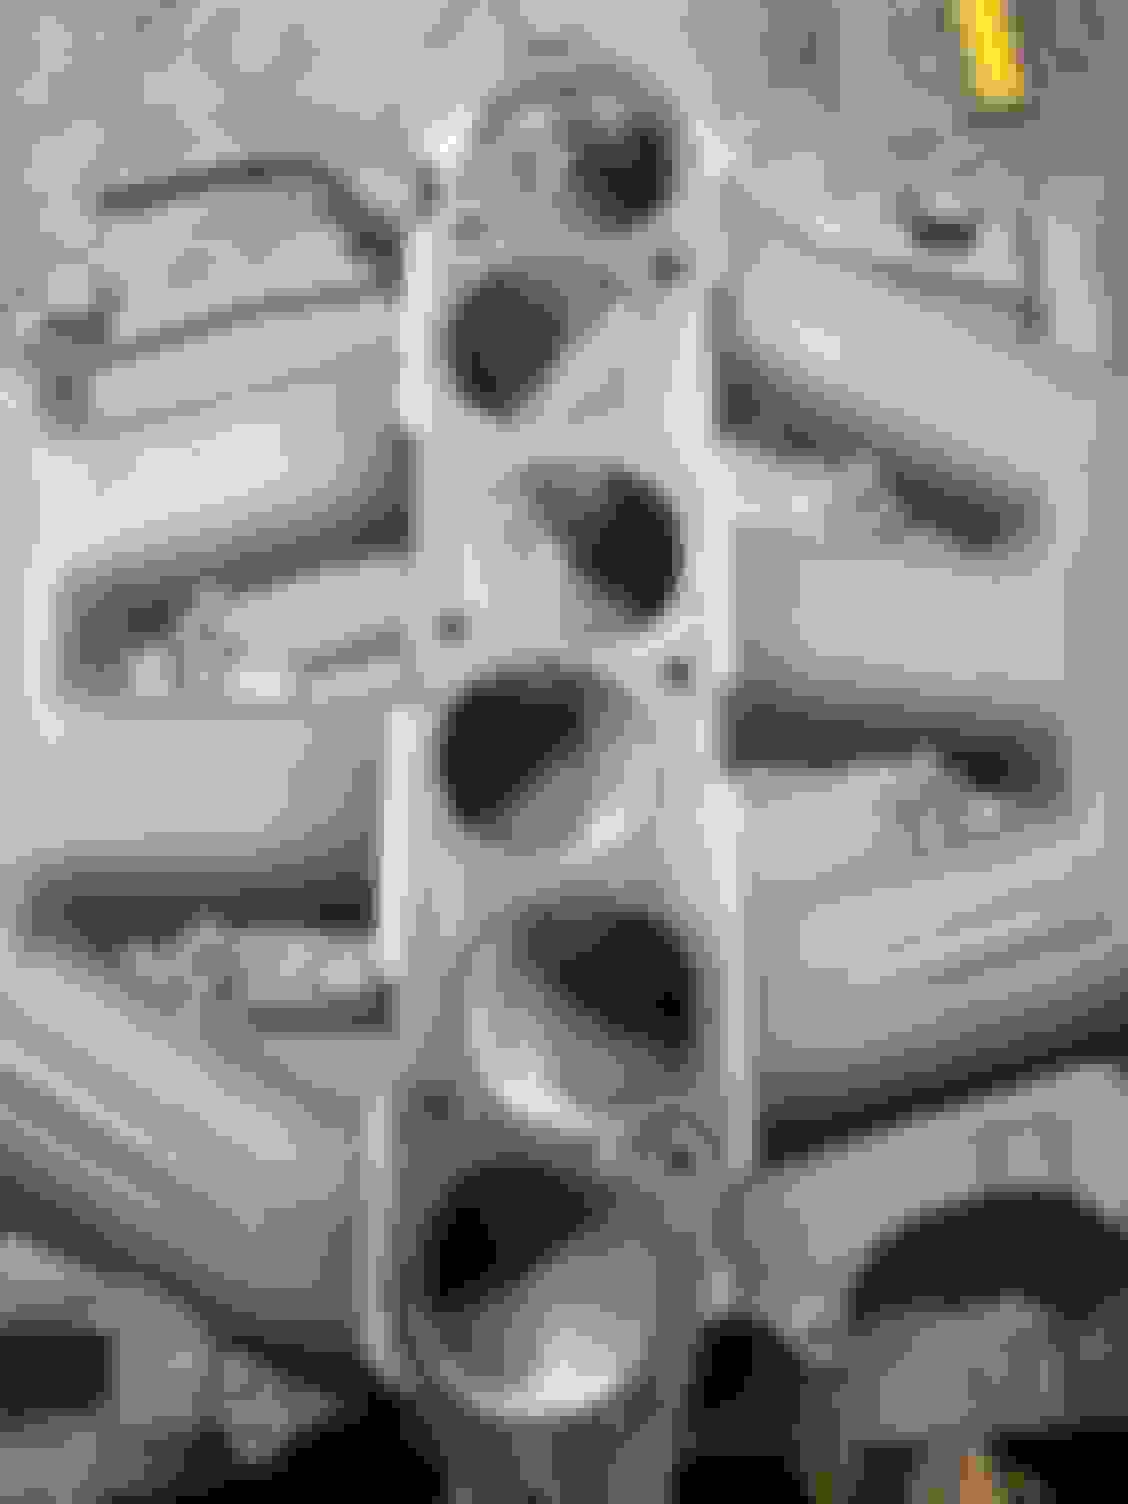
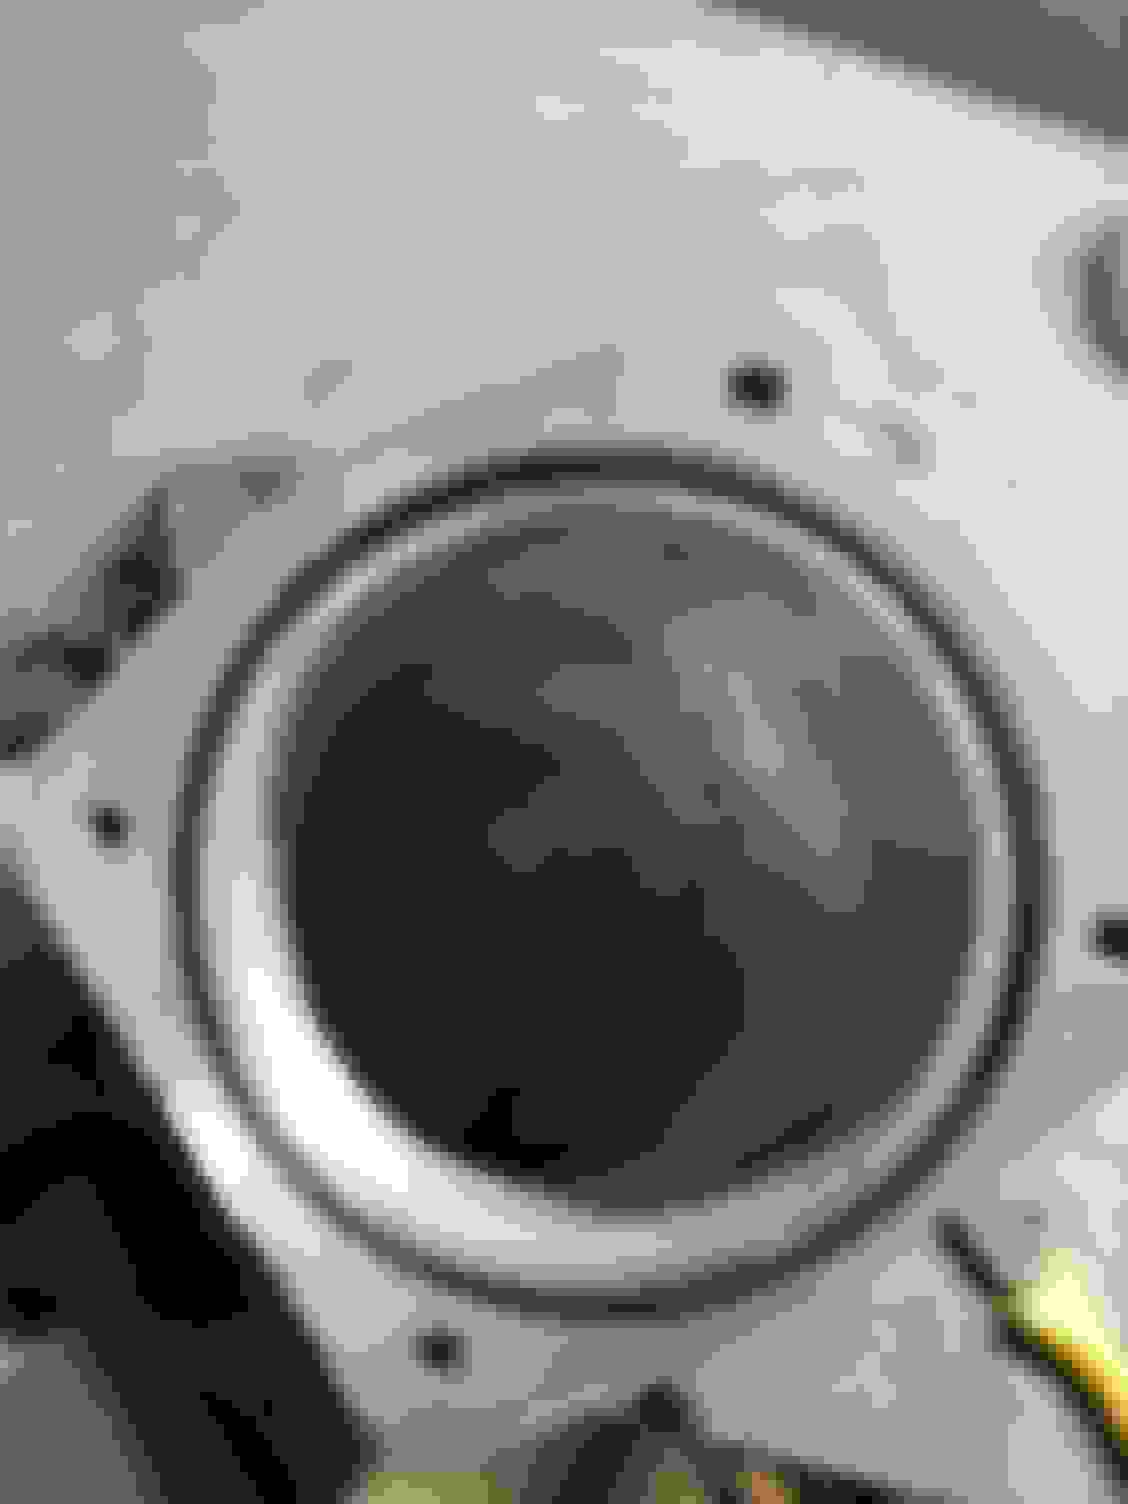
Soooo, the hatch floor is taking longer than expected, apparently there is a lot more to working with the eva foam other than heat sealing . Some old progress pics of when I started working on the plenum. Bought the upper from a member here on the forum, I then got the port on the neck filled and top of the plenum filled, then started grinding away till everything was smooth. Bought ported runners from LMT. Lower plenum is an MREV2 Port match the runners/lower. more grinding lol. had the lower plenum port sealed as well.
Some old pics when I was making the 4'' intake. Fitted 2 pipes up and a maf flange and had them welded, then I tapped for the nozzle. JWT filter, with a 4'' V stack. The welds and V stack were both grinded smooth.
Very old pic from when I made up a 3.5'' intake with the stock maf housing before getting it dyno tuned with a 3.5'' maf housing.
Been making a lot of progress on the small things. Rewired all nitrous relays in the hatch and the solenoids/fpss. Glad the nozzle placement worked, I forgot I tried to also line the nozzle up with the vent a while back.
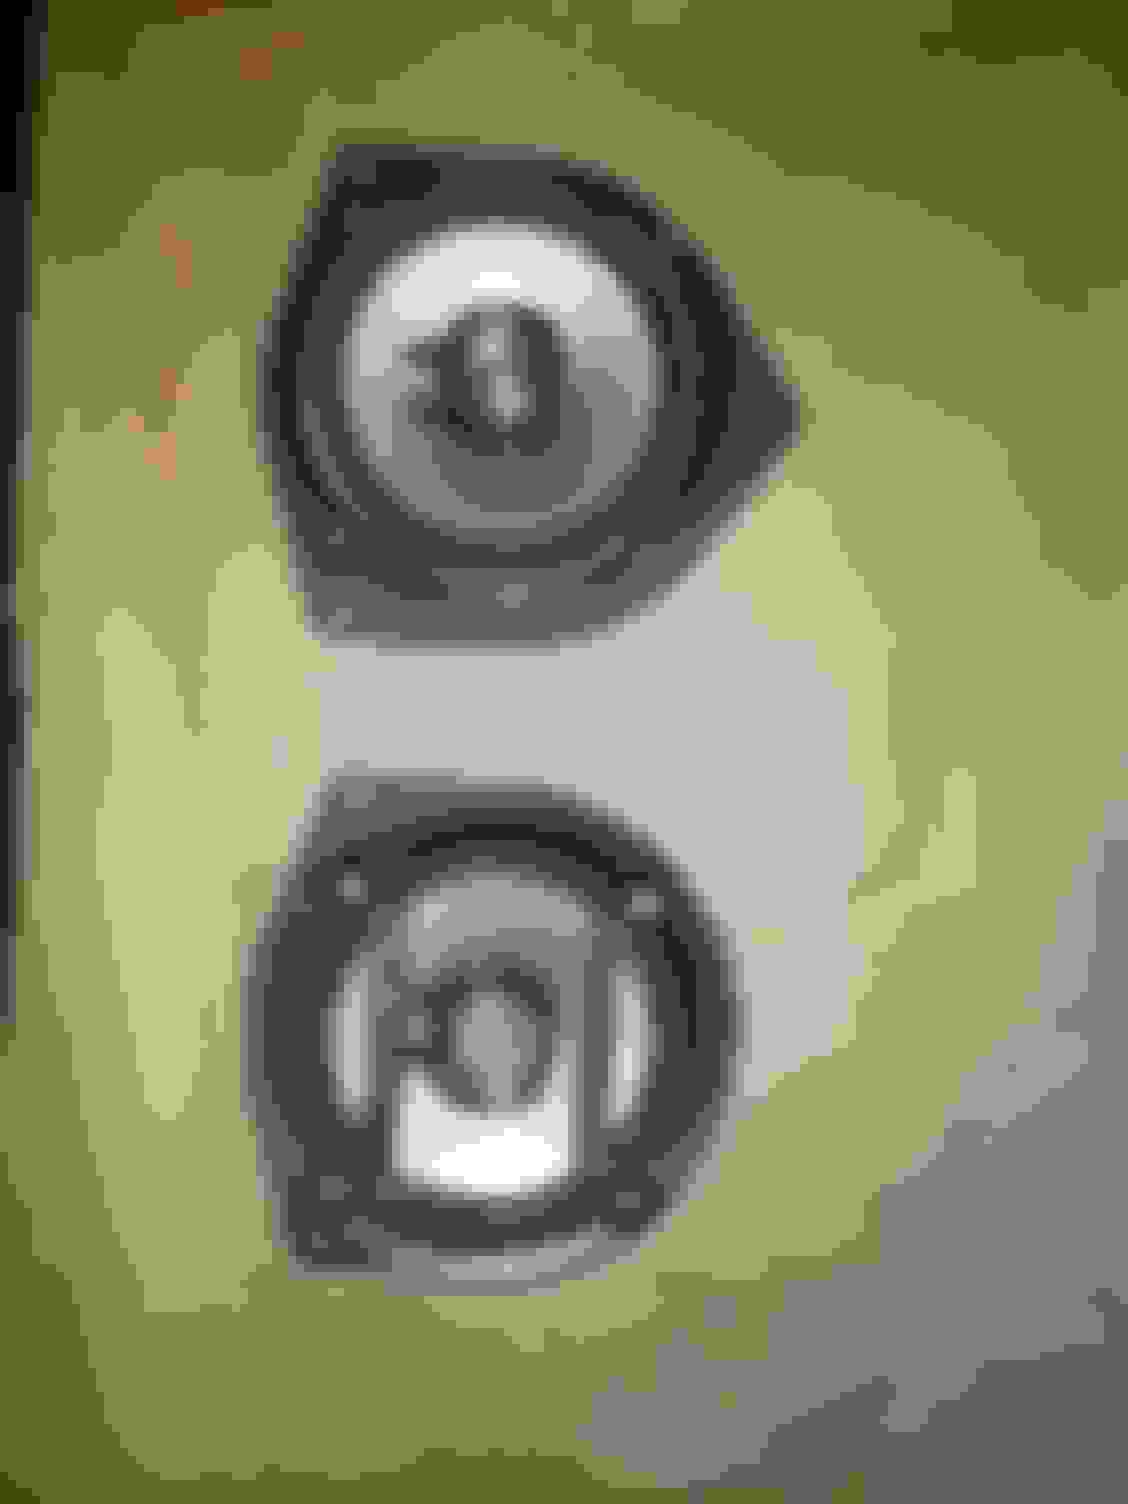
Rear speakers, before and after.
Switches done. Tied up all the cables after. Front of the interior is complete other than having to make a bracket for the HU.
Added CC switches for map switching a while back. The buttons were 'sticky' since I just had it epoxied to the panel (too close), so I made a bracket and they are smooth now.
New hardware on the sub. This was my first fiberglass project a while back, so I wanna keep it. I used rivnuts for sub mounting to get rid of the self tappers.
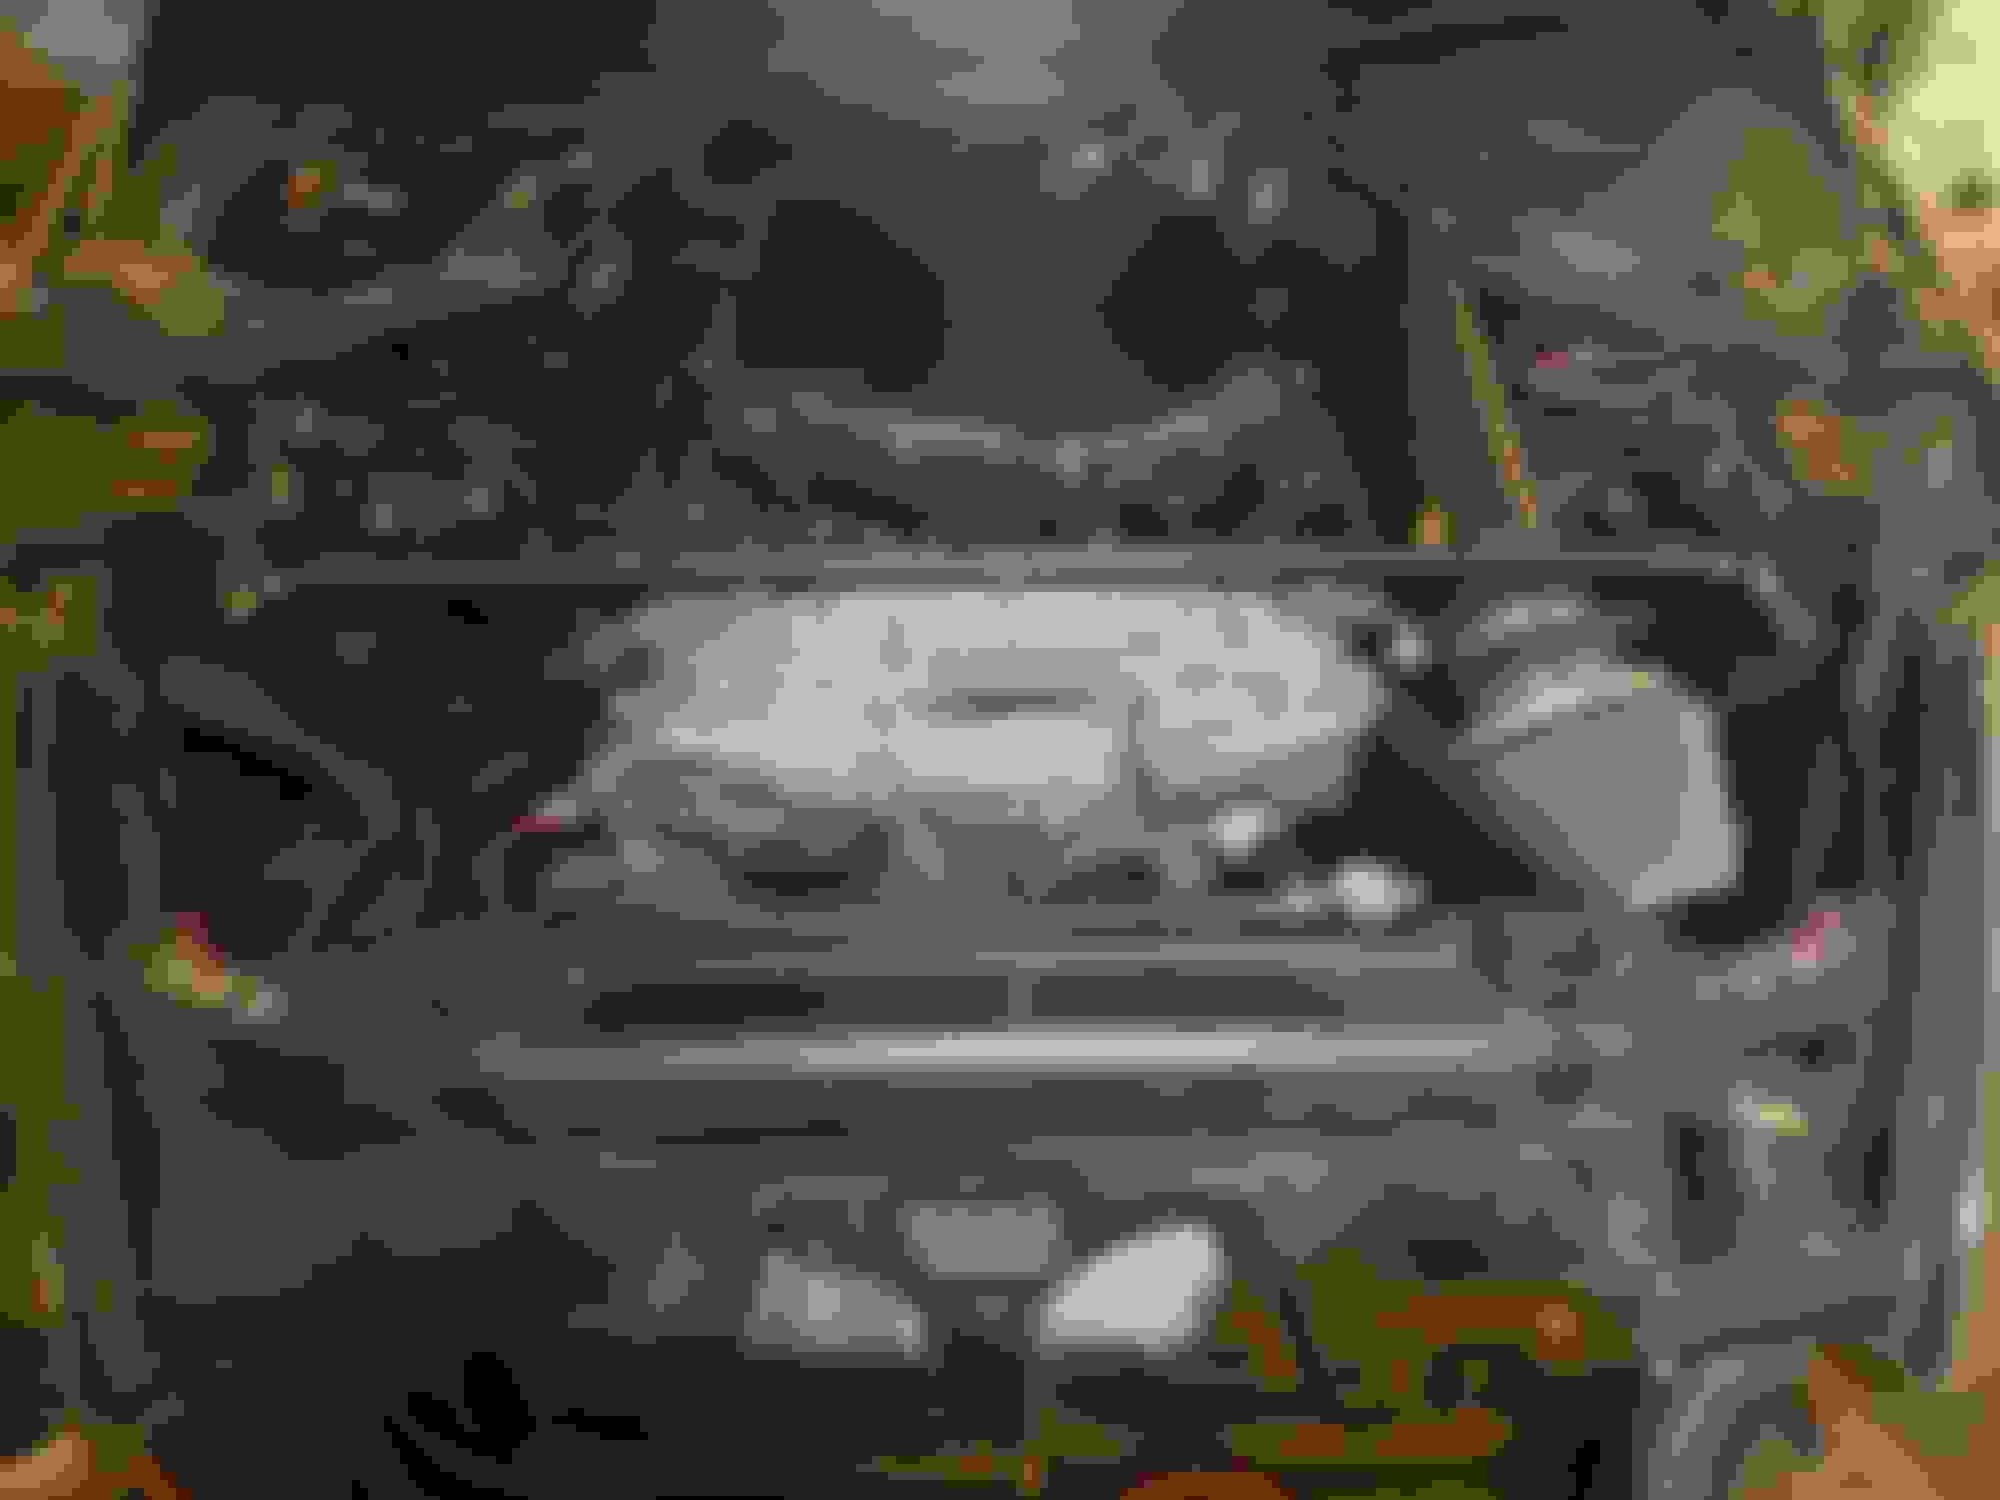
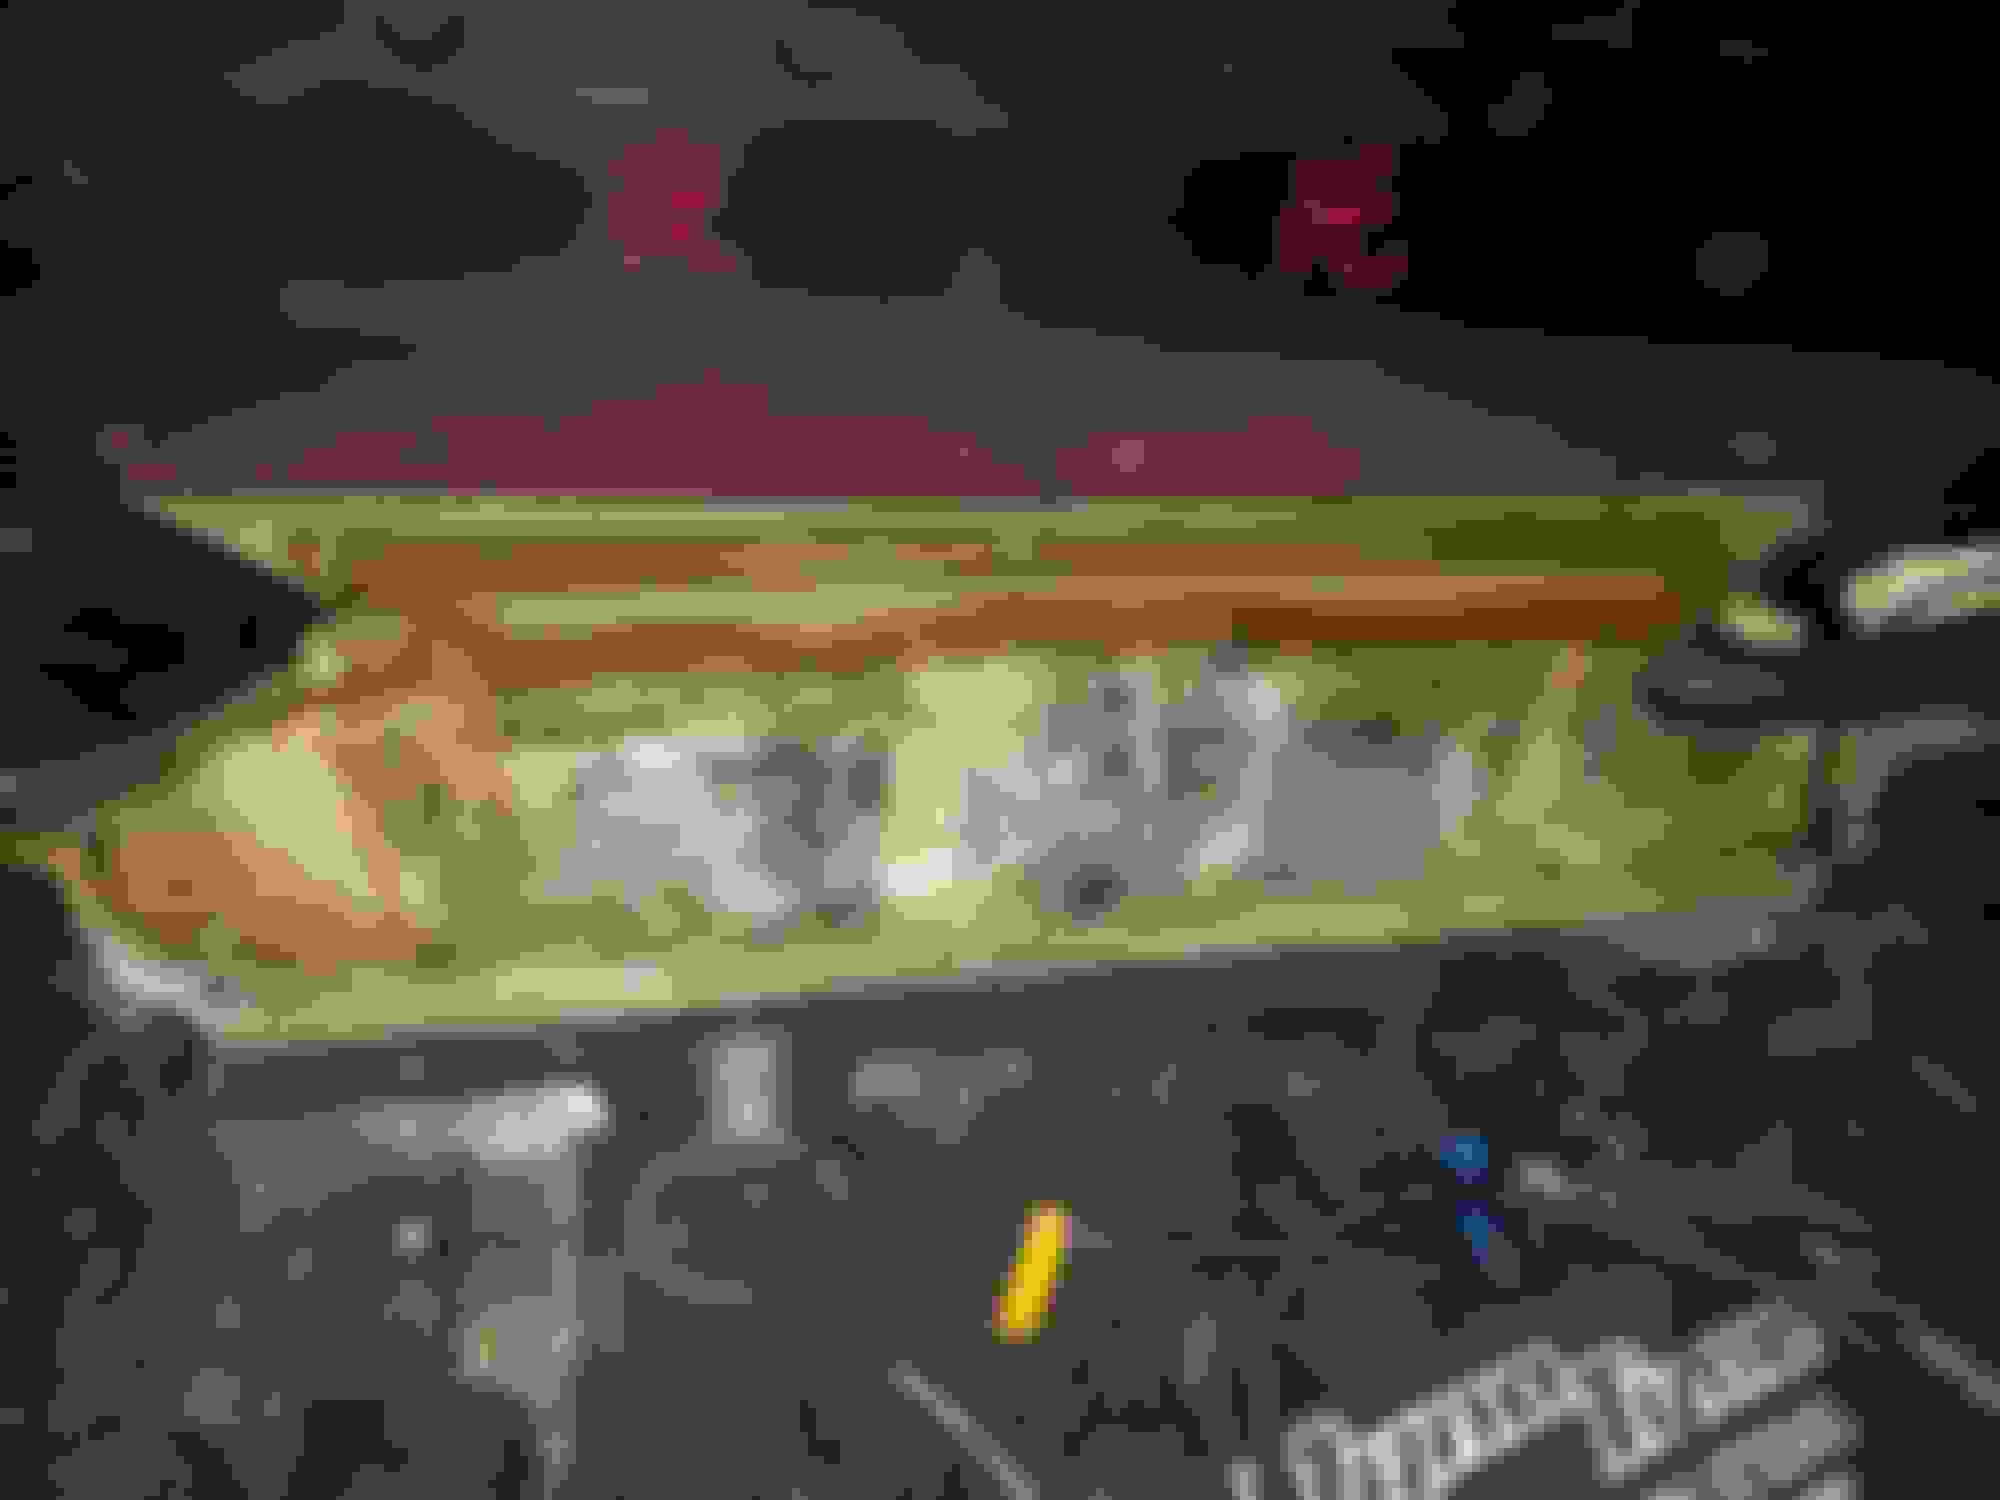
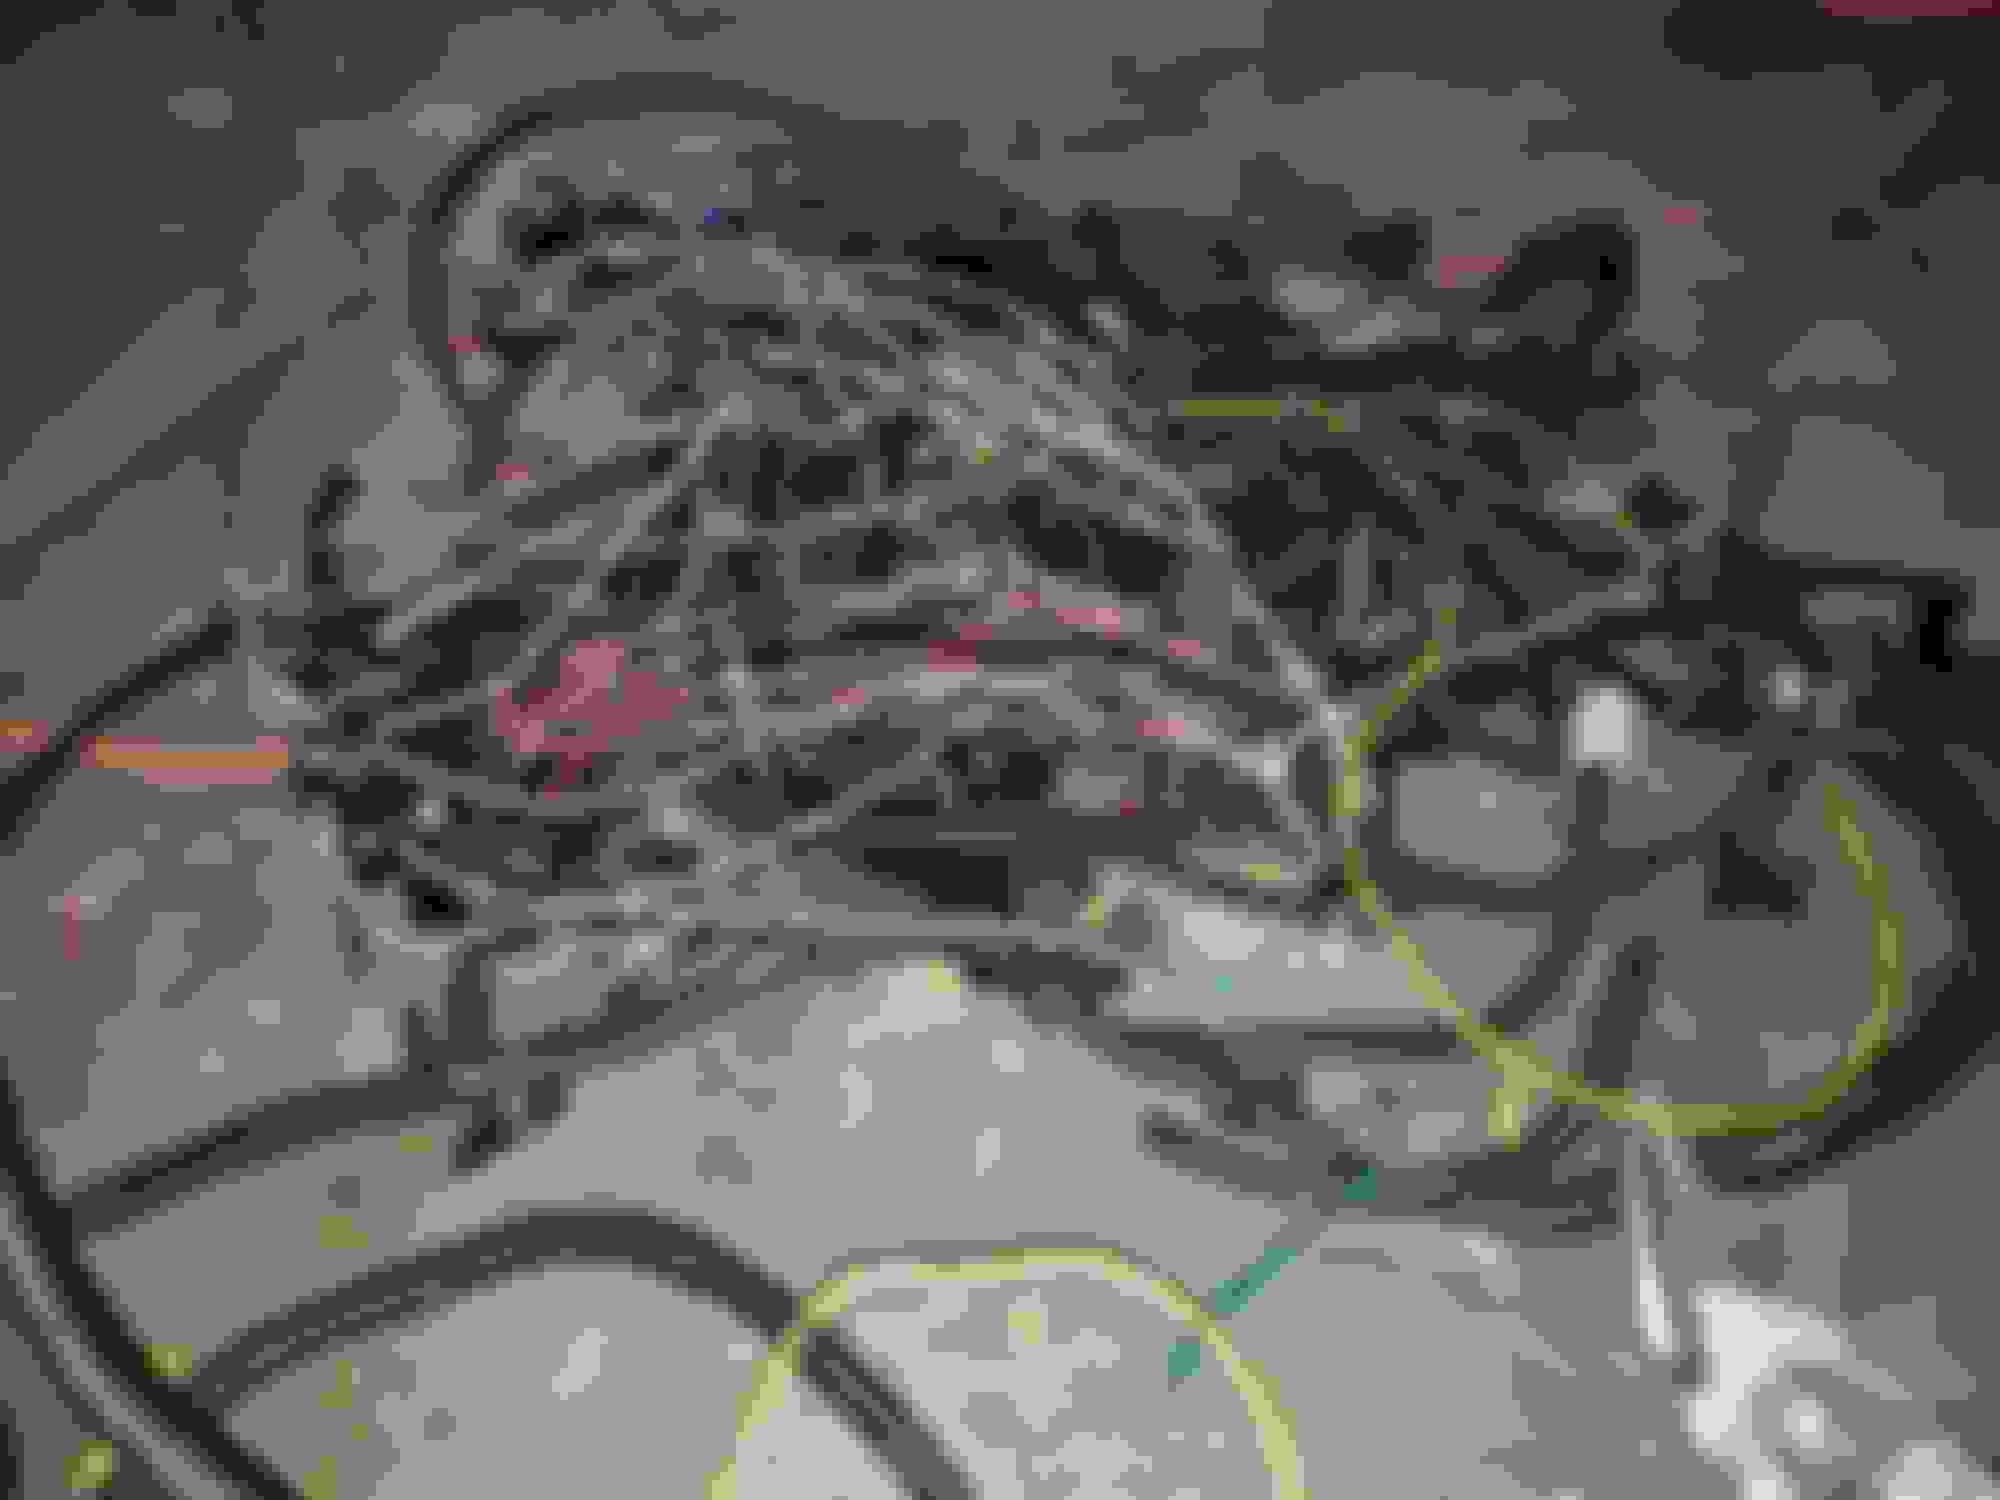
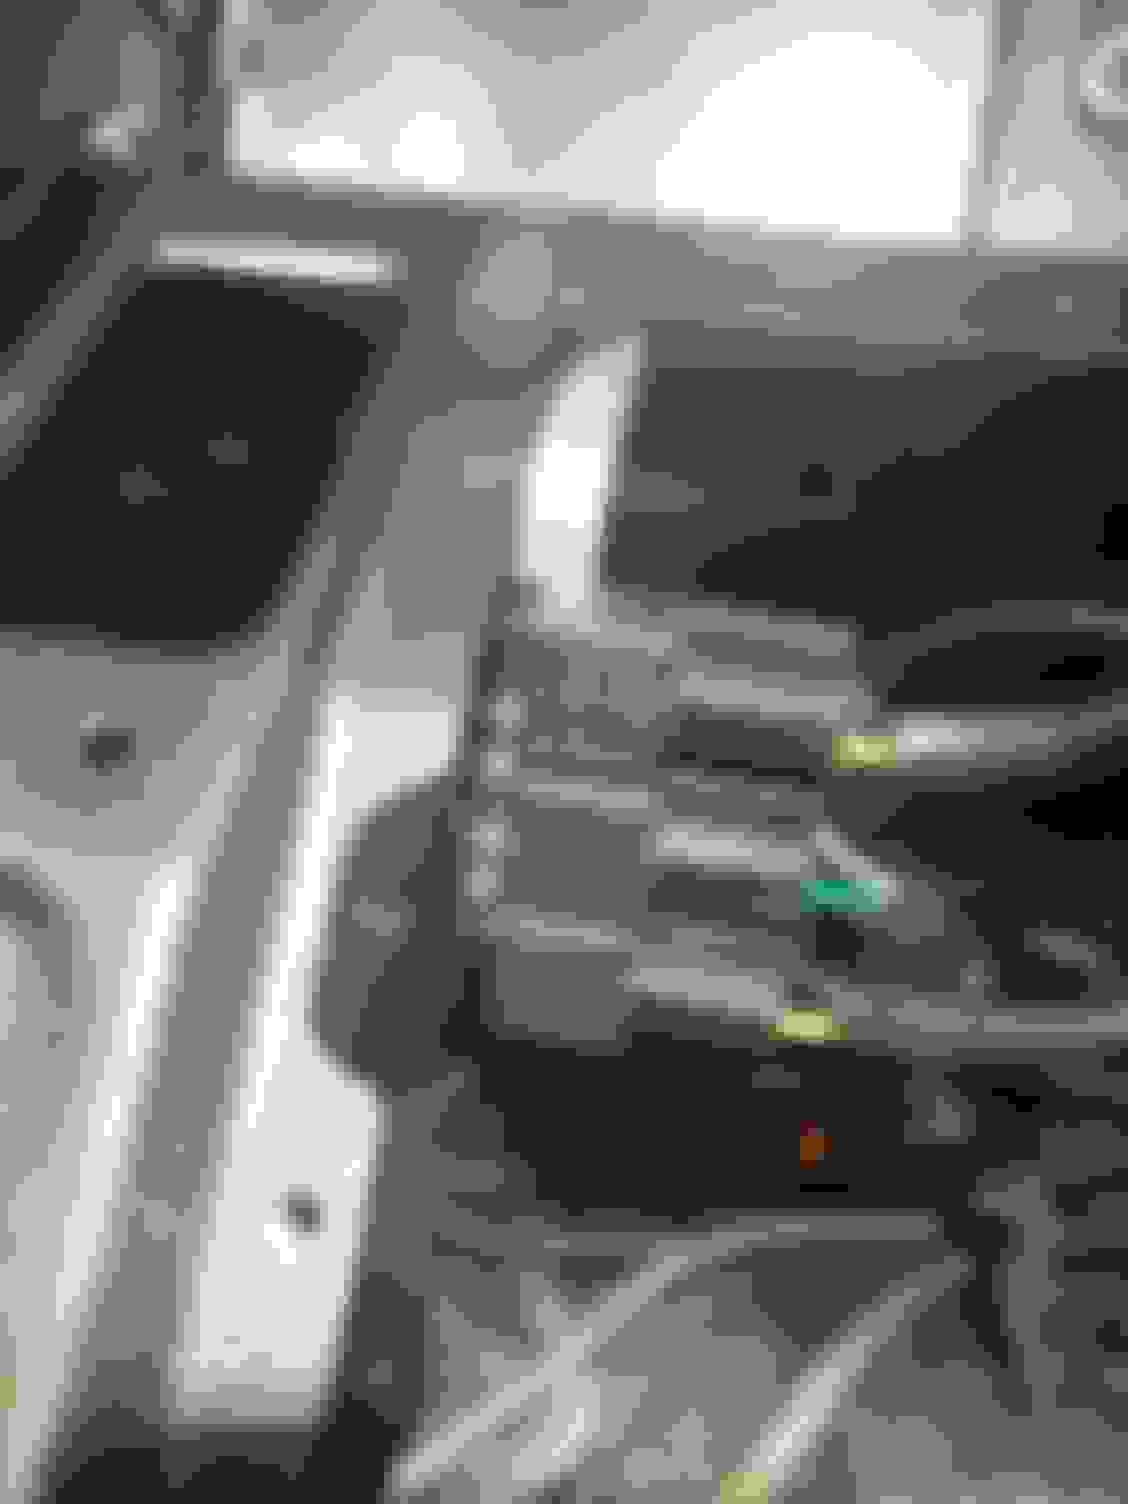
Current pic of the engine bay. Fuel drained to 1/4. Mechanically, I need to change all fluids, fix oil leak, get coolant hose clamps, prime the oil, and a tune to turn over the car hopefully in the next 3 weeks.
Alright sooooo, the EVA foam did not look as clean as I had hoped. I'm considering the EVA foam as a very messy, expensive padding now lol. Now using 1/8'' tempered hardboard for the center, over the foam. Sides and rear are being made from fiberglass. The center board is already mostly cut, I just cant finish it till the fiberglass is all finished up. The 1/8th board is pretty light, hoping not not add much weight at all doing this.
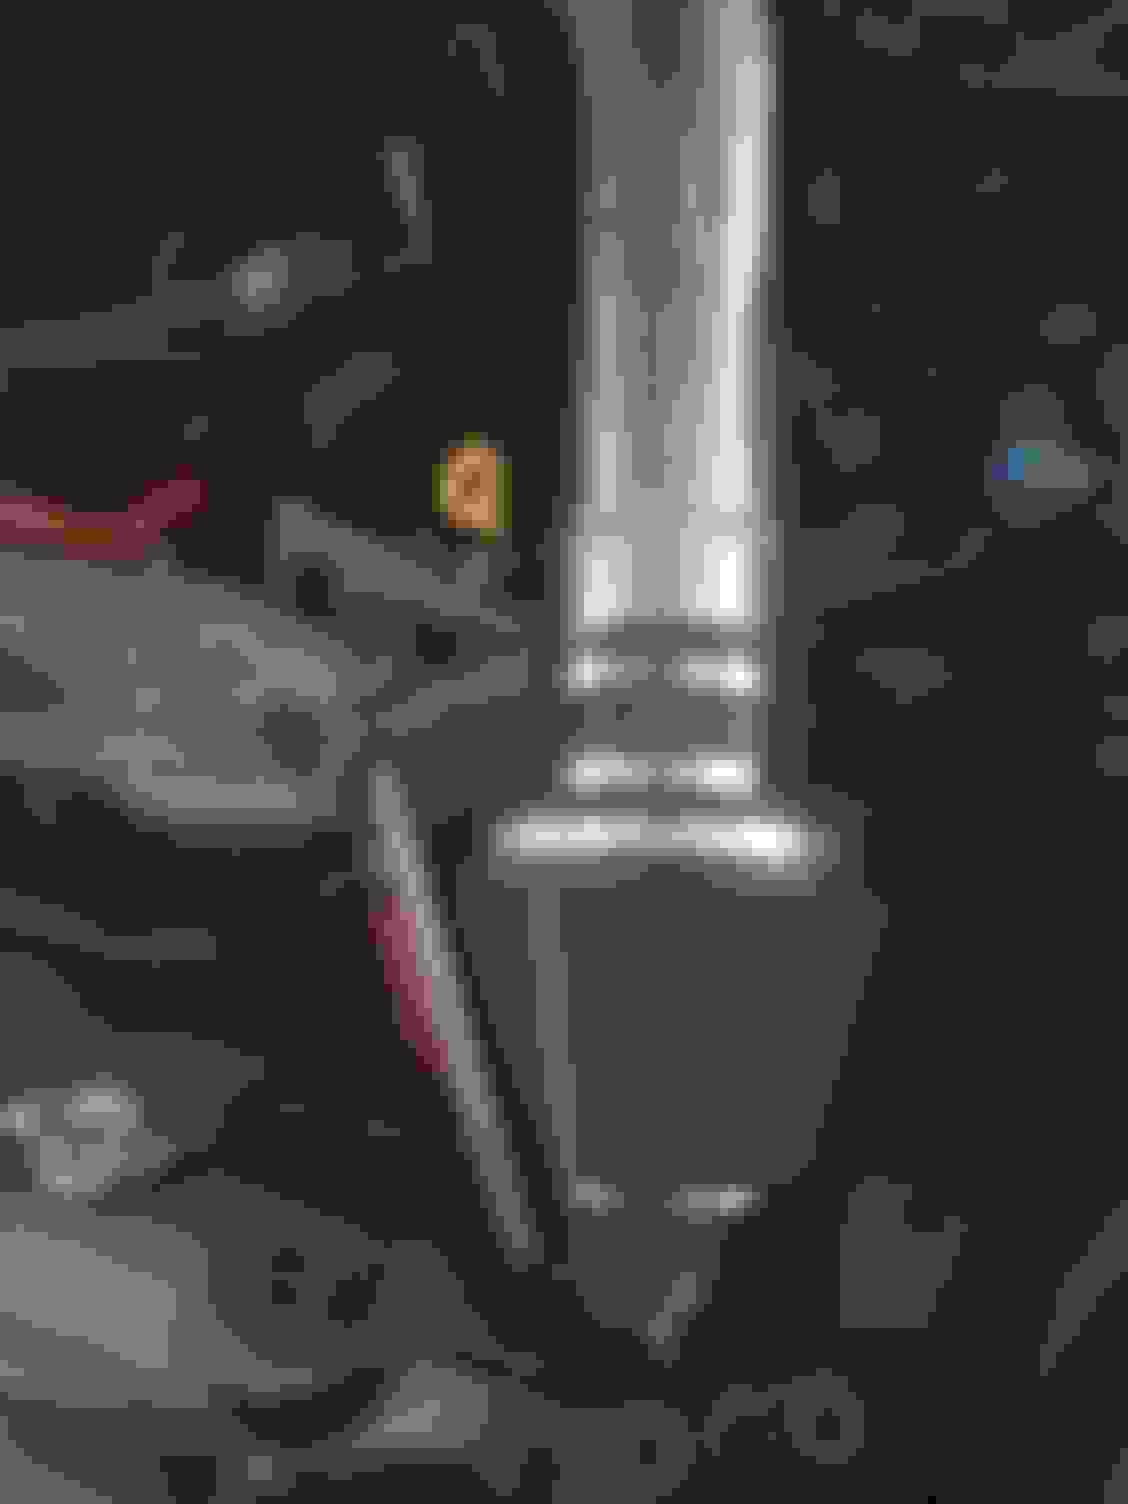
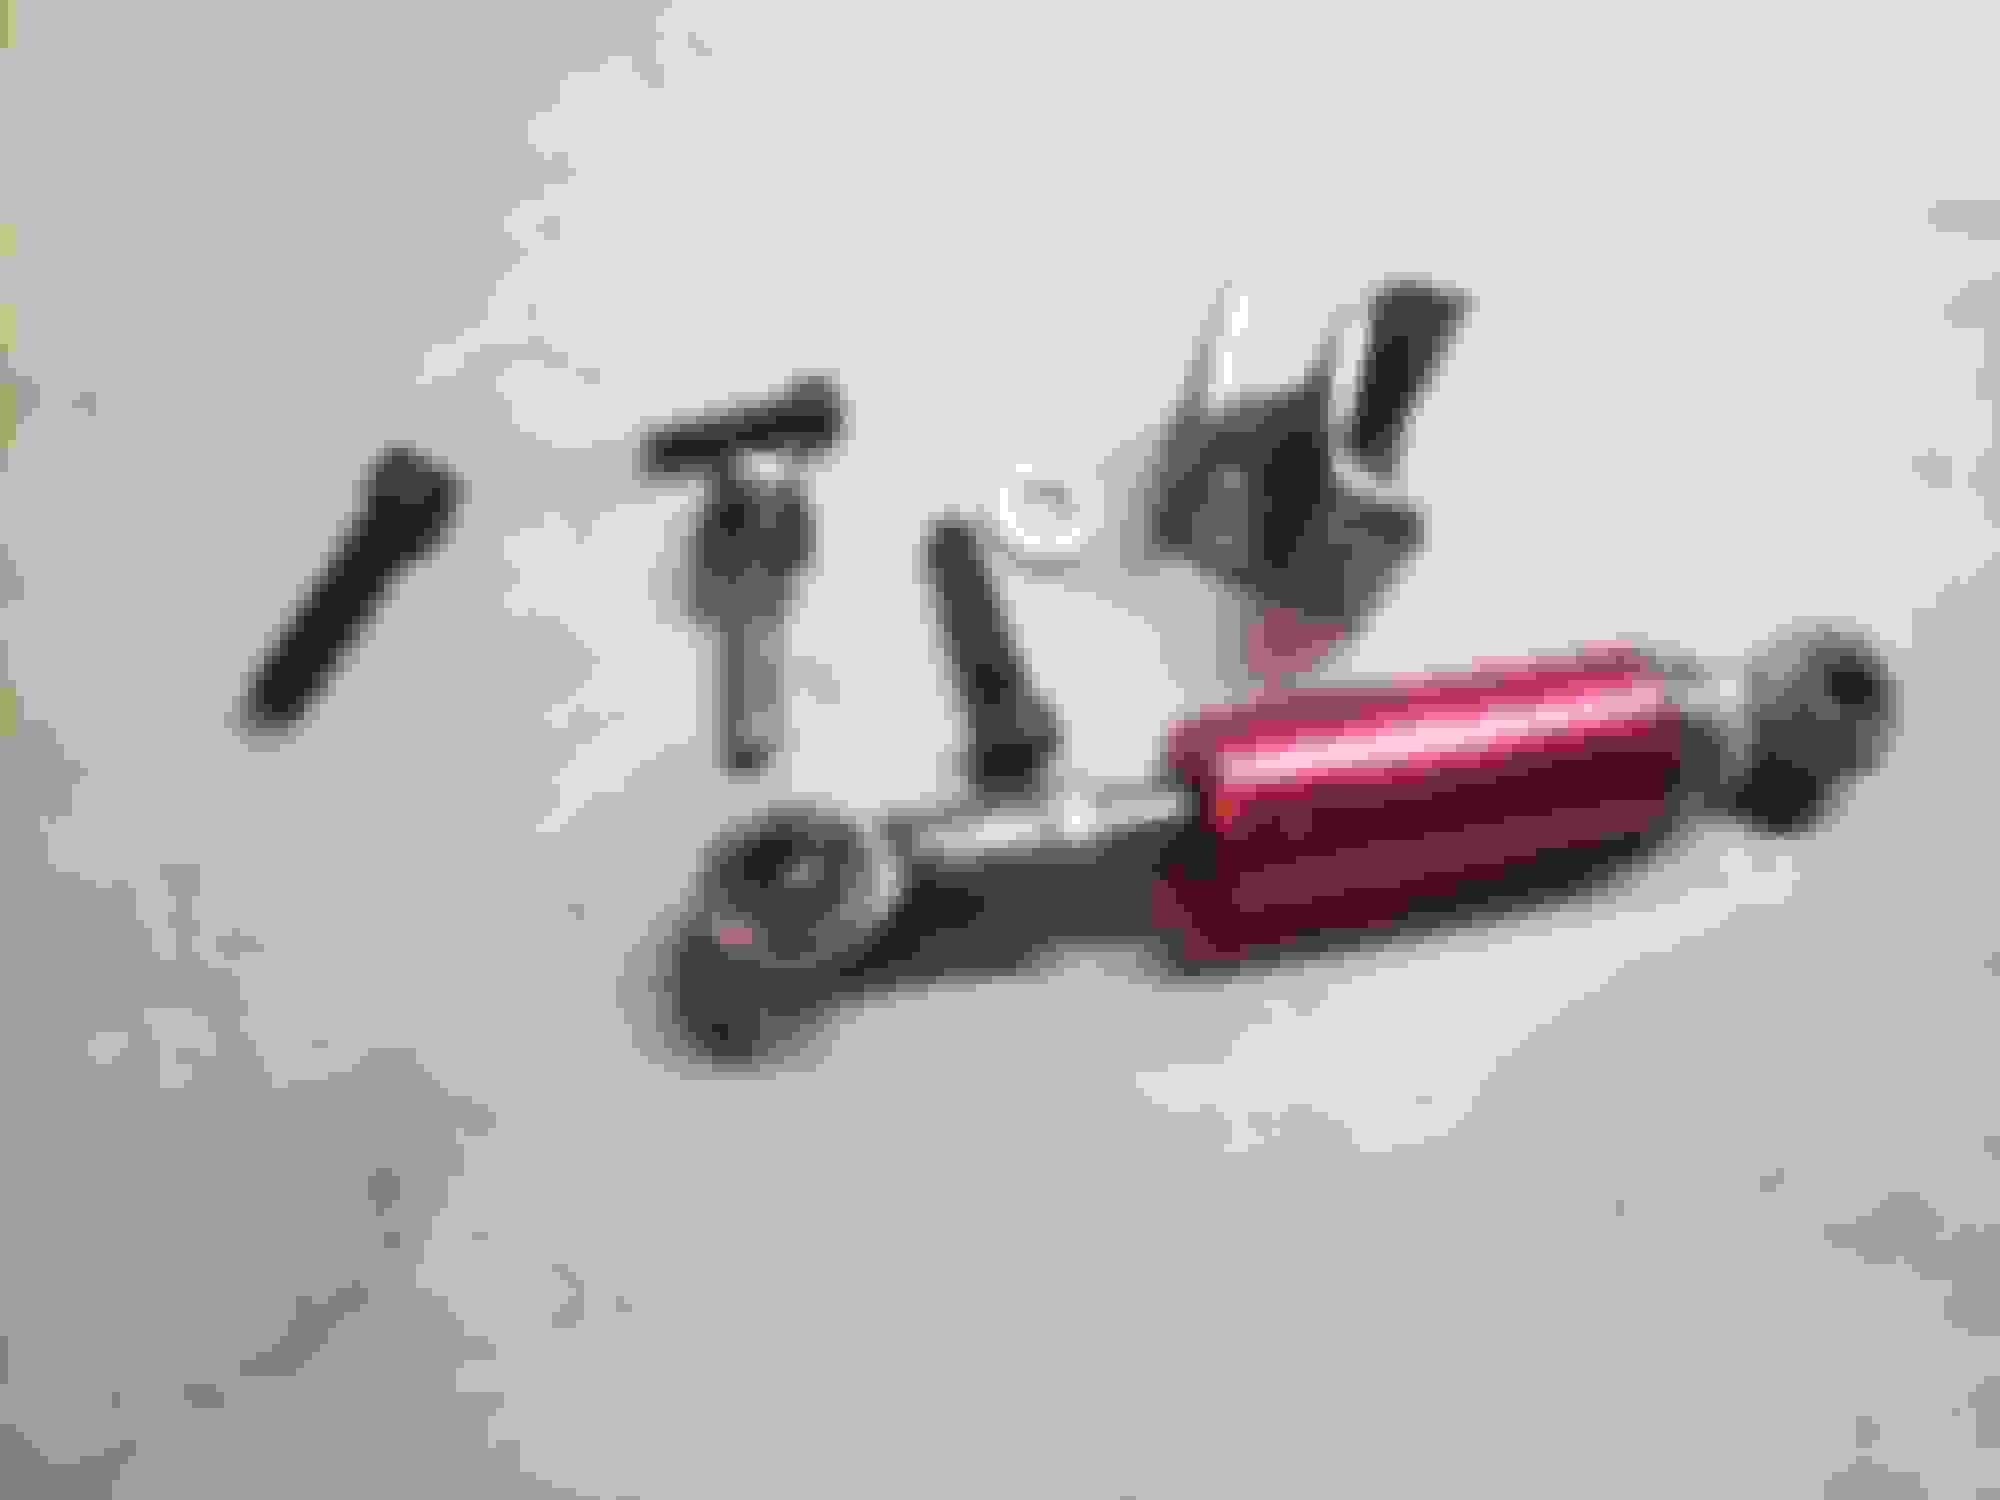
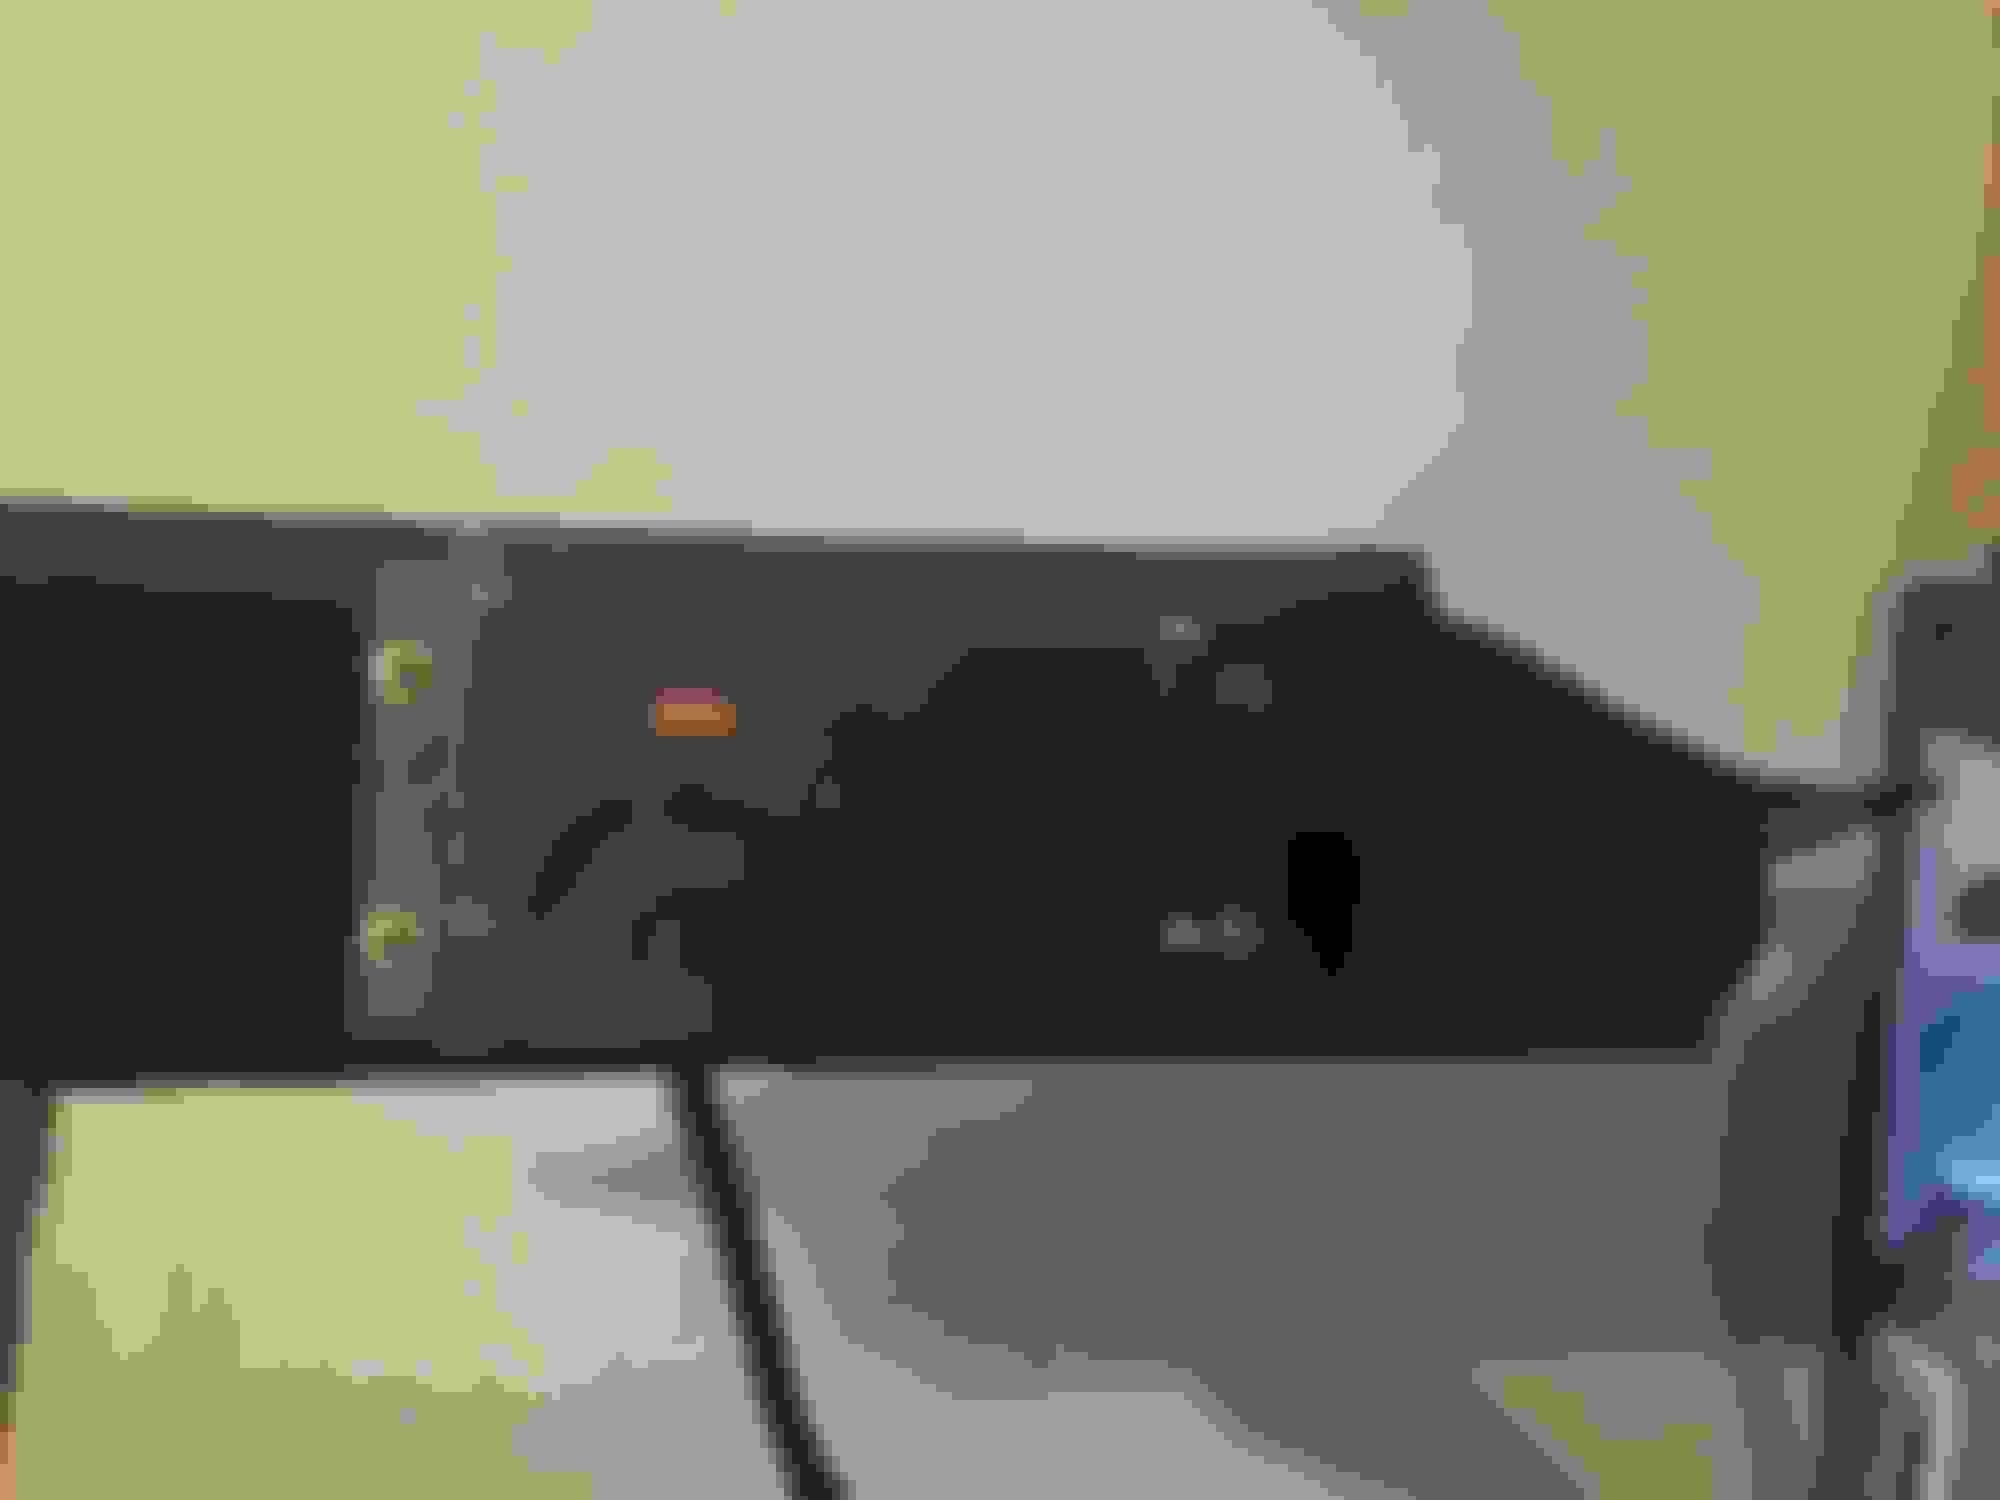
When lookin at my engine bay, this dampener is the only thing that stuck out. I'v had this on the car almost the whole time I'v owned it and I think this is the first time I fully took it off since I installed it. Gonna clean it up, repaint, and new stainless hardware.
The HU was no longer held in on the bottom side, resulting in the HU wobbling when touched. Made a quick bracket that wont get in the way of wires/removal/install and holds the HU tight now.
Thinking of getting ISR longtubes to replace my Ceramic DC headers n berk test pipes before getting tuned. DC headers already have some rust on em and they arnt wrapped ofc.
Made some progress. I have to reglass the areas that had an air bubble/warped.
Started to repaint the hatch area. Had to clean up a lotta residue, some surface rust, and bare metal.
I was using the OEM dome light still which was just double side taped. New one is mounted with rivnuts and much cleaner.
I don't know what what I was thinking years ago when I did this. This is 3m tape, hot glue, AND silicone! I must have been very annoyed with the wire loom lol. Had to grind it all off and repaint. Gonna try and use the zipties with a 3m base and hope that works well.
Finished the project pretty much. I'm happy with how it turned out. Some progress pics and how it looks finished.
Removed 5 unused brackets in the rear and also painted.
Started working on body harness. Rear portion is almost done, just waiting to have everything back in the car to size up some wires and already am working on the front portion.
Got everything needed out of the car interior for a repaint.
Nitrous relays n window switch were hardwired and never cleaned up ( I couldn't move the wiring out of the hatch even without cutting it all., so I did so! Made everything to come apart and organized using harnesses; I also moved all connections n grounds into the cubby. Painted the interior, love how it came out.
The Old~
The New~ Still have not made everything clean yet.
Gonna make a bracket for the relays in the cubby now, and a lean switch will take the place of the relays.
The cover that will be over switches
Ugly bracket, but it worked. Had the cable ziptied up for ever now, much cleaner and doesn't pull 3 feet anymore.
An ebay tow strap being functional!
Been making a lotta headway on the rear portion of the interior. Needa find some pics of a month before I started this thread, car was destroyed n full of mold n mildew.
Had to refill/redrill holes n rewrap the back piece I made, which sucked.
Finished the cover, have to realign bolts.
Relay bracket made n put in place.
Removed the turn locking mechanism for the fuel tank covers, drilled em out slightly and put in some rivnuts.
Cut some holes in the bumper and painted the area to match. Had to redrill all the mounting holes :/.
Wrapped the driver side dash in suede, gotta do the passenger now, figured I'd start with the harder side. Later on, I'd like to get a new dash and wrap it in suede as well to match; for now, the flock will work.
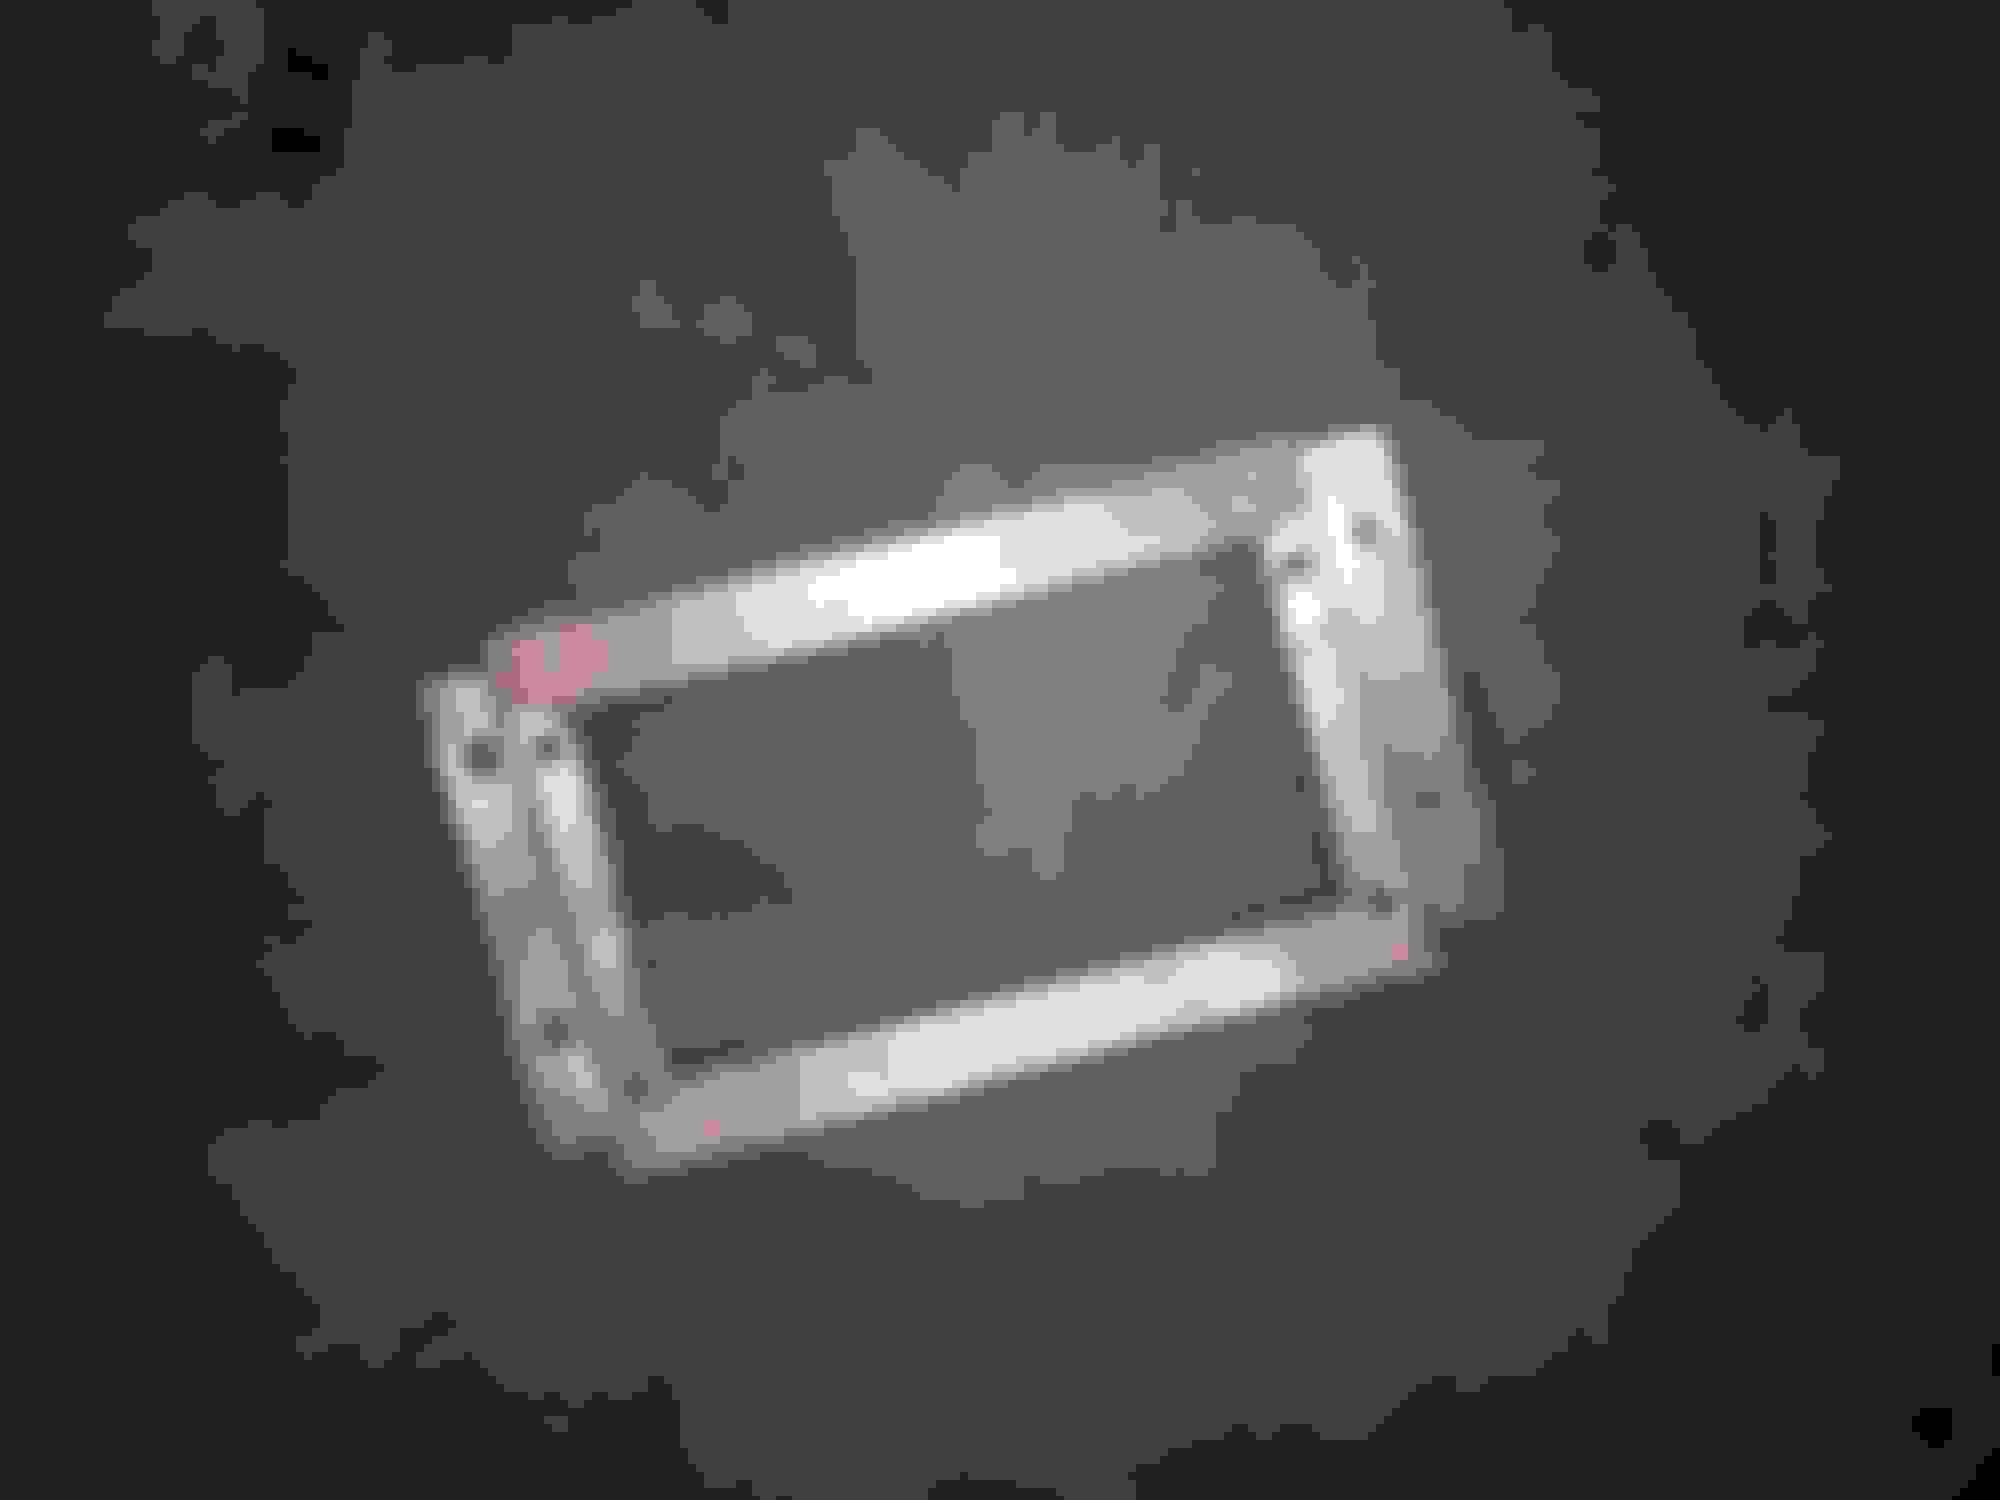
One side of the rear bumper. Things were a nightmare. The Stainless hardware that came with them, the angle of the tapering were too aggressive resulting in a bad look; not to mention the hardware was very long, which could be seen easily and was a pain to wrench on. Got new M5 bolts at ace that fit much better. The aluminum pieces themselves were not countersunk correctly and all had to be redone
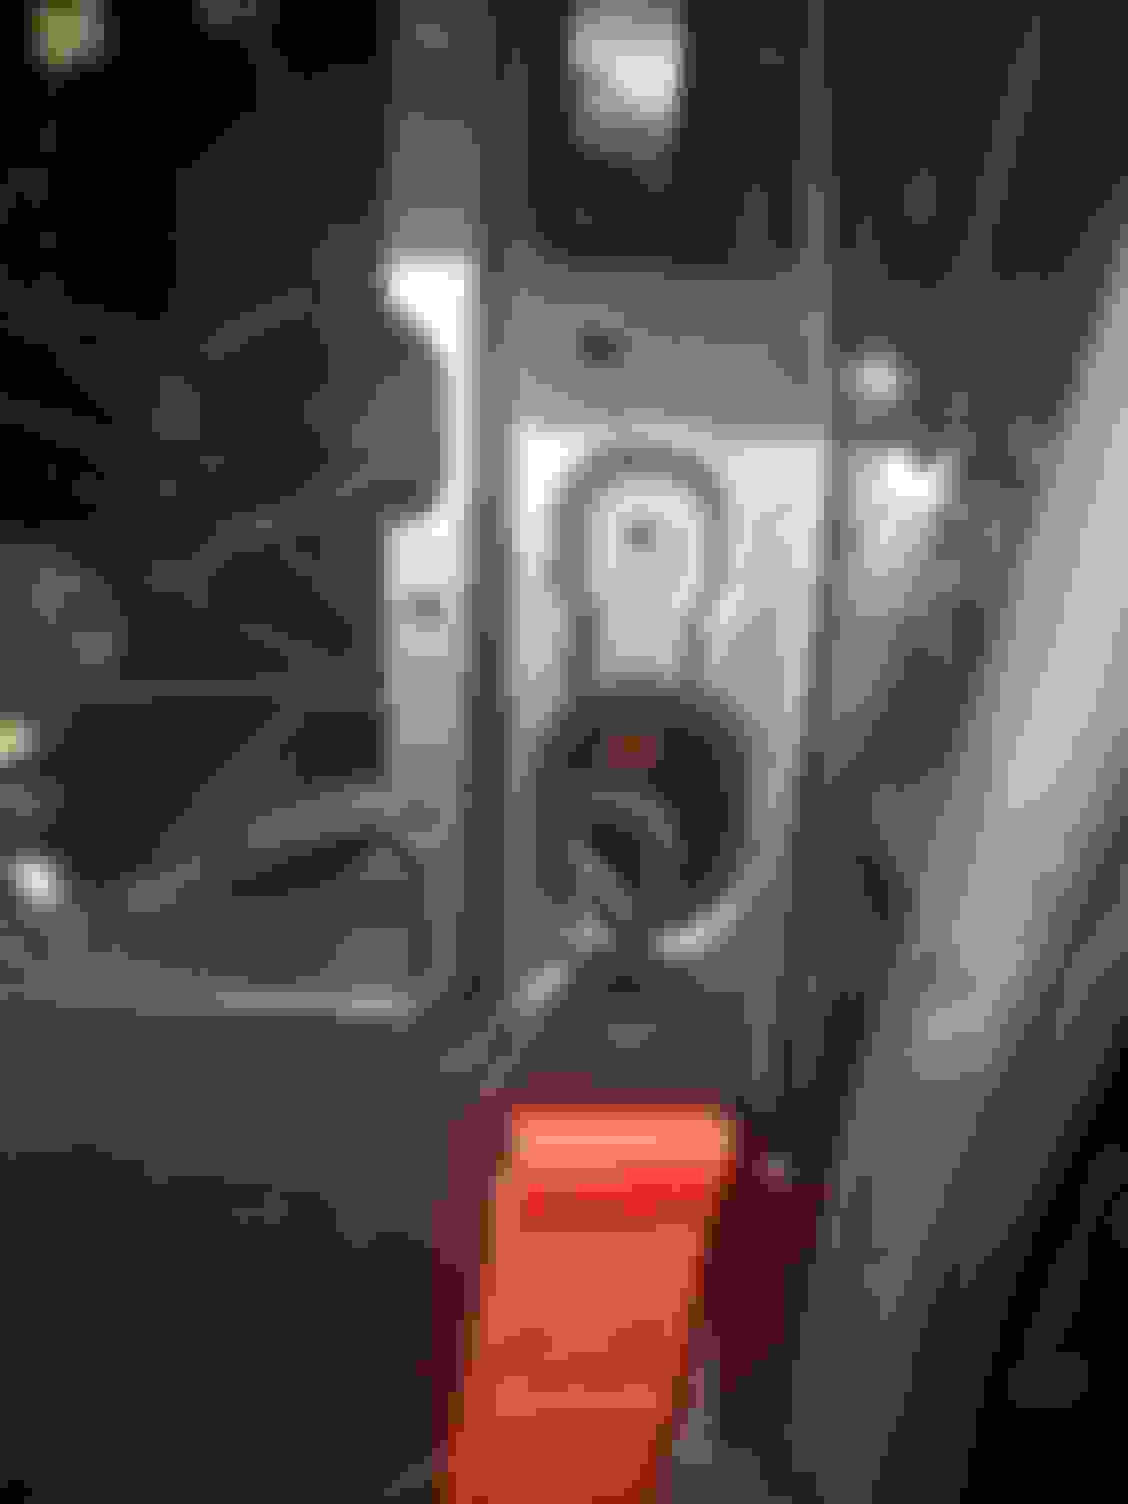
How the back looks now. Still more work to do
Getting the interior back together. Finished the dash panel wrapping. Painting a lotta things I've been putting off, brackets, turn signal switch, horns, hatch latch/bracket, n engine dampener. Working on wrapping the A pillars n gauge pod now. Had to chase down an issue with the purge system, turned out to be a bad ground on the relay. Finally put on the rear diffuser, been a while since it was on.
My cat Whiskers passed away on Christmas night sadly. Loved him all 15 years I had him.

 11-02-2022, 10:17 AM


 . Some old progress pics of when I started working on the plenum. Bought the upper from a member here on the forum, I then got the port on the neck filled and top of the plenum filled, then started grinding away till everything was smooth. Bought ported runners from LMT. Lower plenum is an MREV2 Port match the runners/lower. more grinding lol. had the lower plenum port sealed as well.