DIY: Wheel Restoration
 05-21-2009, 11:50 AM
#1
Registered User
Thread Starter
iTrader: (1)

Join Date: Apr 2005
Location: Columbus, Ohio
Posts: 42
Likes: 0
Received 0 Likes
on
0 Posts
I don't have a Z, but I thought this info could be useful to some that may be considering taking on a project like this.
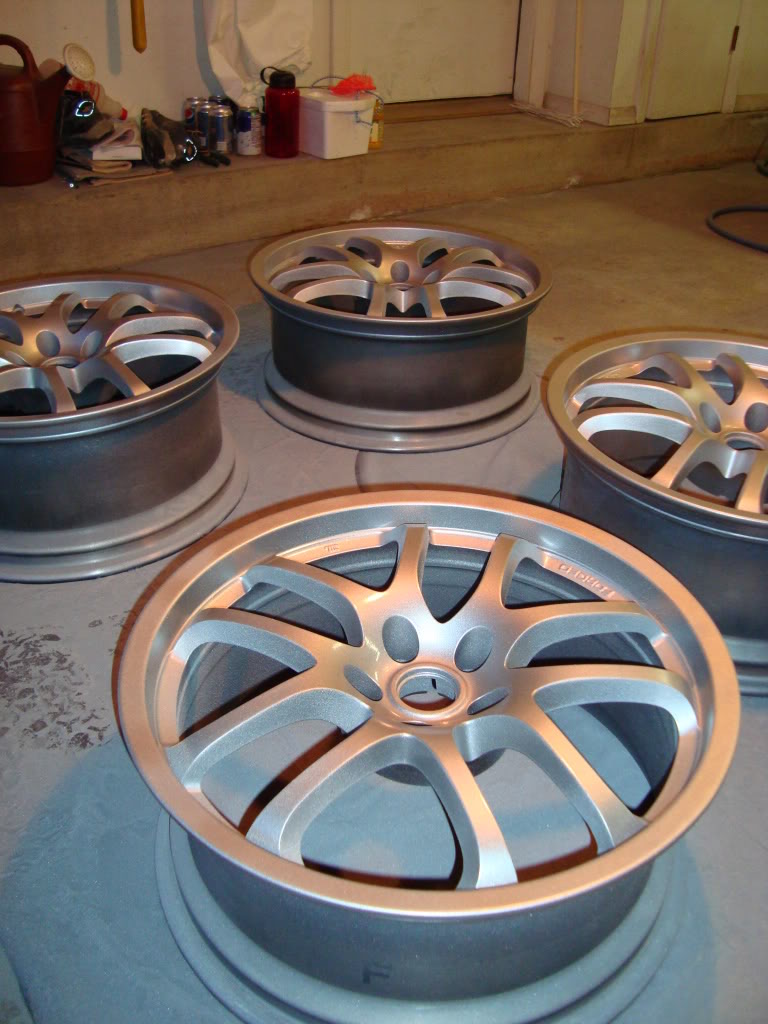
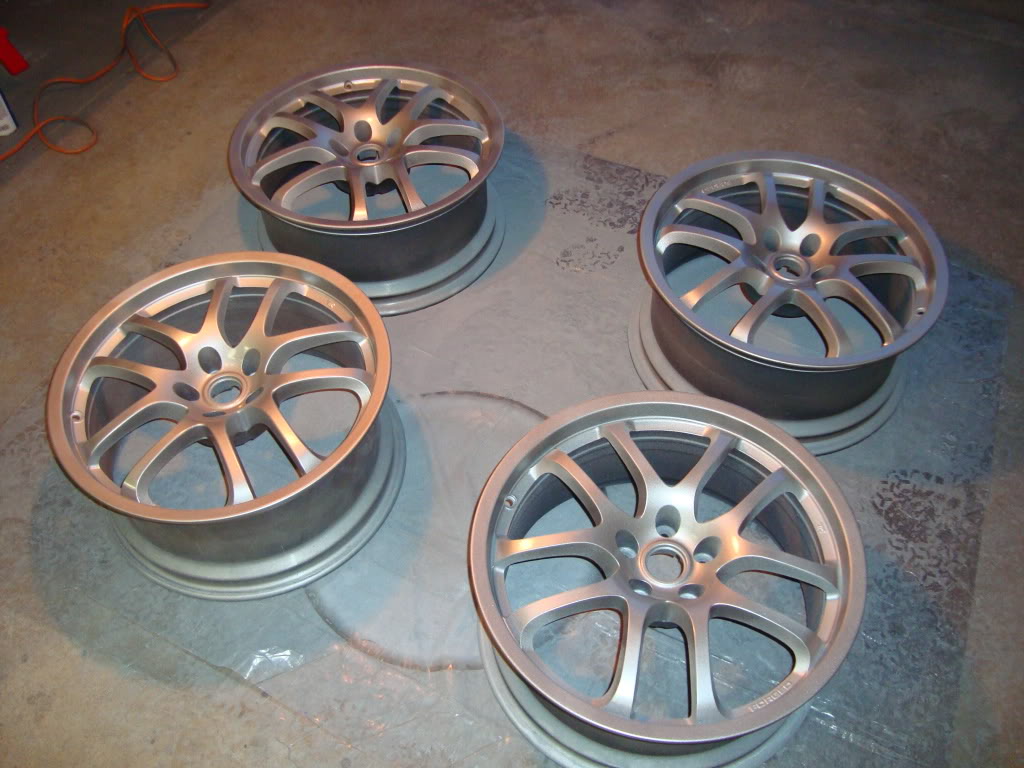
Sold my old wheels a while back and bought some rough 19" G35 wheels and commenced a major project in restoring the to perfect condition.
1) I used regular Bondo body filler to repair the curb damage and on the rock chips that were here and there on the wheel surfaces.
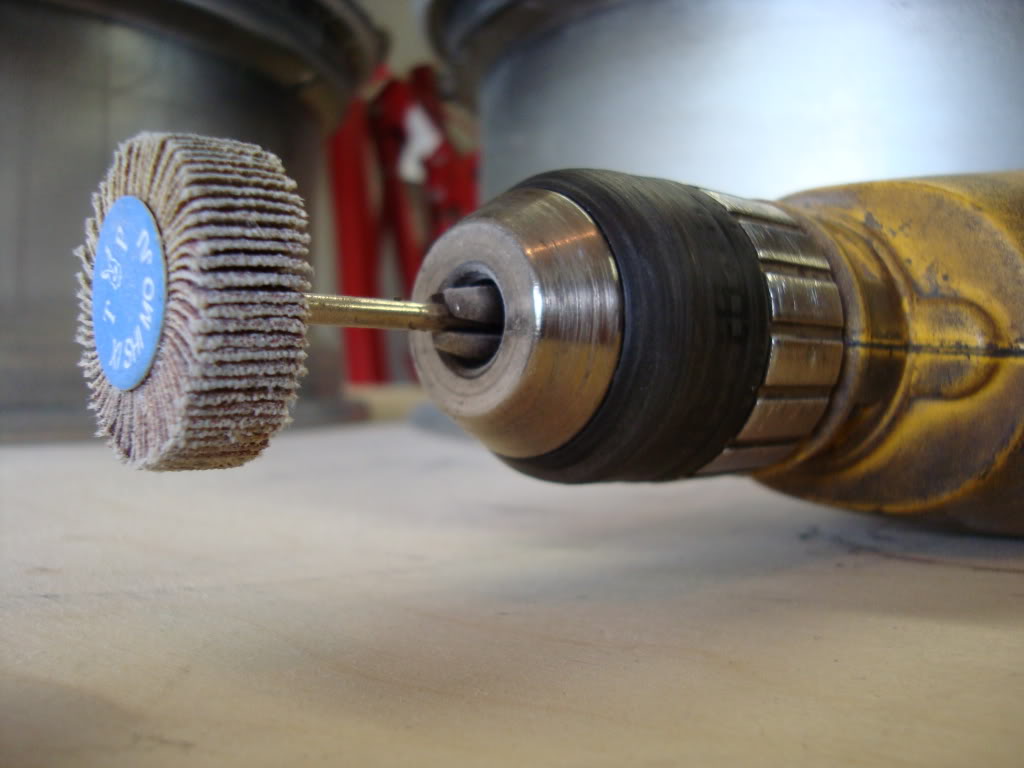
2) I used a variation of sand papers, starting with 60 to knock down the Bondo'd areas. I used 180, 220 & 400 to prep the wheel surface before primer. Used 1000 to quickly sand down the primer (sandable primer). Using 1000 & 1500 to wet sand the paint. I used 1500 & 2000 grit to wet sand the clear. All sanding was by hand other than the lug nut holes where I used a dremel sanding wheel to get in the holes.
As I got them:
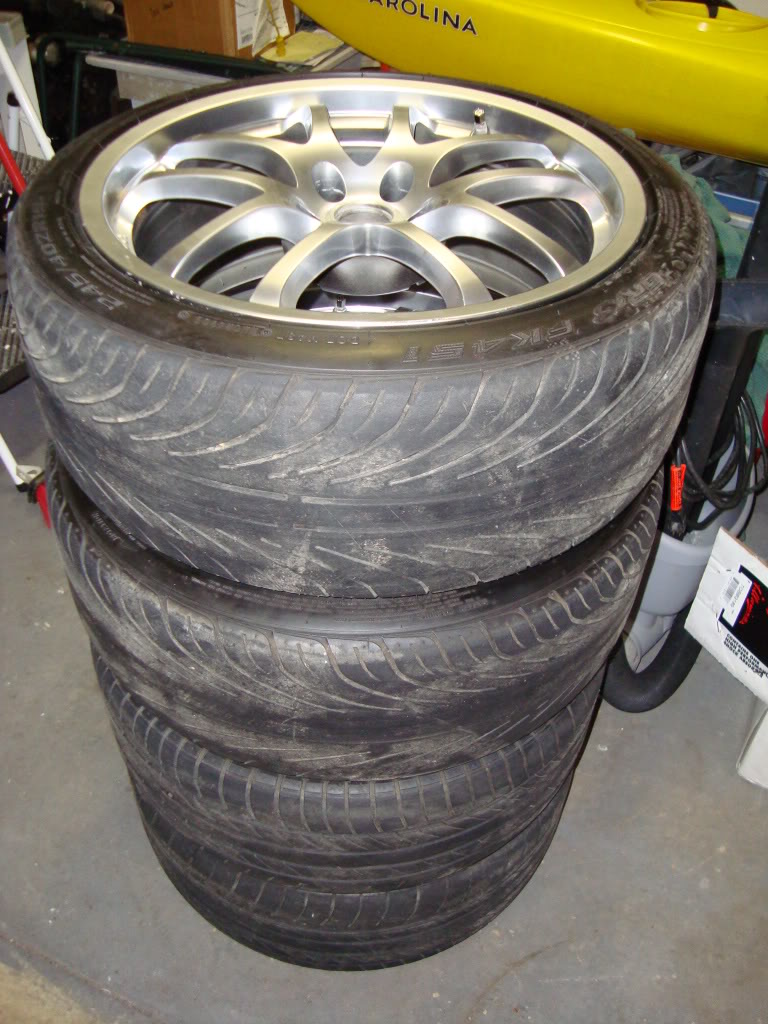
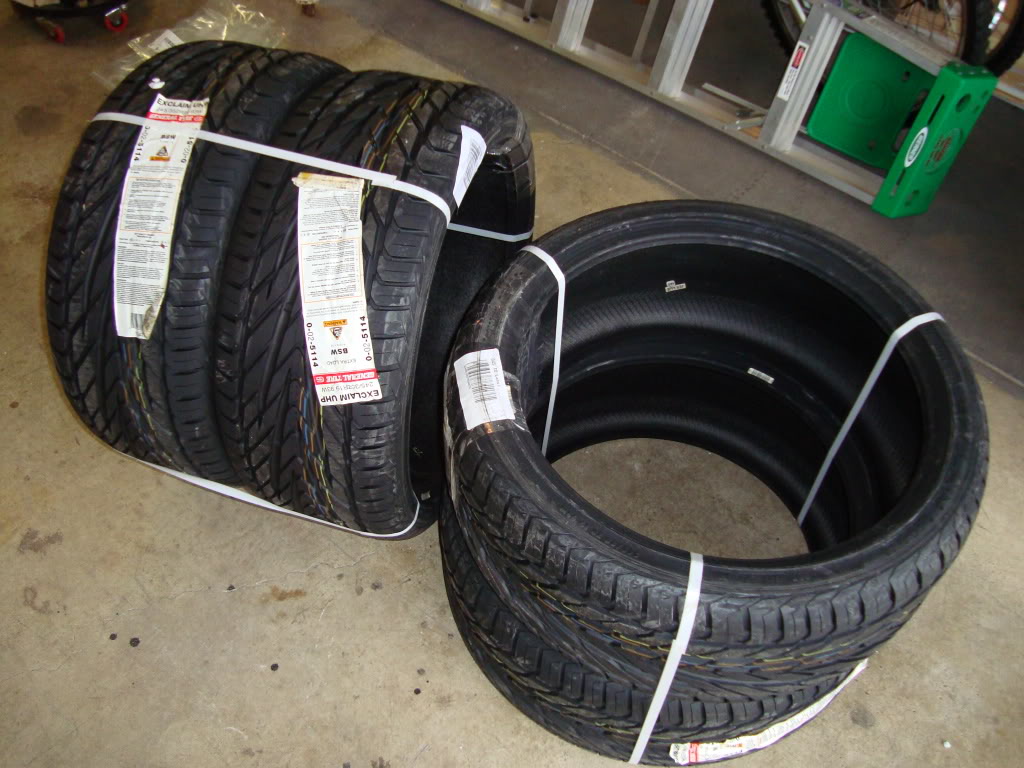
New tires - 245/35/19 General Exclaim UHP
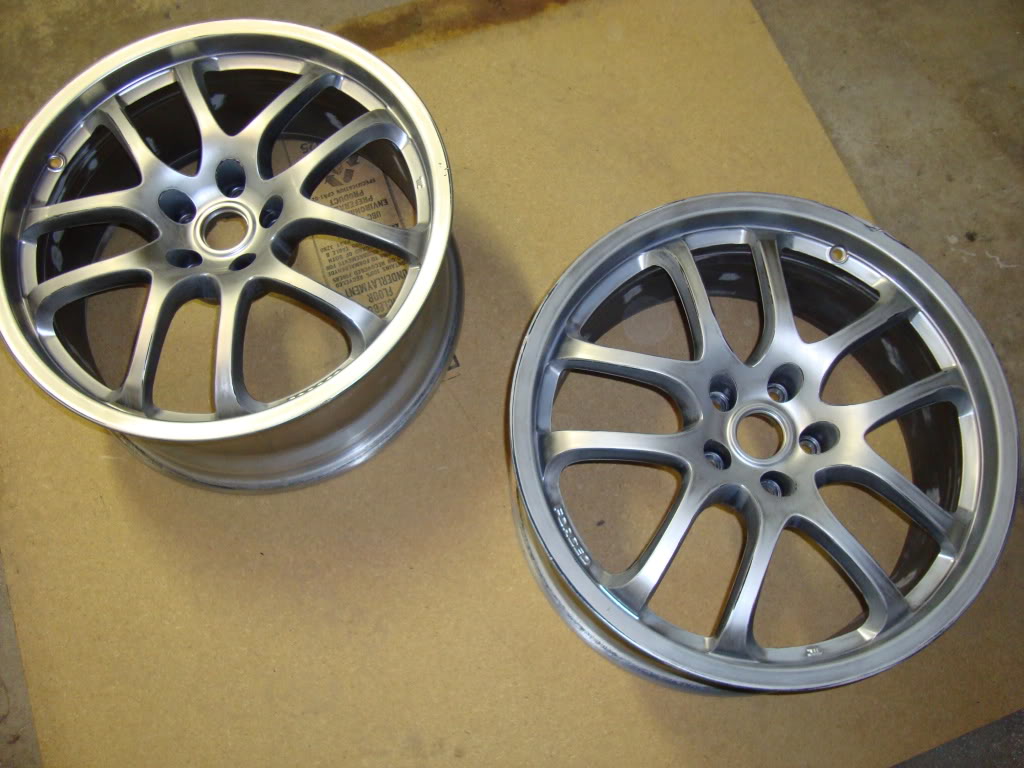
One before & after scuffing:
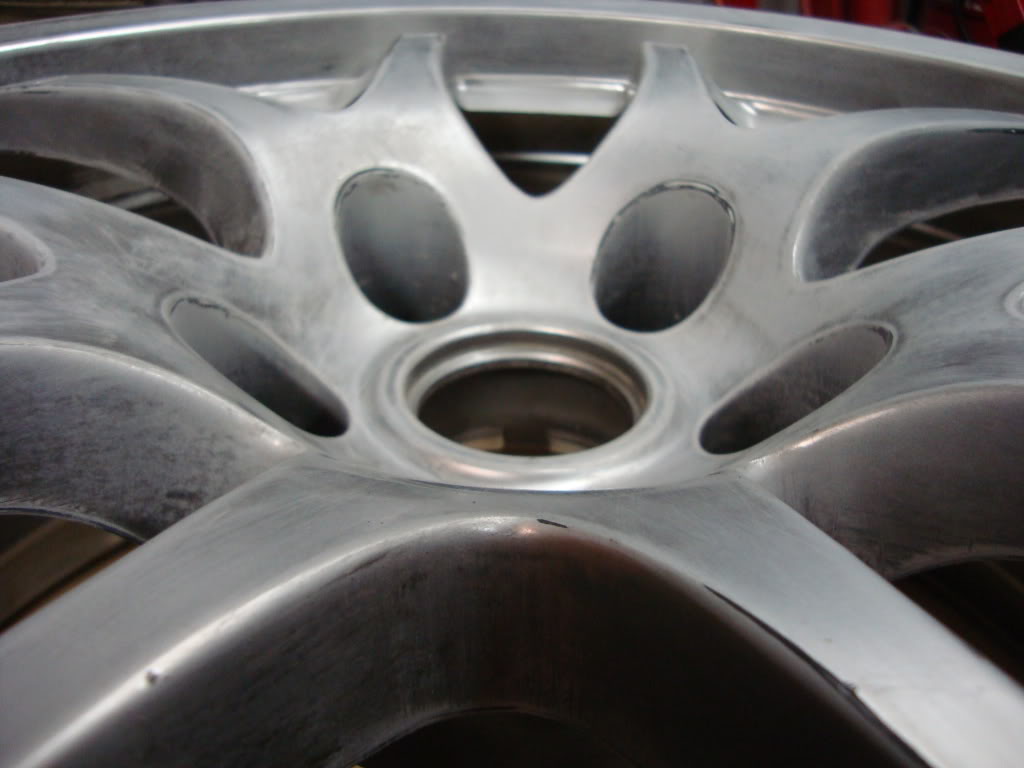
All scuffed up:
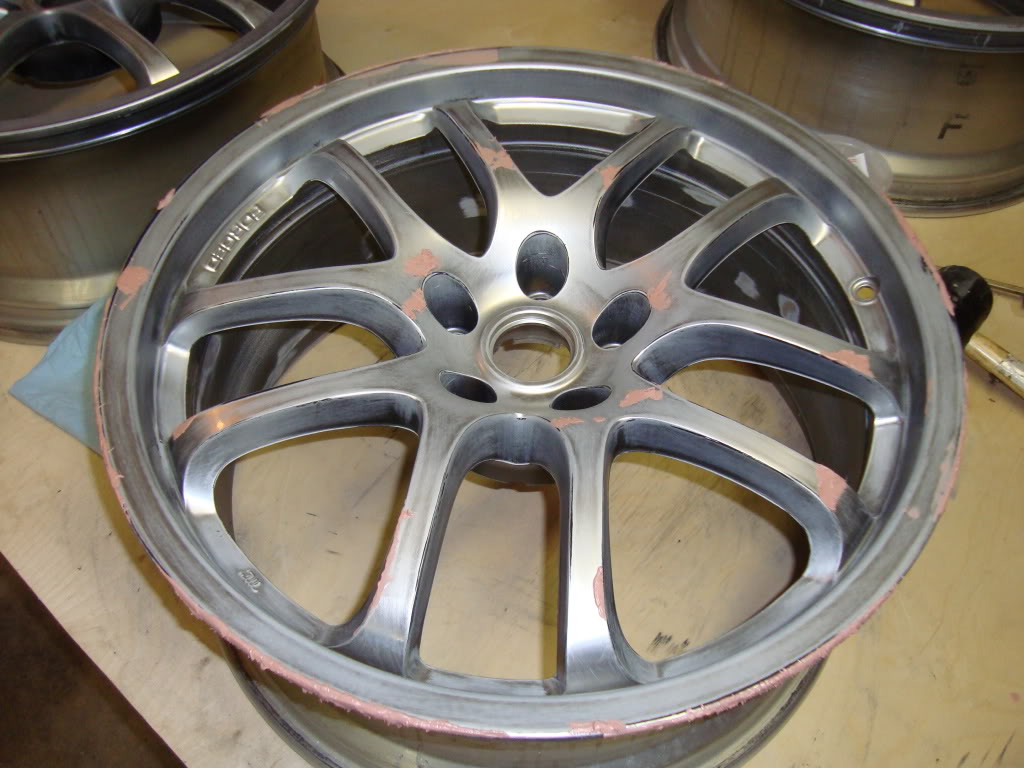
Normal body Bondo used to fill in the imperfections:
Bondo applied to the damaged areas:
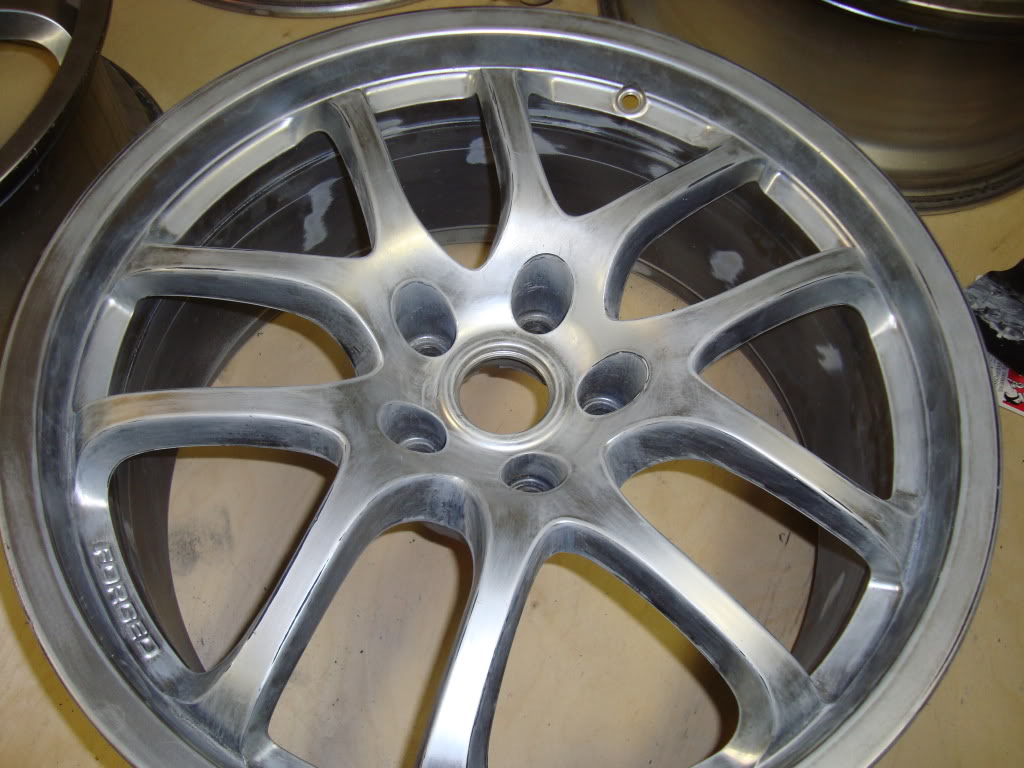
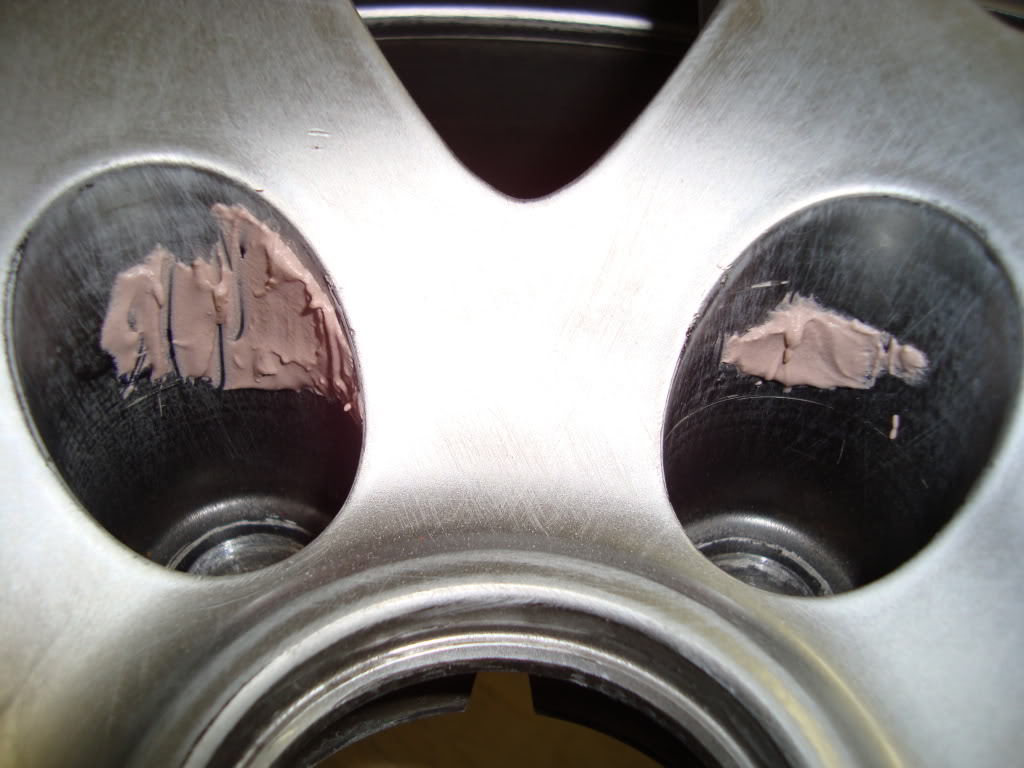
There was damage in the lug holes as well:
Dremel attachment used to clean up the Bondo applied areas:
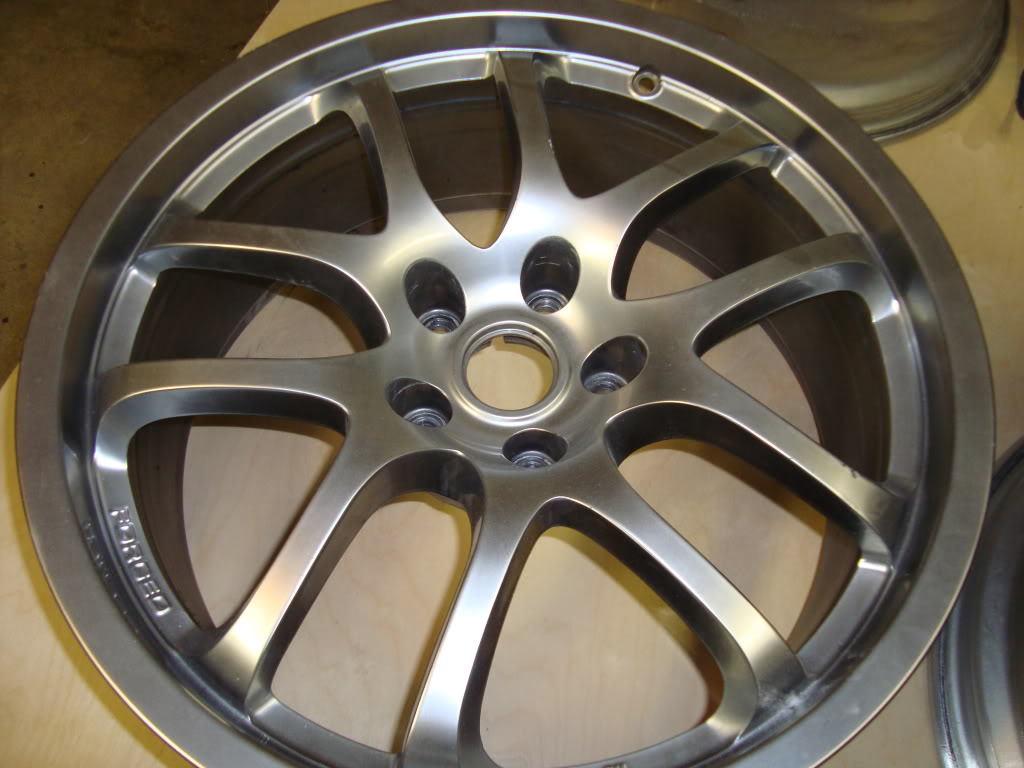
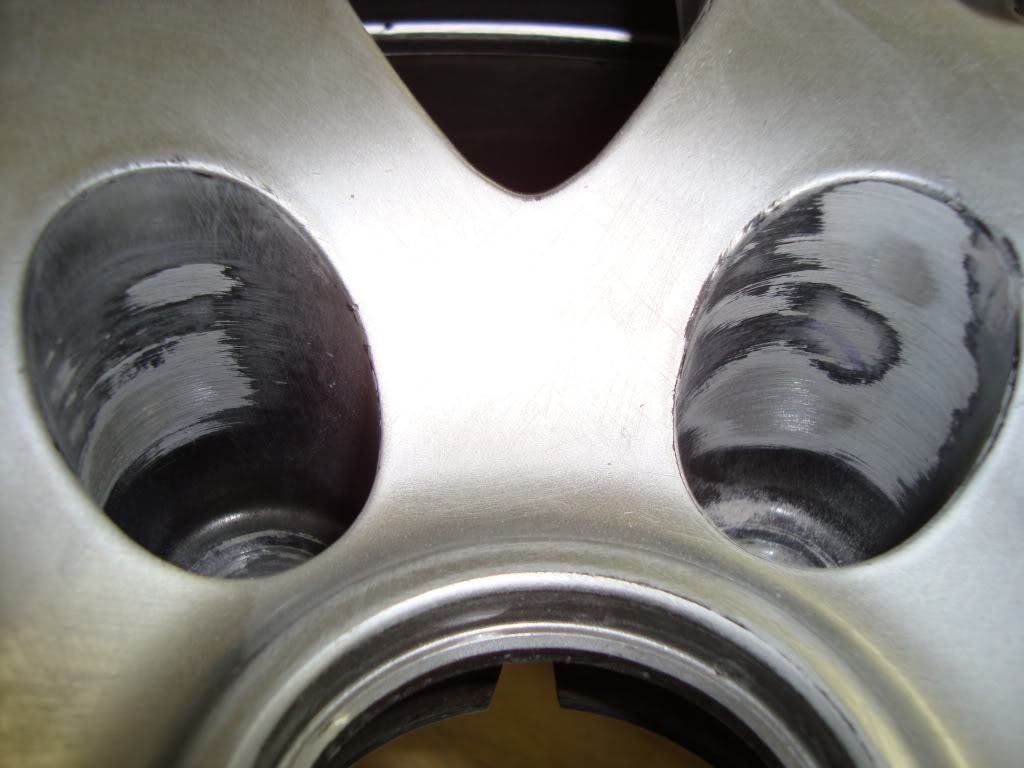
After sanding:
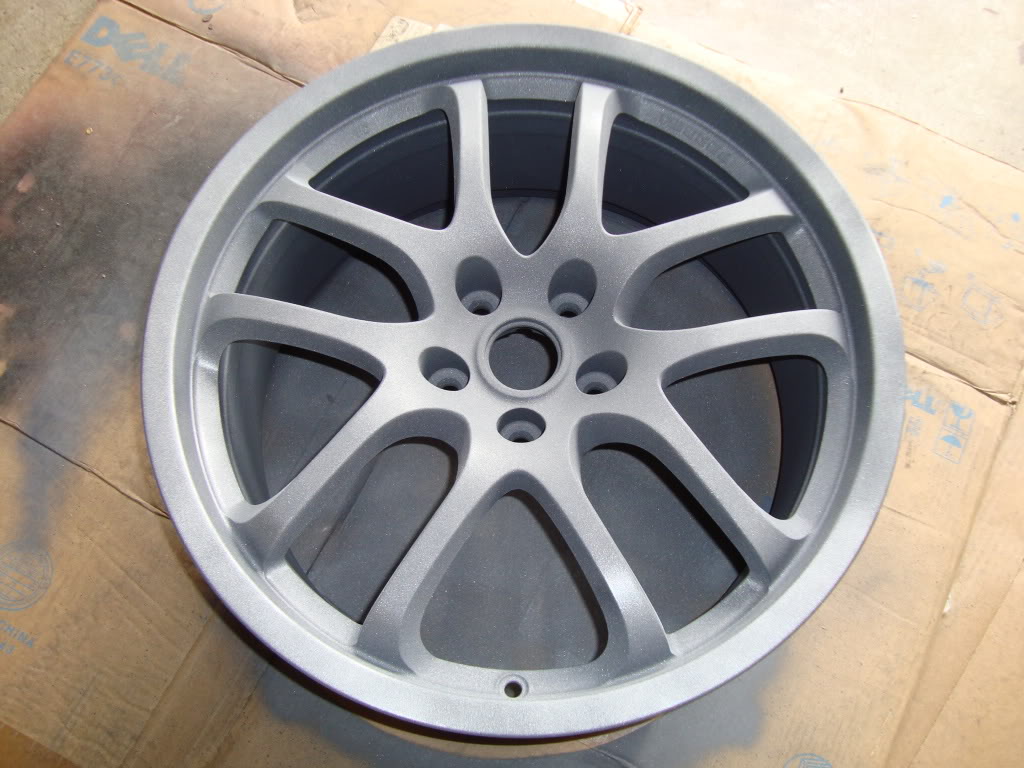
First coat of sandable primer added:

3-4 coats later:
The other wheels getting primer:
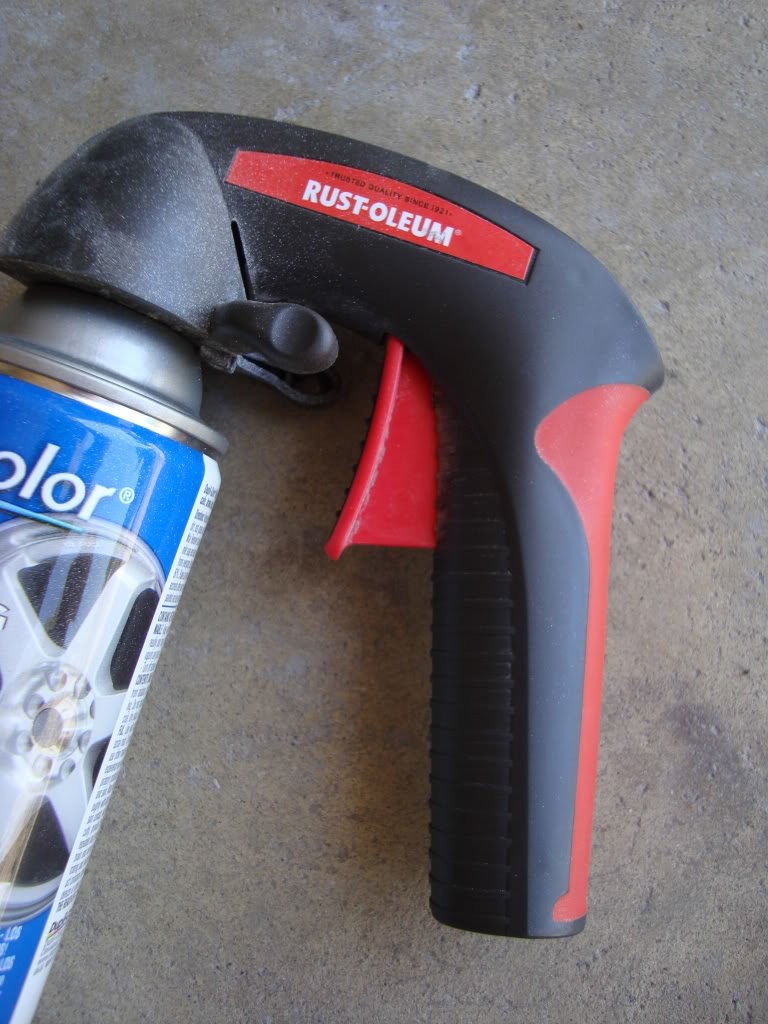
The first of the 3 guns I ended up using. This one worked really well, but was flimsy and broke after a short time:
The gun that has worked the best for me during the whole process:
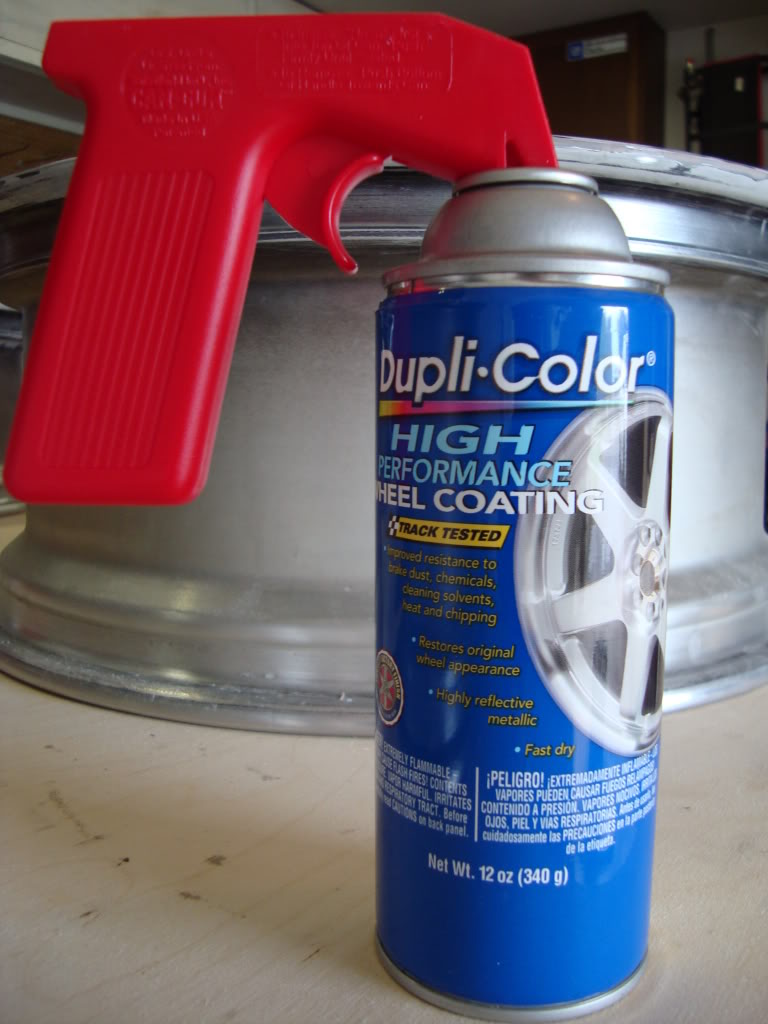
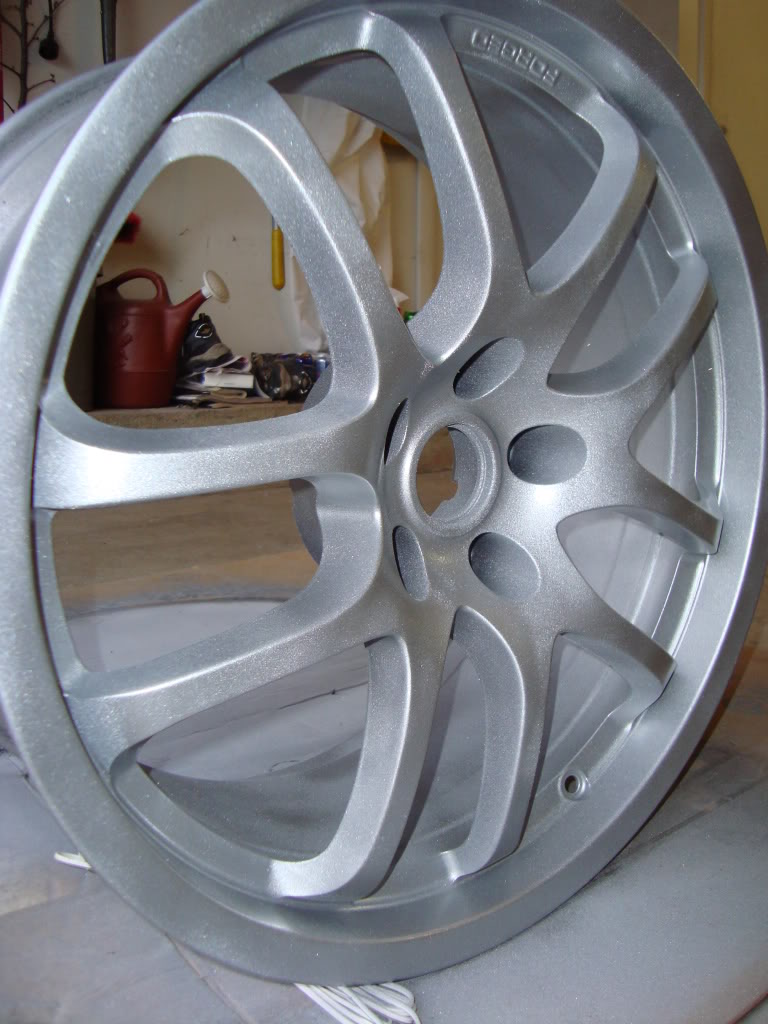
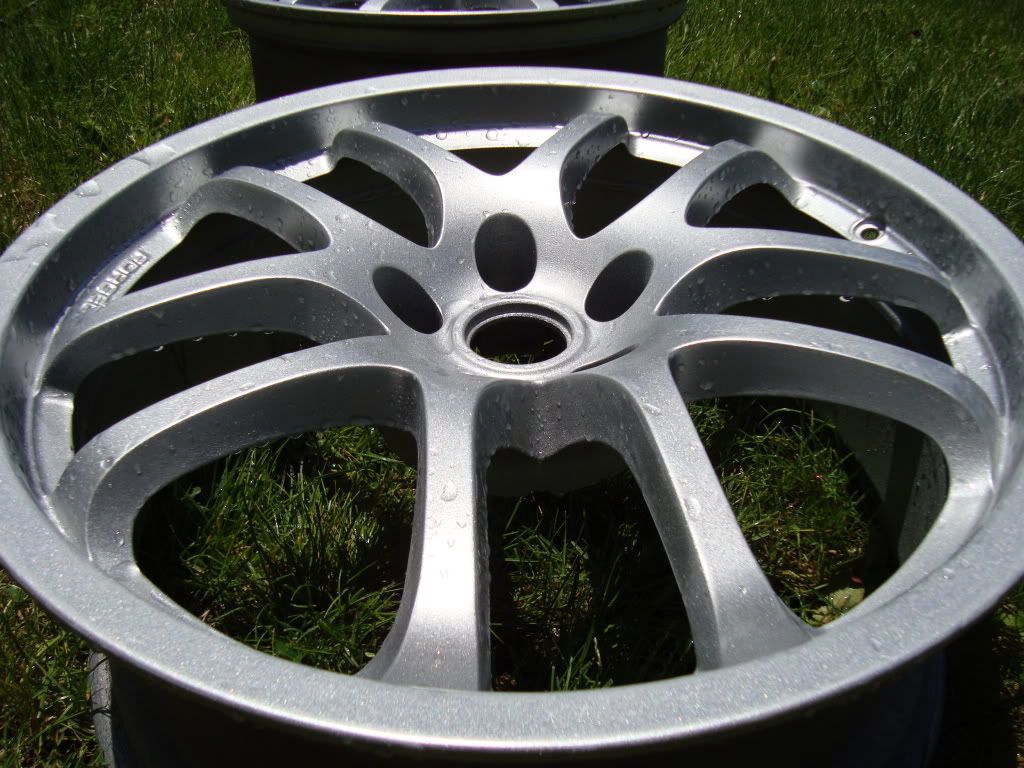
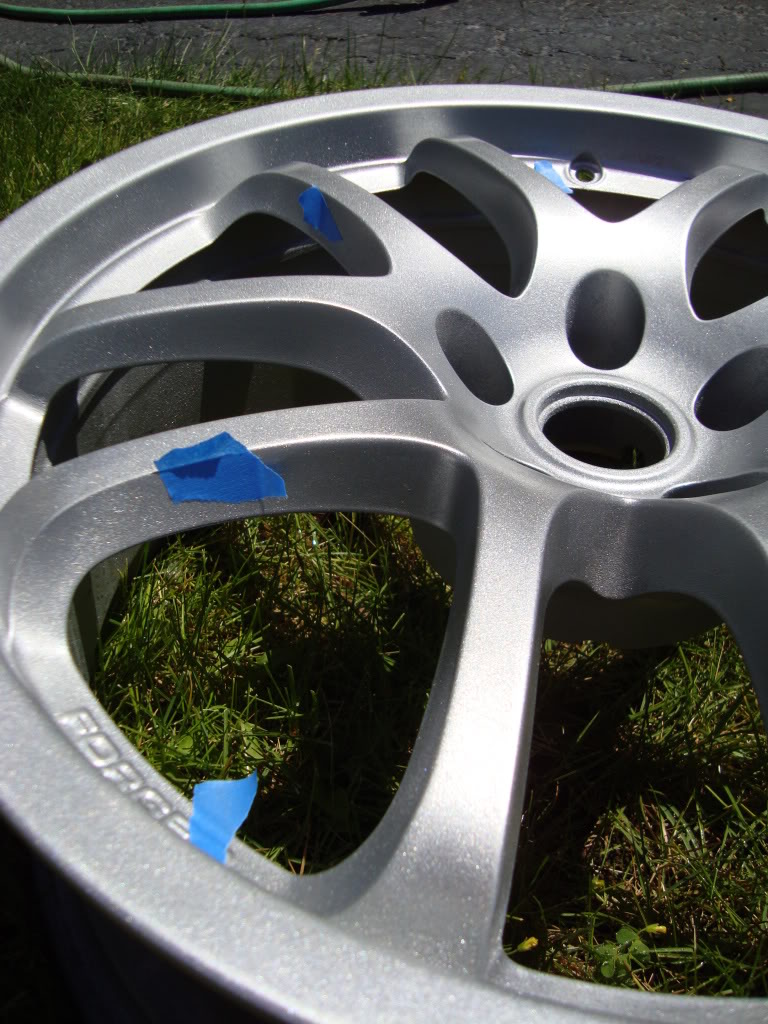
First coat of Dupli-Color Wheel Coating model# WP101
A few coats later:
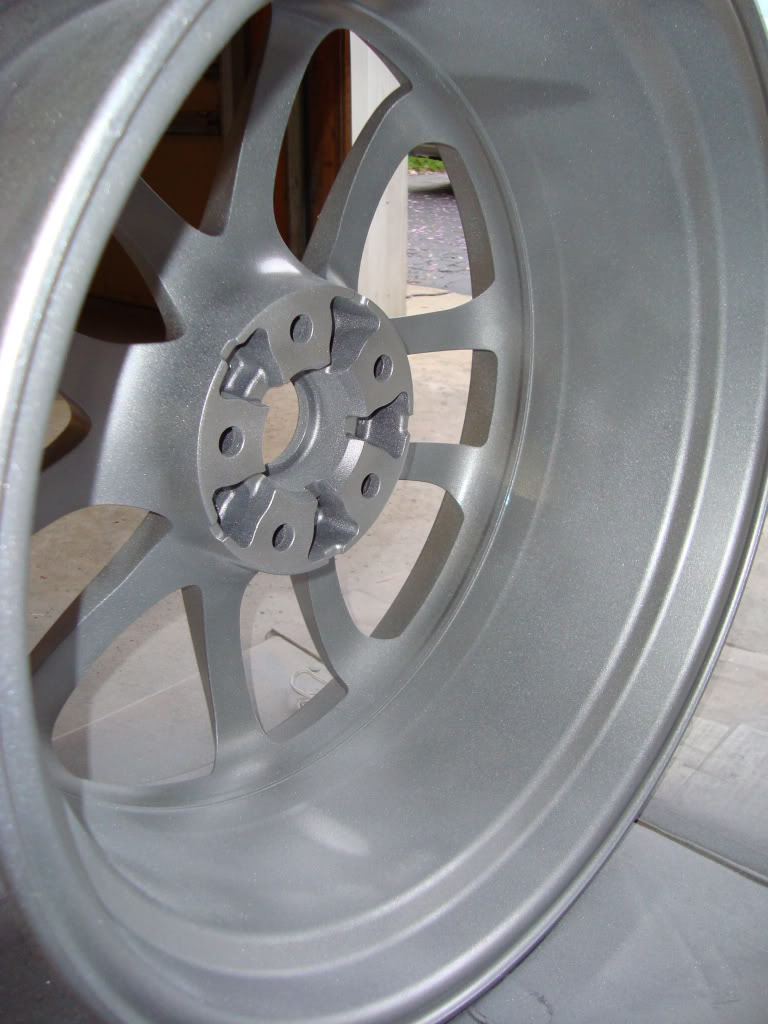
Inside is getting a fresh coat as well:
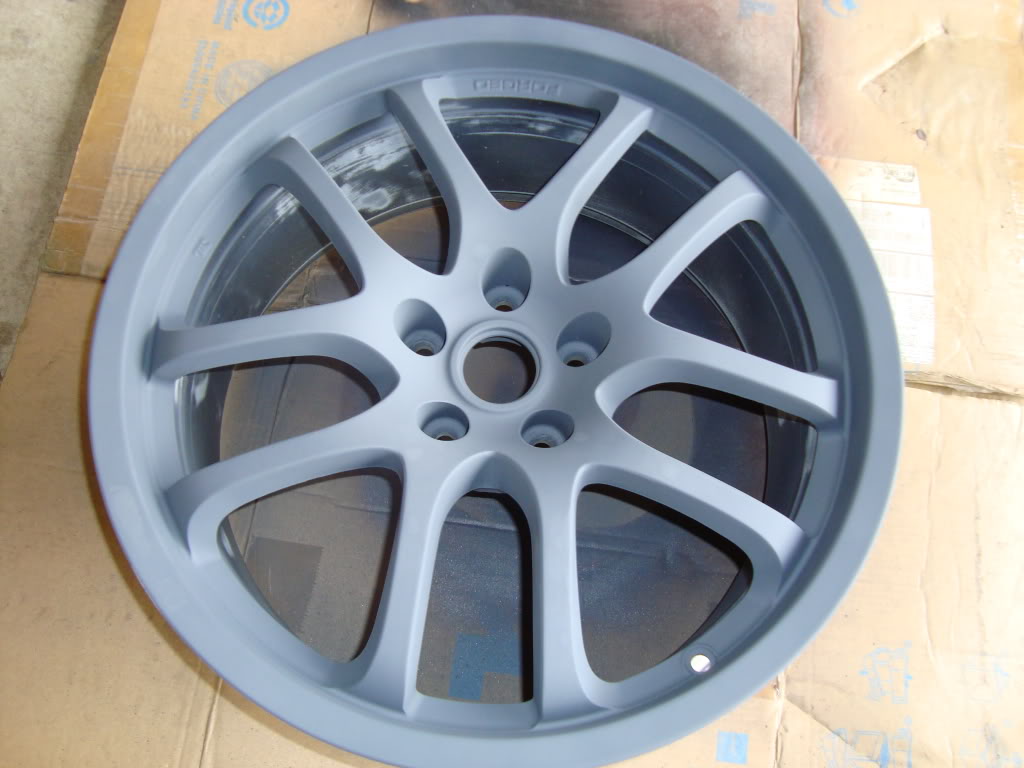
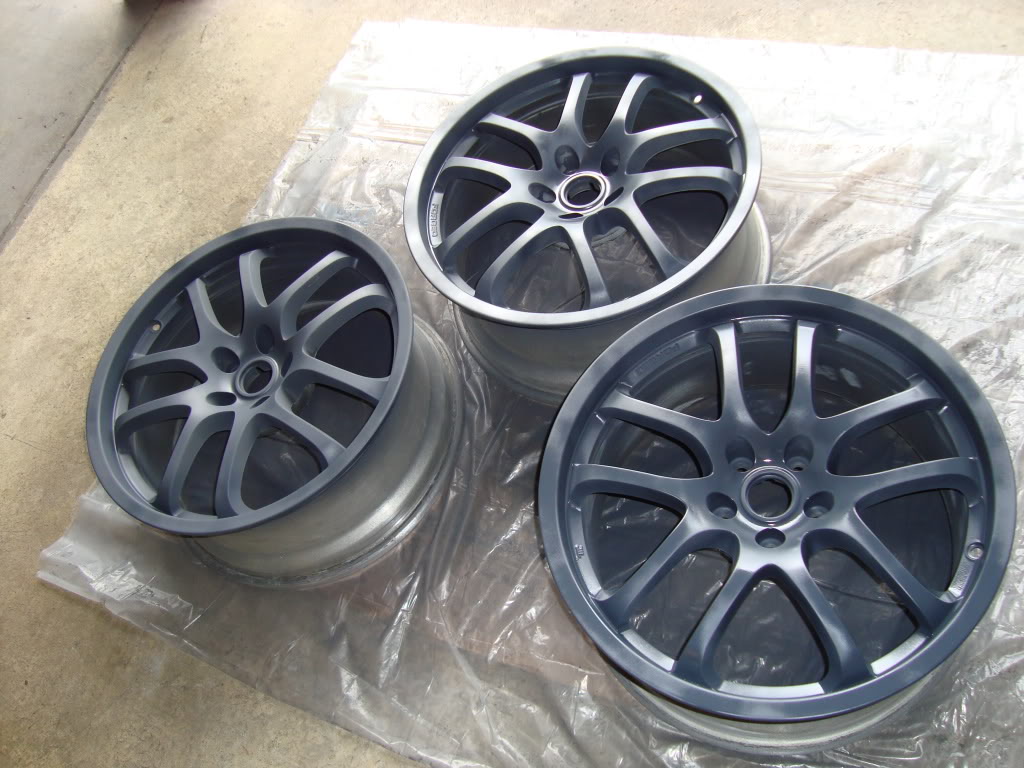
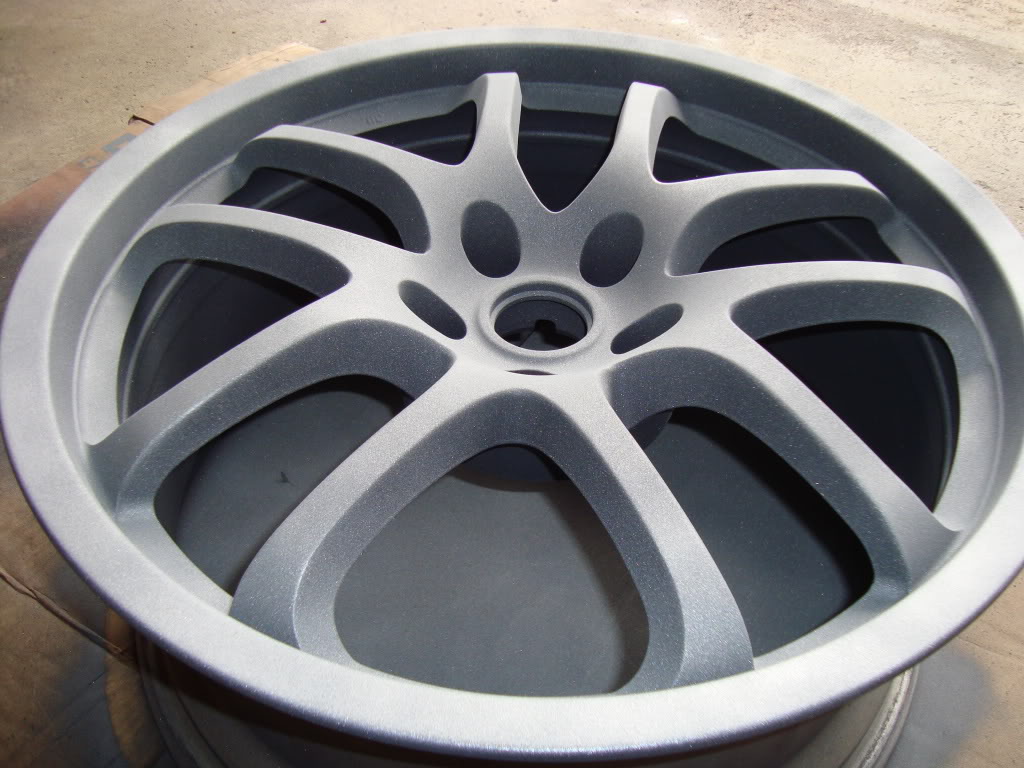
After many coats of paint:
After wet sanding:

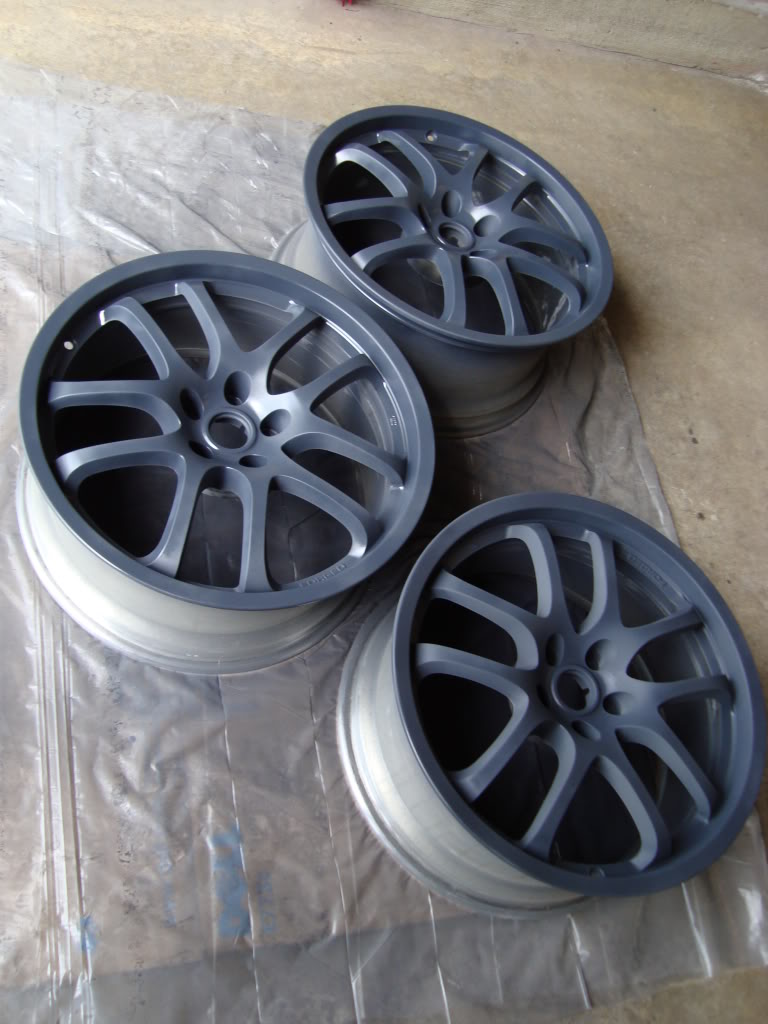
A few more minor touch-up spots and it will be time for clear coat:
Sold my old wheels a while back and bought some rough 19" G35 wheels and commenced a major project in restoring the to perfect condition.
1) I used regular Bondo body filler to repair the curb damage and on the rock chips that were here and there on the wheel surfaces.
2) I used a variation of sand papers, starting with 60 to knock down the Bondo'd areas. I used 180, 220 & 400 to prep the wheel surface before primer. Used 1000 to quickly sand down the primer (sandable primer). Using 1000 & 1500 to wet sand the paint. I used 1500 & 2000 grit to wet sand the clear. All sanding was by hand other than the lug nut holes where I used a dremel sanding wheel to get in the holes.
As I got them:
New tires - 245/35/19 General Exclaim UHP
One before & after scuffing:
All scuffed up:
Normal body Bondo used to fill in the imperfections:
Bondo applied to the damaged areas:
There was damage in the lug holes as well:
Dremel attachment used to clean up the Bondo applied areas:
After sanding:
First coat of sandable primer added:
3-4 coats later:
The other wheels getting primer:
The first of the 3 guns I ended up using. This one worked really well, but was flimsy and broke after a short time:
The gun that has worked the best for me during the whole process:
First coat of Dupli-Color Wheel Coating model# WP101
A few coats later:
Inside is getting a fresh coat as well:
After many coats of paint:
After wet sanding:
A few more minor touch-up spots and it will be time for clear coat:
Last edited by SEmy2K2go; 05-21-2009 at 11:56 AM.

 05-21-2009, 12:43 PM
#3

Looks like there is almost too much metallic in the paint.
The way the stock wheels are also is they had a very light coat of silver paint over a black base coat with a several coats of clear to give it that darker silver finish. You will be missing that look now.
The way the stock wheels are also is they had a very light coat of silver paint over a black base coat with a several coats of clear to give it that darker silver finish. You will be missing that look now.
 05-21-2009, 01:06 PM
#5
Registered User
Thread Starter
iTrader: (1)
Join Date: Apr 2005
Location: Columbus, Ohio
Posts: 42
Likes: 0
Received 0 Likes
on
0 Posts
There was a TON of road rash and nicks all over these wheels. Trust me, it's a significant difference. Whoever had them before actually took a grinding wheel to scuff up the area where the wheel weights were mounted before. That in itself was worth redoing them.


Trending Topics

 05-22-2009, 06:15 AM
#10
Registered User
iTrader: (4)

Join Date: Dec 2008
Location: NW Indiana
Posts: 103
Likes: 0
Received 0 Likes
on
0 Posts
I enjoyed seeing your work, but I do question the strength and longevity of bondo on wheels. Especially on the lip! When you go to have tires mounted, you may find that the machine ruins your efforts by knocking off your lip bondo and the paint covering it.
I've been thinking about repainting my original set of 350z wheels, but they are so bad that they'd need to be blasted. Way too much work to sand them down. I had also been looking at that duplicolor wheel paint.
Very nice job overall, I just really hope that the bondo was the right choice, or all will lost with tire mounting.
05-22-2009, 07:38 AM
#11
New Member
iTrader: (5)
Join Date: Nov 2003
Location: LA
Posts: 519
Likes: 0
Received 0 Likes
on
0 Posts
I would worry about the bondo being knocked off as well. I would try some of that liquid metal filler stuff I've seen at the local hardware store. This may have a better durability in the long run.


 07-16-2009, 04:35 PM
#18
Registered User

Join Date: Feb 2003
Location: Ohio
Posts: 38
Likes: 0
Received 0 Likes
on
0 Posts
Just checking to see if there are any updates on how the wheels are holding up. I'm looking to do the same thing to a set of 06 wheels. May try the black primer idea with light coats of silver. We'll see though.

 .
07-17-2009, 06:39 AM
.
07-17-2009, 06:39 AM
#20
Registered User
Join Date: Feb 2003
Location: Ohio
Posts: 38
Likes: 0
Received 0 Likes
on
0 Posts
Ok I know this video is a bit corny but I think this may be the way to get that factory dark look. http://www.youtube.com/watch?v=4bh8hzwC2TA