When you click on links to various merchants on this site and make a purchase, this can result in this site earning a commission. Affiliate programs and affiliations include, but are not limited to, the eBay Partner Network.
My jaw hit the floor at first scrolling through the latest pics before reading the text. Was goin' "Whuuuuudddd....? Dayam, outboard reservoirs, serious shid." And that "homegrown" spoiler...... Excuse, gotta go change my pants.
Wow, you can't argue with this being a ground up, nut and bolt rebuild. A fantastic job with some trick bits. I'm Loving the spoiler amongst other things. Great work, looking forward to next instalments
Arrtus, I said tough, not impossible lol Sasha's Z is insane but also extensively modified for Peak NA performance. The only real difference between his engine and mine is the high compression pistons, long tube headers, ITBS, and valve springs. The high compression pistons would be the thing to reach about 380whp and I'd rather just leave the comp at 11:1 since I plan to boost it in a year or so.
Kiugarage, 9k is cool. Very cool. But the reliability of 8k is more practical to what most people do with their Z's. After that point, cavitation within the oil pump begins. Revving higher, start worrying about floating a valve. Either way, nice coilovers... Im jelly
Last edited by venture210; Jan 28, 2017 at 07:06 AM.
MORE! I NEED more pictures! This build is amazing so far! Well done, and good luck with the rest of the build! I really want to do something similar with mine, but first thing I need is something else to daily so I can put the Z up on stands in the garage until it's complete.
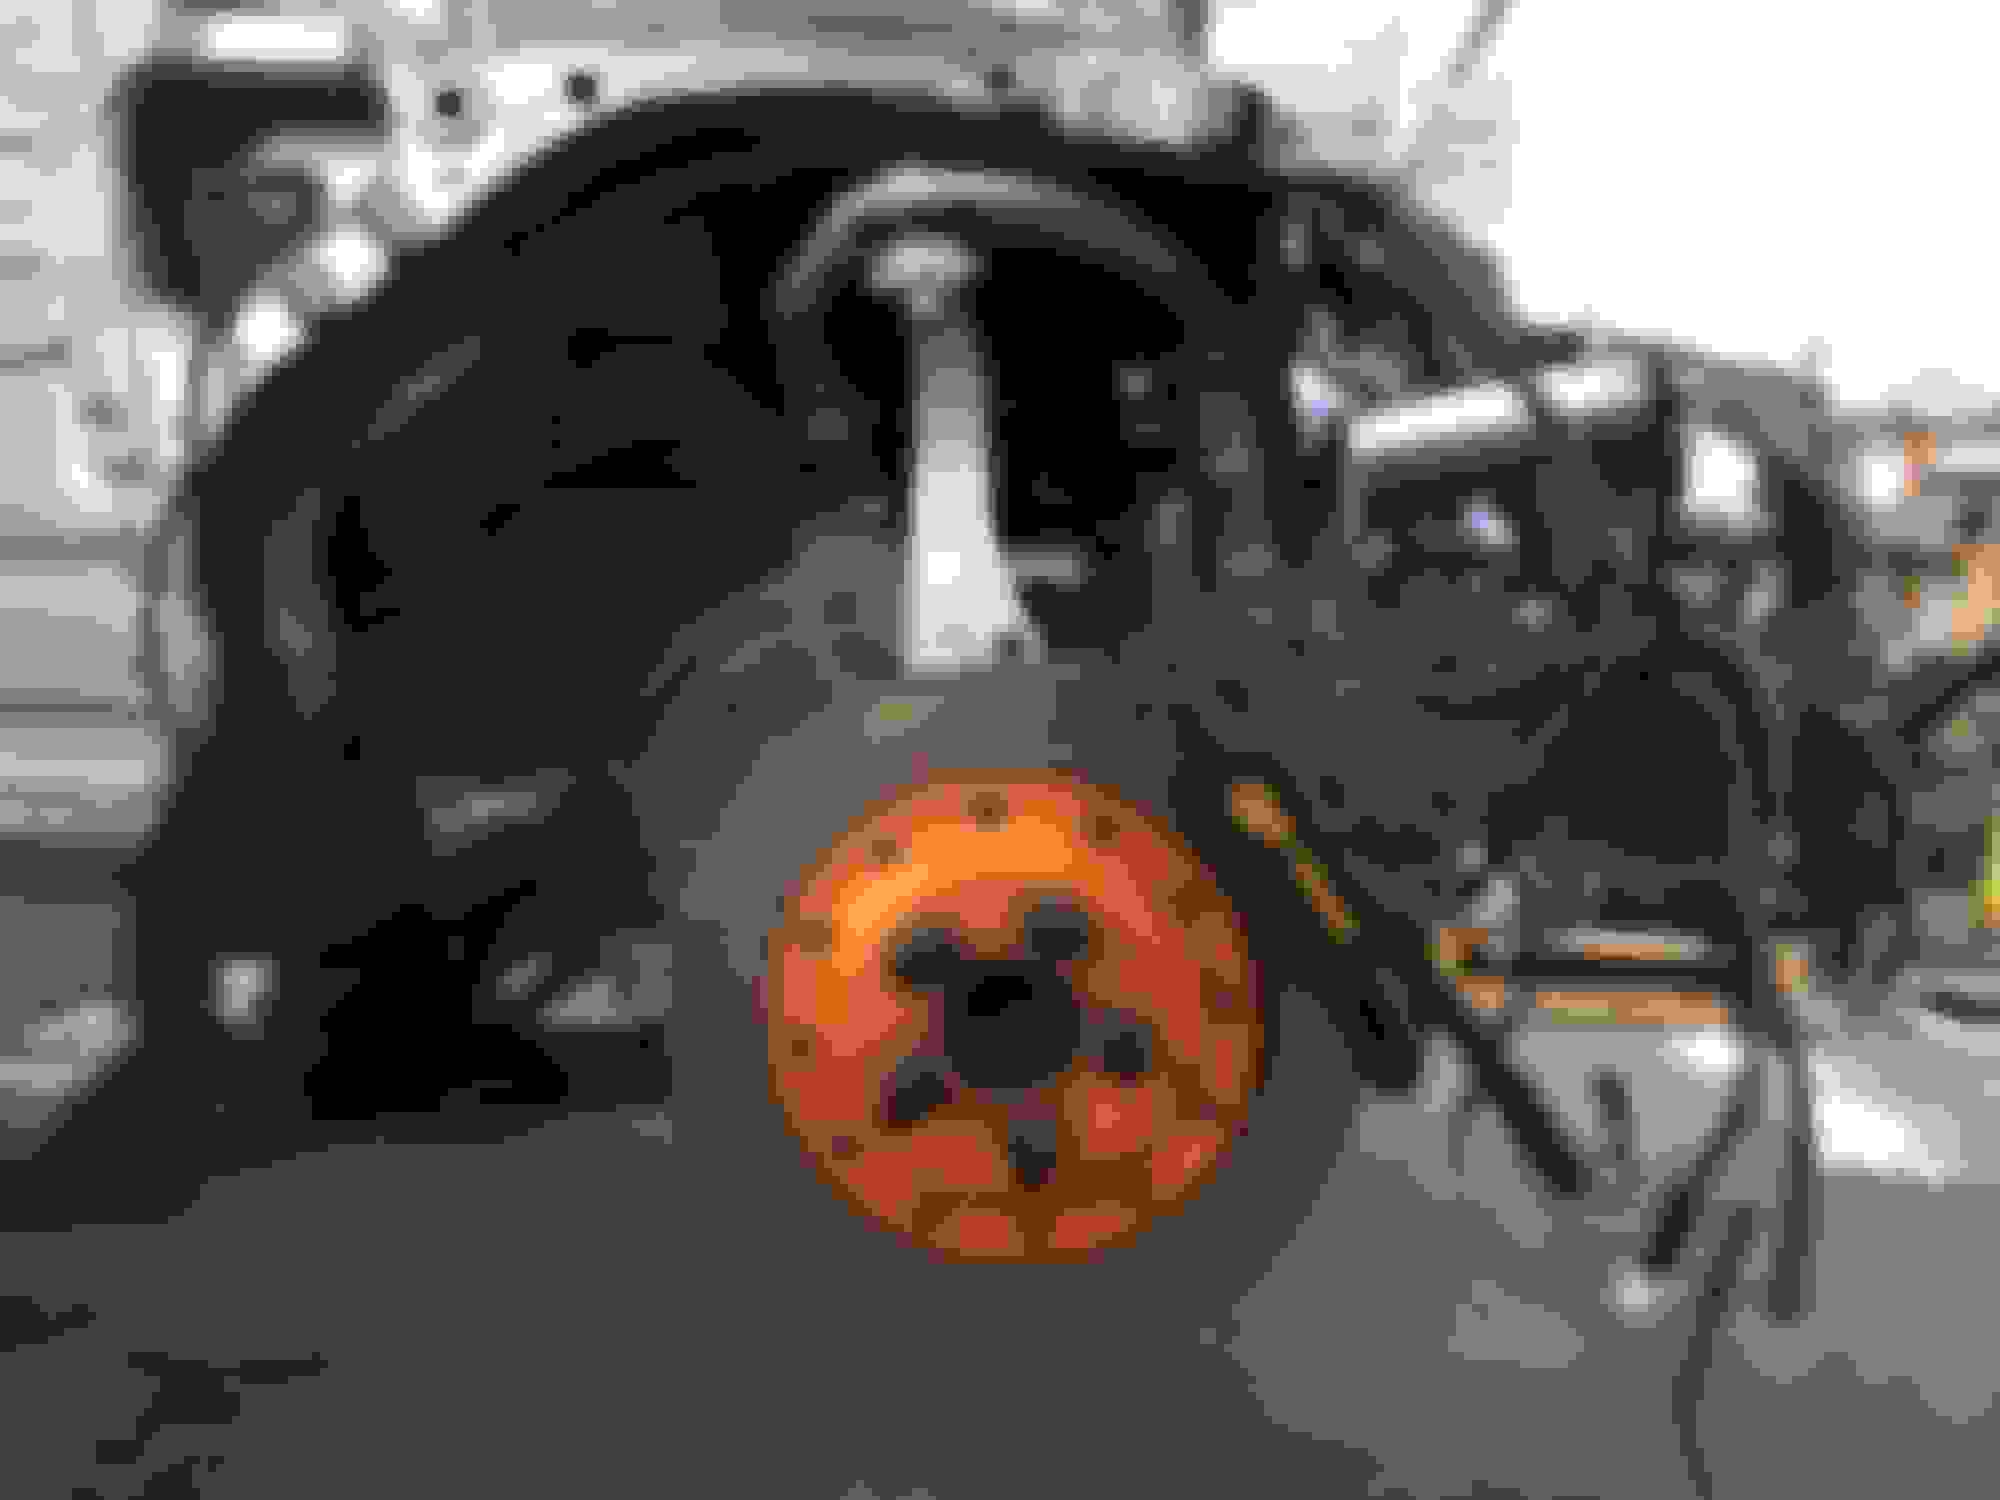
Doing some assembly on the front end at this stage... Also had my old set of brakes off my 34, so decided they needed a new home on this guy.... Four pot AP calipers.. The bells and brackets i made up, but as you can see the disks arent to great... ill get a new set at a later stage but this should be fine for now... ill clean and go through everything once the other stuff arrives and it gets back from paint - final assembly
As you can see its looking good up front with all the alley brought back to life after having them bead blasted... all the rubbers and so on were in perfect condition, i plan on changing the top arm for more or less camber up front, ill get that and fit it once its back from paint.... Sway bars from Eibach also on the list....
Loving the clean look.... the orange i actually dont mind... was thinking to go silver but ill leave it...
These brakes really made a difference... the stock 350 brakes are the same as the stock 34 ones... these AP's made a huge difference... Running PFC pads in them and braided lines.... its all gotta help right.... haha
The reservoirs ill make brackets and so on up for them still.... once the engine is back in then ill see where the space is.... probably carbon... Happy so far.....
On the engine front, i got an email back from Ben at Jim Wolf, gave me a list of options to go on the motor.... after seeing the difference in the 370 crank, im honestly thinking about it now.... not sure if i really want to go this far but it seems the way forward..... How easy is it to get hands on a crank?... looks like they make up pistons to run the 350 rods... I emailed back asking a few more things so ill see whats up there.... if you guys could point me in the right direction that would be great.... also going to be needing the intake off the 370.....thats a must regardless.....
Hey guys.... the disks are so i can bleed the brakes for now and tow the car to paint... when its back its new disks all round... its just to get it rolling..... no old stuff back on this guy........
Fantastic thread BUT I wish you were doing some vids on youtube for this too, that would be brilliant to check out !
I know it'll be a track car but the piping on the external reservoir is quite long, usually induces some phase delay in the shocks.
Yea, when i stripped all the parts out i cleaned everything up.... scotch bright the alley piping and so on... then the crossmembers and so on powder coated again... Wiring harness is cleaned up too.... The car will go to paint and while its there ill do the same to the engine... Looking at this 370z crank properly now so it could be a hold up, no rush really...
As the for the length in the lines for coilovers, its the first im hearing of it or thinking about it, ill look into it now.... Ive driven with them in the DE and had no real issues that were obvious, but ill check it out......
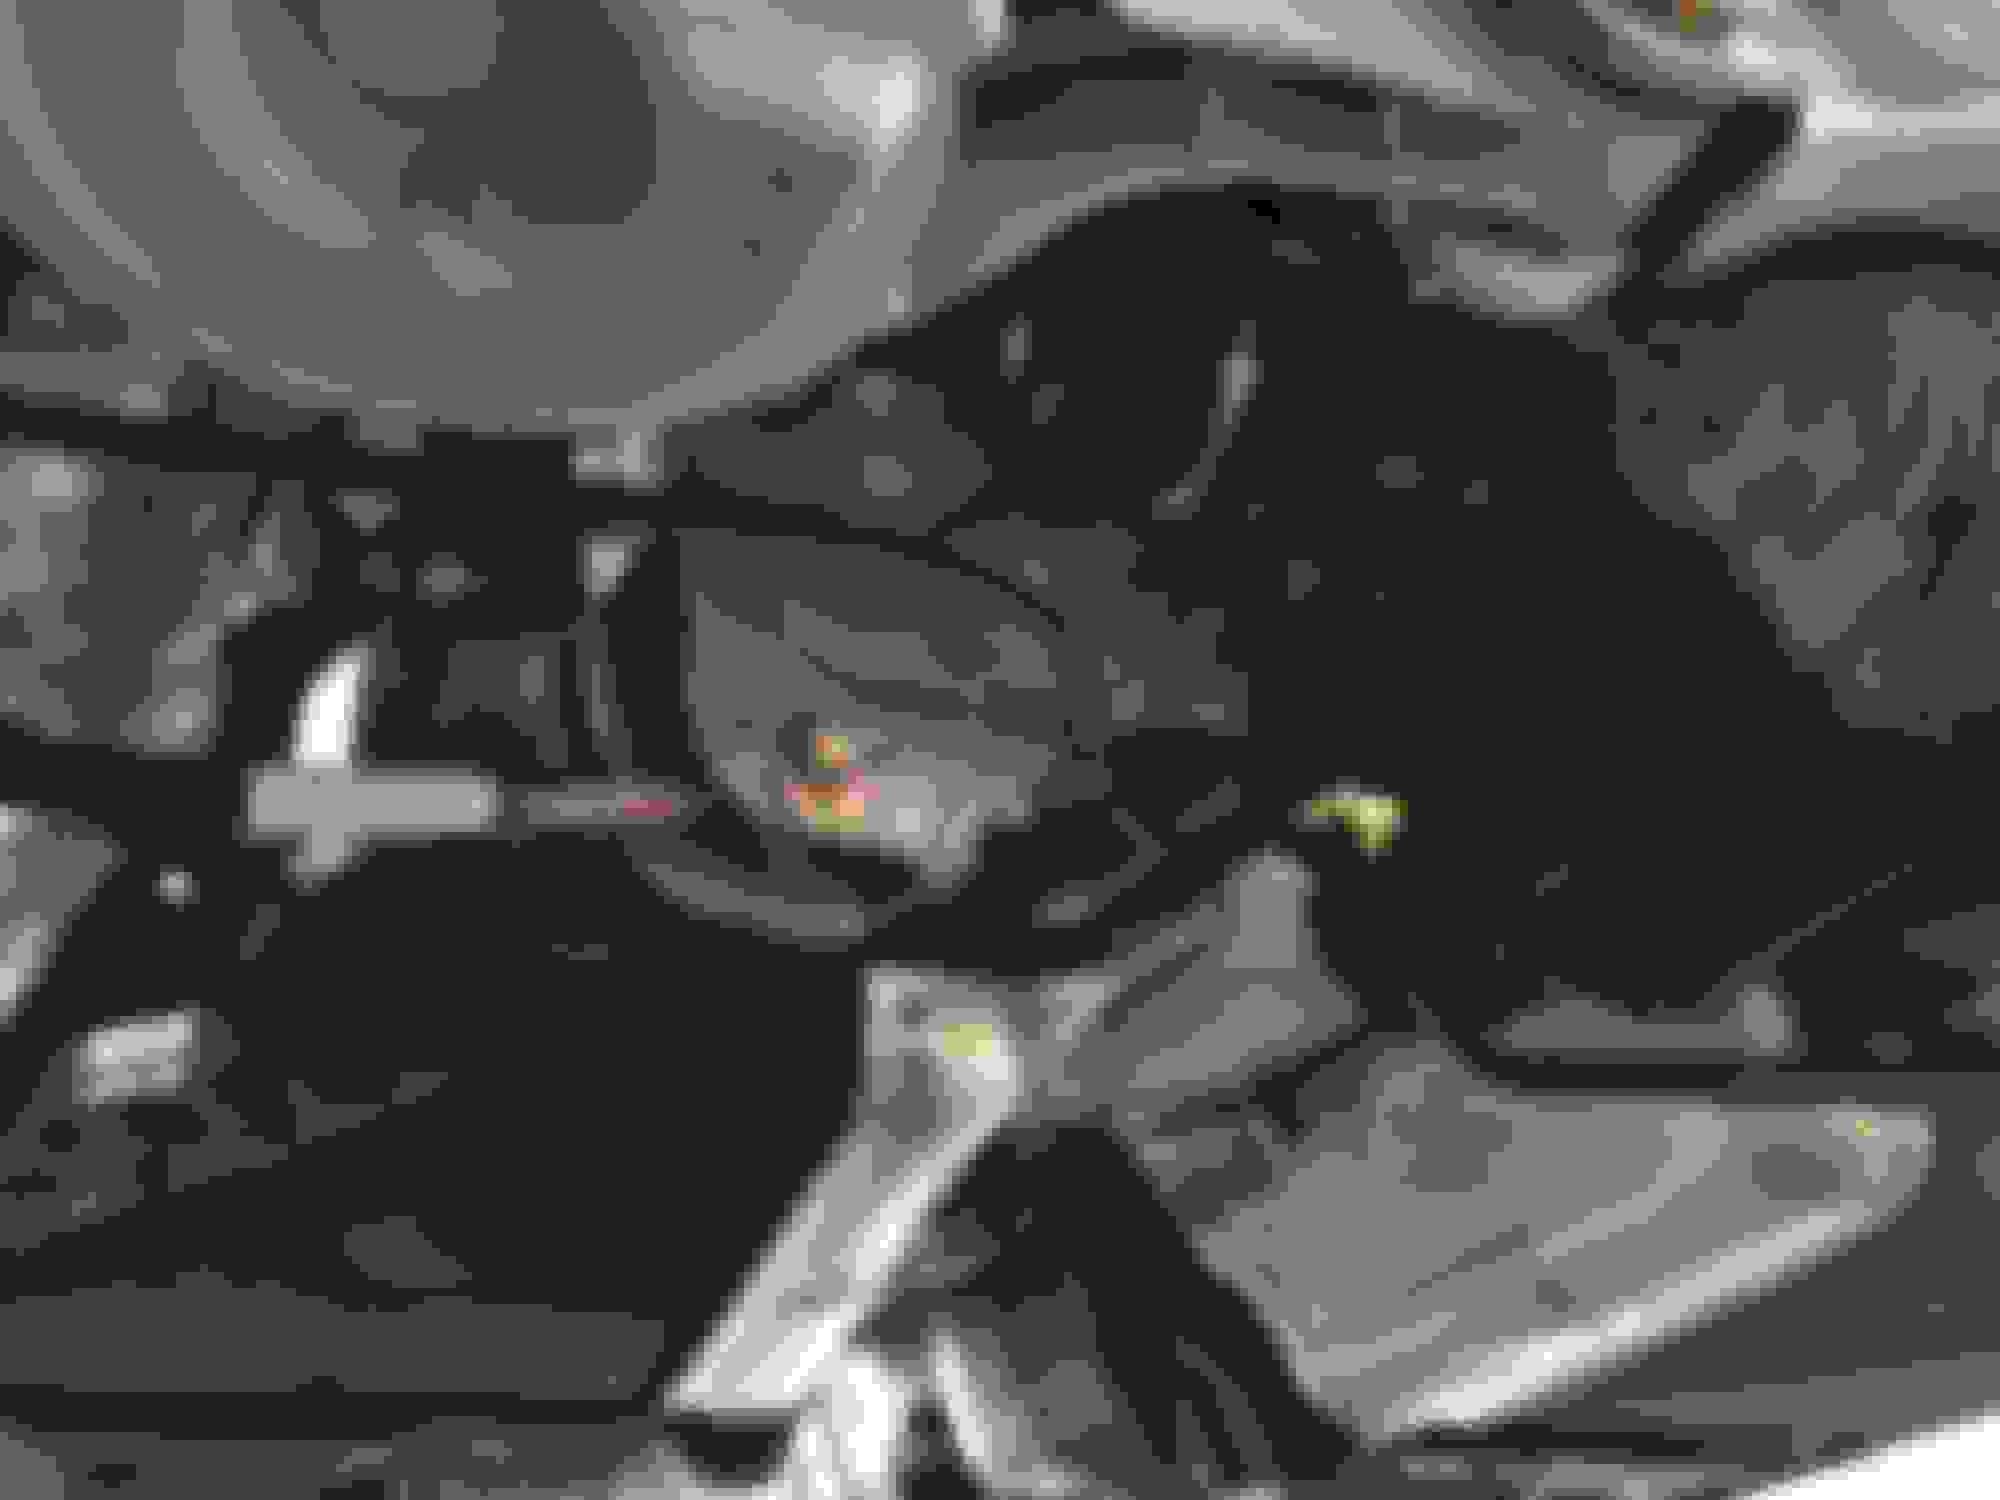
Heres some more stuff i did in the boot area.... I still want to try use the car so i wanted the boot to have enough space for a spare wheel or some bags need be for a road trip.... Also, i just dig building stuff and decided the boot area, not having as many "plates" as the front struts, it needed some stiffening up... The stitching amount was way less then the front area, so i decided to build some reinforcing into the rear end... I almost cut the floor out but remember its not that type of car so calm down....
I like the look and its out the way... the back end will be in the gunmetal like the front end, not going to put the panels back.... Cusco cage starts in front of the rear arches and leaving it blue... super keen.....
Rear arches are painted up and the bottom end of the car is now painted in black etch primer.... Next up is to fit the rear coilover and cut a section out in the rear end for the reservoirs....
Cleaning up the rear parts and so on at the moment... ill post up soon.... Not sure if i mentioned it but the subframe had an issue due to the previous owner and a pavement.... Managed to get another so the rear end will be sorted.......
Amazing stuff and certainly love seeing and reading this
Nice work with the rear reinforcement.
Ah it's nothing to worry about if you know they are good already which sounds like the case
My own preference is not to have them after seeing some explanations. It's one of those things that depends on how big the delay is, yeah sure we can see it on a shock dyno graph but can you/we even notice!
Awesome buid. I miss my HR a lot. I see you made a thread on the local forum too. I have a few bits that may work for your build. Will send you a PM on the local forum...
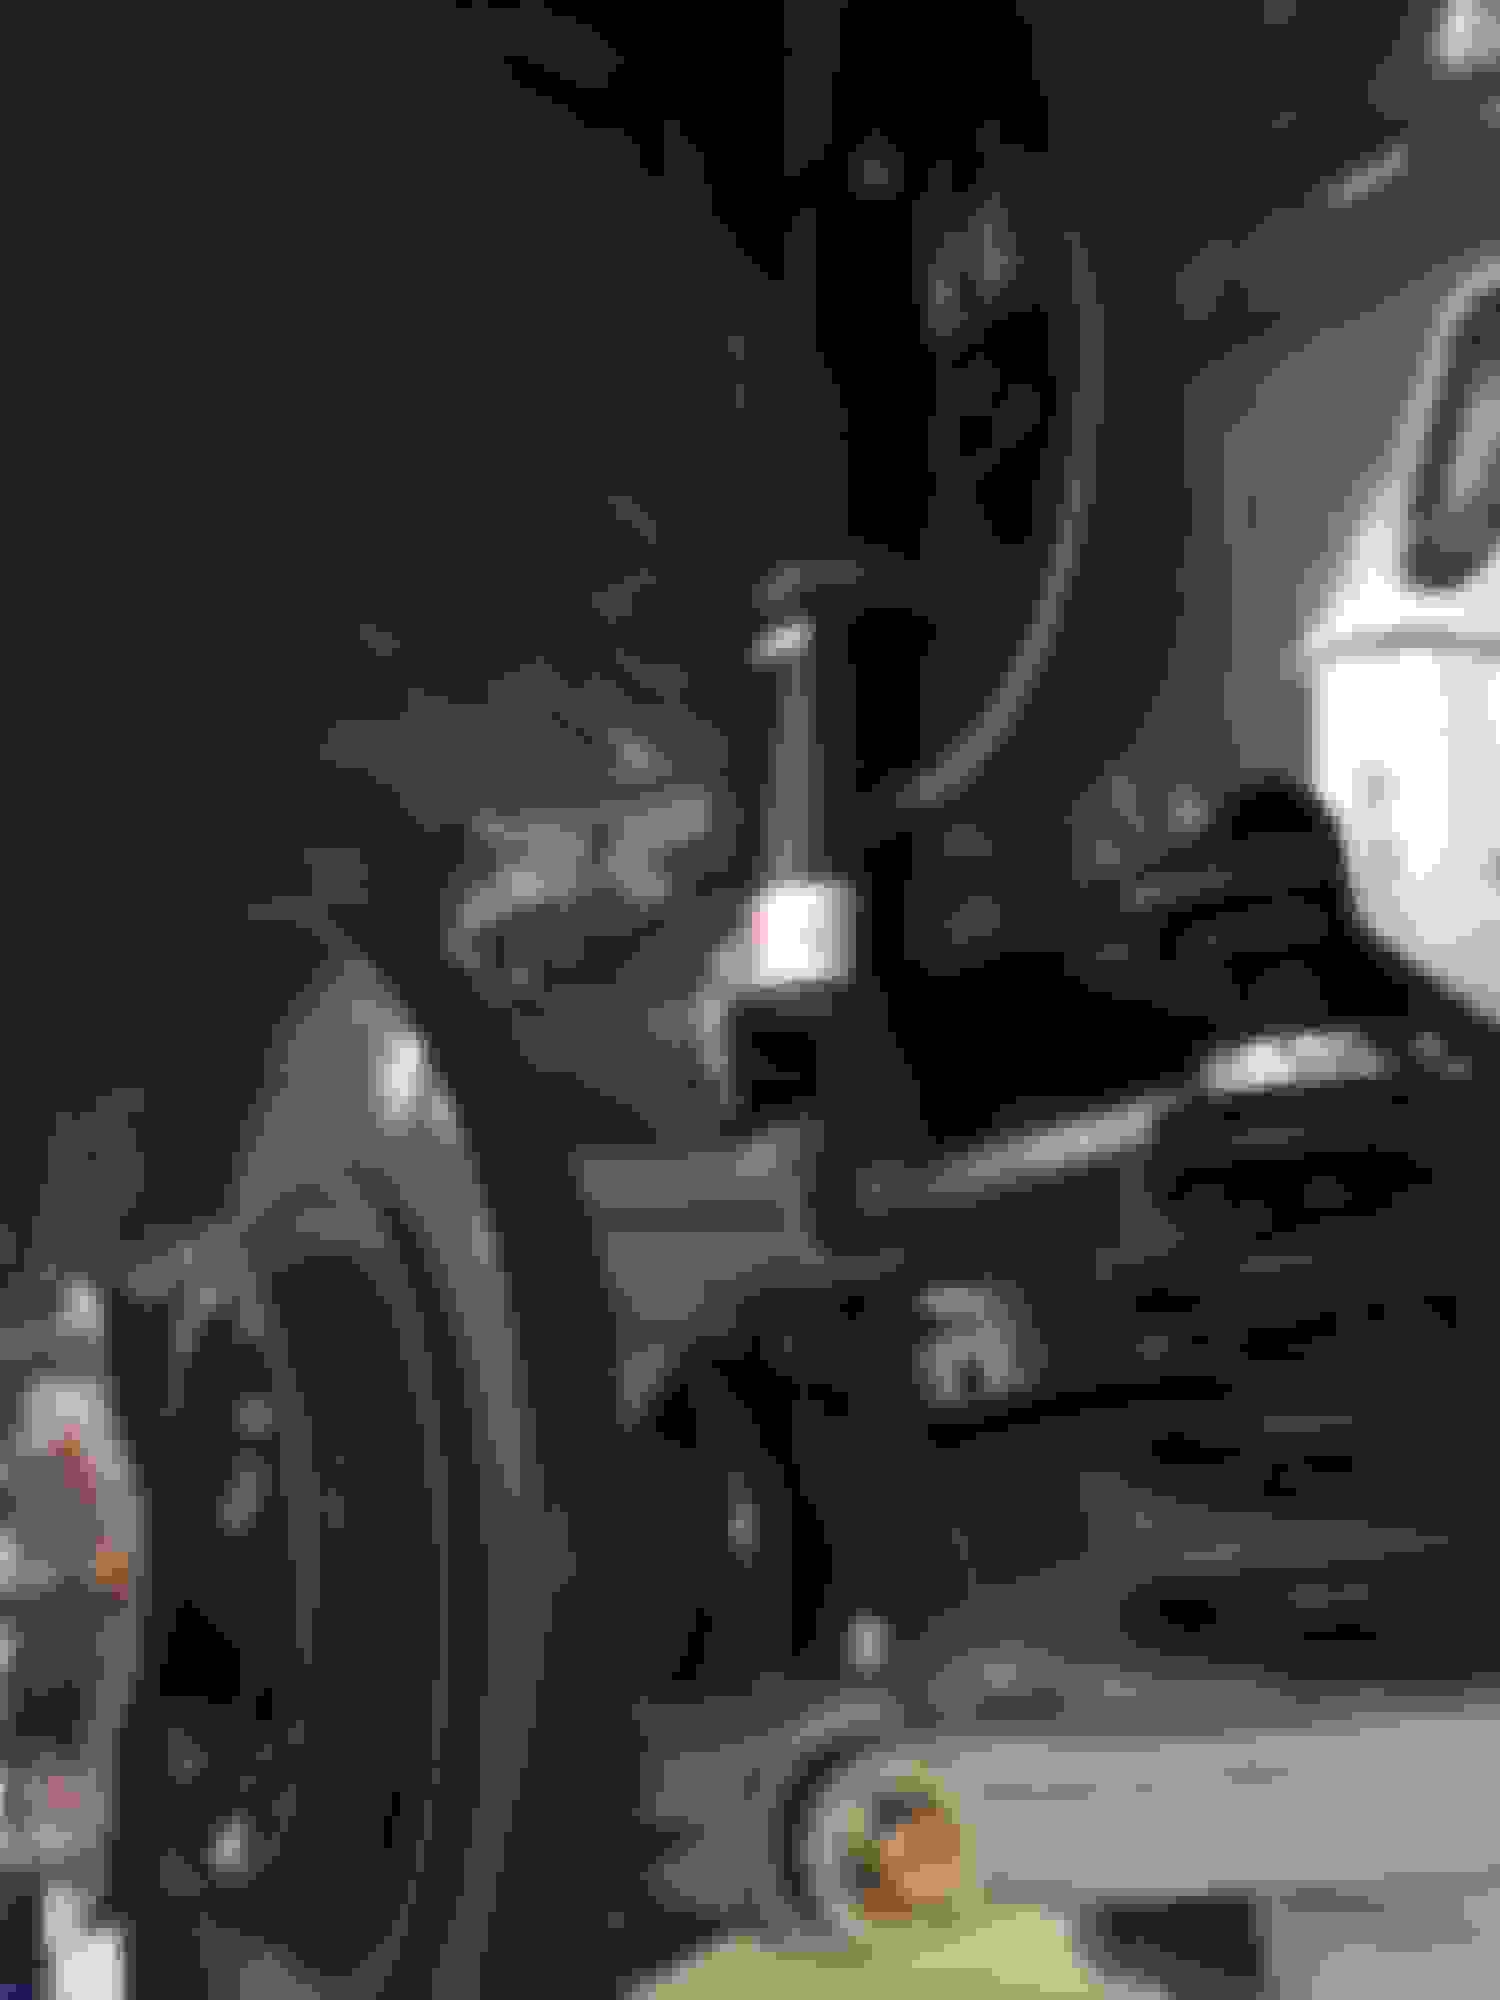
The subframe in the car wasnt great and had some repair work done to it at some stage.... I managed to find another one as new so i swopped it out to make sure ill have no issues... I replaced the diff mount with a polybush which will stiffen it up... The rest i was going to go alley subframe mounts but im gonna use the car on the road and thought, dont go overkill for a change....
With putting back together comes cleaning everything up and painting anything not looking new..... Heres some of the process, real fun... haha... although there is something about putting it all back together looking better than out the box.....
Love this part of it.... the gold on the black with the alley...
Finally its all in and looking cool.... holes cut out and everything back in bolted up properly.... ill go through it all again once its back from paint... Diff oil in too... Checked the bearing and so on and they were perfect.. didnt feel the need to replace anything.....
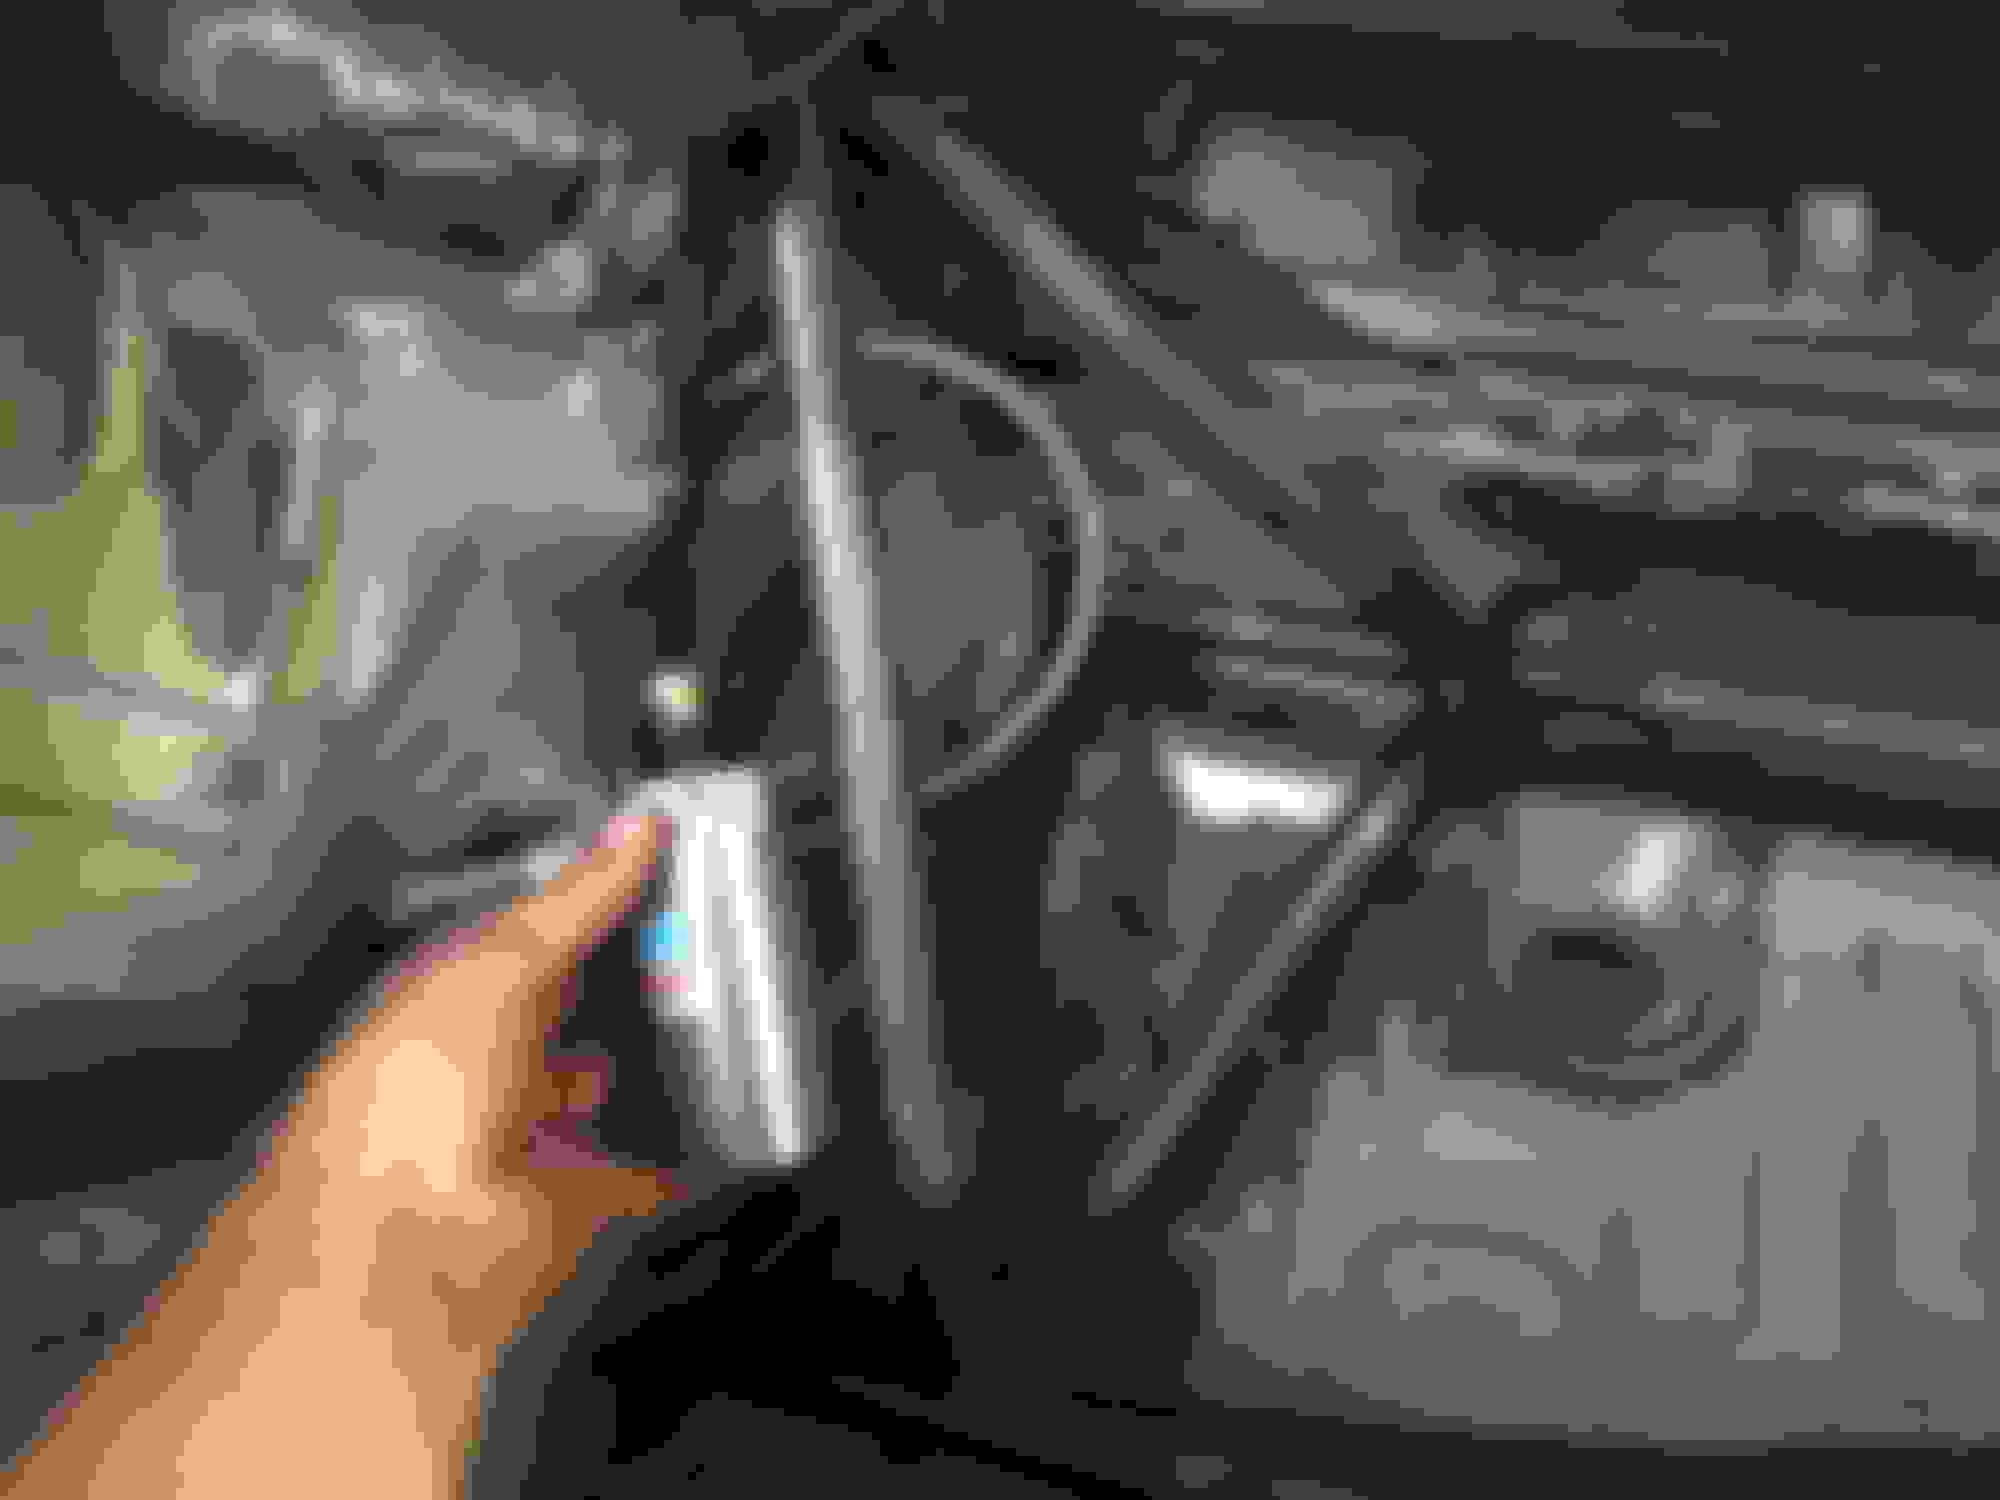
The reservoirs need some sort of bracket so we making up some carbon ones that bolt up to the rear "subframe"... where im holding it is basically what im thinking.... it should be out of the way and look good at the same time... ill get some grommets to cover the holes in the turrets.. As i think i have laready said, this all gets painted up and none of the covers are going back.... Also, i made sure there is enough space for a spare wheel....
Needed to make up a couple of them due to taking out the ABS... Ive had issues with ABS on the track before, locking up the front left or right wheel, i just made a call to take it out rather, means the ABS unit is out which saves some weight, and figured i didnt really need it.... Apparently i could have run a uni-q chip on the ABS itself but i have no idea how to do that or who could.... so out it goes.....
Here are some of the lines for the front and rear.... I also replaced the rear lines with braided to the calipers... fronts were already done with the AP ones...
Inside the front arch, the two rear lines which i then used a T piece to get it to one line....Used hard lines here because of stones and so on, im not putting any arch liners back in i dont think....
I used a brakeline tool to get it as neat as possible, as OEM as possible i guess... I thought about running it in the rear section or firewall area, but im guessing its the same same...at this point its easy enough to get to and shouldnt hopefully have issues later....
Always use this fluid... havent ever had any issues, and have used with the AP's before, was a no brainer to put it in....
Car back on the ground and rolling.... Super happy to have it back at this stage.... its paint next and then a whole lot of other things coming.... I must get moving and decide what i want to do engine wise...