When you click on links to various merchants on this site and make a purchase, this can result in this site earning a commission. Affiliate programs and affiliations include, but are not limited to, the eBay Partner Network.
hey guys, been awhile..... not much to report really.. car has been in for paint and almost all the panels are done, getting there....
looks terrible in the pictures but i guess its the process... Decided the boot is just to heavy to keep on there... so the guys are going to paint it and get it smooth enough to take a mold.. thinking i might as well do the rear windows in perspex too... it should look OEM ish, just a waste carrying the weight for no reason... little effort, well i say that but its probably going to take 2 weeks...hahaha... will go carbon... also thinking about doing the rear spoiler as a "one piece" together
Just a quick question.... 370z intake manifold.... the bolt pattern is different?... also do you need the lower manifold as well or just the top section... seems i might have found a 370z crank......
hey guys, been forever.... not to much to report on the car as its still in the paint shop.... guys are taking forever that side and its my fault for not pushing them.... i have been busy with the other car and trying to get that ready for one or two events but thats no excuse!!!!
I have been chatting with the Local Nissan Dealership and they have said they happy to build the motor for me.. They have a 370z crank and it looks like they have put it aside for me and the build.... Have the injectors already and fuel pump...
oh and the parts arrived that i ordered awhile back... Cusco 6 point around dash cage with the custom X bars in the rear... Have the Nardi suede steering wheel in 360mm... The Tomei stuff has also arrived although Tomei Japan doesnt make the titanium downpipes so they coming from your side of the world as Tomei America do make them....So far i have the cat back single exit, the Y pipe and the Headers.....
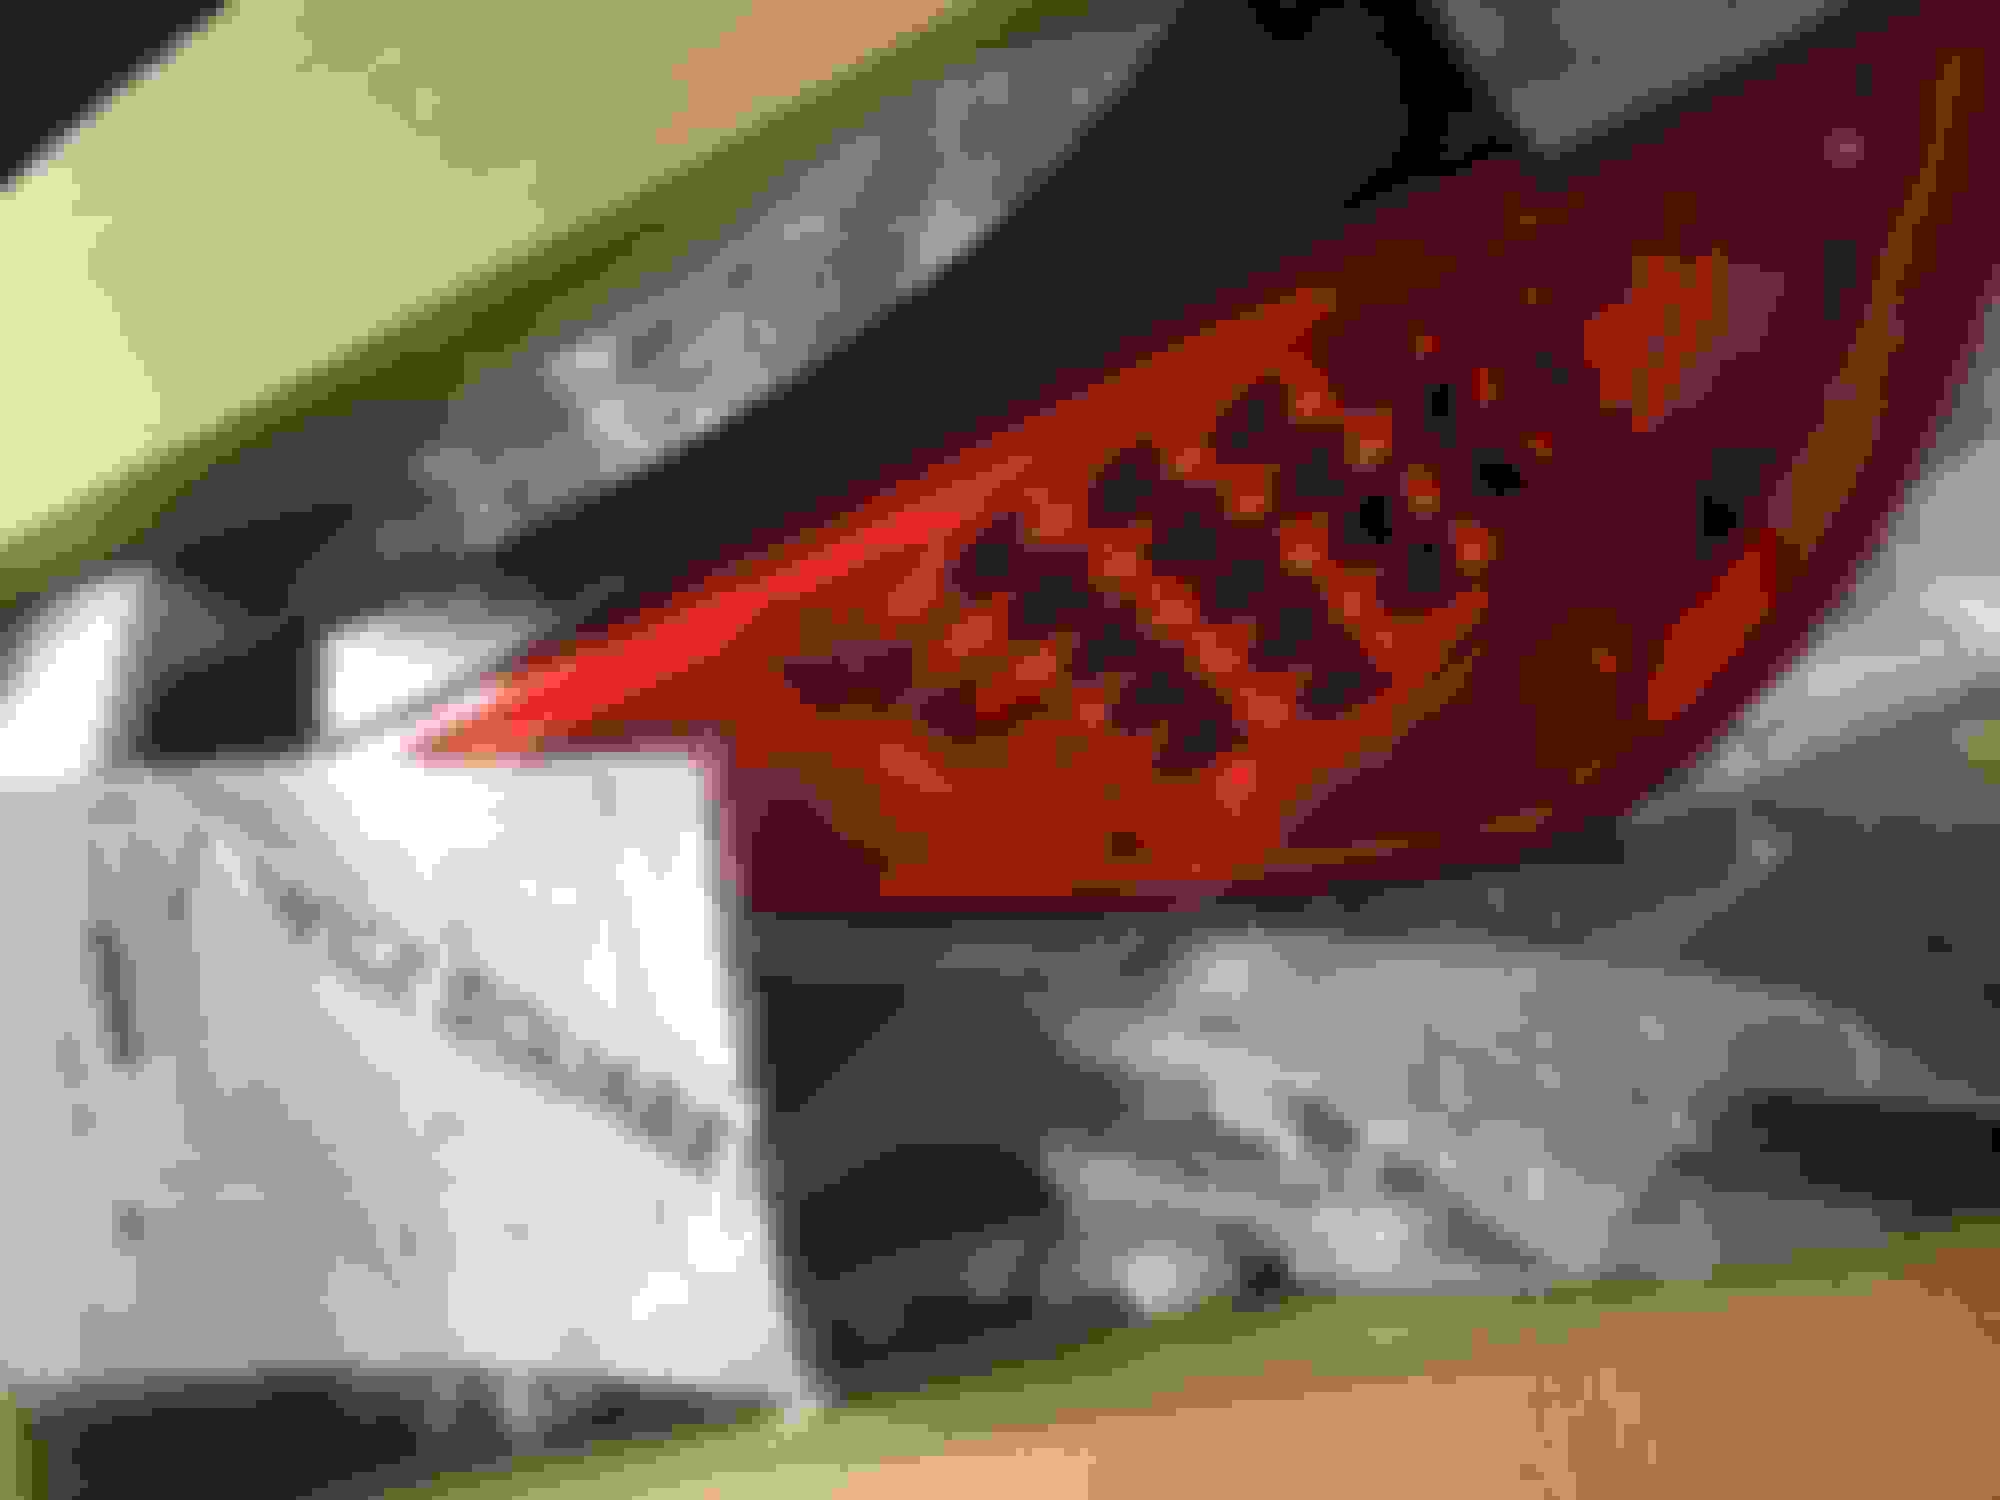
Also the rear lights... love them...OEM but not if you know what i mean... ah yes and the wheels.... I have always been a fan of TE37's and have had them on previous cars... In my perfect world i'd like everything to have them on.... hahaha.... well in my garage anyway, one day when im big....
So i guess thats all exciting, its just to get it all in the car once its back.... IM guessing its still going to be awhile as i must start with the engine... also start sourcing these other parts i need..... i must also still get intake pipes but im still aways from that....
I chatted to Eibach SA and they going to get a set of the arms and swaybars for me.. They make everything, and i run the adjustable bars on another car with no issues... I wont need spacers as the wheels are 18 x 10j 20 offset... i did roll the fenders back and front so they will tuck in there... I ran 245's all round before but i plan on running the 265 bridgestone semi's now...
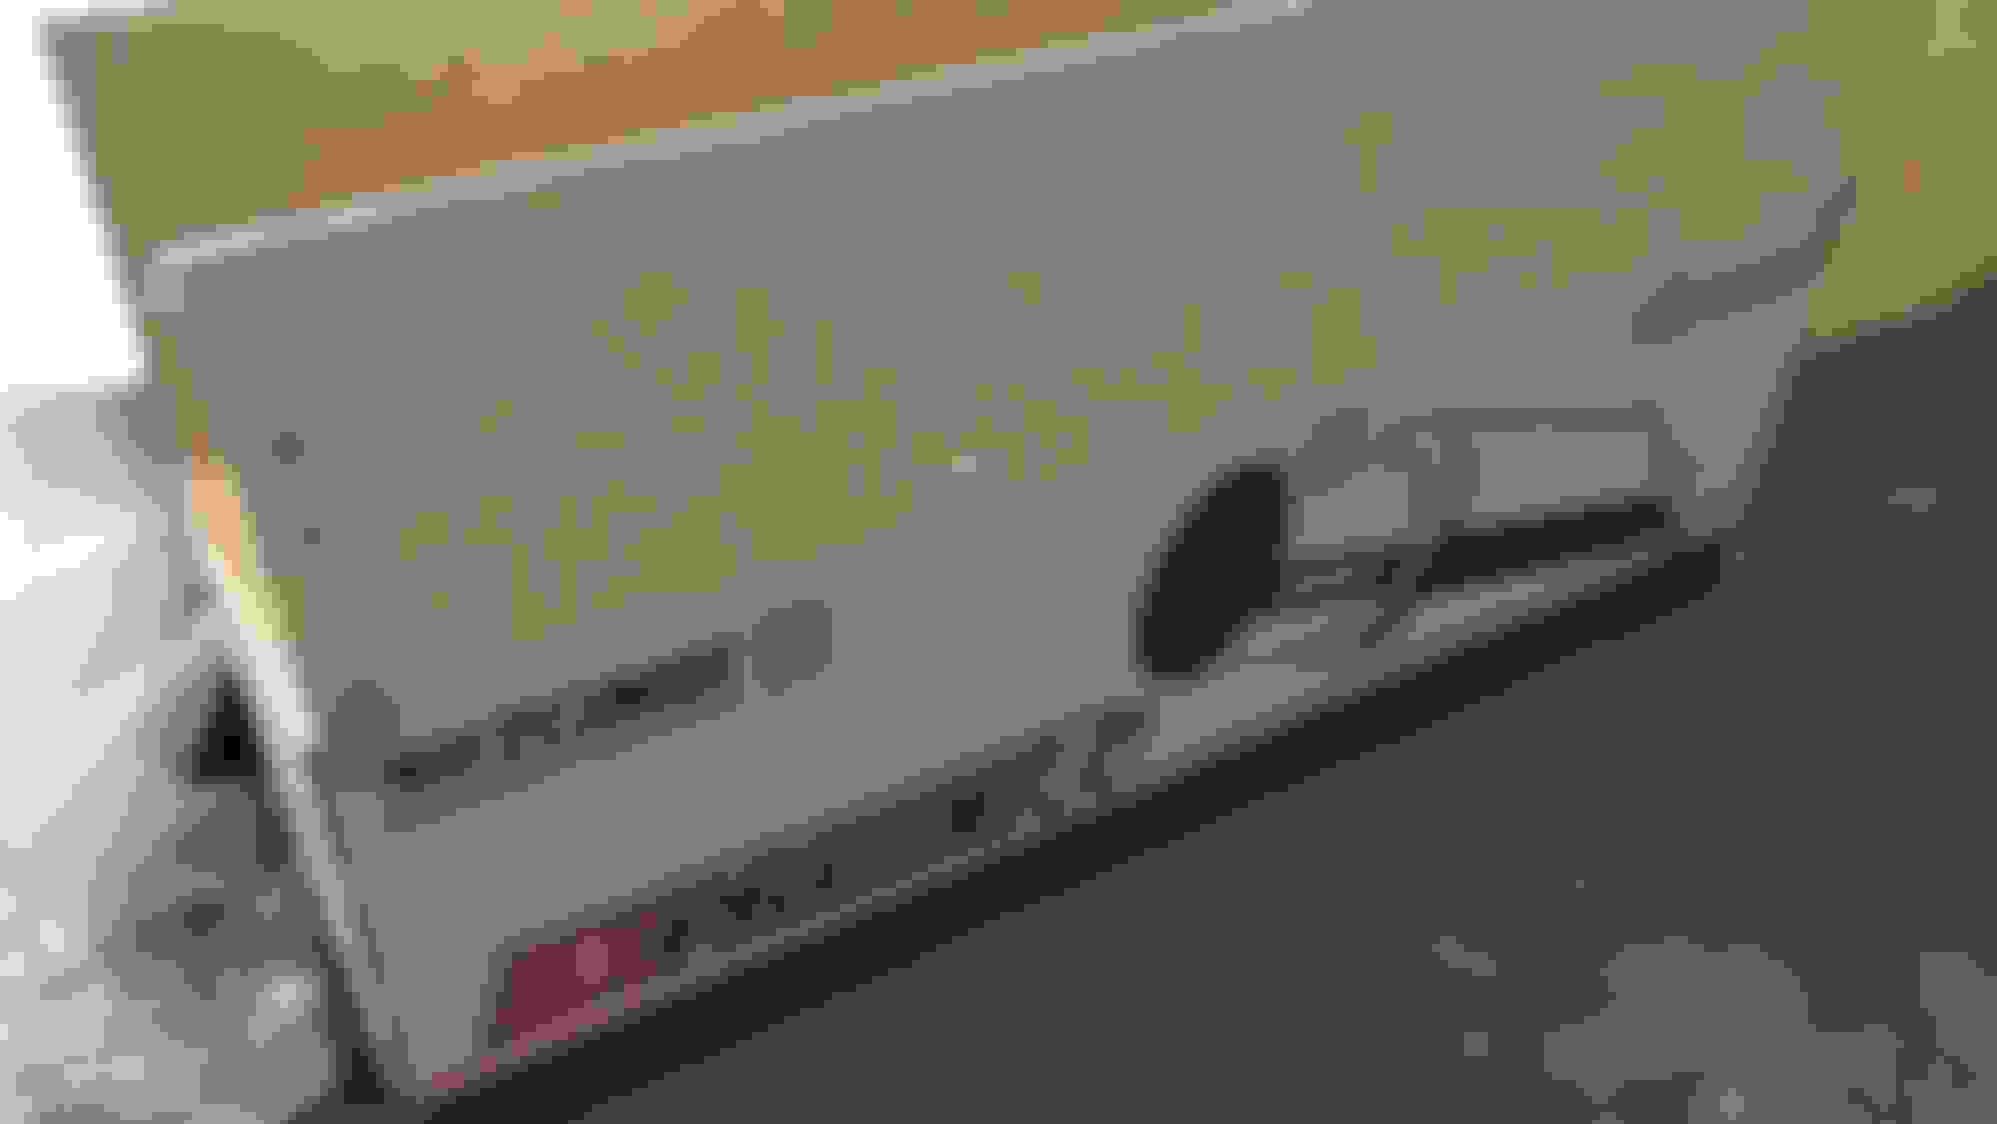
IM not sure if i mentioned this but do you know the rear boot lid weighs 33kg!.... thats on the list as its pointless running it.... We also busy with a seat design now so ill be running that for sure... should be around 6kg once its finished....
Ill get some pics of the car when im there again and some better pics of the exhaust... the wheel pics my friend took thats why they look so much better....haha... Im happy so far but its taking way longer than i hoped..... Just also saw the speed hunters article on the 350z and bang for buck... Always thought that.... i think the NA (around 400hp) will be awesome....
Here is where i get some inspiration....hahaha
hopefully some more updates sooner than later......
As for final drive and diff, its on the list but i can do that once its together... As for cleaning the parts and so on... the allley i get bead blasted, the steel stuff powder coated and the bolts all pasivated yellow.... the alley bits and lines i use steel wool, the thin type and clean it and clean it.... i also find that leaving parts and rubbers in a bucket for long helps get it all "loose"... i put water in it, engine cleaner, sometimes a bit of petrol and some handy andy.... seems to work for me.... All the parts on the car Bar the rear subframe came in the car....the OEM stuff..... car was low kilos so wasnt that bad... all inland car so no rust issues at all.......
After months of waiting we finally got the car painted up.... All the ideas and so on i have had are still on track and all the parts have just been waiting to be fitted.....
Got my friend grant to take some pictures when it was put into the paint booth....
Feels like Christmas has come early....
There was also a slight change on the bodywork... You will see it in the next photo... I had some issues trying to get the cable and petrol flap from nissan... They couldnt give me a date or arrival time, so i decided to close the hole..... I had a look and it seemed like it would be easy enough to sort out.... Only issue now is that i have to open the boot to put fuel in.... no biggy....
The paint looks awesome..
I towed the car to the shop and started cleaning.... After the car being at the bodyshop for so long, all the cleaning work that was done, basically needed a re-clean... High pressure washer sorted most of the front end out and under the car... All the interior needed to come out again to get it back to where i had it... Its fine, as i needed to take a few things out anyway to drill holes and so on for the cage... With all the windows out also meant i could get to all the places i couldnt stitch up before..... Its amazing that i thought the rear end looked good enough for paint but after going through it again, i see how crap it would have turned out.... anyway, its getting better.. The plan now is to paint the interior rear of the car and once thats done ill start with the carper, roof lining and cage.... i think once the interior is back in ill focus on the engine and so on... Im going to put the motor back in with the bolt on's, and once i have all the parts of the 3.7 litre build i take it out, no point in the car standing for months again....
I think i should get the 370 intake manifold so long and put it on there??? lets see....
From the exhaust side, its all tomei, all of it TI besides the headers... I think im going to make up a set of intakes in TI for it... Its easy enough, and being over here, it would end up being around the same money as buying from over the water and getting them here.....
Anyway, great to be posting again.... should be some more soon soon........
Small update really.... car back at the shop.... re cleaning all the bits and putting them back... Interior first then onto the engine side of things.... Actually still waiting on the downpipes to arrive, they said next week....
Drilled holes after assembling the cage, took it all out again to paint the rear end. Im not sure if i mentioned it, but i closed the petrol flap, and ive now sorted that out, inside the right side rear wheel arch.. I used the original pipe and cap, cut the piping shorter and reconnected after the relocation with new silicone fuel pipes....
I also managed to stich a few more areas with all the windows out so happy about that.. busy re sleeving the rear wiring loom as the rear panels dont go back in... Im happy so far how its turning out, most of the big ticket items are done now, the last major is the engine clean and back in....
And so it continues at this point... time to get the interior back in, but some cleaning required before that happens... The biggest battle a year later was actually just trying to find all the parts...
Just checking out the bumper and fitment... just wanted to see where to trim for the new exhaust.. With the original back box out, the "aero" side of things gets affected or at least the drag...
Filler cap.. I think i did mention before that i closed the petrol filler hole... It was more a time thing, and seeing as this car will see more track then everyday it didnt really mater to me... I think the biggest issue here is the actual weight of the boot... ill get that sorted at some stage... carrying around an extra 33kg's seems pointless...
Here you can see i just cut the bumper back on the return line... Nothing to crazy from close up, but driving behind it you will get to see a little of the suspension bits... Ill get to doing a diffuser, or just change up the bumper possibly...
The Boot.... this took the most time once it was back... cleaning and sanding and some filler here and there to try get this to look as neat as possible... I planned on painting it the gunmetal like the engine bay as it just gets lost in the black.... Amazing once it gets painted how the stitching side of things disappears...
some primer...
and the colour on.... i love the look of it... and these rear panels dont go back.. I do plan at some stage to make a smaller "floor panel" closest to the lights... just not to scratch and to reduce some noise if i do drive it longer than expected..... does allow for a lot more space with the panels out....
some trim panels in and it looks epic in my opinion..... paint came out ok, a lot less effort than expected there... no polishing needed... If i spent a couple hours more on it all the finish could have been better, but at some point you have to call it...
Interior panels going back in... starting to look like a car... also the cage is bolted up properly as you can see..... amazing how there is a sequence of putting parts back otherwise its all out again, happened a few times....
Bulk of the work done interior wise and super happy here.... Glad its back, and going quicker than expected......
So its something i have been wanting to do since i welding in the rear bars... With the canisters just "sitting" around i thought it would bw cool to get them out the way, easy to use and also look cool at the same time.... A friend of mine and i sat down for awhile and came up with this.... Very bicycle stem kinda vibe actually...
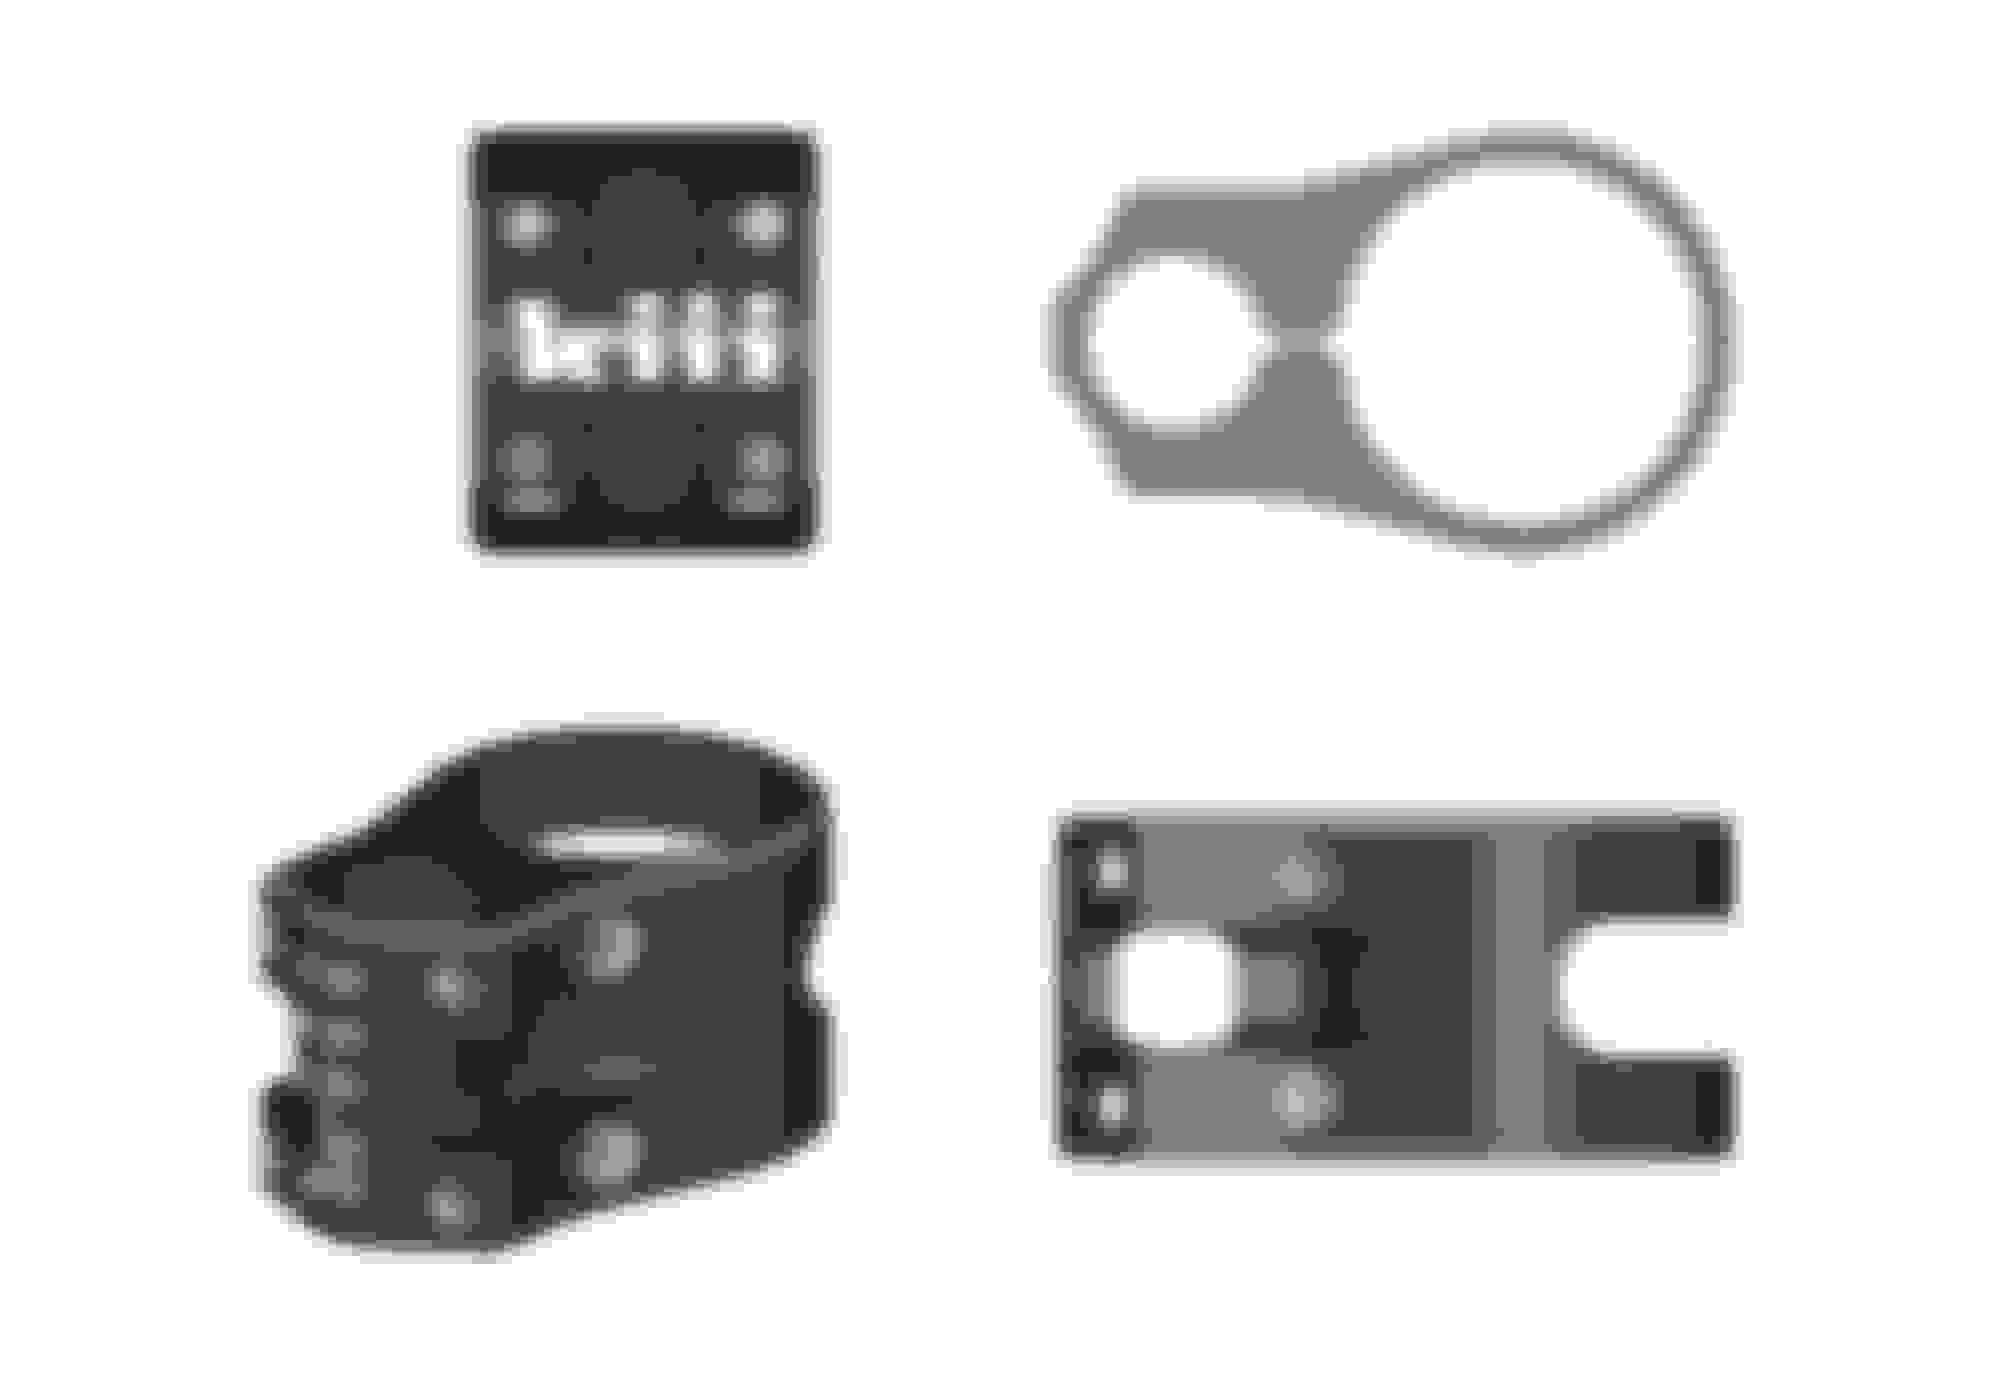
And so it came into shape.... some billet and away you go..... Made them up in one piece and then cut them after.... Also i didnt want the surface polished up as i liked the "off the bench" finish...
Finished product.... Had its anodised black and the machined the face and edges to bring back the silver... Im still going to change the bolts to stainless so is pops a bit more but you get the idea... nice little touch i think....
The front ones are going to take a little more effort... We plan on making up a new strut brace and inserting them into the connecting points so they out the way, hopefully also out the way of the heat....
anyway, thought i would show you guys that little piece...
Wow! Just wow! It�s heartening to see a 350z get so much love. I come at the Z from the classic car world and this reminds me of the type of restoration you�d see on an older car. Can�t wait to see the end results.
And on a side note my parents lived not too far from you in Gansbaai for 15 years (they moved back to the US last year), so I can imagine how hard it is for you to get parts etc way down there.
Last edited by kauai1800; Jan 7, 2018 at 12:38 PM.