When you click on links to various merchants on this site and make a purchase, this can result in this site earning a commission. Affiliate programs and affiliations include, but are not limited to, the eBay Partner Network.
Felt i should post something about my love for Z's.... It started off by buying a new Rev spec back when they came out, sold that and eventually bought another...
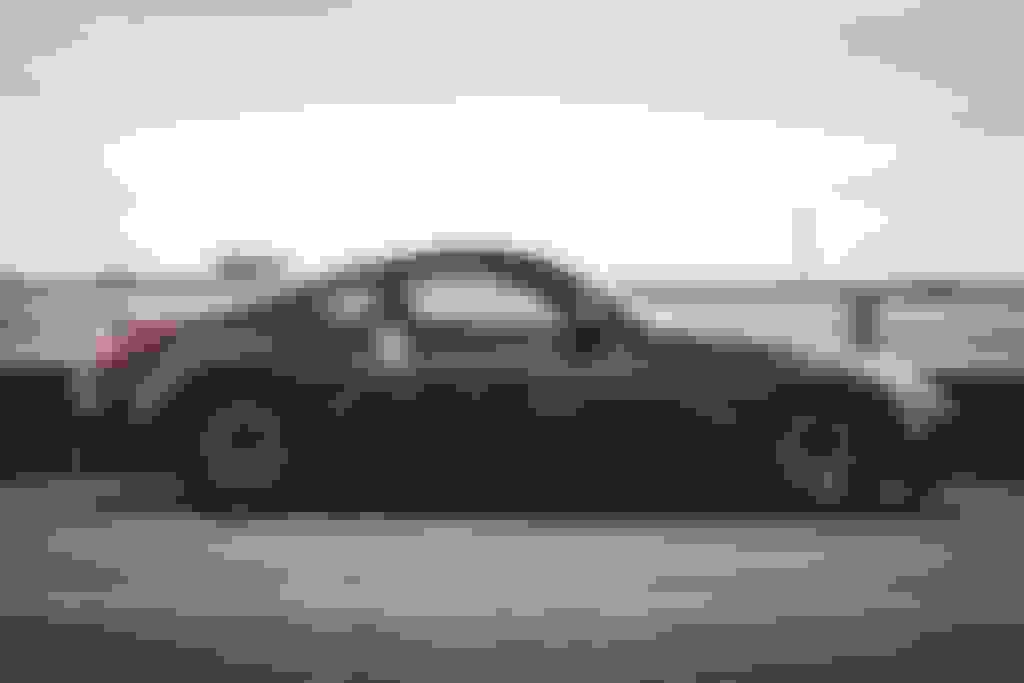
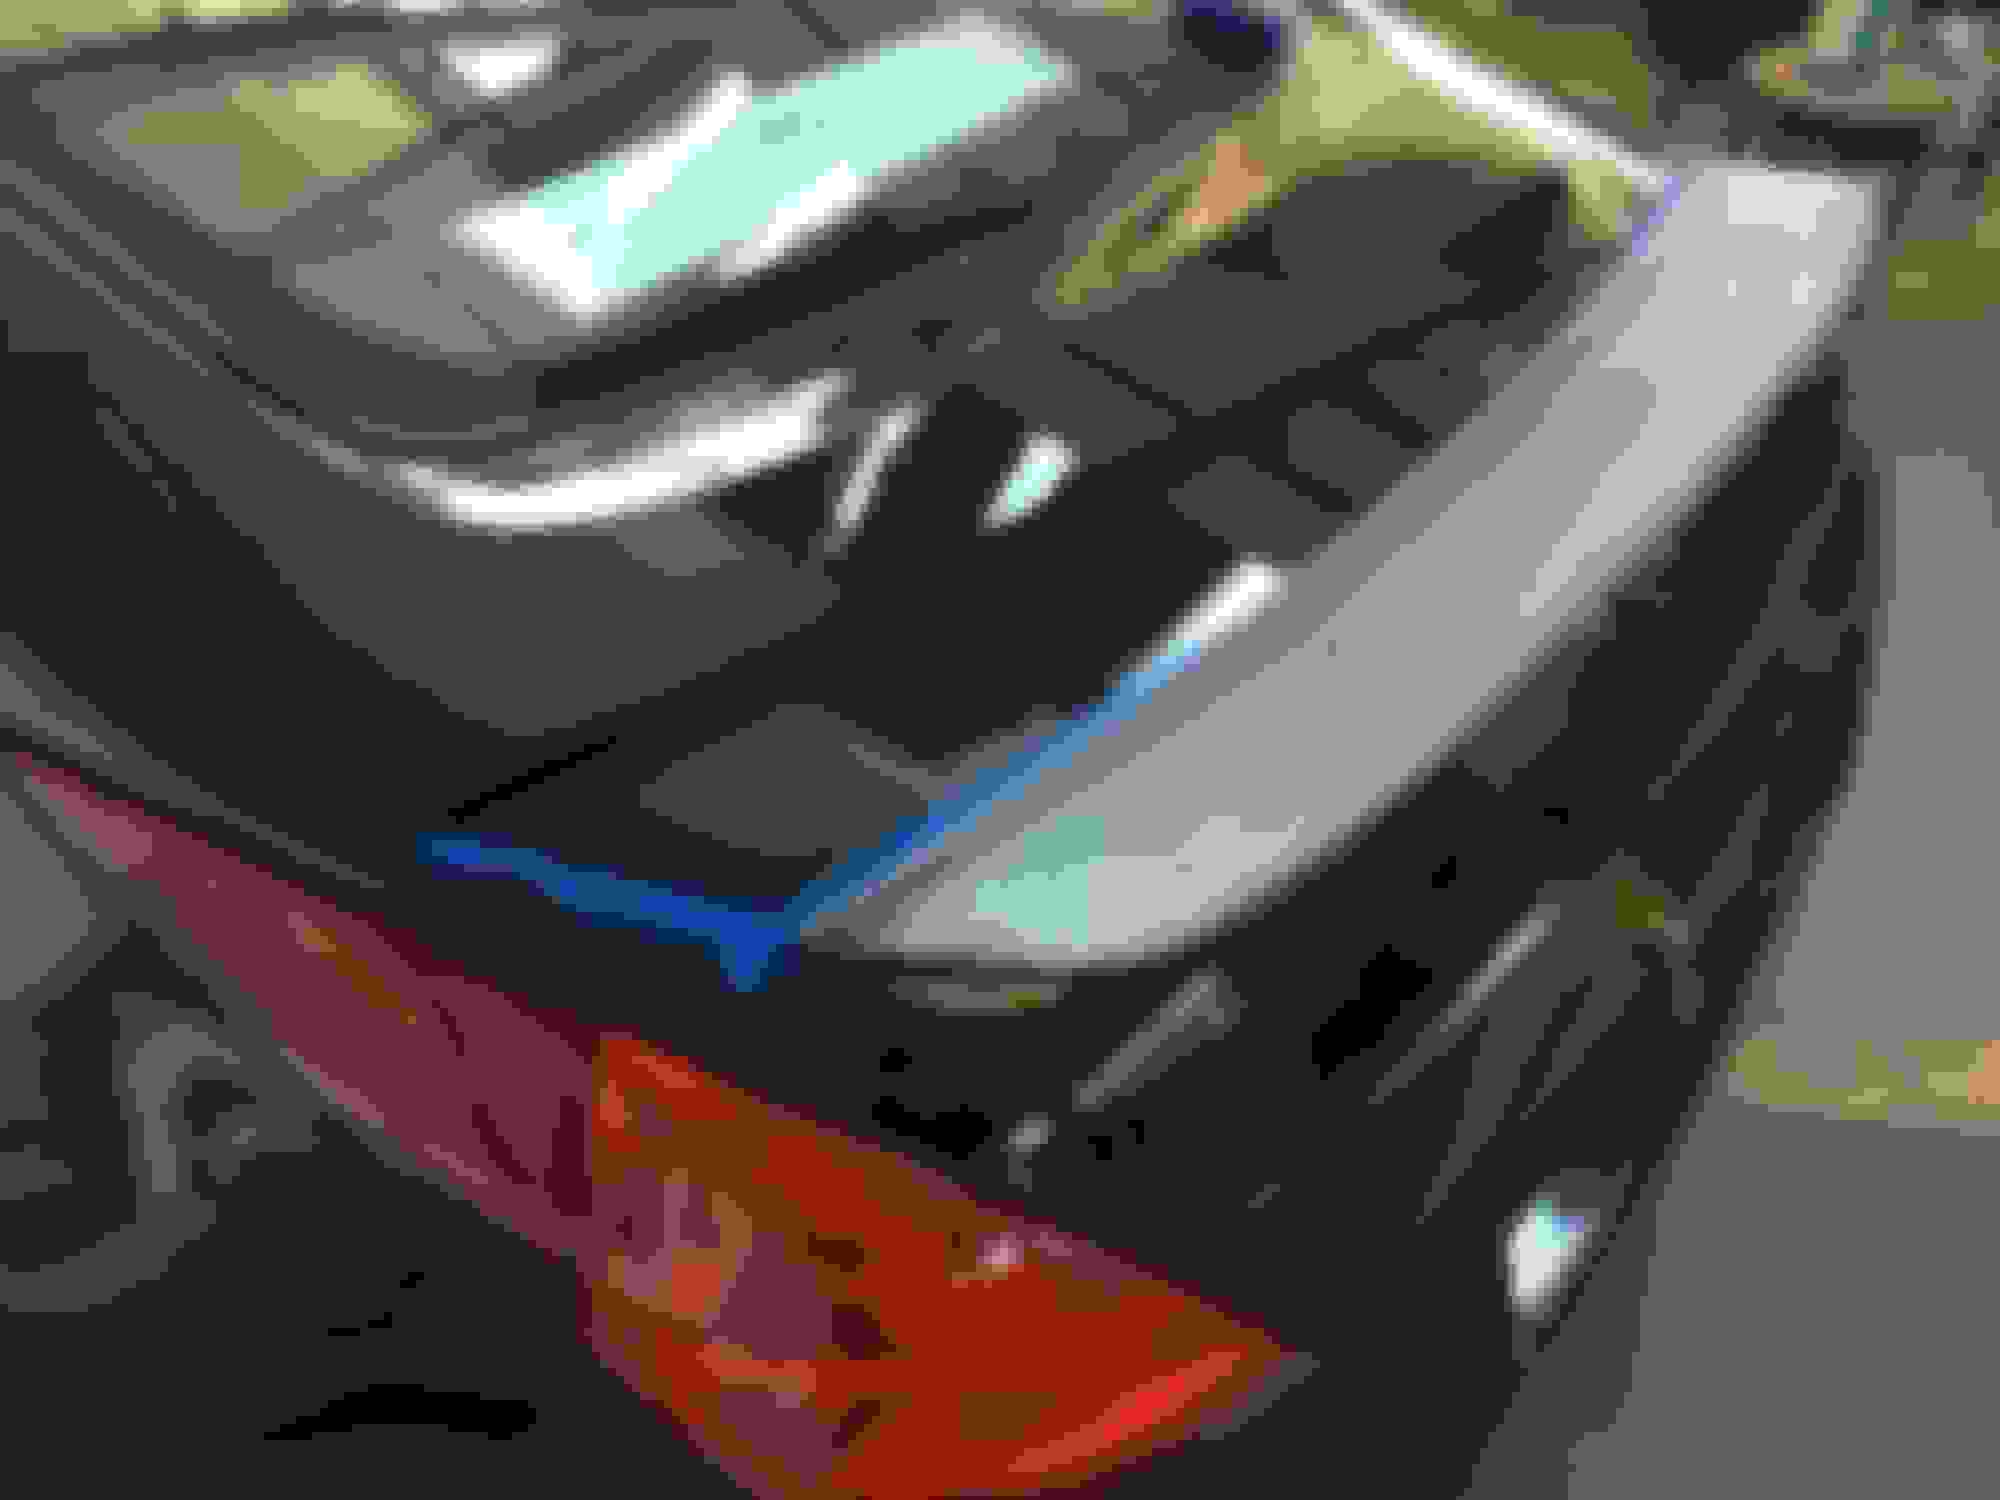
Another came up for sale in Black, my colour of choice and ended up buying that as a fun track inspired street car... After being asked many time by a friend to buy it from me, i eventually said if i can get my hands on a black HR i would.... i looked that afternoon and one was loaded on gumtree 6 hours before.... and so this process began....
Below are pictures of my DE i sold... loved the look and stance of it... I was lucky enough to not sell the wheels and coilovers in the deal so they would then move onto the HR....
With one or two ideas in mind of "cleaning it up", it always seems to spiral from there, as youll see....
I love the Z but the HR was the way forward from the DE... the DE had the intake spacer, decat, exhaust, uniq chip and was awesome, the stock HR i could already feel was quicker....
I got the HR at a steal so decided to rebuild it rather to make sure everything was PERFECT and would be able to much better the times around our local track....
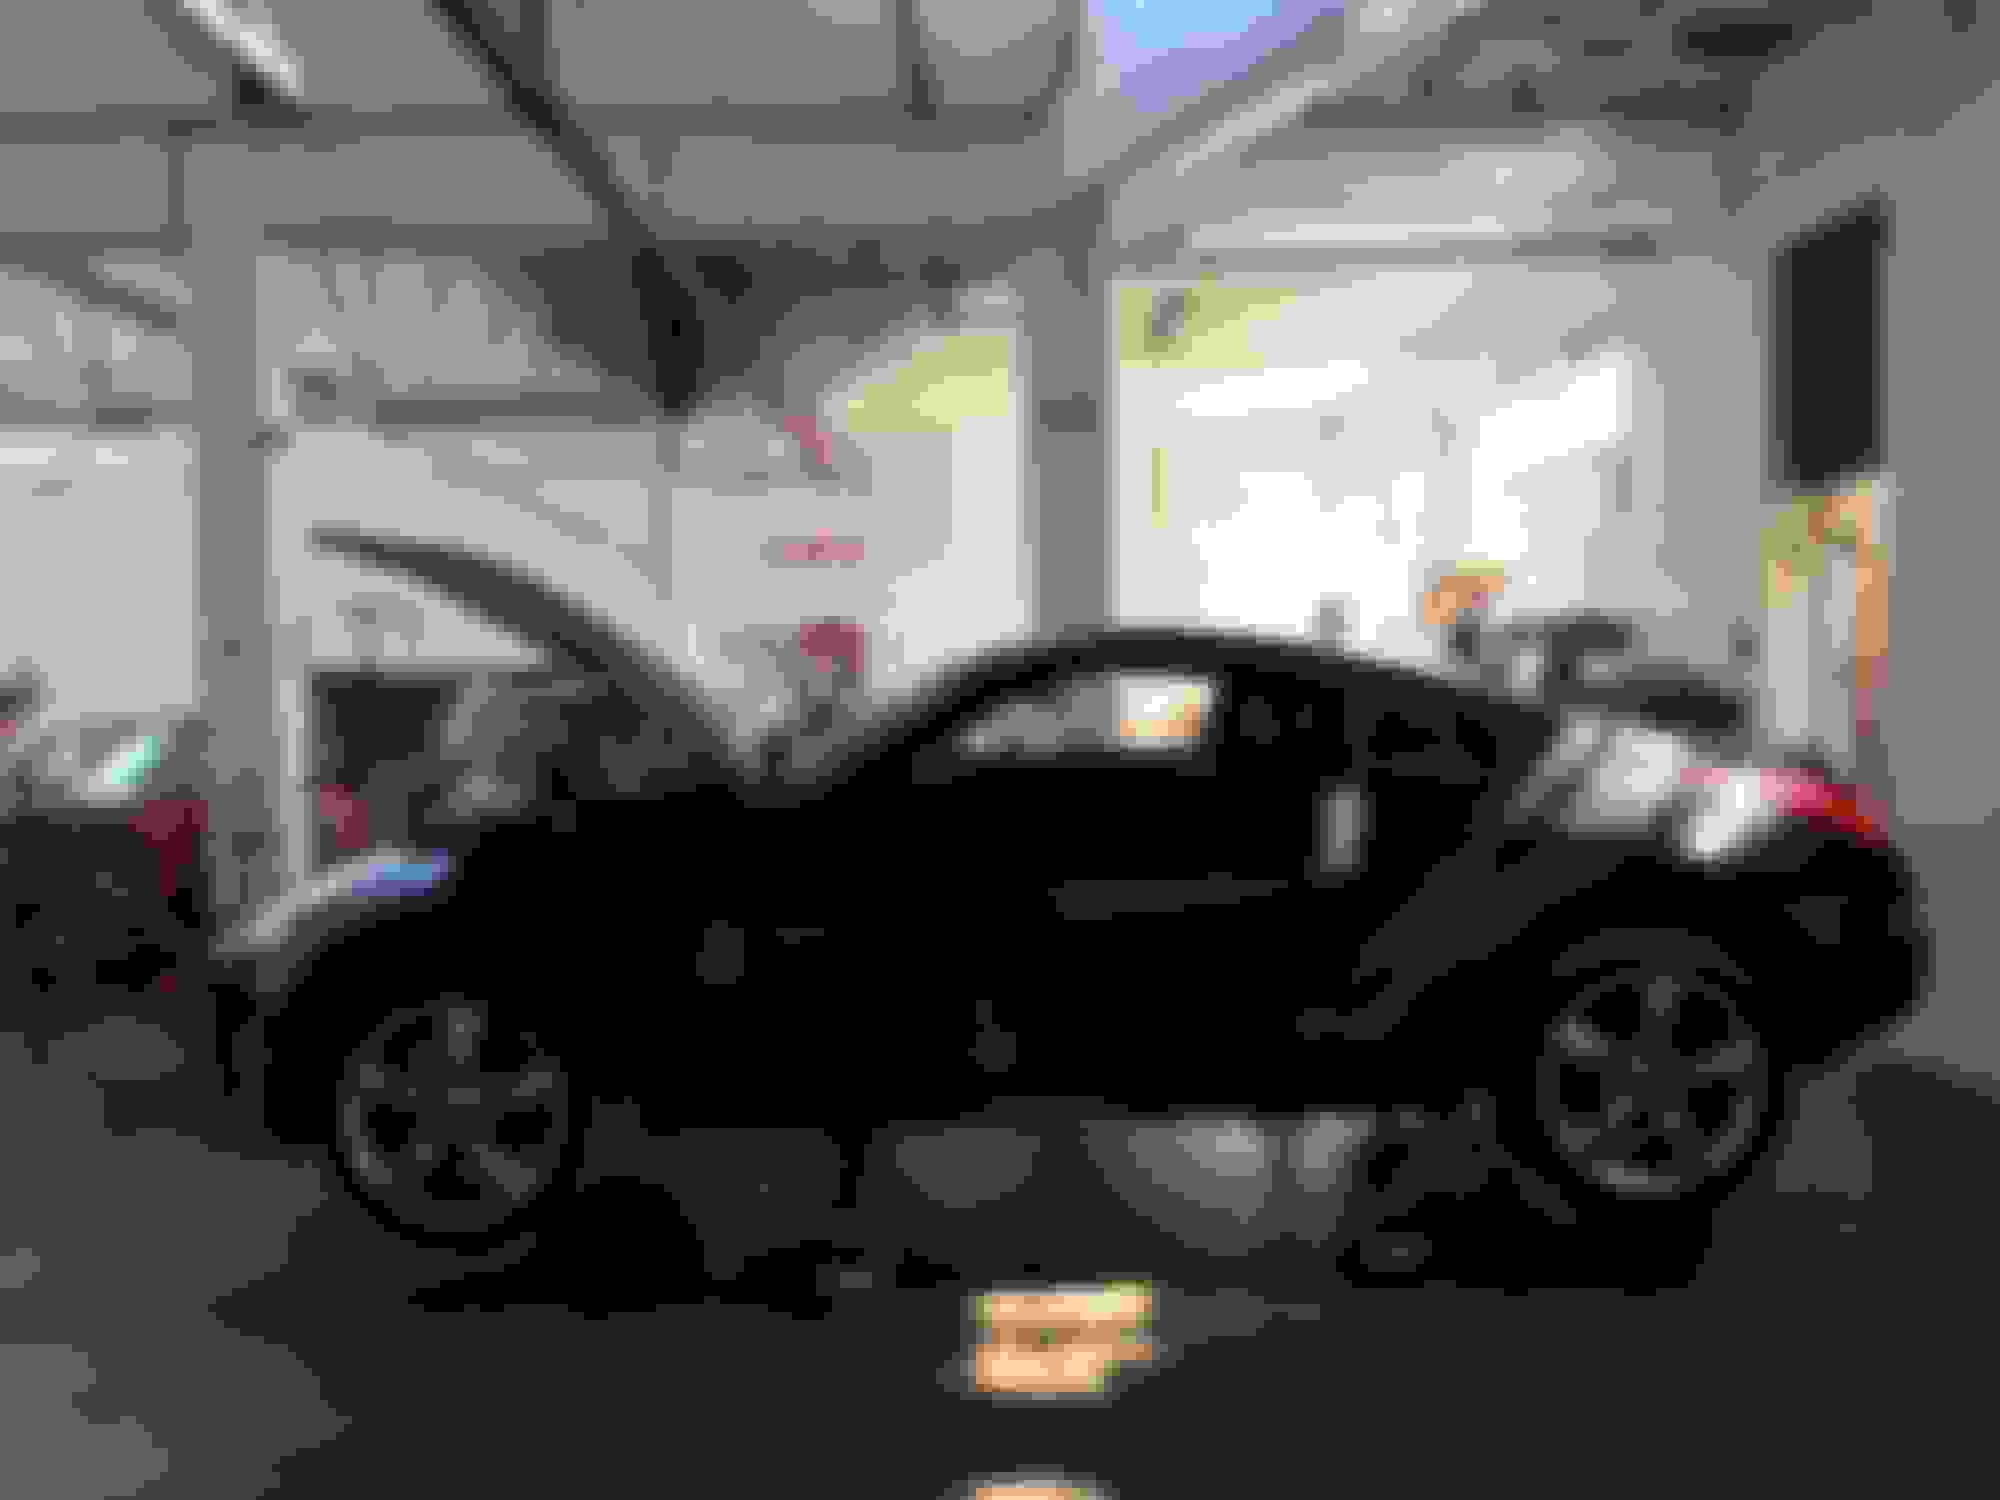
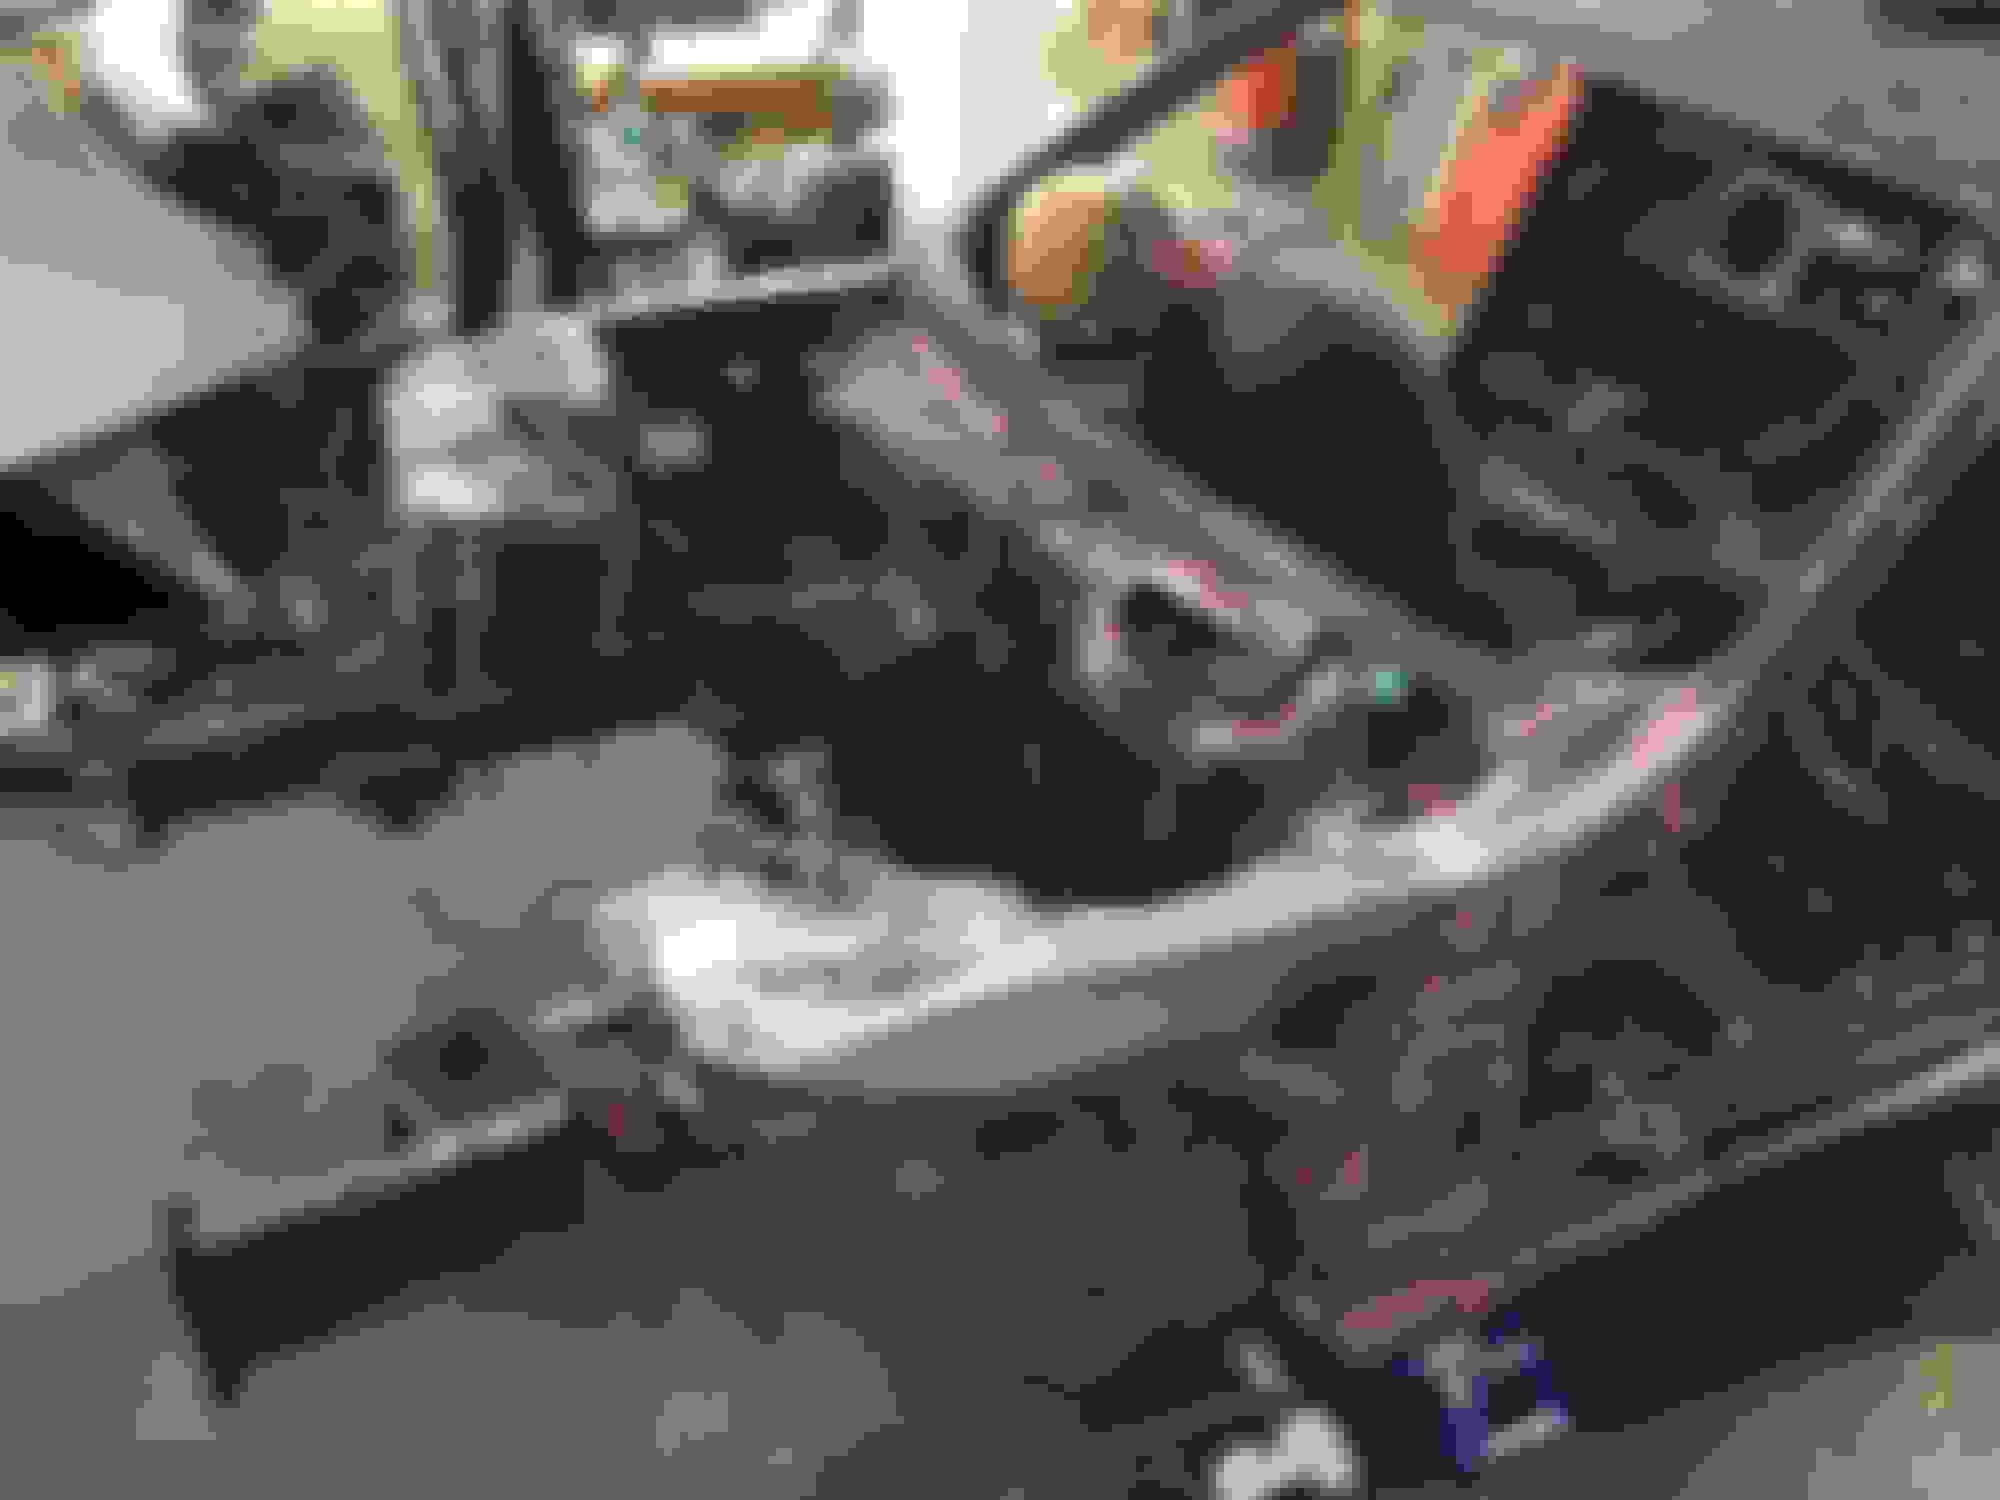
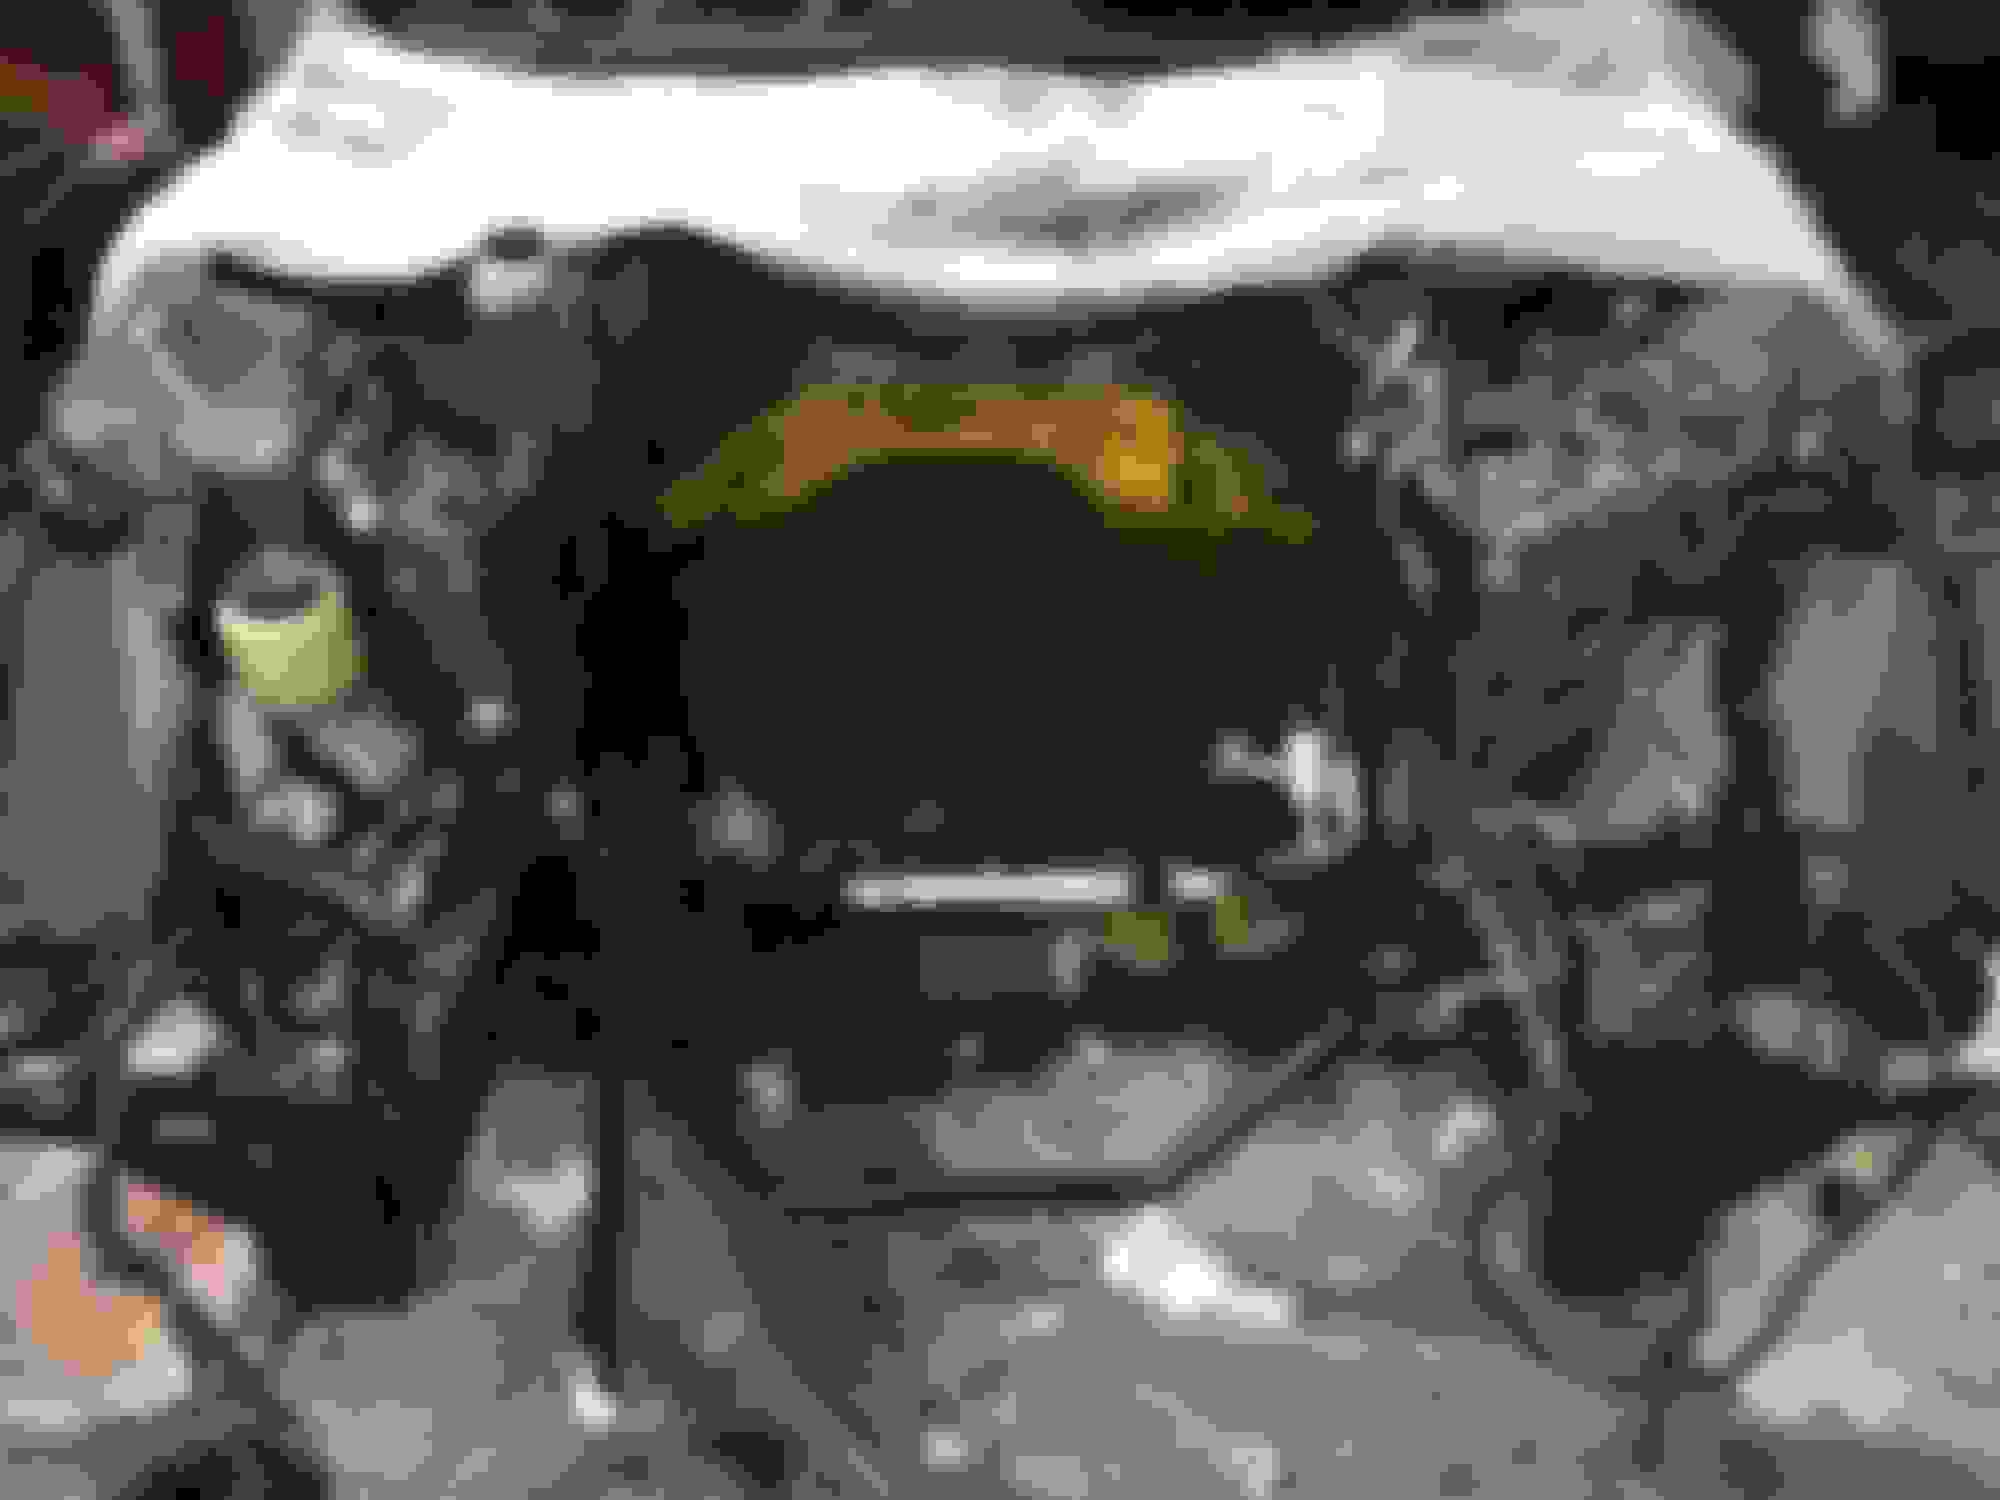
So the build started... i pulled it into the workshop and started stripping....
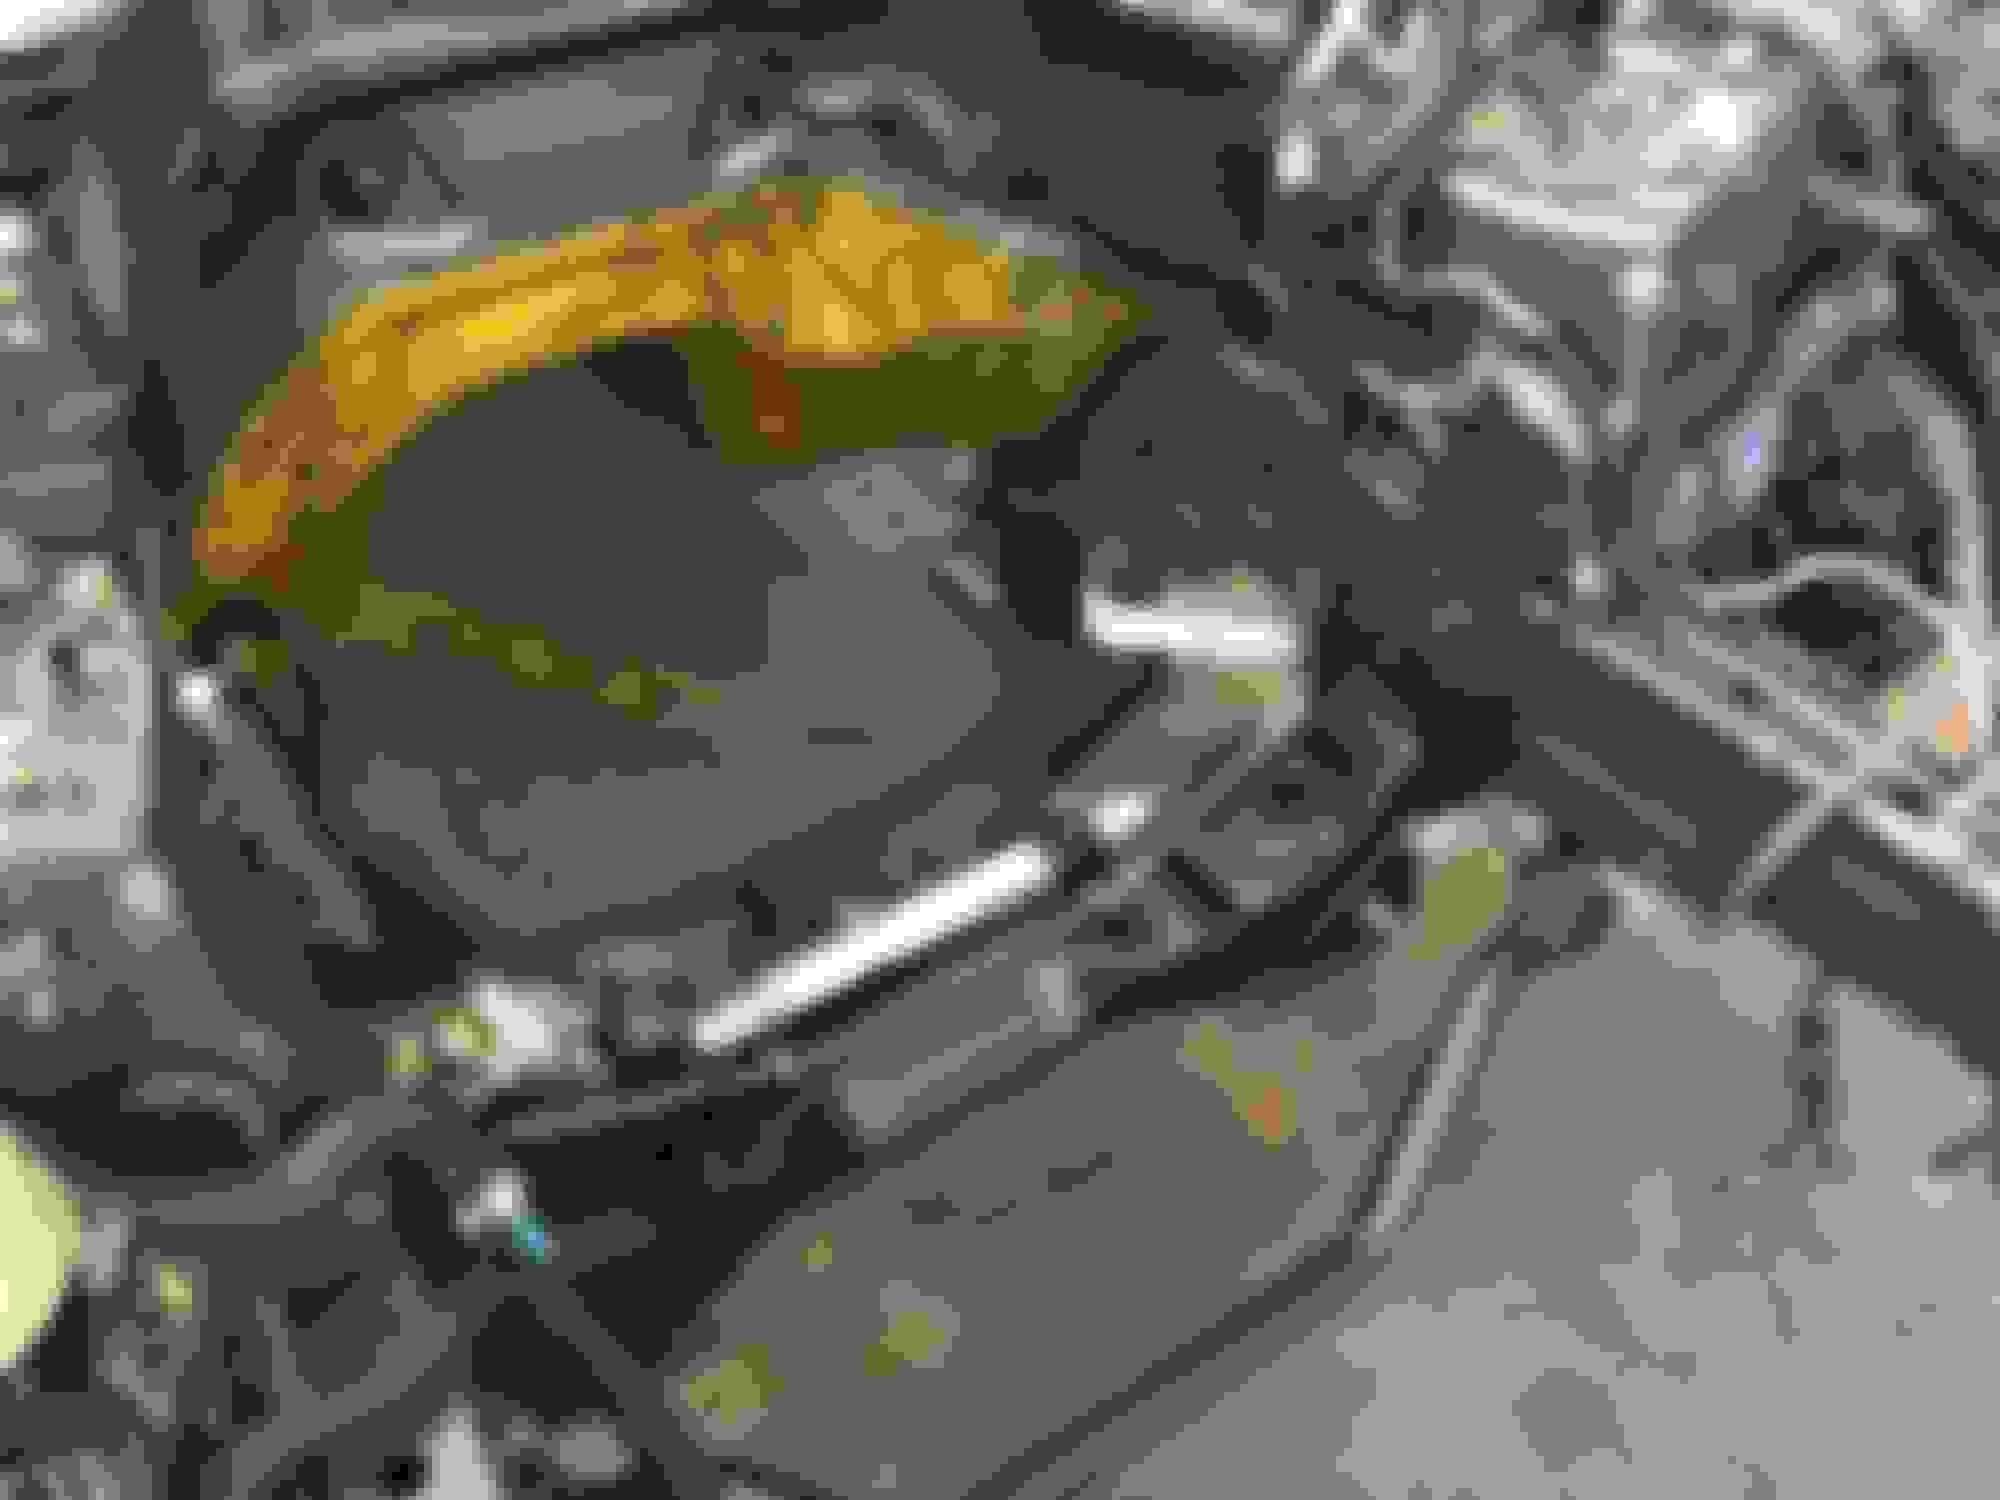
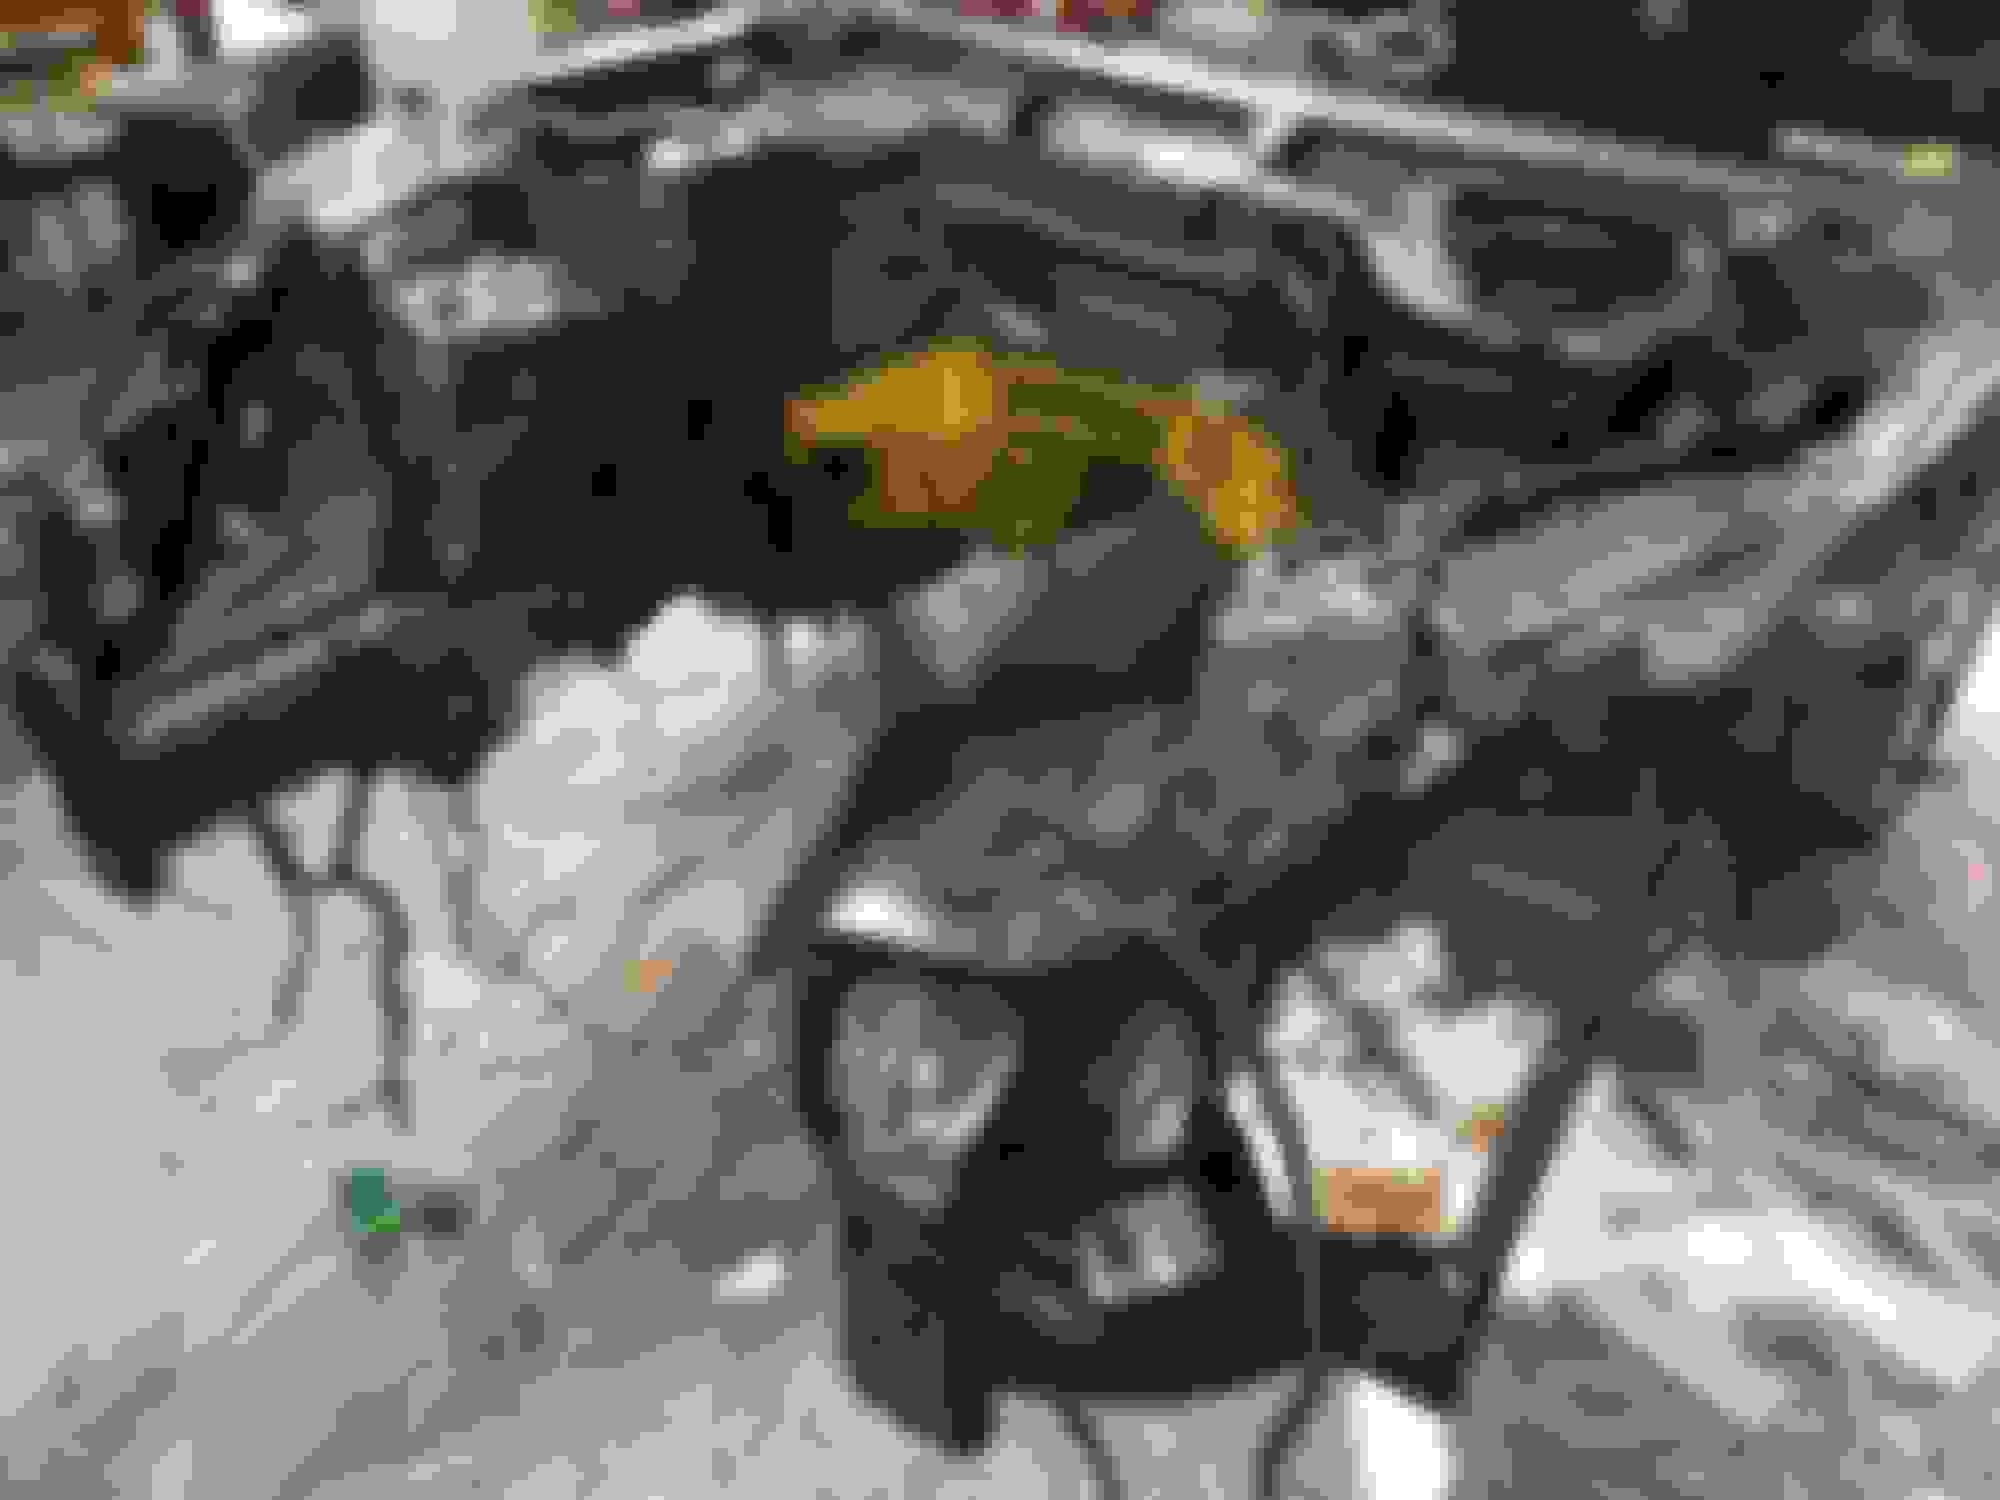
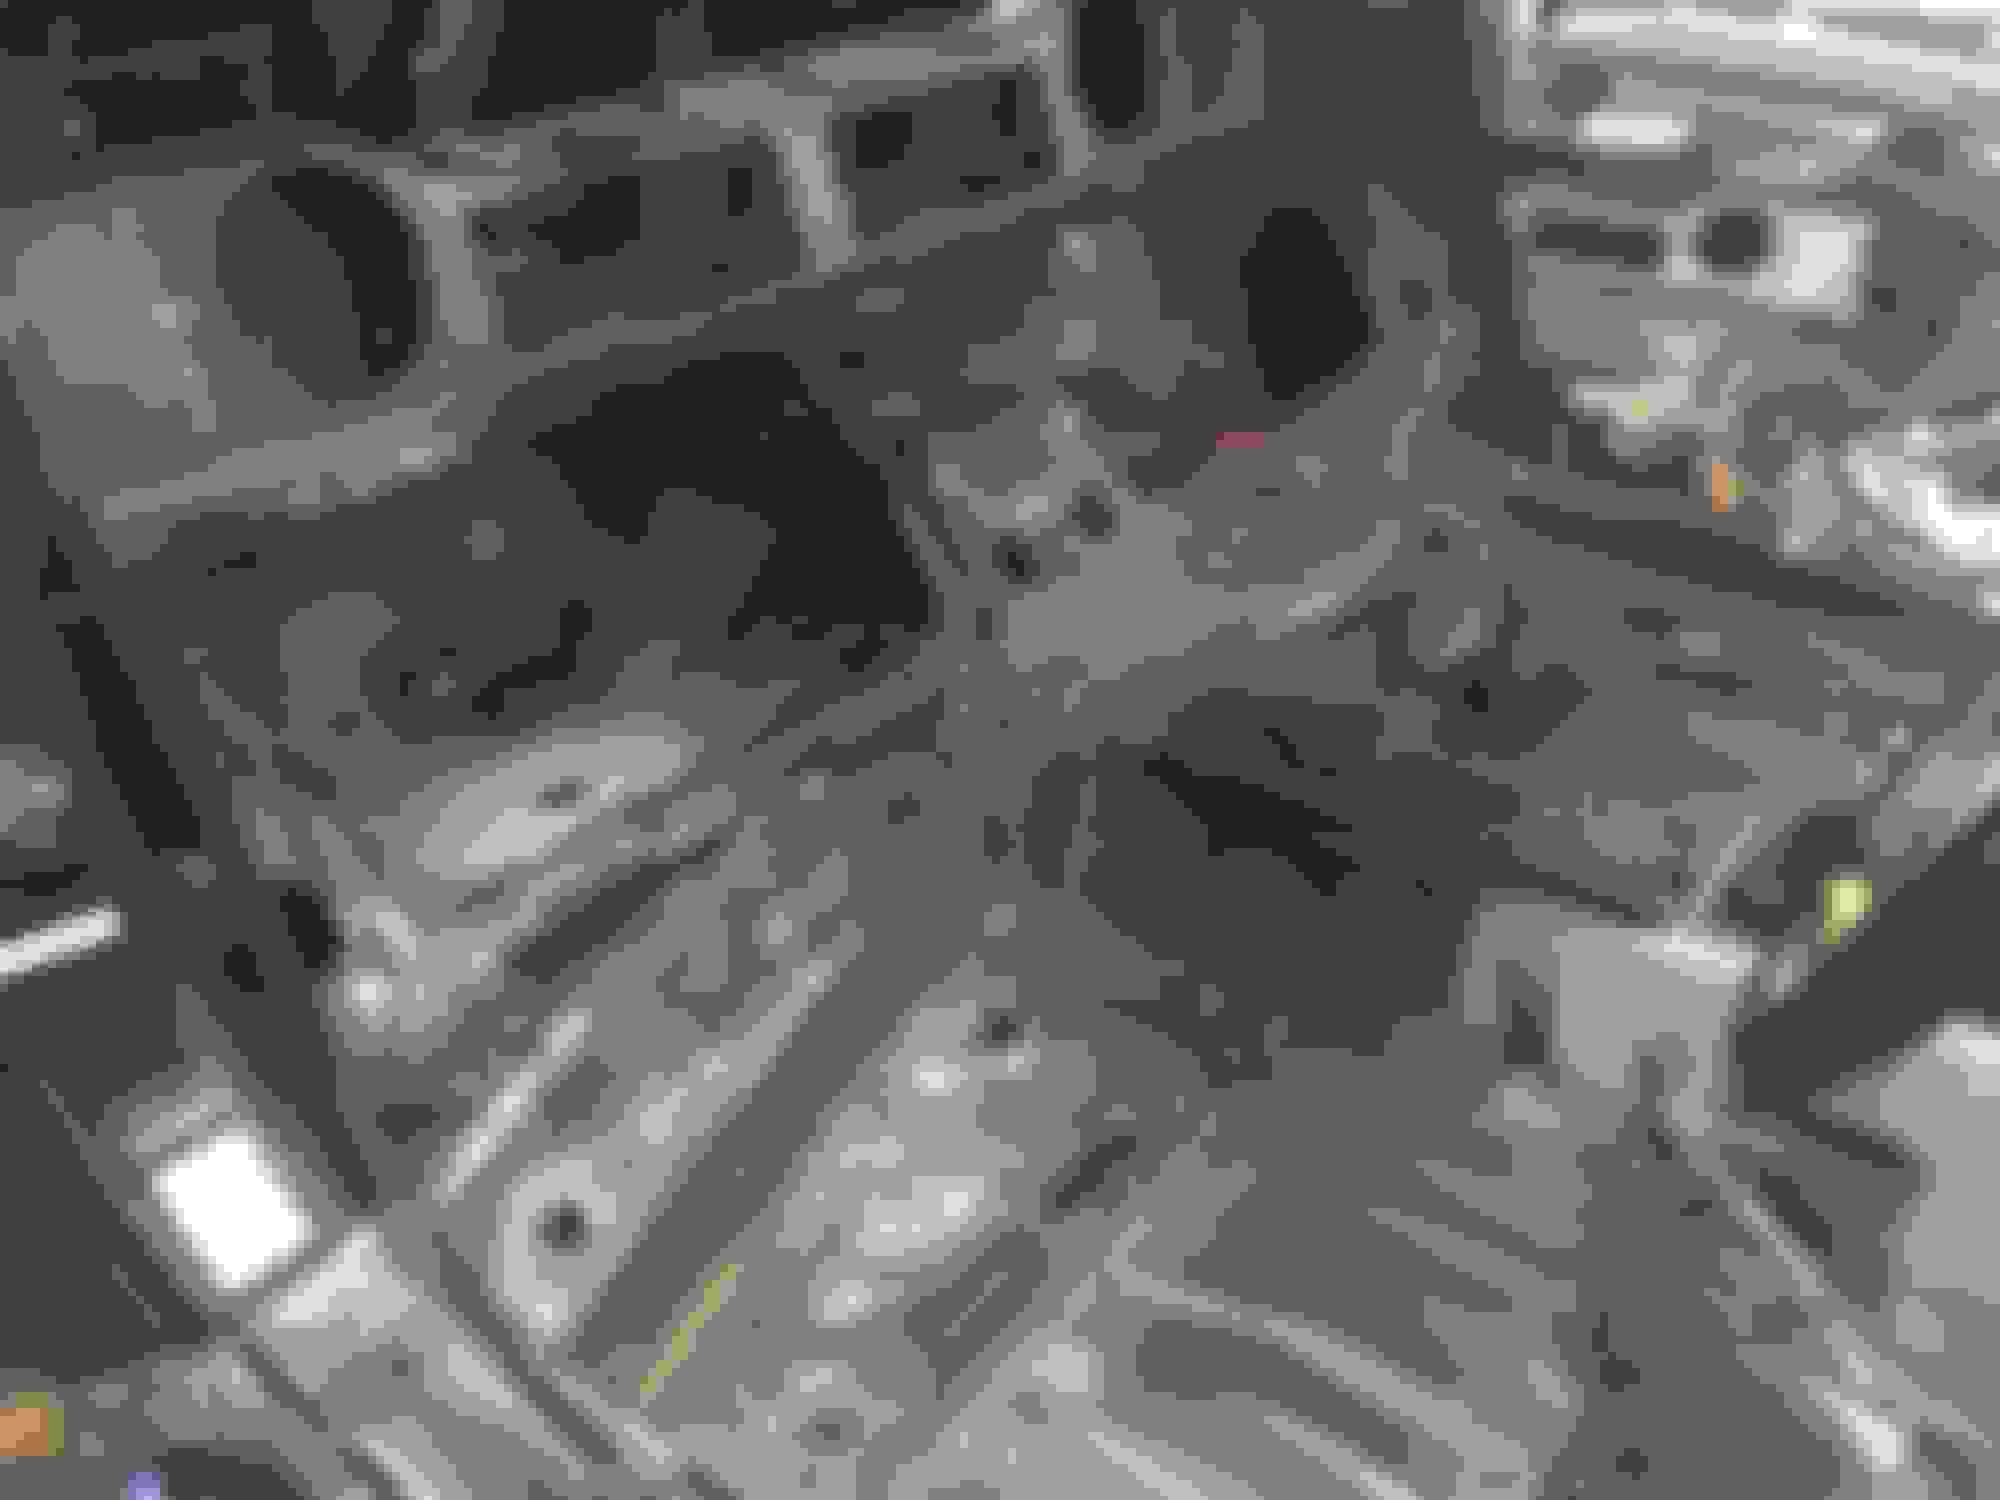
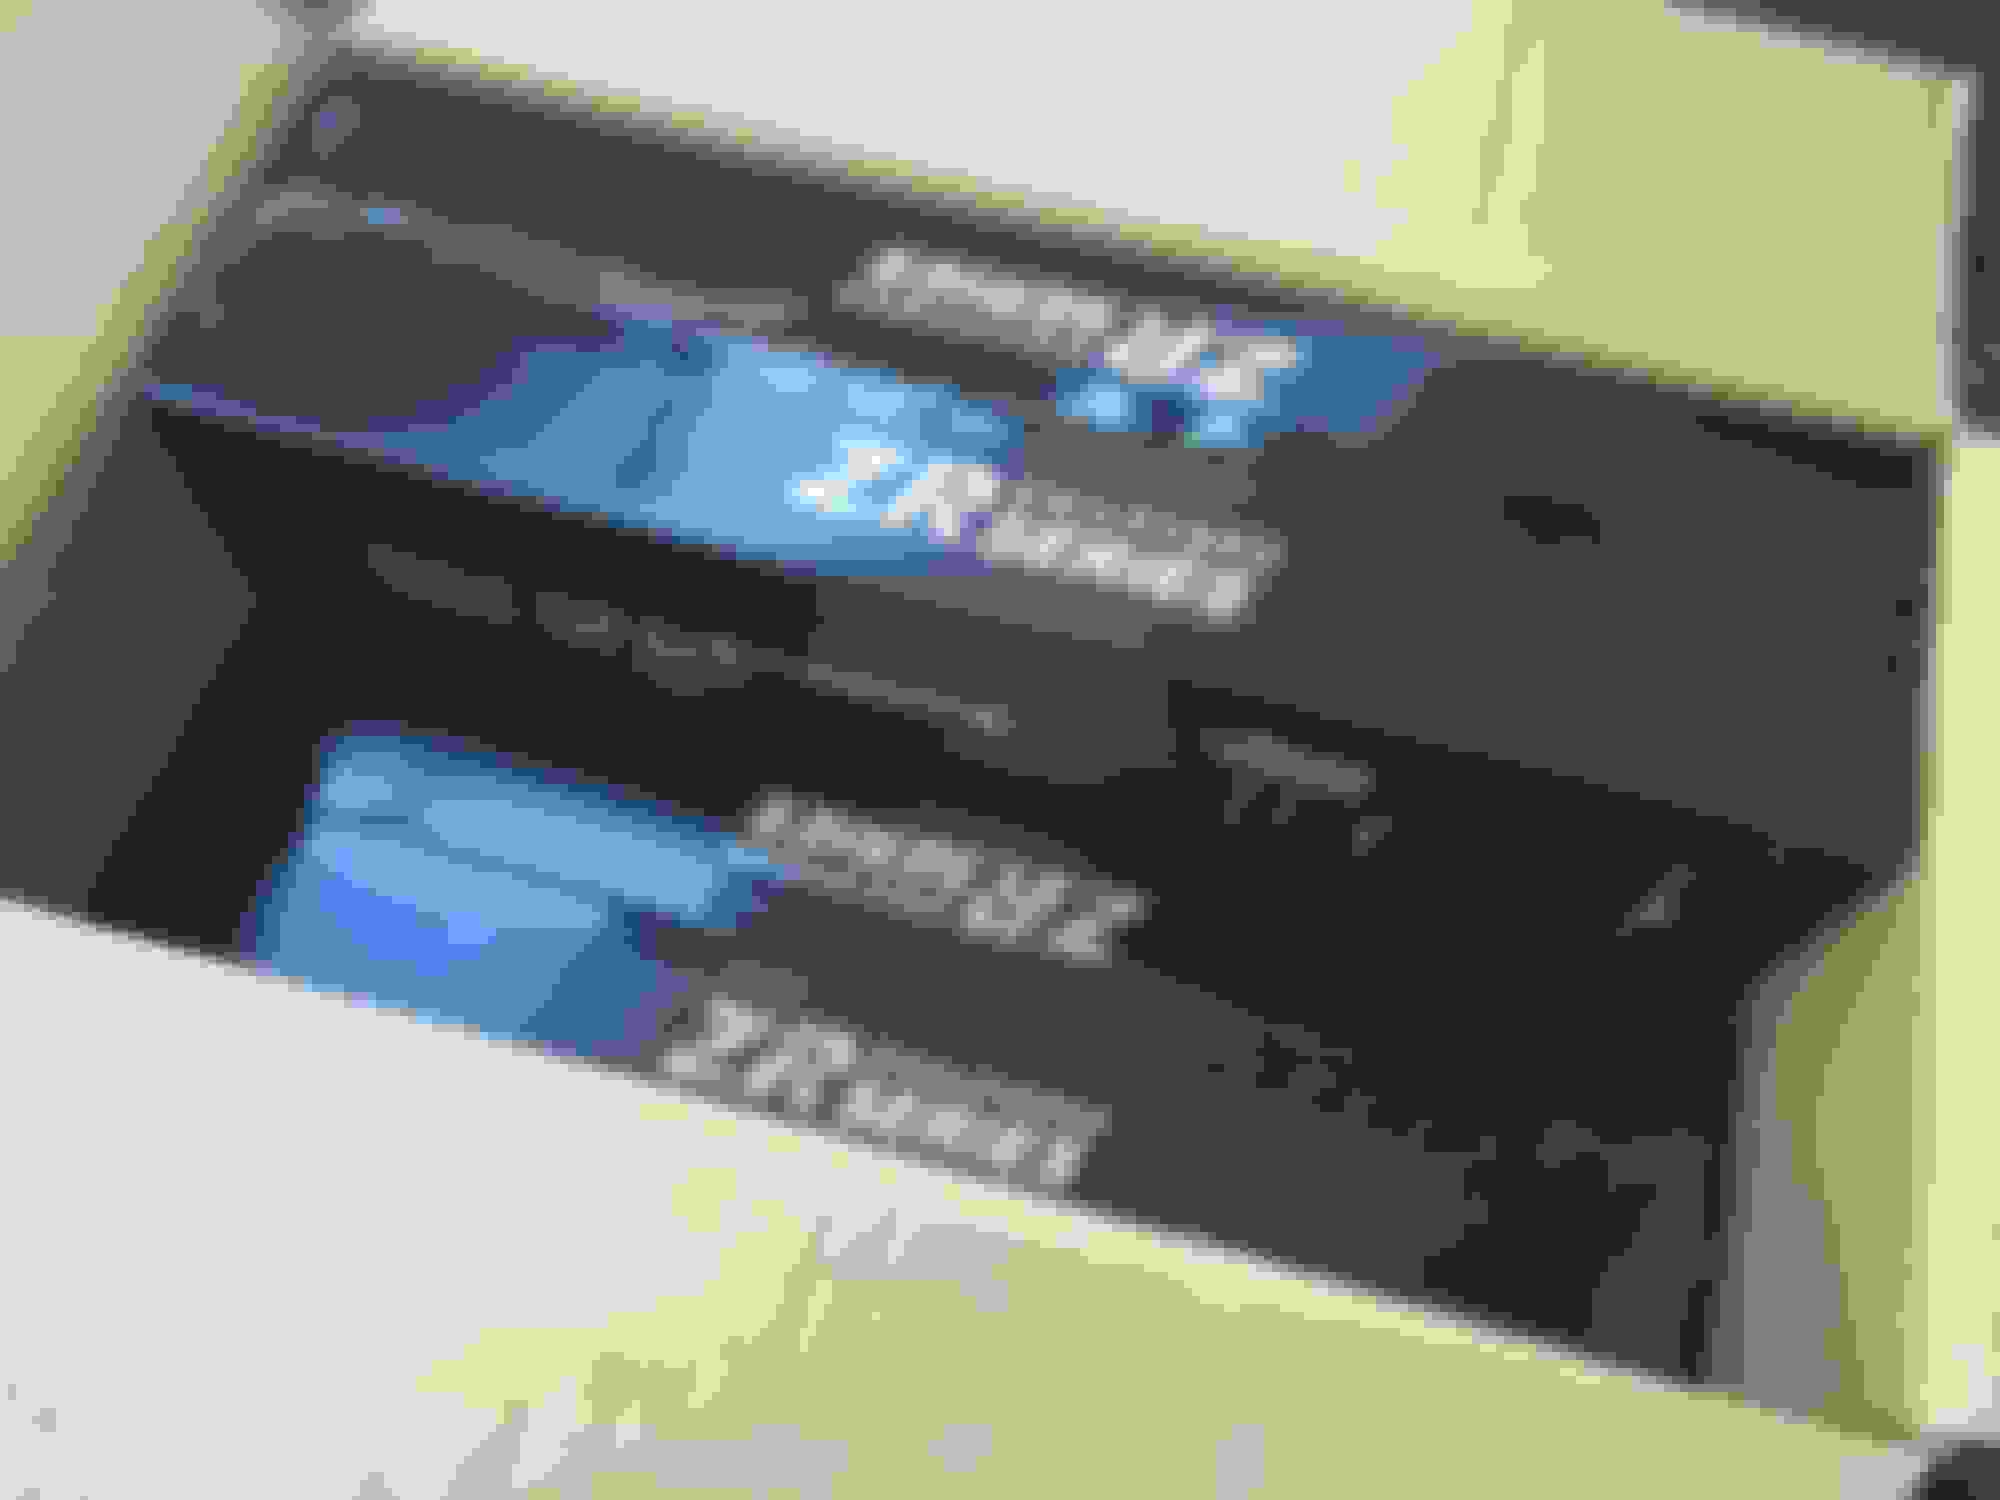
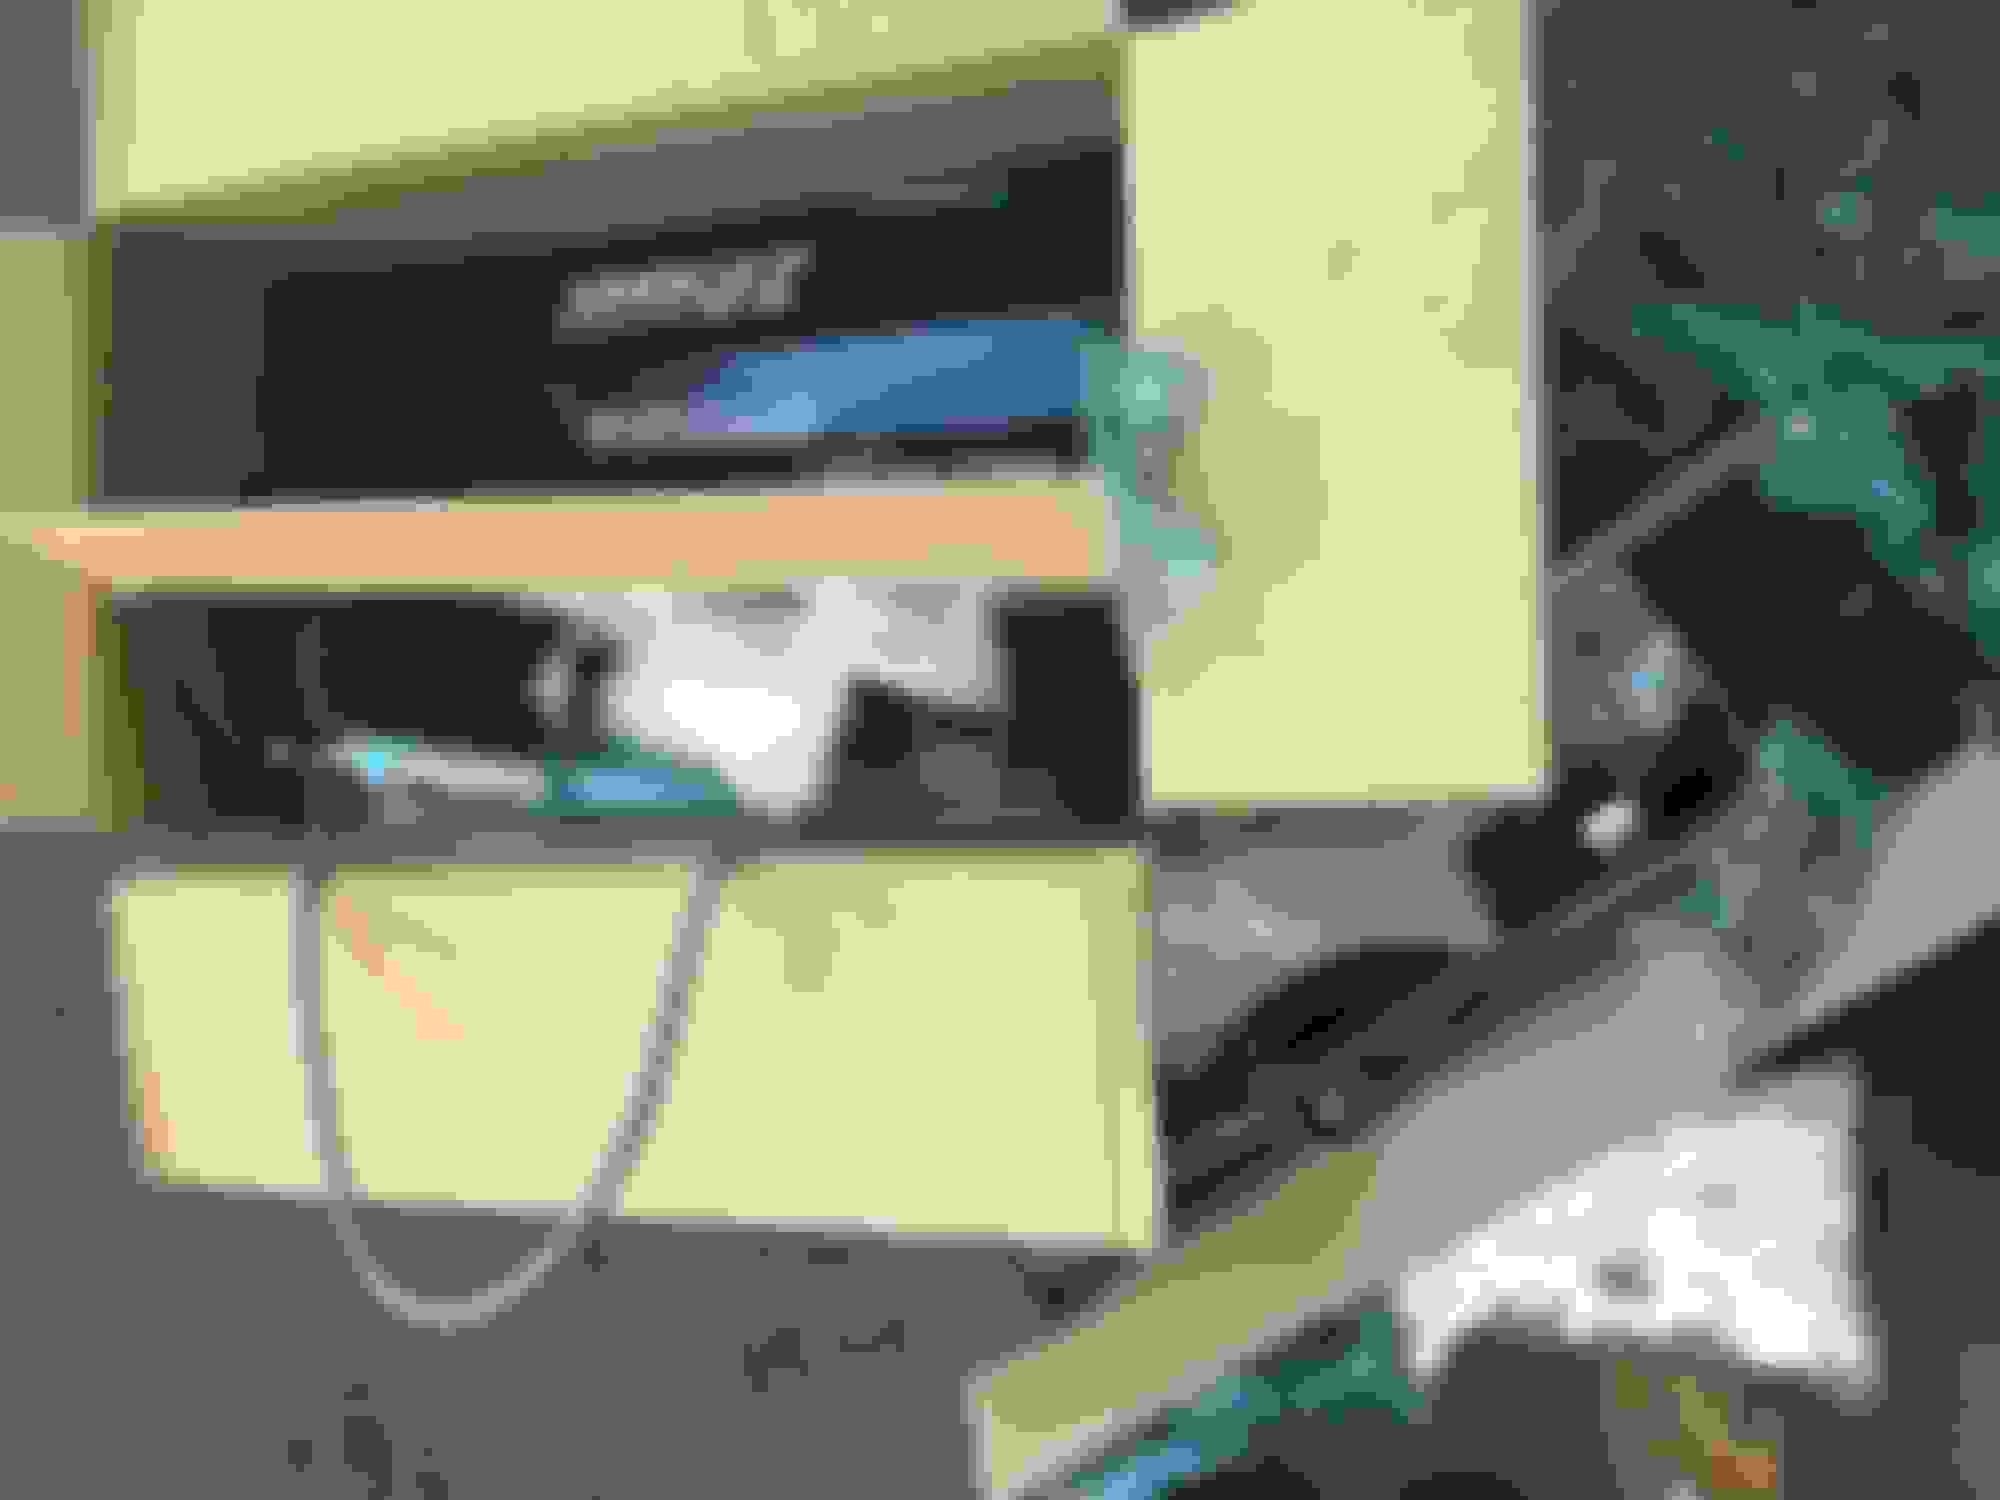
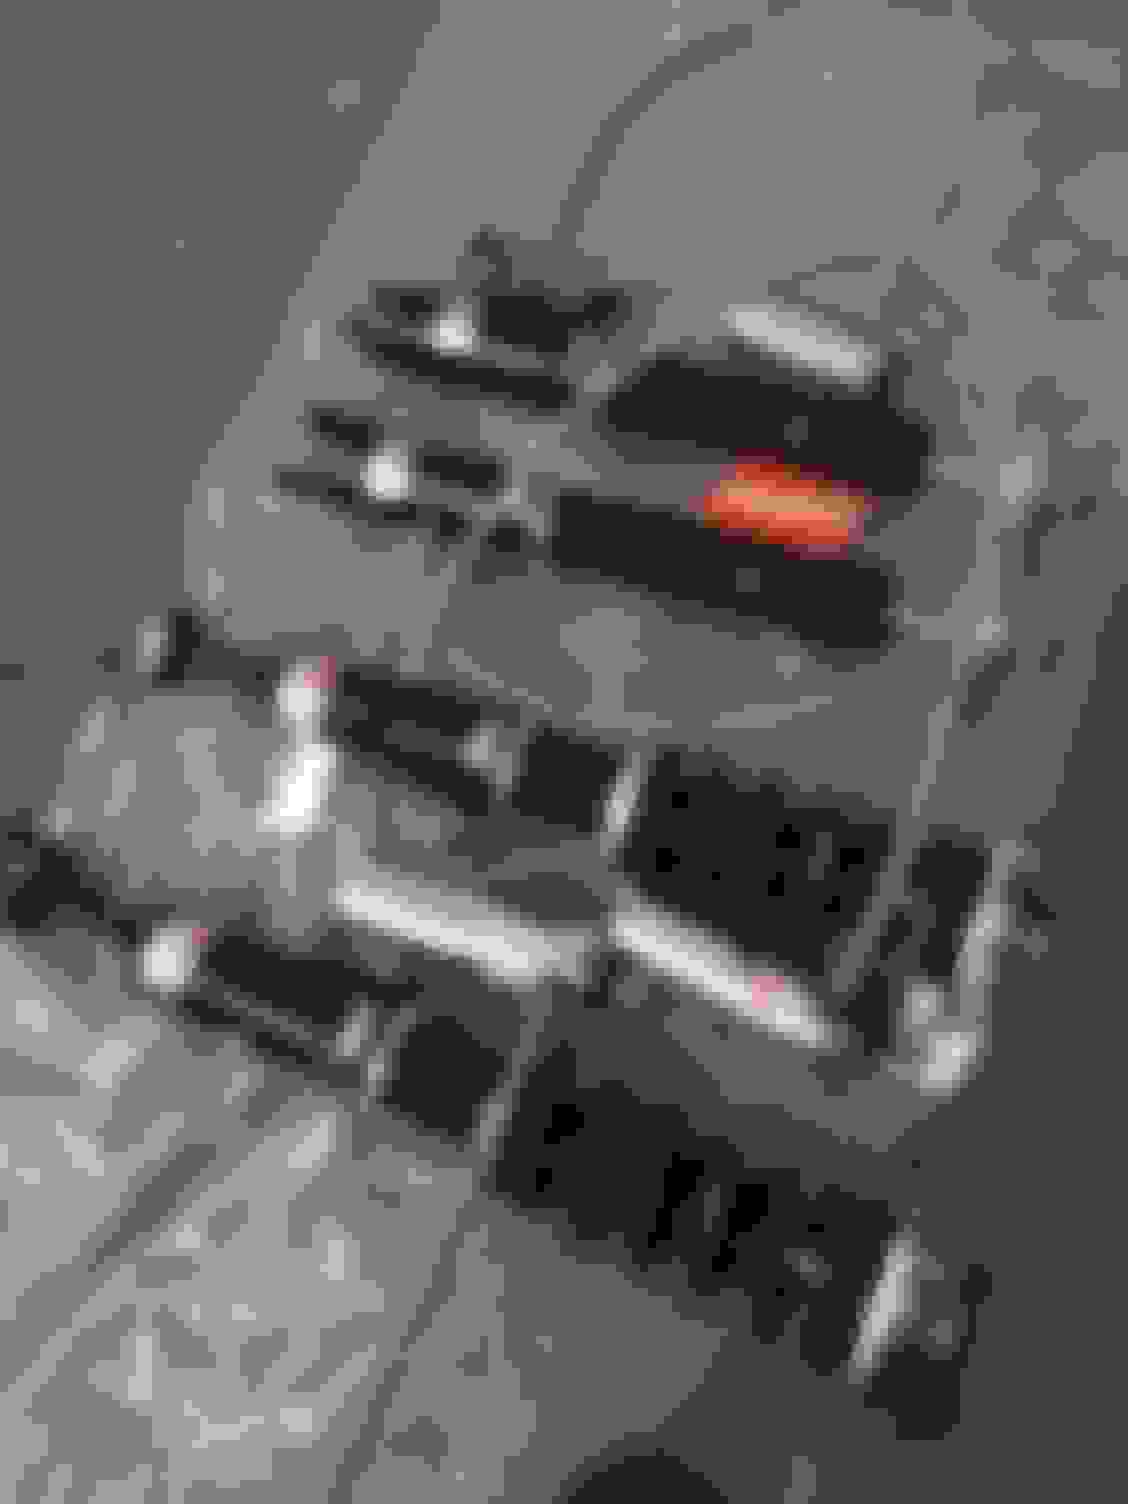
So i pulled it in and then it began..... Here some before and after pics of the subframes and so on... I stripped everything off underneath and so on... Also all the nut and bolts went in for coating - yellow/gold...
After stripping i decided i wanted to stitch the chassis to make it that little bit more rigid... i started with the front end side.... stiched it up, used some filler on some of the welds so it cleaned it up, then etch primer... sanded it down and gave it a coat of gunmetal.... I decided on the colour as the black tends to hide to much... wanted a clean look...
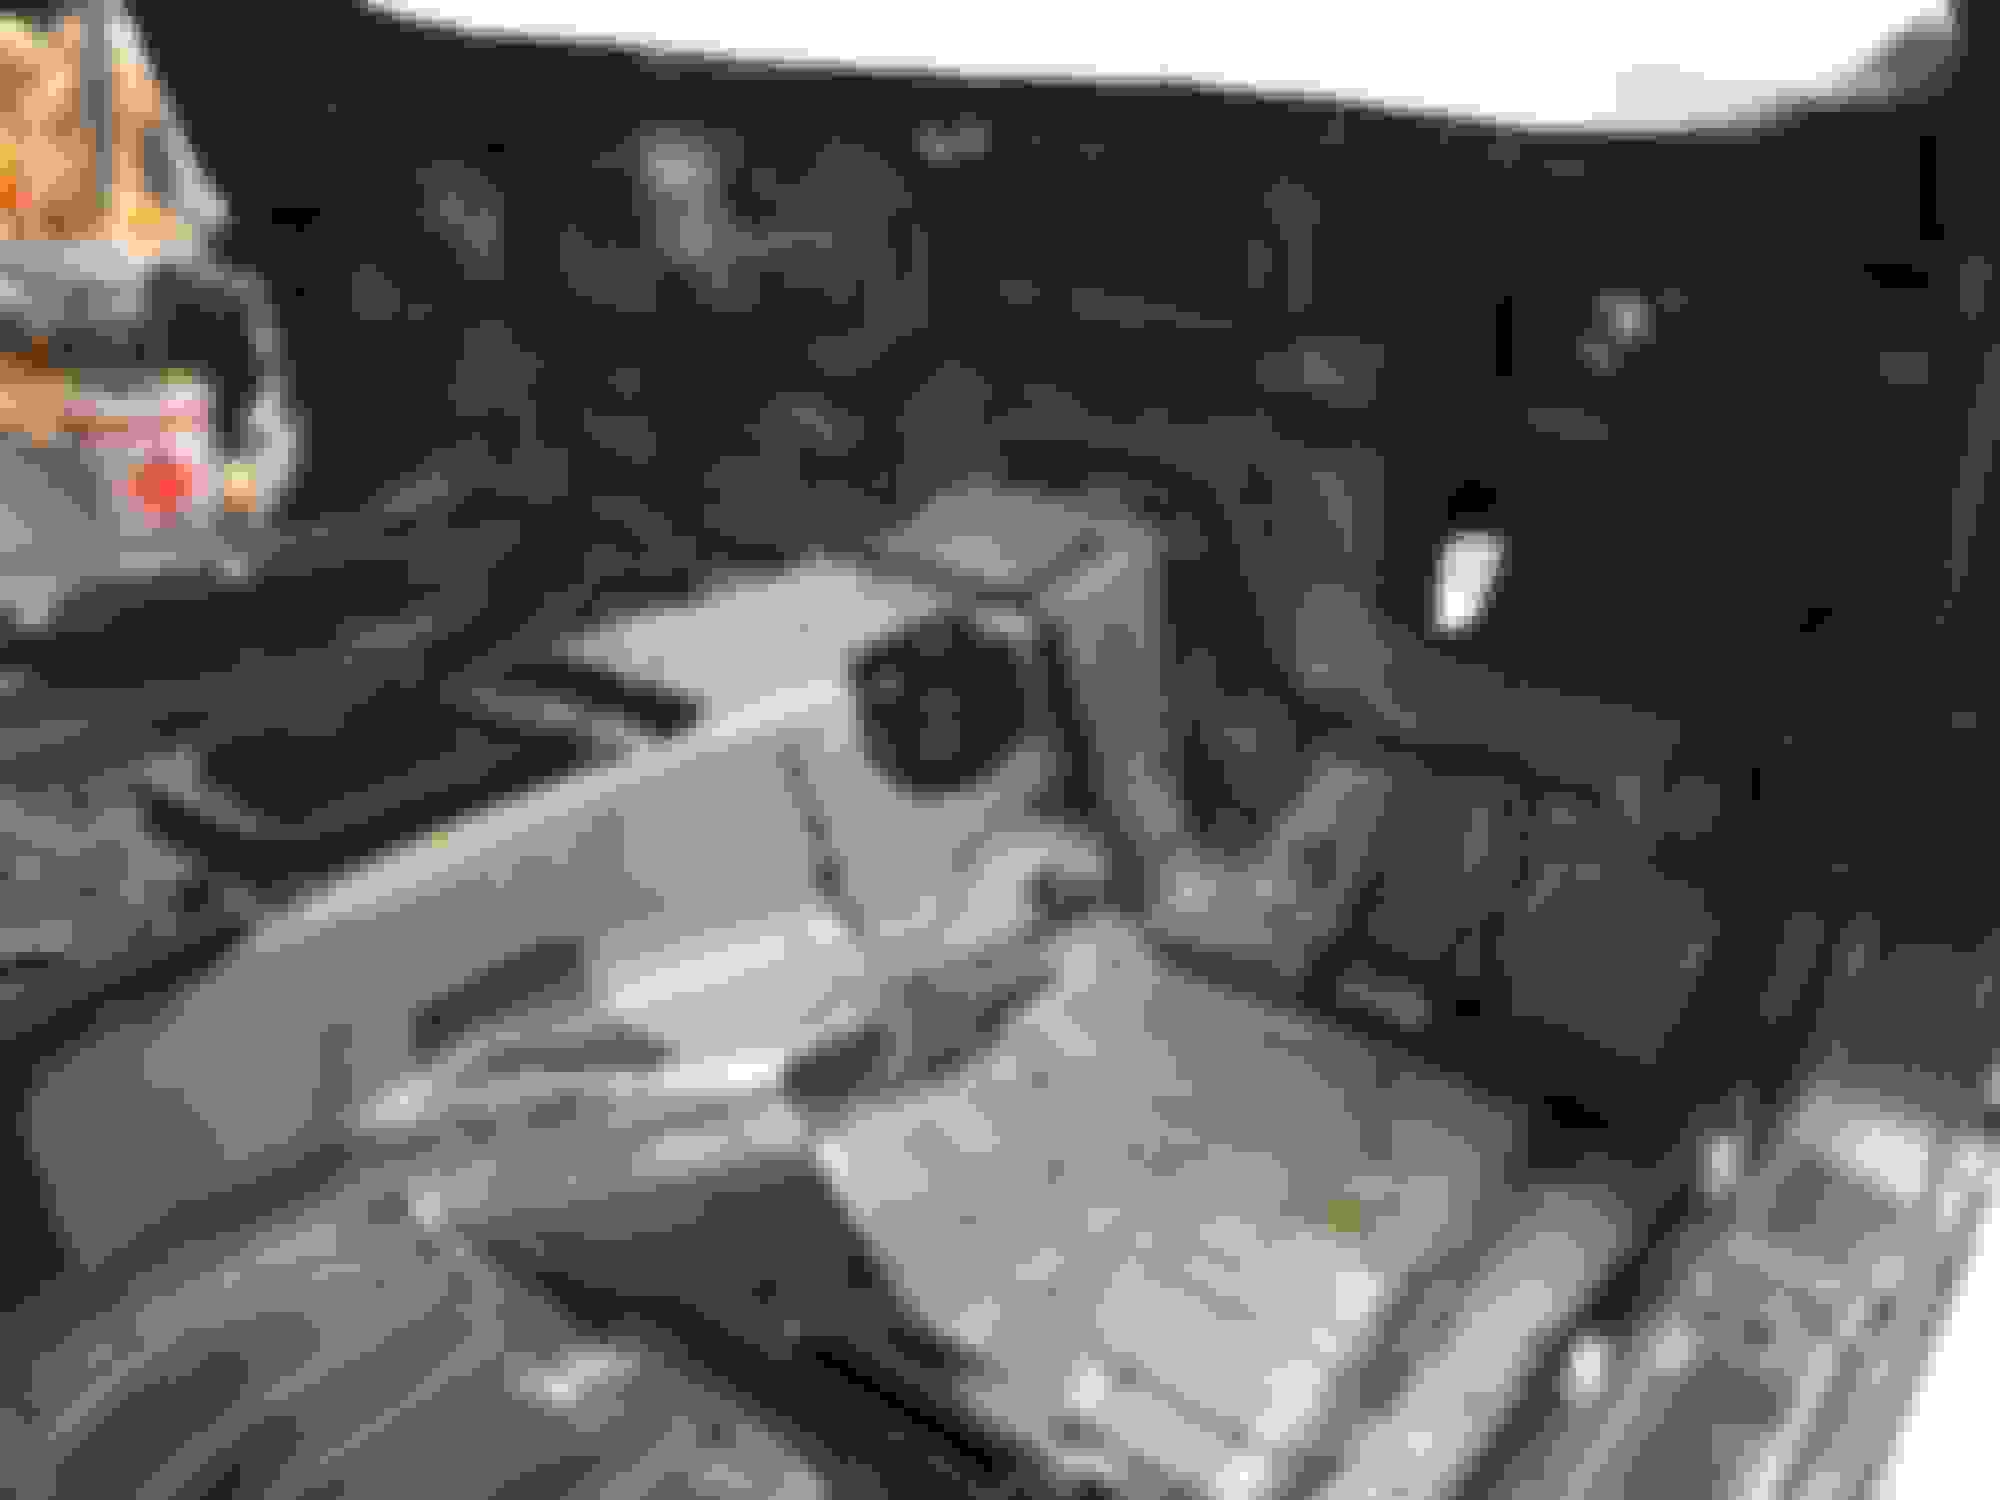
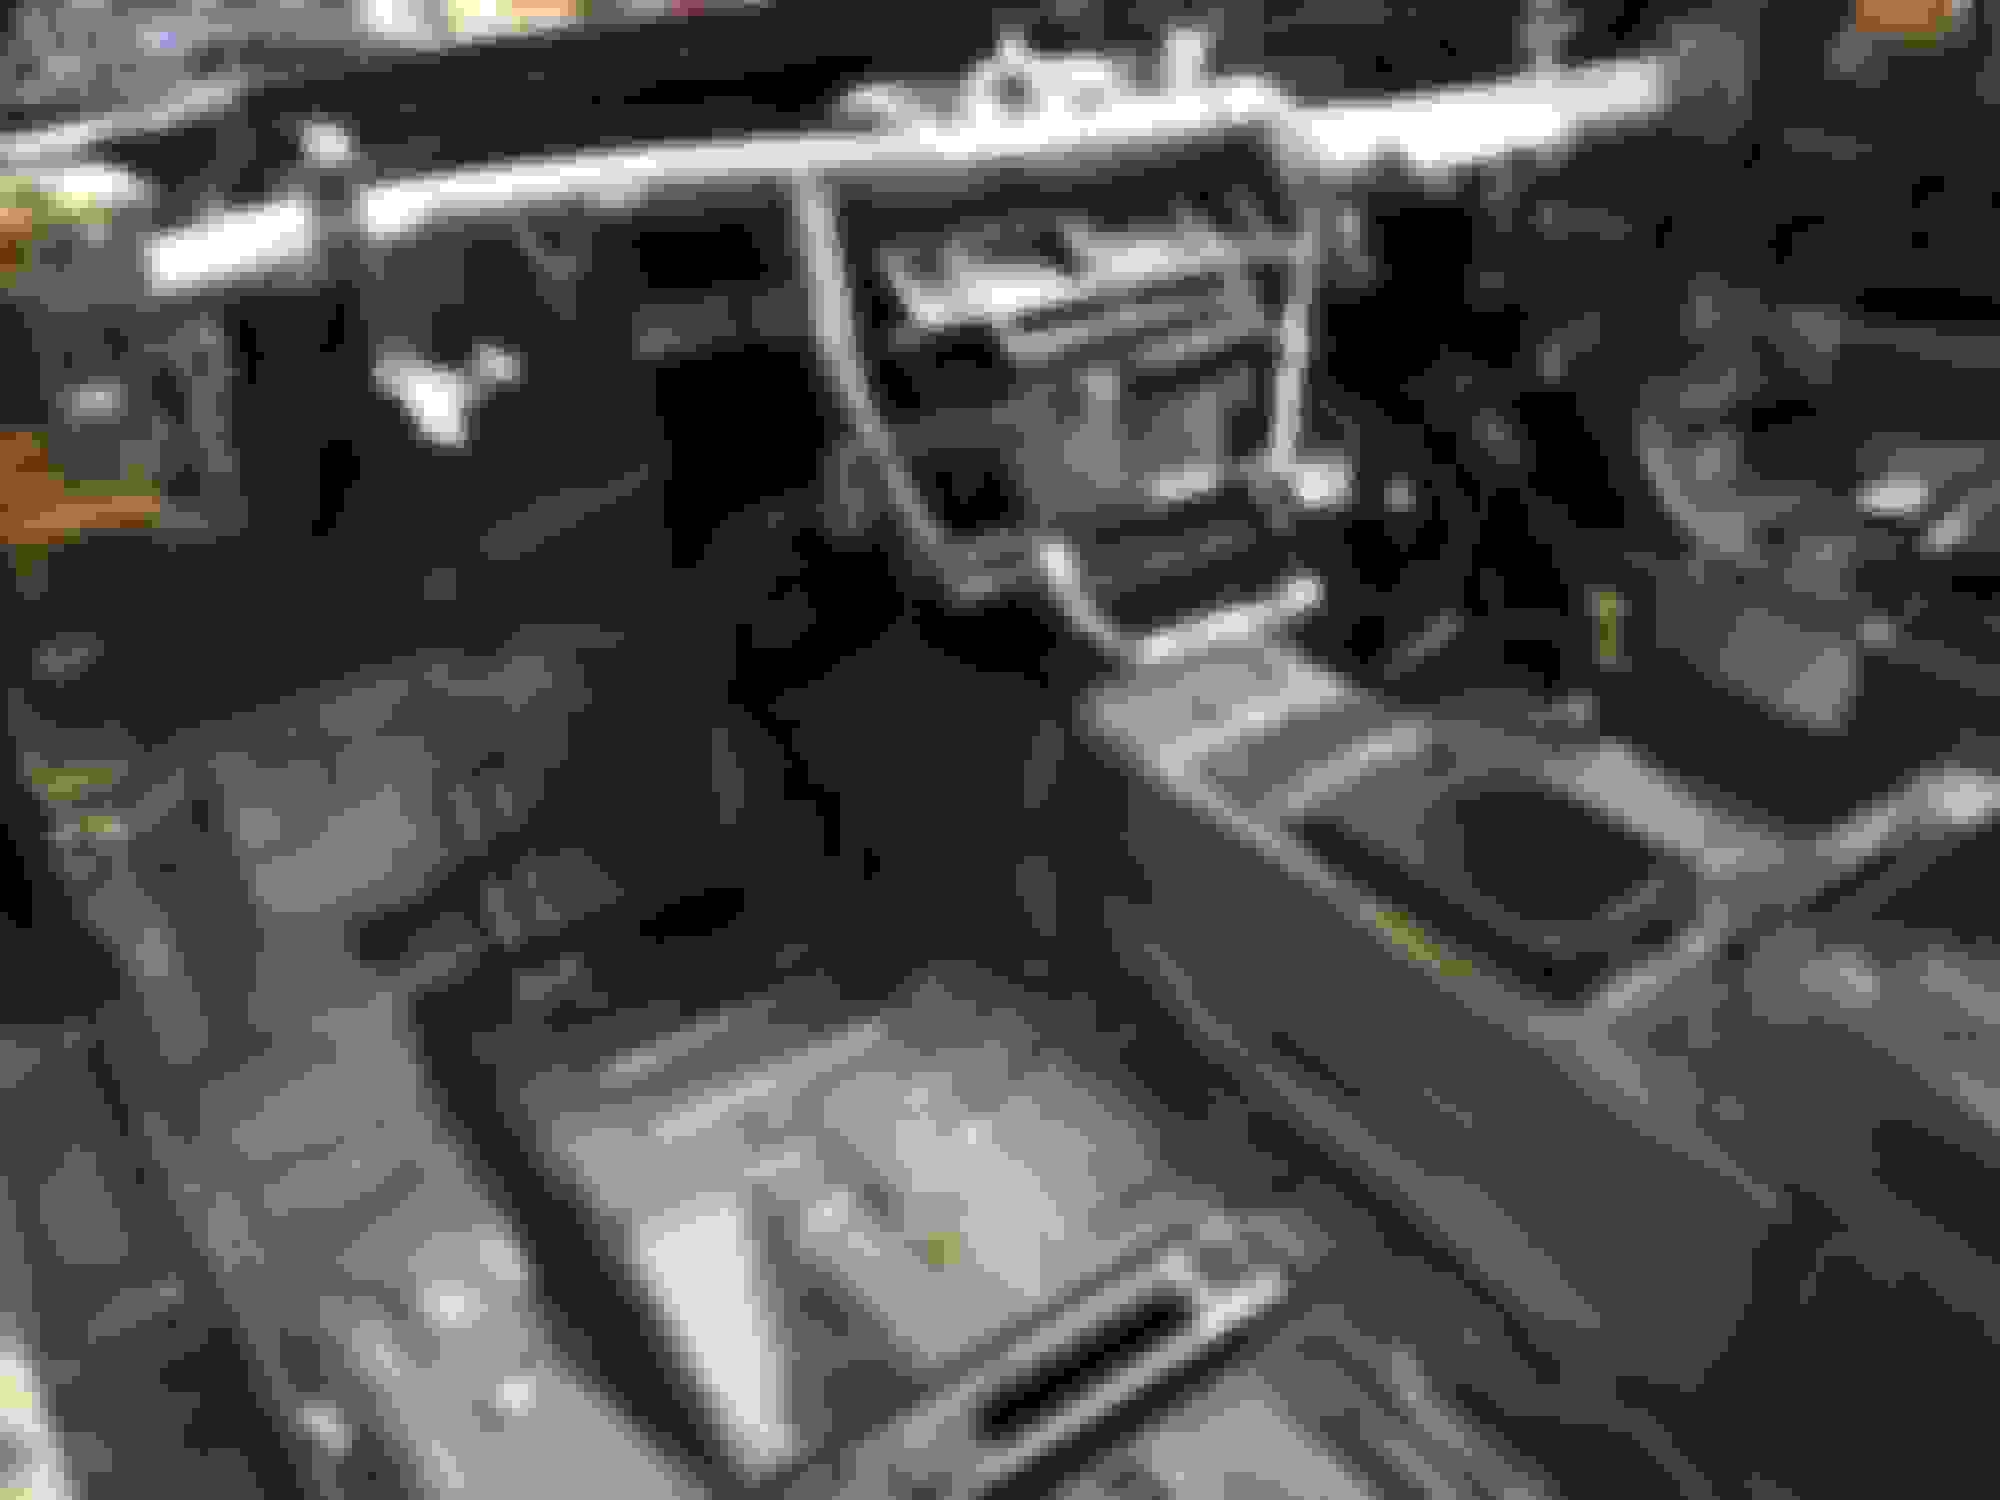
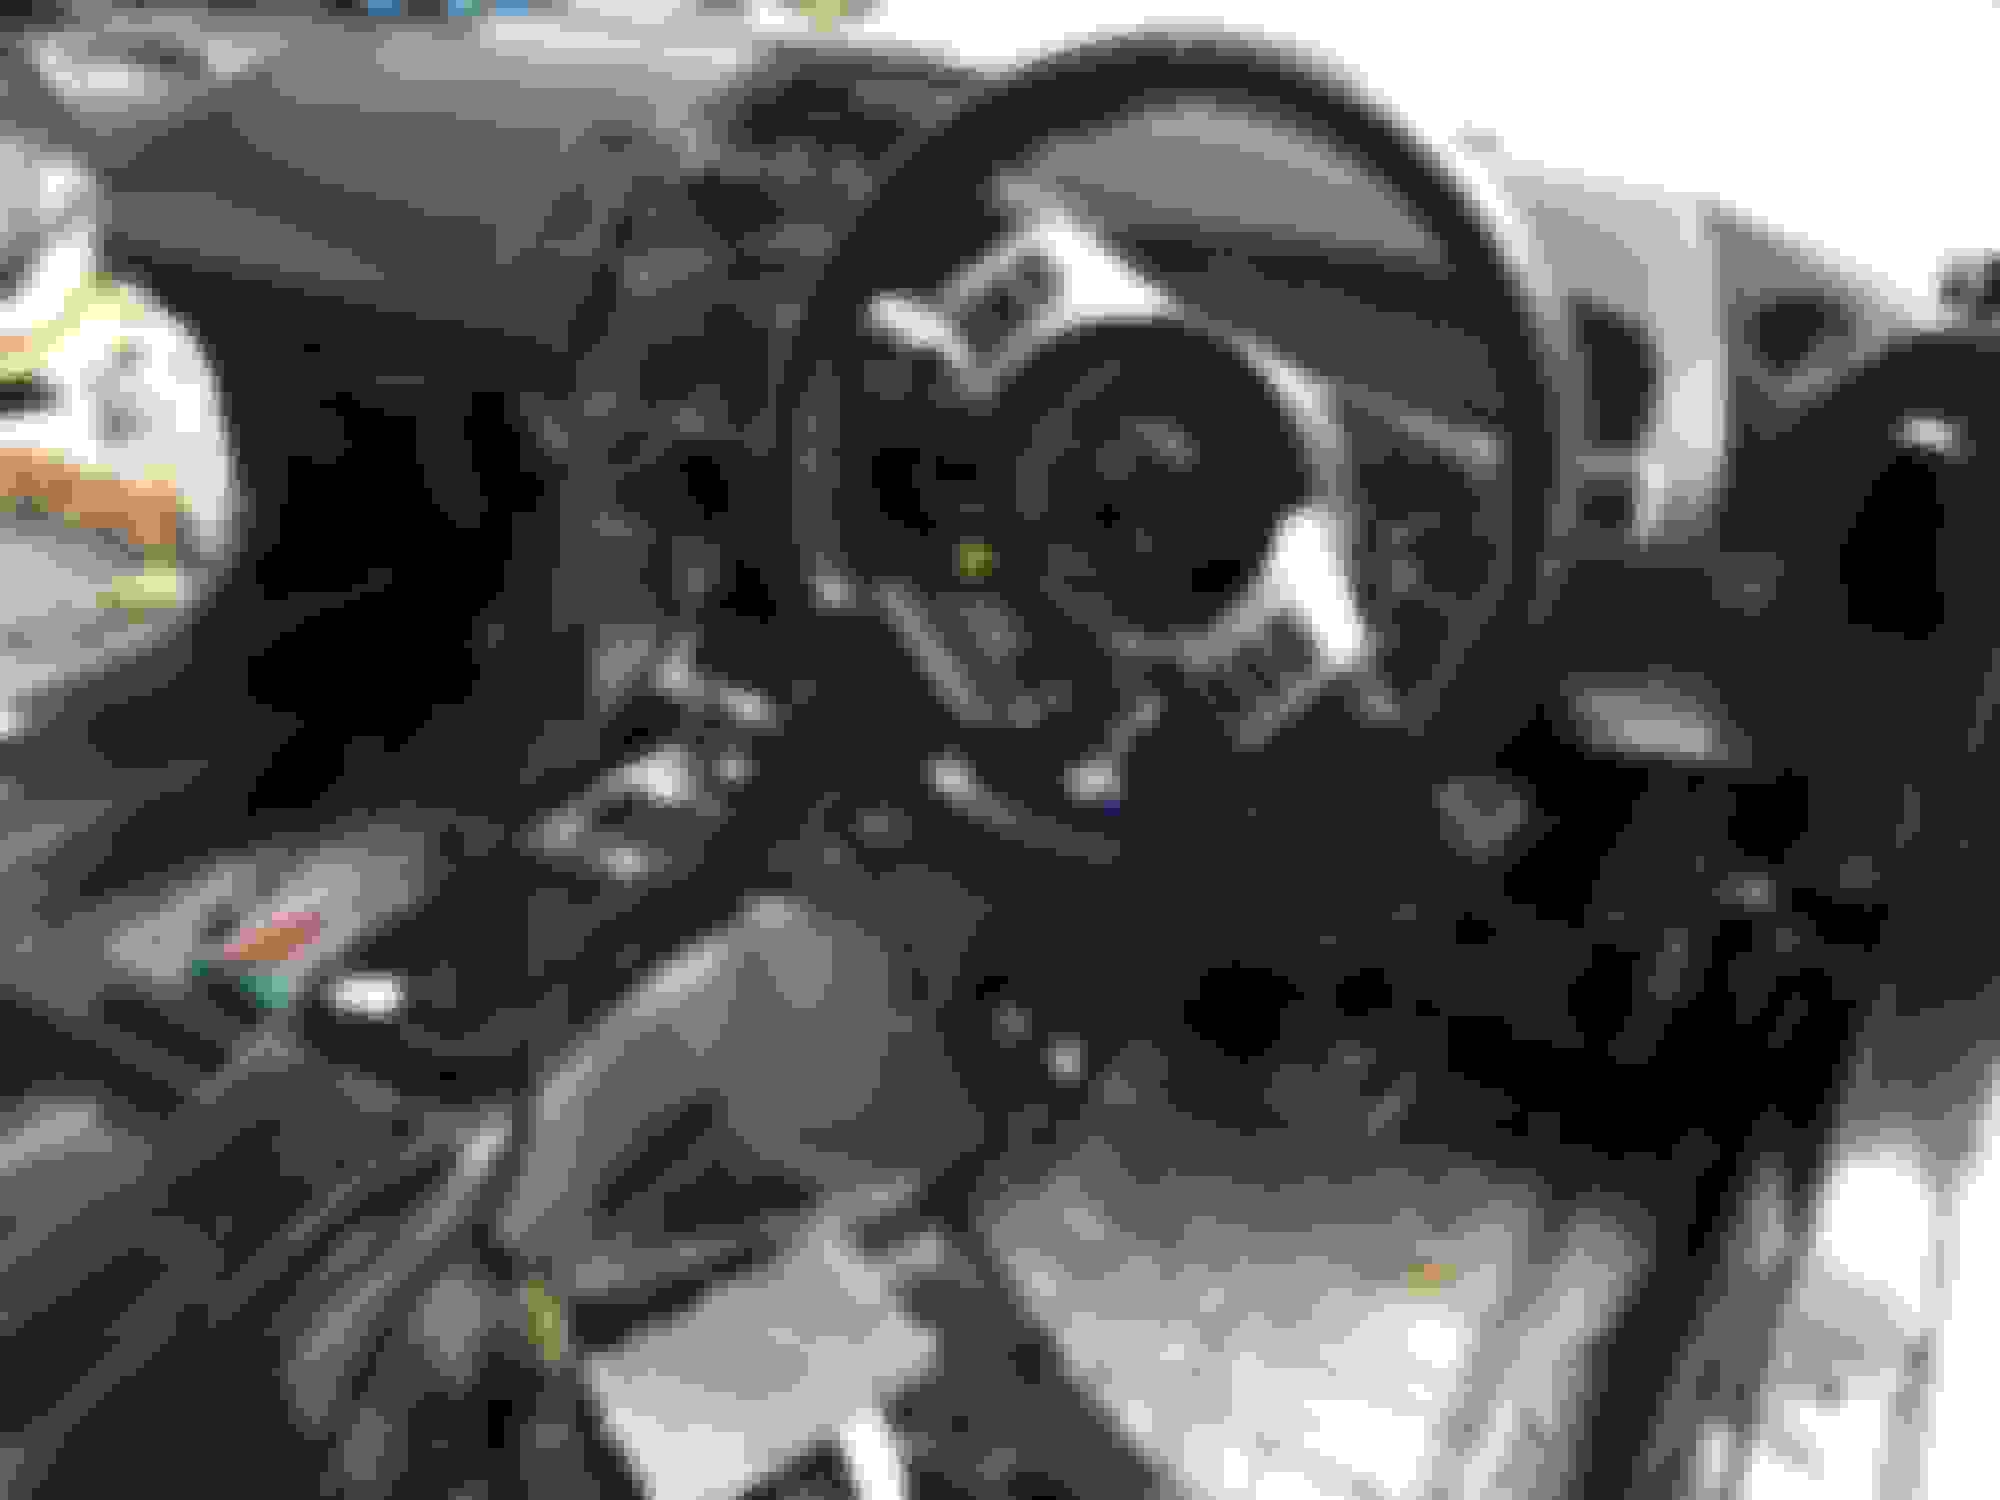
The interior also all came out.... i stitched and painted under the dash first to seal everything off... I put all the original wiring and so on back in but left out radio and speakers... i also took out the ABS and all the airbags as i ordered a custom cusco cage with rear X brace...
All sound deadning came out too.... no point in having the weigh in there, but for heat on the front end i did put in gold foil....
Every part on the car was cleaned before i reinstalled it.... just wanted the car back to new....
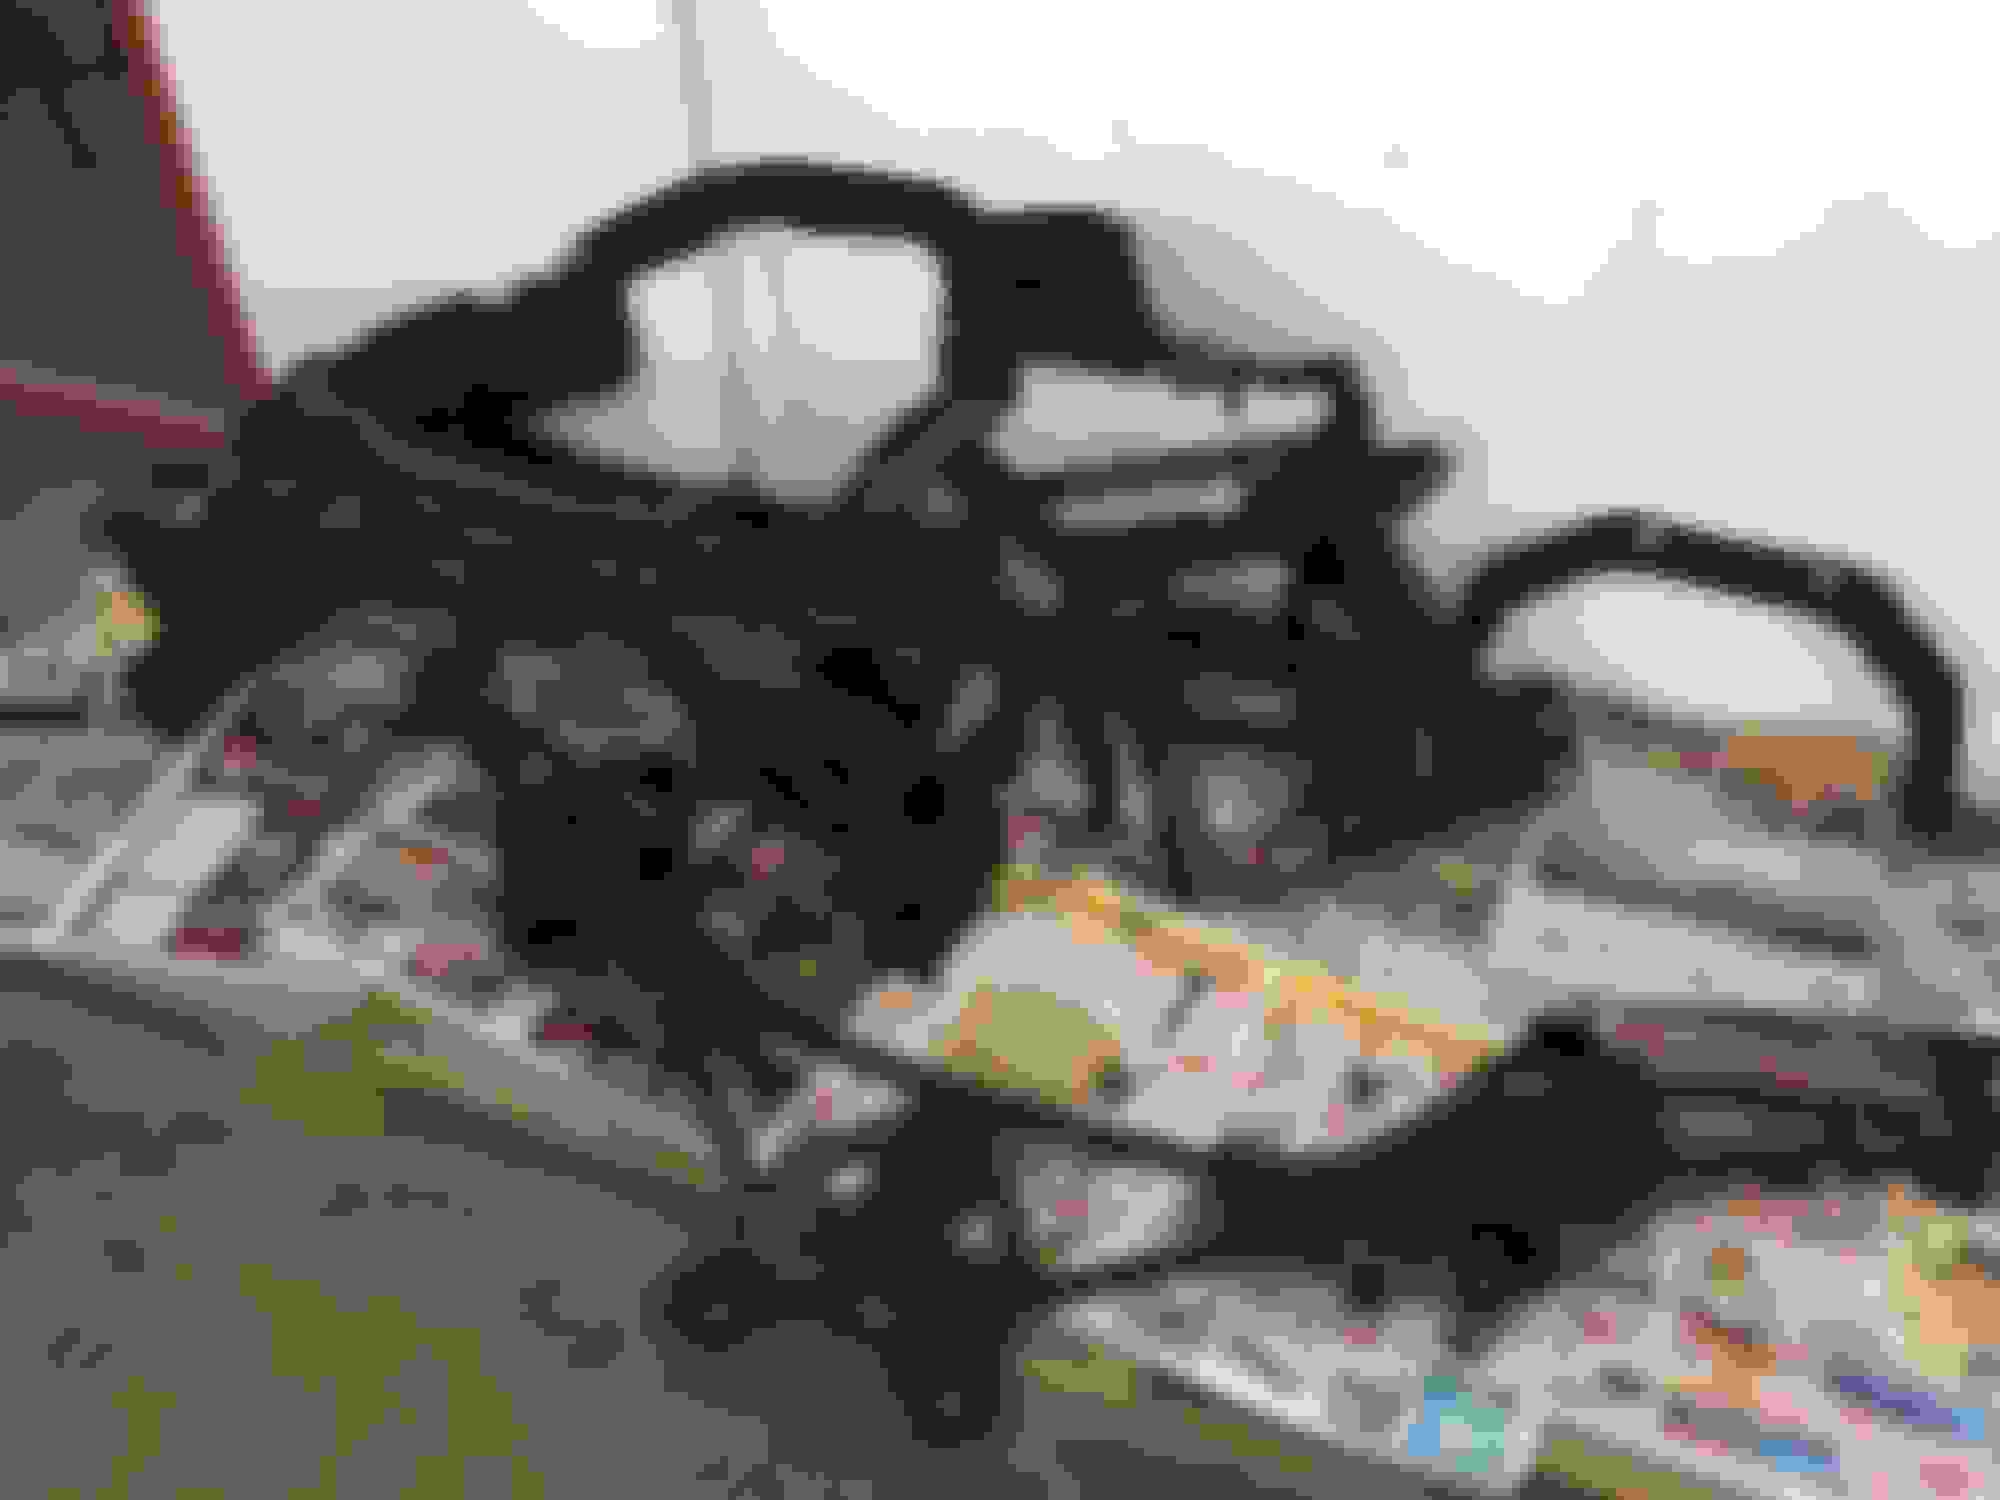
Needed to make up a couple of them due to taking out the ABS... Ive had issues with ABS on the track before, locking up the front left or right wheel, i just made a call to take it out rather, means the ABS unit is out which saves some weight, and figured i didnt really need it.... Apparently i could have run a uni-q chip on the ABS itself but i have no idea how to do that or who could.... so out it goes.....
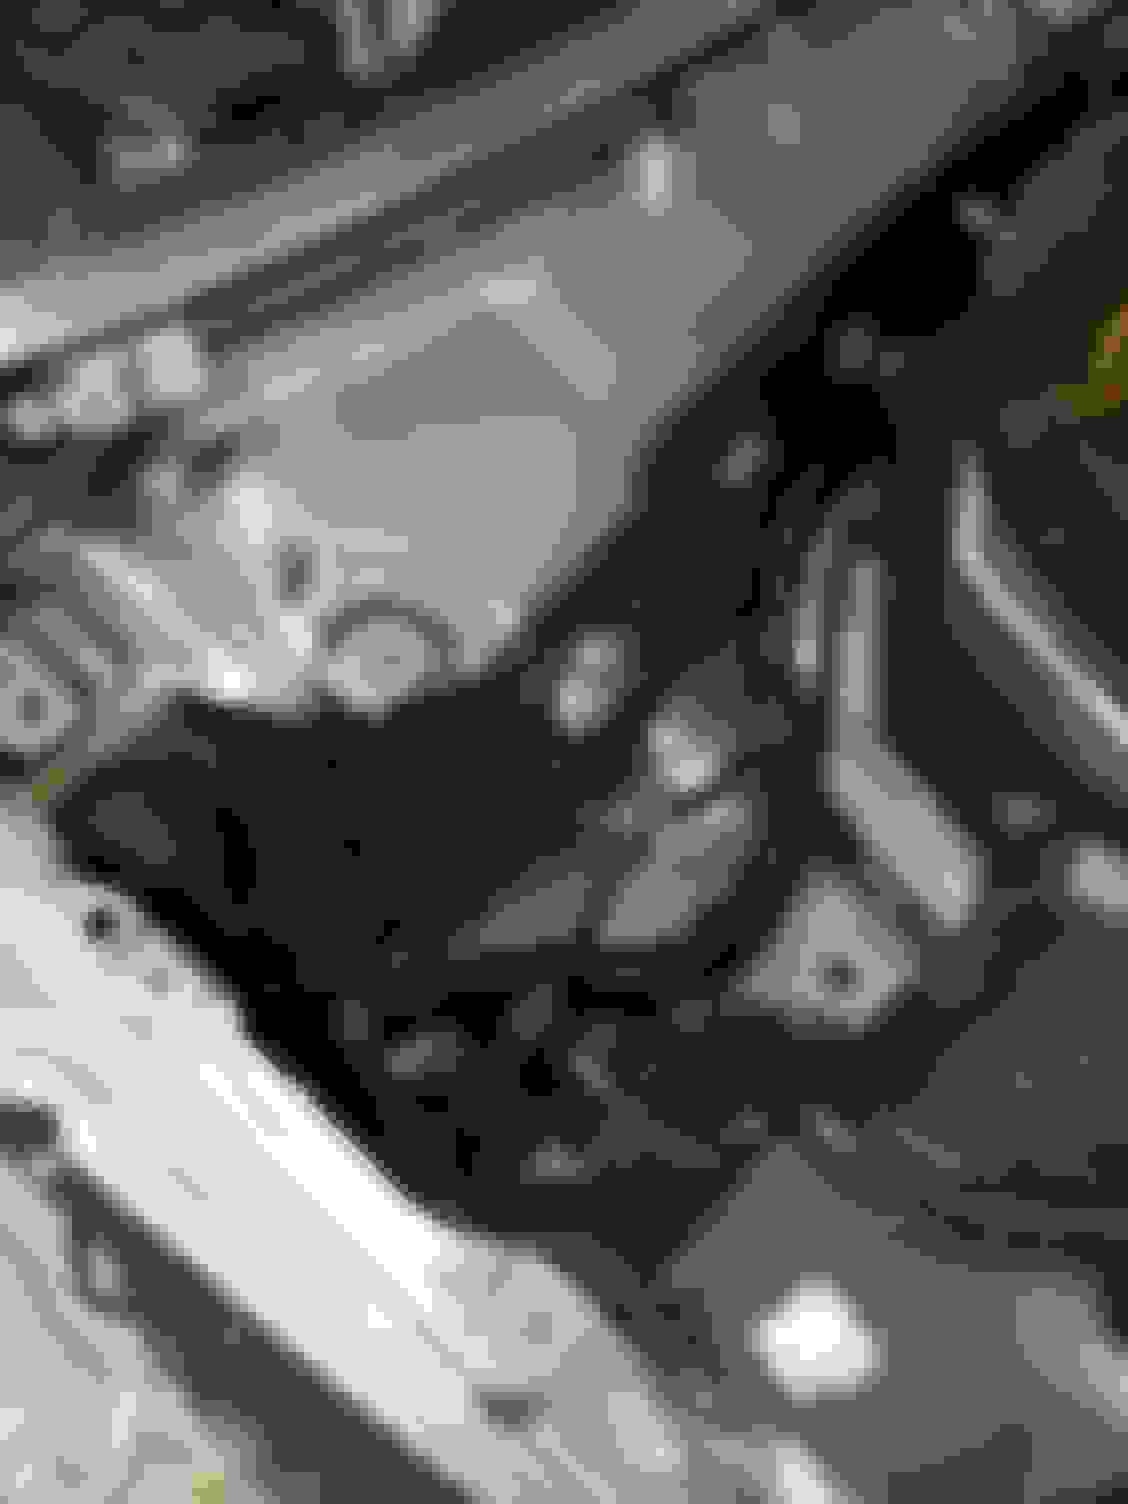
Here are some of the lines for the front and rear.... I also replaced the rear lines with braided to the calipers... fronts were already done with the AP ones...
Inside the front arch, the two rear lines which i then used a T piece to get it to one line....Used hard lines here because of stones and so on, im not putting any arch liners back in i dont think....
I used a brakeline tool to get it as neat as possible, as OEM as possible i guess... I thought about running it in the rear section or firewall area, but im guessing its the same same...at this point its easy enough to get to and shouldnt hopefully have issues later....
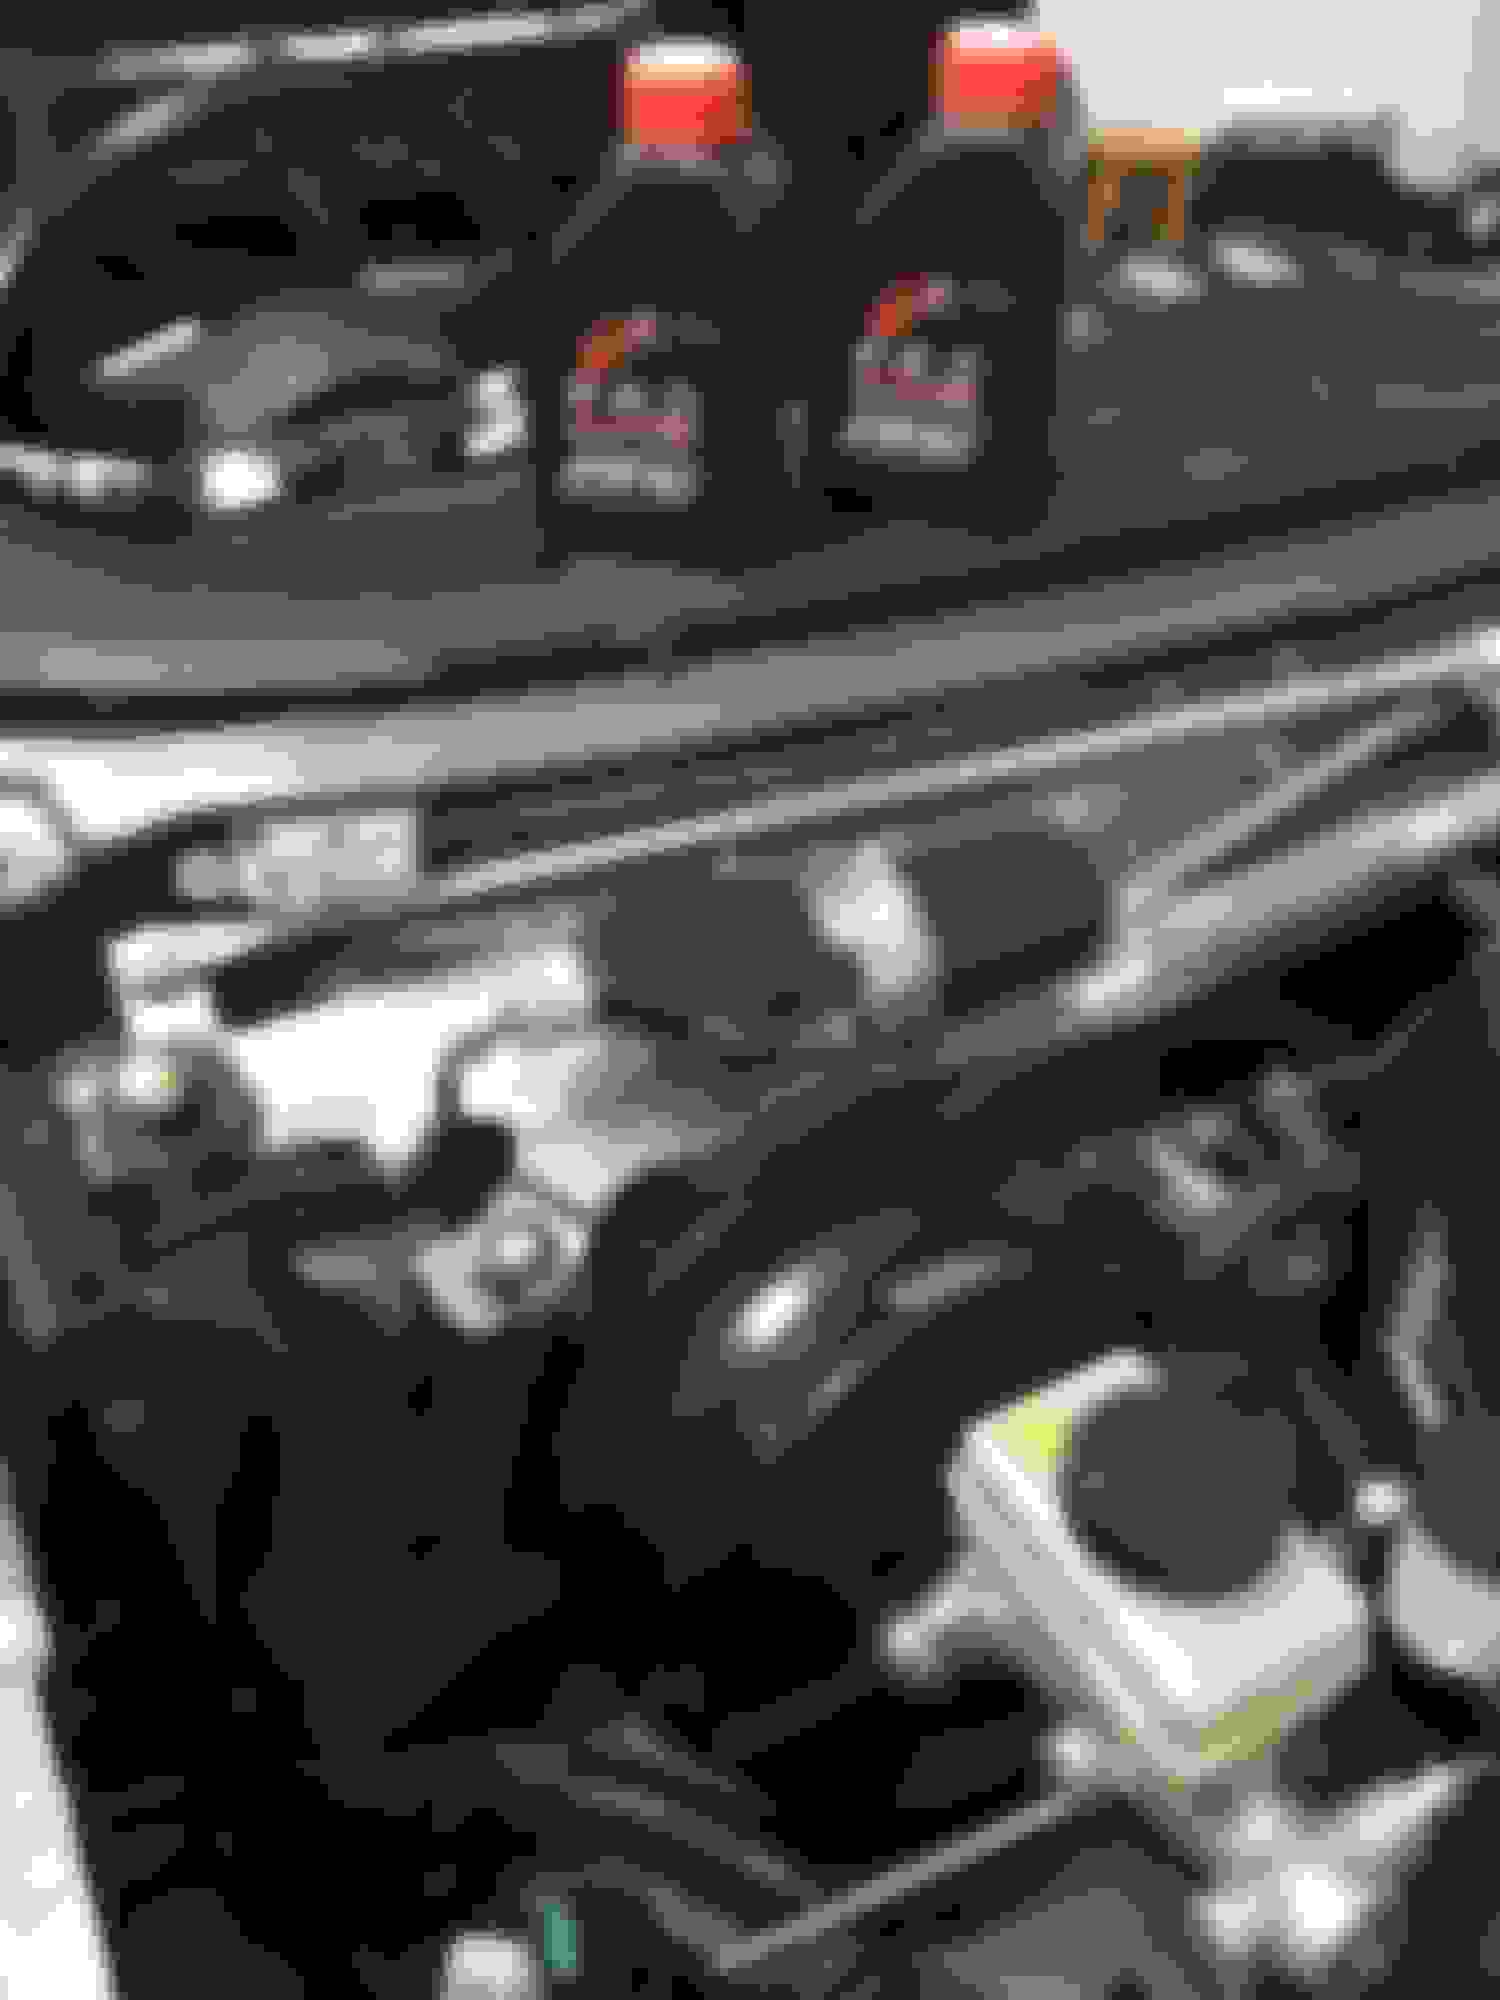
Always use this fluid... havent ever had any issues, and have used with the AP's before, was a no brainer to put it in....
Car back on the ground and rolling.... Super happy to have it back at this stage.... its paint next and then a whole lot of other things coming.... I must get moving and decide what i want to do engine wise...
Forgot to mention this all took place over 2 weeks in December 2016... with shut down of most factories this side i wanted all the parts sorted out so i could assemble as much as possible....
Ive ordered most of the parts needed and they should arrive next month... Car will go in for paint once im finished with the brake lines and rear end...
Here some more pics of the process...
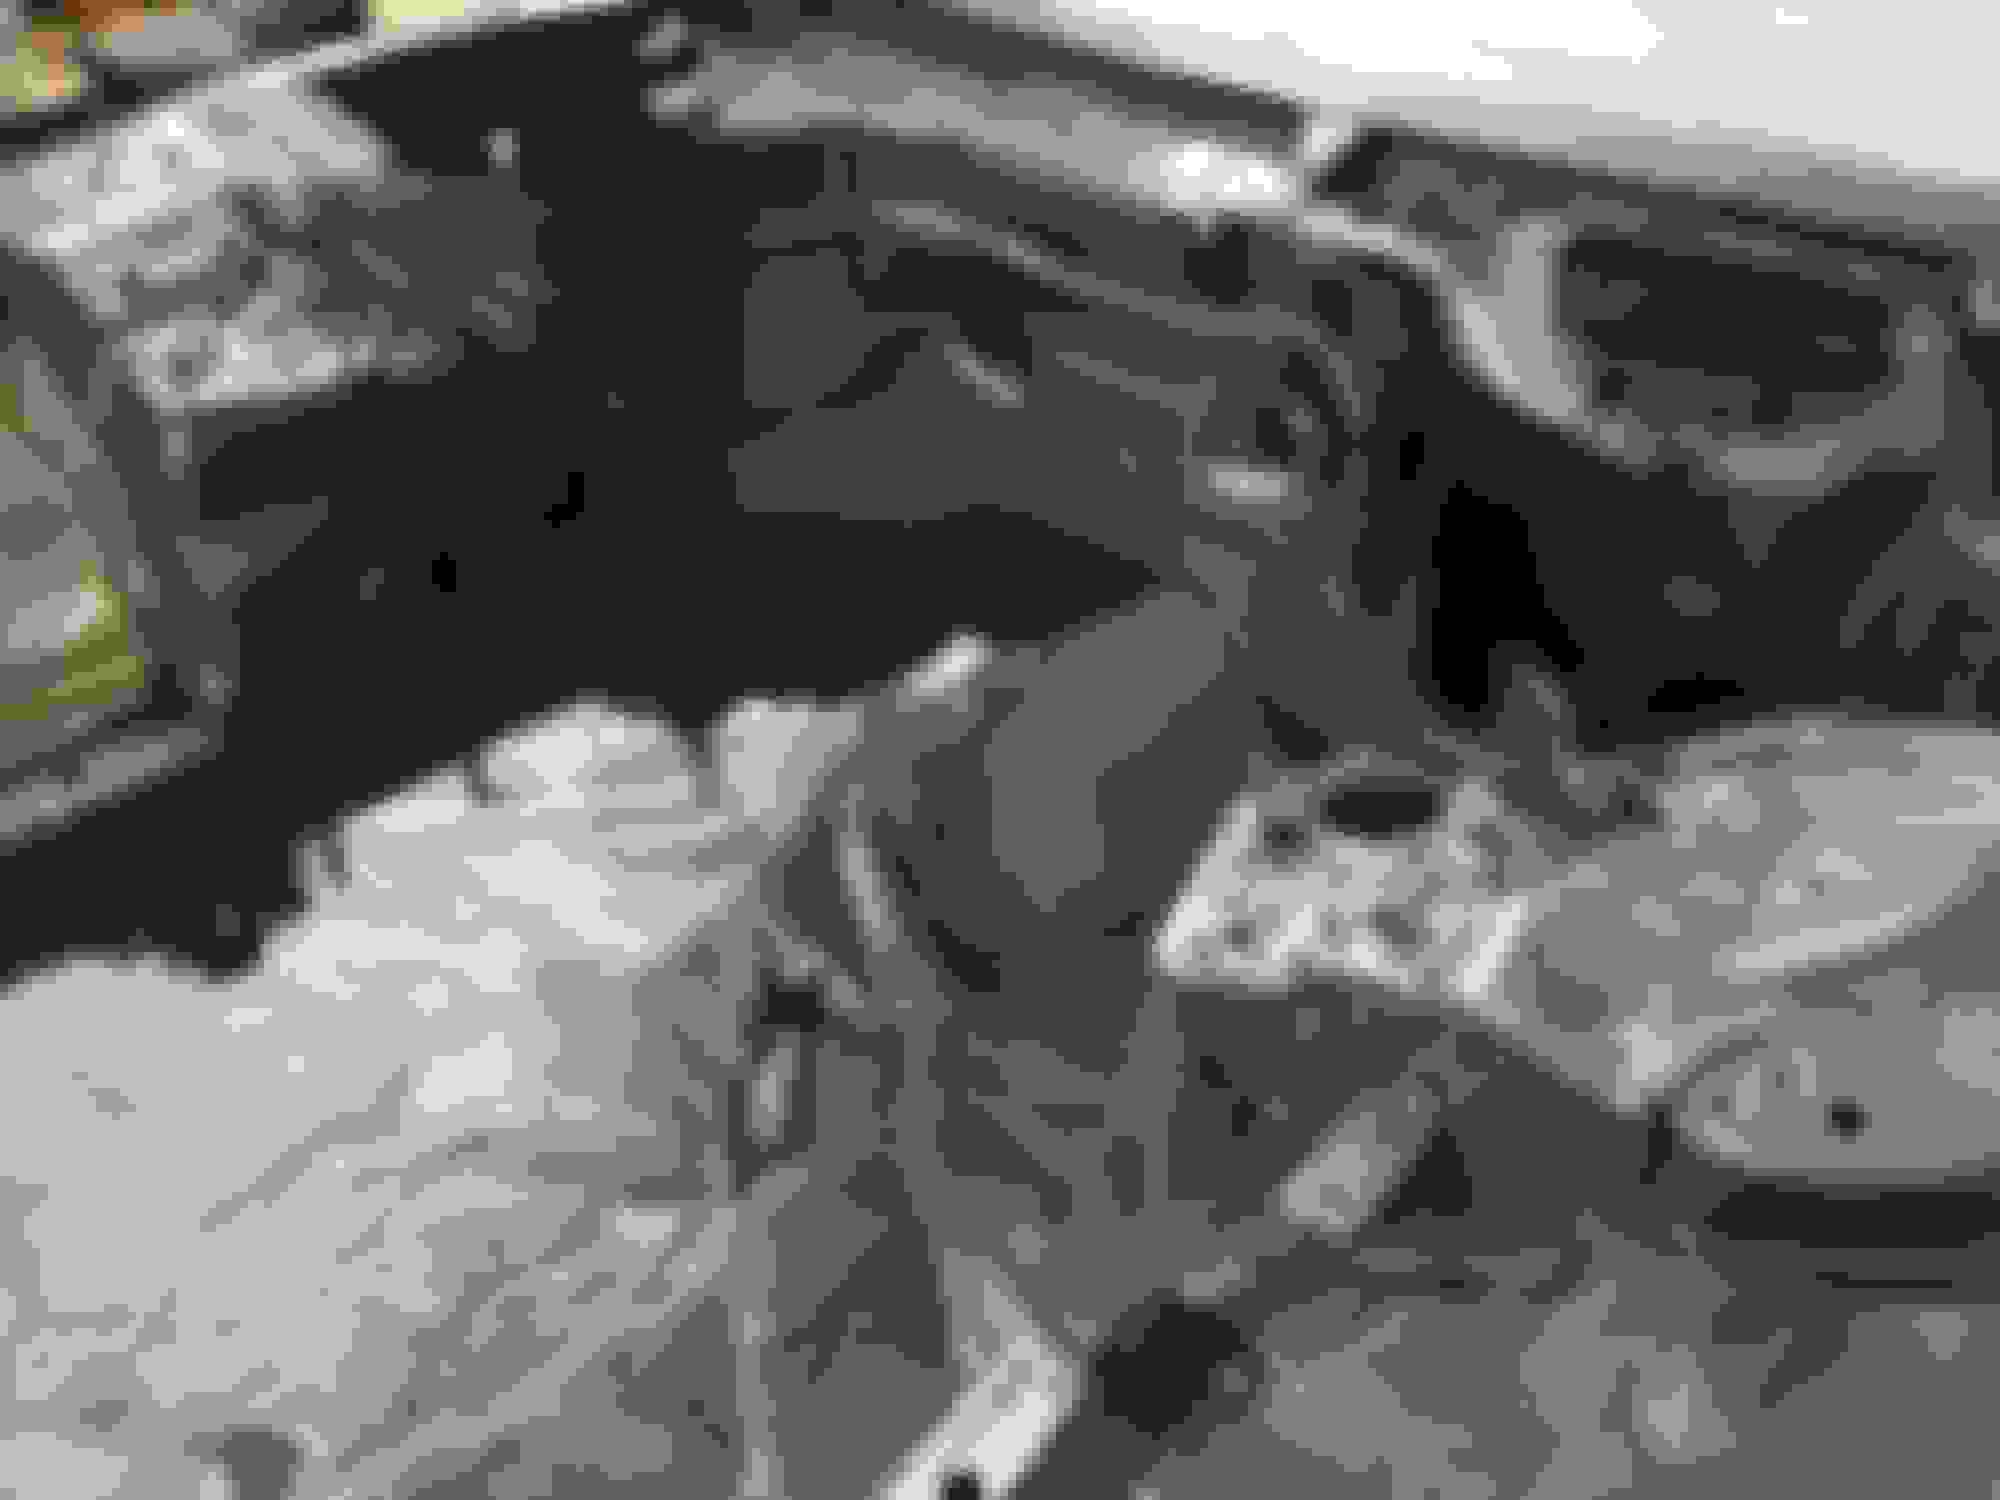
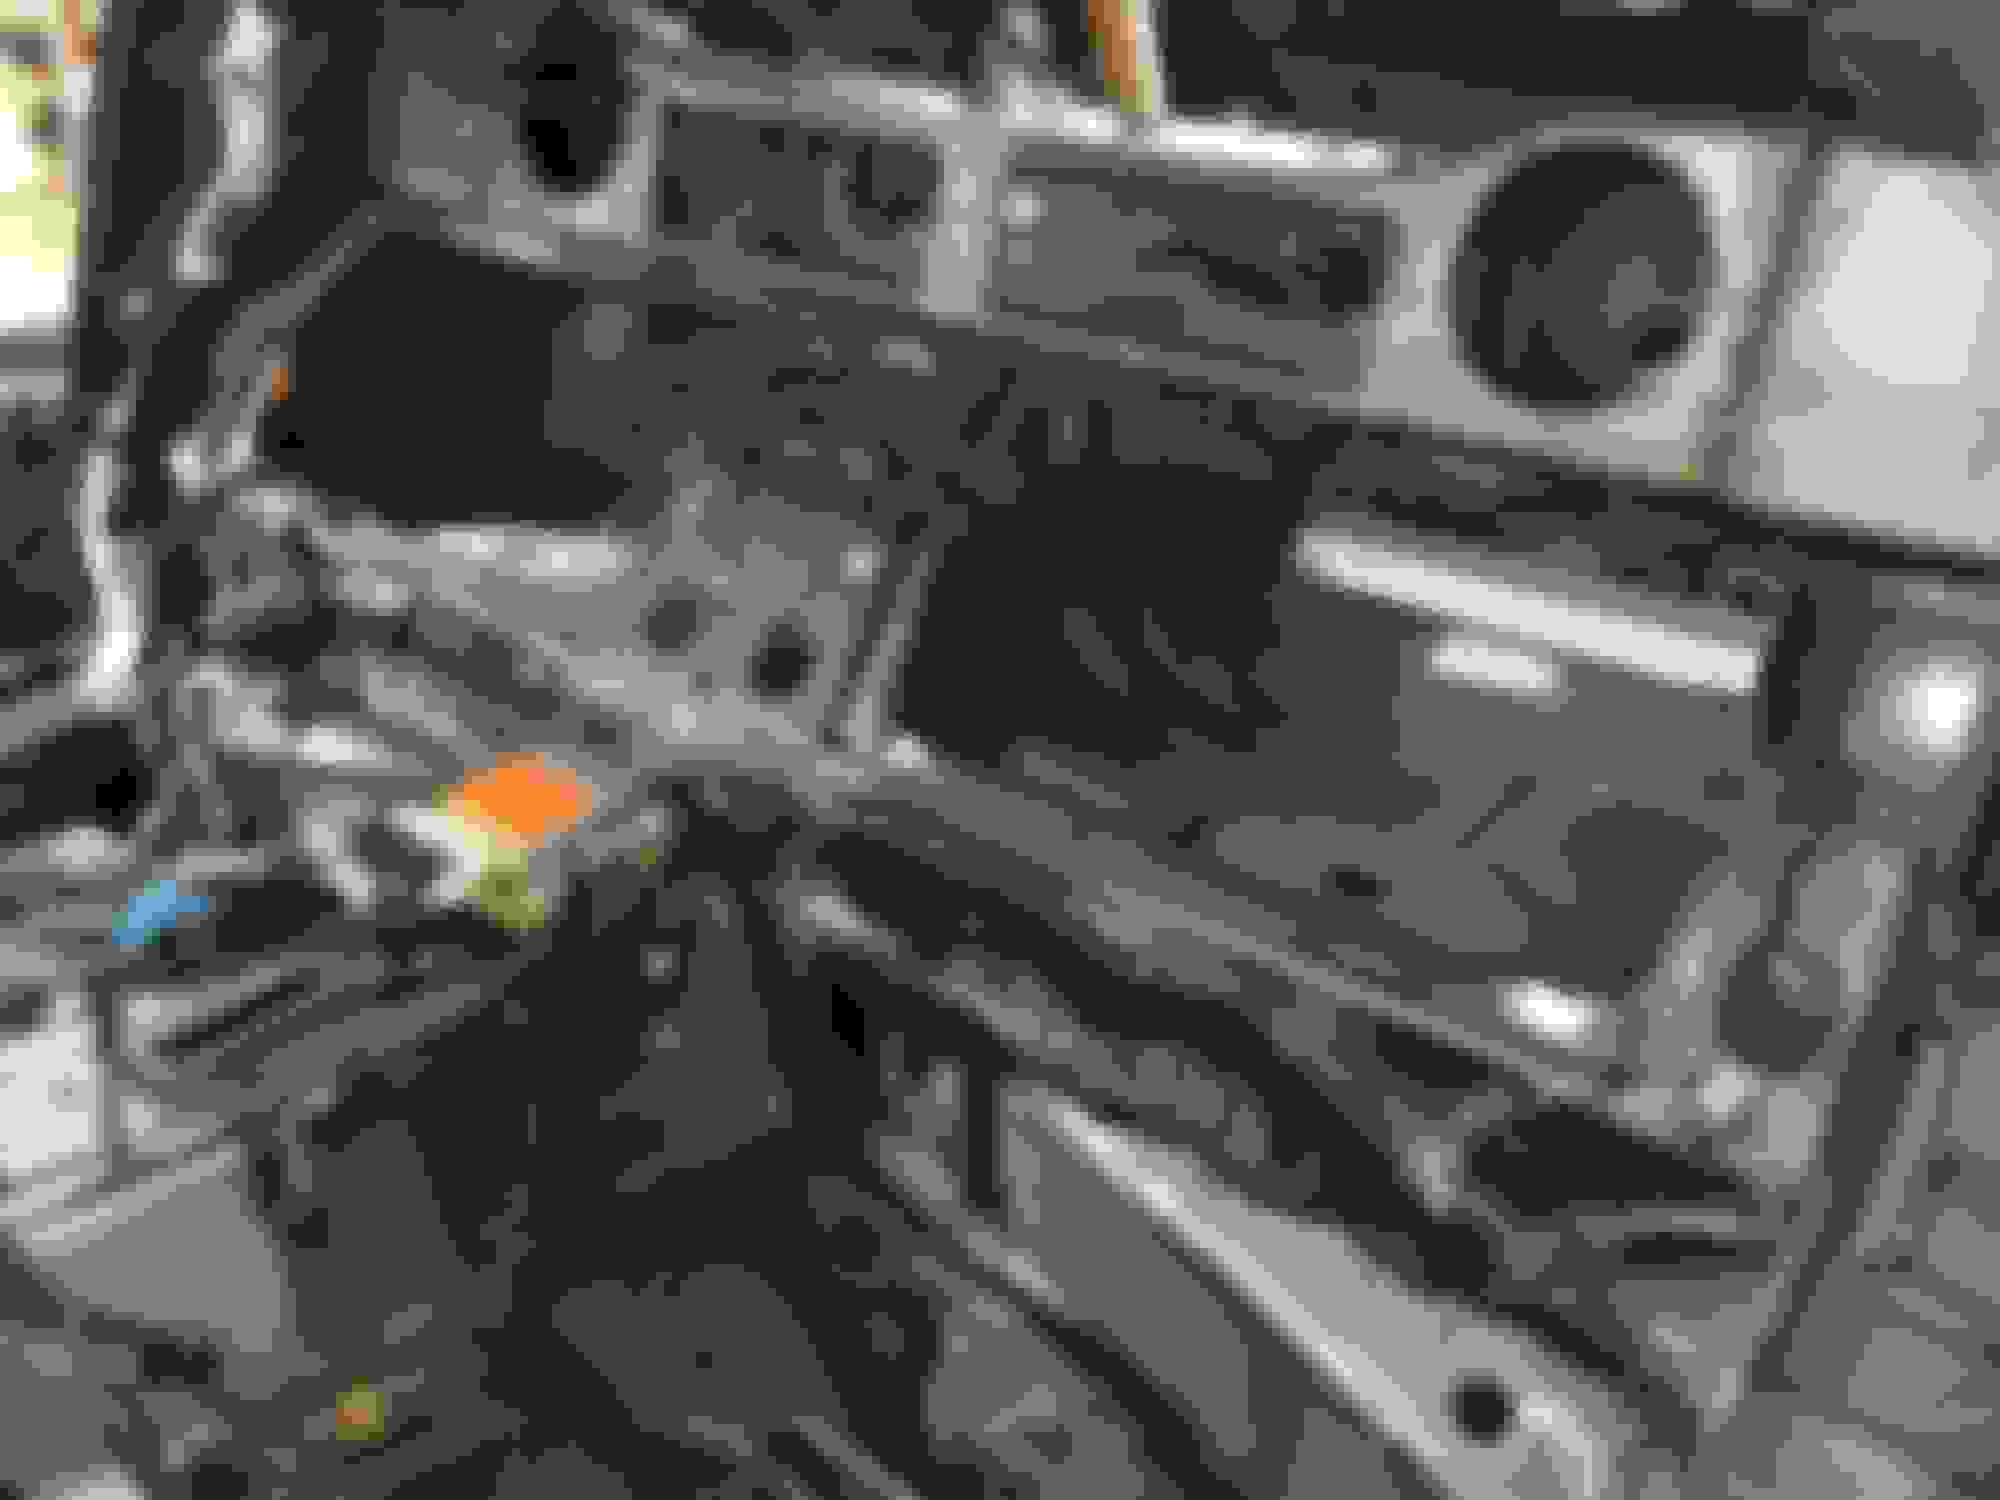
Interior rear end stitched up and then etch primer... I didnt paint the floors as i just thought weigh and the carpets are going back.... left it factory.... sans rubberising... Dash back in at this point too... the wiring took forever, if anything take lots of pictures if you do this... you wont remember as much as you think you will.....
Cleaned out.... this area is basically done.... happy with how its going, car wasnt great when i got it so to see it at this stage is great...
The idea is to have it rolling in March again sometime, when it goes off to paint, ill spend time on the engine side of things... The plan there is to try get 330whp plus... We will be doing headwork and so on... i have also ordered these guys.... i really would like to get close to the 400 mark.... NA
Ordered matching, im hoping to get the best out of it... Also the weight saving is huge going single exit and TI... catback being under 6kg, i think total weigh there is 20-30kg of saving...
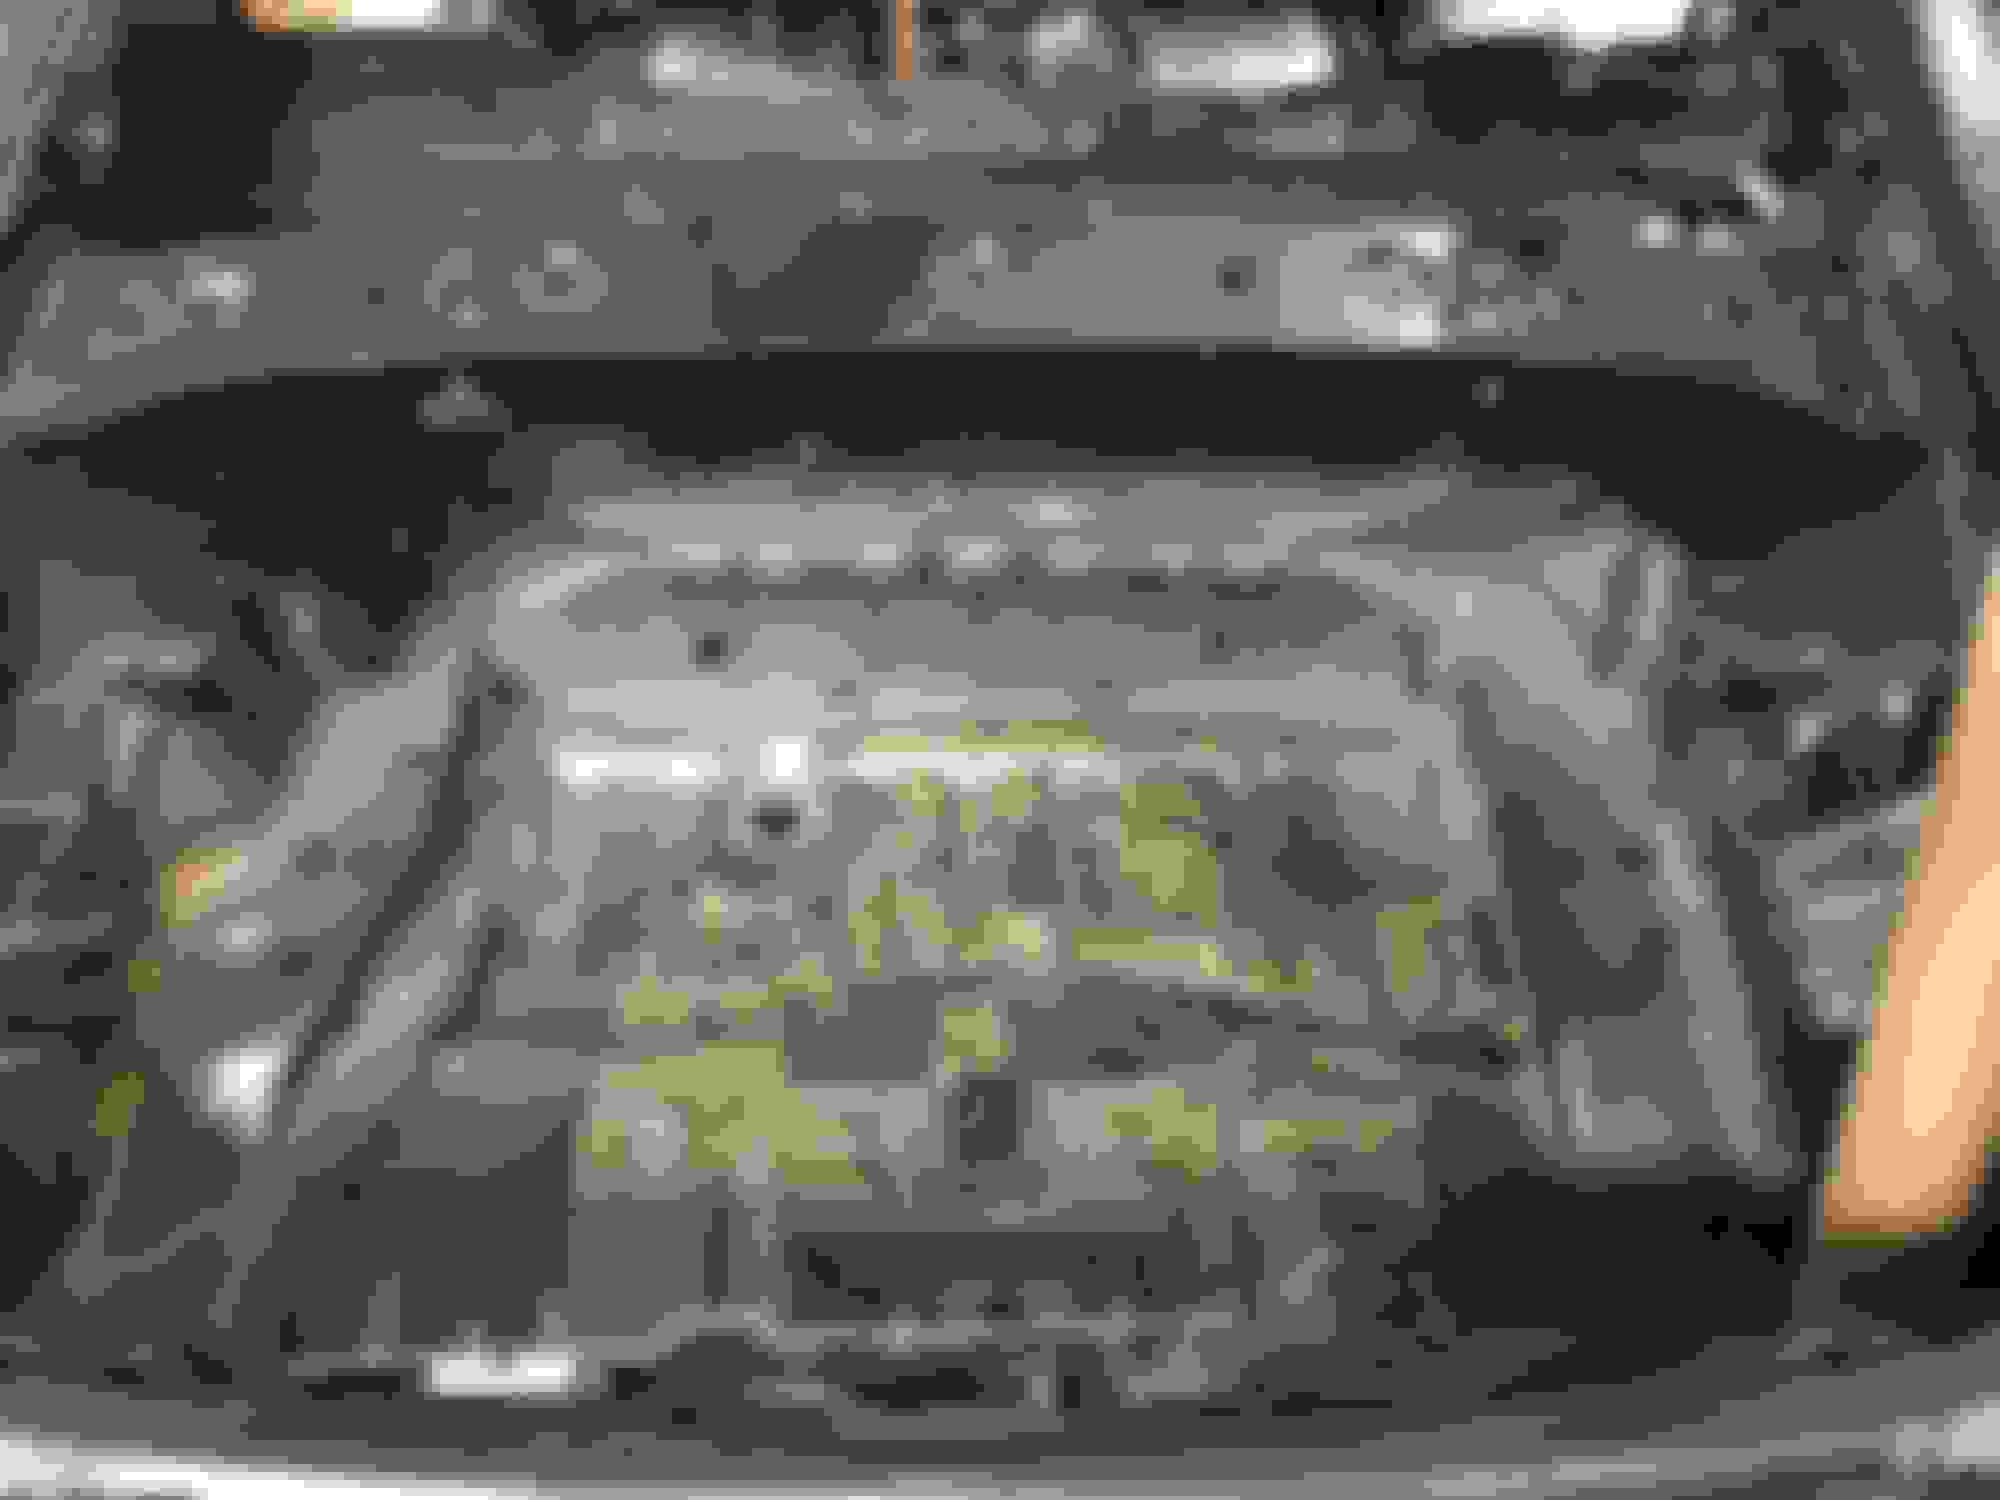
Cleaned all the rubber out which took forever... once the main bits are off, i just wipe with fuel to get it clean clean.... they recon around 30kg with all the crap you dont need in the rear side of things... Im hoping to get around 100-150kg off the car from the original weight... The boot lid weighs 33kg so something has to happen there.... seats 22kg's each.....
Some more work on the front end.....
stitched and cleaned up a bit... car had some damage on the right rear so this way im just making sure its up to scratch... I dont plan on running any rear panels after the speaker cover ones... Going to paint it the same colour as the engine bay.. the cage ill leave in the trade mark Cusco blue..
At this point the car has come a long way in a short period.... Happy so far.............
Talk about building it from the ground up! Much respect. I would love to do something like this, but i just dont have the time nor patience to strip it down and build it back up.
A stitch here and a stitch there, that is fawking great. Probably the best 1st post I have run into on here. What did you use to get the sound dampening off in the trunk? Dry ice or chemical and scraping??
Keep up the updates coming and well nothing but keep that shiet coming!
can't wait to see the rest. when i think of build..i think of something along the lines of what you are starting off with. i can see you are a true Z enthusiast!
So sick... Getting to 400 NA will be tough though. Trust me lol You will definitely need ported intake manifolds from a 370z, HIGH compression pistons(12.5:1 JWT), valve springs to rev high and let the engine breath, cams also, nismo oil pump, E85, and a reeeeeeally aggressive tune. Even then, it's still not likely you will hit 400, but that will get you really close. You would get more power per dollar with a bolt on turbo kit. Boosted performance makes one. Only thing about that kit is the turbo he includes is an oil less turbo. Definitely would rather use an oil fed ball bearing turbo.
Ridered, i literally just slogged and slaved to get all the crap off the inside... paint scraper and flat screwdriver.... hammer... haha... the rest is putting some fuel on it to sink in and wiping it down till there is nothing left.... hours and hours... i want the boot painted out so going to try get it as neat as possible in there....
As for the 400Whp,(thanks arrtus) the guys from on point are on point.... when i saw that and started checking out what they were up to i thought, i would try for something along those lines... im not to stressed about the 400, but im guessing with the stuff i want to do i could get more than 330WHP... the DE or local 350's here aint really that quick and after seeing the figures you guys over the water are pushing I WANT THAT....
At the local circuit here my DE with coilovers and radials did a 1.14.1 and im hoping for sub 10's with the HR on semis... should be easy enough actually with the weight and so on out... fun street too... "playful driving"....hahaha
Anyway, thought i would show you this too... Had these coilovers made up for the DE but moving them over to the HR now.... BC-ZR's with custom spring rates and i got them to make up lines and external "oversize" reservoirs... looks trick more than anything else and runs compression and rebound setting which is great....
They also not to much money wise and havent had any trouble with them before... love the external reservoir....hahaha
oh and this guy..... sold it with the DE but will make another.... felt the rear wing just wasnt enough... we fiddle with carbon a bit this side so we made this up.... on the black carbon is king dont you think??......
hey venture210....... there just is something exciting about a fast 9k NA...hahaha.... im trying my best to not go to overboard in that way and having a chassis that can handle its power.... so many fast cars here but to much power to get the times down on the track.... anyway, lets see.... super keen.....