When you click on links to various merchants on this site and make a purchase, this can result in this site earning a commission. Affiliate programs and affiliations include, but are not limited to, the eBay Partner Network.
Jeez, quite the project. Just read through it today, really interesting project, cant wait for the retune results. Love all the custom work so much. wish there was more of that around
Appreciate it! I just like to find any excuse to work on this thing lol.
Took care of a few small things since last post.. Went around and fixed any panel gap issues, had to fix the driver door, headlights, and rear bumper. Waxed the car, restored the plastic/rubber trim as well (after these pictures).
Not sure what happened with the tail lights, but they had water spots that could not be removed, redid them completely. This time I used 2k clear over them, a bit darker than before as well, oh well. Rewrapped the roof again, as the bodywork beneath had issues, now perfect .
When making the 4'' intake, I made sure to have everything smoothed out inside.. With the new heat shield, it was causing the v stack/filter to sick incorrectly.. Fixed it by adding a little more room on the side.
Decided to smoke test the exhaust/intake. intake was 100% sealed... Exhaust leaked everywhere.. The generic flanges off amazon leaked no matter how tight the bolts/nuts were, leak at AEM O2 sensor, U clamp, and Vbands.. Headers/test pipes had no leaks thankfully.
2 bolt flanges = Remflex gaskets fixed the leaks....U clamp = Used JB fiberweld for a temp fix.....AEM O2 sensor = New crush washer.....Vbands = Copper liquid gasket... Leaks all fixed.
Going to wait till my vacation is over next month to get a tune.. Hoping to be able to get a map as well for stock intake bore and have a quick dyno run between them. Speakers n sub will be receiving an upgrade, all the old stuff from the z will be going into the daily sonic. Looking forward to Aug
Been a chaotic month, just got back from vacation so I got a few things to finish up on the car and OFCOURSE, MORE DELAY !
My Sonic ending up spinning a bearing at 105k miles. I recently bought some springs, spent 3 hours installing and threading the shift ****[ YEPP 3 FKEN HOURS],dash cam, installed new pulleys and timing belt, etc.... Drove it 25k ish in 11 months lol. I ended up buying a 2024 Kia Forte GT, which ended up being vandilized and damaged by employees at the dealership, long story short, they bought it back... I now own a 2024 VW Jetta . Love it so far, except for the sound system sounding worst thn my phone speaker. With this new car comes more delay, as I was not expecting this to happen :/.
Threw on some better speakers, Kicker DSC650 (x4). Needed a 1'' spacer to clear the window smacking the back.
Upgraded the sub as well, to a Kicker Type R. The Kicker C10 will now go into the new VW... I got a new SKAR amp as well, it was DOA, in the processing of getting a new one now.
Threw on some new bolts for the steering wheel, as the old ones were destroyed. I really wanna restore this wheel, not sure how though after all the info I have read on the subject lol..
Decided to wrap the mirror bases black to match the rest of the car and break of the carbon a bit.
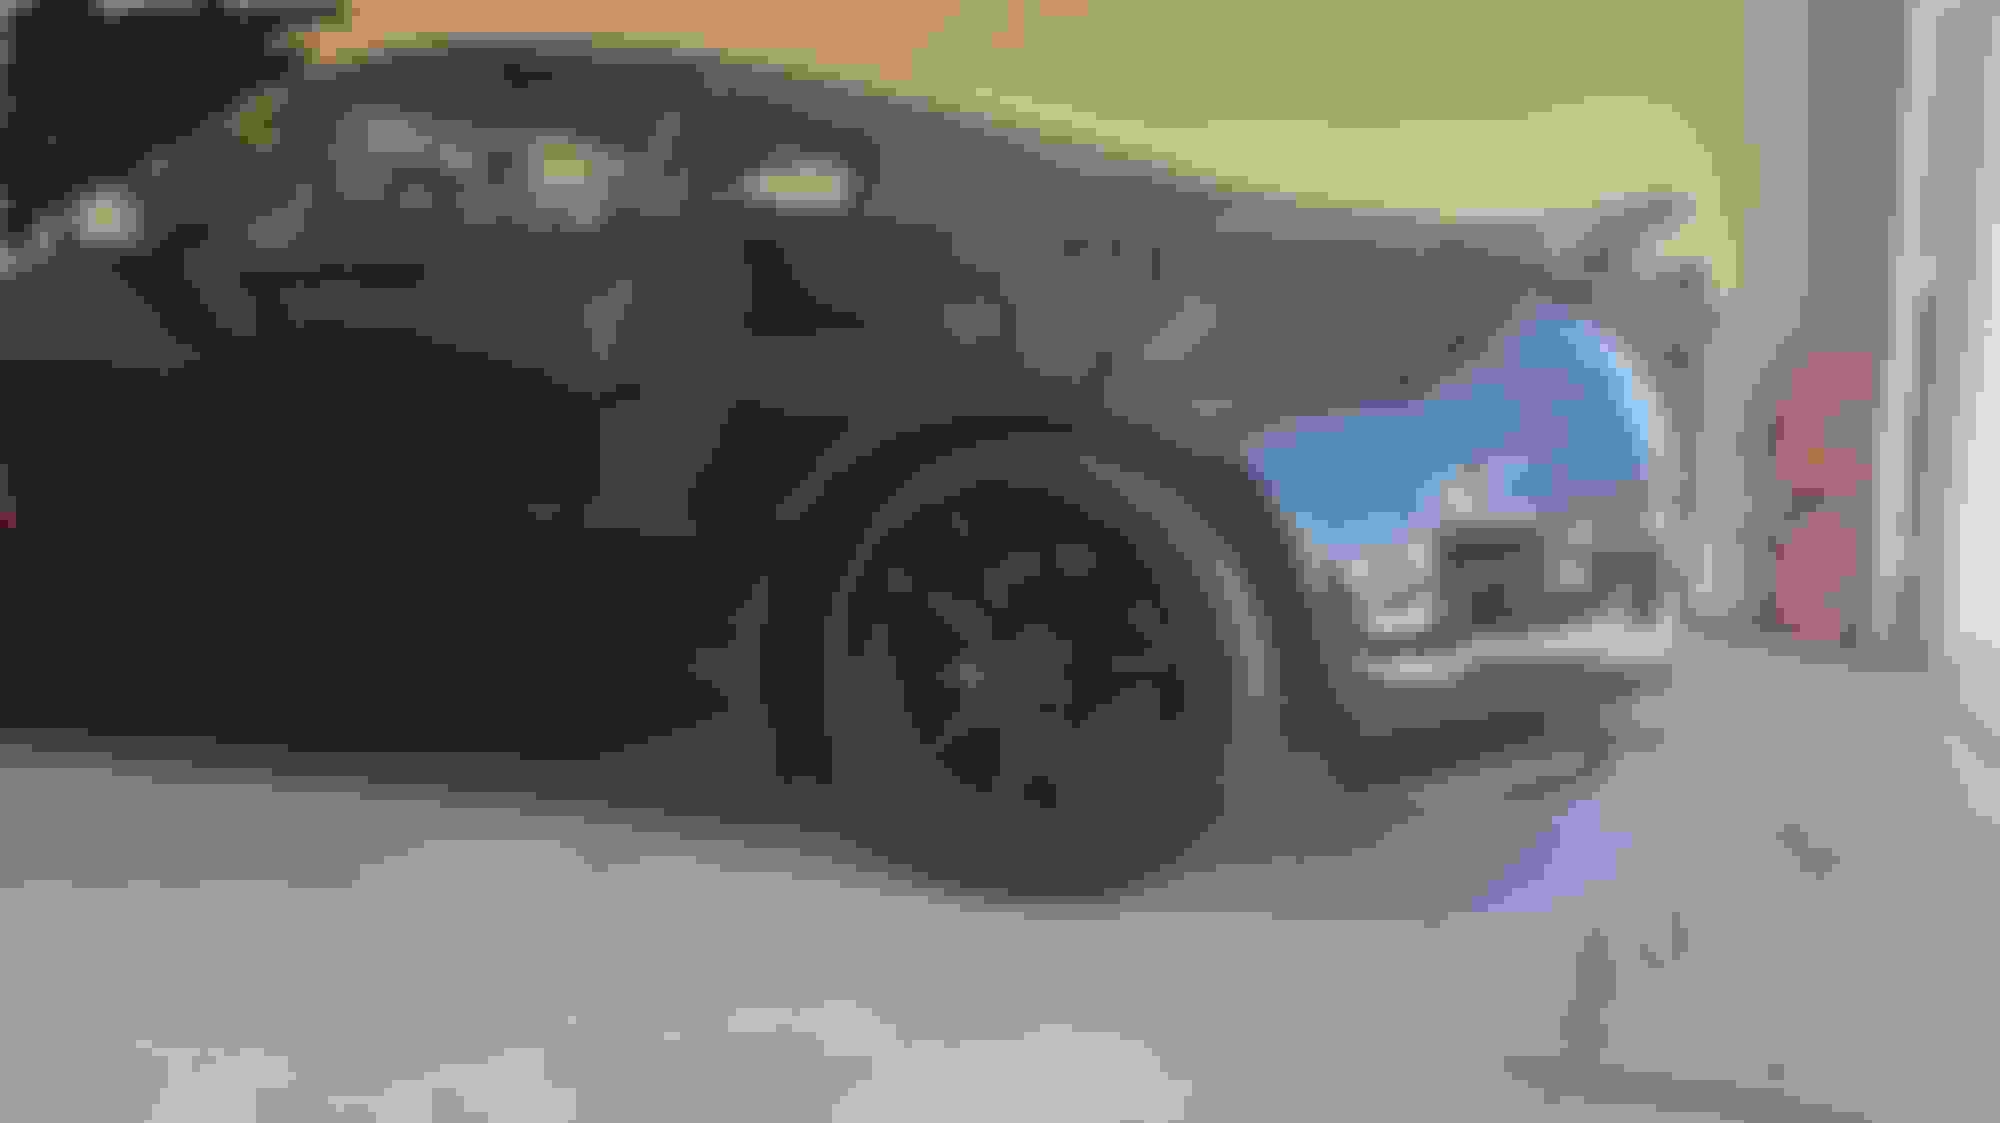
This is how it sits now. Changed out the old lug nuts and valve stem caps to simple black ones. Trying to get rid of the takyness on the exterior.. The interior is allowed .
Since I'm going to be waiting another month for a tune now, I have a few more things to fix. 1. Resealing hatch lexan. 2. Fix the hatch cover (pic below). Need to add a bump stop to even out the gap and refinish it, as the rubber trim is horriible. 3. Install new amp that I am waiting on. 4. Rewrap driver QP, as it got debre behind it. 5. Realign hood.
Alrighty. Getting close! Car is registered and insured now.. Last few things that were done..
Redid the center piece in the hatch, removed the rpm switch and relocated into the passenger cubby.
Fixed up the spoiler cover I made, even got the hatch to sit level now with the added bump stop.
Had more overheating issues.. Car would overheat right away.. Drilled a 1/8'' hole in the thermo, which made it last like 20 mins till it overheated.. Ended up removing the below thermostat (at least for now) and repaced the rad cap with a mishi one.. Solved all the overheating issues now.
Today was the first test drive that went without issue .. I did learn my gas level sensor is not working correctly, so I'll open up the tank after I run it dry and I somehow rewired my reverse cam slightly wrong as its always on or off.. Hope to start the tuning process this upcoming weekend, as my free time is dedicated to moving atm. Next up after tuning, would be getting tint, either going to an exhaust shop or getting a new catback to lower the volume lol (want a single/tomei for the weight... but I really dislike the single look), and weighing the dam thing before contining the weight loss..
If lowering volume is your goal, forget about the Tomei. It is light, looks and sounds great, but it's super loud and there's no feasible way to tame it.
If lowering volume is your goal, forget about the Tomei. It is light, looks and sounds great, but it's super loud and there's no feasible way to tame it.
Truee, but I figured if its going to be loud I rather it be light weight and loud lol, but I did get a decent fix for it.
____________________________________________________________ _____________________________
So, have made some really good progress so far.. Started the tuning process On my first revision of the tune now with mutiple maps and the CRUISE LIGHT WORKS! Never was able to test if the gauge cluster was 100% working good since I was on the base ROM. On my first revision of my etune now and will get more logs tonight. Still having issues with it stalling, so time to try the resets.. Also got it registered for 5 years!
I ended up fixing a few things...
1. I THINK I fixed the fuel gauge not filling to 100%, wont know until I fill up again (seems the wire harness was blocking it).
2. Fixed a HORRIBLE rattle in the QP.
3. Fixed belt screeching.
4. Fixed stripped nitrous gauge port (leak).
5. Fixed slight fuel leak at the FPSS.
6. Got an alighnment, running pretty much 0 toe/2.5 camber all around.
7. Fixed Hazard Switch wiring 100% now.
Bought some 7'' TOTALFLOW mufflers and had them welded in, they ended up redoing the entire muffler section and making it much cleaner.. Cut out 70% of the rasp and quieted it down by about 20%.. Might throw some 4" ones in later as well.
Upgraded to the NX aluminum 4an line. I could never get the nylon line from Dynotune to stay where I wanted.
With the hood almost closed..
Tired of using double sided tape on the skirts in the corner so Bolt + rivnutted finally.
Switches ended up dying that i used in the cubby.. So I'm gonna remake the gauge pod through 3d printing with better switches..
Still need to set up the NOS window switch n fpss.. When I started, I has an issue (turns out I forgot to bolt back the main ground, luckily it only took me 5 mins of tearing apart a harness to remember that).. So because of that, I decided to make this quickly to remind myself how I wired **** up. I wired everything up to be independent of each other, as they the whole nitrous system wiring can be removed in a few mins and still in be intact (not meant to be detailed, just more so how the wires are ran, if I need pinouts, I have the manuals.)
.
TODO STILL - Remove wrap from side splitters + diffuser... Recieve the new gauge pod, paint, setup.. Fix 1 license plate light not working.. Back up camera wiring.. Figure out the stalling issue.. Continue the tuning process.. Waiting on some small decals I made to get to me..Fix door rattles (pretty sure its how the handles are set up).. Window tint finally.. Ensure fuel gauge is fixed before weighing....
Your Z looks very clean. Not the over-modded exterior that I hate with so many Z's out there.
Much appreciated!.. Most dislike black on black, but I love it... Only other exterior mods planned are new lightweight wheels, currently repainting lower trims, carbon skinning the spoiler n air diffusers, full carbon side mirrors.. So, much wont be changing over time exterior wise.
Been a while.. Got a promo at work and ended up moving closer to work as well, so ofc things take longer.
Been through a decent bit of misc issues
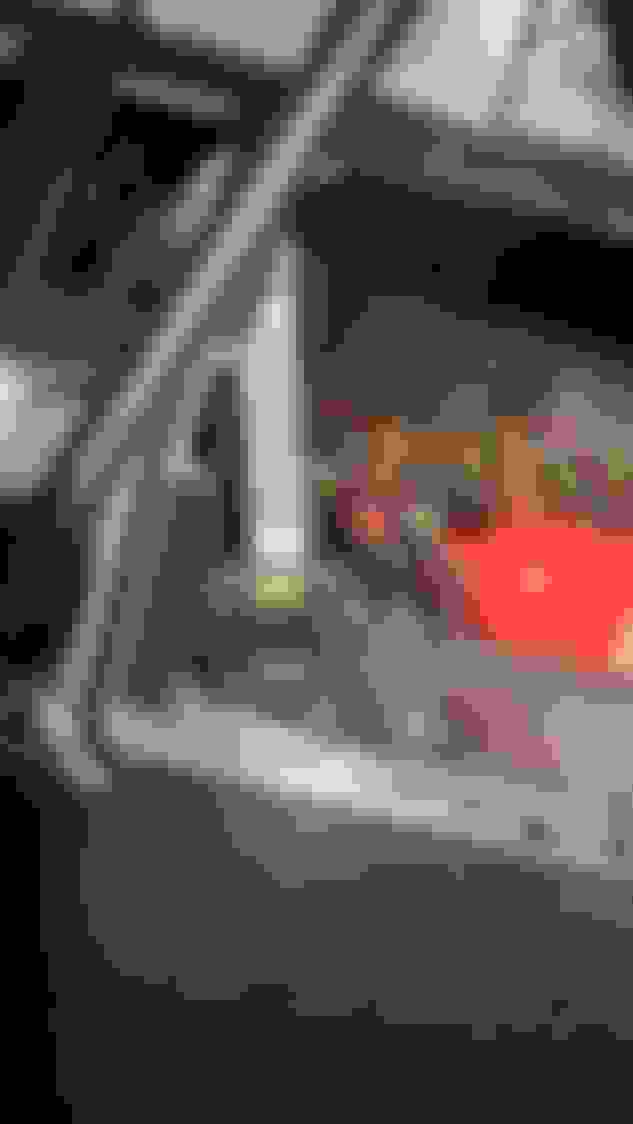
1. Car would randomly not start, but had power, just no accessory/ignition power.. I moved things around with fuse boxes and everyhting worked.. Thought it was a loose connection when I redid all the harnesses.. Thought it could be NATS, went throw abunch of wiring and checking n testing... I checked the fuses, all seemed good ( but it would work n not work, so I did not think it was a fuse issue) ... Checked ALL fuses.. Turns out it was the ****en fuseable ignition link.. It was blown but would move and make contact again :/ ... $13 fix. Below is the blown one, but still has contact.
2. Removed the CF wrap on the side splitters and rear diffuser.. I repainted them and this time 2k cleared them. VERY HAPPY with them with the 2k.. After the tuning is done, I will be pulling out all the interior pieces and clearing them.
3. Remade the gauge pod, made an error and did not notice it. Added way more sides to it lol.. Fixed the 1mm and 2mm error on the right side of it.. removed 1 opening for a button. waiting for it in the mail now. (Below old flawed 1)
4. I'm fine with noise.. creaking, exhaust, thumping, whatever.. I can not stand RATTLE though. I went and started rattle proofing the interior. Map light is now connected via velcro, added 3 pounds of sound deadening to doors and door panels, shorted door handle hardware and wrapped with interior tessa tape, fixed shifter rattle.. Fixed the rattle issues..
5. Painted the rear section of the exhaust..
6. Did an oil change with 5-30.. Added a nismo drain bolt and threw in some liqui moly ceramic.
7. I kept having tuning issues, as I would have to try 30+ times to get a tune to upload as it said I had accessoris on. Found out it was the heater switch. Bought a new ribbon cable, didnt work. I reinstalled the old cable and fixed the issue of not being able to turn off the heater switch.. I believe when I was messing with this is when I blew the fuseable link.
8. Threw in a new 2032 (larger) battery in the Key fob (when I was messing with the car not starting).
9. Reverse cam was not working simply bc I forgot to plug in the connection to the HU lol.. I ended up removing the enter assembly as I never even used it.. I struggle to use it in my daily Jetta.
10. Ended up breaking my AC vent with a phone mount.. Bought a new one and attached it to the roof, next to the map light, works great.
11. Put in a new dash cam that connects with the phone.
12. Reinstaled the passenger seatbelt and bought a used OEM passenger seat. Great condition, manual, and no airbag. Needs to be cleaned.. No rips, no issues wih the bolstering.
13. Gas gauge was incorrect.. Took out the fuel pump, it was getting caught up on the wiring.. Did not fix the issue fully thouugh. Took out the passenger and driver sending units and cleaned. Waiting to see if that fixed the issue.
14. Realighned the driver window correctly.
15. I moved the horns up to not be seen anymore. Again, trying to make things cleaner.
16. Fixed knocking suspenion noise.. Turned out to be loose endlinks.
17. Installed rivnuts into the front subframe to mount the undertray correctly.. being low as ripped out the welded nuts. Good as new.
18. Cut up the sail panels a bit to make them finally sit correctly witht he door panels.. In the process, installed new tweeters, as 1 of the old ones had a broken connection.
19. Made a bracket on the trans to secure wiring.. Was too close to the test pipes.
20. What a surprise.. The hazard switch gave me problems bc I was lazy and did not wanna try and use a relay lol.. With the correct combo, would blow the tail fuse. Got an 06+ auto hazard switch wired up 100% correctly . Below is the wiring color scheme. Waiting ont he 3d printed mount I made to secure it to the dash.
21. Cant buy Uprev decals anymore.. so made my own.. Had to have at least 1 sticker on the car.
22. While searching for the suspension knocking.. I found a coolant and oil leak... Coolant leak is fron the coolant sensor.. tightened more and will see if it still leaks.. Oil leak was from the valve covers. Purchased some aluminum covers and waiting on them now.
How it sits now..
23. Removed the CF covers on the mirrors.. I just disliked em.. WIll need to wrap em now.
24. Still in the process of tuning.. with the move + tuner having to have his laptop replaced, its taken longer than it should have. Wll start tuning for the nitrous soon.. Idle issue was fixed also with an idle reset/retune.
So, just playing the waiting game for some more parts to come in.. Happy the majority of the small problems are now ffixed.
1. Ordered another BLOX spacer to replace the motordyne one.. Below is the OLD spacer on the bottom, and the new spacer on top. The new spacer (top) has the holes drilled off center, so after it is all installed, there is a GAP under the TB area.. Got a refund for the spacer and running the motorodyne still.
2. I got the aluminum valve covers. I took them apart, and I did not find any shaving really at all, but there were a few spots that had to be trimmed down insisde. The finish on them was also horrible (expected), I had to sand em down to metal. I had the port on the driver side cut off and an AN fitting welded on, deleted unused brackets, and sanding down a lot of casting marks. Used FELPRO gaskets as well. (
3. I painted the valve covers, runners, upper/lower plenum, motordyne spacer, TB, intake with gloss black + 2k.. I burned throw the aluminum near the neck while smoothing out the upper plenum and had to have it patched up, and moved the booster port to the rear of the plenum... Trying out the GKtech plenum gaskets, as they claim to be reusable. I plan on making the plenum a 1 piece and remove the spacers, once the car goes down again for the engine bay overhaul.
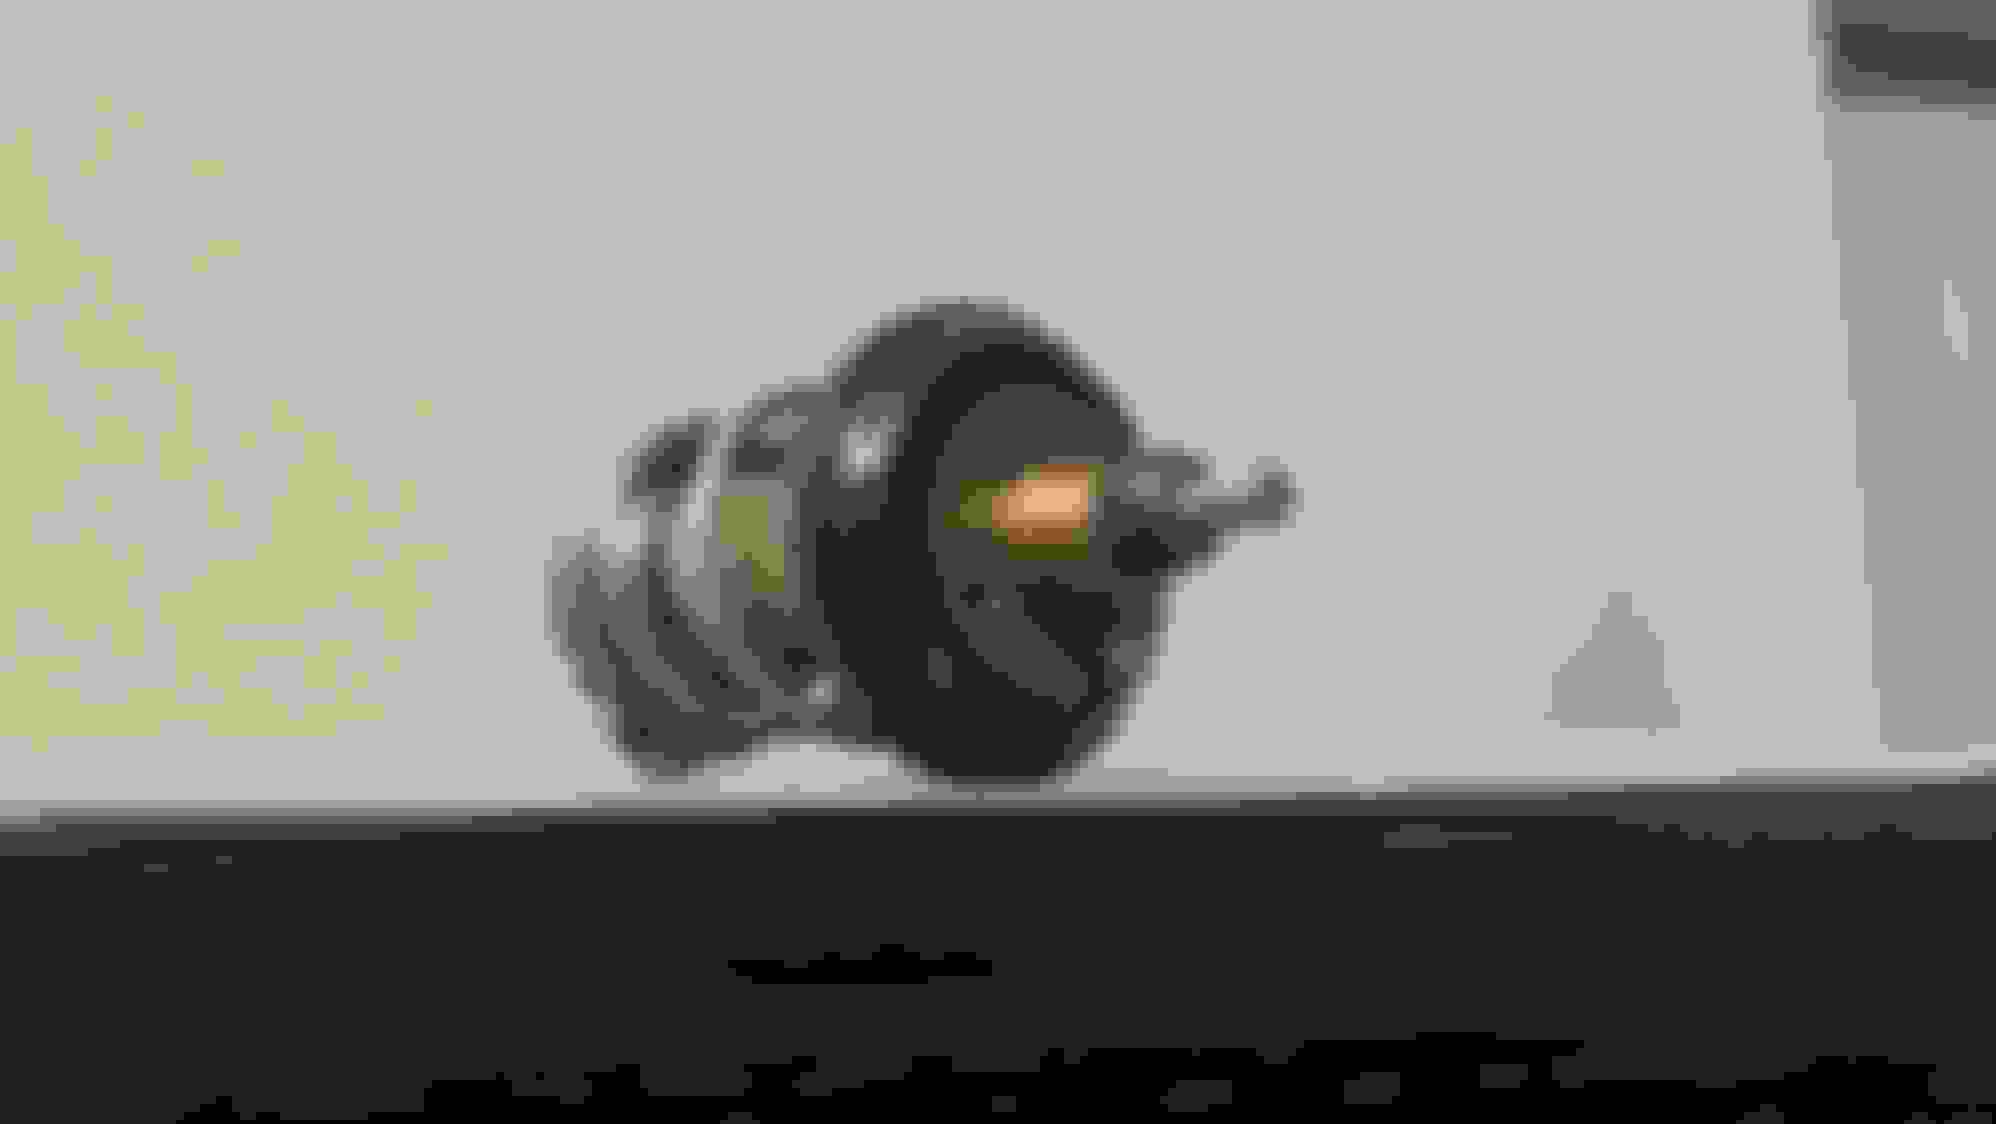
4. Got this little bi-directional scanner to replace my old $20 one lol. Already used to easily test the buzzer in the cluster, seems my buzzer is on its last egs as it is functioning correctly, just without sound.
5. I got my needed door jamb plugs and INNER window seals .
6. New center pod is installed with the new switches.
7. The door speaker grills were not working out and bending. Removed them and had to fll the holes and rewrap the door cards. Alighned the door controls better and repainted with 2k clear. Plan to spray all the interior parts with 2k in the near future.
8. Need to upload new tune I received.
9. Fixed a bad nitrous ground in engine bay.
10. Waiting on hardware order to install the hazard switch.
11. Have new clutch pedal cover (mines torn), Z1 subframe collars, and Z1 Diff brace on the way as well.
Front main seal has had a small leak for a while now, seems to have gotton worse lately.. May get a lightweight pulley since the old has to be taken off anyways. 1 Leak after another .
I've had a launch scanner for many years.
The only one my old one doesn't do it ABS bleeding.
I'v used it a handful of times now. Its honestly great for the price. Only downside is it does take a little bit of time to do a 'full' scan.
UPDATE!
As much as I wanted to have a 2 tone black/carbon z.. I just cant justify it. I honestly disliked the carbon wrap overall and disliked the cheesy carbon mirror caps. Also kept thinking about the carbon roof and really disliked the idea of throwing on a sheet just for the look... So, I ended up wrapping the mirrors and B pillars black to match the rest of the car.
A pillar corner is hazy when a flashlight is overit, in plain sunlight, theres no issue.. Will have to take care of that later on.
Engine bay back together! Looks a lot better with the new paint and brake booster hose in the back of the plenum... Pretty much leaving the engine bay ugly till the motor goes. Also added some wrapping around the fuel line to make me feel better.
Wired up the oem hazard switch and am very happy with it. Required a bit of trimming on the dash due to the location, but ah well. Works perfectly... Also ended up replacing the clutch pedal cover as mine was cracking.
Already starting to collect some parts for when the AZ heat hits and the car goes into project mode. Waiting on some new nismo floor mats as mine are 10 years old and are destroyed from back when i did landscaping and this was my DD. Also finally got ahold of the rear brackets near the tail lights that are spot welded in.
I have had a cracked key fob since buying this car.. Finally replaced it... I decided to keep NATS.. and I would like to get a 2nd Key/fob soon... May end up deleting NATS if it proves to be a pain.
Happy with dam thing for now. Still a lot more to go, as it will always be a project,, but for now I get to drive it finally after years.... Exterior really needs some nice calipers+rotors, 06+ tailights with a lighter smoke, and tint to finish it off (until the carbon work later n). Contemplating NISMO v3 sideskirt add ons too..
Nitrous was a bit annoying as I fked up lol. I set up the FPSS incorrectly.. leading to the nitrous to not activate even though everythign else was correct.. Thought it was wiring till common sense finally set in an hour into checking wires.... Set the FPSS to around 40 PSI.. Window switch to 4k - 6.5k RPM... WOT switch to 4.1v... Bottle Heater to 1050 psi... Everything finally works! Due to the issues I was having, I put in the smallest jets (50 shot crank) and gave it a few pulls.. Was at a flat 11.5 AFR throughout the pull. Lookin forward to a larger dose... Still need to buy jets for the final shot. Aiming for about a 90 whp shot.
Went to the mountains for the first time but was taking it very easy due to the low coolant/oil temps with the colder weather now..
1. To fix the overcooling.. Ordered a Mishi low temp thermostat to replace the one I gutted.. Will have the rubber line connected to the driver coolant pipe and rear coolant pipe replaced with a -6an line/fittings.. As before there was not enough coolant getting behind the thermostat and with the lower thermo, will open easier too... Cooling issues should be fixed by then.
2. Tune is complete, Have a 91 Eco/93 Perf/Nitrous/Vallet/No start for the maps. Very happy with everything tune related.
3. Got the jets in, will be running 50/28. Waiting to get the coolant issue fixed until running the card hard/nitrous.
4. Gas gauge is still not accurate.. Going to have to replace the sending units at a later date. Im just gonna fill it completely up and finally weigh it.
5. Have ordered some more parts recently, including an ebay intake lol,
6. Will be getting on the dyno once all said and done to compare 4'' intake, Nitrous, and stock sized intake numbers.
Took all the coolant lines and therm out. While doing that, ended up having to take off the valve covers. The plug tube was completely filled when checking the seals on cyl 4. I found the cut in the gasket. I did not use any tools to take them out/put them in, so not sure if it was from me or not.
New gasket orderd...
New Knock Sensor harness on the way.. the connector broke on mine.
Decided on -8 for the coolant line, so I have those fittings on the way.
Since I'm doing all this, I am cleanig up my original work on the engine harness and further shortening some connectors, wrapping/routing injector harness, better routing of acc wires, and nitrous feed rerouting.
Running a double spacer huh?Nice that you are willing to do the comparison on the two different sizes, even if people will tend to believe that stock is king lol
Running a double spacer huh?Nice that you are willing to do the comparison on the two different sizes, even if people will tend to believe that stock is king lol
A while back I threw on the 2nd spacer and was about .2/3 leaner throughout WOT.. Ran it ever since..
Eh.. Seems to be an on going debate to this day still on intakes.. May as well see the proof or lack there of, myself. Pat @ LMT seemed cool hooking me up with a new tune when the time comes for the dyno compare.
Z is still down. Got the new gasket installed on the valve cover, put everything back together. While doing so, I rerouted/shortened the engine wire harness + acc wires/lines (now that I know how I want everything routed), is much cleaner behind the engine now.
Installed the new knock sensor sub harness and HR mishi thermostat..
Waiting on my parts and should have them from the welder in a few days.. Upper plenum is having the spacer welded to it, front port deleted, and -8an fitting welded to the back... Rear coolant pipe, I shaved everything off and will have a -8an fitting... Driver coolant "pipe" is basically just a plate and will have a -8an welded to it as well.
Below is the section of driver side pipe cut off, as well as the brake booster line that was removed.
Below are just a bunch of misc parts I plan to put on soon..
Clear for the interior/calipers/plenum
New rear brembos (still need to get front)
(2) 4'' totalflow mini mufflers + piping
More Jets
Bottle blanket
Z1 solid engine mounts
Rear bumper brackets
-8an line for coolant/brake booster
Head unit
Z1 crank pulley + alt
Z1 subframe collars
Z1 diff brace
Z1 oil cap (My aluminum one kept leaking)
Tensioner pulley + oem front crank seal
Used OEM LED tail lights
How will you be testing, AFR/fuel trims/injector %?
With the nDash, so a combo of IAT, INJ%, widebands, and my MAP sensor.
That should be sufficient hard data, paired with overall "feeling" to see what is favorable.
With the nDash, so a combo of IAT, INJ%, widebands, and my MAP sensor.
That should be sufficient hard data, paired with overall "feeling" to see what is favorable.
Gotcha, lookin forward to it then
Since I'v been waiting on the parts to be welded.. Mounted the new HU.. This HU is much lighter and SOOOO much better.. Crazy how my older $300 Pioneer looks like **** compared to this $130 no name one now. My last one was mounted directly to the dash, this one I HAD (unless I wanted to make come brackets and tinker with fitment forever) to mount it to the waterfall trim.
Had a U1000 for the gauge cluster popping up.. Decided to take off the entire dash and check all the grounds. When I bedlinered the floor I never sanded the paint for the grounds.. Fixed that and hopefully the code goes away. Also took off a few more brackets off. .
Got the parts back.. Only had the inside of the plenum welded to minimize the heat to it. Front port filled, 8an in the back.
Took a grinder to get the bulk of the extra metal off.. Will go over it all to smooth it out, bevel the mating surfaces, and fill with alum epoxy.


 .
.


 !
!