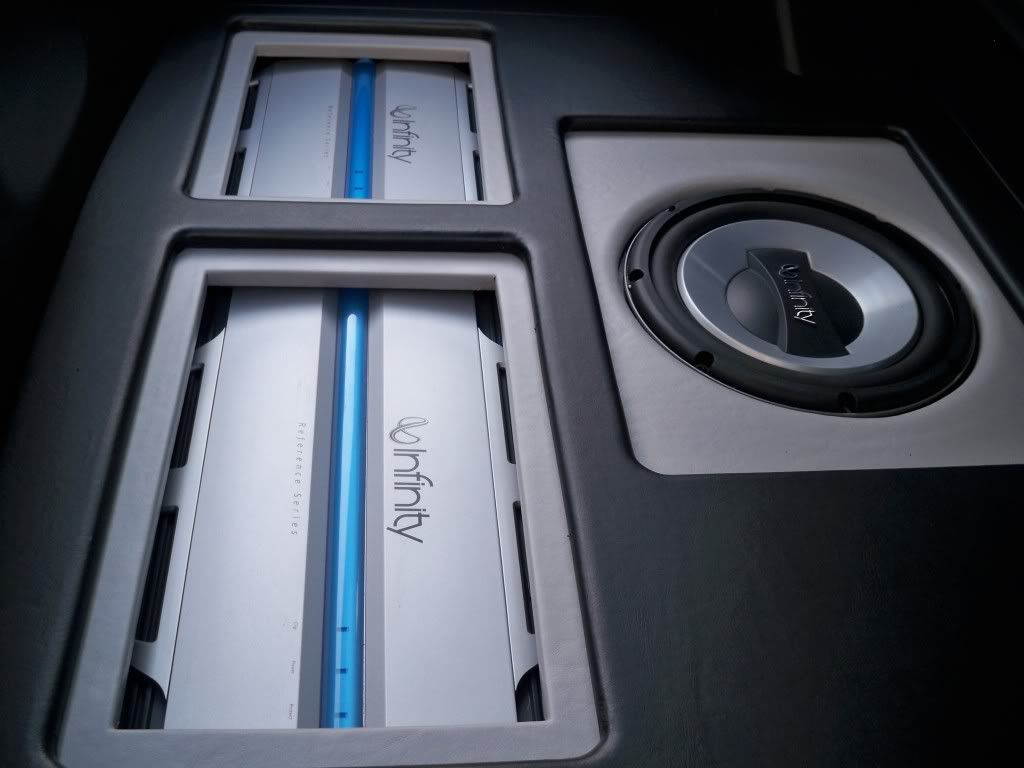
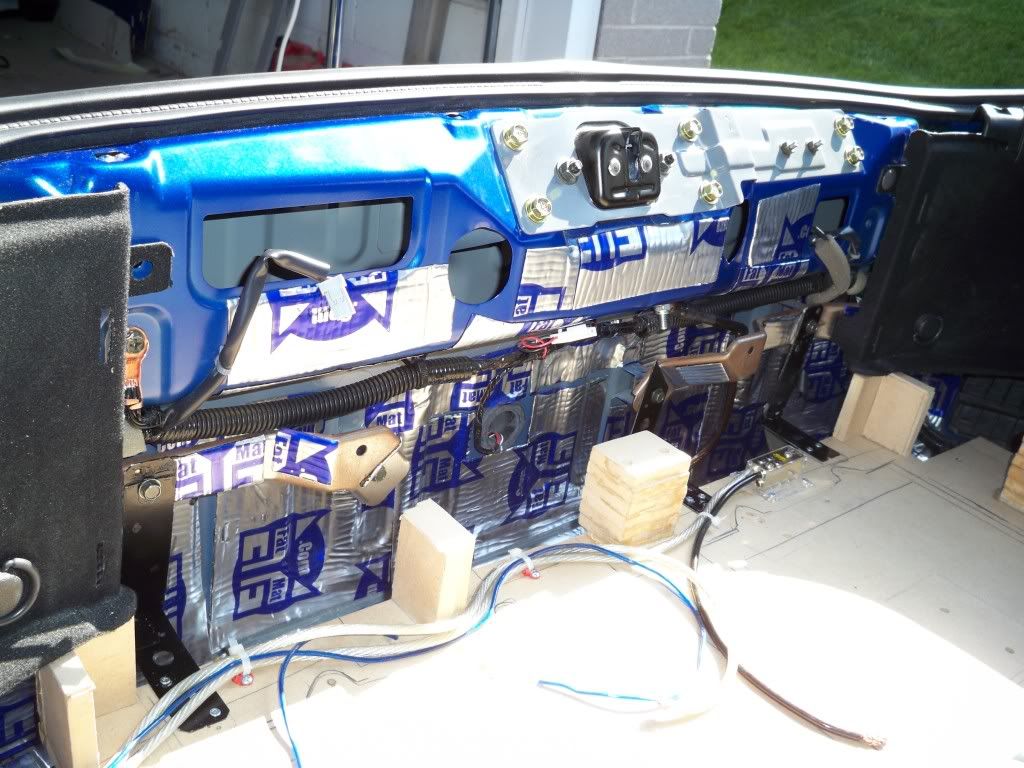
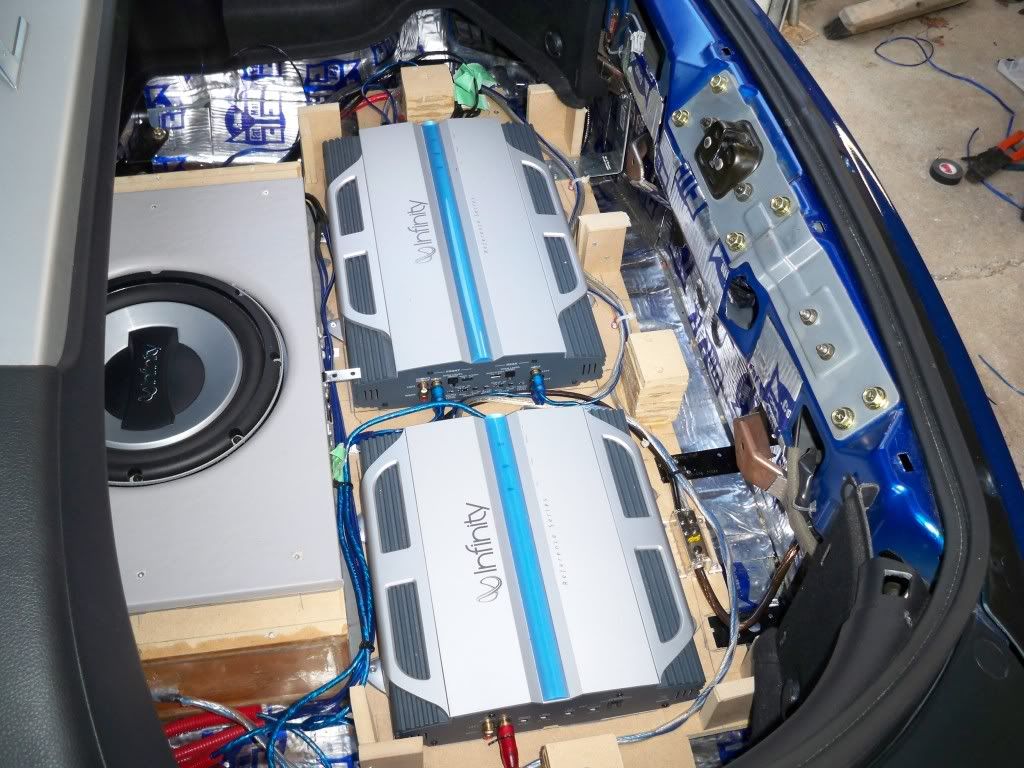
My audio setup, the installation begins


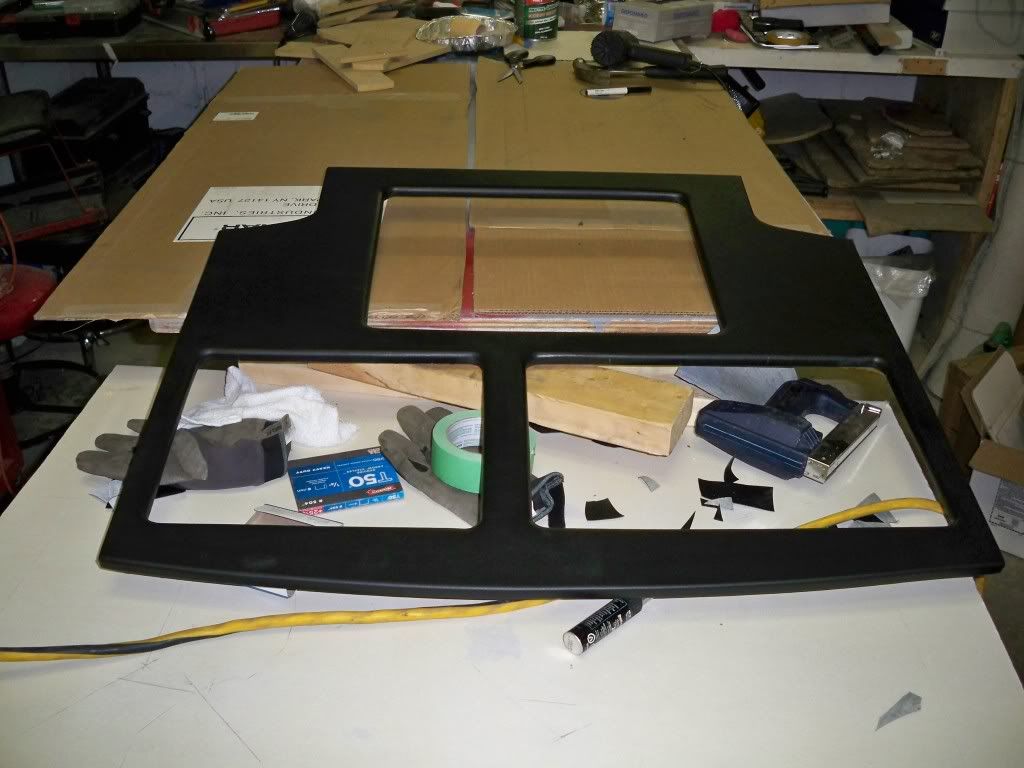
The false floor, or top trim panel. -- With a rounded inner edge.
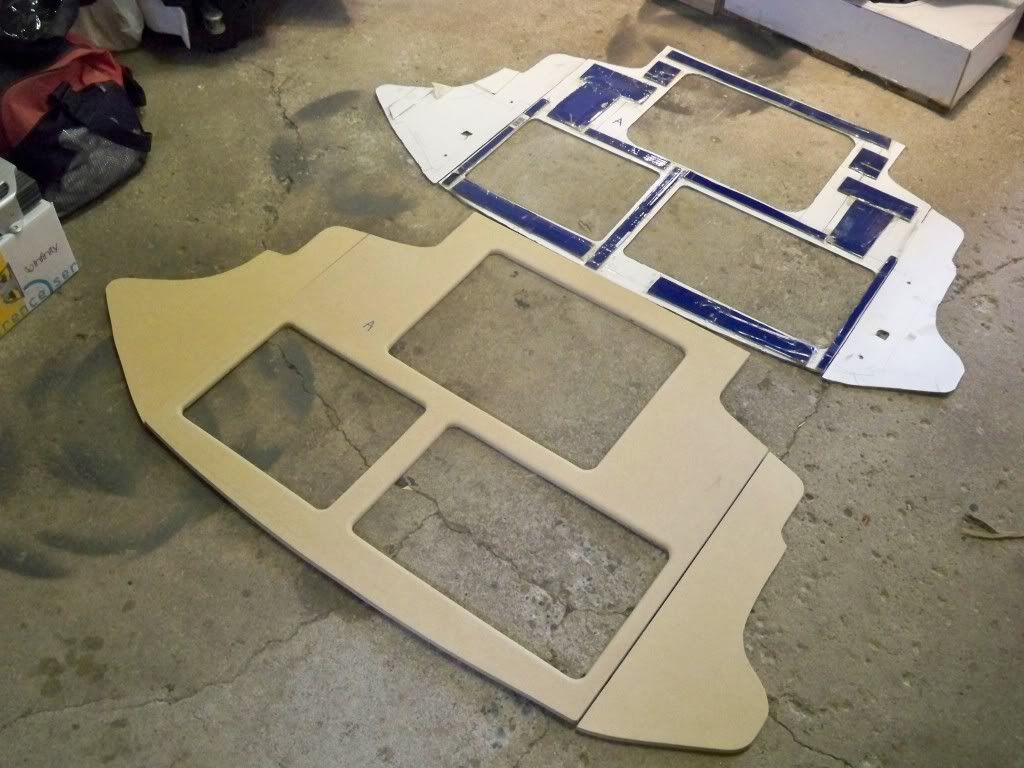
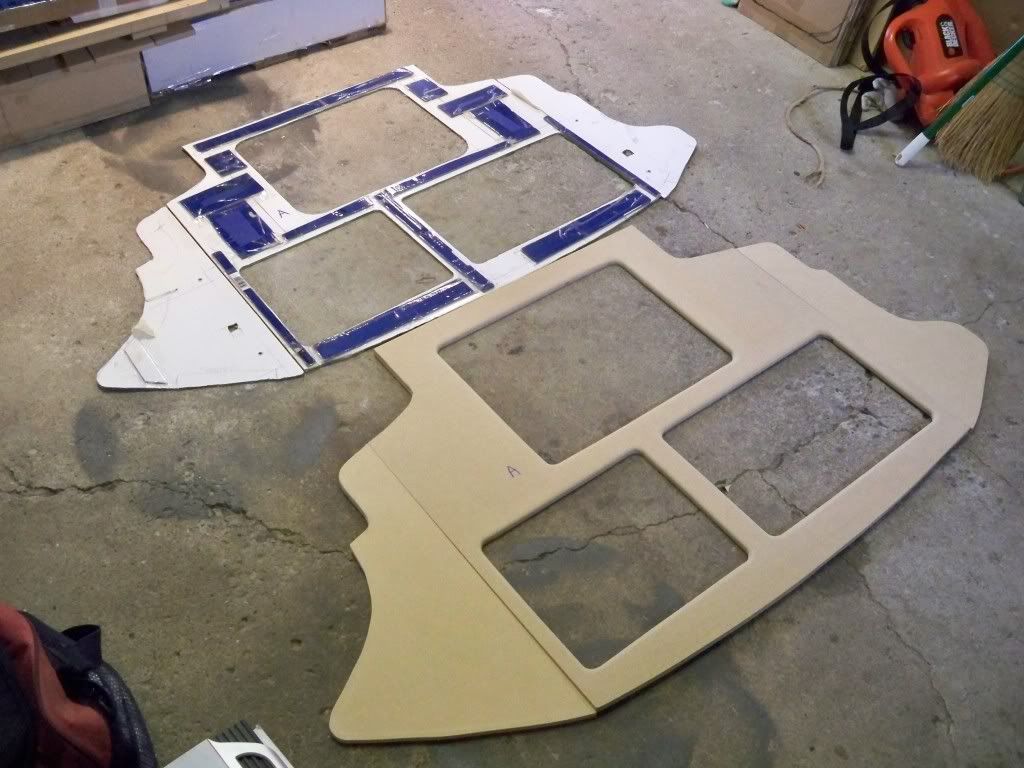
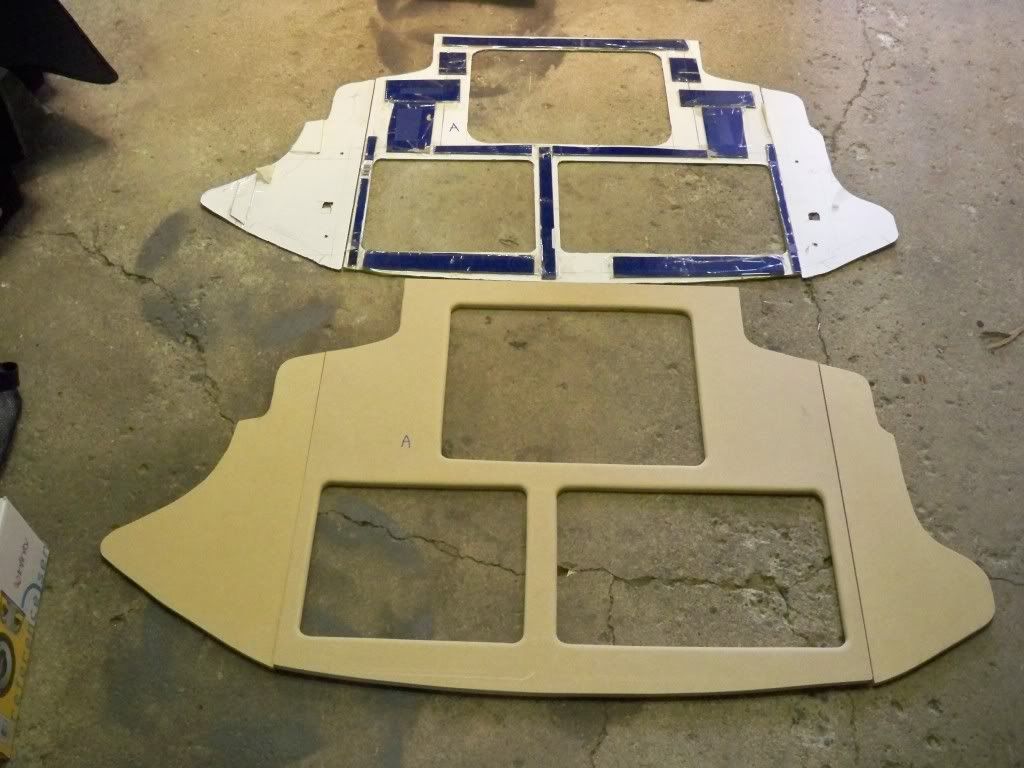
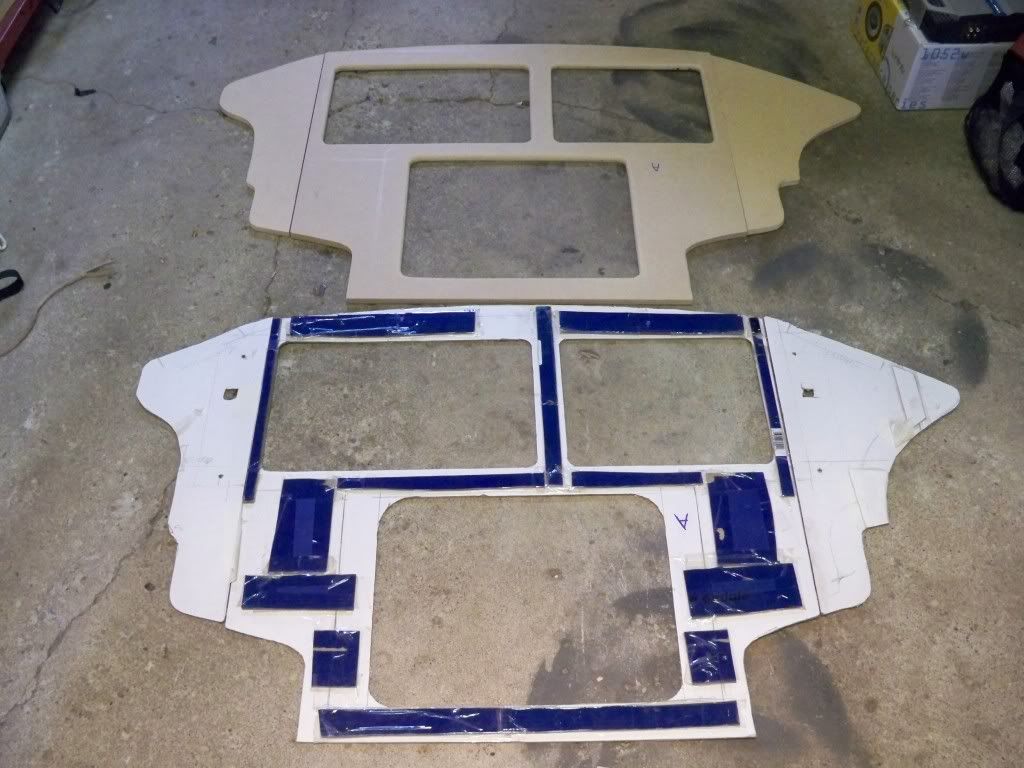
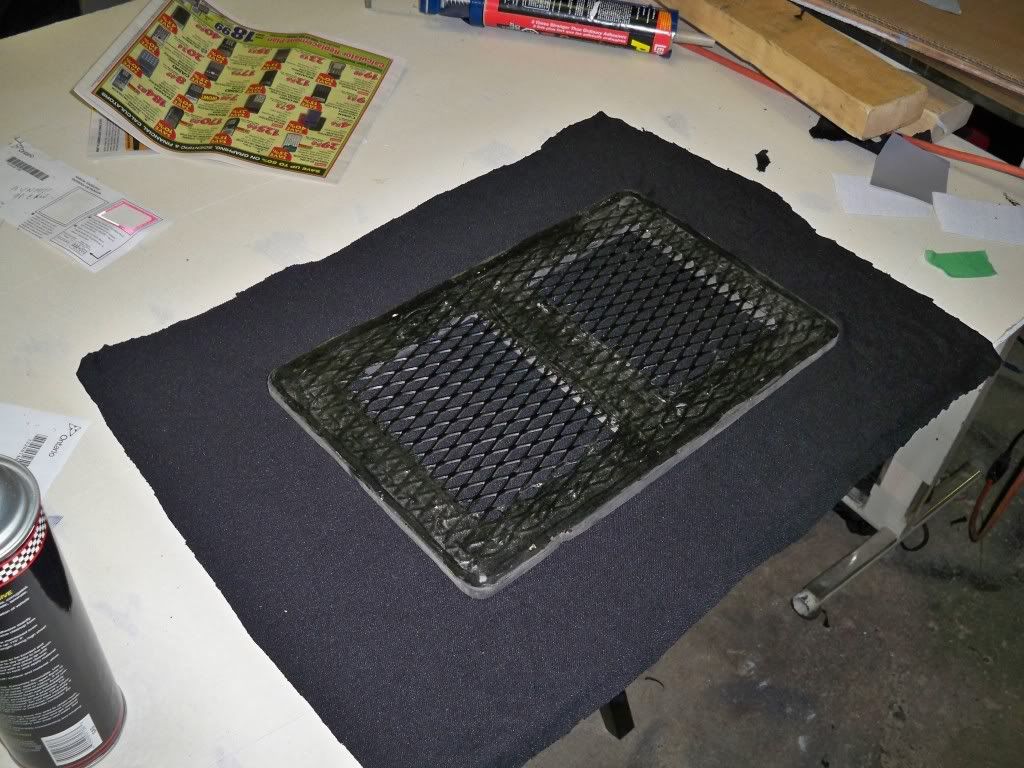
The filler panels, so i can put weigh over the amps and sub when using the trunk/hatch.
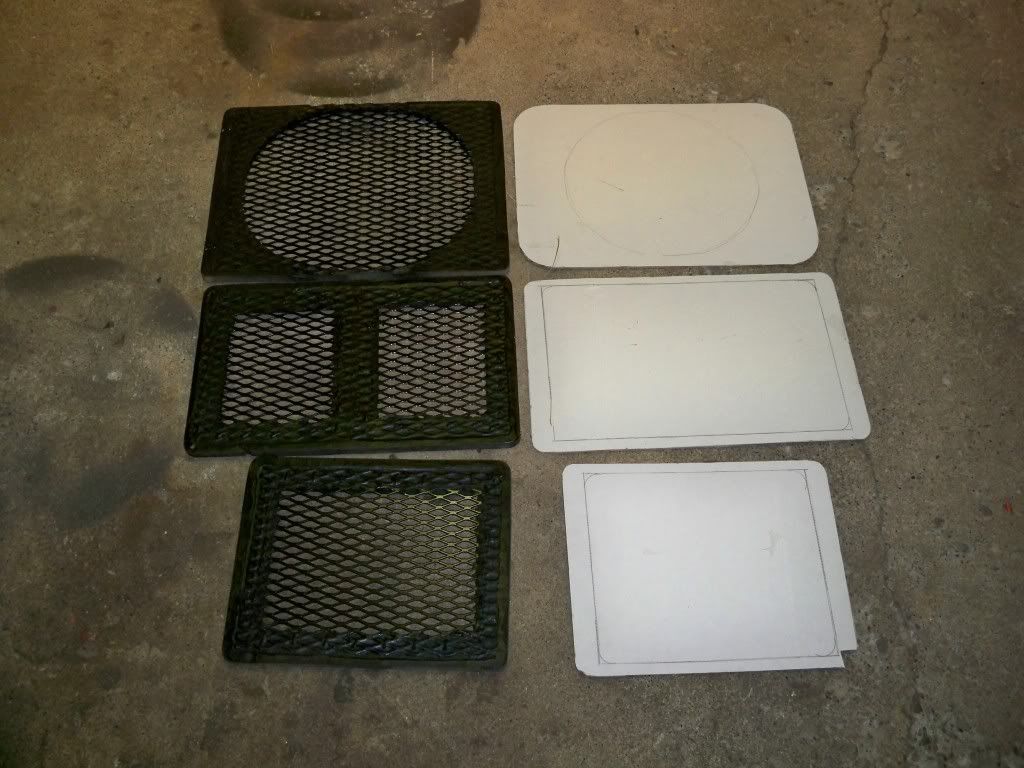
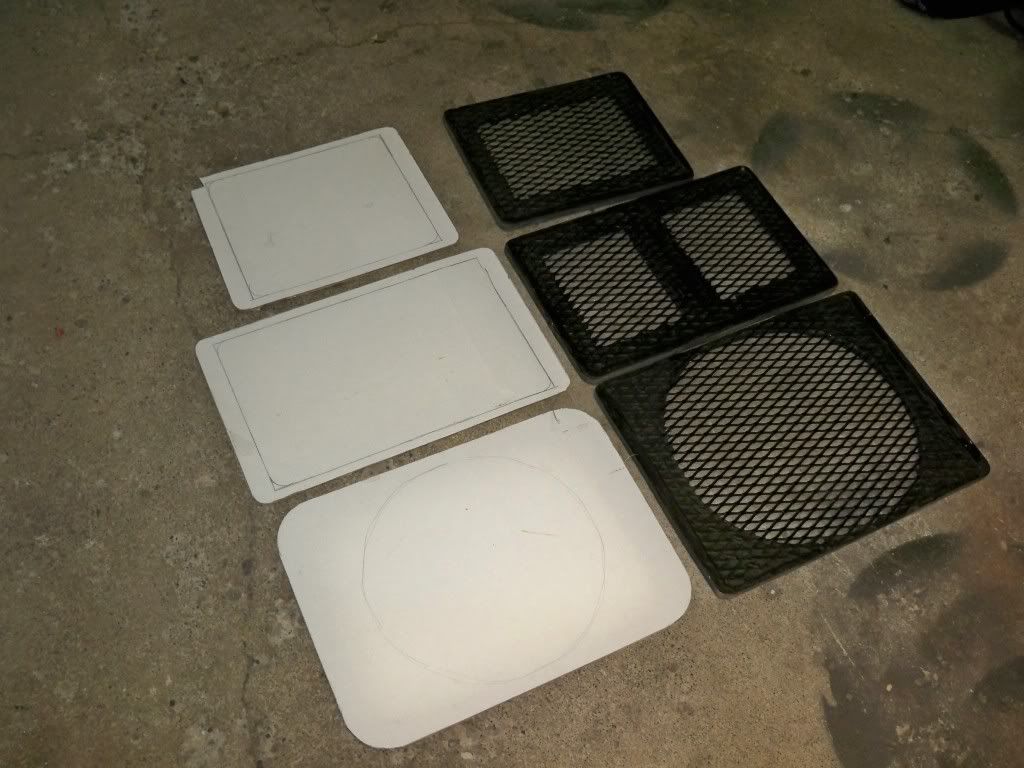
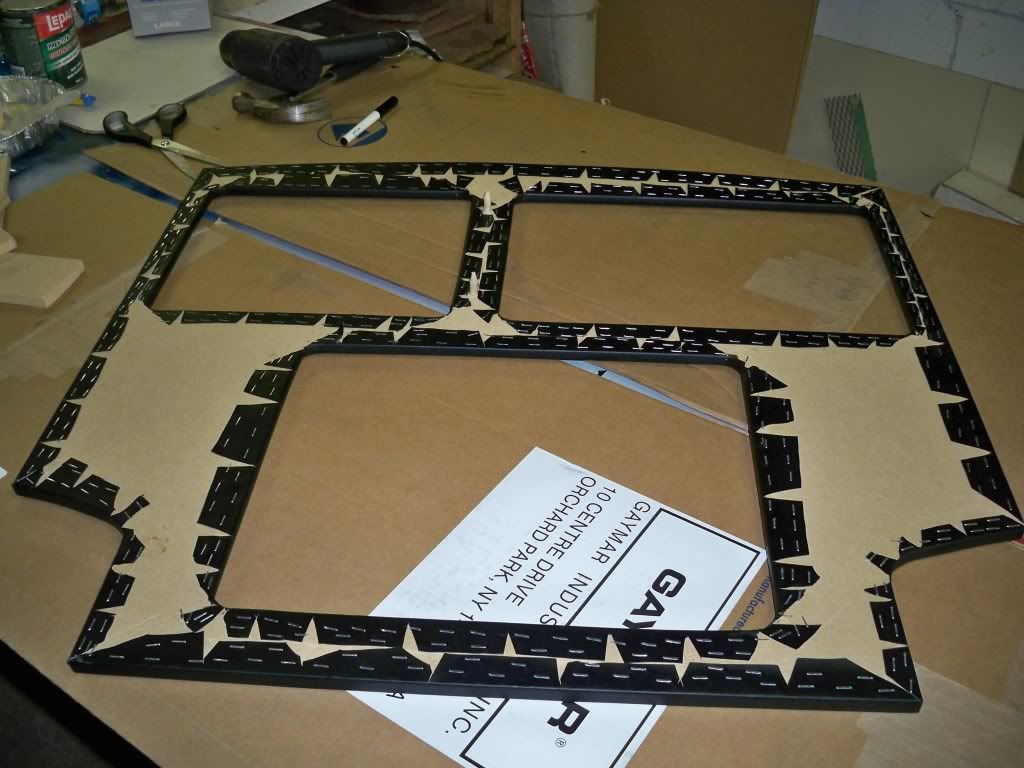
I used a rotor to remove MDF so i could counter sink the metal mesh. I stapled then used cocking to secure the mesh. Then i painted it all black.
MORE UPDATES SOON
The filler panels, so i can put weigh over the amps and sub when using the trunk/hatch.
I used a rotor to remove MDF so i could counter sink the metal mesh. I stapled then used cocking to secure the mesh. Then i painted it all black.
MORE UPDATES SOON
Last edited by XERMAN2001; Aug 11, 2009 at 04:11 PM.

UPDATE: September 1st 2009
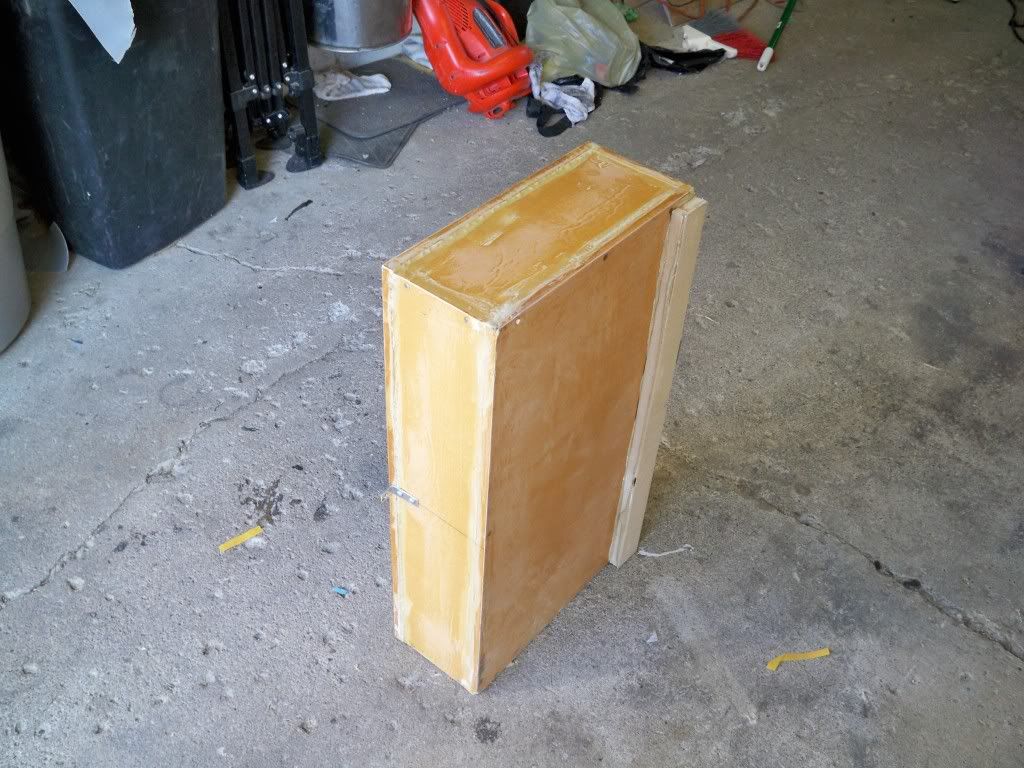
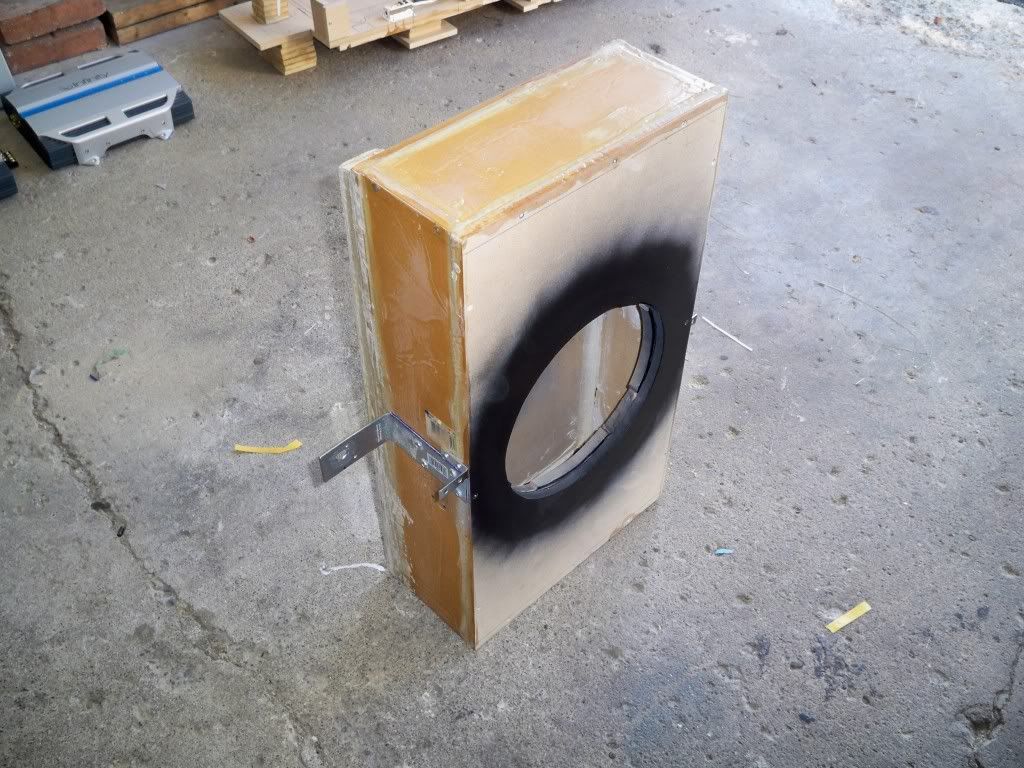
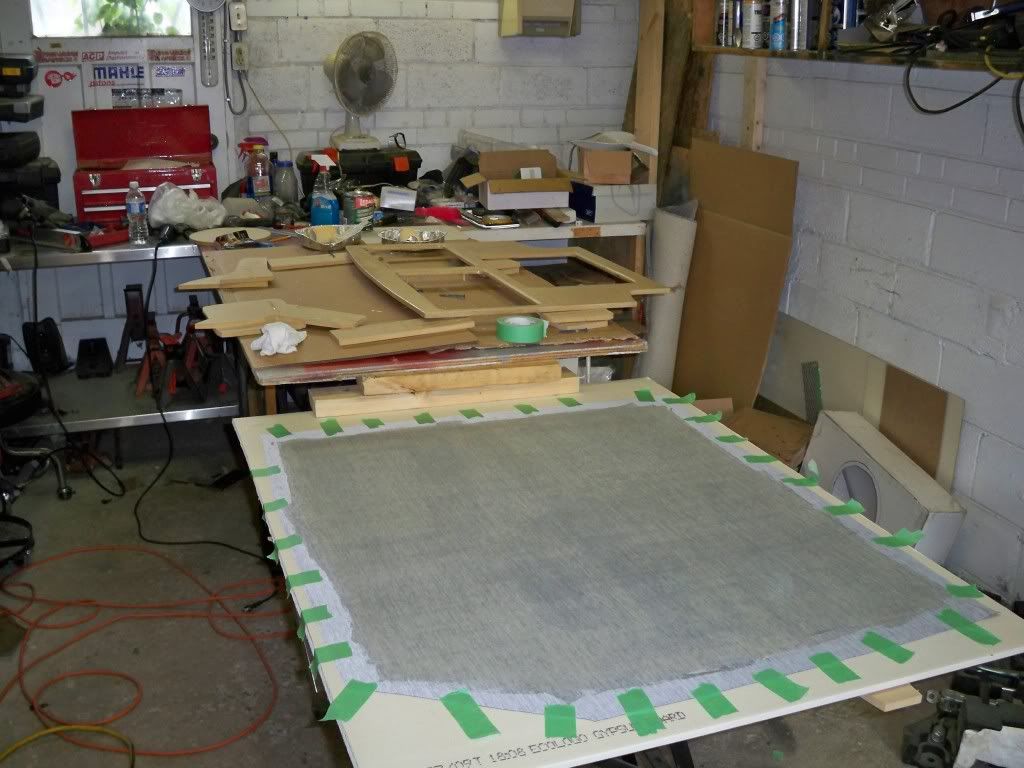
For added strength I coated the sub box with fiberglass resin.
I painted the front the will be seen black.
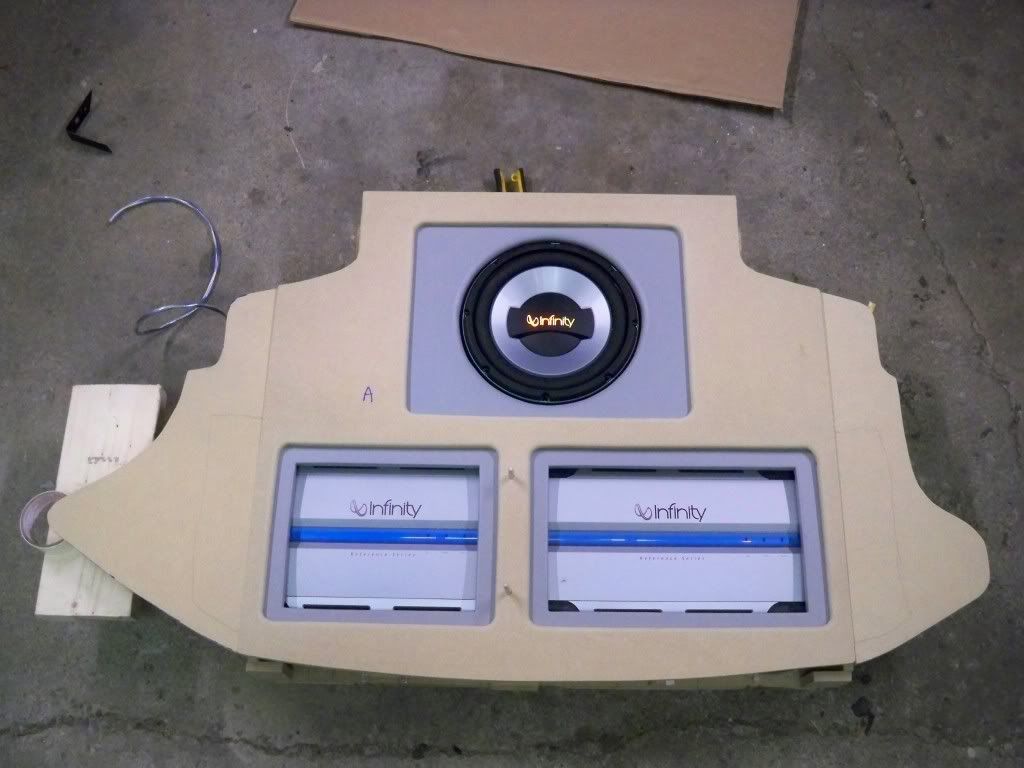
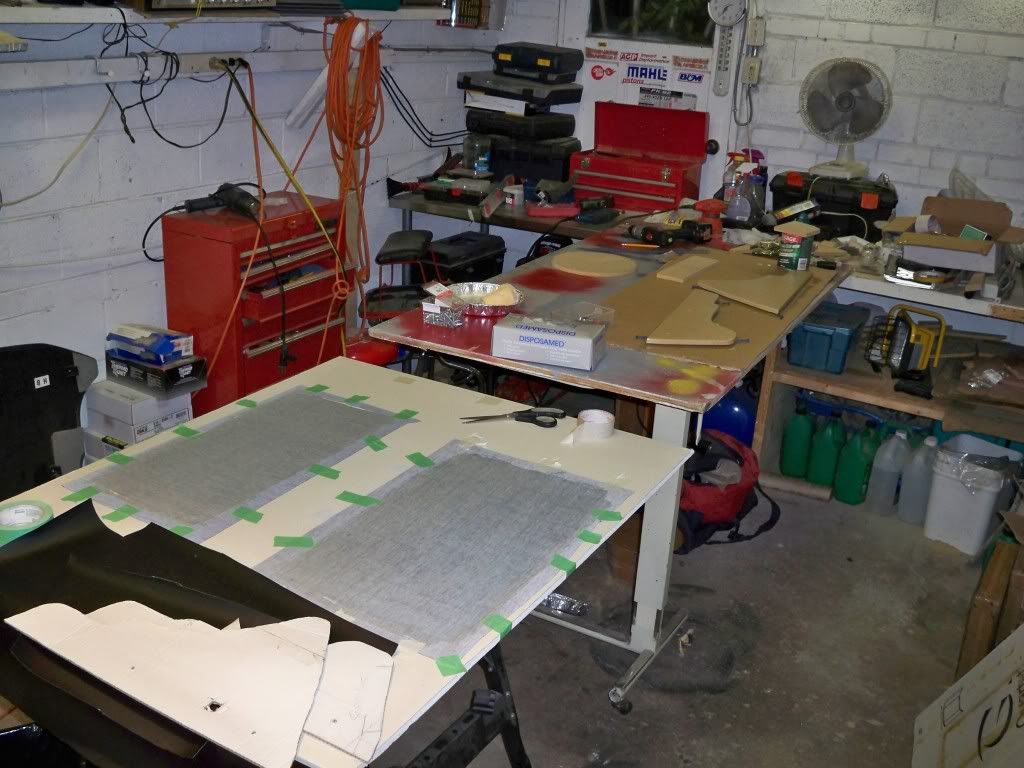
wrapped the amp trim panel and sub trim panel in grey vinyl.
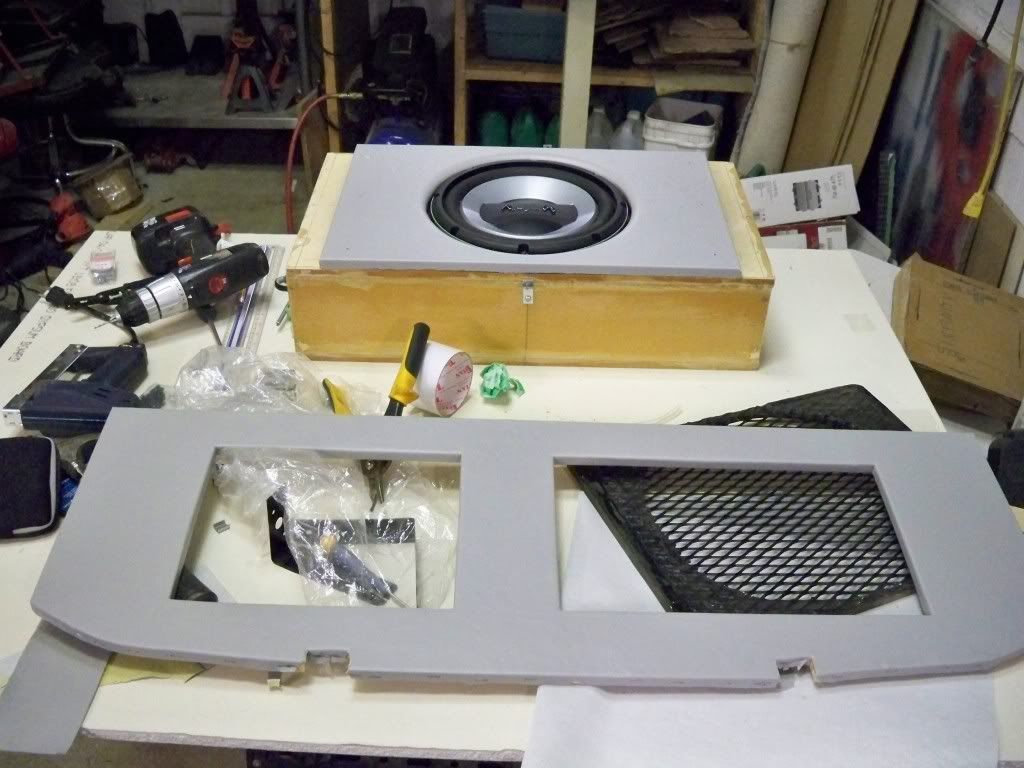
An idea of what it will look like.
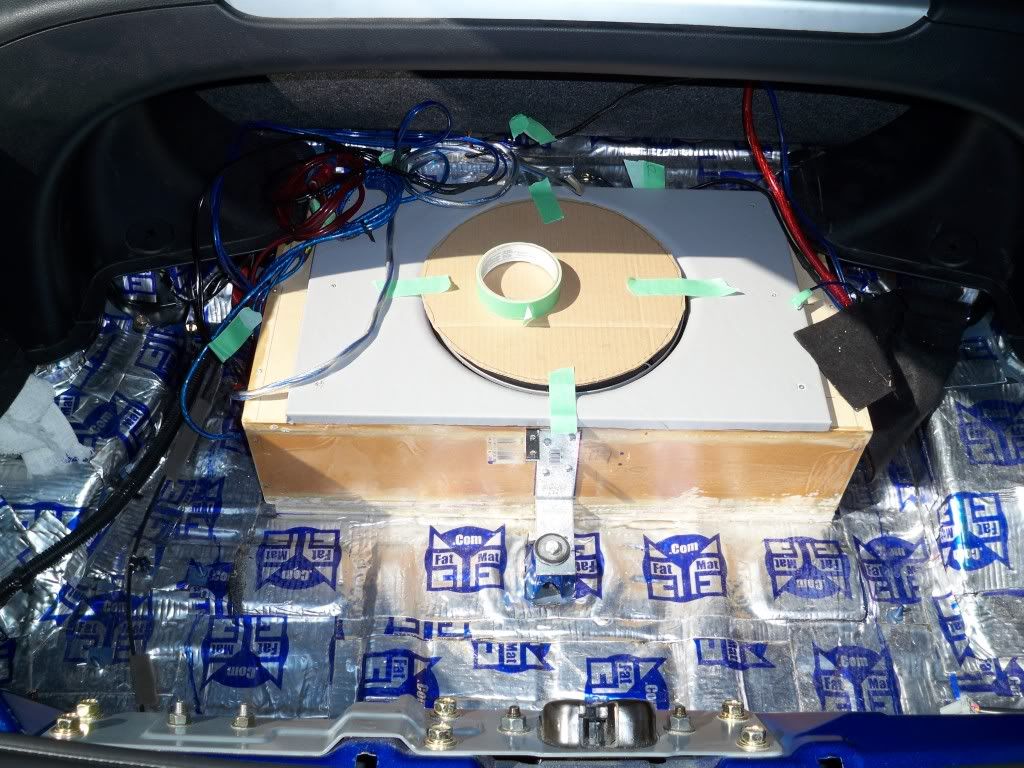
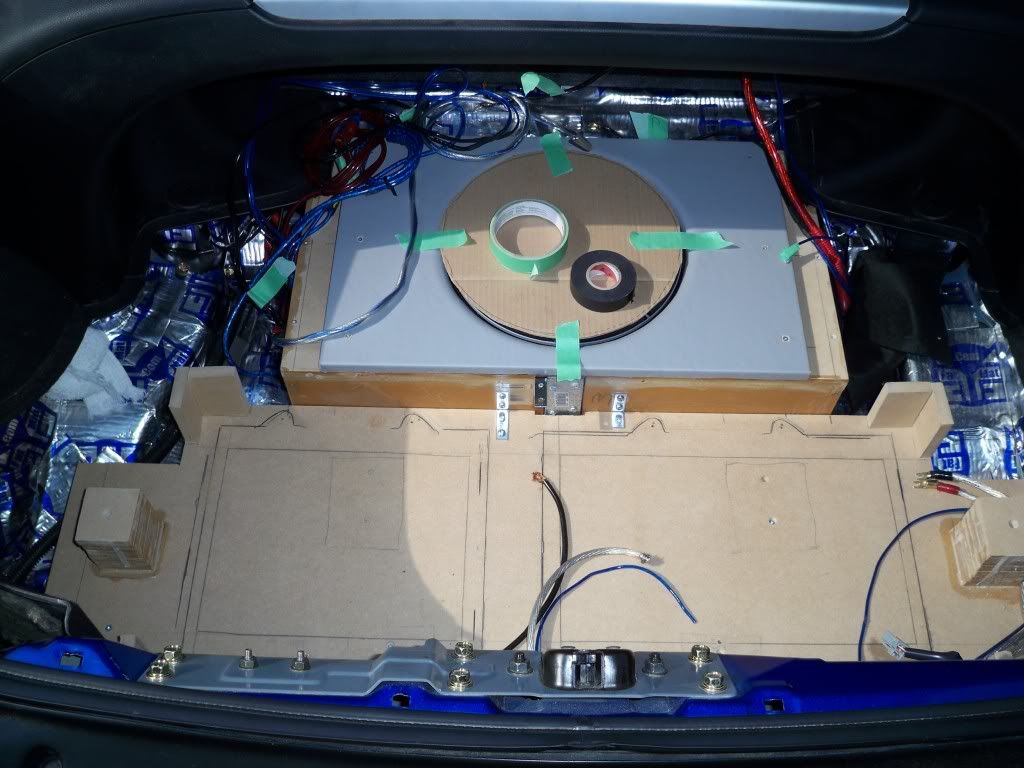
I didn’t want to drill any holes in the cars floor so I came up with a way to avoid it.
I made a bracket to attach the sub box to the spare tire mount. On the other side of the box I used a bracket and a screw into the metal, but not the floor.
The amp “rack, or mounting platform” is attached to the car using 3 brackets that I bent and cut, bolted to existing mounting points.

The other side is screwed into the box.
For added strength I coated the sub box with fiberglass resin.
I painted the front the will be seen black.
wrapped the amp trim panel and sub trim panel in grey vinyl.
An idea of what it will look like.
I didn’t want to drill any holes in the cars floor so I came up with a way to avoid it.
I made a bracket to attach the sub box to the spare tire mount. On the other side of the box I used a bracket and a screw into the metal, but not the floor.
The amp “rack, or mounting platform” is attached to the car using 3 brackets that I bent and cut, bolted to existing mounting points.
The other side is screwed into the box.
Last edited by XERMAN2001; Sep 12, 2009 at 10:19 AM.

 on the progress.


I've done plenty of "depth" install. While I understand it takes time..but maybe I'm just very impatient/overly excited. I wouldn't be able to wait 1 year to install the equipment that I already have.
Who is ever really done with an audio install? Plenty of people..
Maybe I just have more time then others while in college and working as well...
Who is ever really done with an audio install? Plenty of people..
Maybe I just have more time then others while in college and working as well...
i started a year ago but didn't touch it during the winter. So its taken 6 months which is a very long time, i was impatient/overly excited and wanted it to be finished 5 months ago but i don't have much free time and it took ALLOT longer than i though it would.

mine took 3 months almost and well over 100 hours to do. I was gone for about a month during that time but sometimes things don't go as planned. Eventually I'll do a build similar to yours in my trunk. Keep up the good work!

Registered User
Joined: Dec 2008
Posts: 77
Likes: 0
From: Atlanta
Thanks for starting this thread XERMAN2001 - Lots of great info and ideas contained within it. So great in fact that I'm using this thread as a "DIY" audio install for my Z! 
I ripped out all the rear panels last weekend and started installing the fatmat today. Man this stuff is sticky and time consuming to install. It doesn't help that everytime I go outside to install the fatmat it starts to rain... *looks up and shakes fist*
I decided to go with pioneer components over infinity.
Headunit: Cant afford yet
Front stage Speakers: PIONEER TS-C720PRS
Rear stage Speakers: Pioneer TS-D720C
Front and Rear Amp: Pioneer PRS-D4200F
SUB: Pioneer TS-W2502D4 10"
SUB AMP: Pioneer PRS-D2200T, or Pioneer PRS-D1200M
Anyhow, keep up the good work and keep posting pics of the build. Its looking great!
Thanks for starting this thread XERMAN2001 - Lots of great info and ideas contained within it. So great in fact that I'm using this thread as a "DIY" audio install for my Z!
I ripped out all the rear panels last weekend and started installing the fatmat today. Man this stuff is sticky and time consuming to install. It doesn't help that everytime I go outside to install the fatmat it starts to rain... *looks up and shakes fist*
I decided to go with pioneer components over infinity.
Headunit: Cant afford yet
Front stage Speakers: PIONEER TS-C720PRS
Rear stage Speakers: Pioneer TS-D720C
Front and Rear Amp: Pioneer PRS-D4200F
SUB: Pioneer TS-W2502D4 10"
SUB AMP: Pioneer PRS-D2200T, or Pioneer PRS-D1200M
Anyhow, keep up the good work and keep posting pics of the build. Its looking great!
good luck with your build
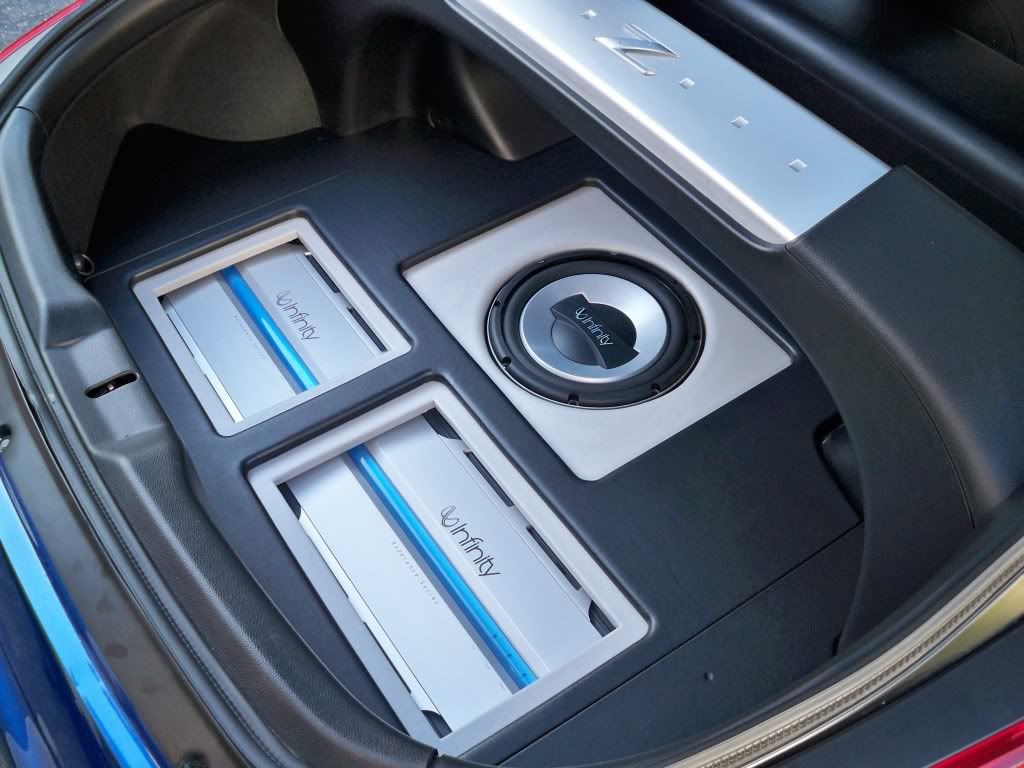
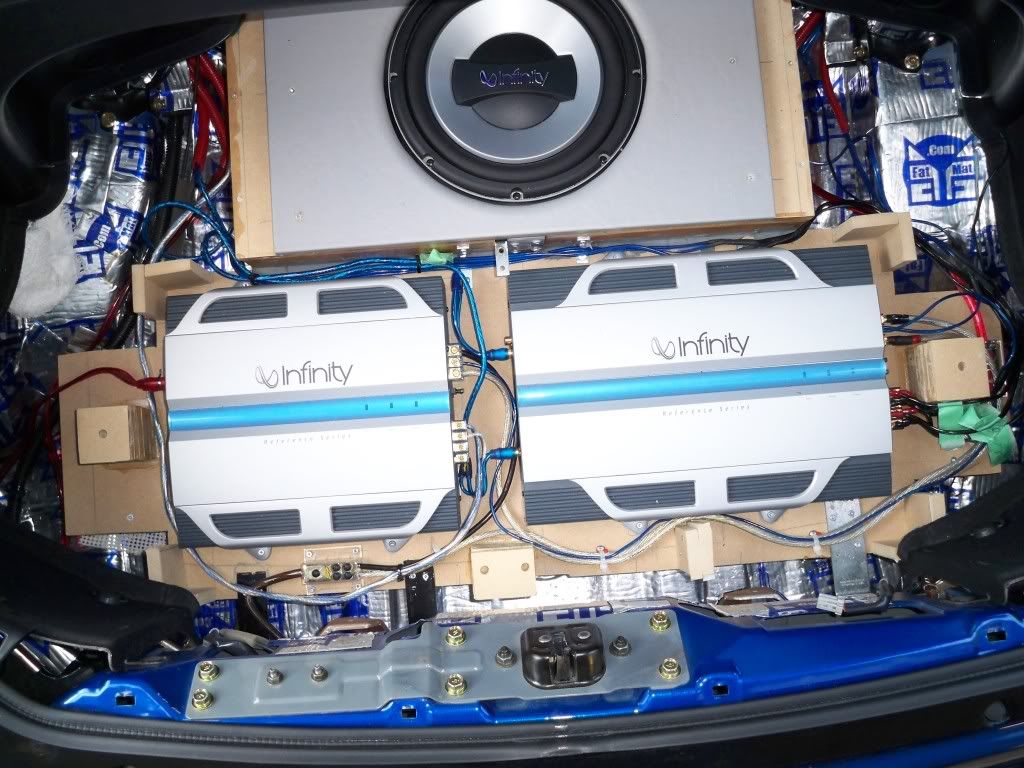
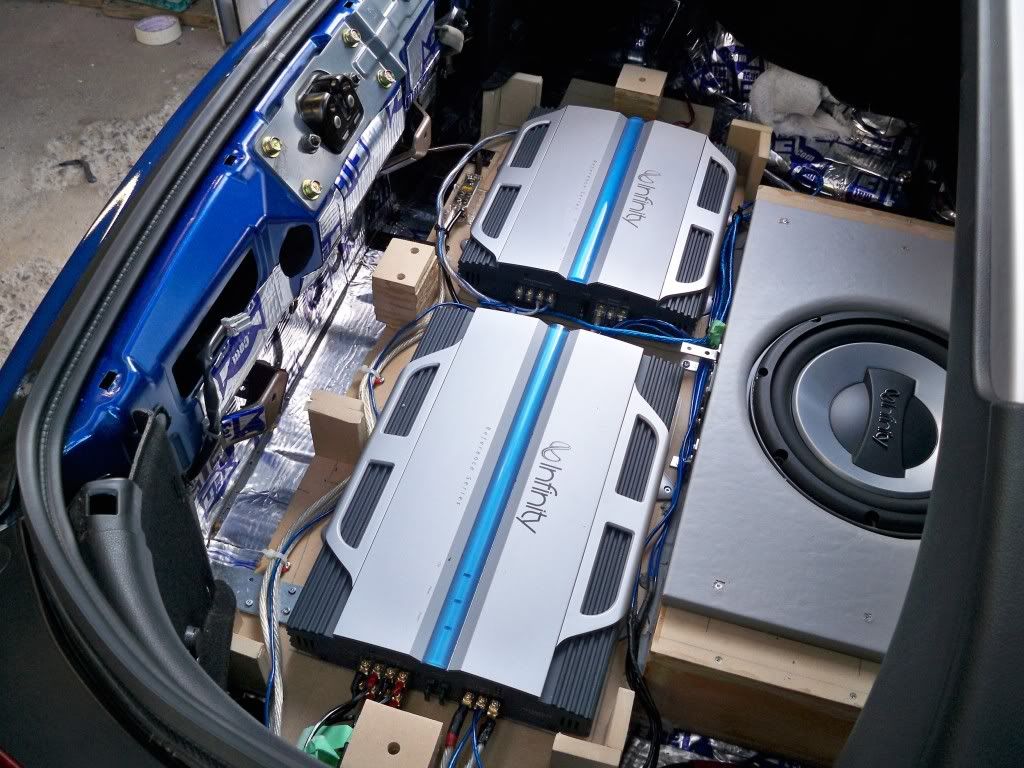
UPDATE SEPT 21ST --------- THE AUDIO PROJECT IS FINALLY DONE!!!!!!!!!!!!!!!!!!!!!!!!!!!!!!!!!!!
amps installed and wired
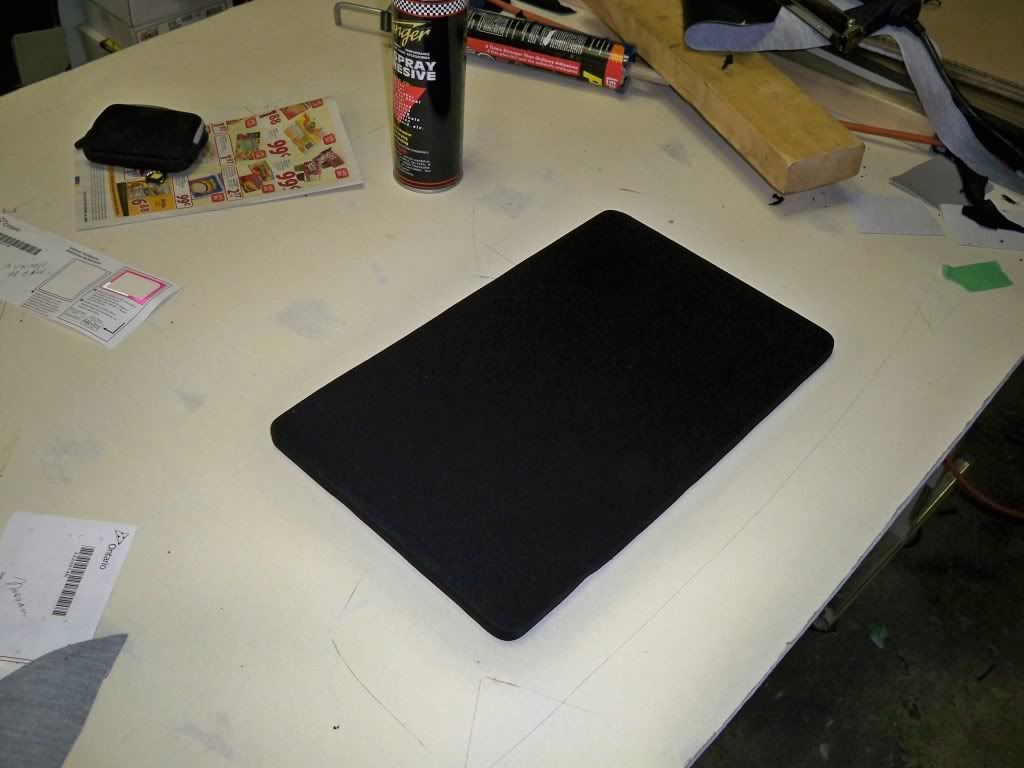
time to wrap the grills/covers in speaker cloth.
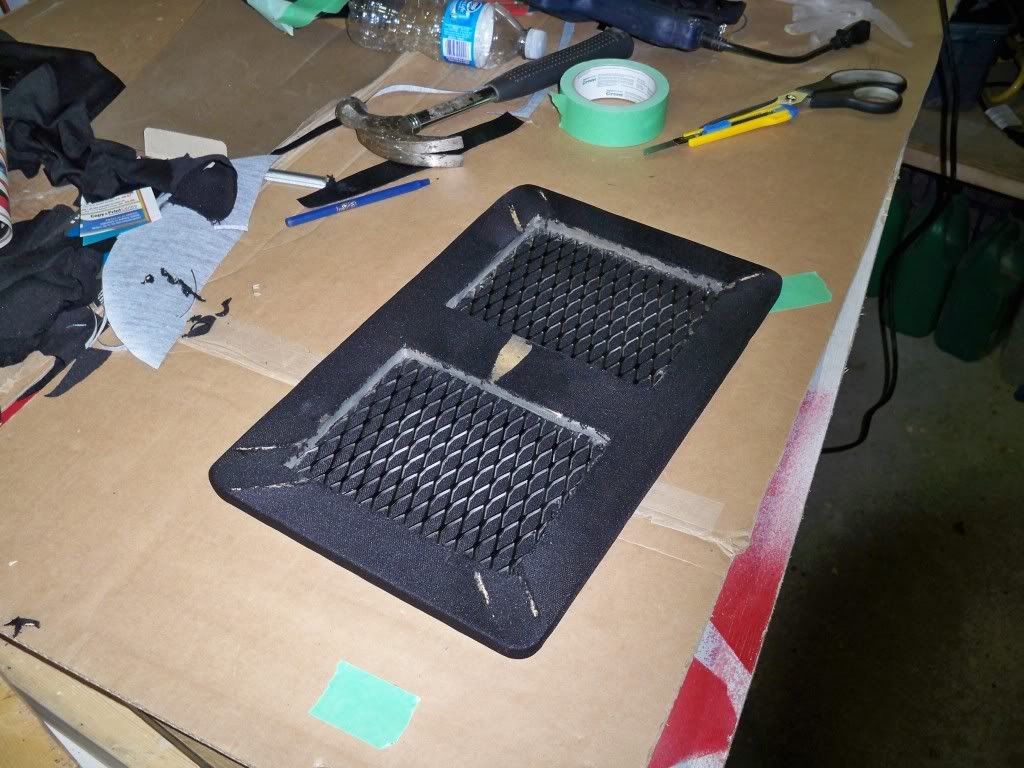
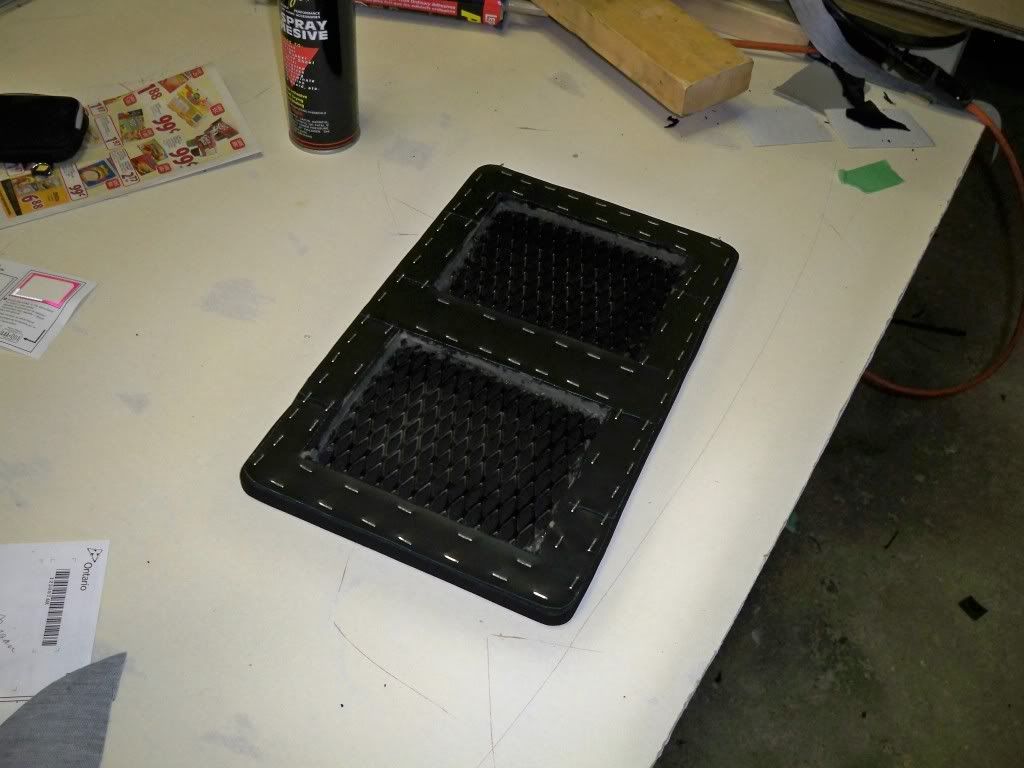
The cloth is glued to the mdf on the back, then i stapled black vynal on top of that.
amps installed and wired
time to wrap the grills/covers in speaker cloth.
The cloth is glued to the mdf on the back, then i stapled black vynal on top of that.
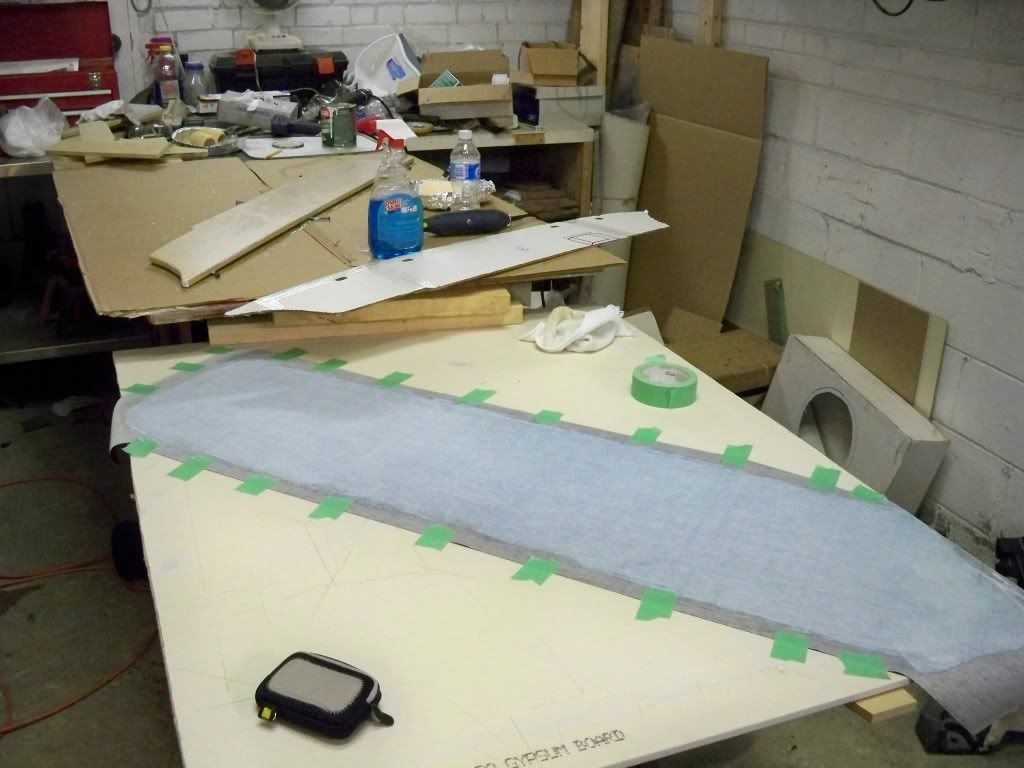
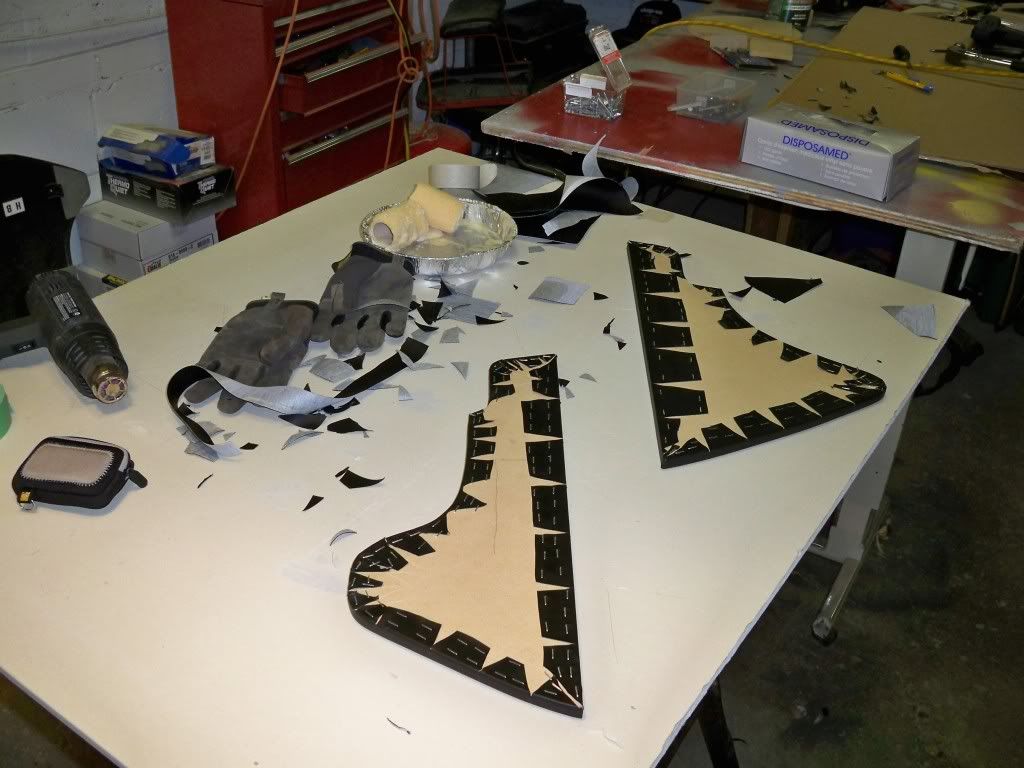
onto the vinyl, time to wrap it.
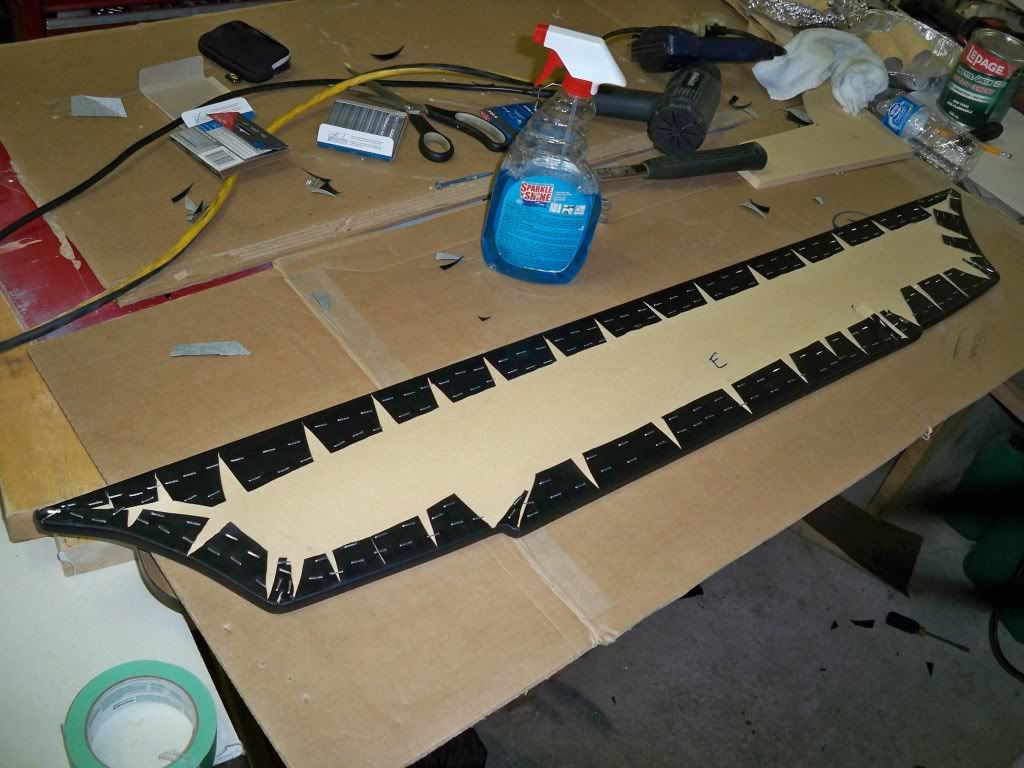
i used water based contact cement to adhere the vinyl to the MDF. Then i used a heat gun to wrap it around and staple it to the back.
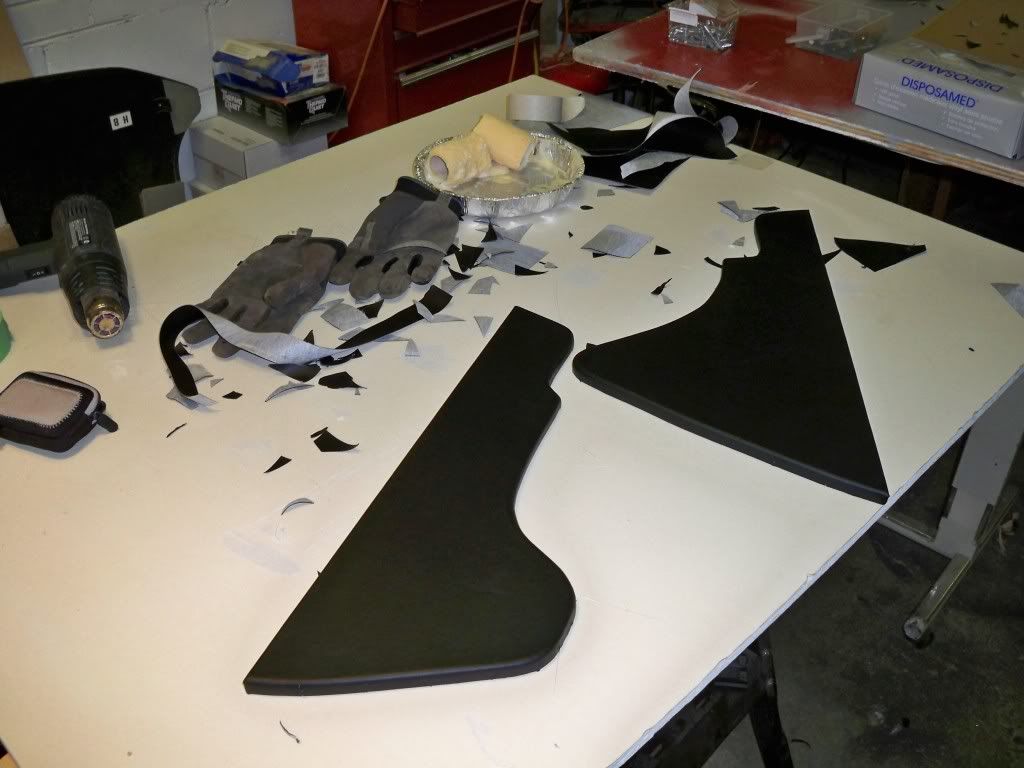
top piece done
----------
sides
sides done
----------
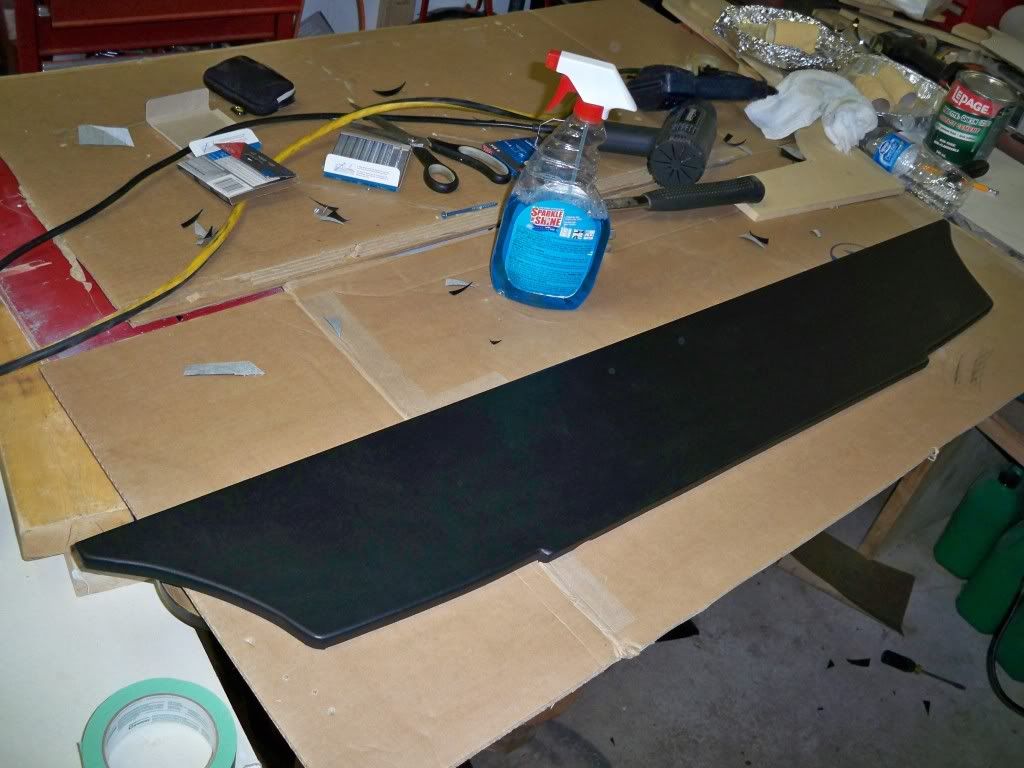
middle

middle piece done --- this piece was allot more difficult than the other 2
i used water based contact cement to adhere the vinyl to the MDF. Then i used a heat gun to wrap it around and staple it to the back.
top piece done
----------
sides
sides done
----------
middle
middle piece done --- this piece was allot more difficult than the other 2
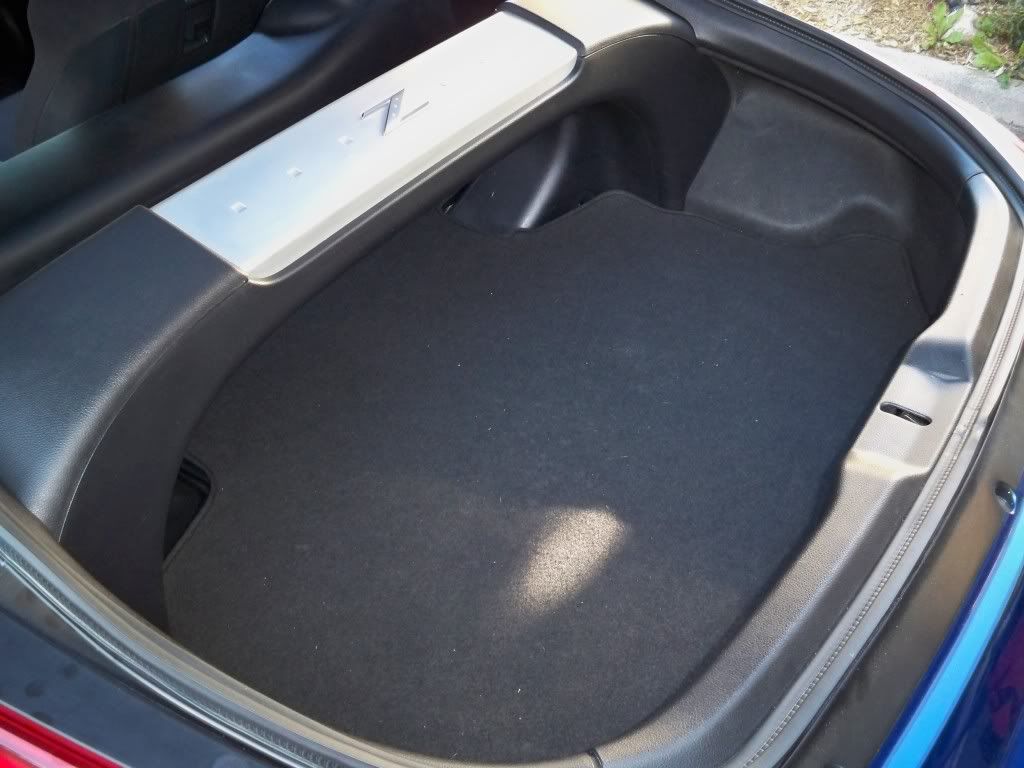
The finished product ----
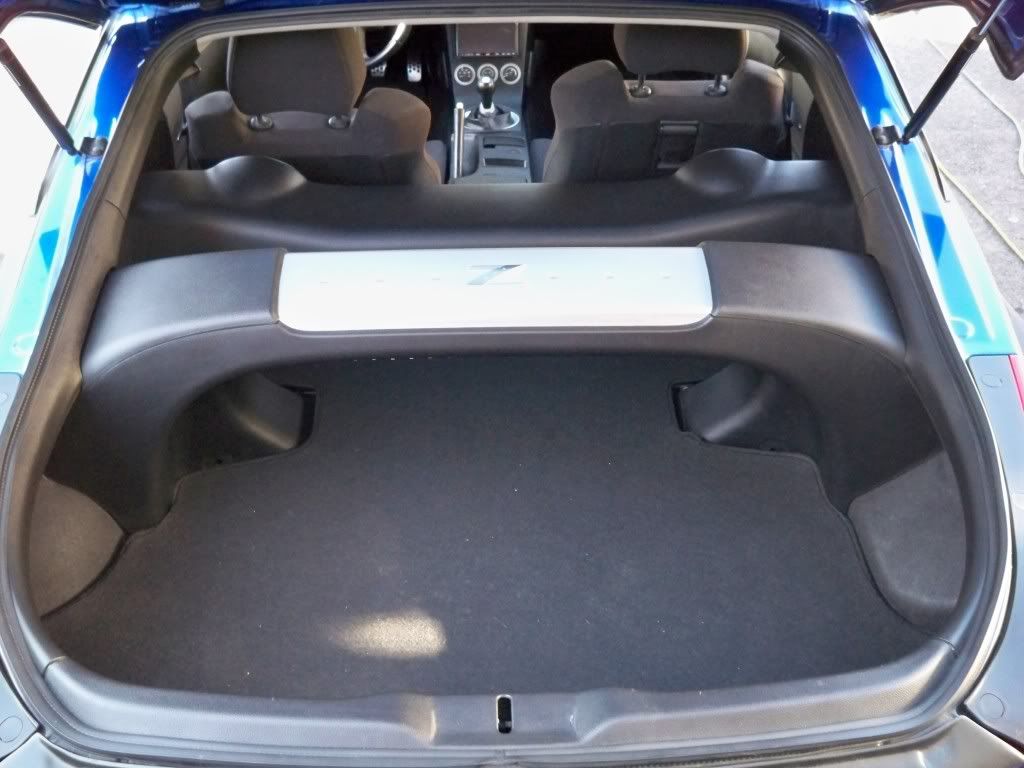
with the carpet on, only 1/2 inch higher than stock. looks stock and can still be used just like it was before.
--
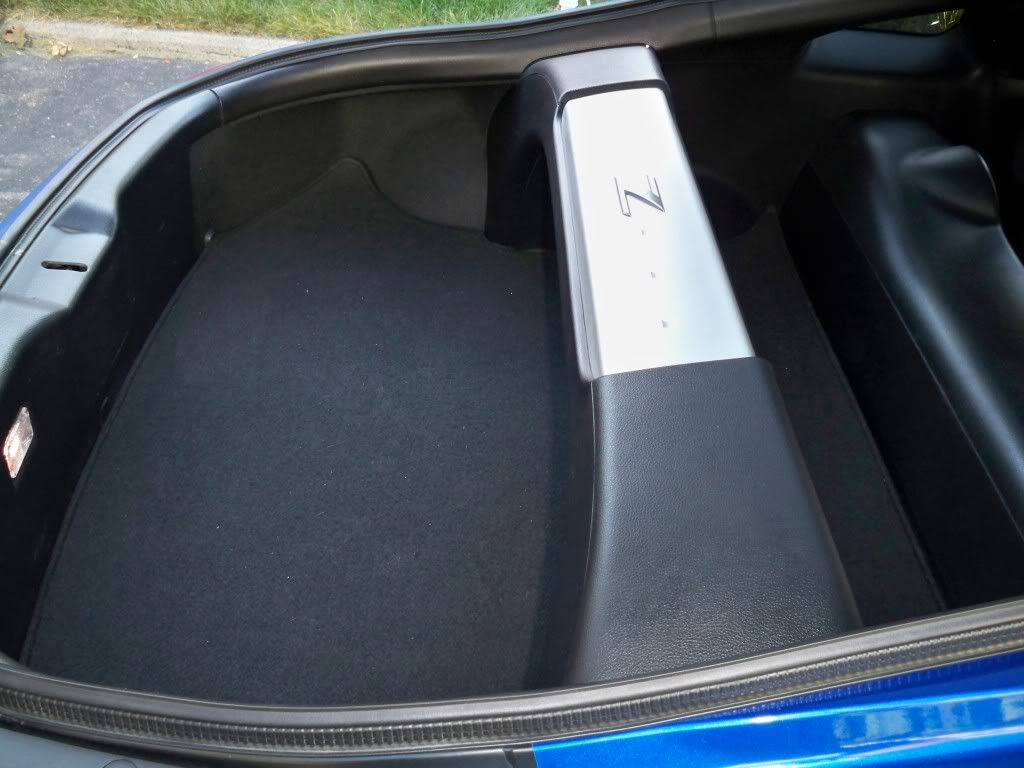
with the car off, showing the black vinyl and grills/covers.
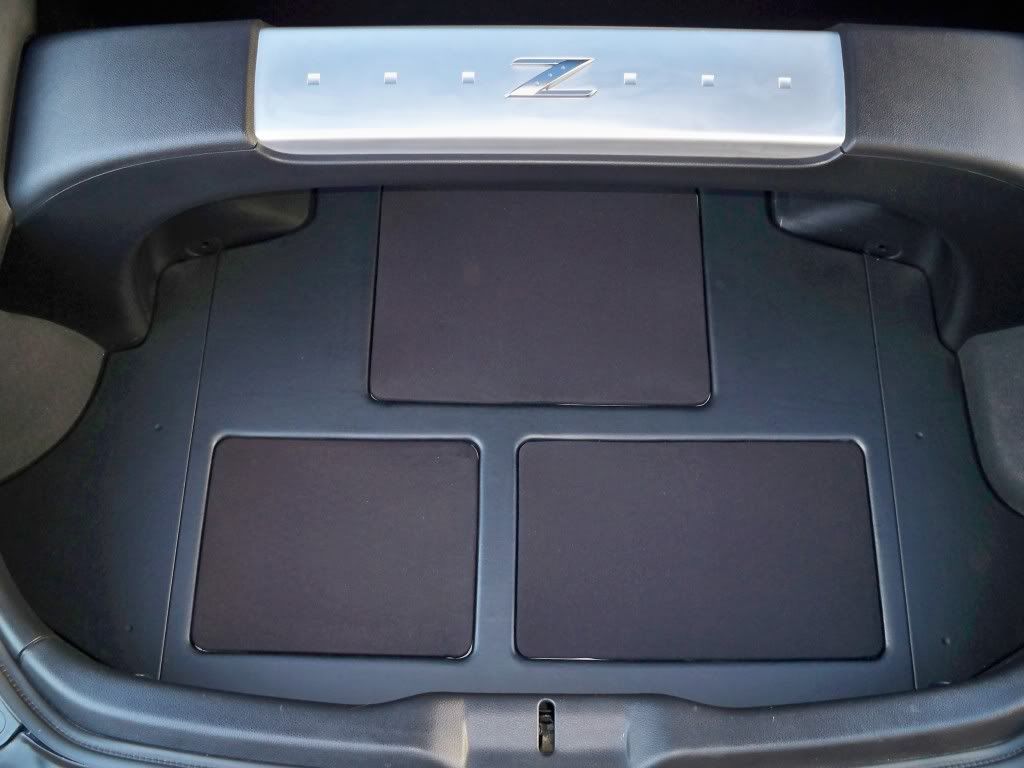
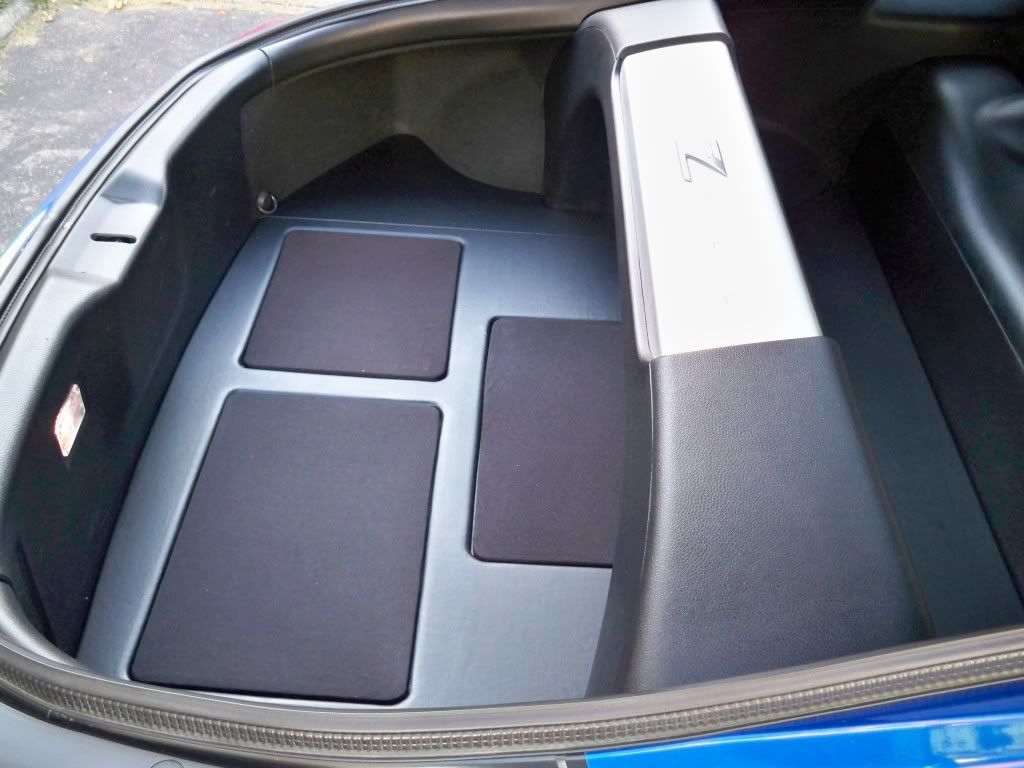
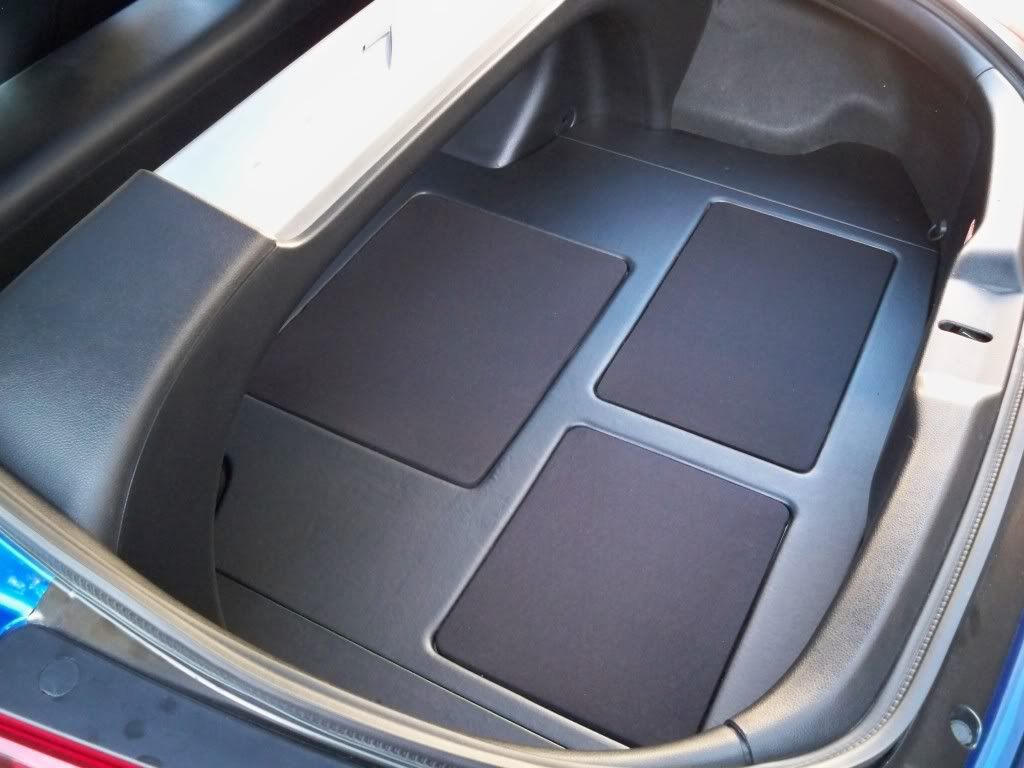
--
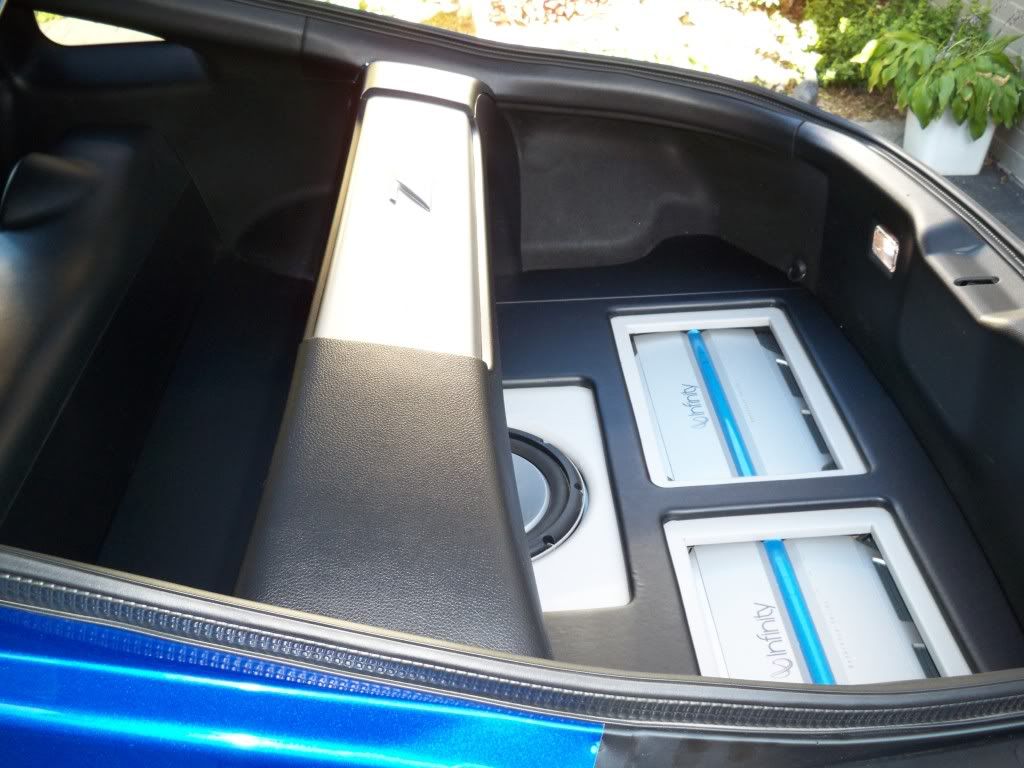
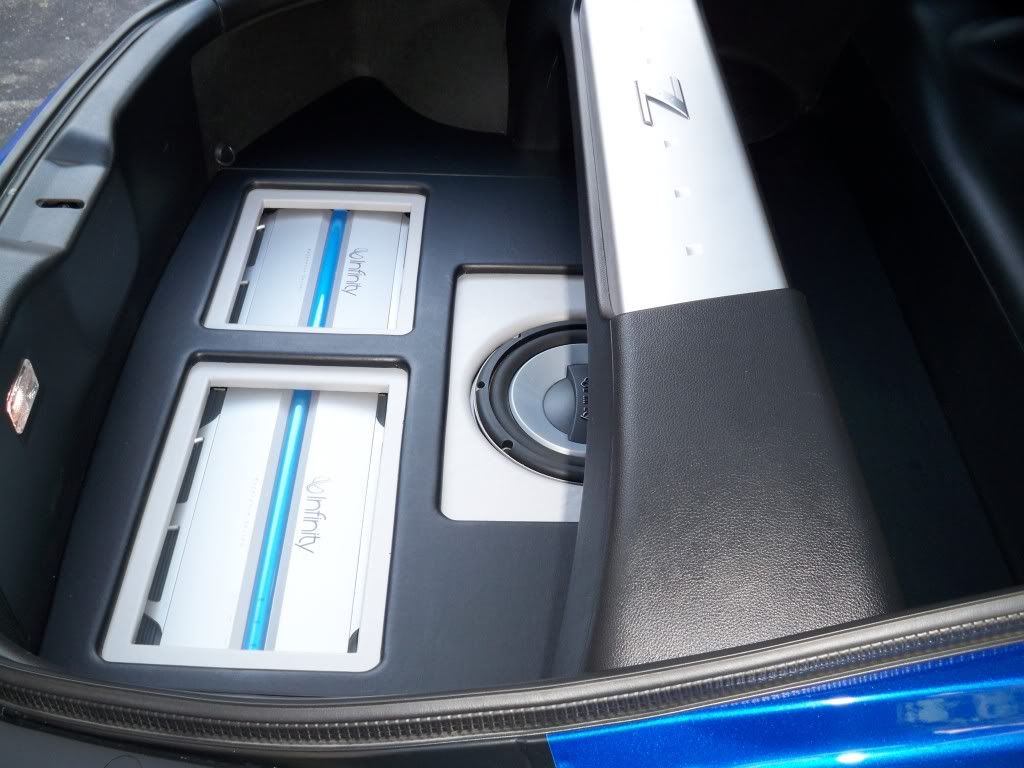
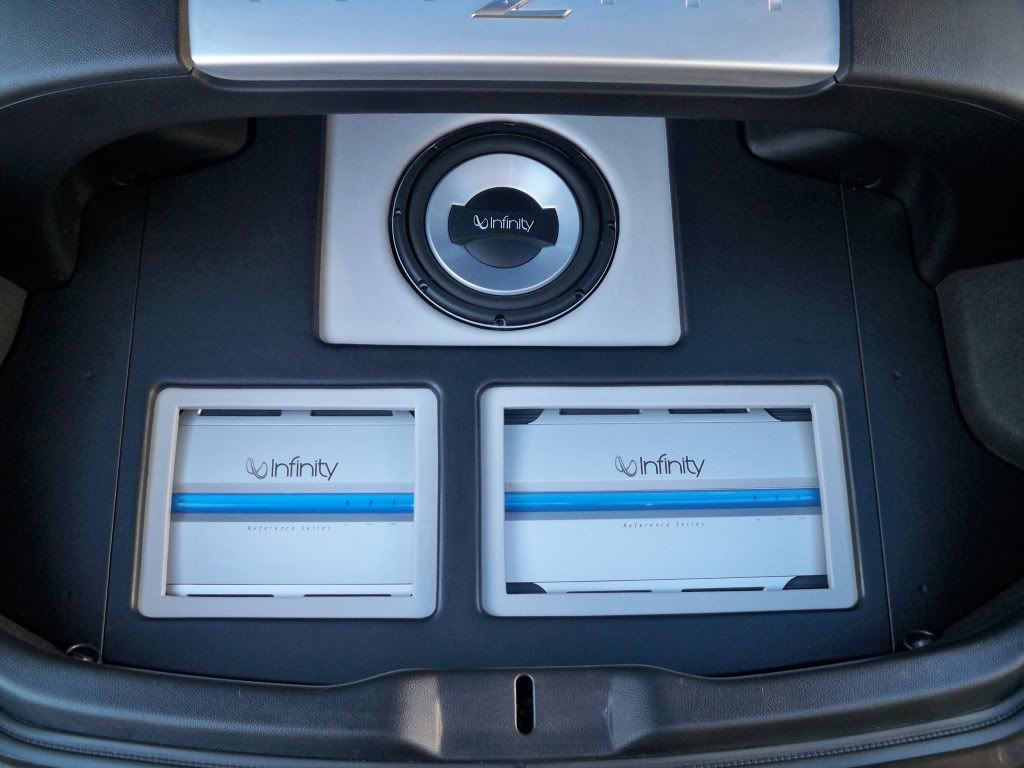
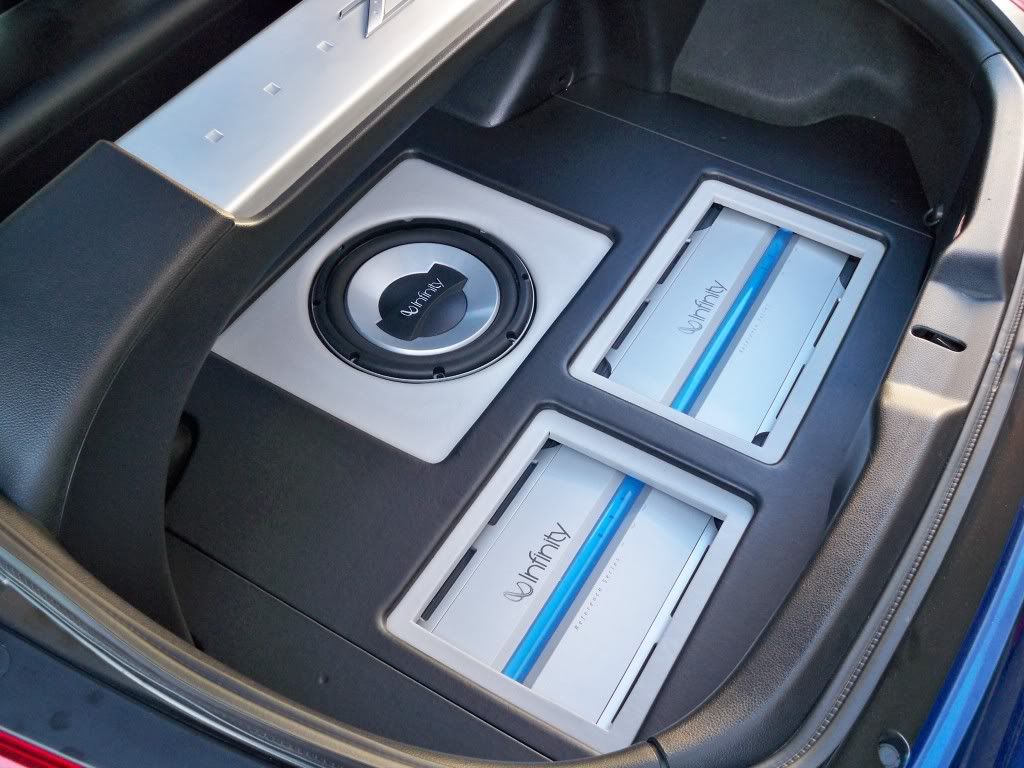
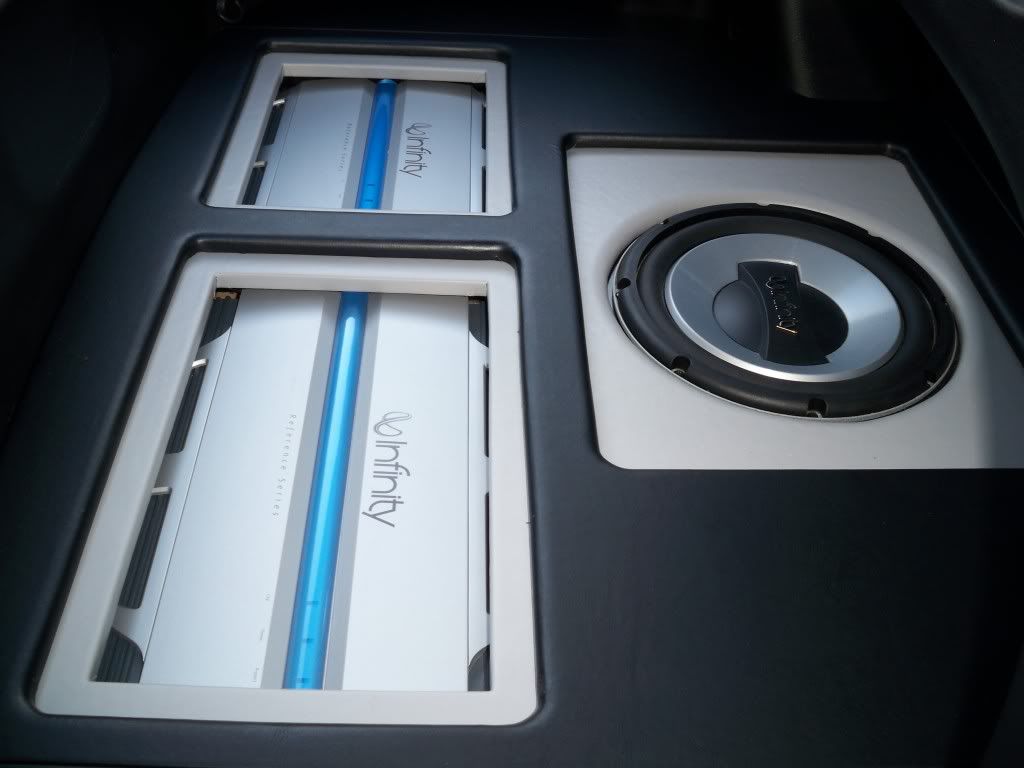
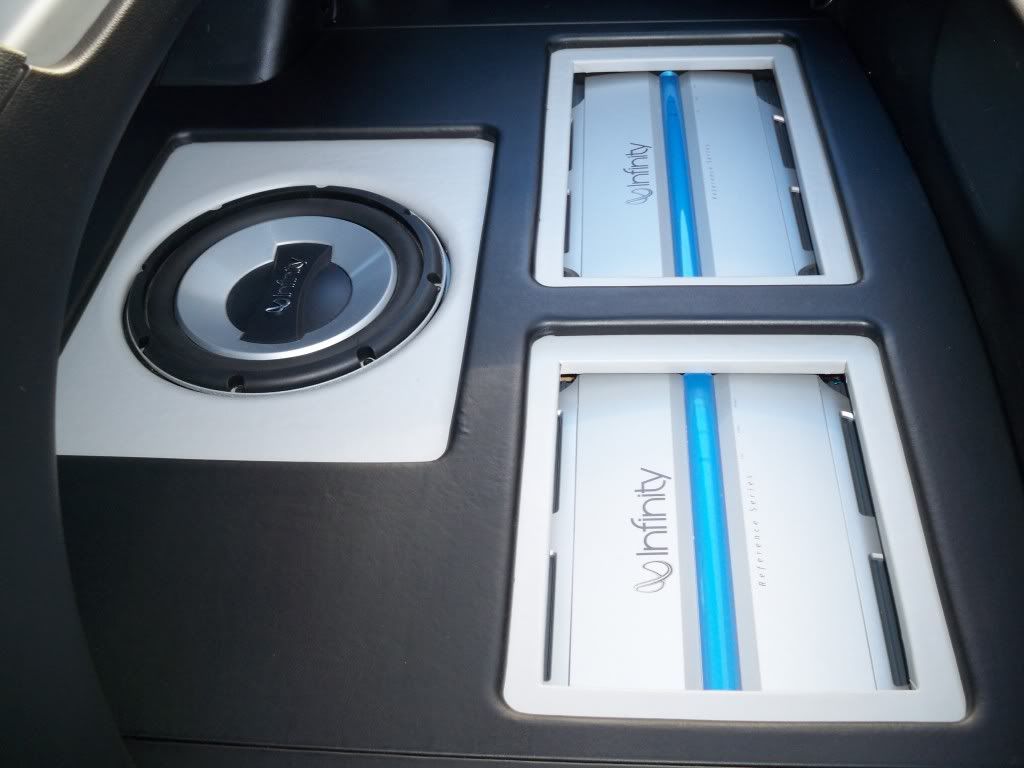
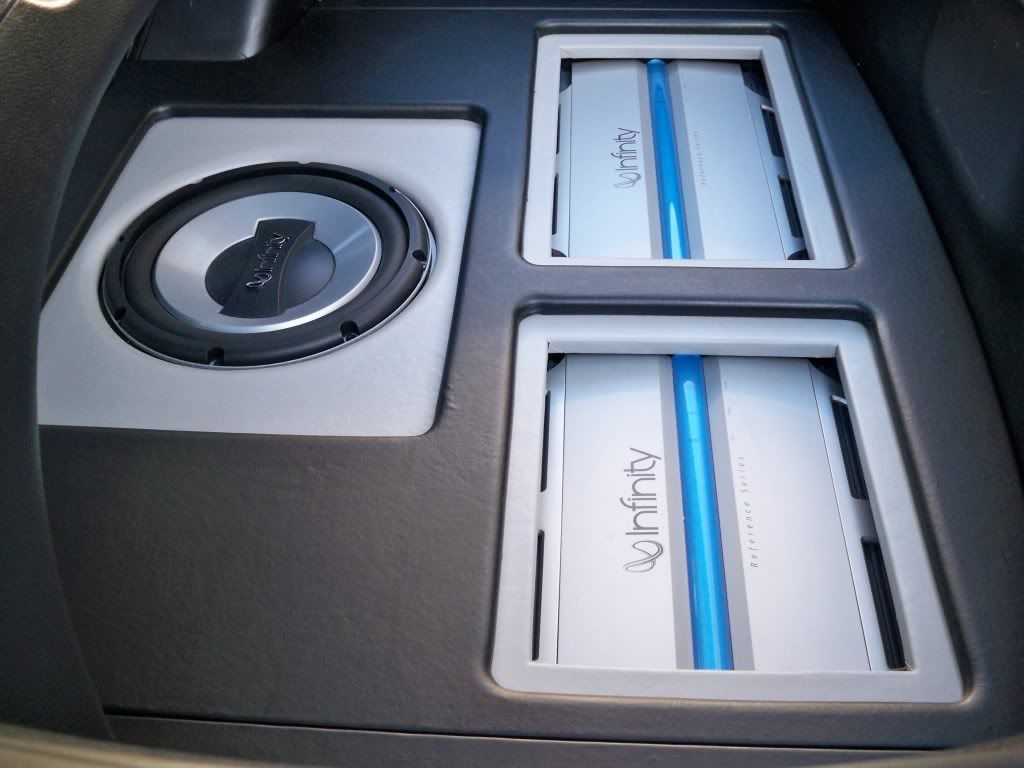
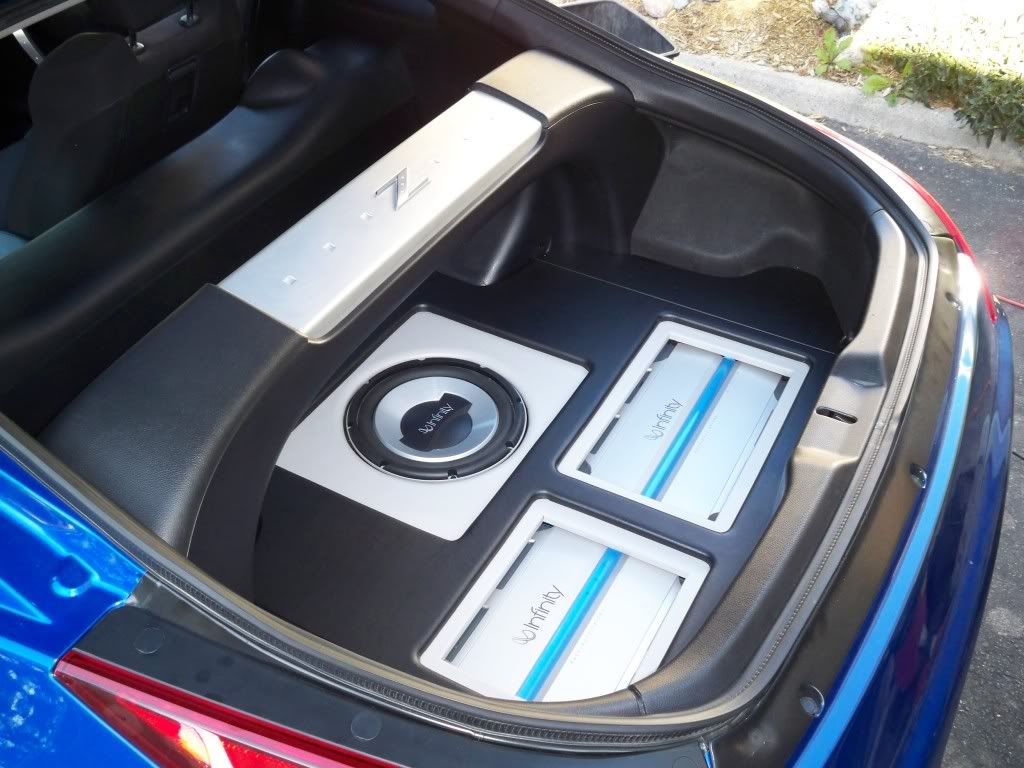
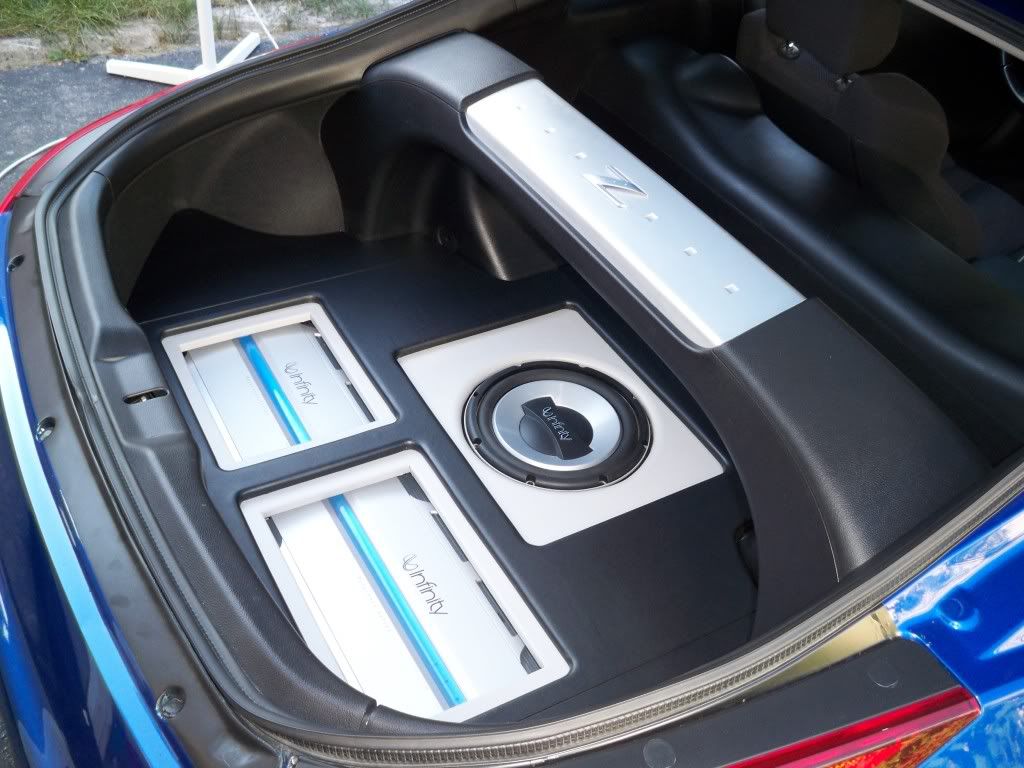
with the grills out, showing the grey vinyl amps and sub.
flash on --
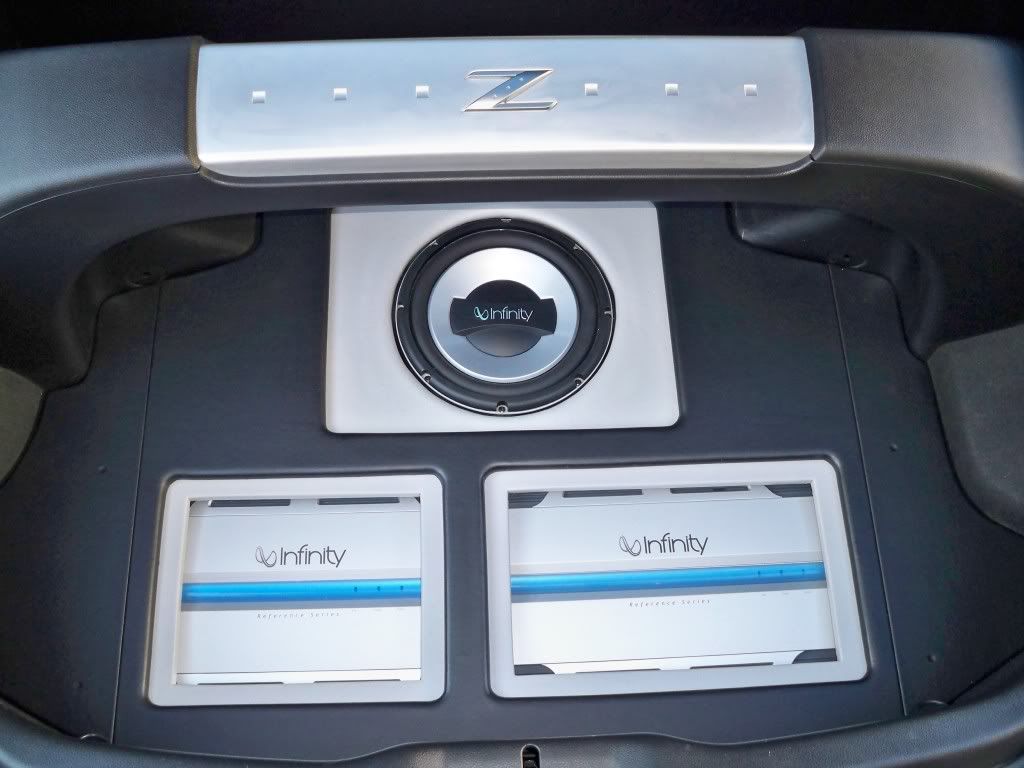
flash on --
flash on --
with the carpet on, only 1/2 inch higher than stock. looks stock and can still be used just like it was before.
--
with the car off, showing the black vinyl and grills/covers.
--
with the grills out, showing the grey vinyl amps and sub.
flash on --
flash on --
flash on --