
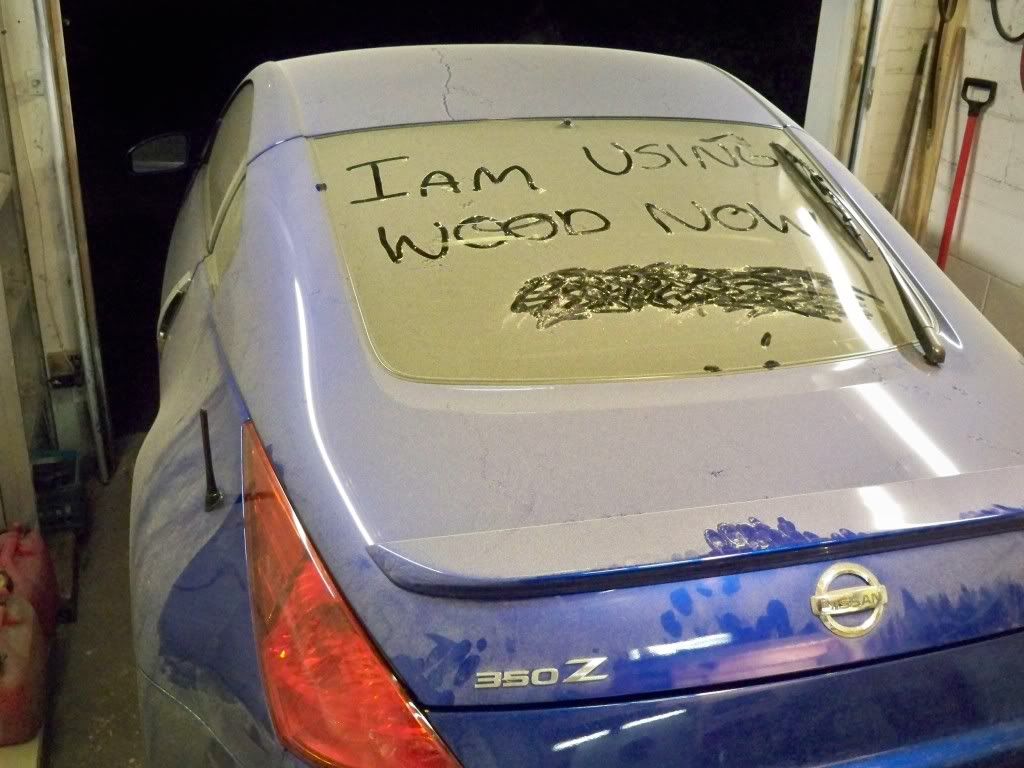
My audio setup, the installation begins


(i just edited my post)
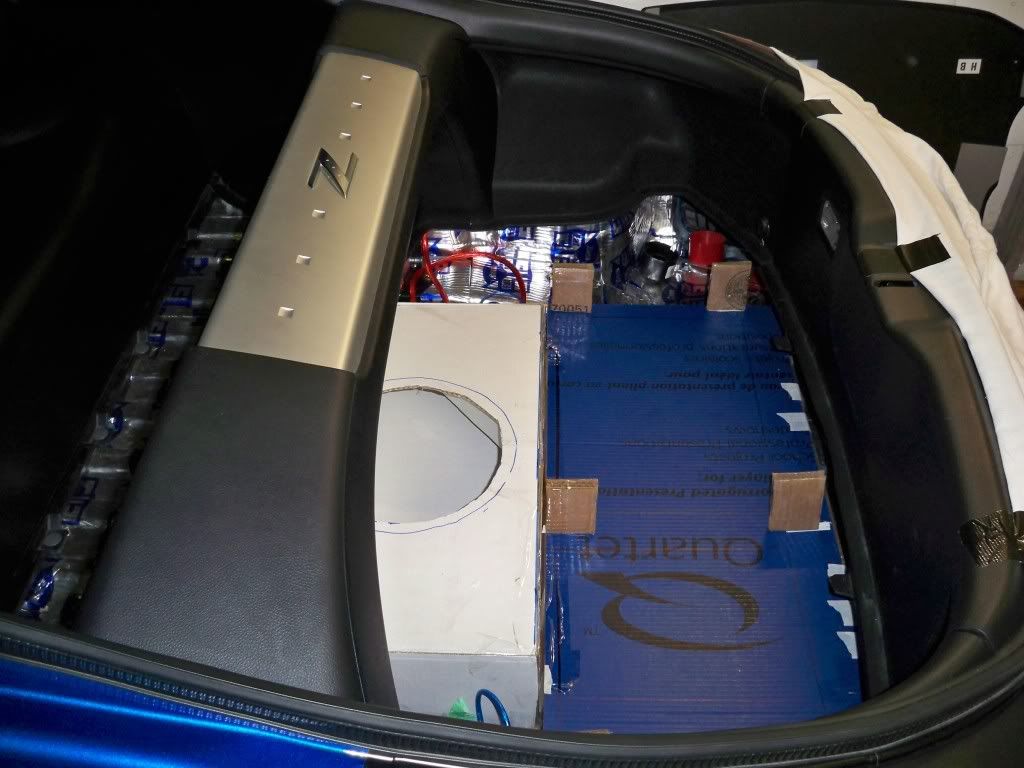
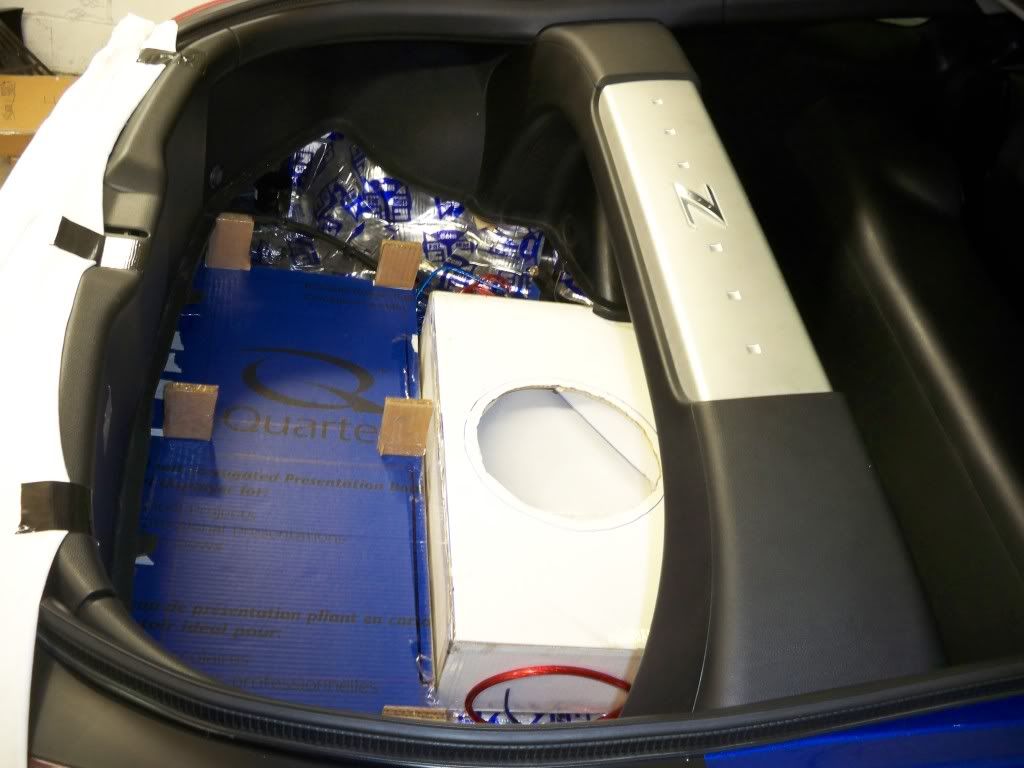
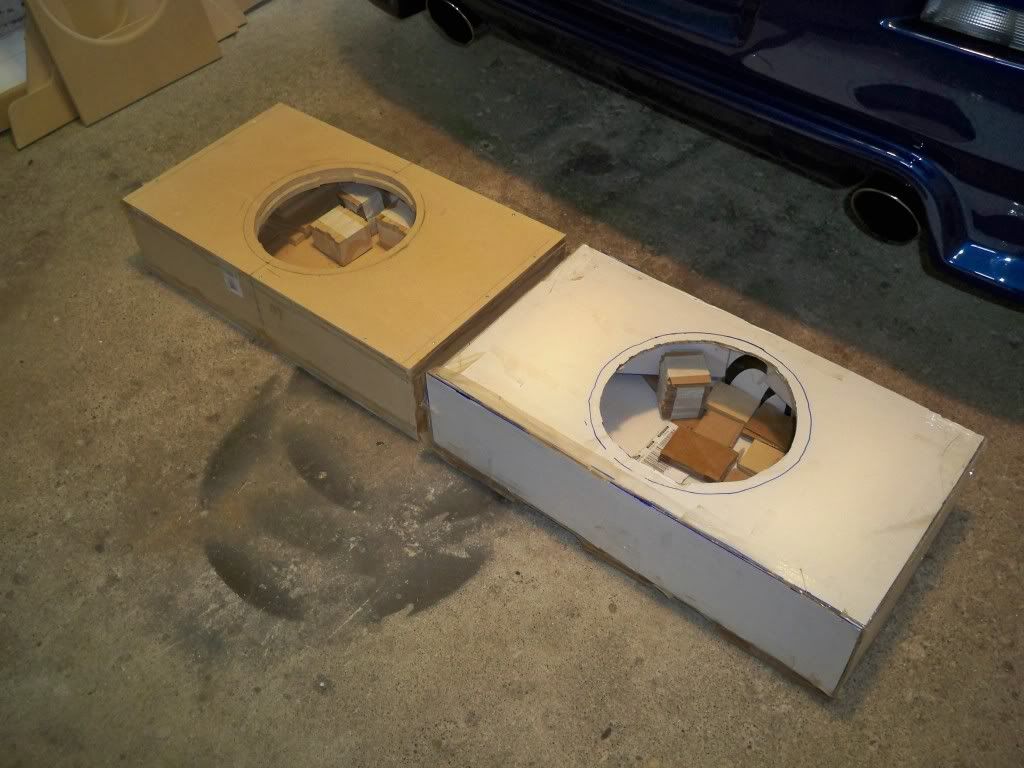
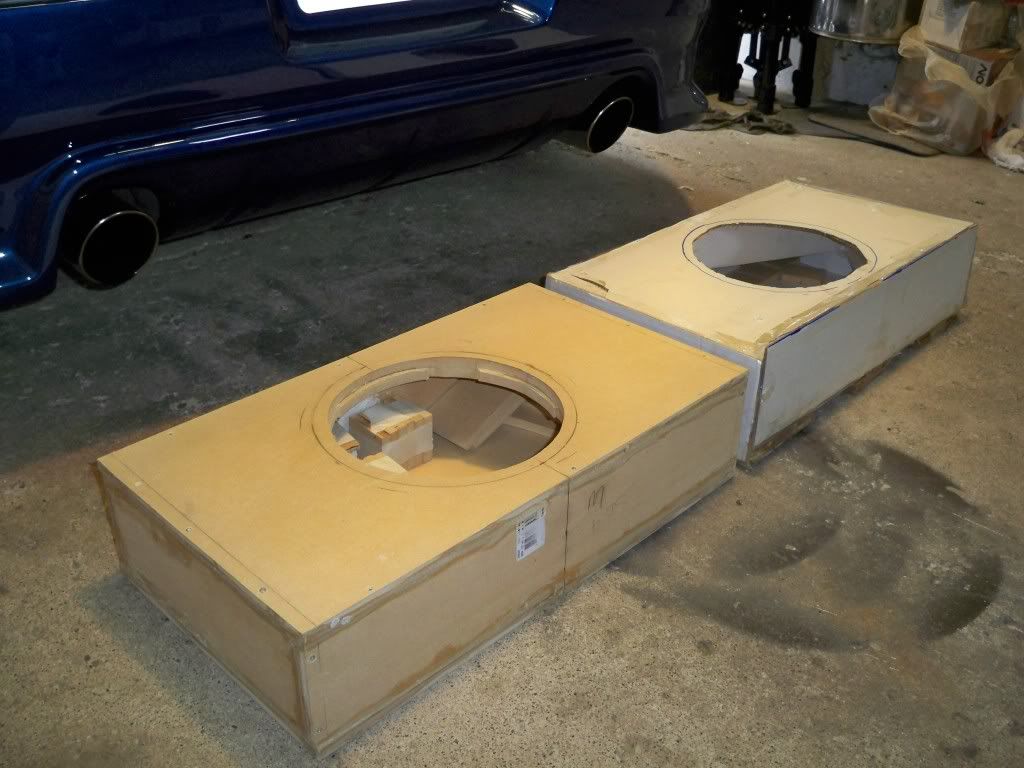
i dont want to make the box any taller than 5.75 inchs or this would end up raising the floor level higher than before. So if i make it out of 3/4 inch mdf i would have to make the bottom of the box out of fiberglass to contour to the floor and leave enough room to clear the sub. I would also need to add poly, the box would be around .64 cubic sq feet and i need .75 cubic sq feet. how much poly would i need to add?
i dont want to make the box any taller than 5.75 inchs or this would end up raising the floor level higher than before. So if i make it out of 3/4 inch mdf i would have to make the bottom of the box out of fiberglass to contour to the floor and leave enough room to clear the sub. I would also need to add poly, the box would be around .64 cubic sq feet and i need .75 cubic sq feet. how much poly would i need to add?
i just called the infinity tech line, they said that with the amp and sub that i am using 1/2 mdf should be fine. They said when you are running some of their higher end stuff 500 rsm plus you need 3/4 inch, i am going to be running at 250 rms.

my inspiration:


link to his build https://my350z.com/forum/audio-build...done-pics.html
another one


link to his build https://my350z.com/forum/audio-build...ll-for-ya.html
another one

Last edited by XERMAN2001; Apr 23, 2009 at 06:01 PM.
worked on the amp mounting area some more
amps in
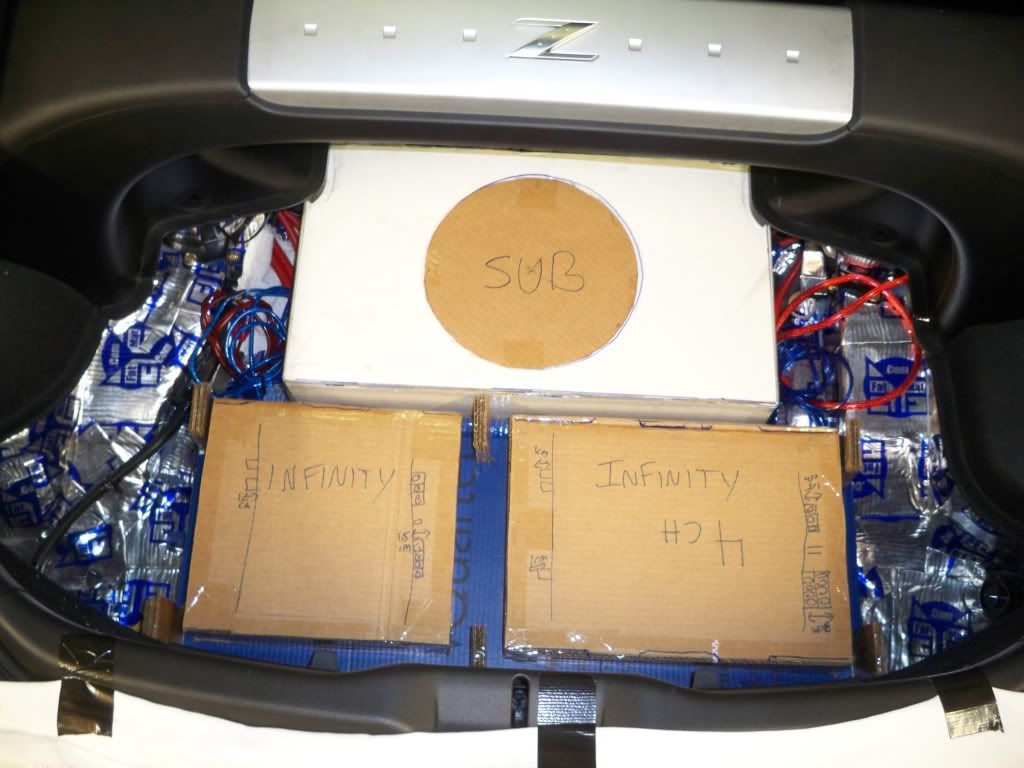
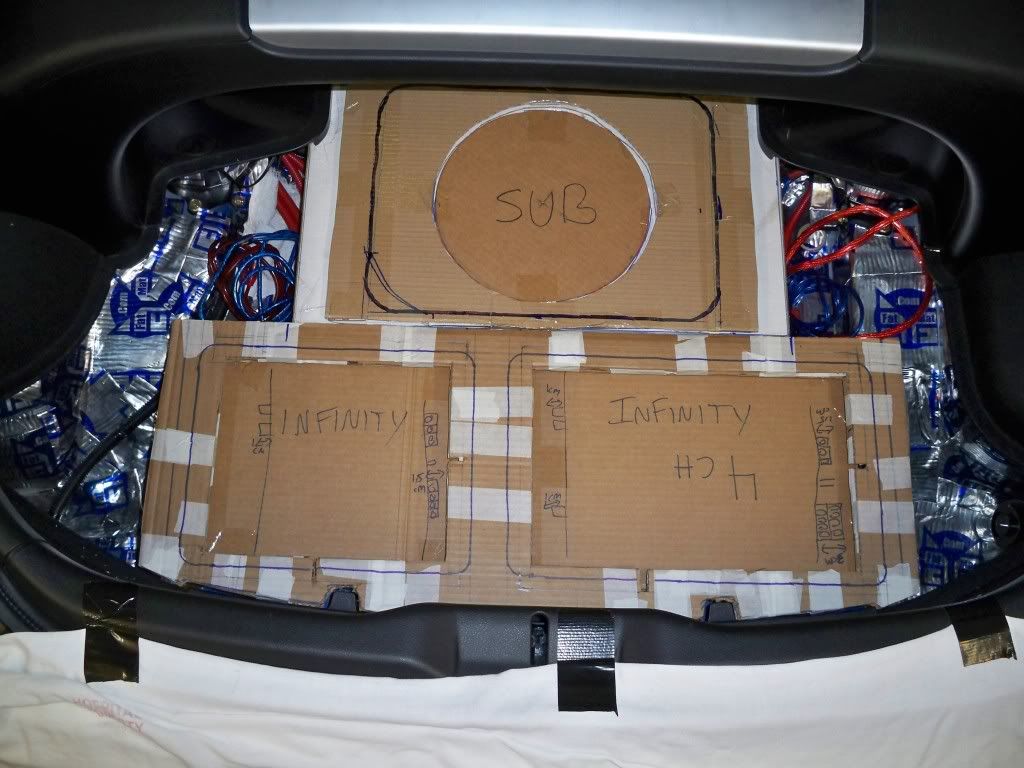
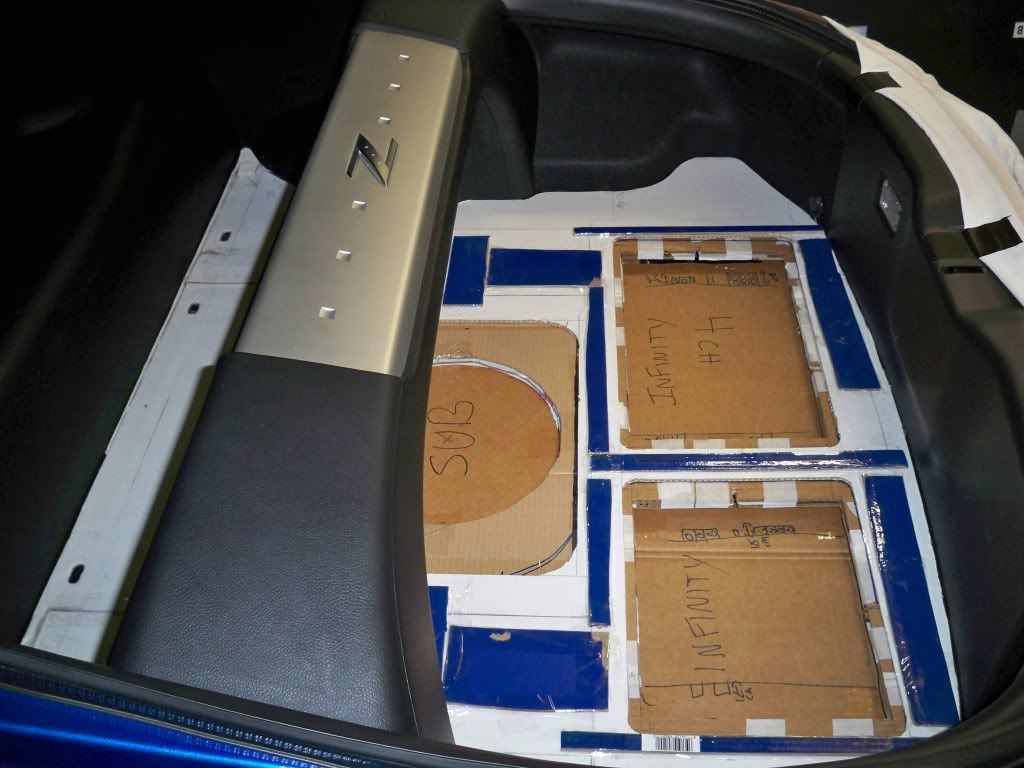
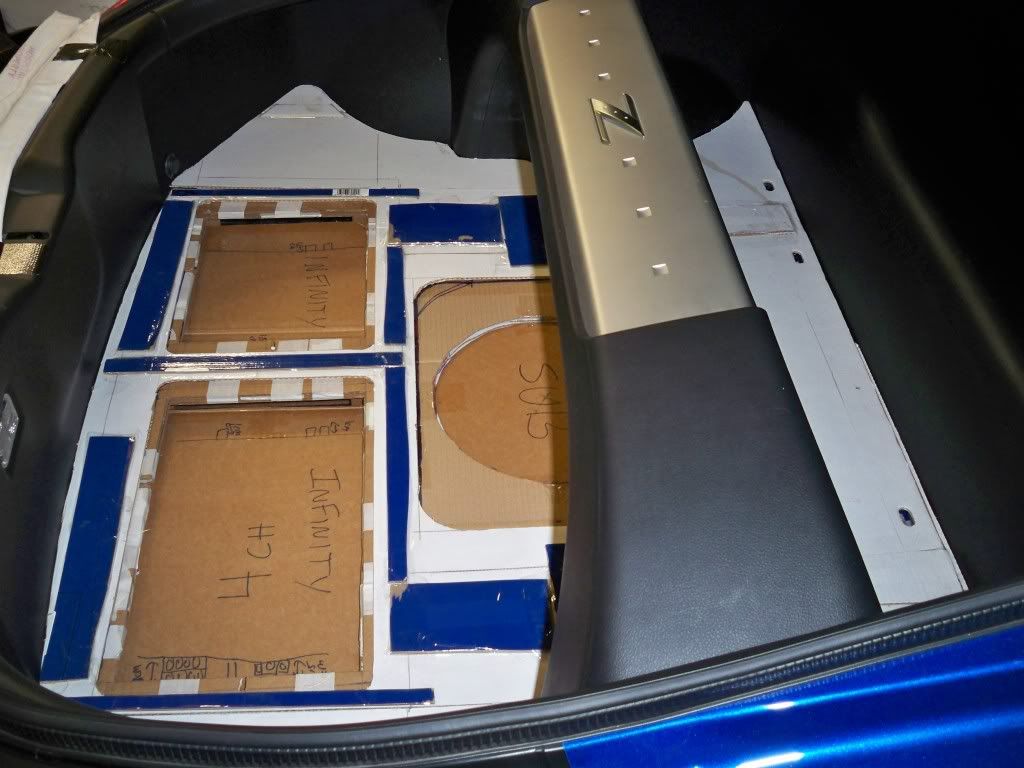
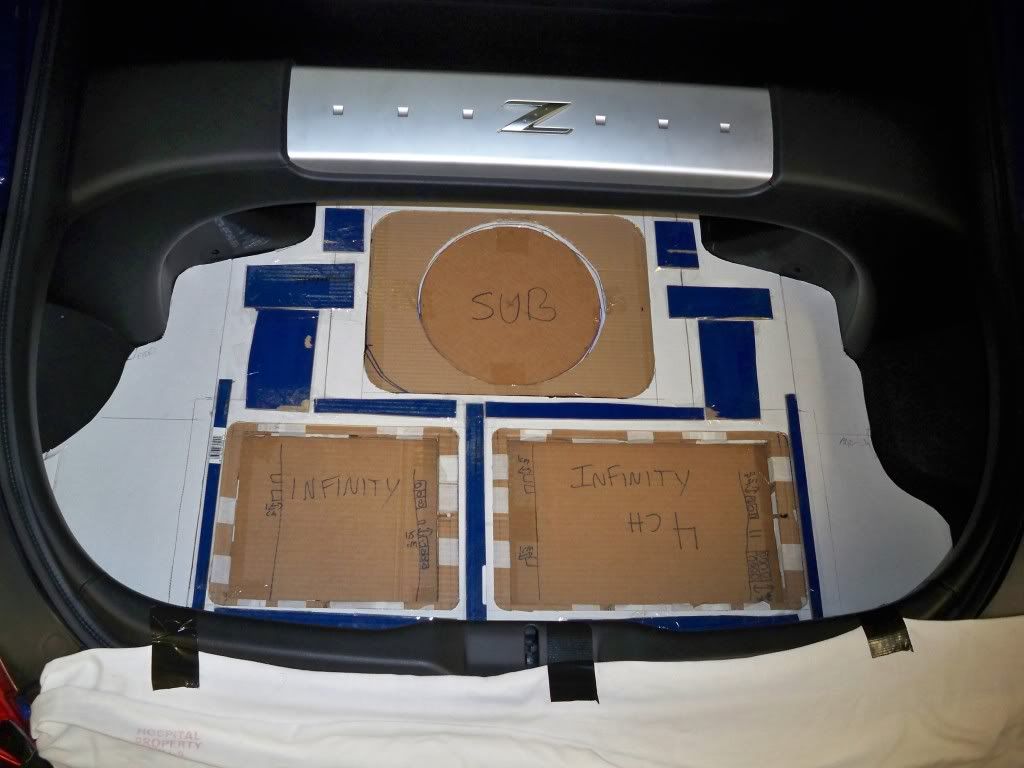
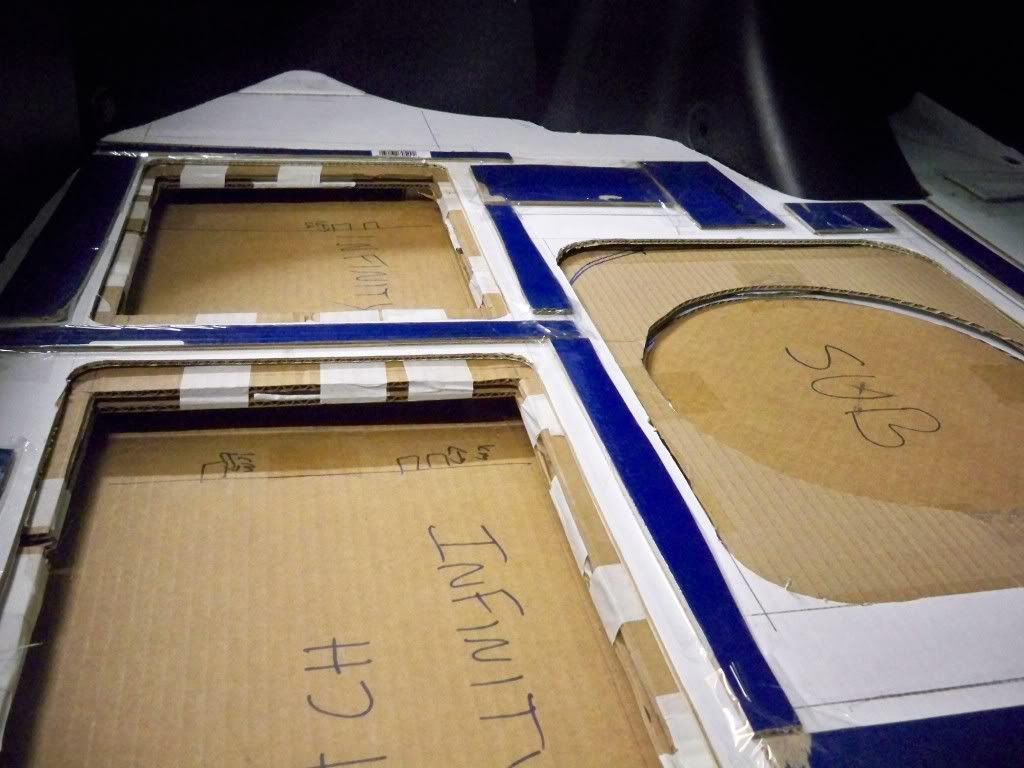
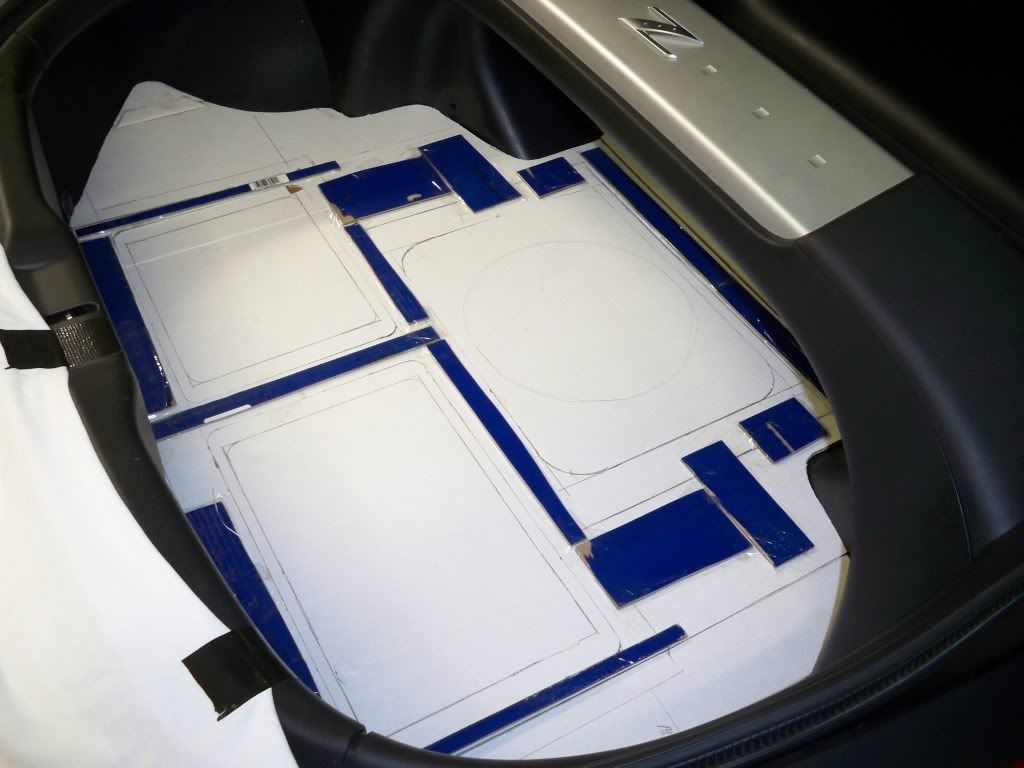
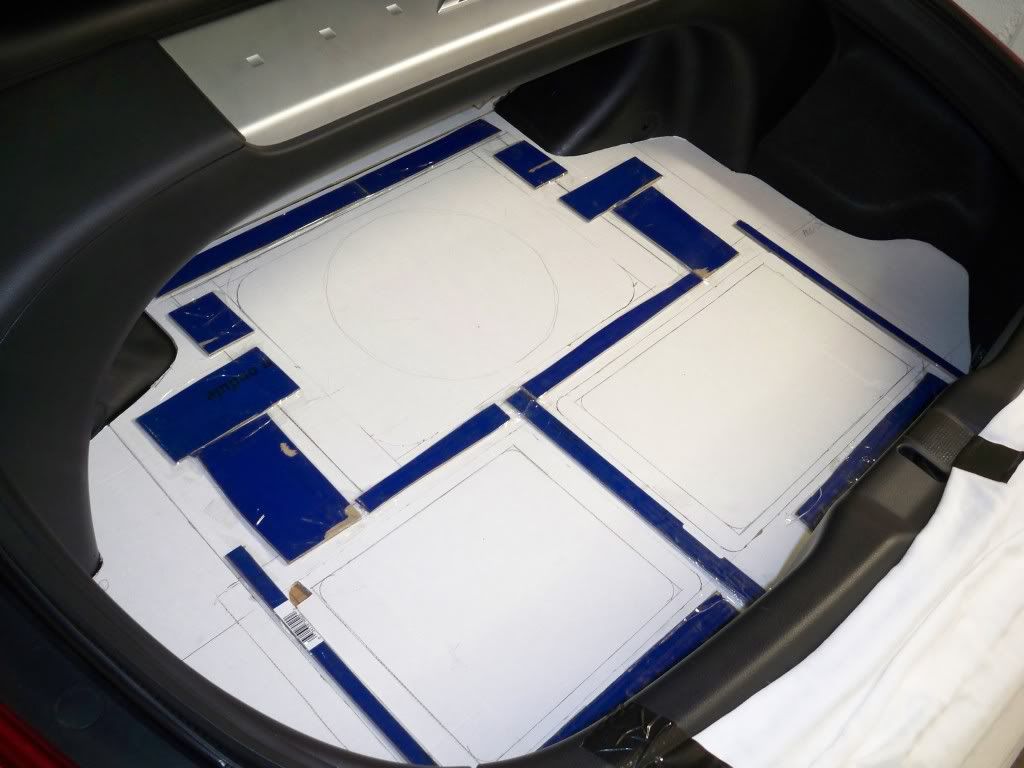
sub and amp trim rings. See the blue lines, the inside or the part closer to the amps and subs will be see when the final trim panel is on. I am thinking of making the this inside part silver, the rest will be black. The outside part will support the final trim panel or false floor panel.
amps in
sub and amp trim rings. See the blue lines, the inside or the part closer to the amps and subs will be see when the final trim panel is on. I am thinking of making the this inside part silver, the rest will be black. The outside part will support the final trim panel or false floor panel.


for those that did their own sound deadening with things like fat mat or dyna mat before, did you guys only did the actual bare metal? I did some on the bare metal, but I spent most of my time on the individual plastic interior pieces that came out of the trunk. I bought 64 sq. feet of elemental design's edead 80. Looking at this thread, makes me think that I should go back and put more on the bare rear strut. It makes more sense because the bare metal are connected to the frame and are more likely to resonate through the bumps on the road. I still have about 20 sq. feet left, I think I will use the rest on the actual rear strut, not the plastic pieces. I have to order at least another 50-100 sq. feet, if I want to do the floor, doors, and ceiling.

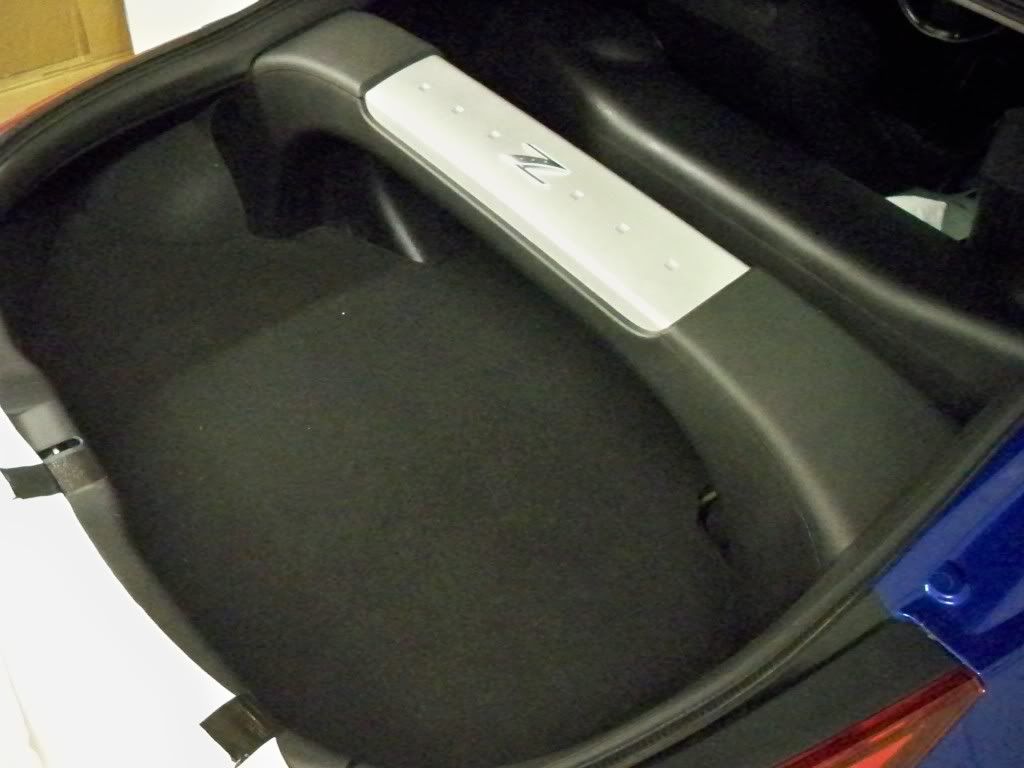
pulled everything out ---
---------
AND ---------------------------!!!!!!!!!!!!!!!!!!!!!!!!!!!!!!!!!!!!!!!!!!!
---------
---------
AND ---------------------------!!!!!!!!!!!!!!!!!!!!!!!!!!!!!!!!!!!!!!!!!!!
---------
Last edited by XERMAN2001; Aug 11, 2009 at 04:00 PM.
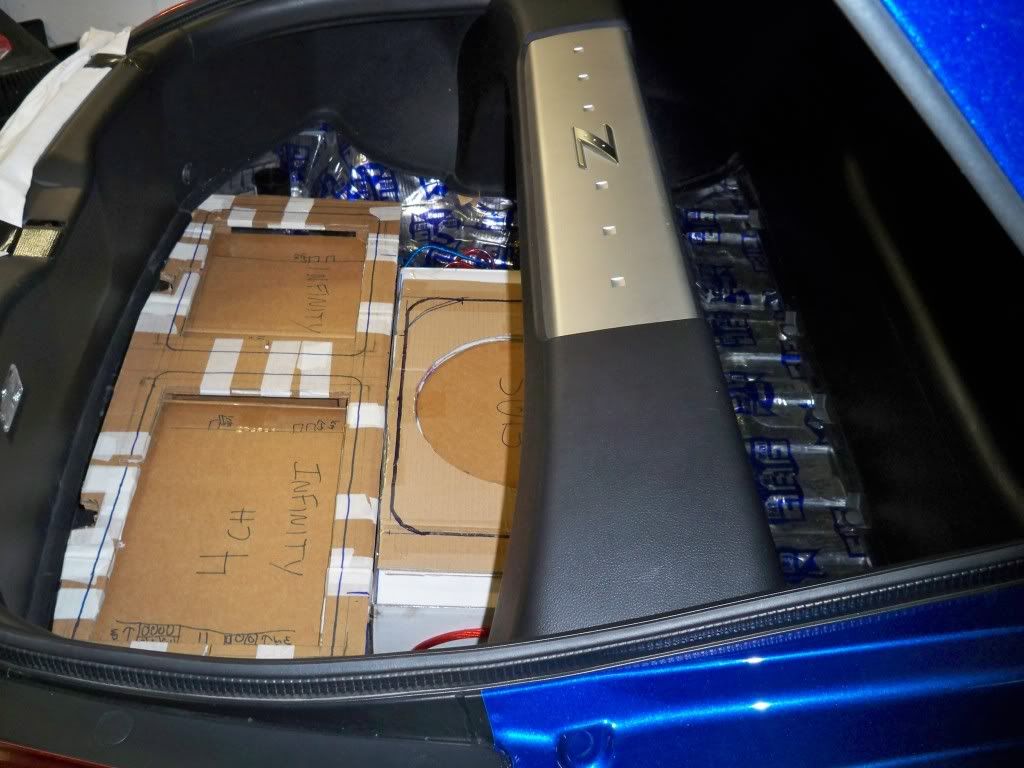
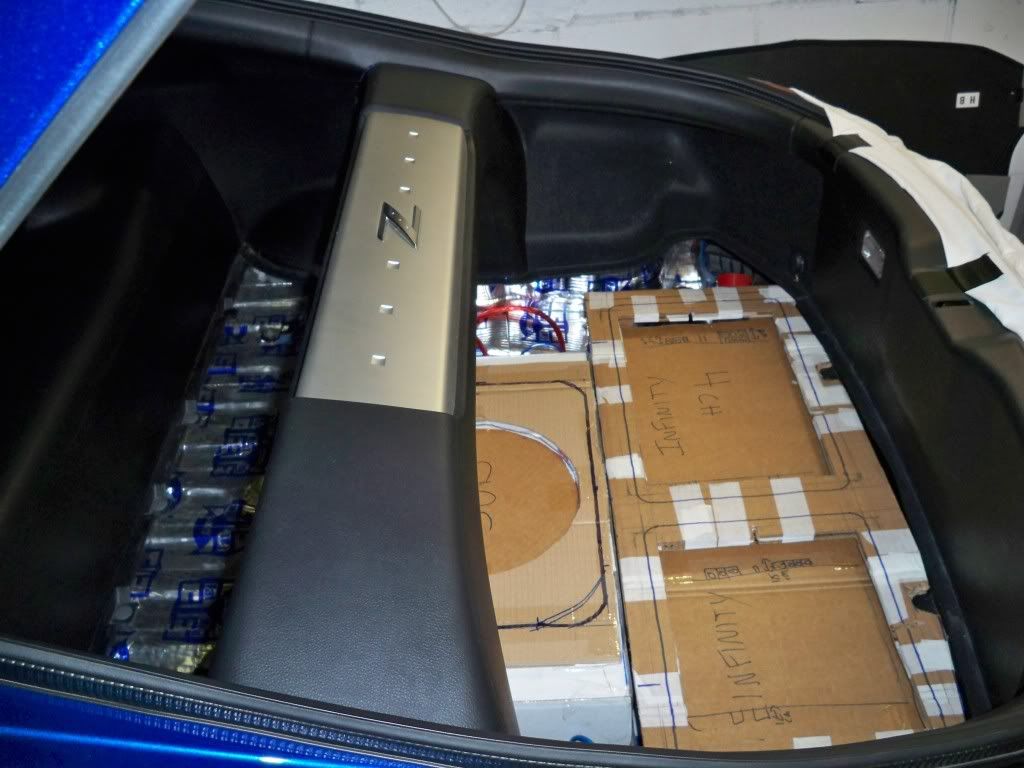
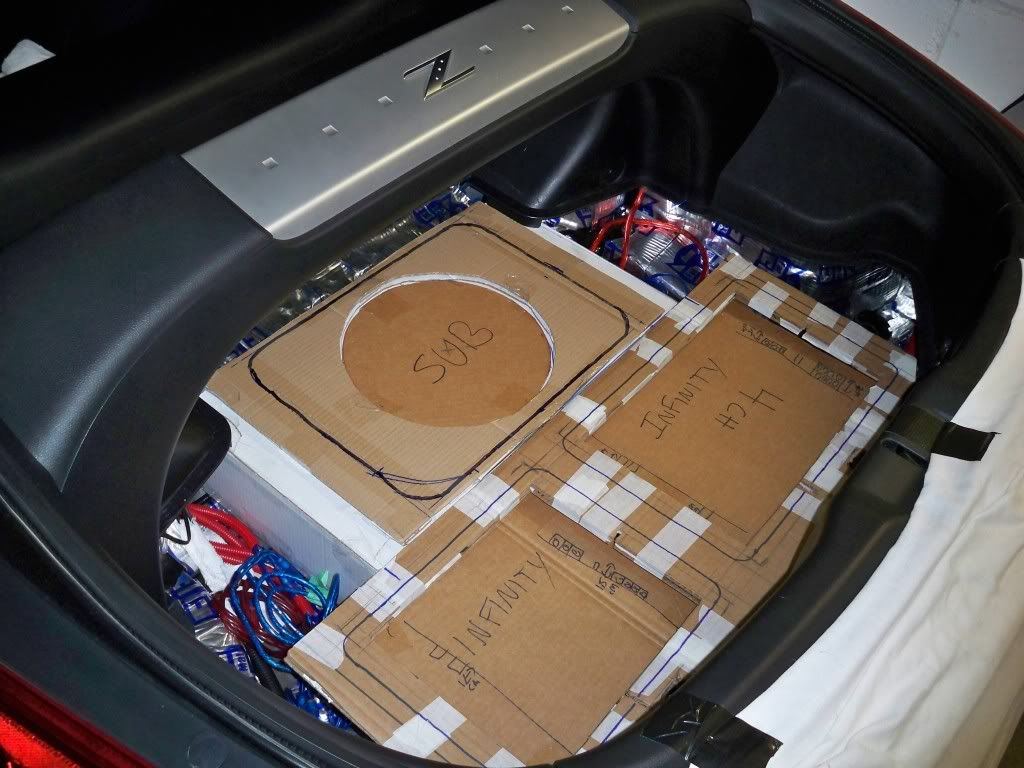
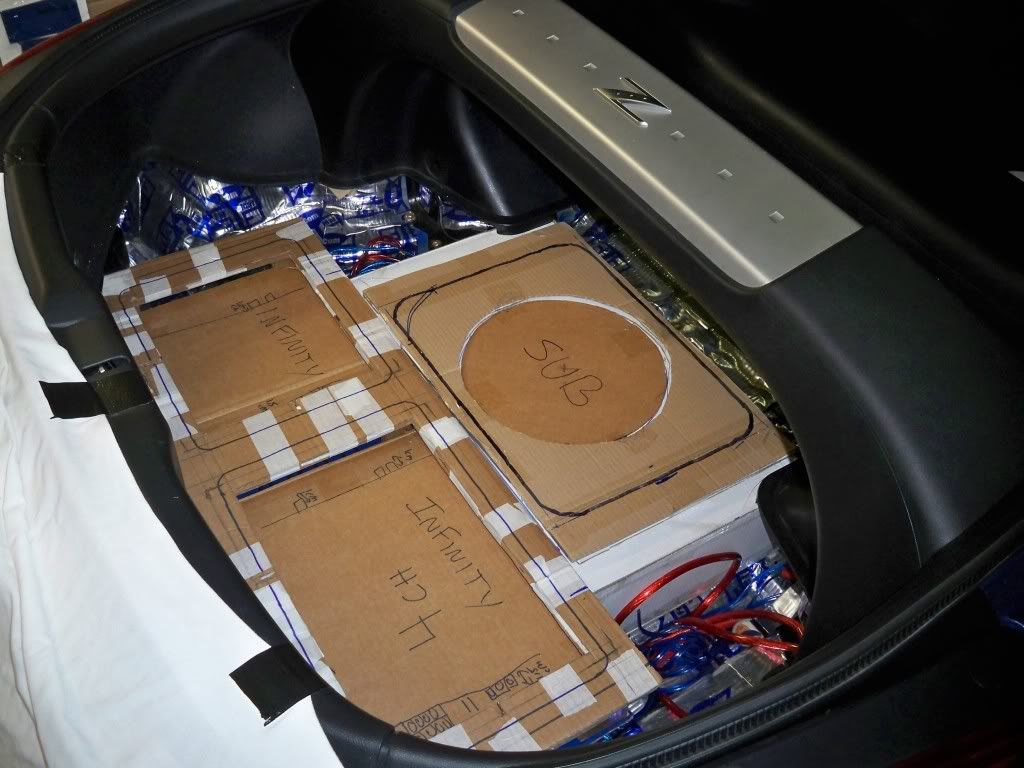
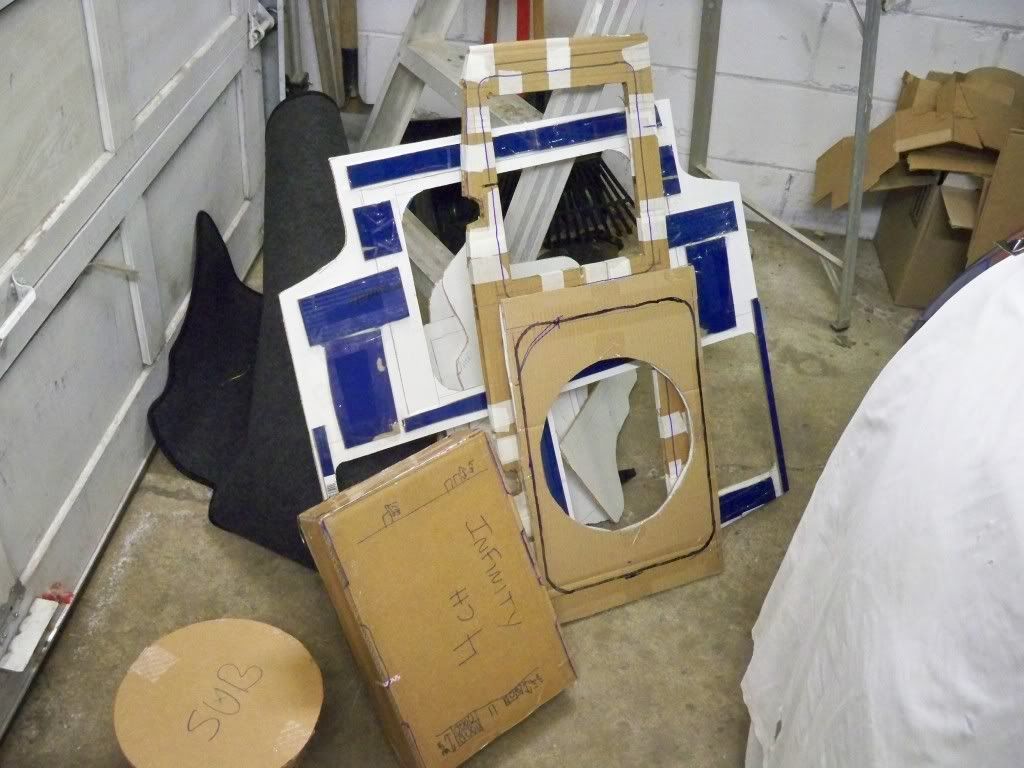
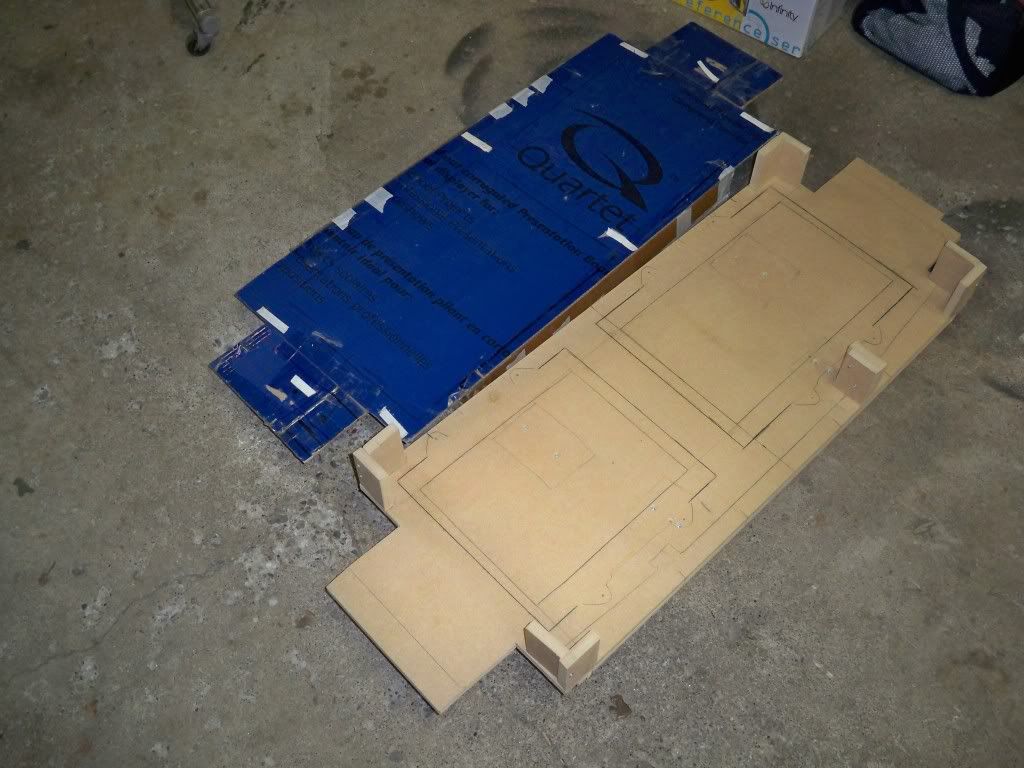
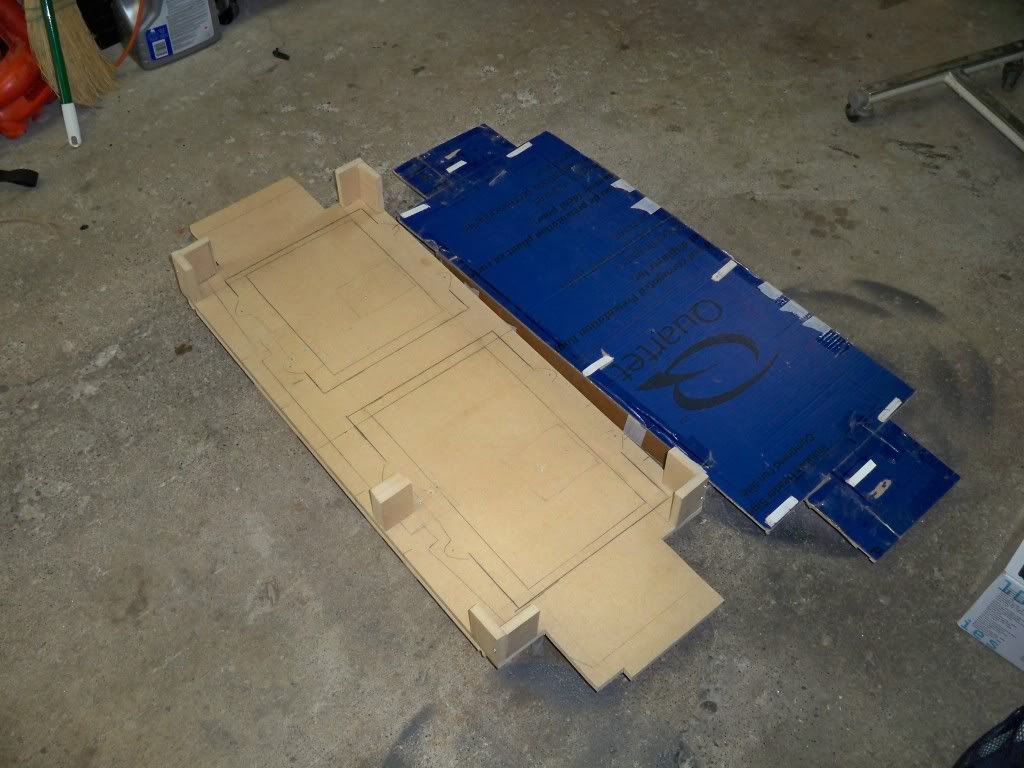
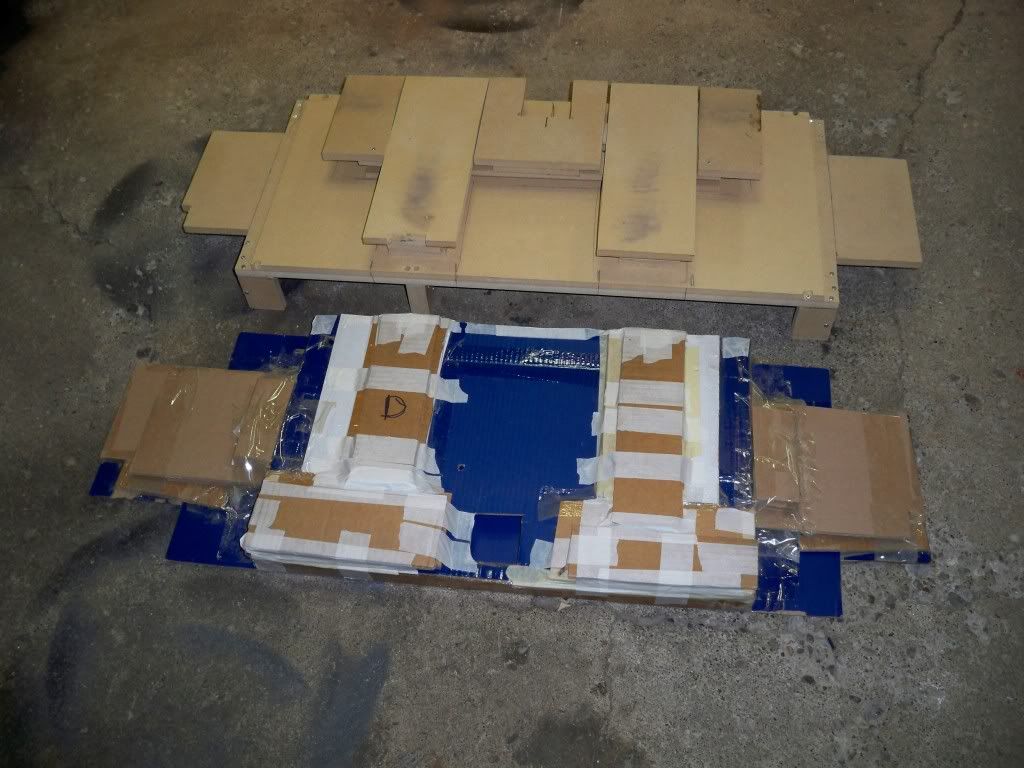
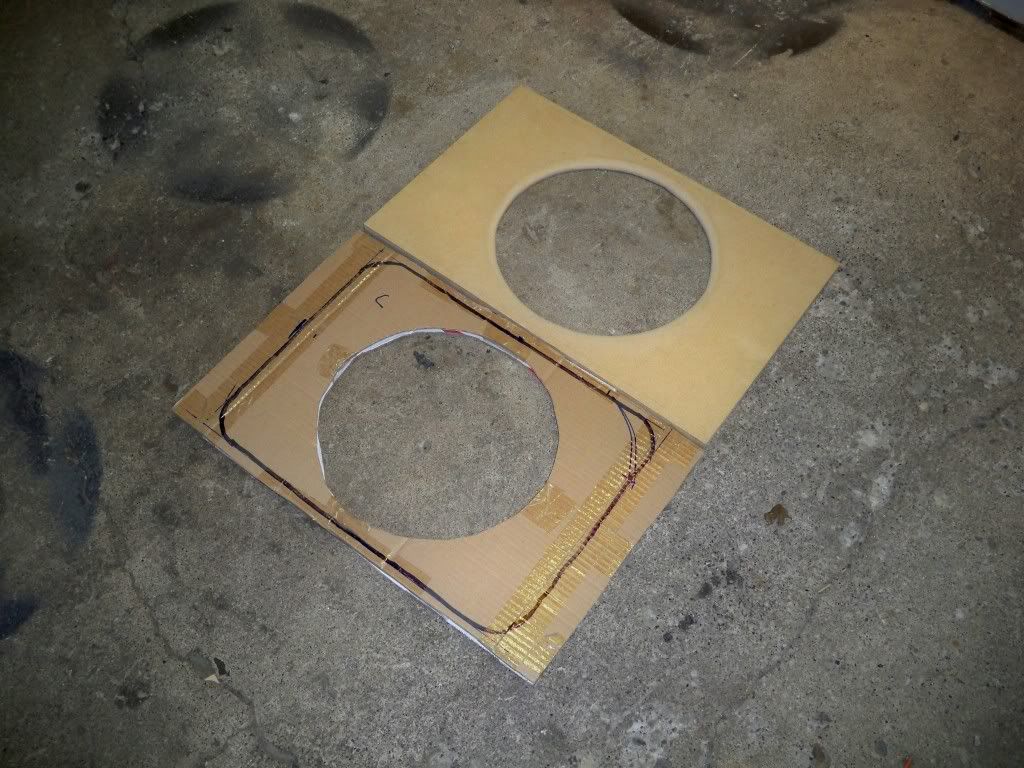
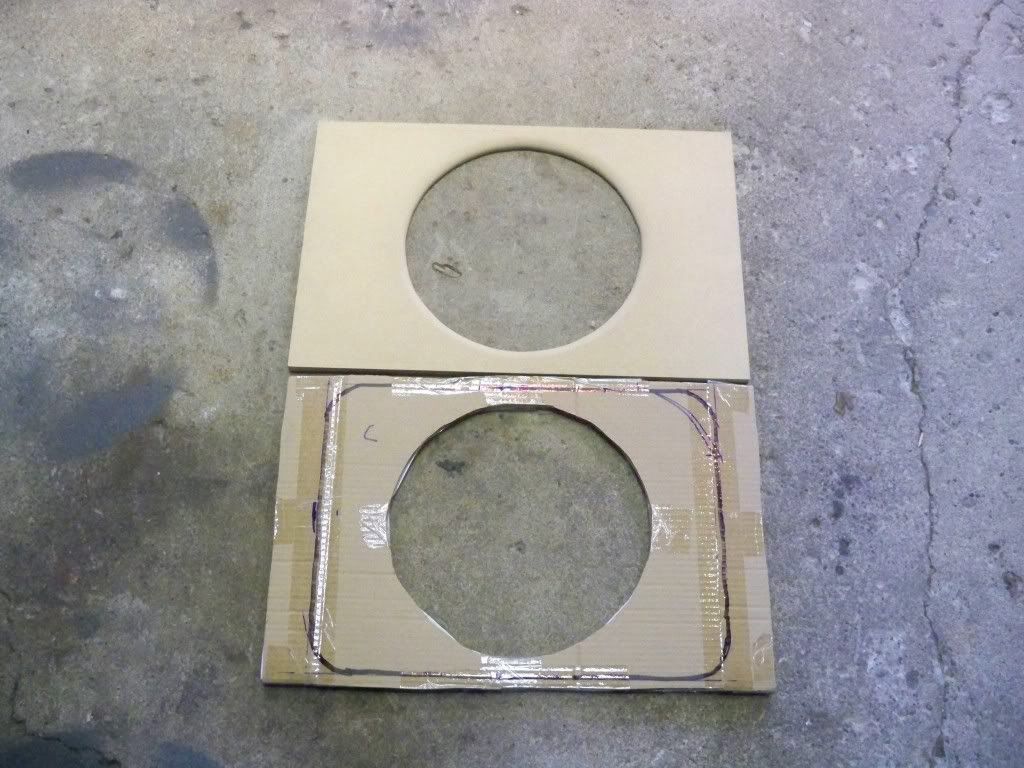
time to reproduce the cardboard templates to MDF
The sub box, screwed, glued and cocked
The amp rack
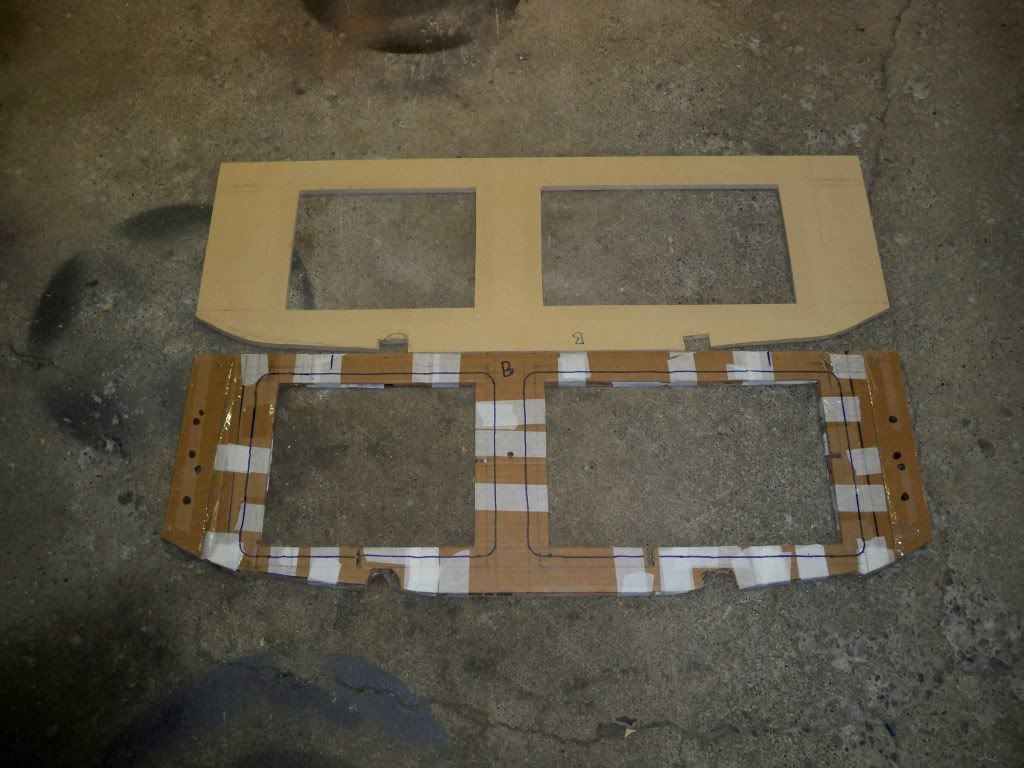
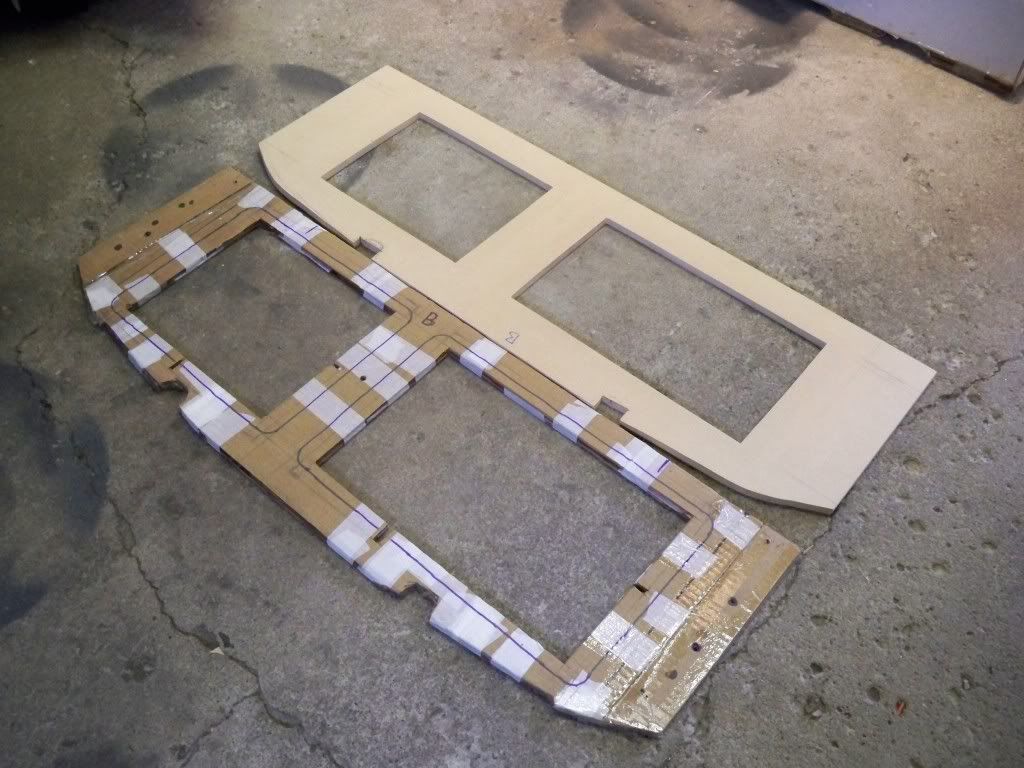
Amp trim panel
Sub trim panel -- with a rounded iner edge
The sub box, screwed, glued and cocked
The amp rack
Amp trim panel
Sub trim panel -- with a rounded iner edge
Last edited by XERMAN2001; Aug 29, 2009 at 05:28 PM.