
DIY: TS Rear Diffuser Installation Instructions


Registered User
Joined: Dec 2007
Posts: 290
Likes: 0
From: Valrico, FL
^1!.
So any improvement to the lamiar flow characteristics with this rear diffuser, and/or rear down flow while tracking your Z above 70 m.p.h.? What's the coefficient of drag (Cd)/coefficient of lift (CL) with/without this rear diffuser (Any specs)?
How's the car feel/respond when braking and at speed flat out?)
My two cents: It would seam that extending the rear diffuser from the back of the subframe would smooth out the induced high pressure flow from under the car thereby smoothing the lamiar flow from under the car.

ANyone know how to get the top screws in so the threads do not point down?? I have tried many angels and the thing just goes to far back for me to get my hands back there. Anyonw have better pics of where the brackets bolt to?? This DIY write up suxs on pics

Registered User
Joined: Jan 2006
Posts: 1,224
Likes: 1
From: arizona
i need to get some time off work to fix mine. the guy i had install it put it on crooked. anyone else have issues washing the car? mine floods with water so i have to drift around my cul-de-sac to get it out.
i went back to stock exhaust from the greddy ti-c single. im thinkin JIC single? or if i could find out if the agency power single ti fits w/ it??
i went back to stock exhaust from the greddy ti-c single. im thinkin JIC single? or if i could find out if the agency power single ti fits w/ it??

alright, i got makito at 7apples to install it and he said becareful with anyone that has any type of exhaust, even the stock exhaust the Diffuser needs some modifications towards it. Although it is very slight.

Registered User
Joined: Nov 2007
Posts: 198
Likes: 0
From: Western MA
what do you mean, what do we have to modify? my rear diffuser will be at the house friday. i already have the c-west replica from sibon on the front of the Z, i got the black wheels w = chrome lip, tints, carbon fiber mirrors and mounts, carbon fiber b-pillars. this rear diffuser will finish the style im going for, cant wait to mount it but i was concerned since i have the Xo2 exhaust wich is a good sized piped ehxaust, canisters that is. so ill have to what, dremel it down to fit?.
well if u have the X02, youre going to have to dremel some stuff. Id recommend giving it to someone to install because, iono how chestobo did it but it takes way more the 45 minutes. This was the look i wanted also, and im more than satisfied by how it looks but just to tell you, 1 there is a gap between the bumper and the diffuser. It doesnt fit EXACTLY flush onto the bumper. 2ndly, if you are doing this DIY, make sure you have everything lined up and eyeballed perfectly ( meaning the placement of the WHOLE diffuser!!!!) or your bumper will look like swiss cheese. And takes chest's advice and find a long and thin monkey wrench, you'll find this much easier to install when you get into the part where you have to screw the side onto the bumper... The gap between the bumper and iono what part that is, is like less than 2 finger gappage. Oh and i would recommend using putty or something small to spot ( where to drill the holes). A sharpie does not fit where the placement should be. I guess lastly, if you have a lift, this diffuser is much easier to install, without one make sure u jack your car high enough so that u can drill straight, other than that good luck!
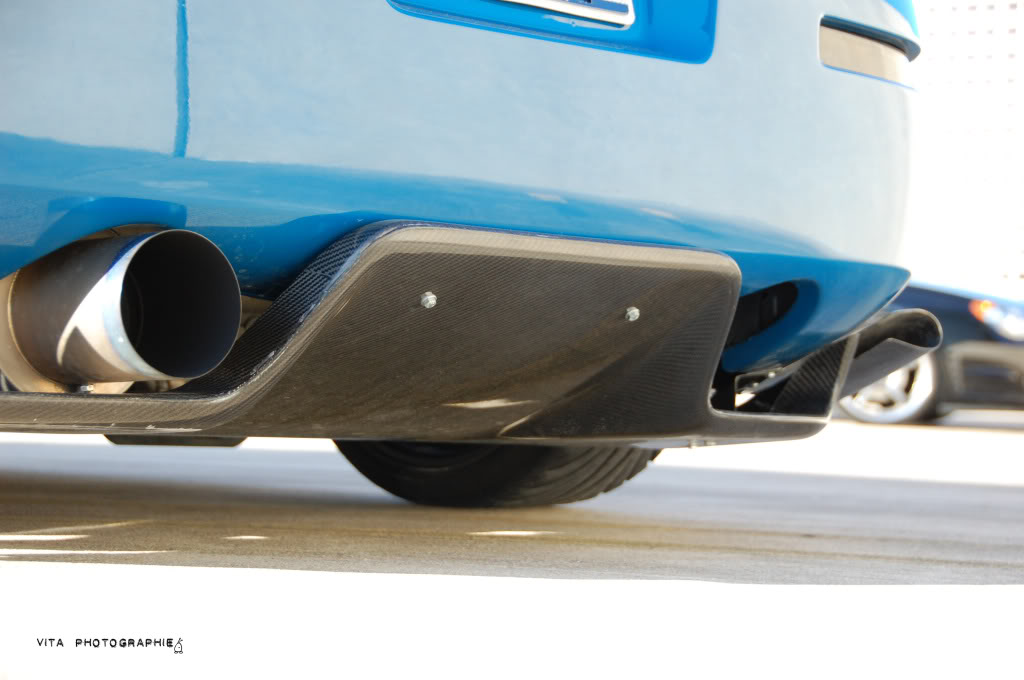
Oh and as for your question, i believe the bottom part of the diffuser, you'll see, and if not id guess search for some pictures, because the bottom is flat, so you will need to dremel the flat part so that the huge canister that the x02 has can go through the bottom.
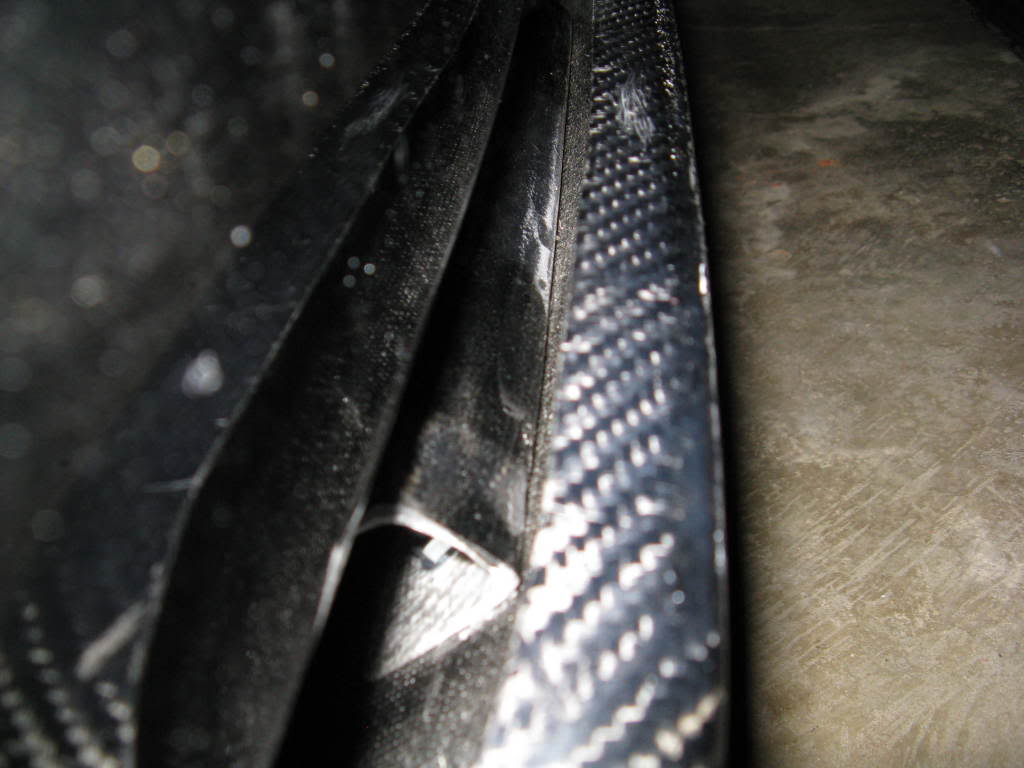
theres a minor gap ( maybe .2-.5 inches?). I seen people have it completely flush but i guess its up to you as the installer, and how you mount it
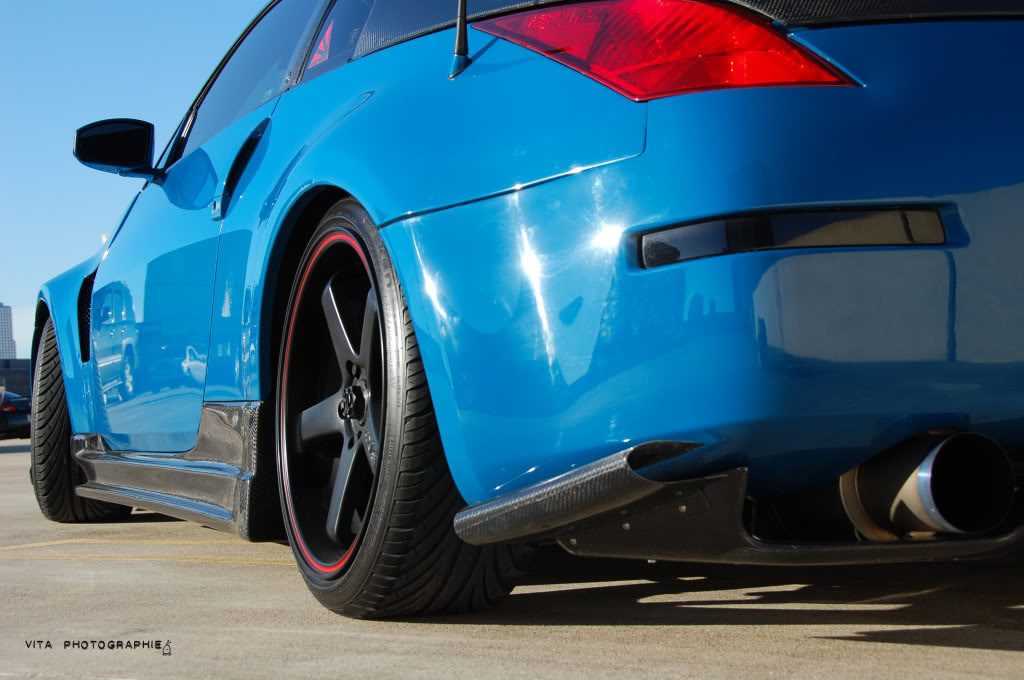
Edit: Mine gap is .5 inches but it should be probably .2? my is mounted a little bit higher, the lower you go the less gap there will be but you can only go so low because the "side flares?" have to line up to the fender line. (my flares are .2 -.3 inches before that the fender line), a picture just to show you.
Last edited by wazhucks; Dec 6, 2008 at 04:09 AM.
Registered User
Joined: Nov 2007
Posts: 198
Likes: 0
From: Western MA
thanks for the help on the questions and answering them for me. good thing i bought a dremel when i knew i had my varis intake duct to install. and i never needed to dremel anything with the varis.


Thread Starter

Joined: Aug 2002
Posts: 10,681
Likes: 11
From: Redondo Beach, CA
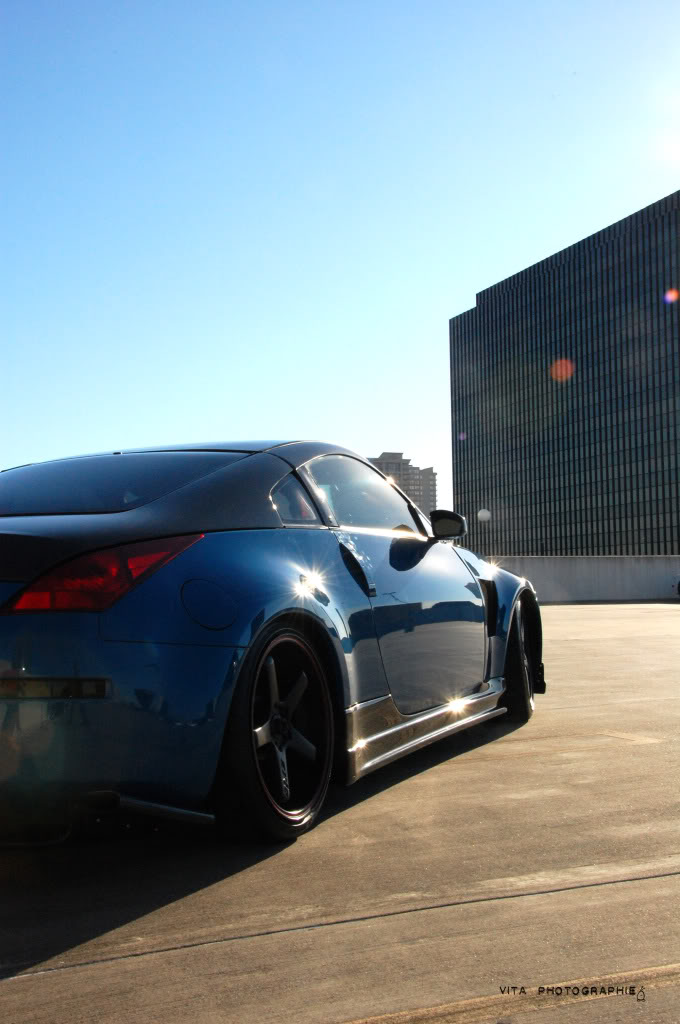
the rear of the diffuser is supposed to be as flush as possible to the rear bumper.
yo u can TURN around that U bracket, for where the center rear bumper mount is so that you can put a open wrench to hold the locking nut in place, as you screw in hex bolts for the back of the diffuser.
remember: the front leading edge of the diffuser should line up directly underneath the rear bumper, where the rear fenderwell ends...
Last edited by wazhucks; Dec 9, 2008 at 10:40 PM.
Oh and if you guys have any questions feel free to PM me. Trust me, you have to be patient with this install, and if you do this install, it is much easier if you have two or three friends helping you.

Registered User
Joined: Nov 2007
Posts: 198
Likes: 0
From: Western MA
Just installed it today at the custom autobody shop i used to work at, we put it on the frame machine and raised it up so it would be easy to work on, since i have the XO2 exhaust the canisters were getting in the way so all i had to do was dremel out the back lip in the areas where the canisters were, then it went on to fit perfect, it was still a pain in the azz to install, we used hardener for a marking aid for where the holes will have to be drillled, the blue mixing part type of part hardner for bondo, so we could wipe it off once we removed the diffuser after having it mock fitted after applying pressure to make the caked drill holes from the mounts, sit there once the lip was removed, eyeing you showing where you had to drill, then it was just frustrating screwing in the diffuser to the mounts, but its done and it looks great, ill have pics uploaded tomorrow morning around 9 am EST.