
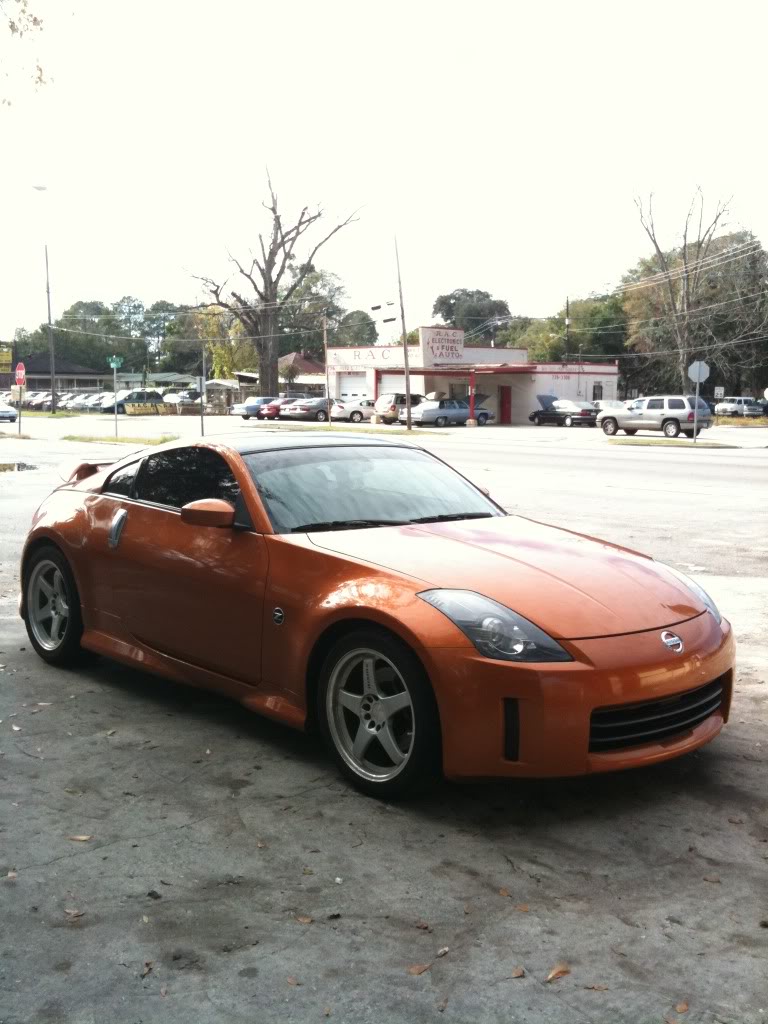
DIY: Halo and Clear Lens mod on '06-'08 headlights


Usmanasif and I were at a meet this weekend... IIRC, he has the silver backing but no clear cover. Output was slightly brighter on his, if I were to put a figure to it I would say less than 10%.
He has done a couple of other really unique things while he had his apart, I will let him comment on his mods
He has done a couple of other really unique things while he had his apart, I will let him comment on his mods
Yes all, that is the secret that few here seem to have pointed out. As more and more people start painting their lights (or get them painted by vendors), I expect threads to start popping up. The '06+ projectors seem to generate A LOT of heat when on and all of it focuses on the first inch or two beyond the projector shroud, directly onto the headlight plastic (the concave piece). The OEM plastics are chrome, so they reflect that heat. Or it could also be that adding the spacer for the color mod changes the focal length just enough to cause the hot spot. But whatever the contributing factor may be, the projectors shed enough heat to start gradually melting the concave plastic downwards. To an observer, it appears that the paint is bubbling. I thought so too. But opening the headlight back up, I saw the damage. When that plastic melts and bends, the paint simply flexes and that causes it to develop waves and pits (like bubbling does).
Anyway, my solution was to sand the area smooth, then use epoxy to fill in the pits, sand those smooth too, then apply two layers of heat-resistant aluminum tape. It is a fairly thin tape used to repair HVAC ducts in homes or automotive mufflers, and can be sanded, painted etc. I then did a sand/primer/bake/wet sand/paint/bake cycle to help everything adhere to each other. Hopefully, the tape will absorb enough of the heat to keep the plastic from melting again. We shall see!
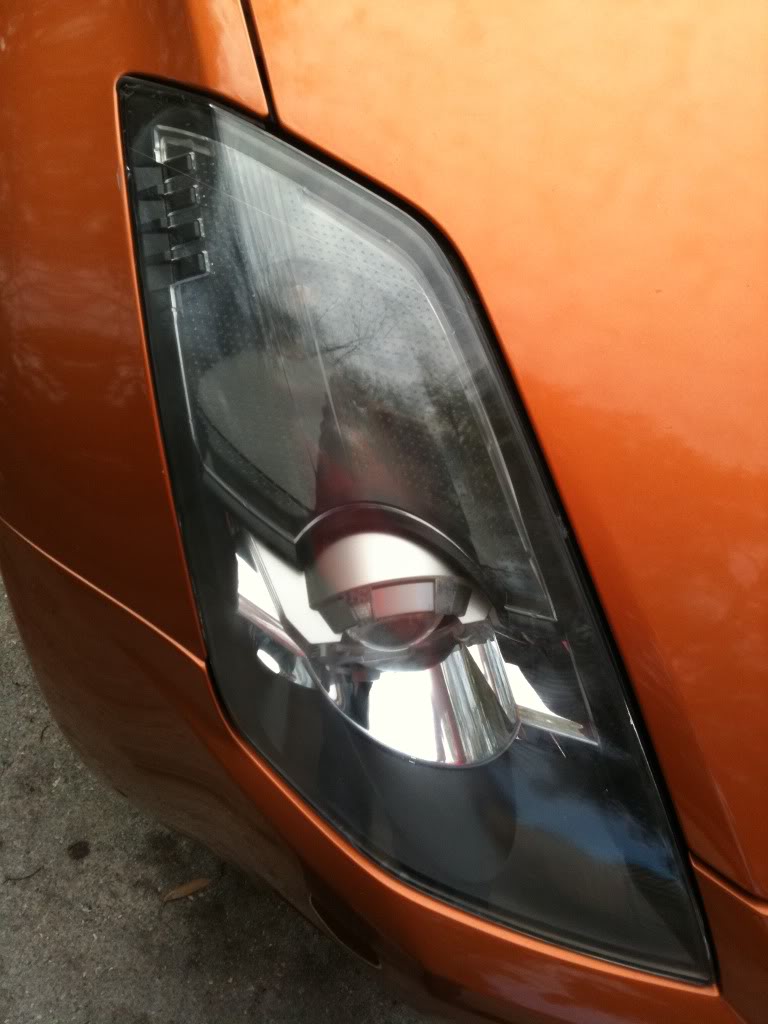
As I mentioned in my other thread, two other tiny projects I did while they were open was to replace and remount my year-old halo rings, change the paint color from gray to black, and finally, paint the projector shield and the area below and ahead of it, blue. It causes a neat effect when the viewer is at just the right angle in both daylight and when halos or headlights are on. And it is does that without changing the color of the light itself.
These pics are in my thread as well but I will post them here too for context. You can see the effect of the paint inside the projector and catch a glimpse of the aluminum tape layers as well.
Headlights off:

Headlights on:

The effect under flash photography:

Last edited by usmanasif; May 3, 2009 at 09:45 PM.


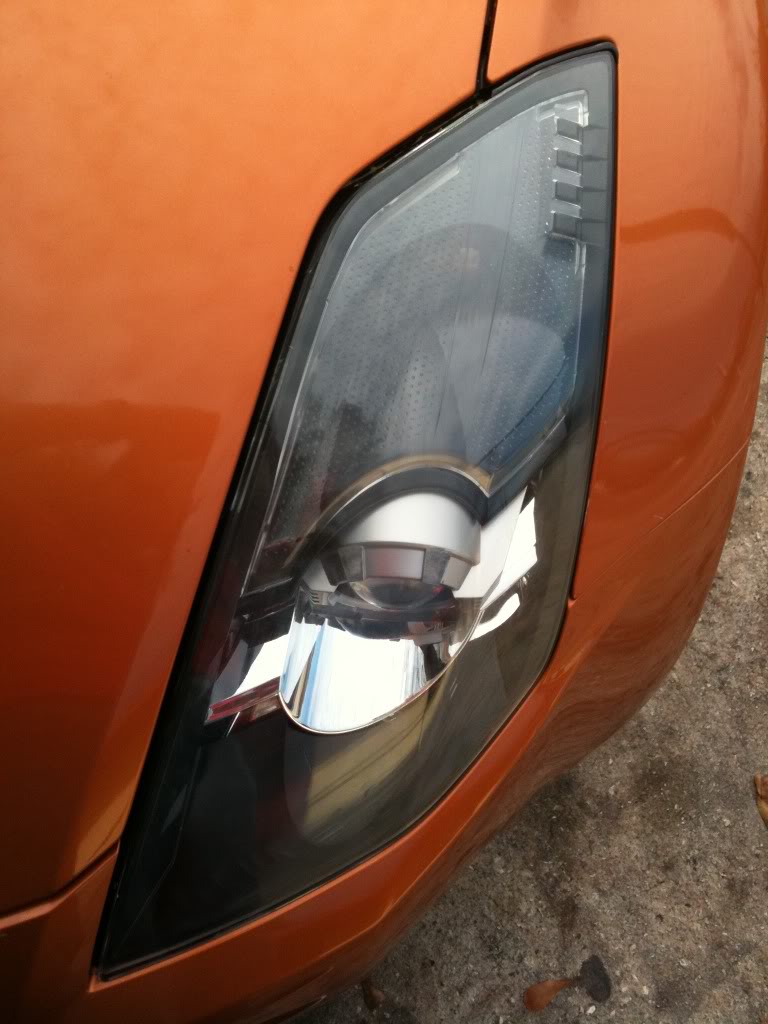
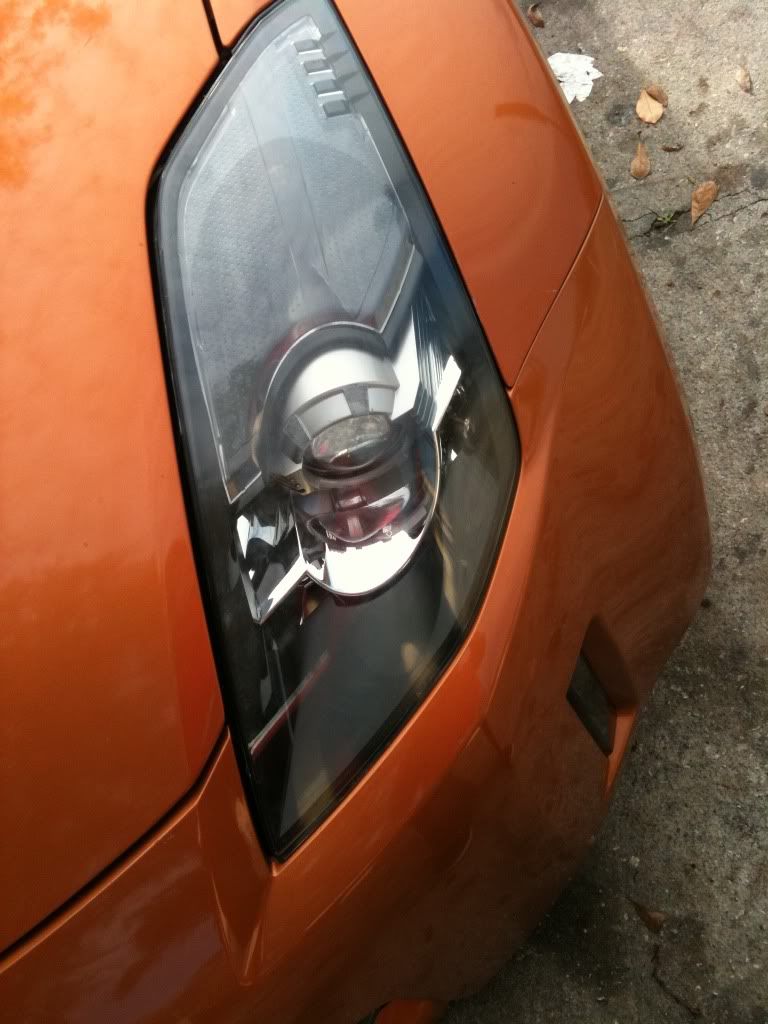
All I did to mine was paint the chrome parts, remove the clear plastic diffuser over the blinker area, and remove the yellowish cover over the bulb itself.
A picture of my headlight is attached, sorry for the poor quality. Not sure if it's led, but notice there is no light around the halo ring(pretend I had it installed).
By the way, sorry for the confusion, my Z is a 2008 base model not 2006.
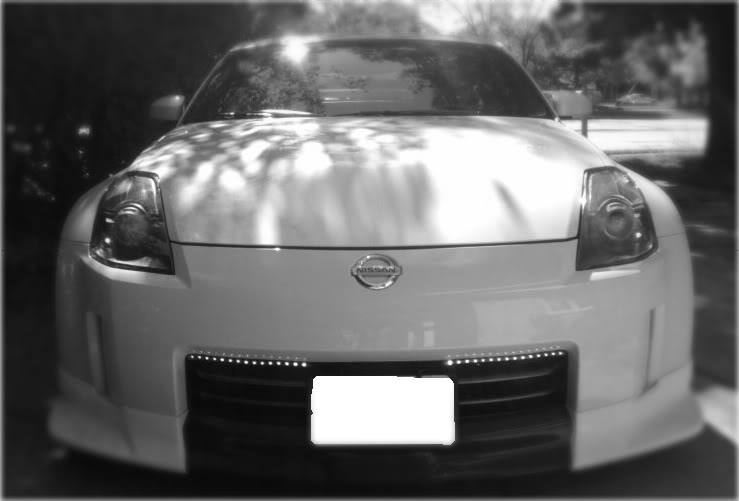
Now, compare mine to this one, can you tell the difference?

By the way, sorry for the confusion, my Z is a 2008 base model not 2006.
Now, compare mine to this one, can you tell the difference?
Last edited by ThundrA; Jul 6, 2009 at 09:09 PM. Reason: to clear up confusion


could you paint the gray area of the light black with hight temp(i don't know how hot they get or if it even gets hot enought to need hight temp) or regualar paint so its not gray i would rather my hole light pretty much look black.
Shouldn't need high temp... yes, you can paint it any color you want. I will do it black if I ever have to do my lights again.


p.s. post up a night shot!
Last edited by gr8scott_o; Dec 16, 2009 at 05:21 PM.
If I were going to do the sealing again, I would use the silicone method, WAY better than trying to use factory sealant.

Registered User
Joined: Oct 2009
Posts: 2
Likes: 0
From: Rochester, N.Y.
hey everyone,
just got a z in the spring and starting to do mods while its in storage for the winter. love the look of the blacked out halos but I have an 04. If I were to get 06+ housings would they fit the car and just hook up to current wiring??
just got a z in the spring and starting to do mods while its in storage for the winter. love the look of the blacked out halos but I have an 04. If I were to get 06+ housings would they fit the car and just hook up to current wiring??
You'll have to search on that, I know there are a ton of threads on here about that subject. IIRC, it's pretty close to plug-and-play, but I think there is one wire to cut otherwise your parking lights on blinker are on all the time (or you could mod the bulb by cutting the wire on the bulb itself). Search for it, it's there.