
DIY: Halo and Clear Lens mod on '06-'08 headlights


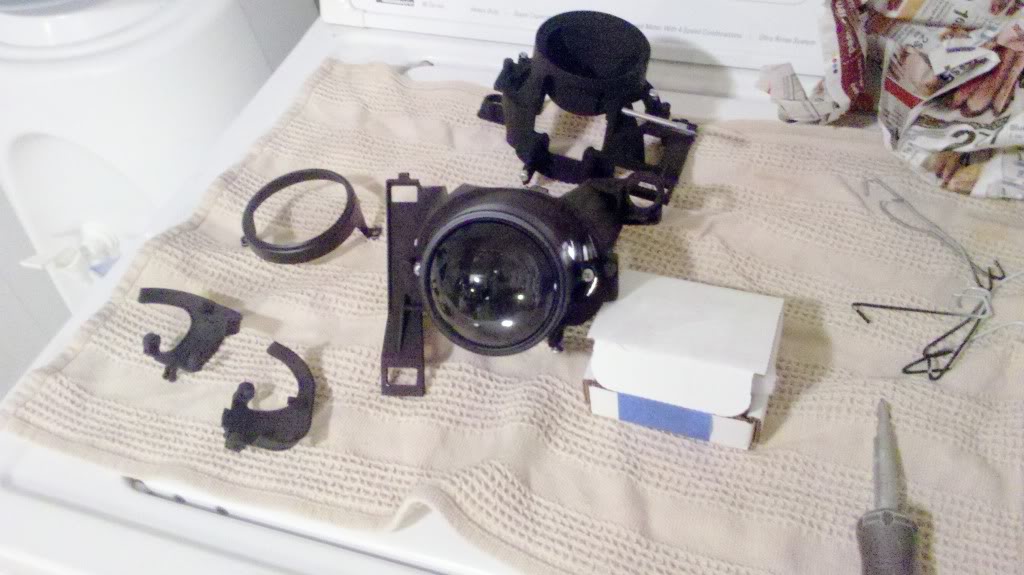
Just got my lights back. Heres the result. Halos, STI lenses, and painted semigloss with AX6 redline projector shrouds, and removed dimple covers. Sorry for the crappy pic of the halos, I was using a 9volt battery and a cell phone camera. They will look brighter once installed on the car. 


Special thanks to TTRANK for the AMAZING quality and attention to detail.


Special thanks to TTRANK for the AMAZING quality and attention to detail.


and finally, paint the projector shield and the area below and ahead of it, blue. It causes a neat effect when the viewer is at just the right angle in both daylight and when halos or headlights are on. And it is does that without changing the color of the light itself.
These pics are in my thread as well but I will post them here too for context. You can see the effect of the paint inside the projector and catch a glimpse of the aluminum tape layers as well.
Headlights off:

Headlights on:

The effect under flash photography:

These pics are in my thread as well but I will post them here too for context. You can see the effect of the paint inside the projector and catch a glimpse of the aluminum tape layers as well.
Headlights off:
Headlights on:
The effect under flash photography:
can you please go into detail as to how you went about painting these parts blue?
like where EXACTLY did you paint?
what type of paint did you use? [exp: high temp, metallic, matte, gloss, dark blue, light blue,etc]
did this blue paint dilute the headlights light output?
did you use a high temp primer or an adhesion promoter like "BULLDOG"?
sorry if my question is a bit technical


where u paint this? urself?
Just got my lights back. Heres the result. Halos, STI lenses, and painted semigloss with AX6 redline projector shrouds, and removed dimple covers. Sorry for the crappy pic of the halos, I was using a 9volt battery and a cell phone camera. They will look brighter once installed on the car.
Special thanks to TTRANK for the AMAZING quality and attention to detail.
Special thanks to TTRANK for the AMAZING quality and attention to detail.

is that the halo u bought?
http://www.retrosolutionsllc.com/ser...lo-CCFL/Detail
http://www.retrosolutionsllc.com/ser...lo-CCFL/Detail
can you please go into detail as to how you went about painting these parts blue?
like where EXACTLY did you paint?
what type of paint did you use? [exp: high temp, metallic, matte, gloss, dark blue, light blue,etc]
did this blue paint dilute the headlights light output?
did you use a high temp primer or an adhesion promoter like "BULLDOG"?
sorry if my question is a bit technical
As for where exactly to paint, if I remember correctly it's pretty obvious once you open the lights. It's a pot-metal piece that is directly behind the lens that is half-moon shaped. It is in front of the cut-off shield.
It is NOT, repeat, NOT the reflective mirror-polished part that is behind it.
See this pic for (not mine, linked from the demon-eye thread). See the half-moon shape below the red circles? That's it.
Like I said, once you get your lights apart, it's pretty obvious.
It does not in any way, shape or form dilute light output. In fact, it is in a "dark" part of the light. No light actually reflects from that area when the light is on.
As for what type of paint, I think he said he just used some Testor's model paint, but I may have "mis-remembered" that part.
Last edited by gr8scott_o; Oct 14, 2010 at 07:21 PM. Reason: Clarification


Hey guys,
I'm having issues with the wiring of the angel eyes. From your picture it looks like you just jammed the black and red leads from the converter into the plug that is attached to the daytime running amber led's??
I checked my angel eyes earlier, and they seemed to be working, but now, the leads may have shorted out. I tried to reconnect it, and neither the running lights nor angel eyes come on. The short only happened on one side, but now, when I test them, neither works.
I am not turning the car on, its on jacks, simply the battery.
Why would it work earlier but not now??/
Any help/ suggestions are appreciated, Im losing my mind!


Just save up, bite the bullet, and get the 08 headlights.
Thanks Scott! The main reason I opened my lights back up this year was to fix damage caused on the plastic by excessive heat of the projectors.
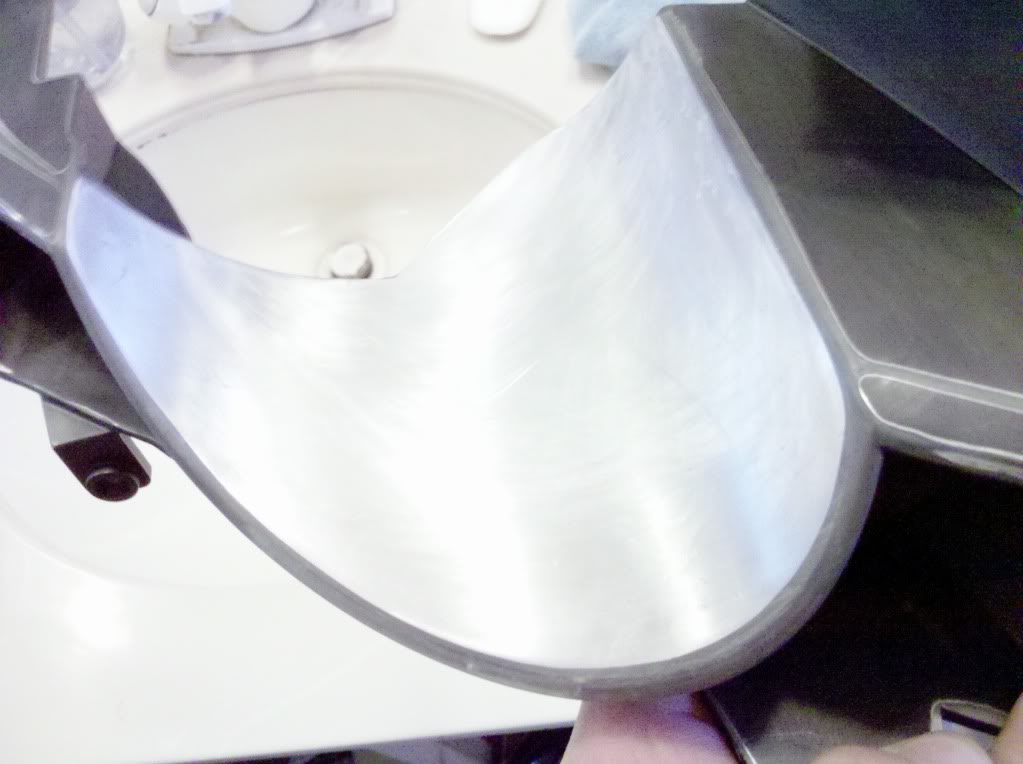
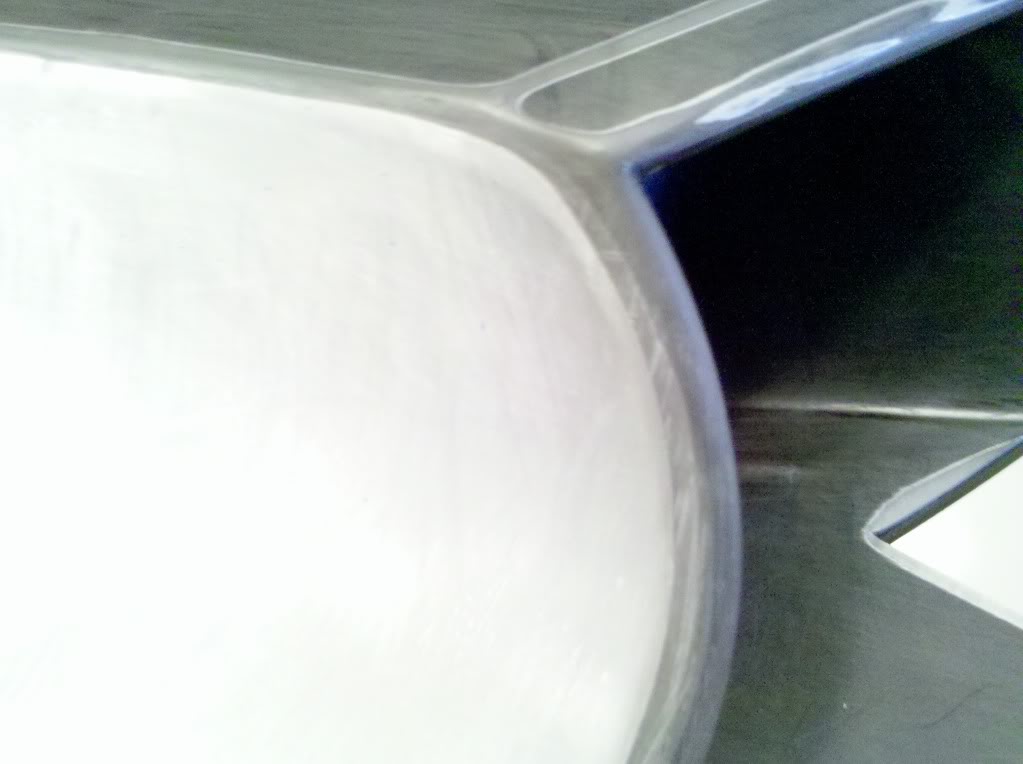
Yes all, that is the secret that few here seem to have pointed out. As more and more people start painting their lights (or get them painted by vendors), I expect threads to start popping up. The '06+ projectors seem to generate A LOT of heat when on and all of it focuses on the first inch or two beyond the projector shroud, directly onto the headlight plastic (the concave piece). The OEM plastics are chrome, so they reflect that heat. Or it could also be that adding the spacer for the color mod changes the focal length just enough to cause the hot spot. But whatever the contributing factor may be, the projectors shed enough heat to start gradually melting the concave plastic downwards. To an observer, it appears that the paint is bubbling. I thought so too. But opening the headlight back up, I saw the damage. When that plastic melts and bends, the paint simply flexes and that causes it to develop waves and pits (like bubbling does).
Anyway, my solution was to sand the area smooth, then use epoxy to fill in the pits, sand those smooth too, then apply two layers of heat-resistant aluminum tape. It is a fairly thin tape used to repair HVAC ducts in homes or automotive mufflers, and can be sanded, painted etc. I then did a sand/primer/bake/wet sand/paint/bake cycle to help everything adhere to each other. Hopefully, the tape will absorb enough of the heat to keep the plastic from melting again. We shall see!
Headlights on:
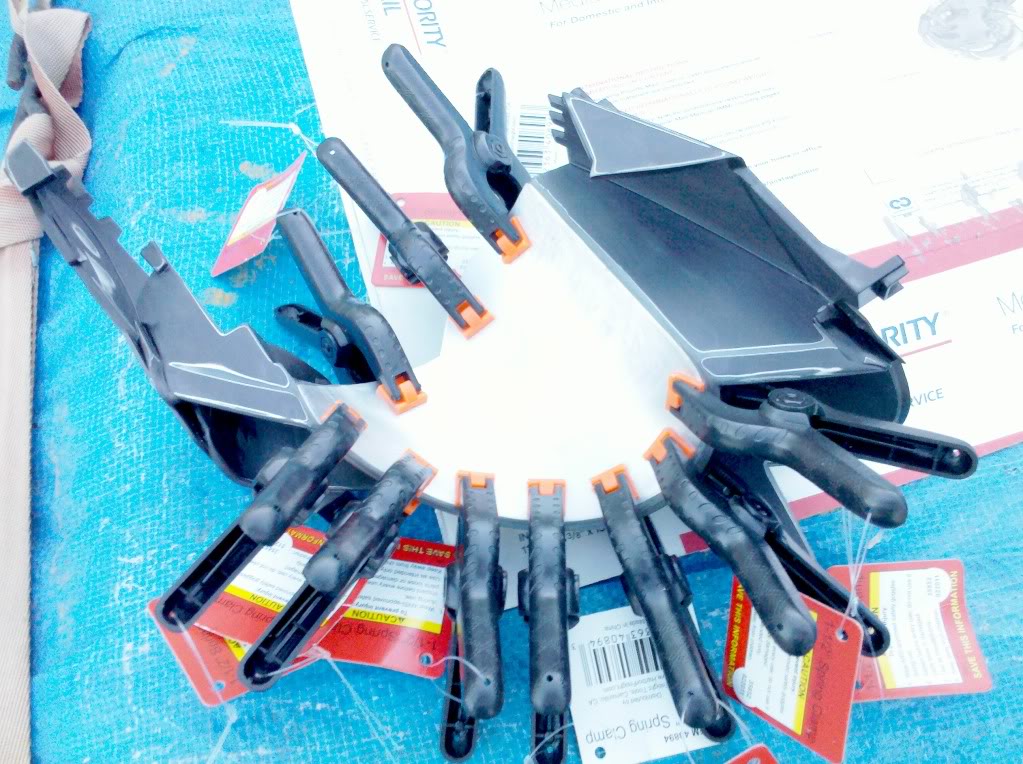
So I:
* got some aluminum flashing from Home Depot
* cut the flashing into 2 strips [seeing how it was enough material for both headlights]
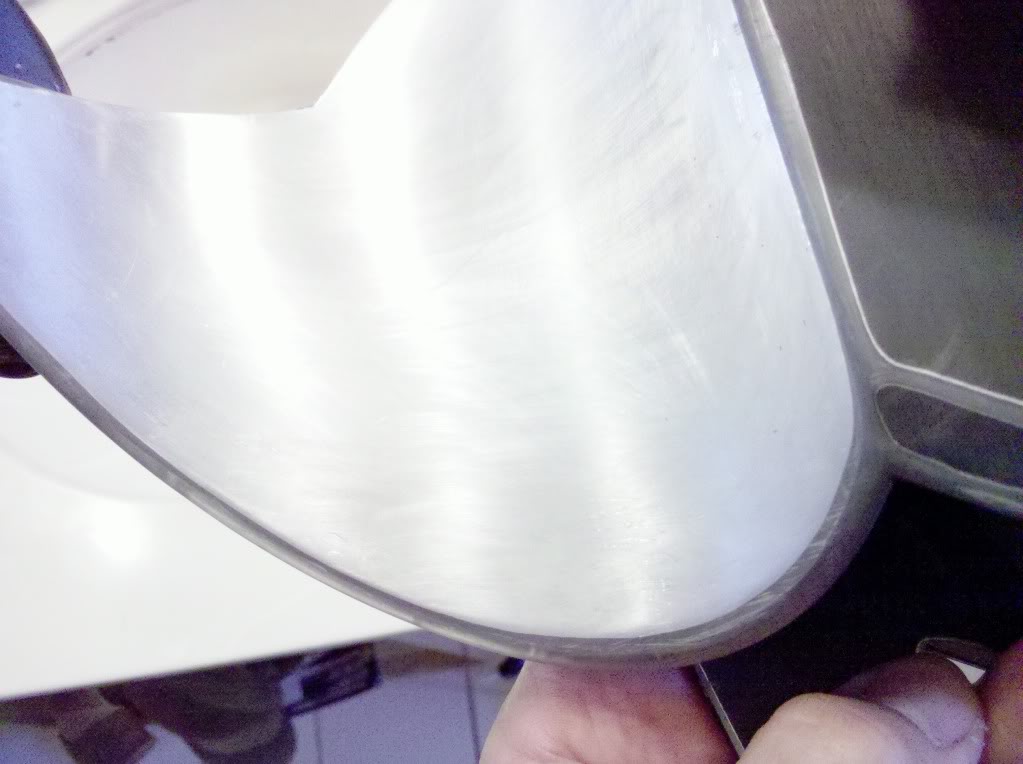
* rolled the aluminum till it got the same roundness of the headlight
* mounted the rolled flashing to the headlight with 1.5" clamps that I got from Harbor Freight
* traced the shape onto the flashing with a marker
* cut the flashing with a dremel [metal snips would have left a weird edge]
* fitted and trimmed the flashing several times til it was perfect with about a 1/8" inch border all around
* sanded and prepped the flashing piece and the headlight
* JB welded the flashing to the headlight, and moved the flashing around a little to ensure a good bond and to make some of the JB Weld would ooze out the sides [this will allow a seamless edge once cured and sanded]
* then clamped the flashing down to the headlight with 10 1.5" clamps
* When it got stiff, but not fully cured, I got a razor blade and trimmed the excess so I wouldnt have too much to sand later
* once fully cured, I sanded down the edges
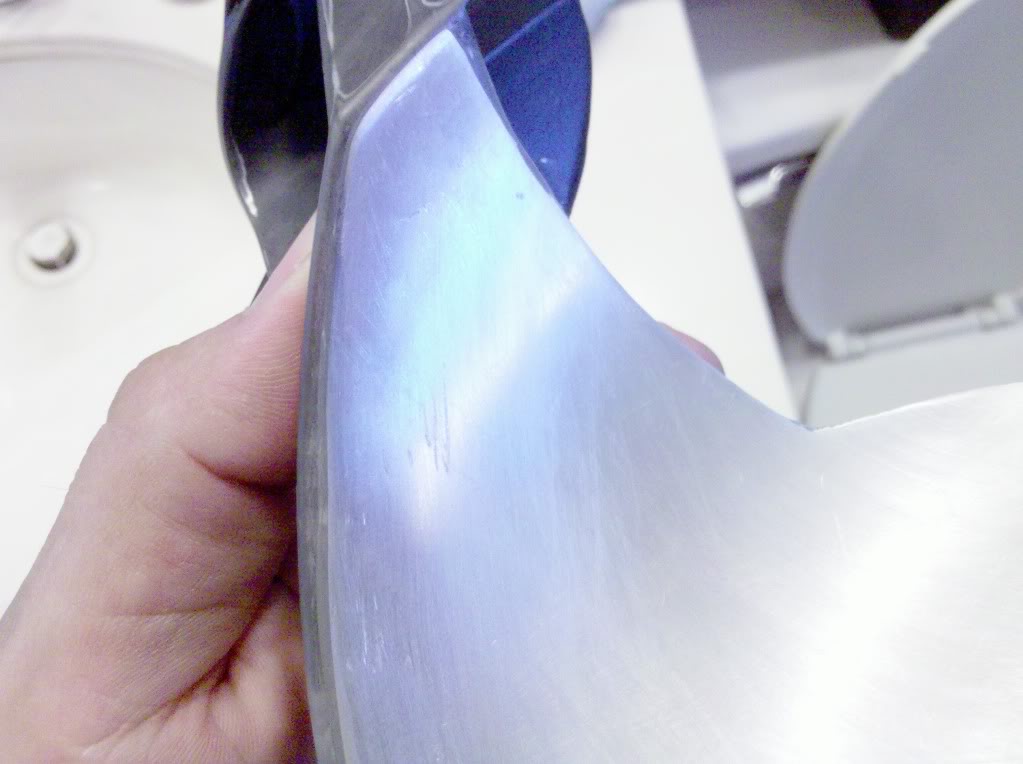
This is the point where I am now... tomorrow will prime and sand to get rid of any nicks left over from the sanding. Then prime again, wetsand, and paint

oh and I liked the idea of having a color come through the projector lense, but wanted to do something different. So instead of blue, I used high temp flat black. So during the day and at certain angles it have a blacked out demon eye look going on...And I guess other cars have been doing this for awhile and they say that by using black inside the projector housing and cutoff shield, it gives you a little sharper cutoff because it gets rid of the little glare above the cut off...
dont worry, didnt paint the reflector bowl :-)
dont worry, didnt paint the reflector bowl :-)
Last edited by bikinilust; Jun 4, 2011 at 07:25 PM.