
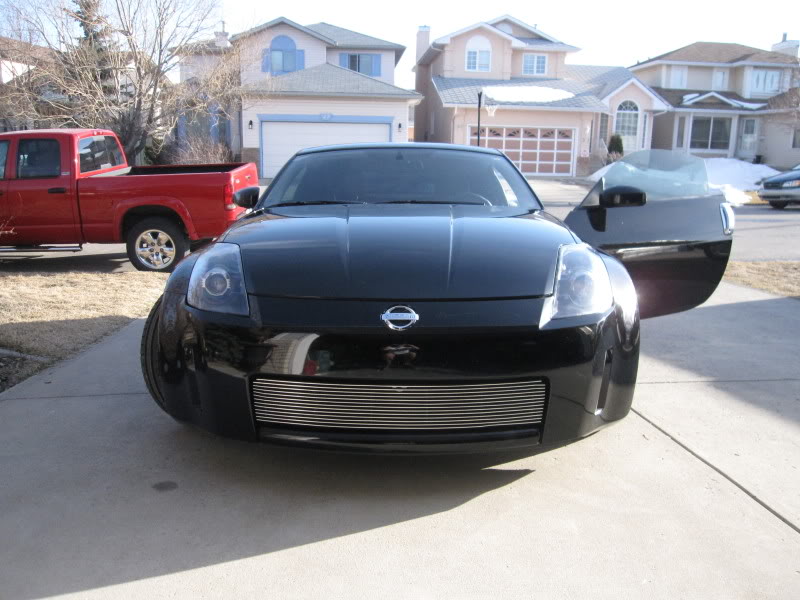
Another "did it myself" blackout headlight mod


Hey guys just finished this up a couple weeks ago and wasn't too tough and I'm a total noob when i comes to DIY kind of stuff. Hope you like the pics!
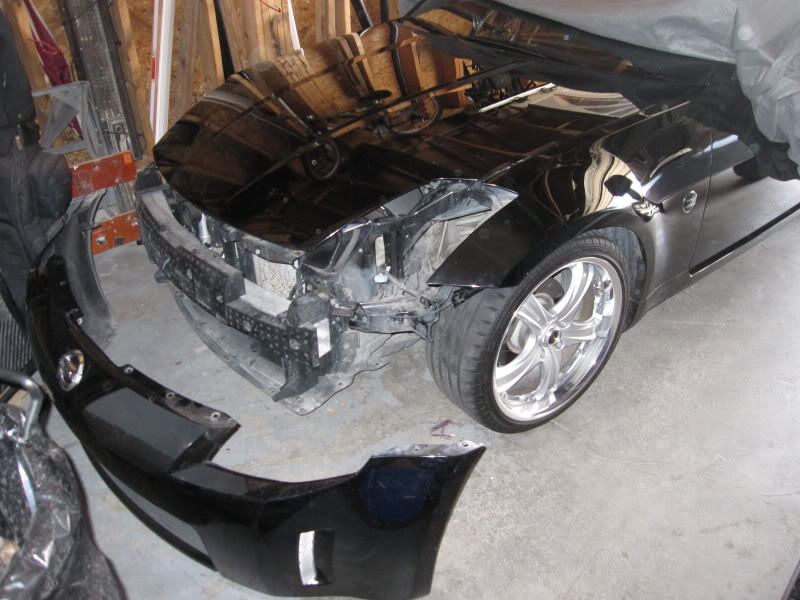

And the before pic...

And the before pic...
They look great. Good job.
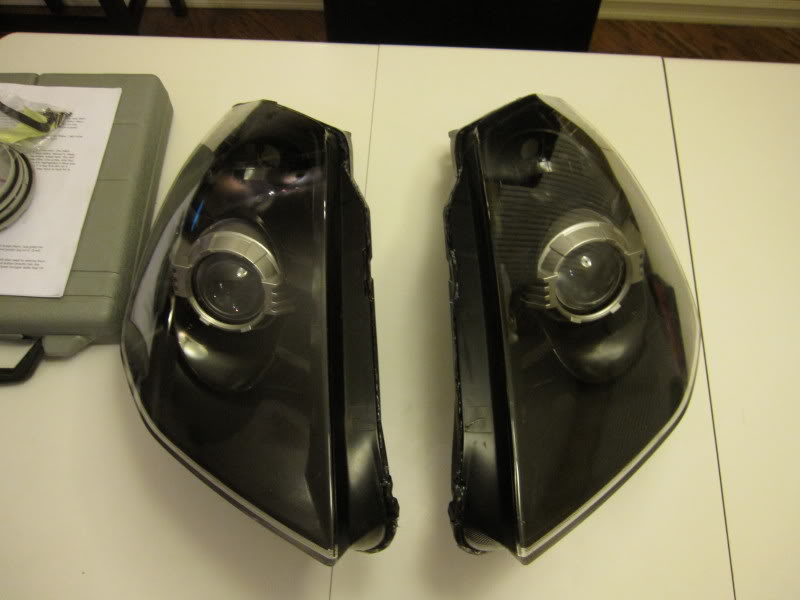
Double-check to make sure that you've sealed the lights completely- if you get condensation it's going to suck to take those lights back apart again.
Double-check to make sure that you've sealed the lights completely- if you get condensation it's going to suck to take those lights back apart again.
Haha yeah, I got a killer deal on a pair from a crashes 350z so I couldn`t refuse

Yeah I put them in my bathroom when I showered and they passes that test, so hopefully they last on a rainy day. Btw, sick pic man, I just got a cheshire cat tattoo drawn up for me and have a mad hatter one already haha.
Thanks for the complements guys!

Absolutely nothing! That`s the best part about upgrading to the 06+ lights. You just plug them in and your good to go. I even used my old HID ballast on these new lights, just bought the new bulb.

Trending Topics
Light output is usually unchanged with these lights since they're true projectors. That's one of the sweet things about the painting vs. the 03-05's- there's no downsides or compromises that need to be made.
Awesome, I knew all the theory behind them where light output shouldn`t be diminished. but I was still skeptical. However they work 100% and night driving wasn`t affected at all


there's a couple PPW ones with this done on here I'll try and find the link. As for paint I used a high plastic adhesive paint, the brand was krylon. That paint doesn't require a primer, however without a plastic specialized paint I would highly recommend it.

https://my350z.com/forum/body-interi...eadlights.html
Look like 10 posts down, there's some pics of a PPW one.
Thanks Jason, btw why did this get moved? I'm no DIY instructor lol
Look like 10 posts down, there's some pics of a PPW one.
Thanks Jason, btw why did this get moved? I'm no DIY instructor lol

Isn't that generally the last picture in a "Headlight DIY" thread? 
I'm only saying that because when this sub-forum was created, mods used to move a ton of threads out of it for the same reason. Otherwise, what thread from Exterior, Detailing, Wheels, Brakes, etc. etc. sub-forums wouldn't fit here? Every other thread there exists because people post results of their projects (and rightfully so). Oh well...
I'm only saying that because when this sub-forum was created, mods used to move a ton of threads out of it for the same reason. Otherwise, what thread from Exterior, Detailing, Wheels, Brakes, etc. etc. sub-forums wouldn't fit here? Every other thread there exists because people post results of their projects (and rightfully so). Oh well...


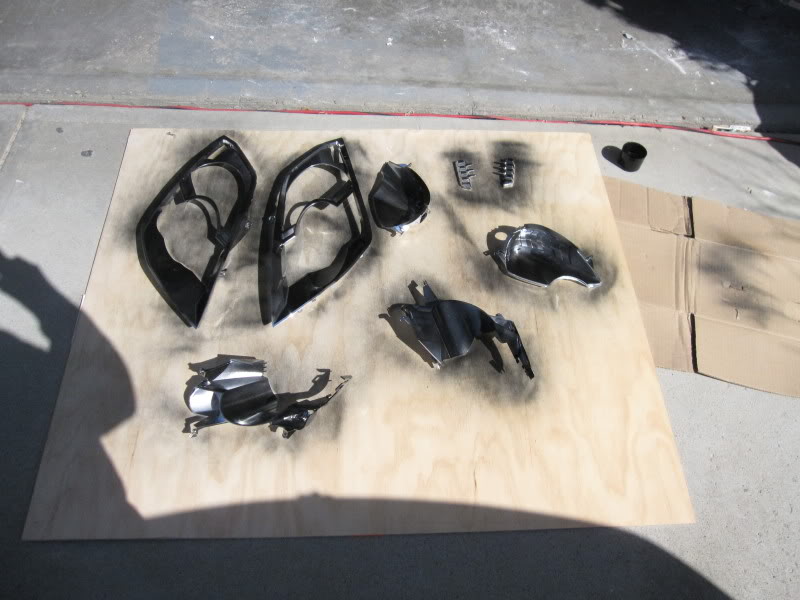
I started doing that then searched through my tools in my garage and found a heat gun. Trust me if you can use a heat gun use one, it was so easy and straight forward. Just keep applying heat in one section and pry it open ,then move around the light til it's open. Just have to be carfeul not ot melt the plastic. I came close a couple times.
As for the position of this thread, I originally had it in the normal tech section, but I think Jason just wants to keep it here for reference, which I have no problem with.
Thanks for the compliments guys, appreciate it!
As for the position of this thread, I originally had it in the normal tech section, but I think Jason just wants to keep it here for reference, which I have no problem with.
Thanks for the compliments guys, appreciate it!