
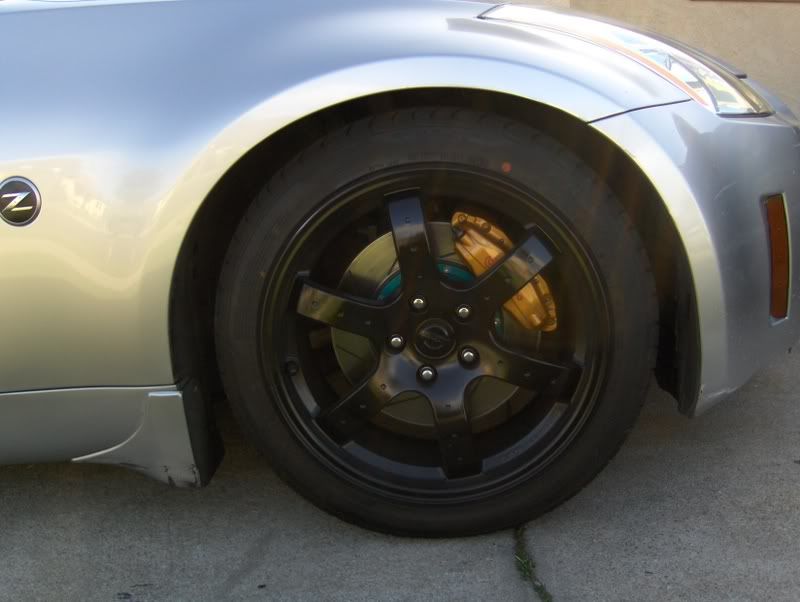
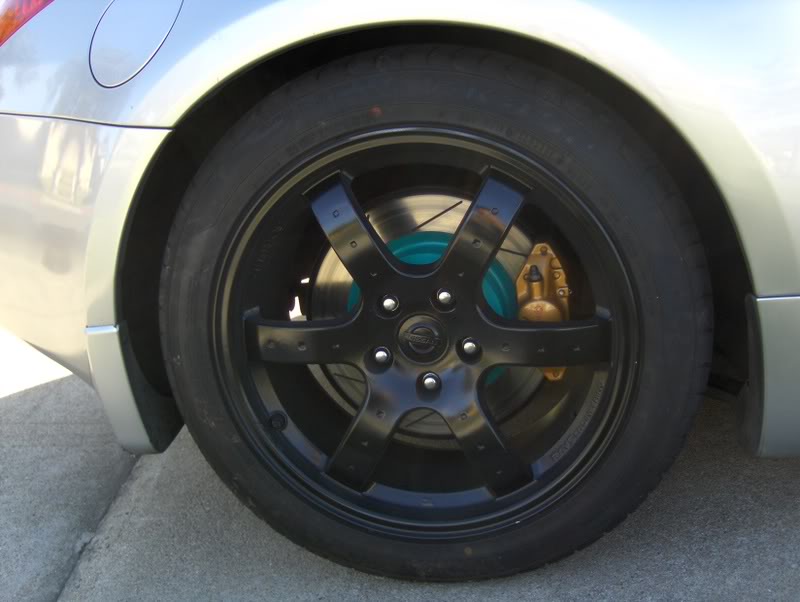
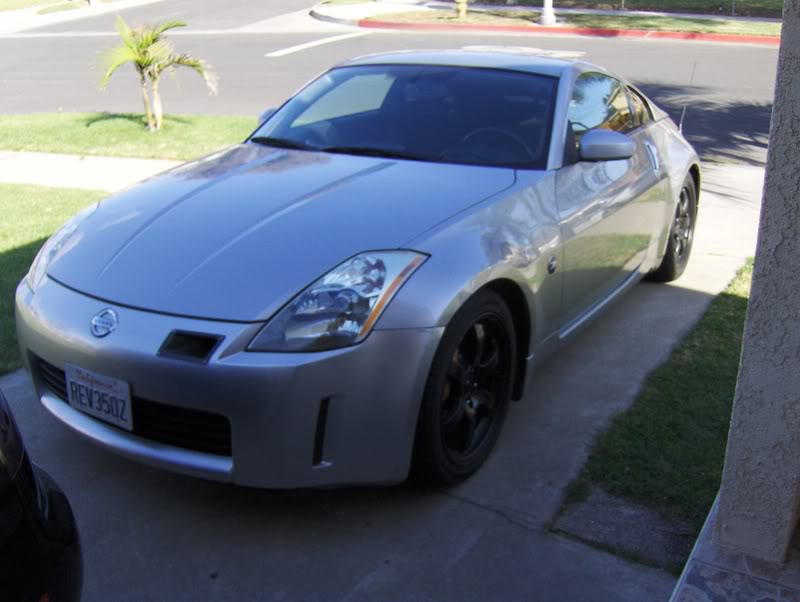
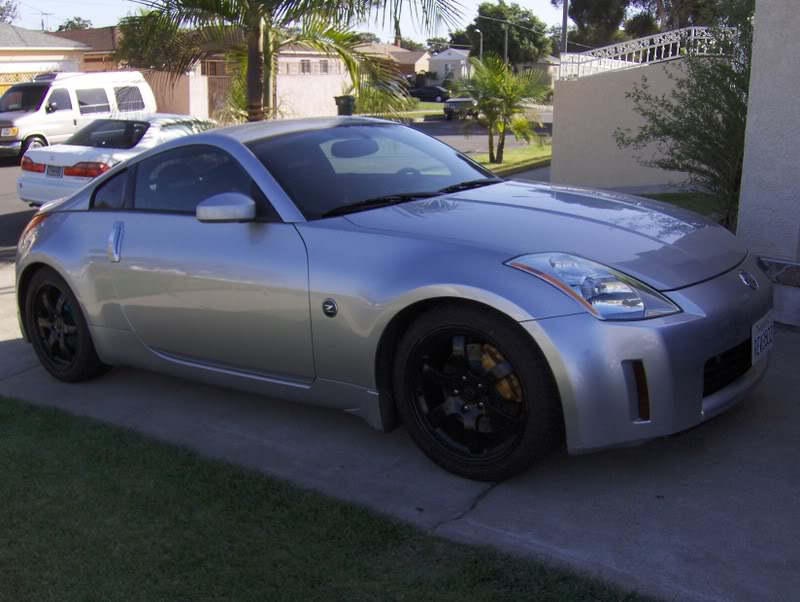
DIY: Painting your stock rims


Just thought I'd post up my experience painting my stocks =]
Tools needed
Jack
Whatever tool you like to use to remove your lug nuts
Case of beer (or whatever I had in my fridge)
Materials
Dupli Color Wheel Paint Graphite (I bought 2 cans just incase- didn't use it all) - $6/each
Dupli Color Wheel Clear Coat (1 can, way more then enough) - $6
Dupli Color Paint Prep (1 can) - $6
3M Painters Tape (you can use whatever your comfy with to protect your tires) - FREE, had some laying around
3M 320 Grit Sand Piper (came in a pack of 5) - $6
Roll of Shop Towels - FREE, have tons of this stuff laying around
Steps
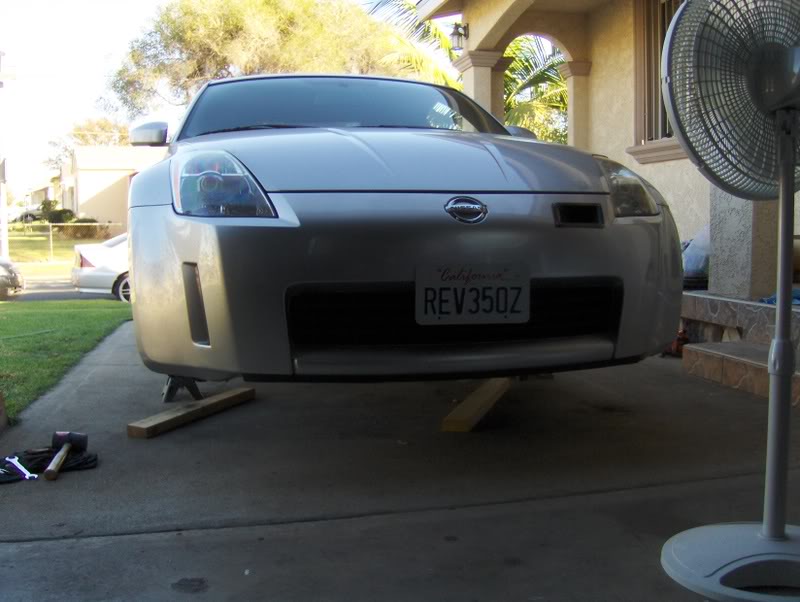
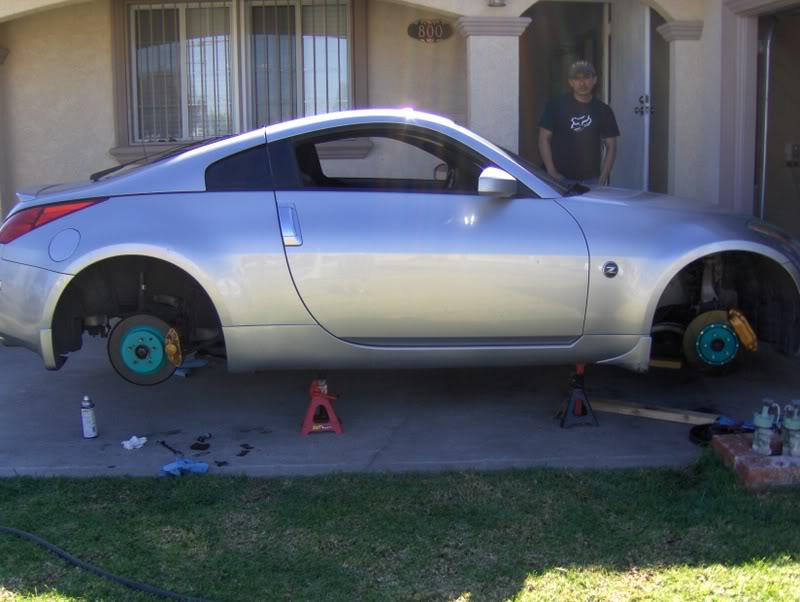
1. Jack up the rear
2. Take off the rear set
3. If you have enough jack stands, repeat steps 1 and 2 for the front.
4. Spray Dupli Color Paint Prep on each rim and wipe down
5. Repeat step 4 again until no more grease/tar is lifted onto your rag/towel.
6. Take a sheet of sand paper (mine was about 10" long and 4" wide) and cut/tear it in half.
7. Sand each rim pretty rough- the goal here is to make the surface scratchy/coarse so the paint will adhere to it better.
8. Use running water to wash away the dust and dry the wheels.
9. (OPTIONAL) I have OCD so I used the paint prep spray again just incase.
10. Crack open a beer and let your wheels dry for a few minutes.
** QUICK RATTLE CAN SPRAY DETOUR **
1. Keep atleast 6"-8" away from the wheels when spraying.
2. It's best to do many light coats instead of a few medium/heavy coats.
3. If you miss a spot don't go back! Just wait till your next coat and try to get over it.
4. It's okay to miss here and there just don't let the spray sit in 1 area for more then a second or you will get "noticeable" areas after your done.
5. Just be consistent and always moving!
** BACK TO THE GUIDE **
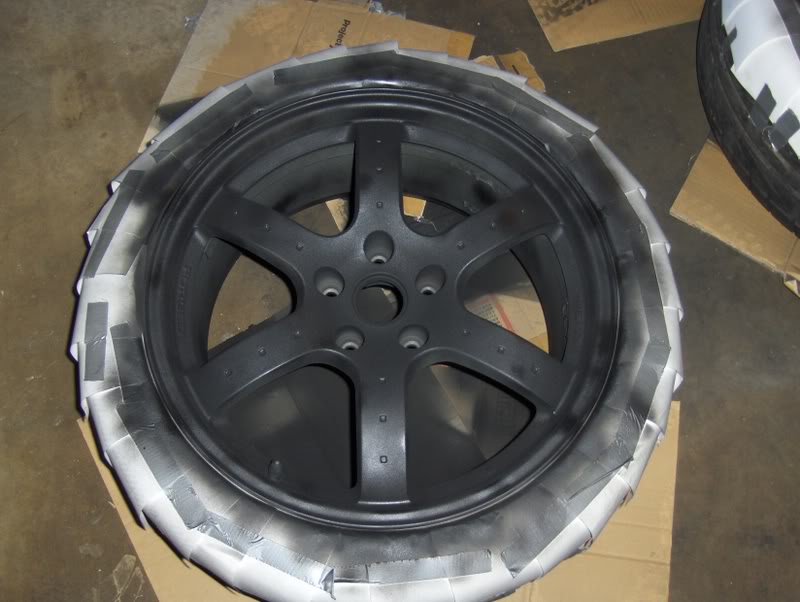
11. Now following the guidelines apply your first coat, remmeber they are light coats so it will look odd at first.
12. Wait about 10 minutes and drink another beer.
13. Repeat steps 11 and 12 until you have 7 coats- it should now look really nice.
14. The last coat should be a medium coat- but again keep in mind never stay in 1 spot too long and don't go to slow just make sure the coat is a little thicker then the rest.
15. Wait 20 minutes.
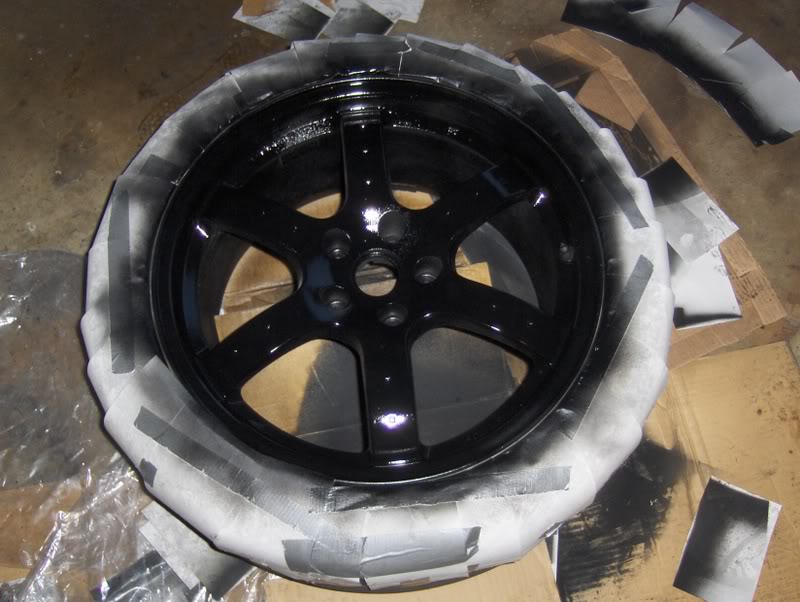
16. Now apply the clear coat just like you did the paint.
17. Wait 10 minutes and drink another beer.
18. Repeat steps 16 and 17 until you are on your 3rd coat.
19. Just like the paint the last (3rd coat) make it a medium coat.
20. Now let it dry for an hour and you should be able to handle them.
Complete!


Tools needed
Jack
Whatever tool you like to use to remove your lug nuts
Case of beer (or whatever I had in my fridge)
Materials
Dupli Color Wheel Paint Graphite (I bought 2 cans just incase- didn't use it all) - $6/each
Dupli Color Wheel Clear Coat (1 can, way more then enough) - $6
Dupli Color Paint Prep (1 can) - $6
3M Painters Tape (you can use whatever your comfy with to protect your tires) - FREE, had some laying around
3M 320 Grit Sand Piper (came in a pack of 5) - $6
Roll of Shop Towels - FREE, have tons of this stuff laying around
Steps
1. Jack up the rear
2. Take off the rear set
3. If you have enough jack stands, repeat steps 1 and 2 for the front.
4. Spray Dupli Color Paint Prep on each rim and wipe down
5. Repeat step 4 again until no more grease/tar is lifted onto your rag/towel.
6. Take a sheet of sand paper (mine was about 10" long and 4" wide) and cut/tear it in half.
7. Sand each rim pretty rough- the goal here is to make the surface scratchy/coarse so the paint will adhere to it better.
8. Use running water to wash away the dust and dry the wheels.
9. (OPTIONAL) I have OCD so I used the paint prep spray again just incase.
10. Crack open a beer and let your wheels dry for a few minutes.
** QUICK RATTLE CAN SPRAY DETOUR **
1. Keep atleast 6"-8" away from the wheels when spraying.
2. It's best to do many light coats instead of a few medium/heavy coats.
3. If you miss a spot don't go back! Just wait till your next coat and try to get over it.
4. It's okay to miss here and there just don't let the spray sit in 1 area for more then a second or you will get "noticeable" areas after your done.
5. Just be consistent and always moving!
** BACK TO THE GUIDE **
11. Now following the guidelines apply your first coat, remmeber they are light coats so it will look odd at first.
12. Wait about 10 minutes and drink another beer.
13. Repeat steps 11 and 12 until you have 7 coats- it should now look really nice.
14. The last coat should be a medium coat- but again keep in mind never stay in 1 spot too long and don't go to slow just make sure the coat is a little thicker then the rest.
15. Wait 20 minutes.
16. Now apply the clear coat just like you did the paint.
17. Wait 10 minutes and drink another beer.
18. Repeat steps 16 and 17 until you are on your 3rd coat.
19. Just like the paint the last (3rd coat) make it a medium coat.
20. Now let it dry for an hour and you should be able to handle them.
Complete!


Trending Topics

 I did mine a couple weeks ago But I have the 17' rims with those little holes in them and the paint in there started to come off already
  Im gonna have to respray them soon.


I am so tempted to do this, or even buy a $100 powder coat gun and powder coat them gunmetal.
I have the Ruff Racing rims, deep lips in the back, so I don't know how they'll turn out.
I have the Ruff Racing rims, deep lips in the back, so I don't know how they'll turn out.


coors light ftw. great DIY writeup, really well explained. I have aftermarket black wheels, but i think ill paint my stockers black too cause im bored on mondays. ill post pics if i do it tomorrow

Registered User
Joined: Aug 2007
Posts: 2,332
Likes: 1
From: Portland, OR


