
DIY Nismo Studs....


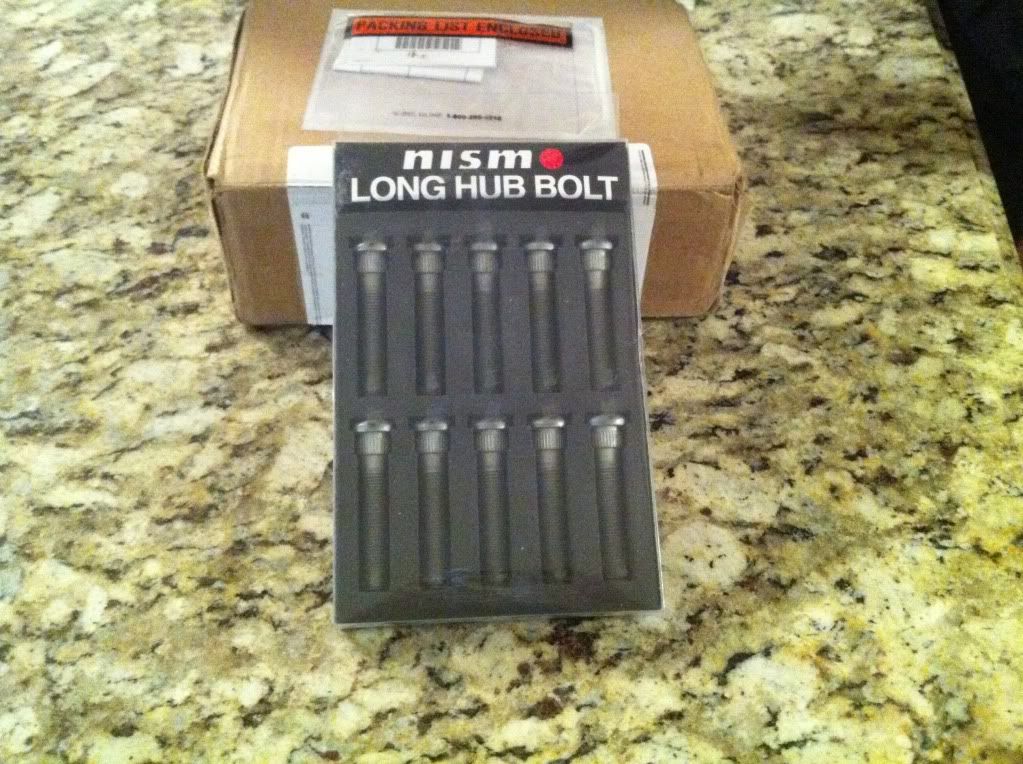
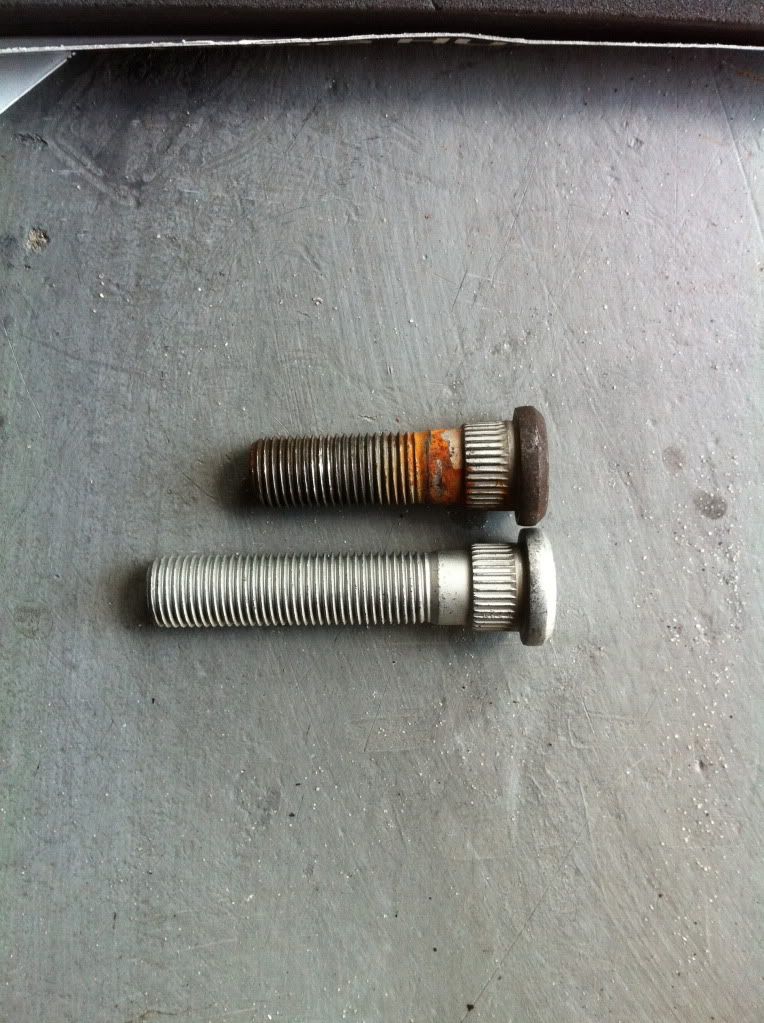
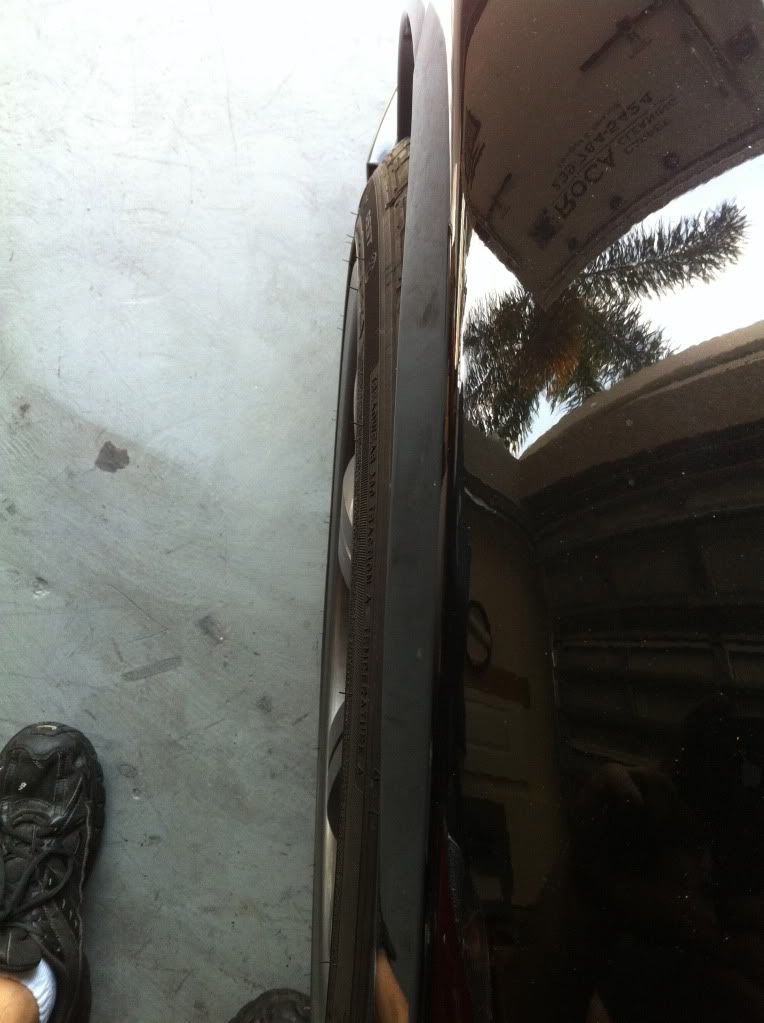
I AutoX my Z close to 20 events per year.. My Nismo falls on BSP class, therefore I have to upgrade a couple stuff to be competitive with nasty (used to not anymore due to rules 2012) AWD EVOs, STIs.. So this year I've decided to go wide! I'm running 285/40/17 all corners (track wheels) in order to fit such large tire in the front, I had to use 15mm Ichiba spacers, and the OEM studs are too short to clear the spacers. I bought the 60mm Nismo Wheel studs. i hope the this comes useful to somebody. (I made this a couple years ago)
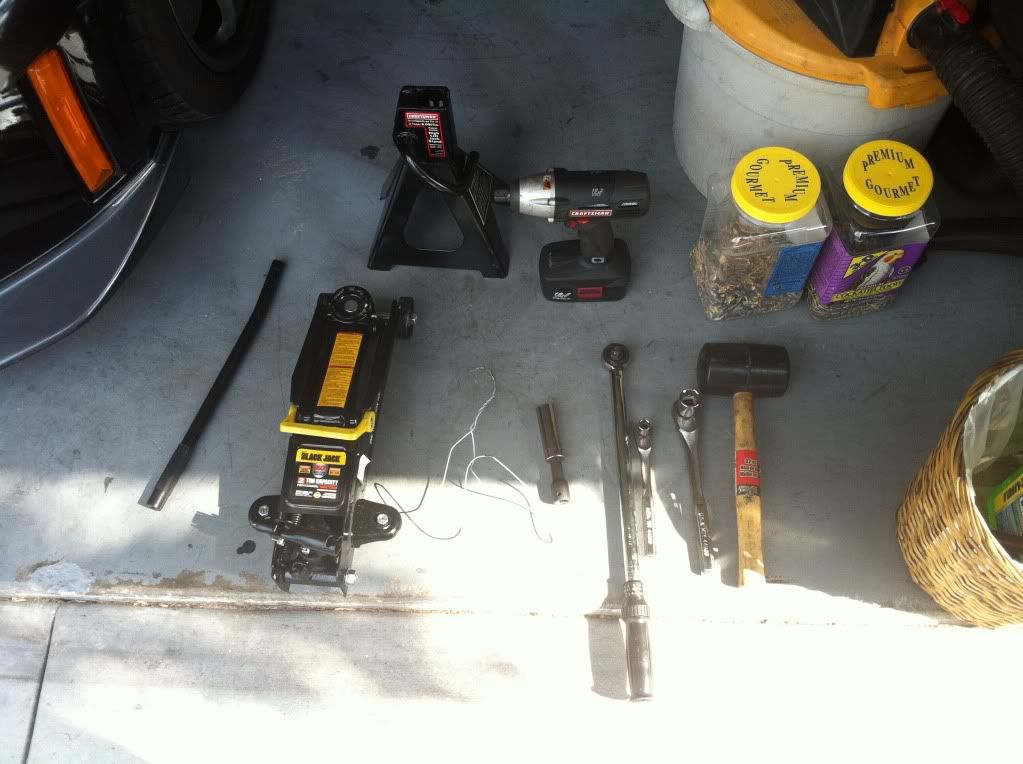
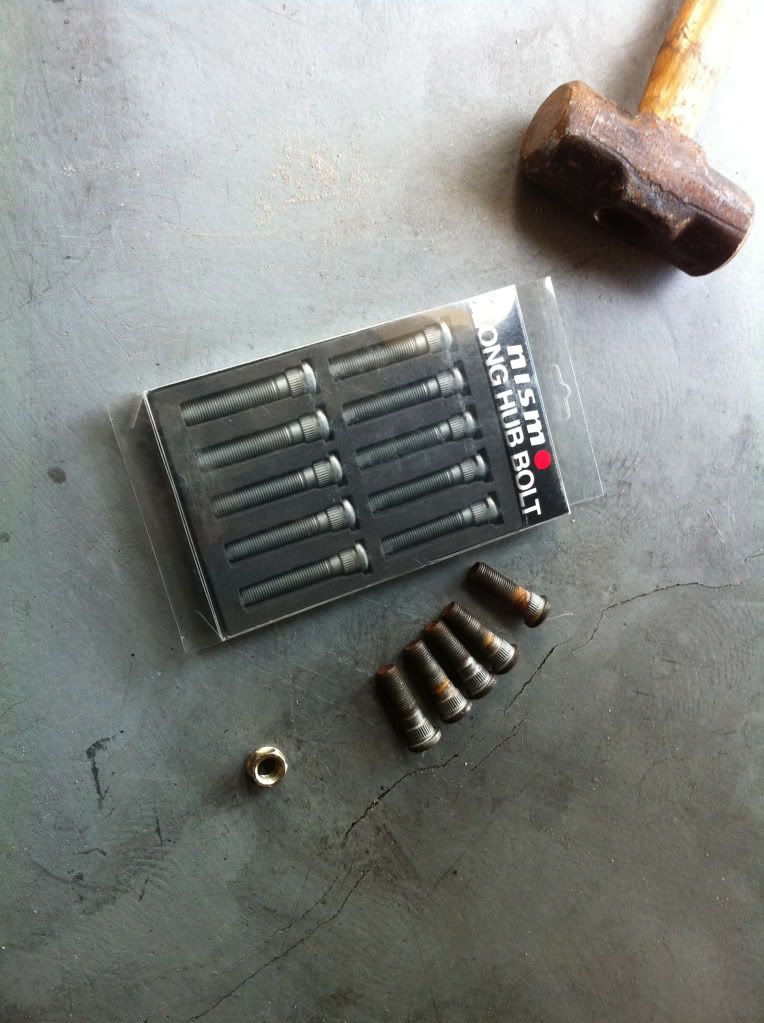
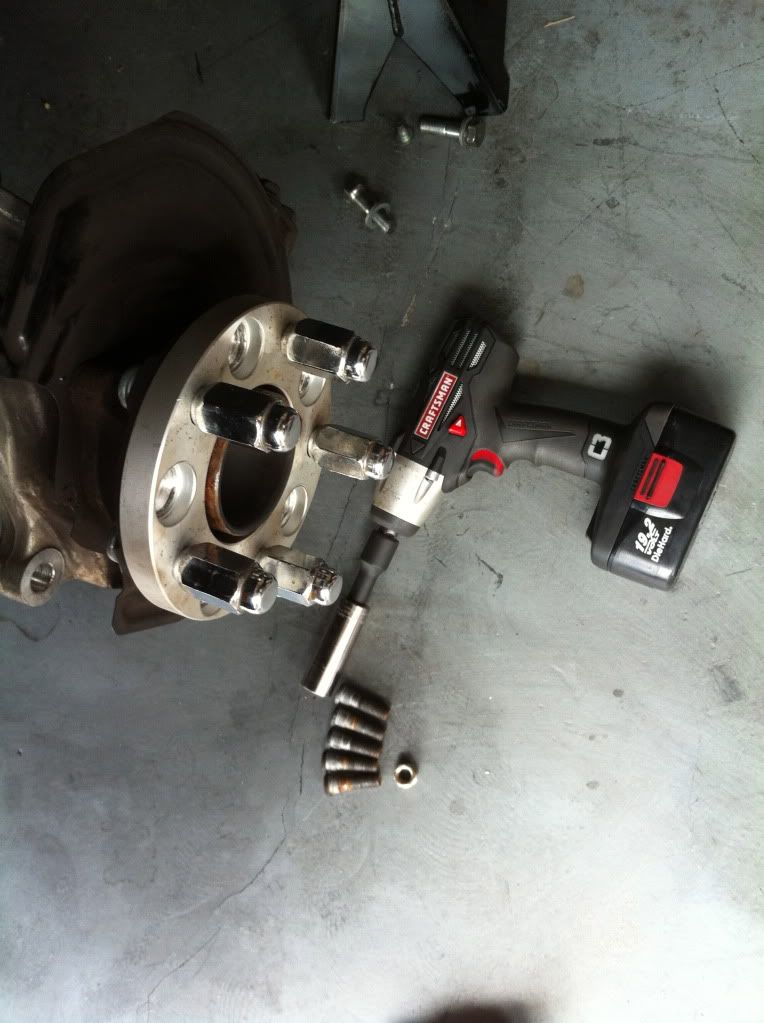
Tools needed for the job !!! ignore the bird seeds .. lol
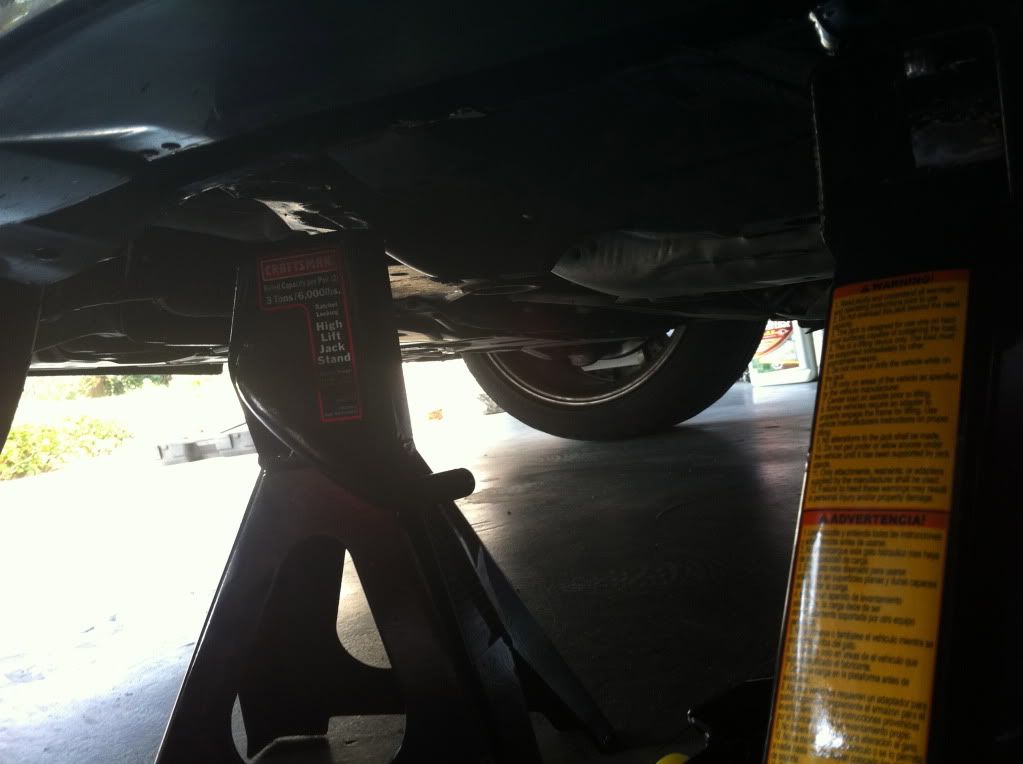
Jack the car up, and secure it with the Jack Stand.
Remove the wheel ....
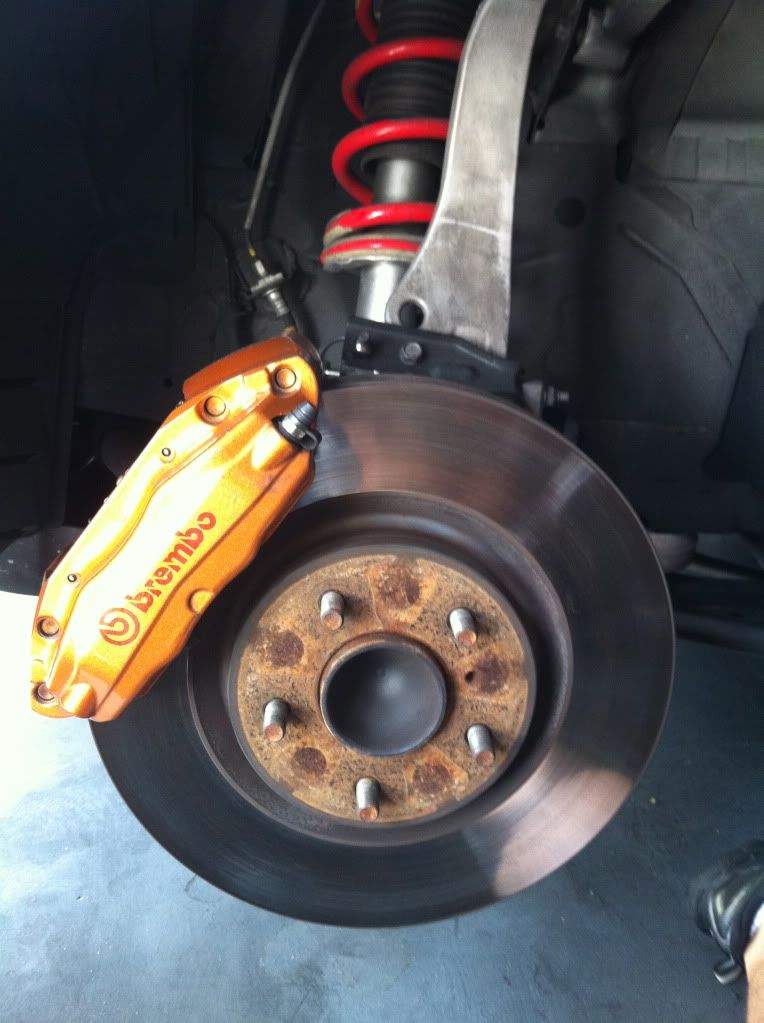
Remove brake line bracket ( Do Not Bent the line)
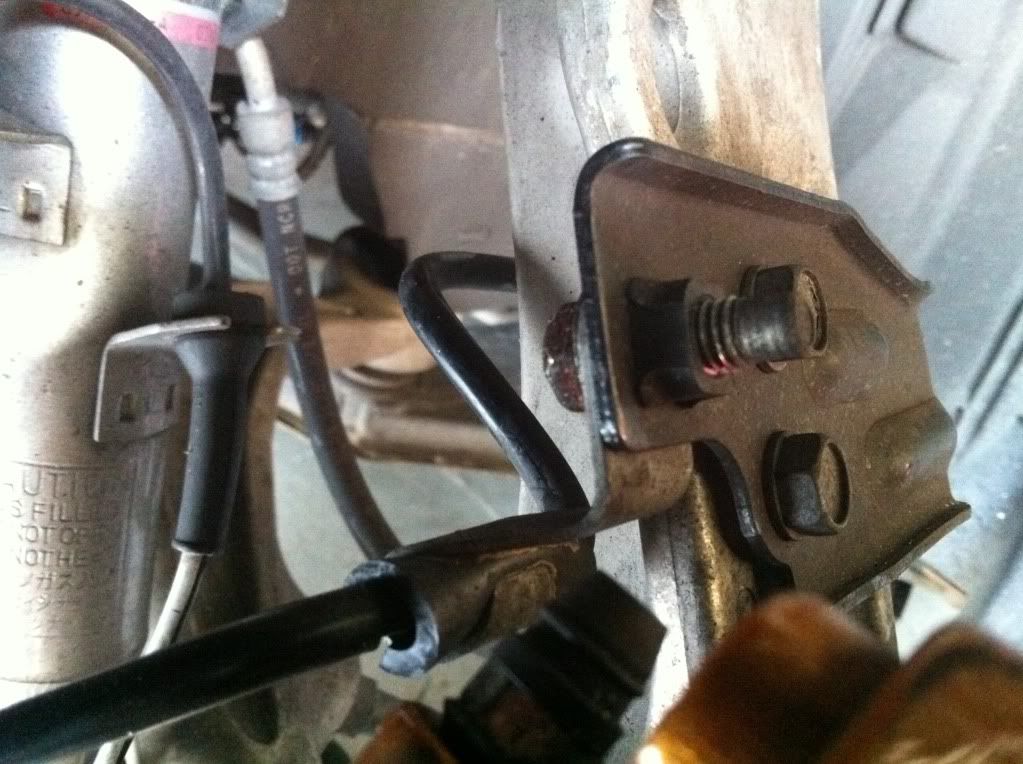
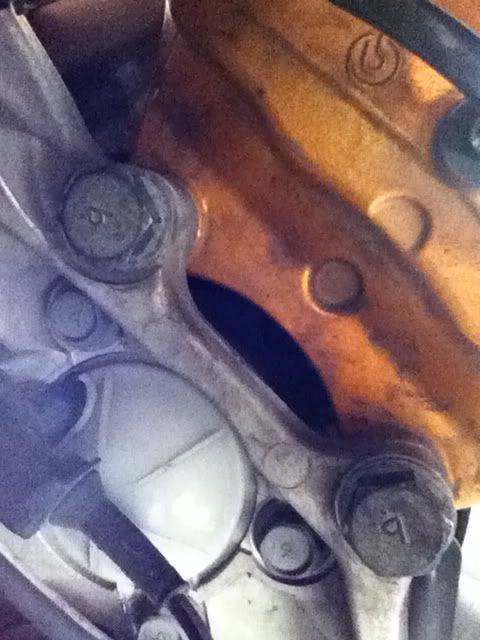
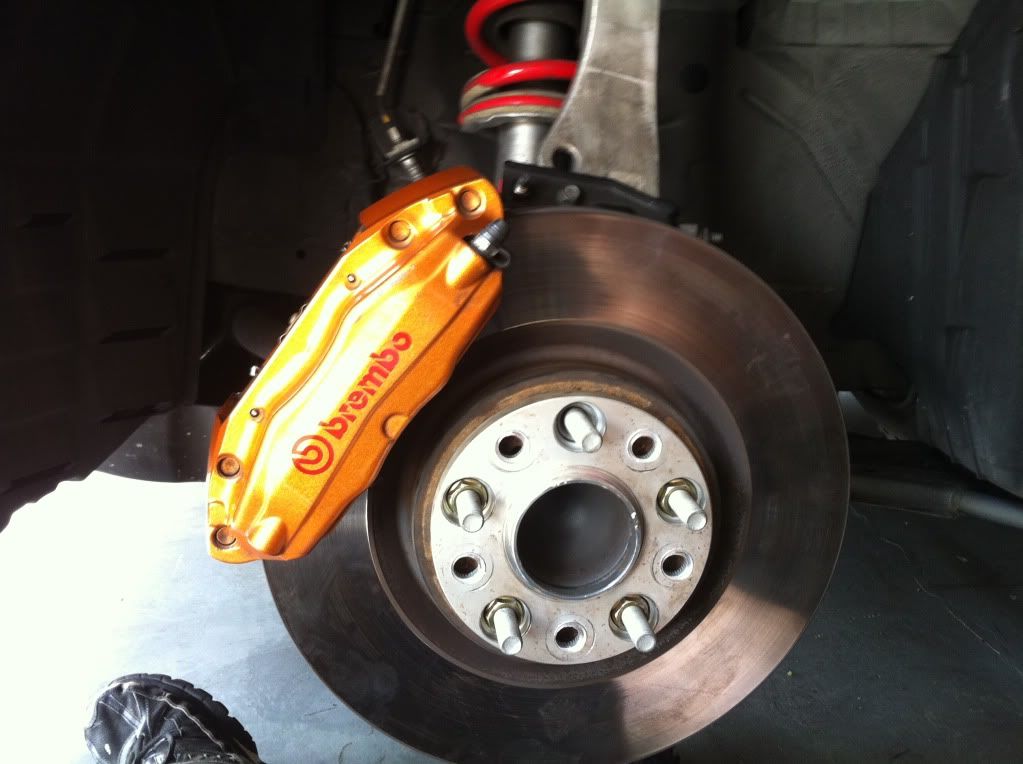
Turn the wheel to get access to the back of the caliper, take out the two bolts that secure the caliper to the brake bracket.
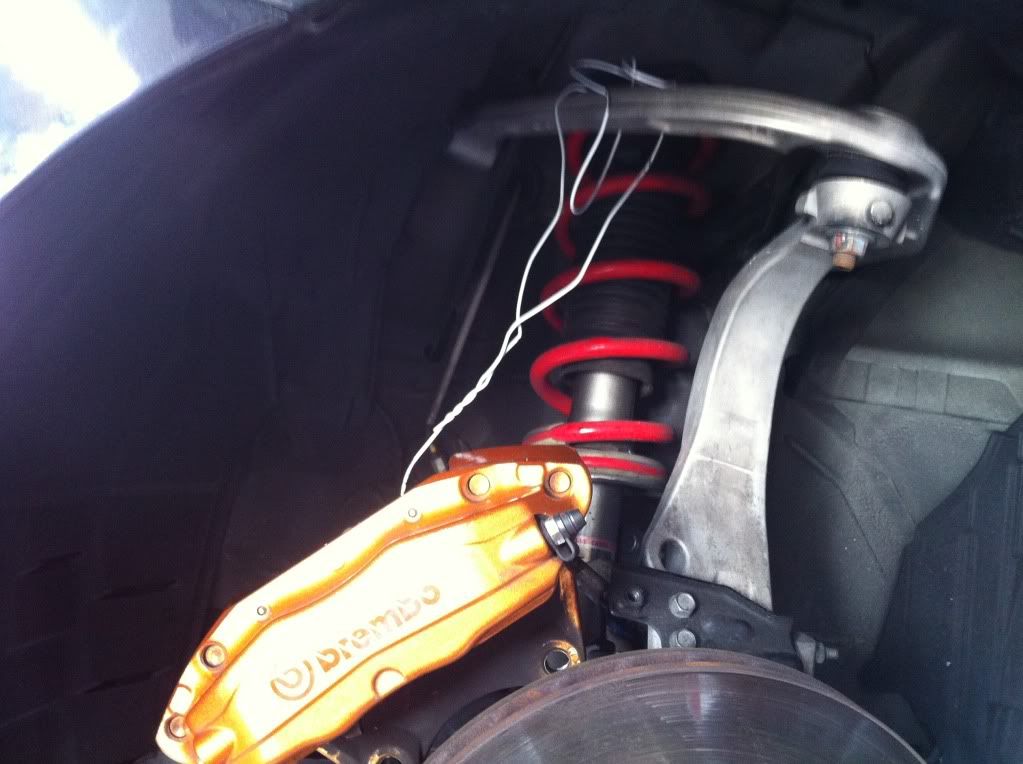
Once the Caliper is free, use a wire or wire hunger to secure the caliper to the the A-arm (Wishbone). make sure it won't fall might damage brake lines...

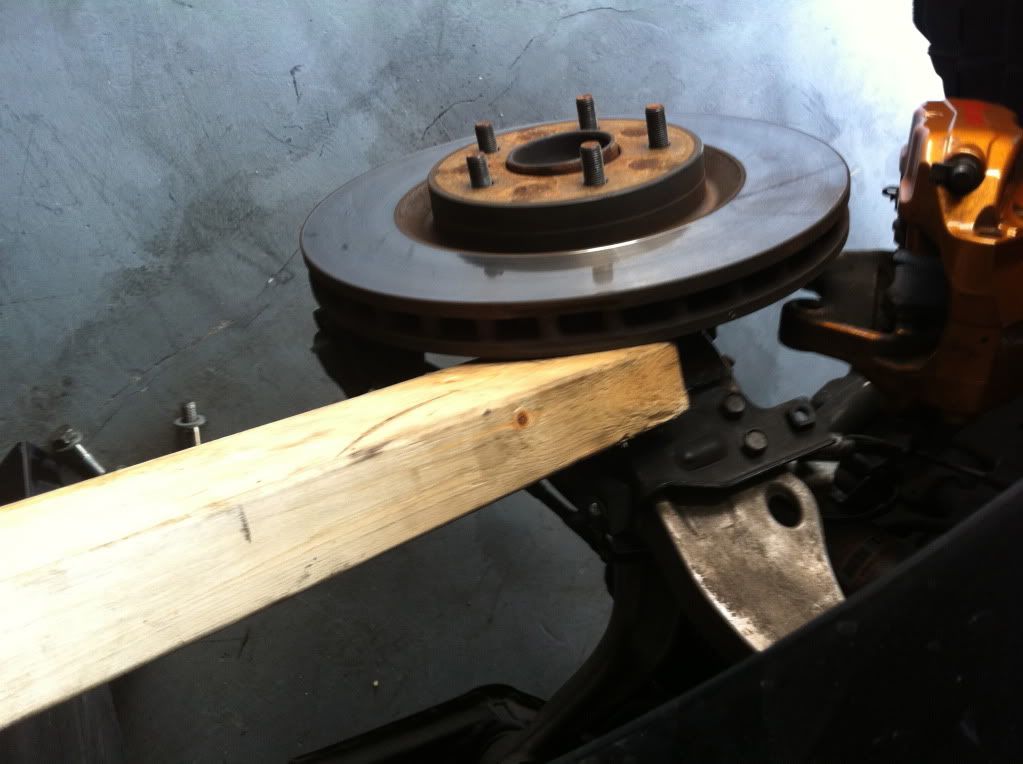
Slide the Rotor out.. sometimes it will get suck, so use a 2 by 4 to get it out (no metal, it might damage rotor)
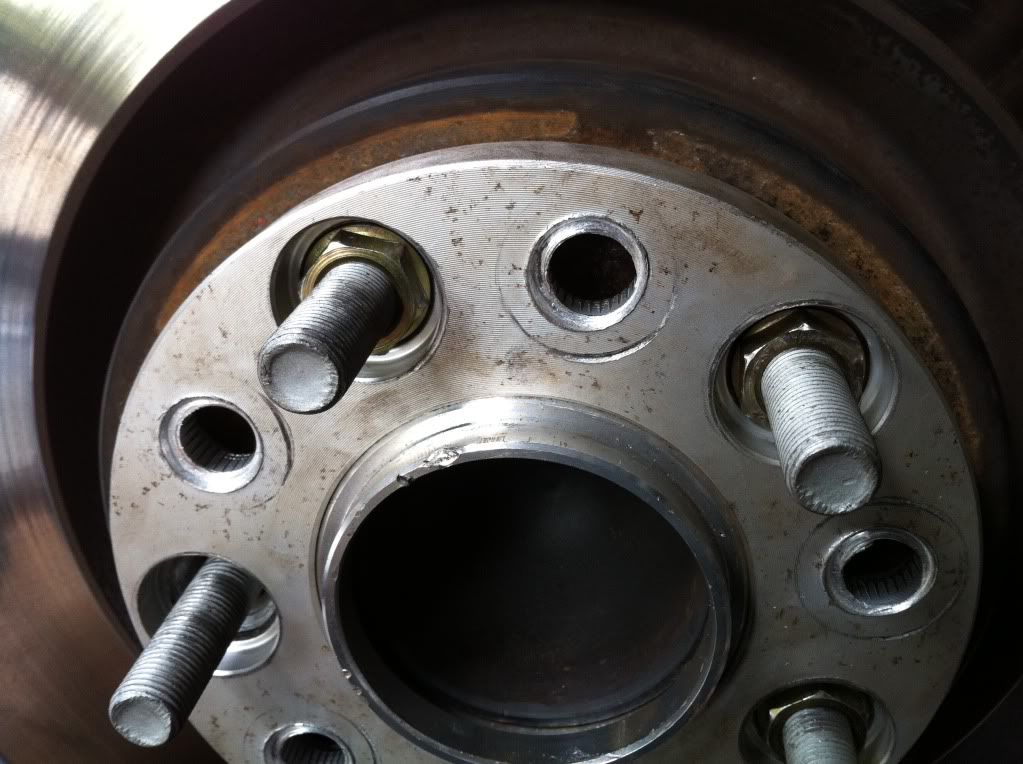
Once the Rotor is out, use an old nut or wheel nut if u don't care and with a manly hammer hit that thing hard!!!

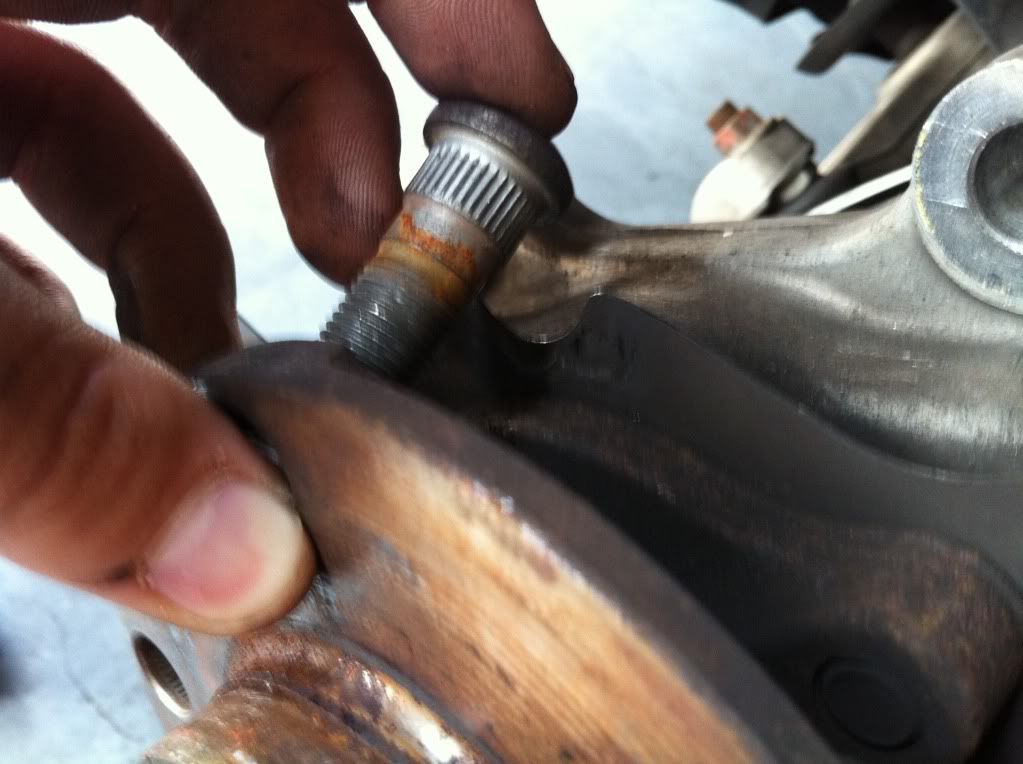
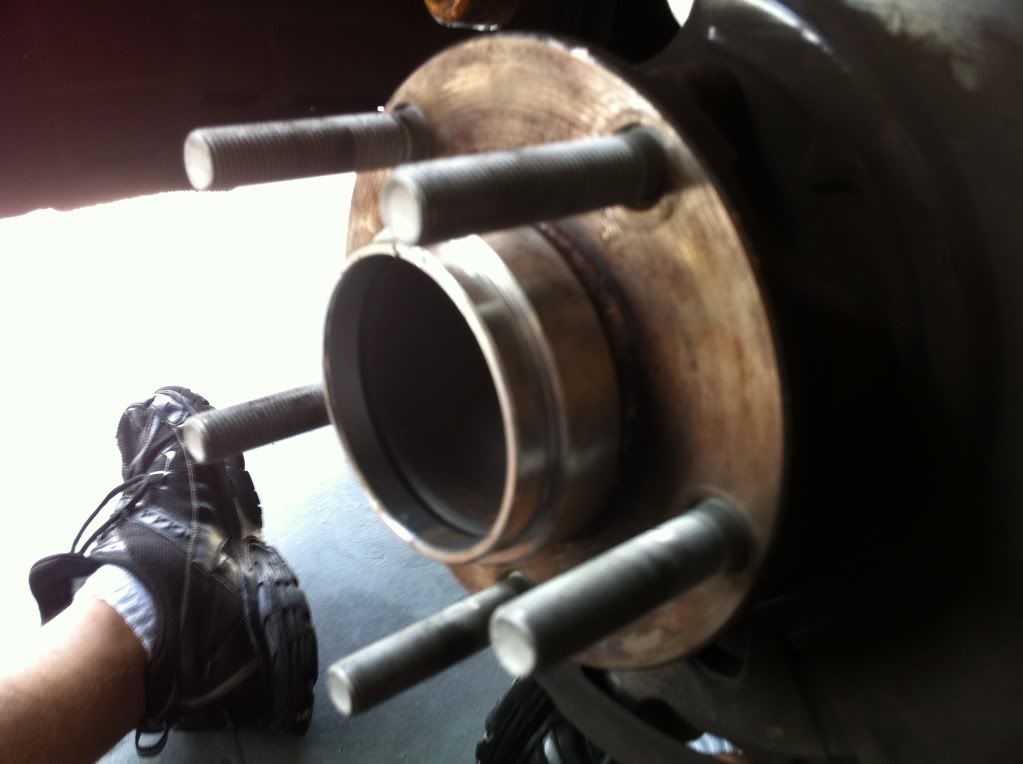
Place the New Longer studs and manually press as much as possible.....
Place back the rotor....
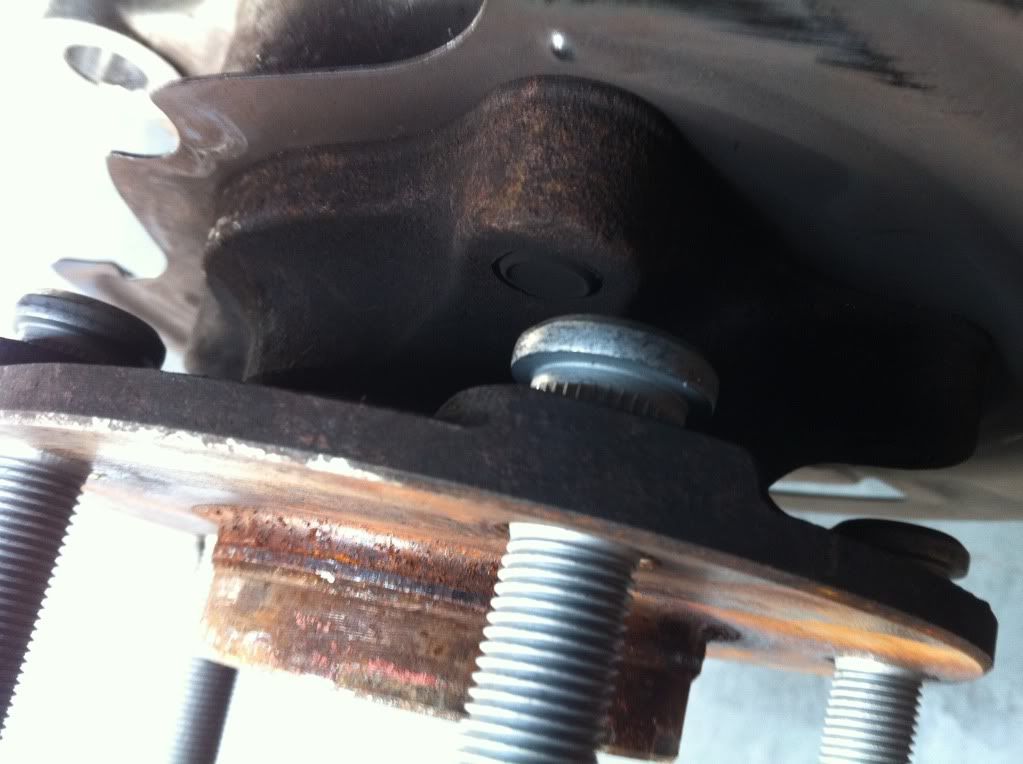
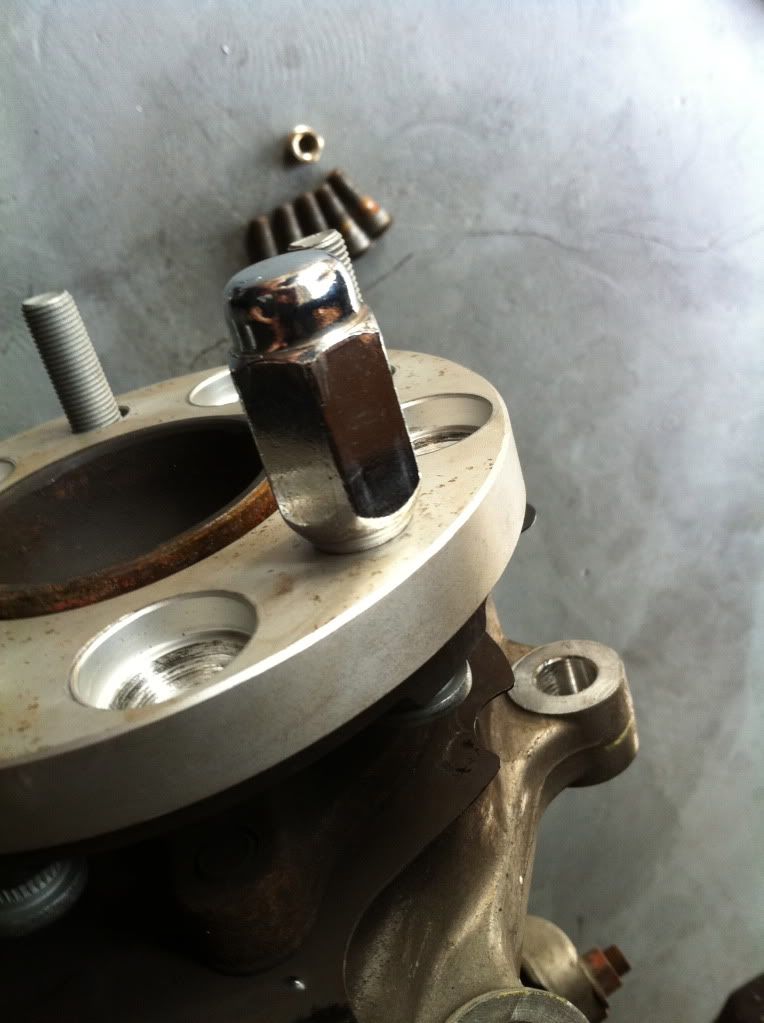
Using a open nut or in my case the wheel spacer and my wheel nut, torque all the way make sure it sits flat and straight !!!!!
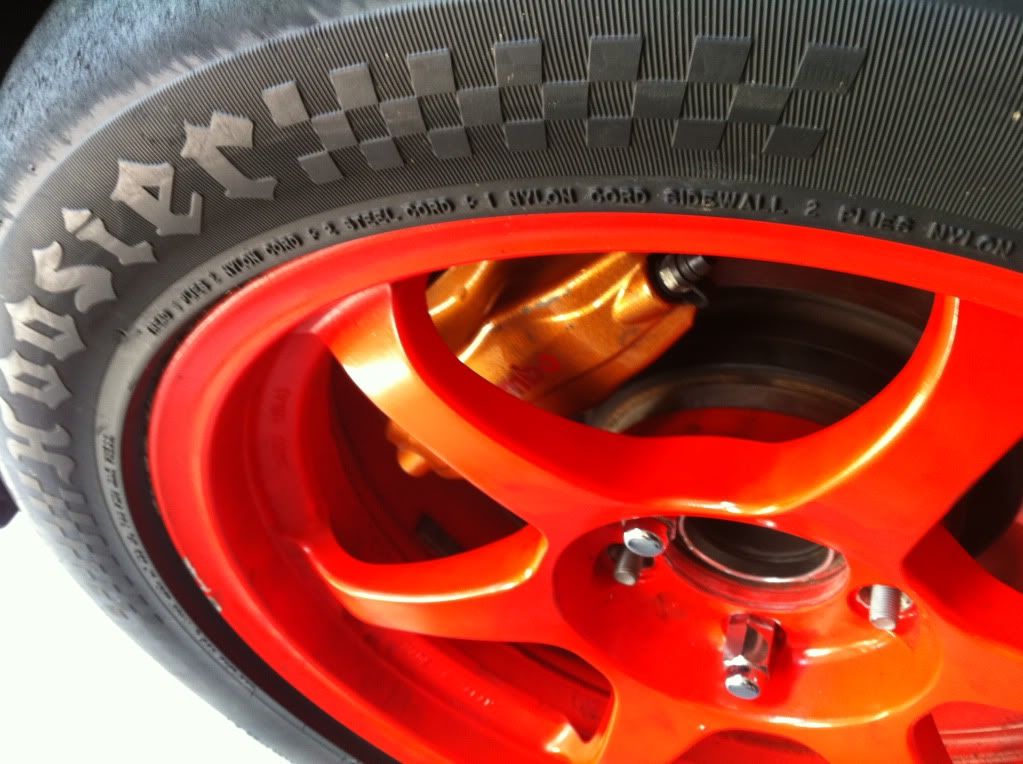
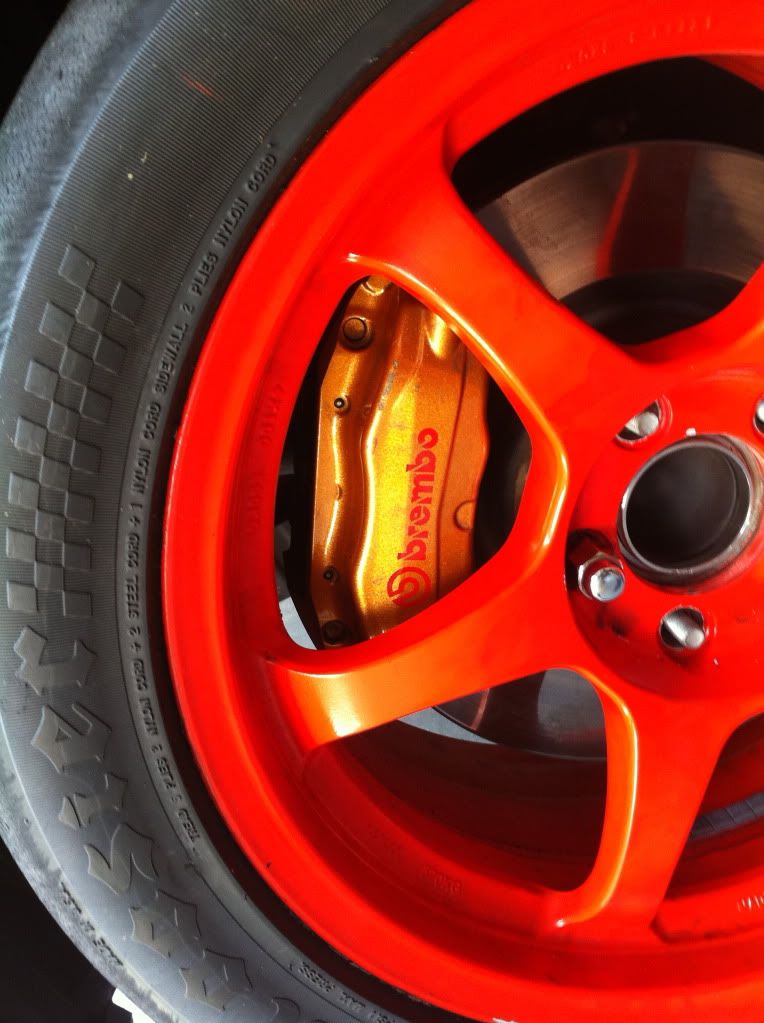
Istall the spacer...
Ok Done.... now put back the caliper and brake bracket!!! and fit the wheel to make sure is good to go!!
GO HAVE FUN!!!

Tools needed for the job !!! ignore the bird seeds .. lol
Jack the car up, and secure it with the Jack Stand.
Remove the wheel ....
Remove brake line bracket ( Do Not Bent the line)
Turn the wheel to get access to the back of the caliper, take out the two bolts that secure the caliper to the brake bracket.
Once the Caliper is free, use a wire or wire hunger to secure the caliper to the the A-arm (Wishbone). make sure it won't fall might damage brake lines...
Slide the Rotor out.. sometimes it will get suck, so use a 2 by 4 to get it out (no metal, it might damage rotor)
Once the Rotor is out, use an old nut or wheel nut if u don't care and with a manly hammer hit that thing hard!!!
Place the New Longer studs and manually press as much as possible.....
Place back the rotor....
Using a open nut or in my case the wheel spacer and my wheel nut, torque all the way make sure it sits flat and straight !!!!!
Istall the spacer...
Ok Done.... now put back the caliper and brake bracket!!! and fit the wheel to make sure is good to go!!
GO HAVE FUN!!!


Trending Topics
Joined: Feb 2008
Posts: 13,406
Likes: 130
From: MexiCali dodging potholes
He clearly explained why, maybe you wanted to ask why use those over spacer with built in studs?
Either way nice write up with pics seeing it can be used to replace a broken stud aswell!

Last edited by KingBaby; Jan 18, 2012 at 12:50 AM.


Registered User
Joined: Jan 2010
Posts: 44
Likes: 0
From: SC
Nice write up, but new studs in your position longer studs arent needed. Running them like that puts too much stress on the studs.
Using both sets puts the stress on the spacer, which it is designed to take.
Using both sets puts the stress on the spacer, which it is designed to take.

He's running a 15mm spacer, so he NEEDS longer bolts. OEM bolts are way too short to fit the 15mm spacer, if he didn't put on the longer bolts he'll be mounting his wheels on what? 5mm left of bolt? Pretty sure wheels will fly off at that point.


If you don't use a press you are installing these bolts
Incorrectly. Don't be surprised if your hand tightened
Bolts slip from the hub. I've dealt with this first hand.
Good luck getting them out.
Incorrectly. Don't be surprised if your hand tightened
Bolts slip from the hub. I've dealt with this first hand.
Good luck getting them out.
 (if you don't have many tools at your disposal)... to get them out, use a manly hammer lol .... if it fails you drill them out by bore technique... my friends Mustang hit a cement bag that was dropped by a truck..idk how, but the front passenger wheel broke off two studs and i took the studs out with out damaging the hub ... ill try to find the pics and do a DIY threat about that, and can be apply to many other applications....
Last edited by ROCA Z; Sep 25, 2012 at 10:36 PM.


Be careful removing the bolts that hold the caliper on. On my STi, which has the same rear calipers as the Z (I believe), one of the caliper bolts somehow got cross-threaded in the caliper and I ended up twisting the head of the bolt off. Had to take it to a shop and have them drill it out and put in a helicoil. Make sure you at least PB Blaster it up in advance of doing the work.

Thread
Thread Starter
Forum
Replies
Last Post
ars88
Zs & Gs For Sale
18
Apr 4, 2016 07:52 AM