
Upgrading Master Cylinder?
 04-26-2006, 06:38 PM
#21

Thanks for the info Dan, So i should just try to bleed the brakes again with my buddy the old school way. But this time position the calipers vertically by removing one built on the front calipers, and just flushing the whole system.
What do you thinkg about bleeding the master cylinder / what is the best procedure. Thanks.
-George
What do you thinkg about bleeding the master cylinder / what is the best procedure. Thanks.
-George
 04-26-2006, 09:36 PM
#22

Join Date: Apr 2006
Location: Costa Mesa
Posts: 10
Likes: 0
Received 0 Likes
on
0 Posts
Originally Posted by Dan@StopTech
Hey everybody, I'll consider Gary Cogis' bringing up StopTech's name an invitation to join in.
You guys are paying sponsors of this web site, you can post whatever you'd like.
BTW... "drsifu" mentioned you name first, not me.
Originally Posted by drsifu
i have the same issue with my Stoptech 14" BBK
I just signed up for this board because a friend mentioned that my name was thrown around a thread here a month or so back.
Originally Posted by Dan@StopTech
Gary�s gave this advice: They can easily check to see if it is indeed pad knockback by doing a series of stops in a straight line without any turns. Possibly on the freeway. Give some time in between stops to allow everything to settle.
Originally Posted by Dan@StopTech
This would not reveal any knock back issue as lateral force on the hub is needed to induce knockback.
Maybe I could have been more specific about why I offered that advice.
But I guess that's why you're in marketing and I'm in sales.
You sure know how to be descriptive and make things sound pretty and so convincing.
You've definitely got a gift.

Originally Posted by Dan@StopTech
While bleeding brakes, assuring than any trapped air is out of the calipers by tapping them with a rubber mallet can work very well. Due to the orientation of some calipers, it may be necessary to loosen the caliper and turn it so the bleeders are facing straight up as shown on Page 21 of our Installation Manual for the 350Z. I have had many instances of just a small burp of trapped air making a huge difference at the pedal.
And would this be necessary on the Z car since the caliper is already as close to vertical as possible???
 04-27-2006, 04:51 AM
#23
New Member
Originally Posted by G_Cogis
They can easily check to see if it is indeed pad knockback by doing a series of stops in a straight line without any turns. Possibly on the freeway. Give some time in between stops to allow everything to settle.
I personally haven't heard of any cases of noticeable knock back on the 350Z.
Has anyone else???
I personally haven't heard of any cases of noticeable knock back on the 350Z.
Has anyone else???
https://my350z.com/forum/showthread....ight=knockback
https://my350z.com/forum/showthread....ight=knockback
Not everyone seems to have it, but there are lots of us who do.
Last edited by GaryM05; 04-27-2006 at 04:55 AM.
04-27-2006, 05:40 AM
#24
Registered User
Join Date: Dec 2002
Location: Maplewood, NJ
Posts: 251
Likes: 0
Received 0 Likes
on
0 Posts
Originally Posted by G_Cogis
Wow...I've never heard that advice before. I was always under the impression that if the internal plumbing of the caliper was done correctly, and smoothly... without pockets or voids for air to get caught in, bleeding is usually much easier than that. Maybe I'm just spoiled.
 (Even at cost, those Dinan parts are so darned expensive!)
The tapping trick also works on OEM 1-piston floating calipers. You really should try it. I've documented it here: http://www.zeckhausen.com/bleeding_brakes.htm It really helps for some of those applications that come from the factory with crappy pedal feel and need all the help they can get - e.g., the BMW E39 5-Series.
04-27-2006, 06:24 AM
#25
Join Date: Apr 2006
Location: Costa Mesa
Posts: 10
Likes: 0
Received 0 Likes
on
0 Posts
Hey Dave,
I actually reccomended the tapping in my first post.
This is a fairly common trick. The technique I haven't heard of was the "loosening the caliper and turning it" to free trapped air.
One of the things that the Brembo engineers pay close attention to, in the design of the caliper, is the internal plumbing. This is 1). Designed to ensure sooth transfer of fluid for bleeding and allowing trapped air to more towards the bleeders and 2). Part of what provides Brembo's precise pedal feel and control. With over 400 engineers they have the extra time and the manufacturing capabilities to pay special attention to these type of details.
And I am suprised that you use the the BMW X5 as an example when you mentioned at SEMA that it is one of your favorite Brembo applications specifically because of the firmness of the pedal, and the overall feel of the kit. This Dinan tech obviously did something incorrect durring the start of the process that you may have forgotten to inform us about. The GT8 caliper bleeds like a dream. It's a monblock caliper, and the plumbing takes a nearly vertical path towards the bleeders. And the "bath" behind the piston has a perfect radius for smooth fluid transfer. There is no where in that caliper for trapped air.
Anyways...I have probally bleed over a few hundred Brembo kits in my day and I have rarely had to come back and do a second bleed. Durring our tech sessions we also offer a specific bleeding technique for new systems called "gravity bleeding". I believe I've explained this technique on the phone to you in the past. This technique, if done properly will chase 99% of the air out in the first process. The last step would be the traditional "pump, pump, pump, hold,... squirt. And at this point the last 1% of air, if any, will be elimitated within one squirt. I usually do too squirts per bleeder just to be 100% confident.
I actually did an install last night and the tech that I was training was pretty impressed. Our entire bleed time was less than 5 minutes per axel.
04-27-2006, 06:46 AM
#26
Registered User
Join Date: Dec 2002
Location: Maplewood, NJ
Posts: 251
Likes: 0
Received 0 Likes
on
0 Posts
Originally Posted by G_Cogis
I actually reccomended the tapping in my first post.
This is a fairly common trick. The technique I haven't heard of was the "loosening the caliper and turning it" to free trapped air.
This is a fairly common trick. The technique I haven't heard of was the "loosening the caliper and turning it" to free trapped air.
And I am suprised that you use the the BMW X5 as an example when you mentioned at SEMA that it is one of your favorite Brembo applications specifically because of the firmness of the pedal, and the overall feel of the kit. This Dinan tech obviously did something incorrect durring the start of the process that you may have forgotten to inform us about. The GT8 caliper bleeds like a dream. It's a monblock caliper, and the plumbing takes a nearly vertical path towards the bleeders. And the "bath" behind the piston has a perfect radius for smooth fluid transfer. There is no where in that caliper for trapped air.
In no way am I implying there's anything wrong with the GT8. I'm just pointing out that tapping the calipers can have a positive effect on the outcome on virtually any caliper, OEM or aftermarket.
As an aside, I just quoted an X5 Brembo 4-wheel kit for a customer in Malta. UPS Worldwide Express shipping comes out to $2,673! Yikes! I guess Malta is at the end of the earth. Even shipping to Singapore is less than half that cost.
04-27-2006, 07:22 AM
#27
Join Date: Apr 2006
Location: Costa Mesa
Posts: 10
Likes: 0
Received 0 Likes
on
0 Posts
Originally Posted by DZeckhausen
Try to imagine a freshly poured glass of ginger ale. Even though the glass is smooth, the bubbles cling tenaciously to the sides until you hit the glass with a spoon - then they break free and float to the top.
") ) but I'm pretty sure that "ginger ale" is not a good example for this explanation. It's carbonated and the carbon dioxide bubbles are released from within the liquid.
) but I'm pretty sure that "ginger ale" is not a good example for this explanation. It's carbonated and the carbon dioxide bubbles are released from within the liquid.Let's use water instead since it doesn't create it's own bubbles. If you slowly pour water into an empty, smooth glass. The fluid, in this case water, changes places with the air and chases it upward. If it's a nice, calm, smooth pour there will be virtually no bubbles.
Now imagine just quickly dumping one cup of water into an empty glass. The water and air mix and creates tiny bubbles again that adhear to the sides of the glass. (more related to surface tension than obstructions preventing the air to travel) My guess is that the Dinan tech started pumping to rapidy and to soon and didn't let the fluid rise smoothly through the the caliper, chasing out the air, the way it was designed to do so.
(again, I'm sure there's scienetific names for all of the actions I've described above...I just don't know them)
The other issue is that if it is NOT a nice, smooth glass. If there are any voids or cavities or ridges obstructing the airs natural escape route, you will then be ensured to have tiny bits of air trapped within these imprefections.
I'm sure we can both name quite a few "brake manufaturers" that use lower quality manufacturing processes that would almost ensure this problem. But were not here to talk about that.
Hopefully these guys chase out the air and finally get to enjoy the kit's they spent their money on.
Last edited by G_Cogis; 04-27-2006 at 07:24 AM.
04-27-2006, 12:34 PM
#28
Registered User

Join Date: Mar 2006
Location: Long Beach
Posts: 6
Likes: 0
Received 0 Likes
on
0 Posts
Originally Posted by XBS
Thanks for the info Dan, So i should just try to bleed the brakes again with my buddy the old school way. But this time position the calipers vertically by removing one built on the front calipers, and just flushing the whole system.
What do you thinkg about bleeding the master cylinder / what is the best procedure. Thanks.
-George
What do you thinkg about bleeding the master cylinder / what is the best procedure. Thanks.
-George
I haven't been able to dig up a photo of the brake system you have. Matt wanted me to remind you that when you tilt the caliper upward, don't tilt it so far that the rotor isn't still holding the pads apart. If there's only air between the pads, the pistons will extend, and it could be a messy problem.
As for bleeding master cylinders, you'll typically only have an issue if you allow the reservoir to run dry and "swallow" some air in the system. This is usually the result either of not keeping an eye on the level while bleeding, or allowing excessive fluid to escape while changing brake lines. We include black rubber cap plugs in our BBKs and brake line sets (kind of like a bleed screw dust cap) to put on the end of the factory hard line as soon as the flex line is removed. I've kept a few in the top of my tool box at home since my first StopTech installation, because I can't decide whether I hate spilled brake fluid or gear oil more.
For M/C bleeding procedure, each car varies. Some masters have bleed screws (typically older cars, but some current), some have to be done on the bench. Still others are designed to be self-bleeding (more common on newer cars). The best general recommendation I can give is to check the manual for each particular vehicle.
-Dan
Last edited by Dan@StopTech; 04-27-2006 at 12:36 PM.
04-27-2006, 02:35 PM
#29
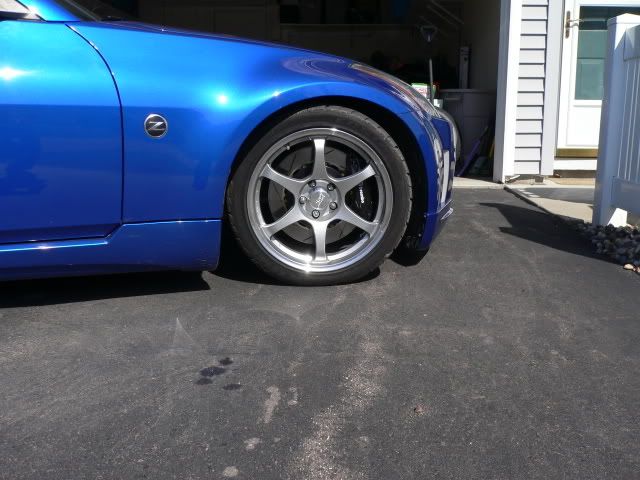
Ok, When i installed the brakes I DID mess up and probally let the lines run dry, I dont remember if i did but i MIGHT have. As far as bleeding the M/C what would be needed to do so in a 03 350Z? Here are some pictures of my brakes, I basically got them for free if not i would have went stop tech for sure, my friend gurgen is always giving me a hard time about it. Anyways here are the pics:
Front
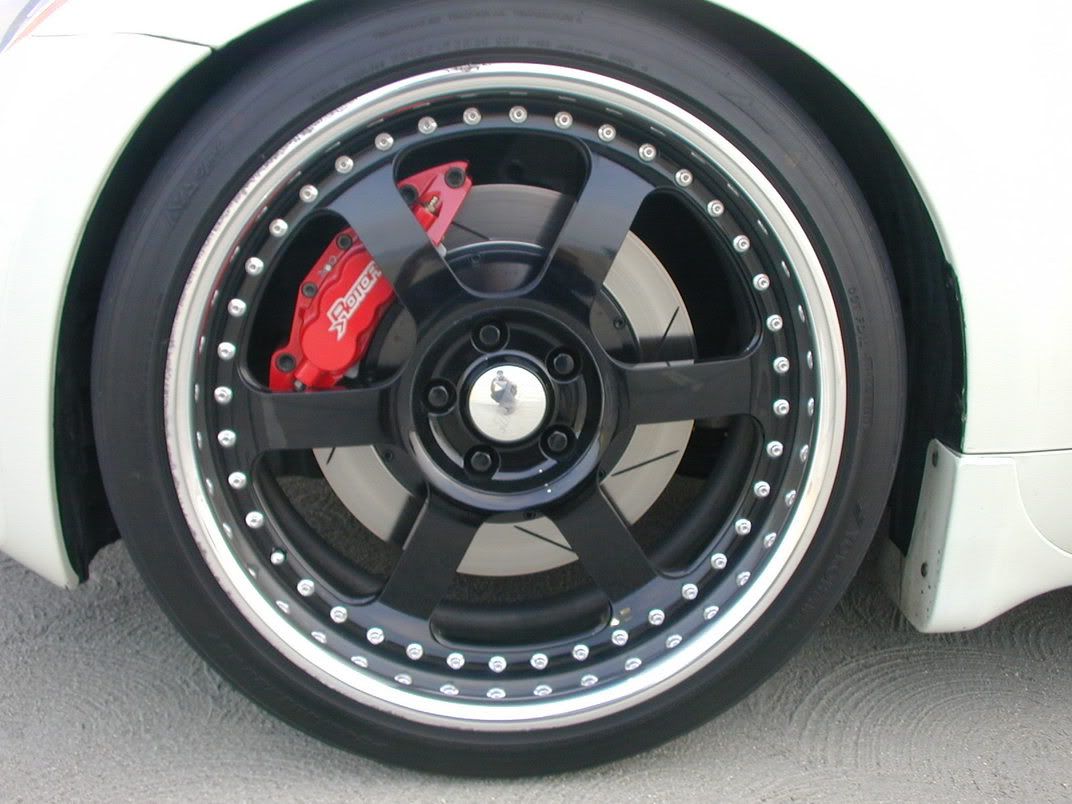
Rear
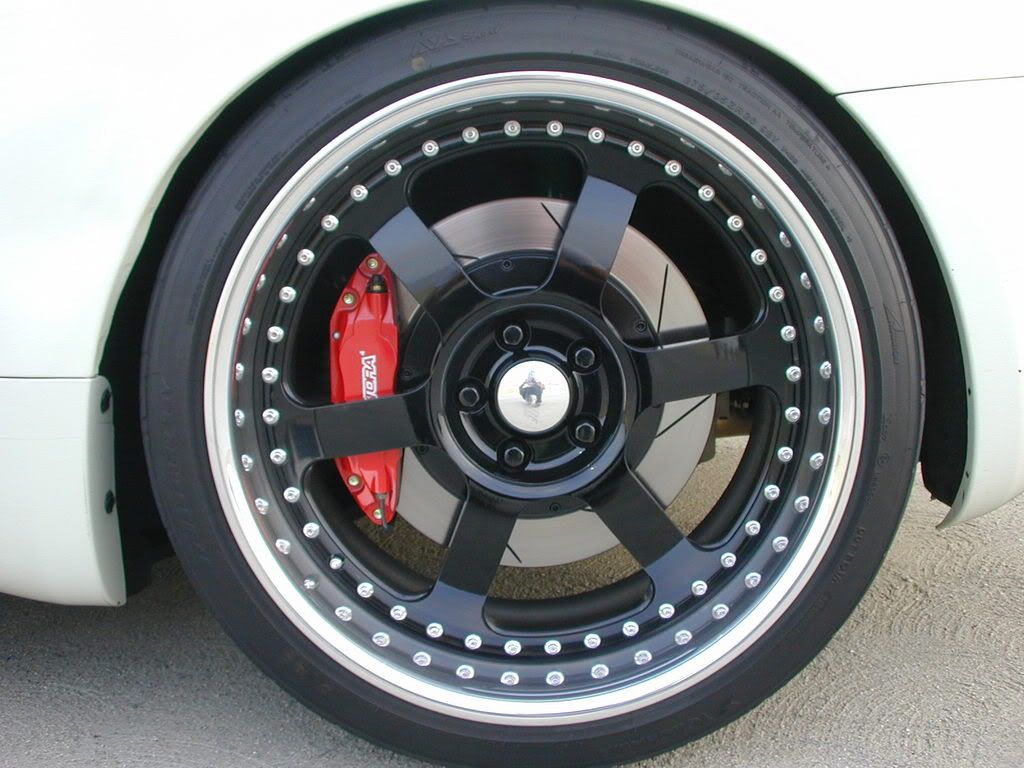

More pictures at this link:
http://s30.photobucket.com/albums/c346/ZPIMPN/?start=0
Thanks for all the input, Im going to try bleeding these things AGAIN but this time tapping them with a rubber malet, Also what is the gravity bleeding you speak of?
Thanks everyone!
-George
Front
Rear
More pictures at this link:
http://s30.photobucket.com/albums/c346/ZPIMPN/?start=0
Thanks for all the input, Im going to try bleeding these things AGAIN but this time tapping them with a rubber malet, Also what is the gravity bleeding you speak of?
Thanks everyone!
-George
04-27-2006, 06:04 PM
#30
Join Date: Apr 2006
Location: Costa Mesa
Posts: 10
Likes: 0
Received 0 Likes
on
0 Posts
Gravity Bleeding.
I'll start fron scratch just like were installing a brand new system.
This can just be a good reference for anyone installing a kit in the future.
Brake Kit Installation ***abridged version***
1) Remove the 2 bolts that attach the factory caliper to the vehicle.
2) Set the caliper off to the side, with the factory rubber line still connecting the caliper to the vehicle.
(I usually find a way to set the caliper between the axel and lower control arm in a position where it won't accidently fall)
3) Remove the factory rotor.
4) Fix the caliper mounting bracket to the vehicle.
5) Install the new rotor assembly.
6) Mount the new caliper to the bracket.
7) Attached the new braided line to the caliper. (do not tighten the fitting to the caliper)
8) Check for proper line routing and position the line (comming out of the caliper) in the correct position. Now you can tighten the fitting to the caliper.
***this is the part where the quicker you are...the better off you will be***
***Also be sure to do (1) side at a time. this will be part of the "gravity bleeding"***
9) Disconnect the factory rubber line from the hard line comming off of the car.
10) Quickly attach the new braided line to the factory hard line.
Gravity bleeding
Once the new line is attached to the hard line,... double check the line routing and make any necessary changes in the angle of the line comming out of the caliper.
Once the line is routed correctly, and both ends are tight, open both bleeder valves about 1/2 turn.
Let gravity allow the fuid to slowly flow through the line and into the caliper.
***Do not press the pedal***
Keep a close eye on both bleeders. When you see fluid start to trickle out of the bleeder (usually the inside bleeder first) imediately close the bleeder.
This process is slow, controlled and smooth. This will chase 99% of the air out of the brand new line and caliper.
Check the resevoir level...refill if necessary...and repeat on opposite side.
Once the gravity bleed is done on both sides, it is time to procede with a "traditional" bleeding process.
Traditional Bleeding.
***Dave Zeckhausen posted a link above with his bleeding instructions.***
Gravity bleeding, If done correctly, and assuming you are installing a high quality, properly designed caliper ...will remove 99% of the air in the caliper and line. The "taditional bleeding" process shoud require less than 2 squirts per bleeder valve.
If you want to be overly cautious...or think you may be working with a lower quality caliper...feel free to tap the caliper with a rubber mallet and add another "tradional bleeding" cycle.
05-01-2006, 08:17 AM
#31
Registered User
Join Date: Mar 2006
Location: Long Beach
Posts: 6
Likes: 0
Received 0 Likes
on
0 Posts
Originally Posted by XBS
As far as bleeding the M/C what would be needed to do so in a 03 350Z?
-George
-George
Sorry I couldn't get back to you with this earlier. I was out of the office at the track on Friday. I checked in with my guru of all things Nissan and technical. He told me there are no special tricks to bleeding the Z's master cylinder. If you think you may have ingested air at the master, just bleed the system and it should come out. That suggests that if you ever did have an issue with the m/c, it's probably not an issue now with the bleeding you've done.
-Dan
05-02-2006, 11:46 PM
#32
Intresting, Hopefully i will be able to prefrom these test in the next few weeks, will let you guys know how it goes. Also i spoke with the previous owner of my braking system and he said his pedal was ALWAYS firm on the FIRST stop. So i know there is some air SOMEWHERE! Thanks guys.
-George ( wishes he had stoptechs )
-George ( wishes he had stoptechs )
05-03-2006, 08:53 PM
#33
Registered User
iTrader: (6)

Join Date: May 2003
Location: Oceanside
Posts: 934
Likes: 0
Received 0 Likes
on
0 Posts
i know for sure i performed all the things listed above.
i followed the instructions provided by Stoptech to a tee. had the calipers vertical (pad still contacting the rotor) and bled the system while tapping the calipers with a mallet.
i bled the system 3 times with the engine off and 2 times with the engine running.
the "softness" upon first contact isn't consistent. it'll happen now and then.
maybe when it comes to time to change out the brake fluid that i'll try this all again.
at least you know you're not the only one having this problem. if you do ever get it fixed, please let me know what you did via PM.
vinh
05-04-2006, 04:28 AM
#34
New Member
Originally Posted by drsifu
i know for sure i performed all the things listed above.
i followed the instructions provided by Stoptech to a tee. had the calipers vertical (pad still contacting the rotor) and bled the system while tapping the calipers with a mallet.
i bled the system 3 times with the engine off and 2 times with the engine running.
the "softness" upon first contact isn't consistent. it'll happen now and then.
maybe when it comes to time to change out the brake fluid that i'll try this all again.
at least you know you're not the only one having this problem. if you do ever get it fixed, please let me know what you did via PM.
vinh
i followed the instructions provided by Stoptech to a tee. had the calipers vertical (pad still contacting the rotor) and bled the system while tapping the calipers with a mallet.
i bled the system 3 times with the engine off and 2 times with the engine running.
the "softness" upon first contact isn't consistent. it'll happen now and then.
maybe when it comes to time to change out the brake fluid that i'll try this all again.
at least you know you're not the only one having this problem. if you do ever get it fixed, please let me know what you did via PM.
vinh
This drove me crazy until I learned what it is. Since then, I've adjusted my driving to deal with it as best I can.
05-04-2006, 10:26 AM
#35
Registered User
iTrader: (3)

Join Date: May 2005
Location: Los Angeles, CA
Posts: 289
Likes: 0
Received 0 Likes
on
0 Posts
hey gary,
i have the BREMBO 14 inch kit on my car and i have similar peoblems. the first time i step on the brakes they go lower than they should, if i release and brake again(very quickly) the brakes feel rock hard and solid as they should. now im going to try and bleed the brakes again this weekend and see what happens. im going to try the tapping thing. i did let the system fully drain when i was doing the install because i was doing a few thungs at the same time. the other problem i have is sometimes when i step on the brakes the car shakes as if a had a warped rotor but other times its smooth, im going crazy trying to figure this one out. any suggestions???? i want the pedal to be rock hard ALL THE TIME.
i have the BREMBO 14 inch kit on my car and i have similar peoblems. the first time i step on the brakes they go lower than they should, if i release and brake again(very quickly) the brakes feel rock hard and solid as they should. now im going to try and bleed the brakes again this weekend and see what happens. im going to try the tapping thing. i did let the system fully drain when i was doing the install because i was doing a few thungs at the same time. the other problem i have is sometimes when i step on the brakes the car shakes as if a had a warped rotor but other times its smooth, im going crazy trying to figure this one out. any suggestions???? i want the pedal to be rock hard ALL THE TIME.

Thread
Thread Starter
Forum
Replies
Last Post