
LS1 Drift Build 'Nuff Said'


Thread Starter
New Member
iTrader: (9)
Joined: Sep 2004
Posts: 2,840
Likes: 14
From: San Antonio, TX
Hahaha you crazy Quamen.. Did not sell, just been waiting on some damn things.. And I think you guys will be happy for the long wait once I do a update..
I am also moving into a house so its been crazy here and trying to make the man cave suite my old lady here (Z I mean)
I am also moving into a house so its been crazy here and trying to make the man cave suite my old lady here (Z I mean)

Man just read this from front to back, your car is crazy nuts! I actually saw your car at uprev while i was getting a tune. I just drooled and snapped some pics. Cant wait to see the finished product.


Thread Starter
New Member
iTrader: (9)
Joined: Sep 2004
Posts: 2,840
Likes: 14
From: San Antonio, TX
So guys here I'm back again with a update, sorry so long since the last one but a lot of things have been going on over here so the build has taken on a slow state of movement. But finally getting around to getting things ready so I can finally hear this thing.
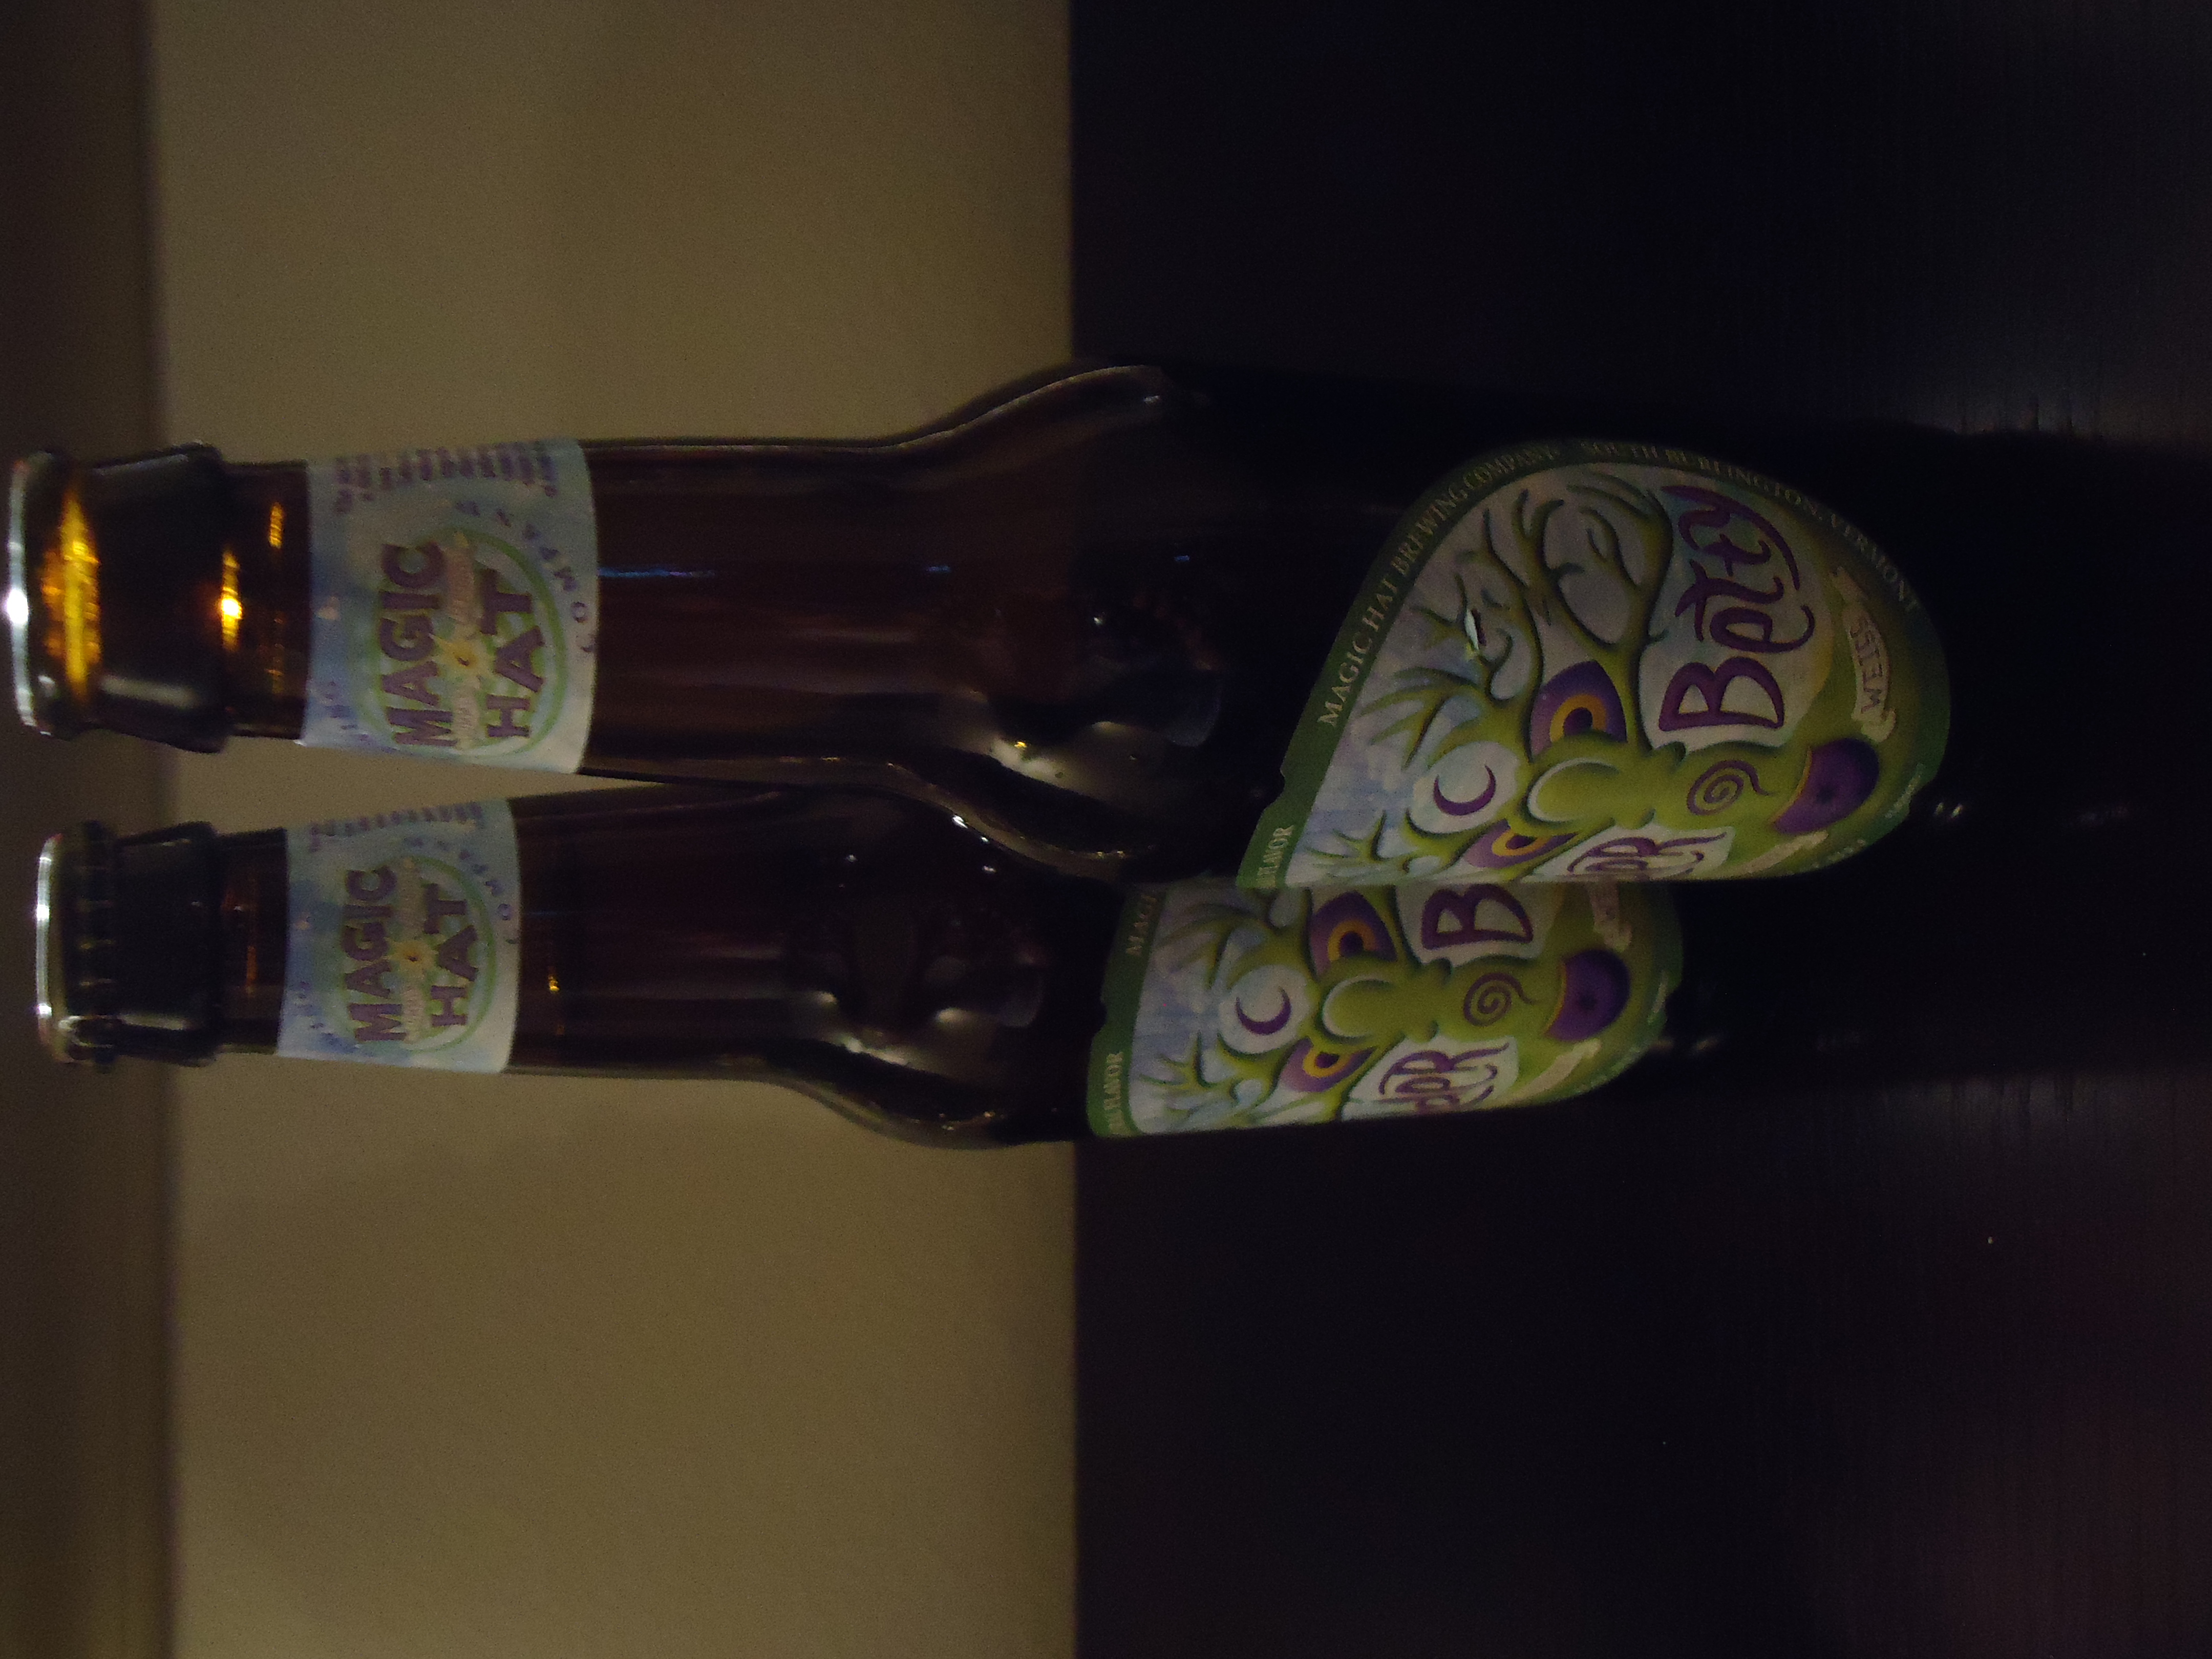
With saying all that lets kick this thing off with the beer for the week which is Magic hat "Elder Betty" this beer is a Weiss Ale type of beer a Hefeweizen yest, which is my fav and by far a good beer for the summer and BBQs.
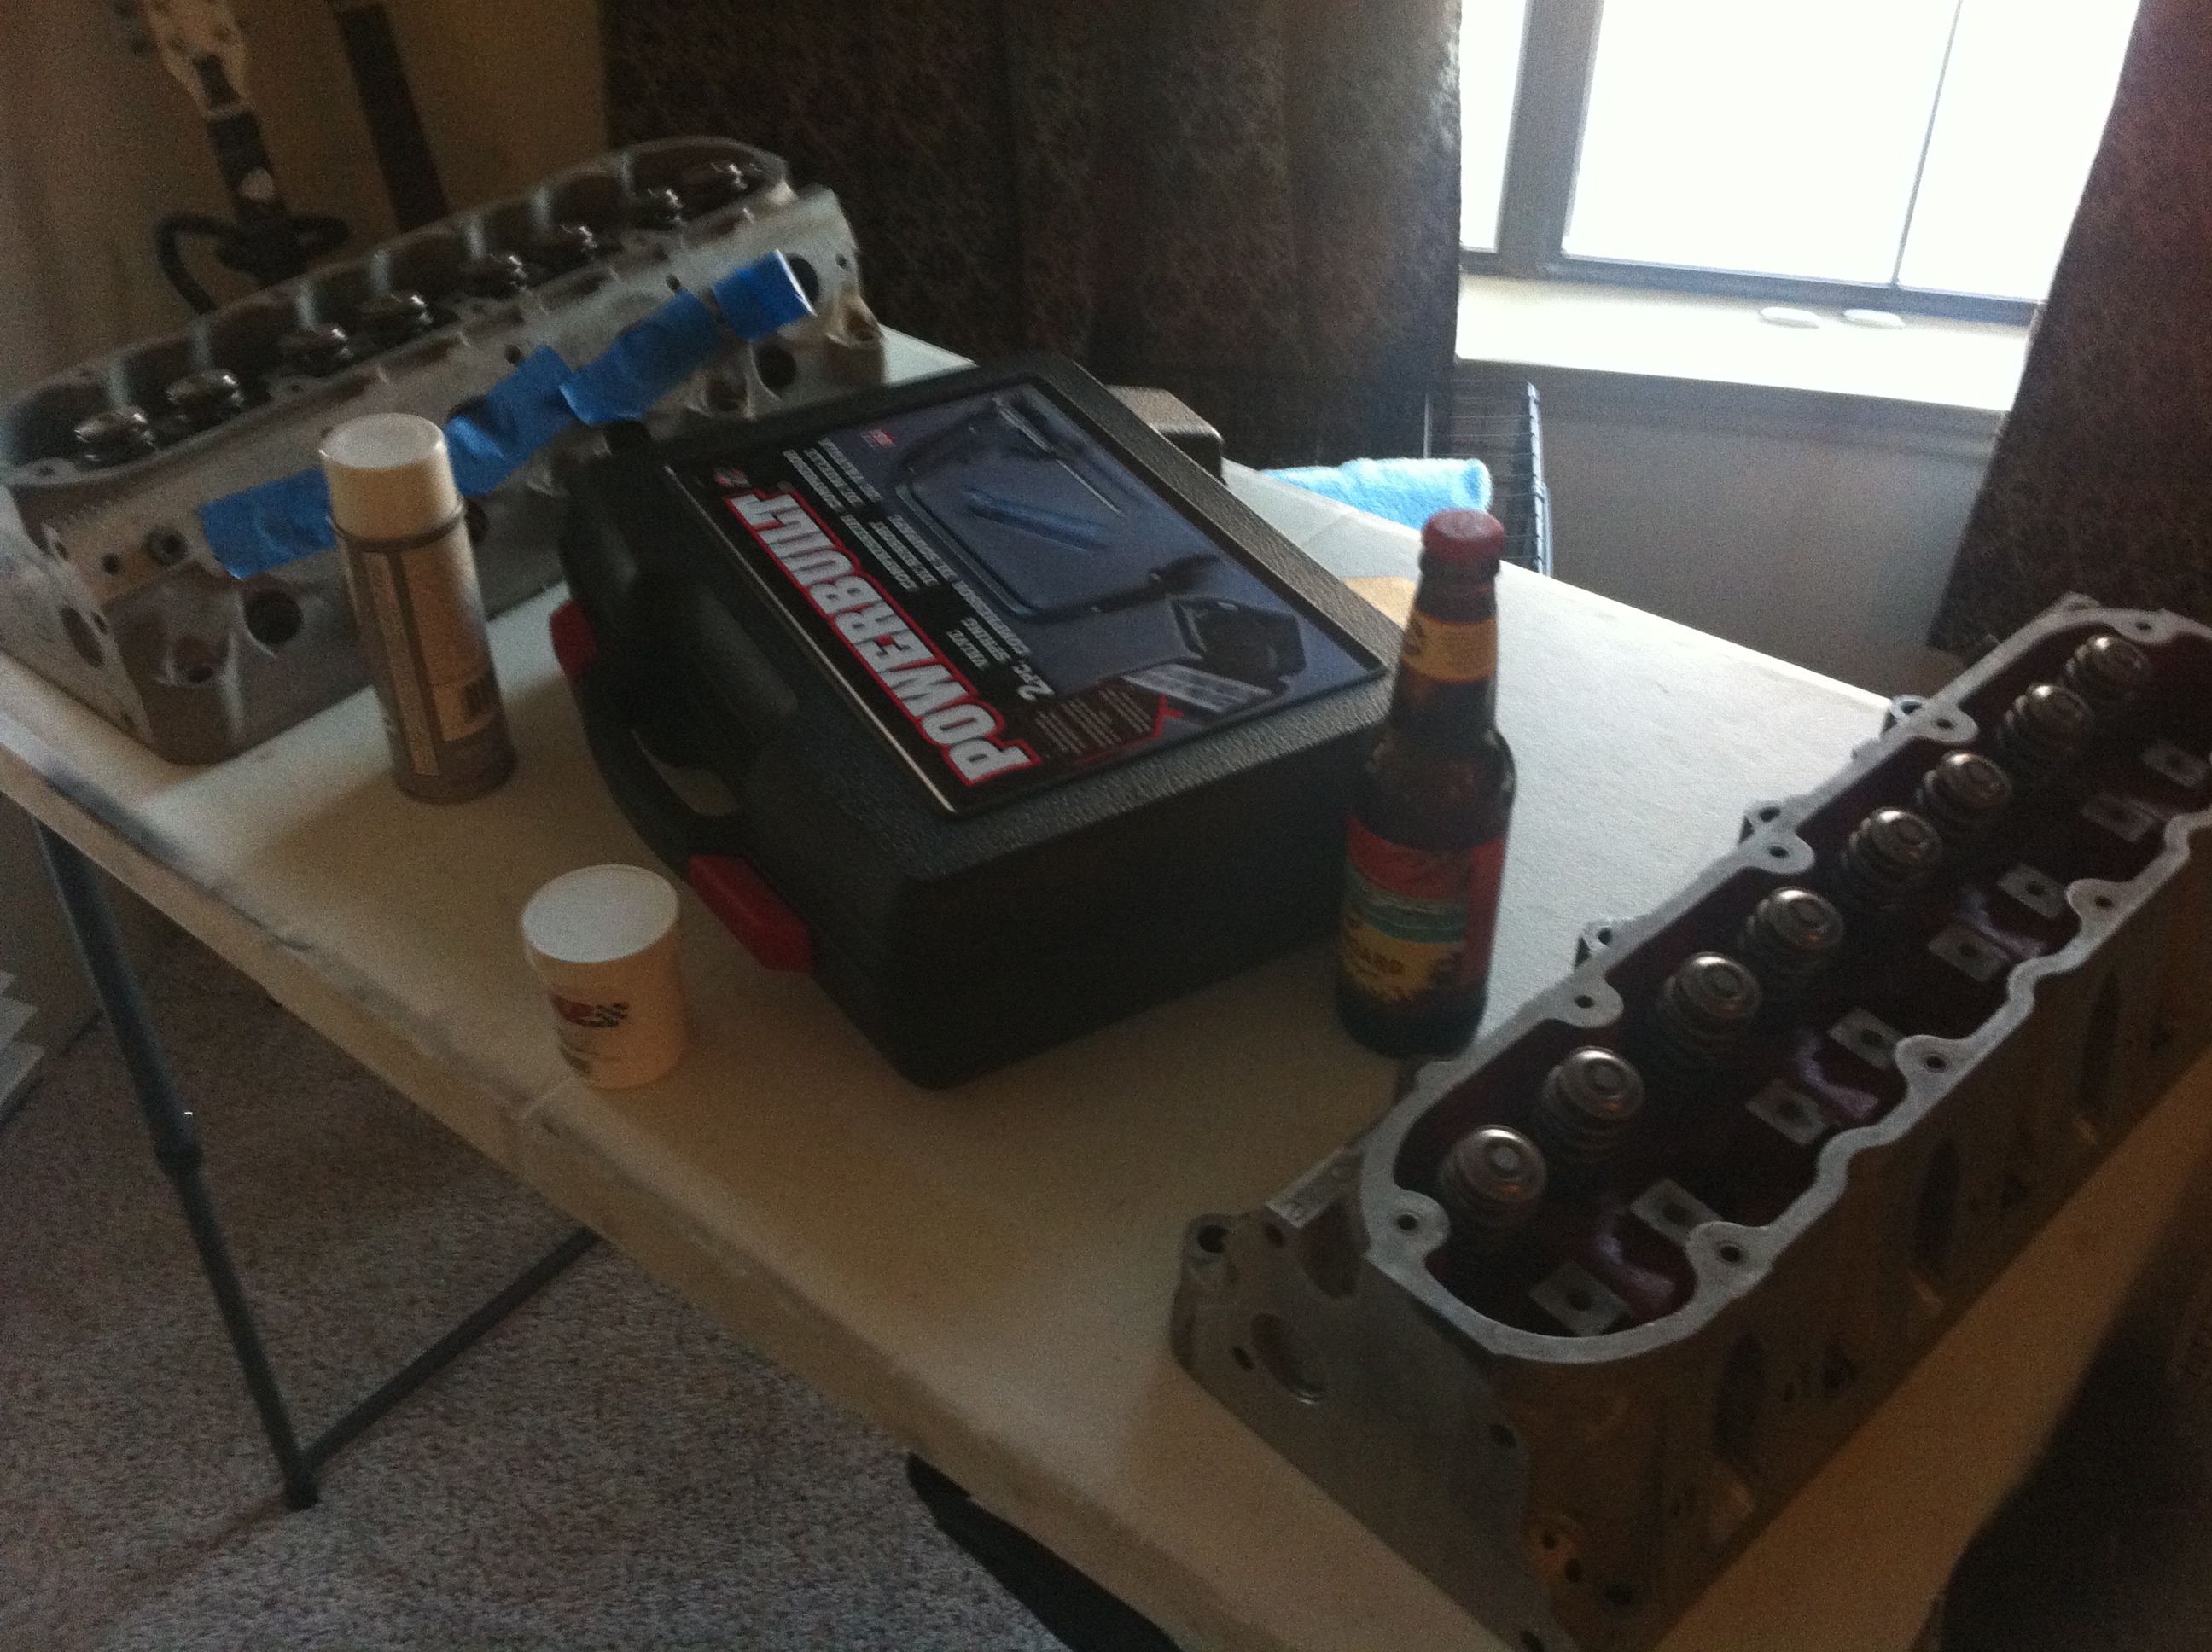
So with this update I have addressed a couple of things. First was the cam, which I stated on my last update that I have purchased a torquer V3 cam which will better suit my needs as the MS4 was to aggressive. Next was the purchase of new ported and milled heads, which was a impulse buy, so what you see in this pic is me switching over all my springs and valves to the new heads.. And yet again some good beer in the pic which is a Kona Longboard beer so good.
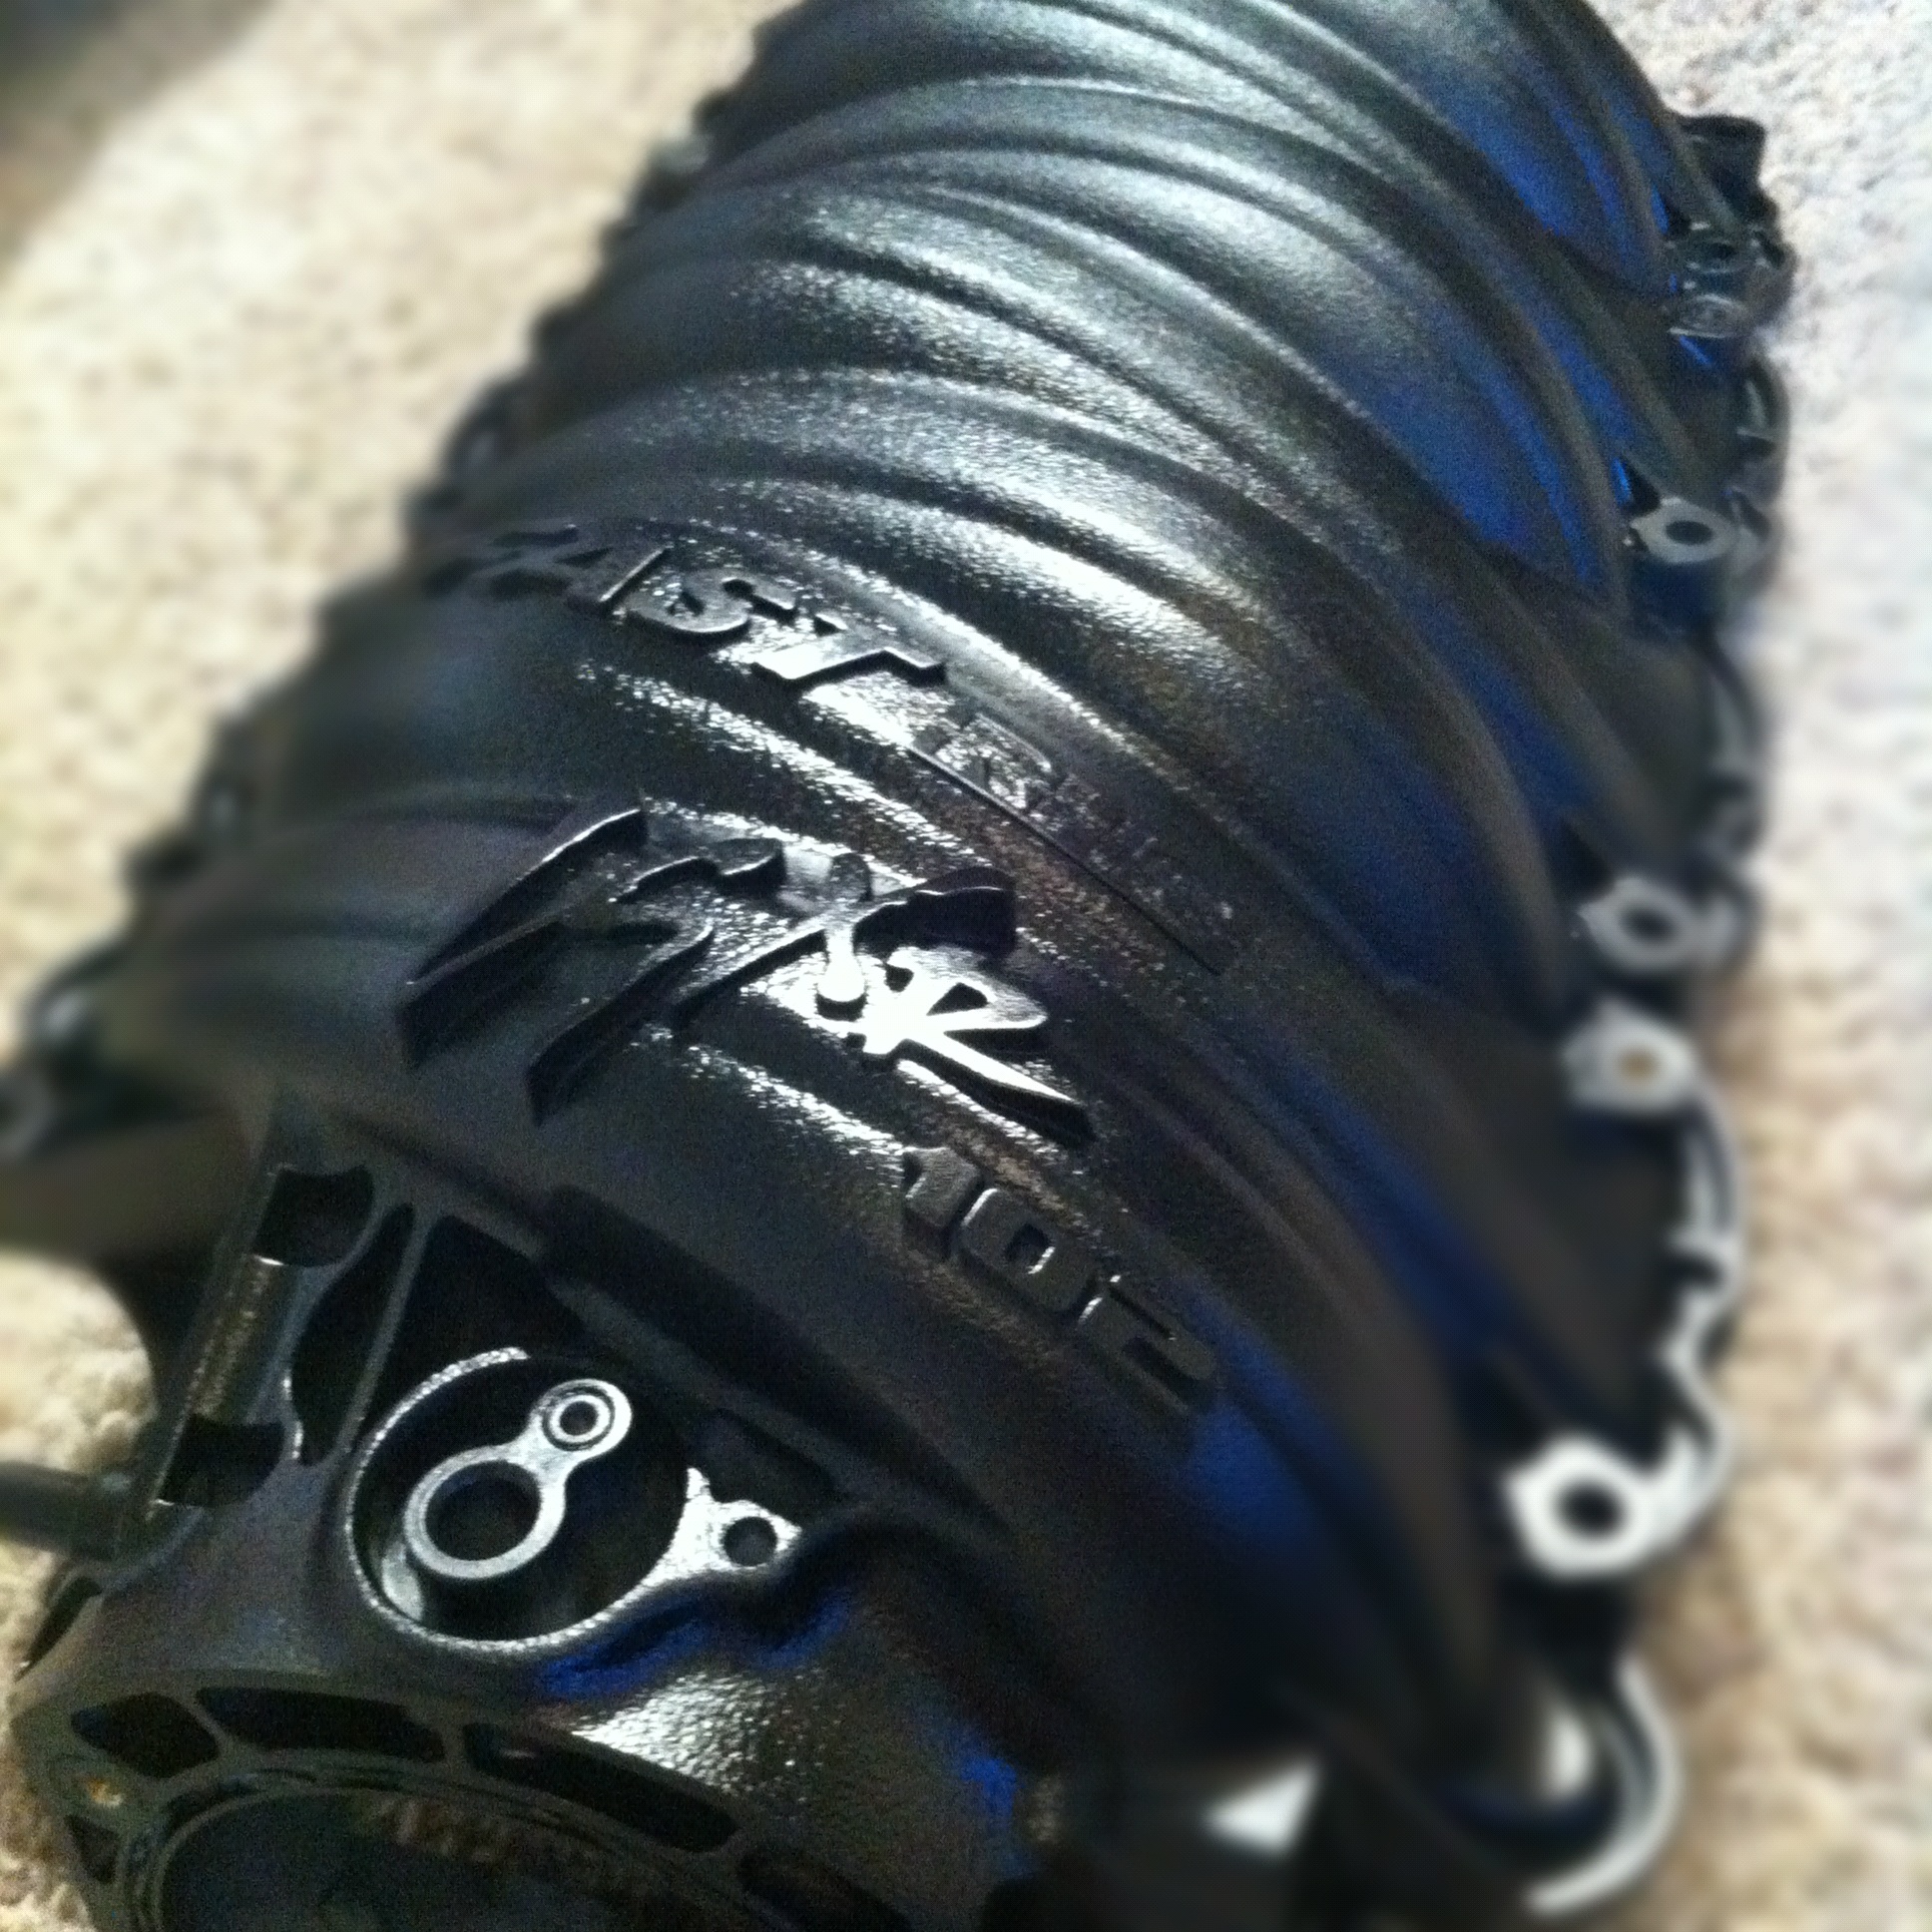
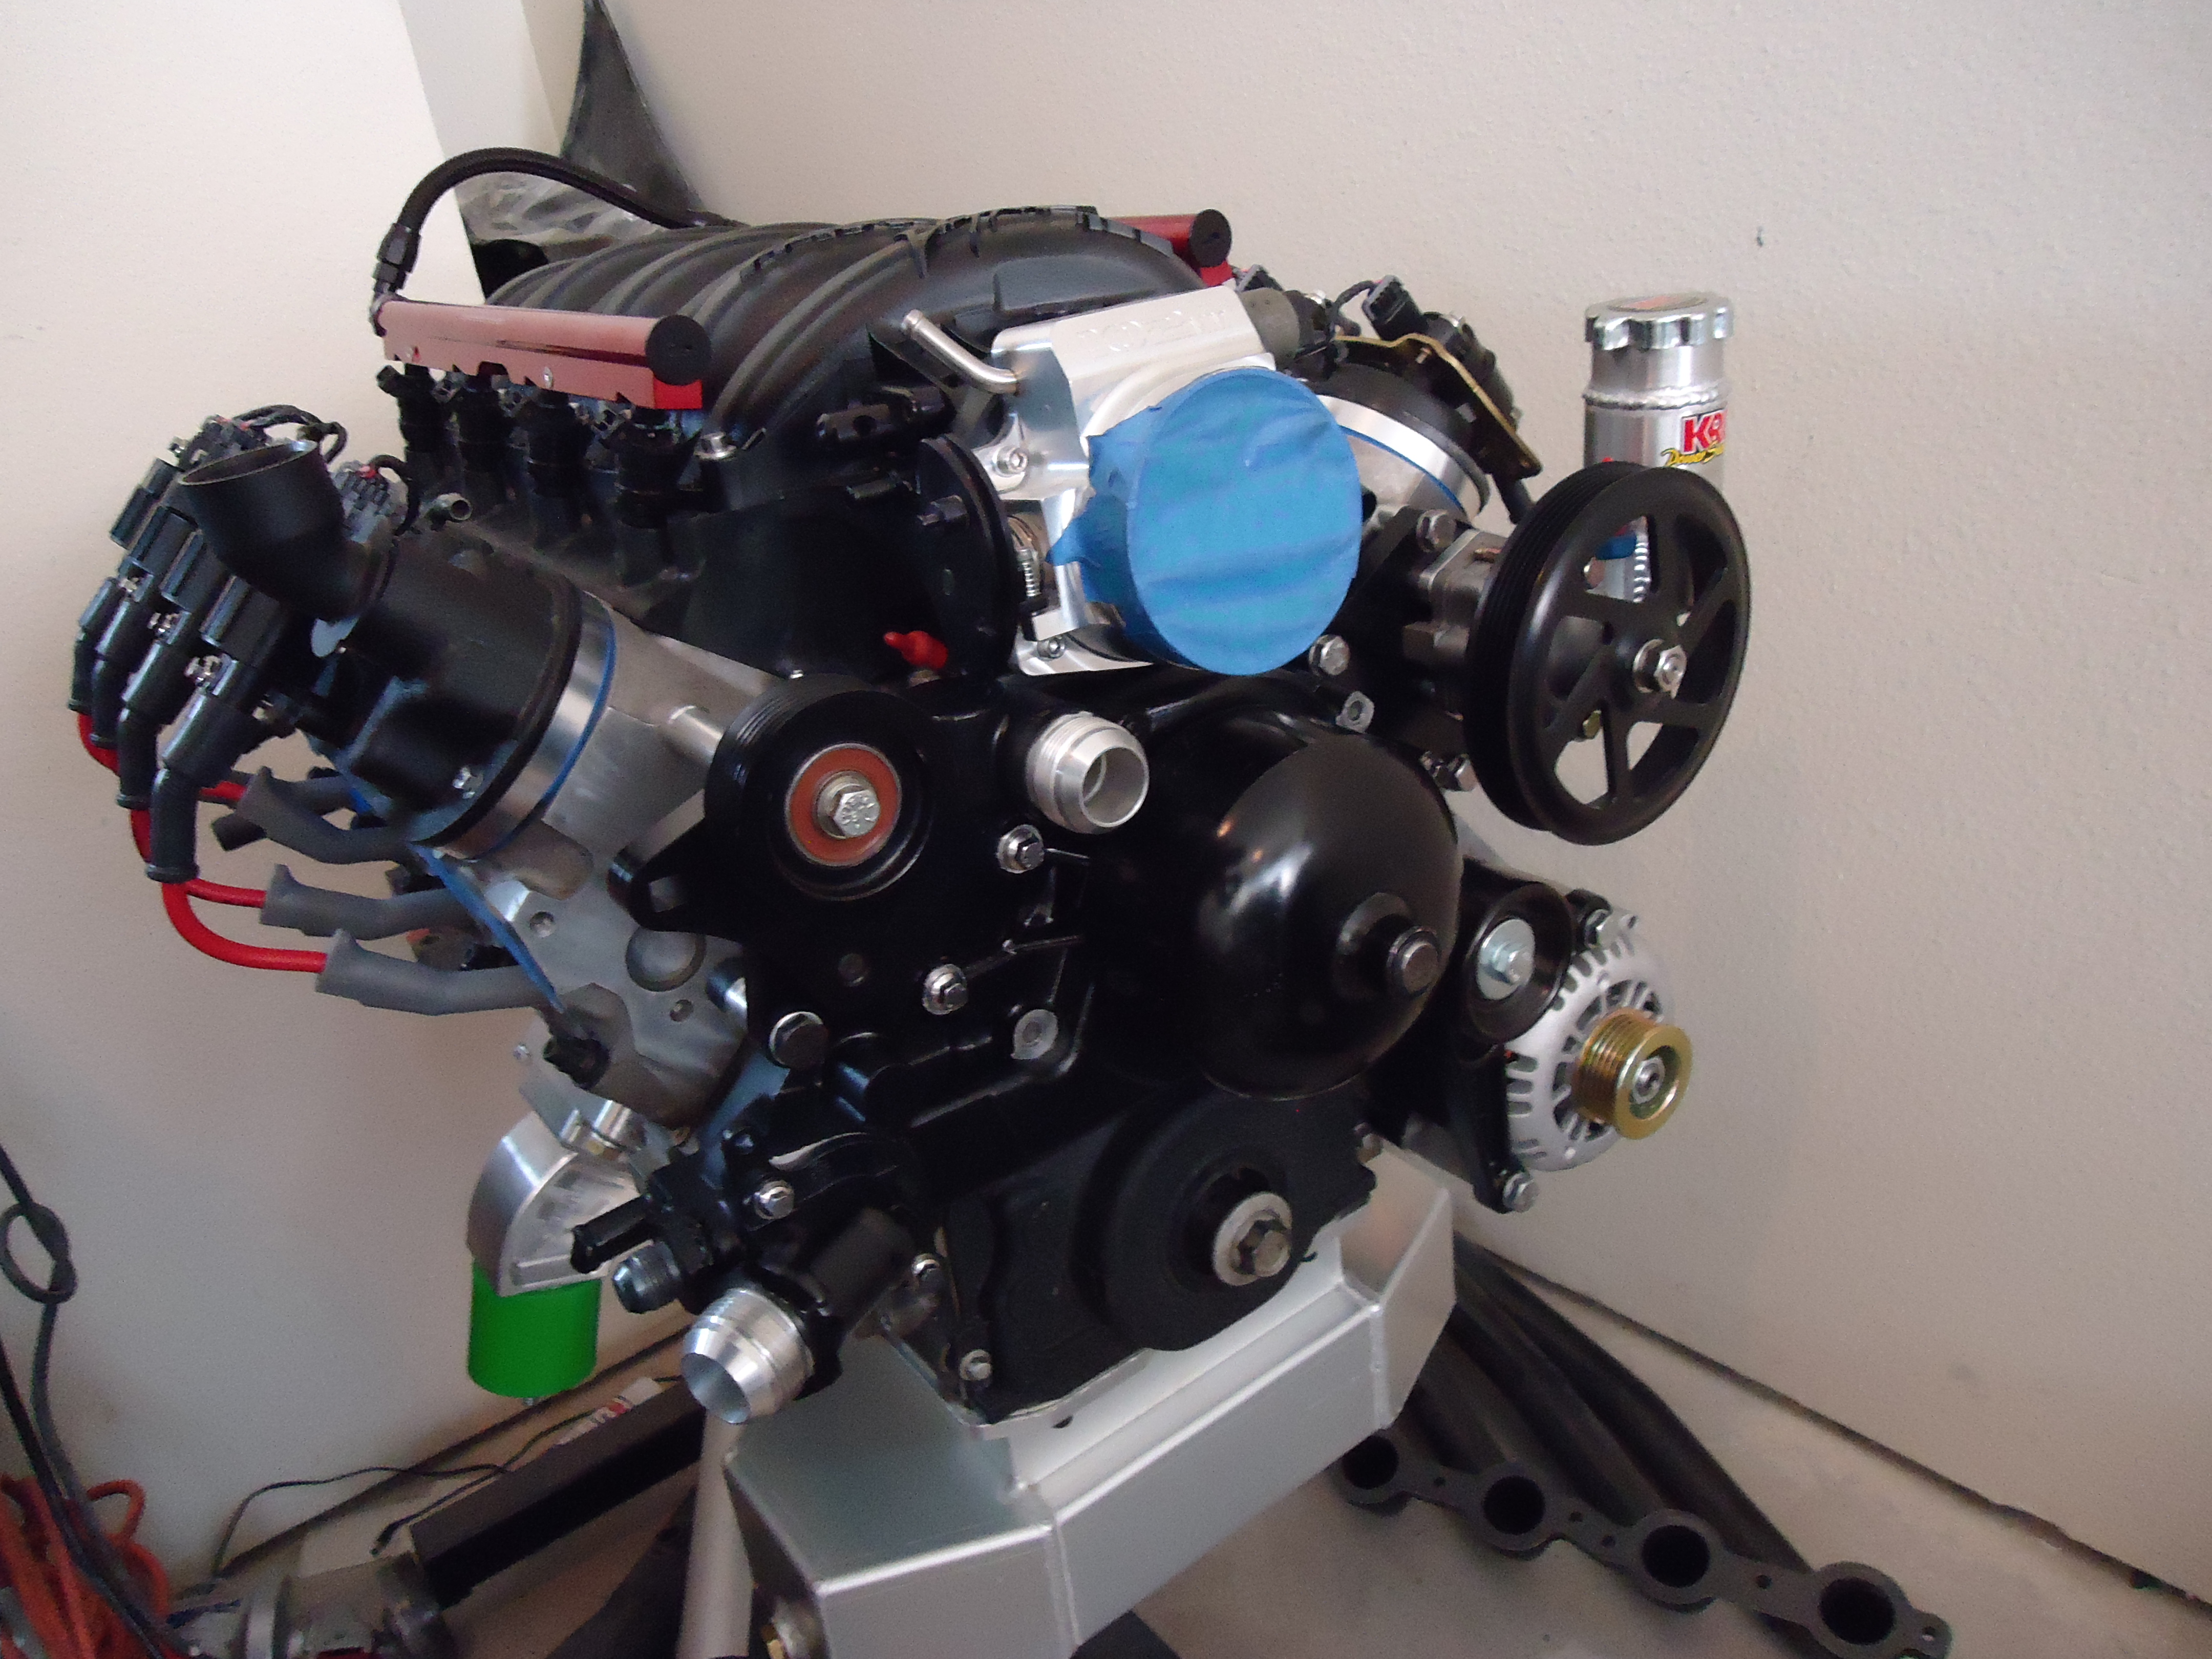
Next I addressed the FAST 102 intake cause I hatted the grey, so painted it black.

Installed the FAST 102 TB and my Lokar Throttle cable bracket and also the sensors. I think it looks really good black
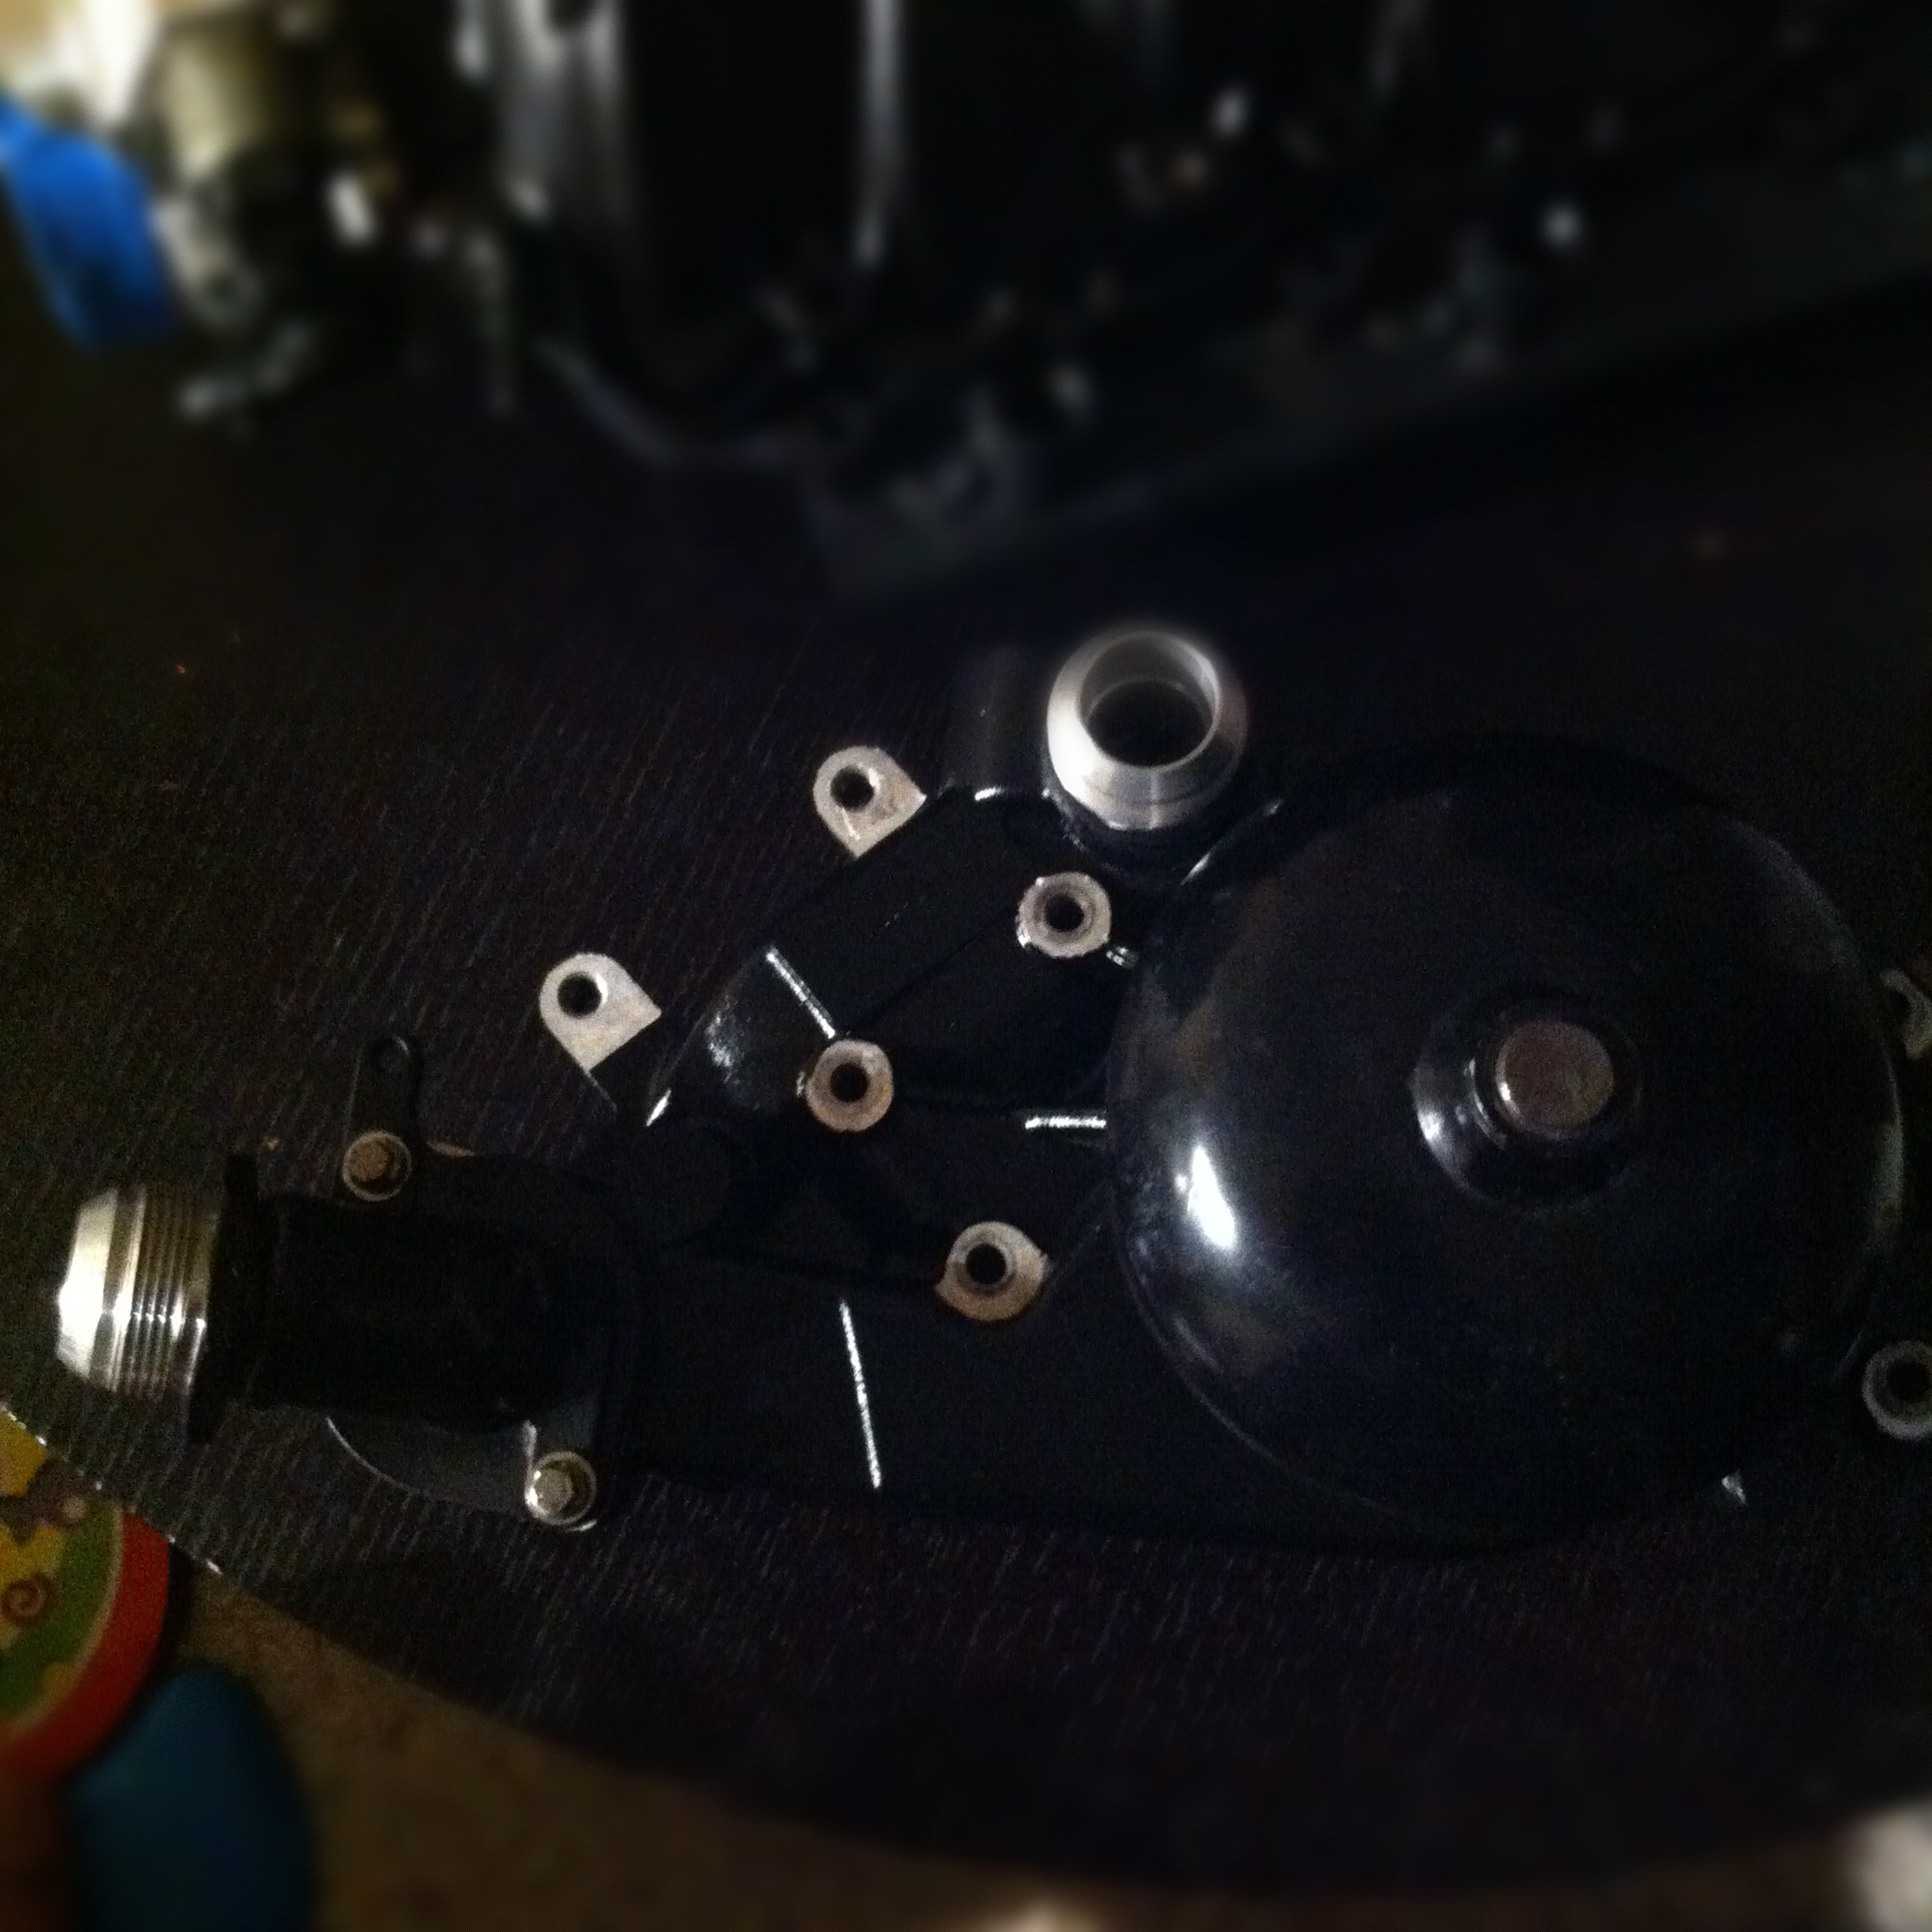
I also repainted my Water Pump to pull all the black components together.
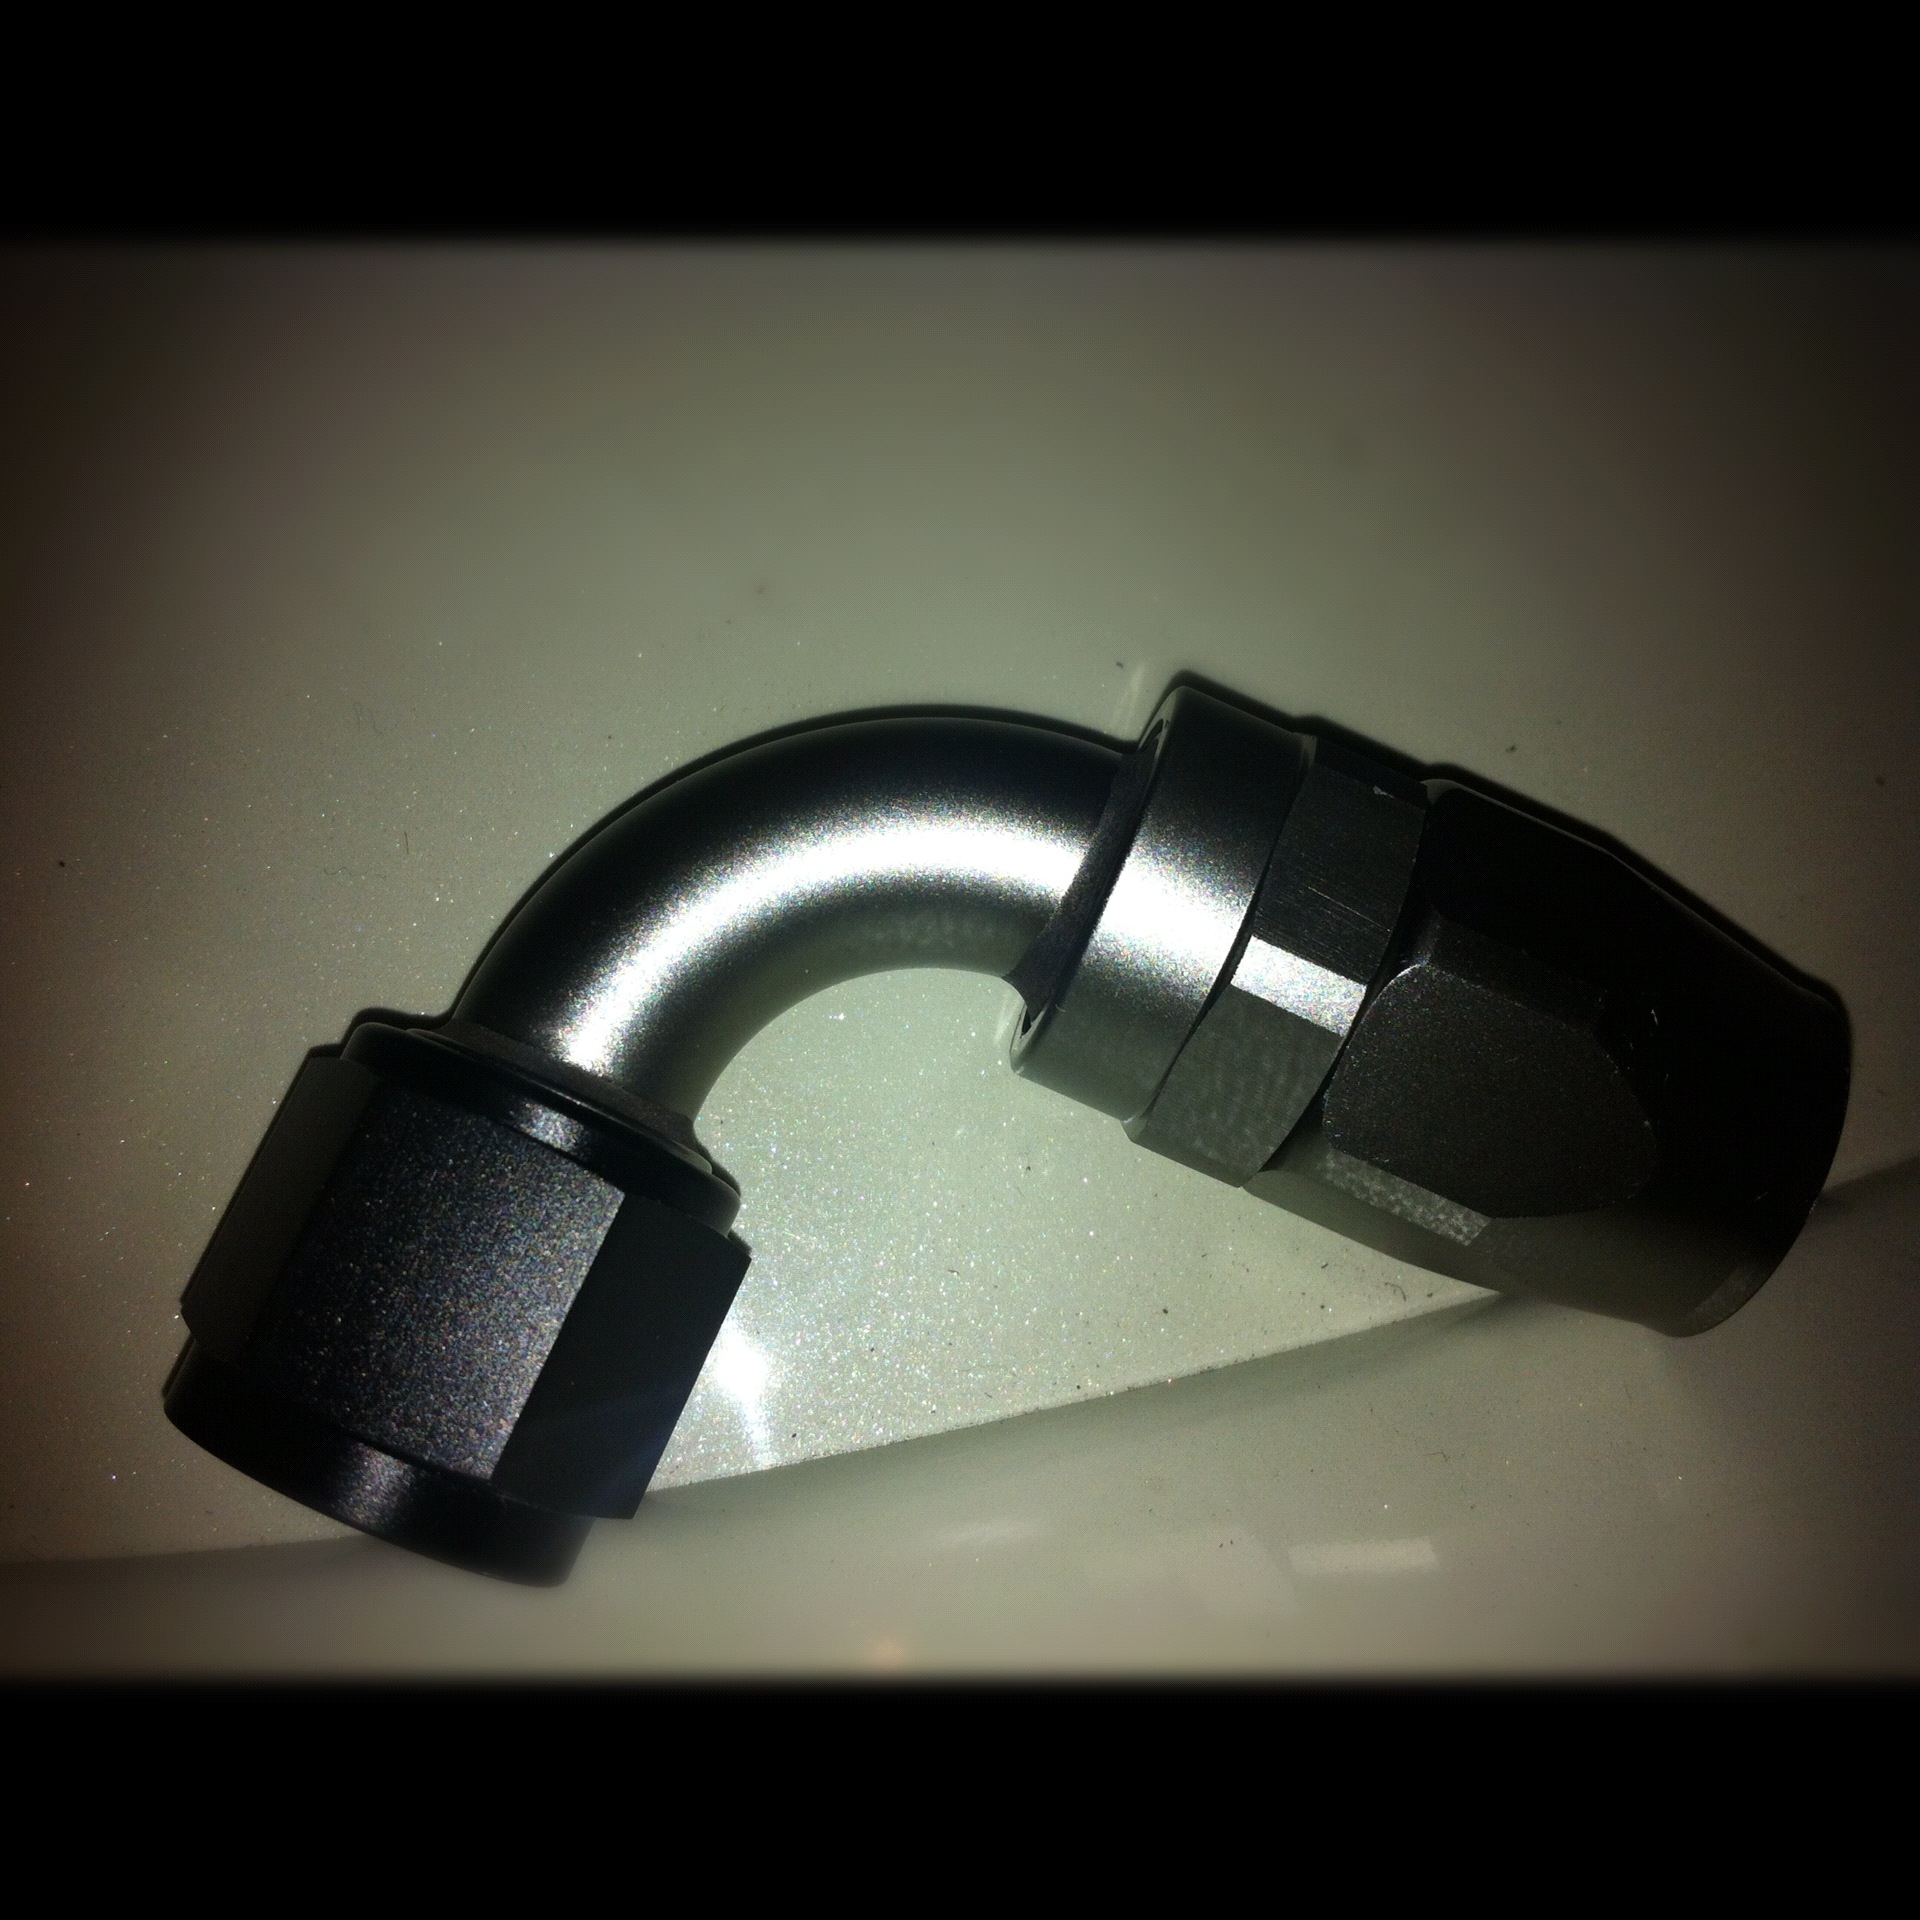
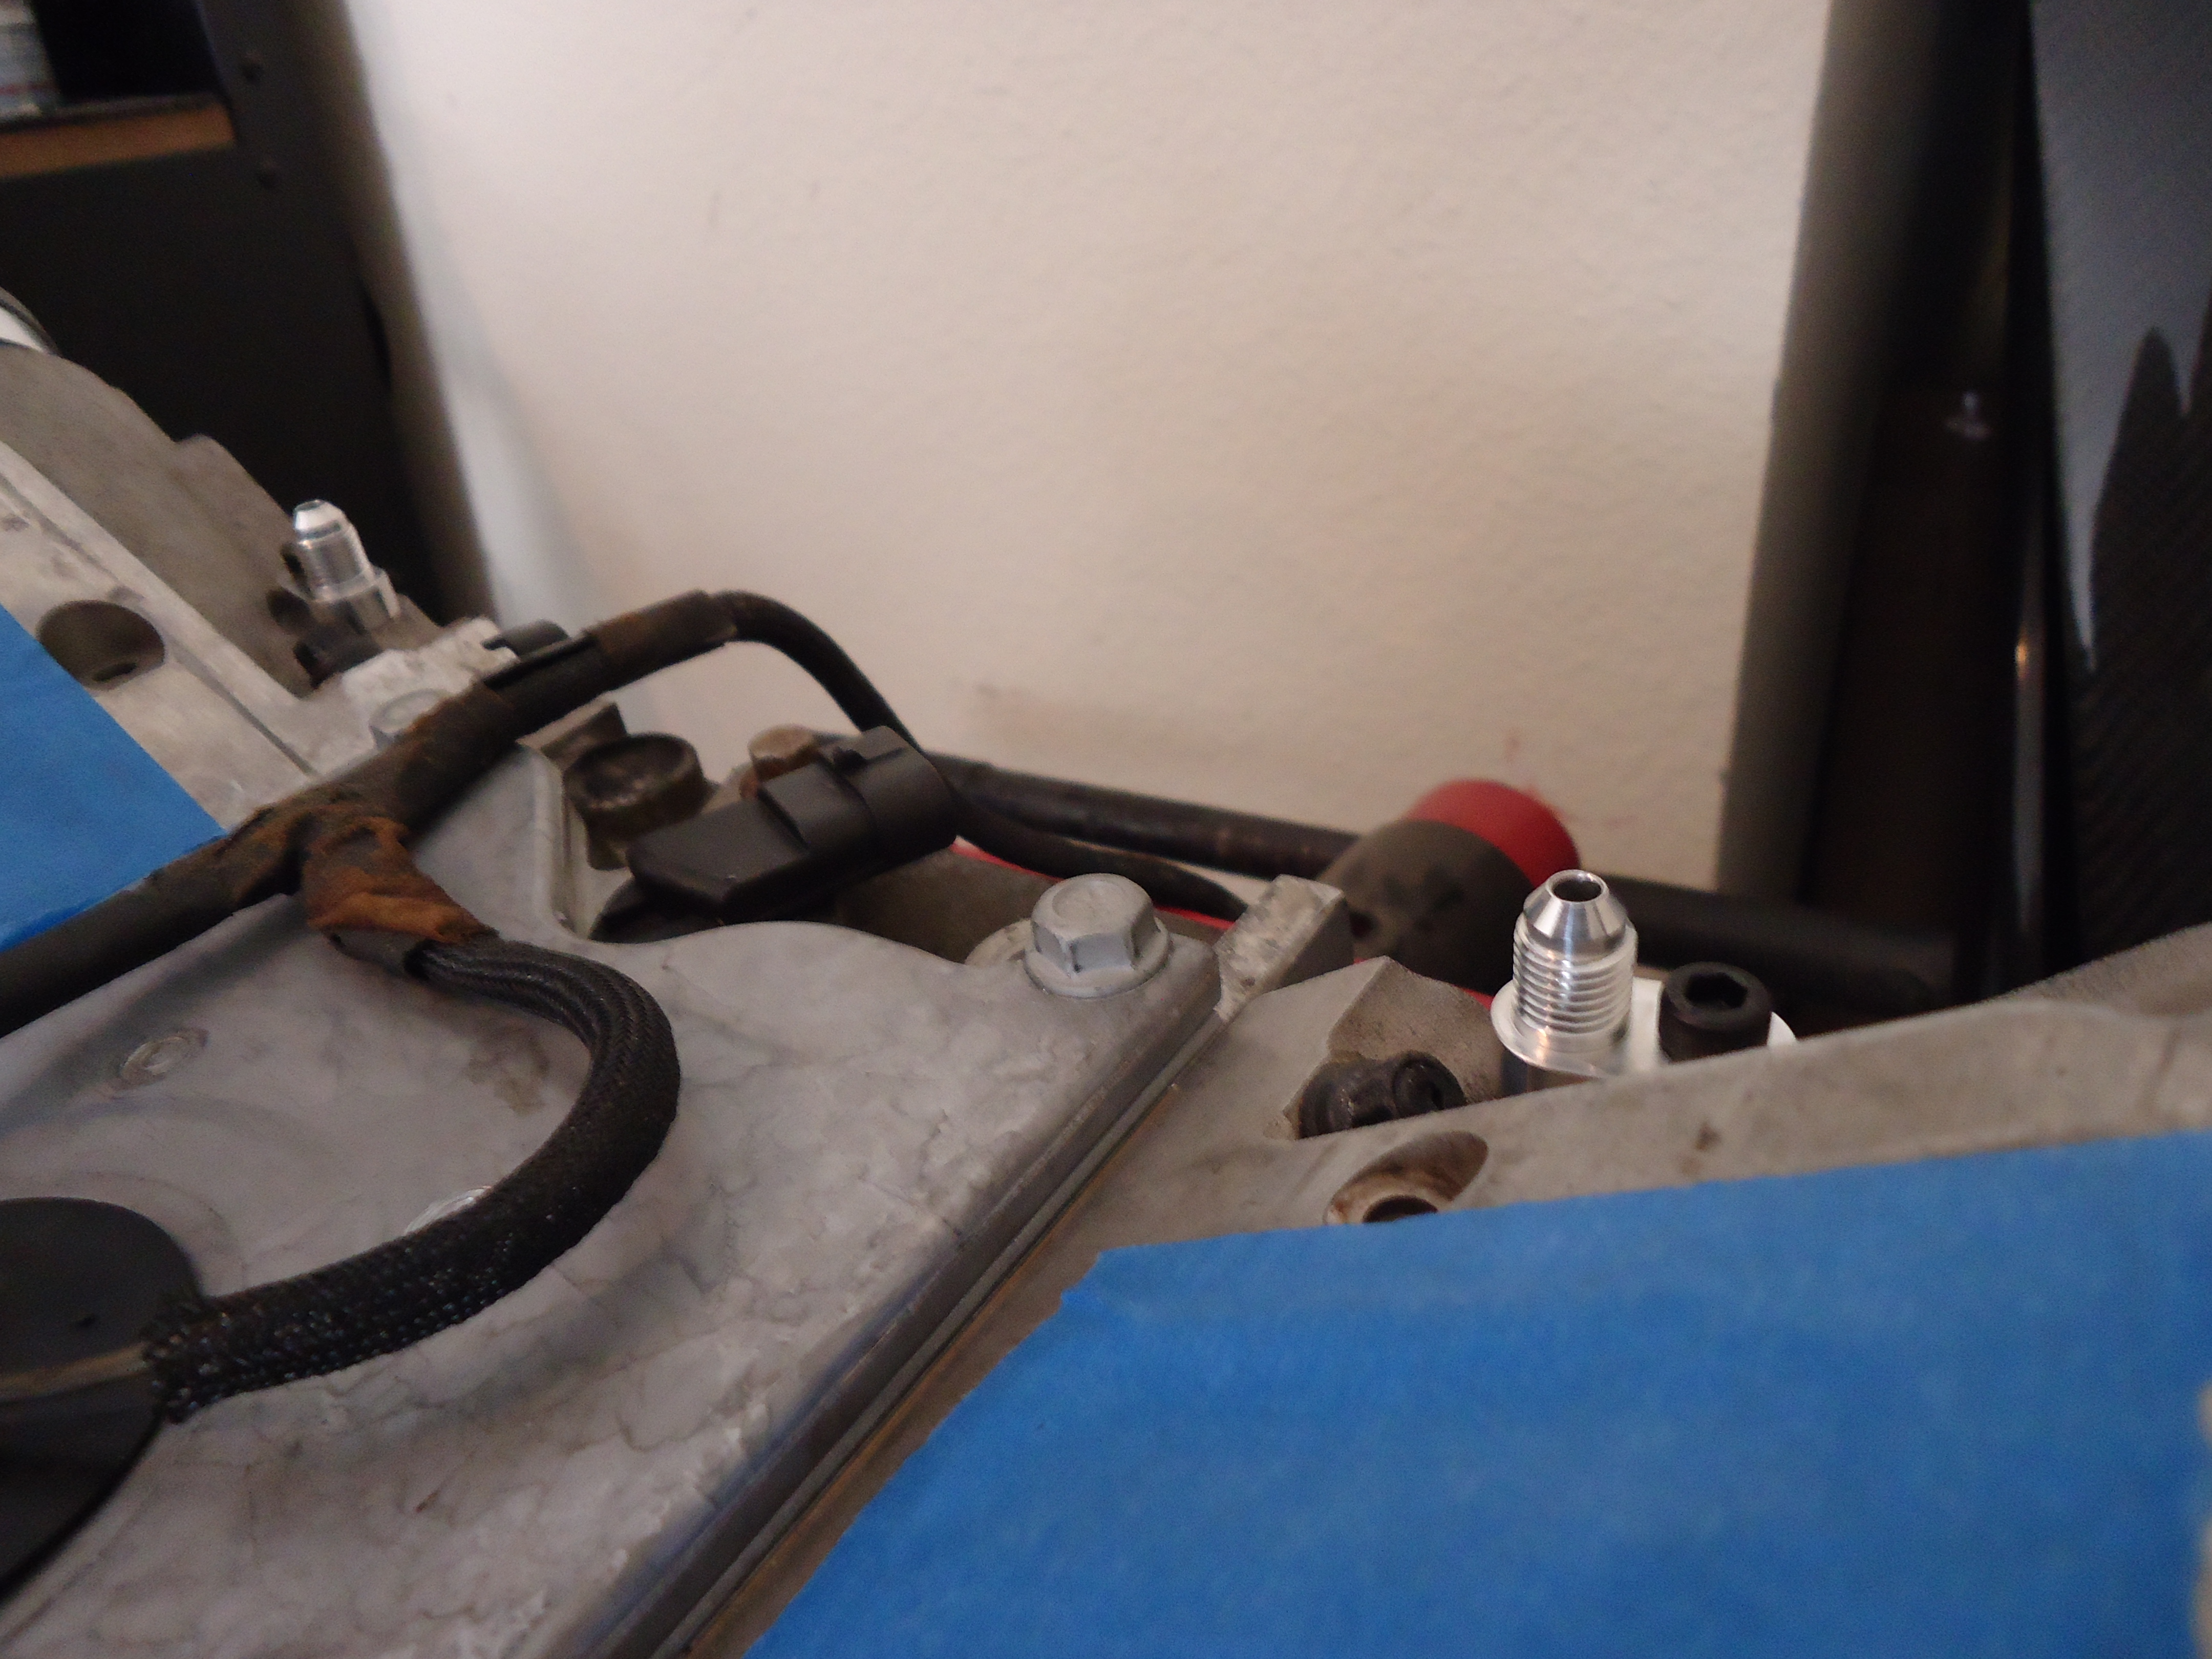
also here is a little teaser of what my fittings will look like.. Black & titanium finish AN fittings FTW!!!
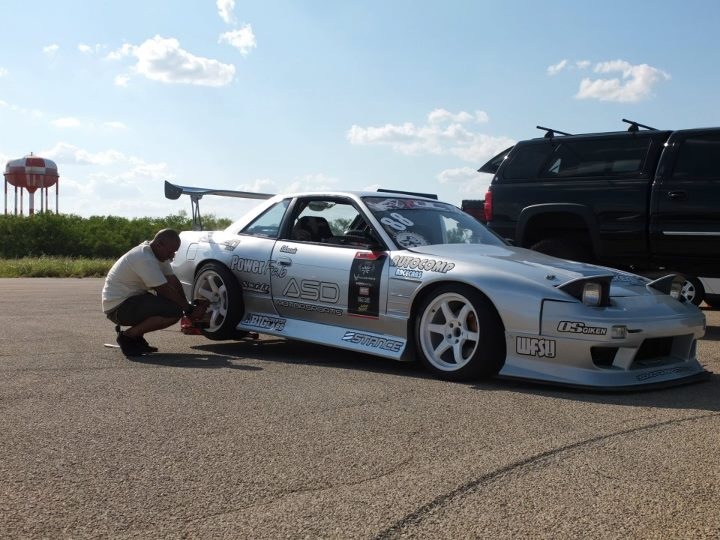
So took some time off from the build to help out my good buddy Stewart Leask during LSB and Rd2 of Lone Star Drift series. Which he killed it in and got 1st..
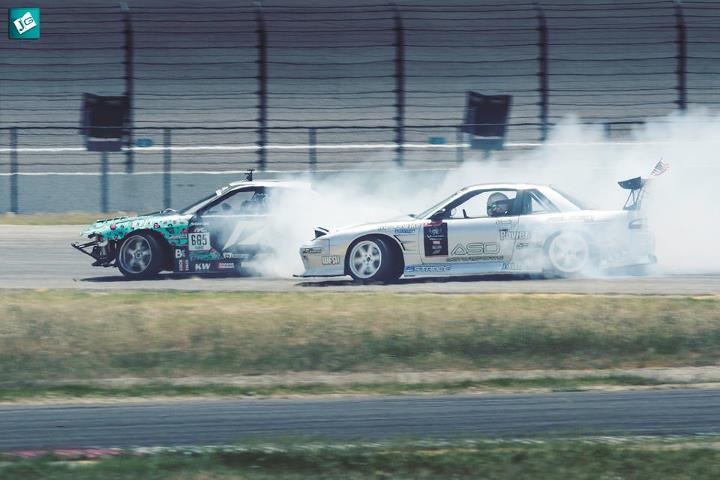
Also had some epic tandems with Matt Powers... too much fun.
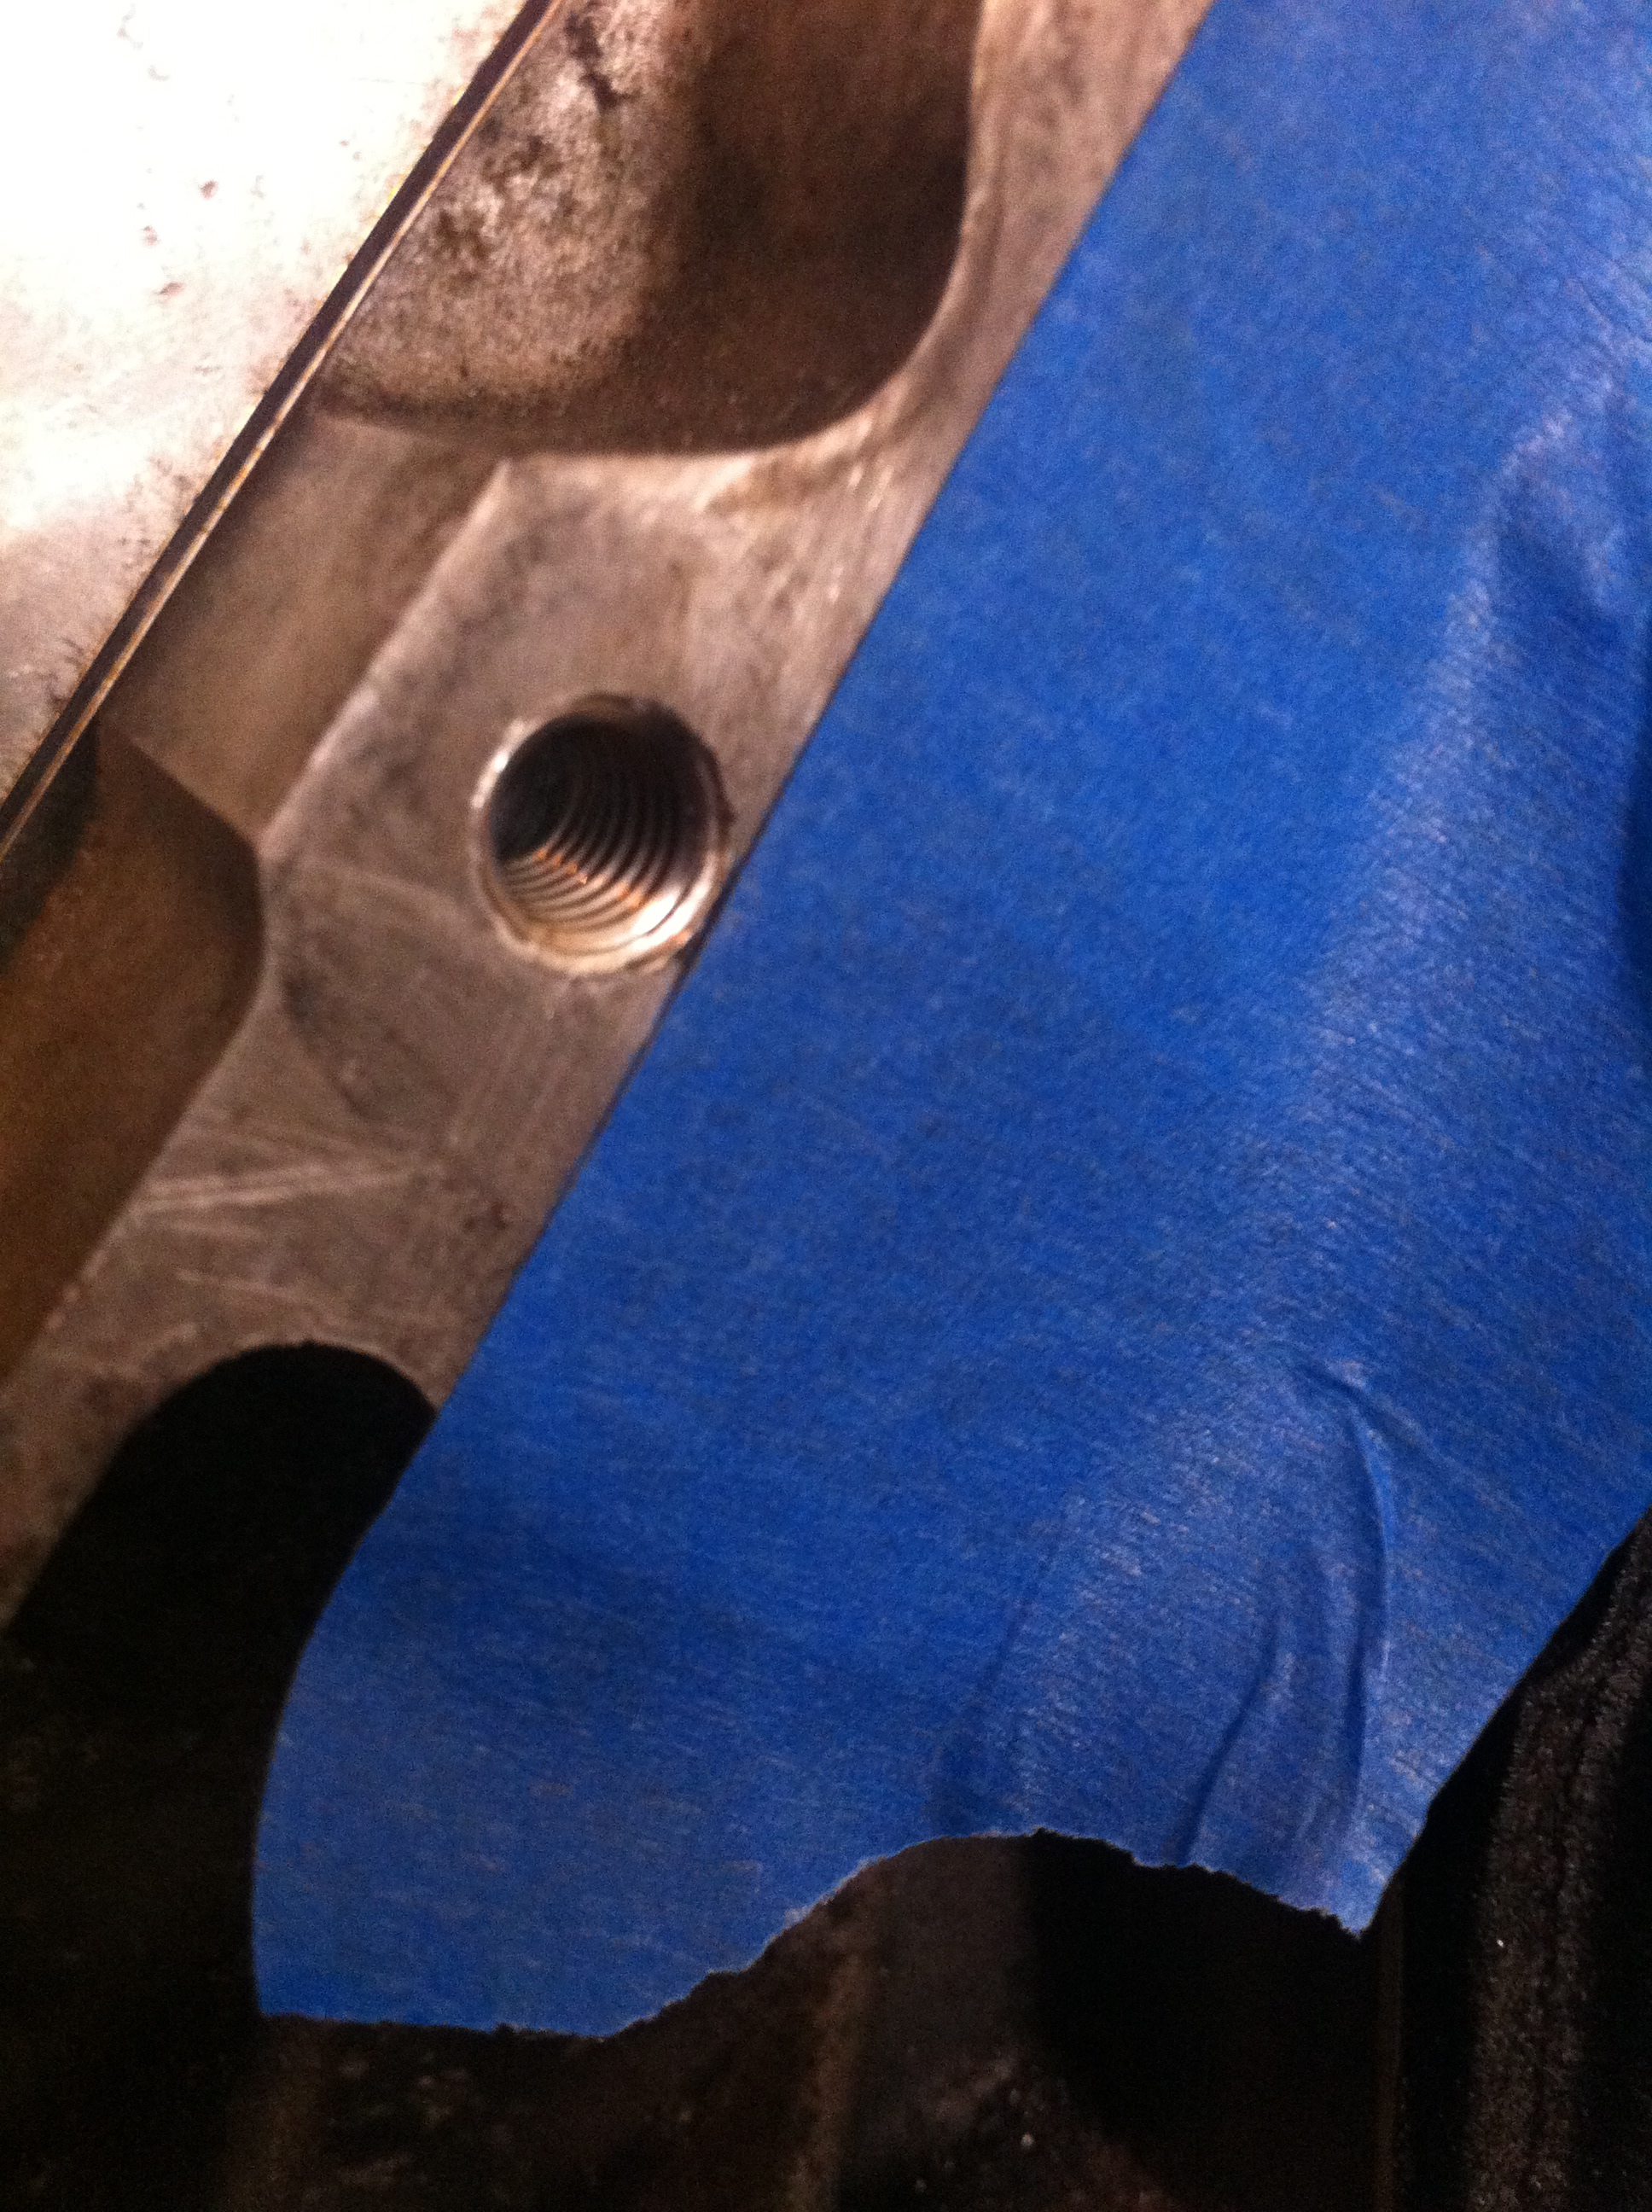
Now back to the build.. So my water pump holes were a bit stripped so I took on the task of re-tapping them with Helicoil which will save me later on done the line.. It was a easy fix for all 6 wholes and came out good.

Next I picked up two sets of KRC Water Bypass fittings, So I can run these to my Tank.
Going to bridge the front and have it sent to the Tank, but the rear will have each side going straight to the Tank, trying to prevent any over heating issues I my come a cross.
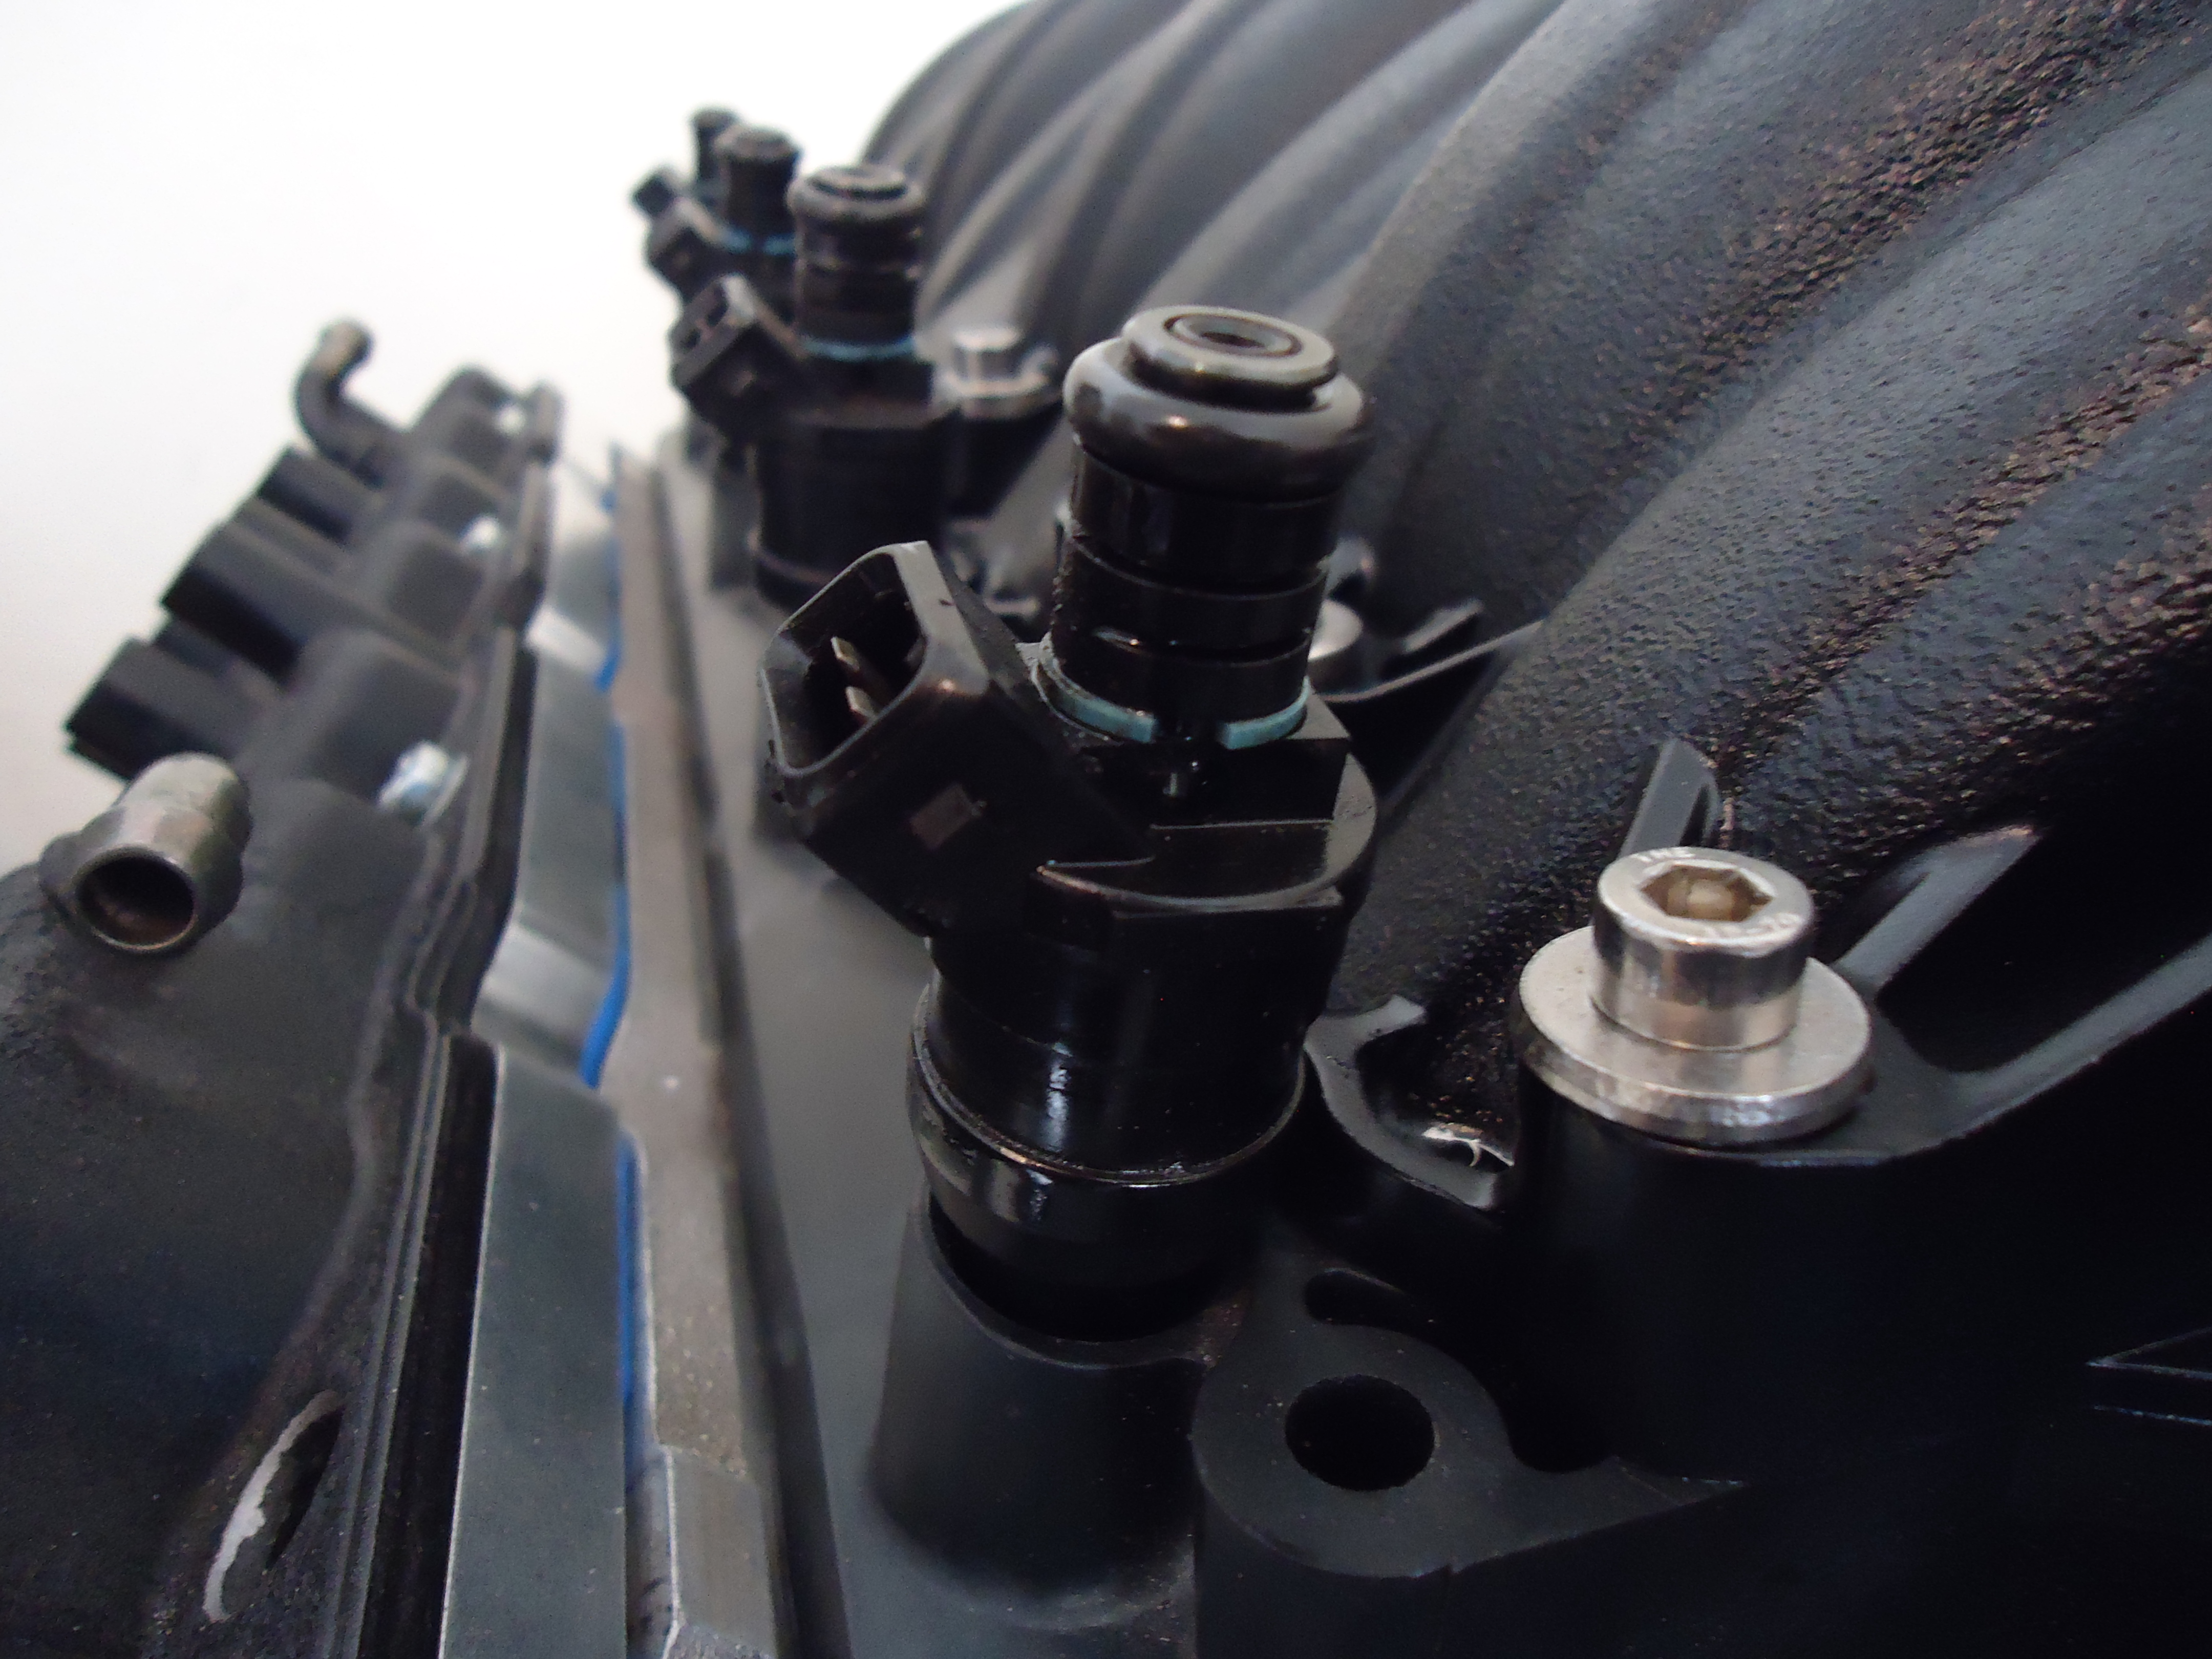
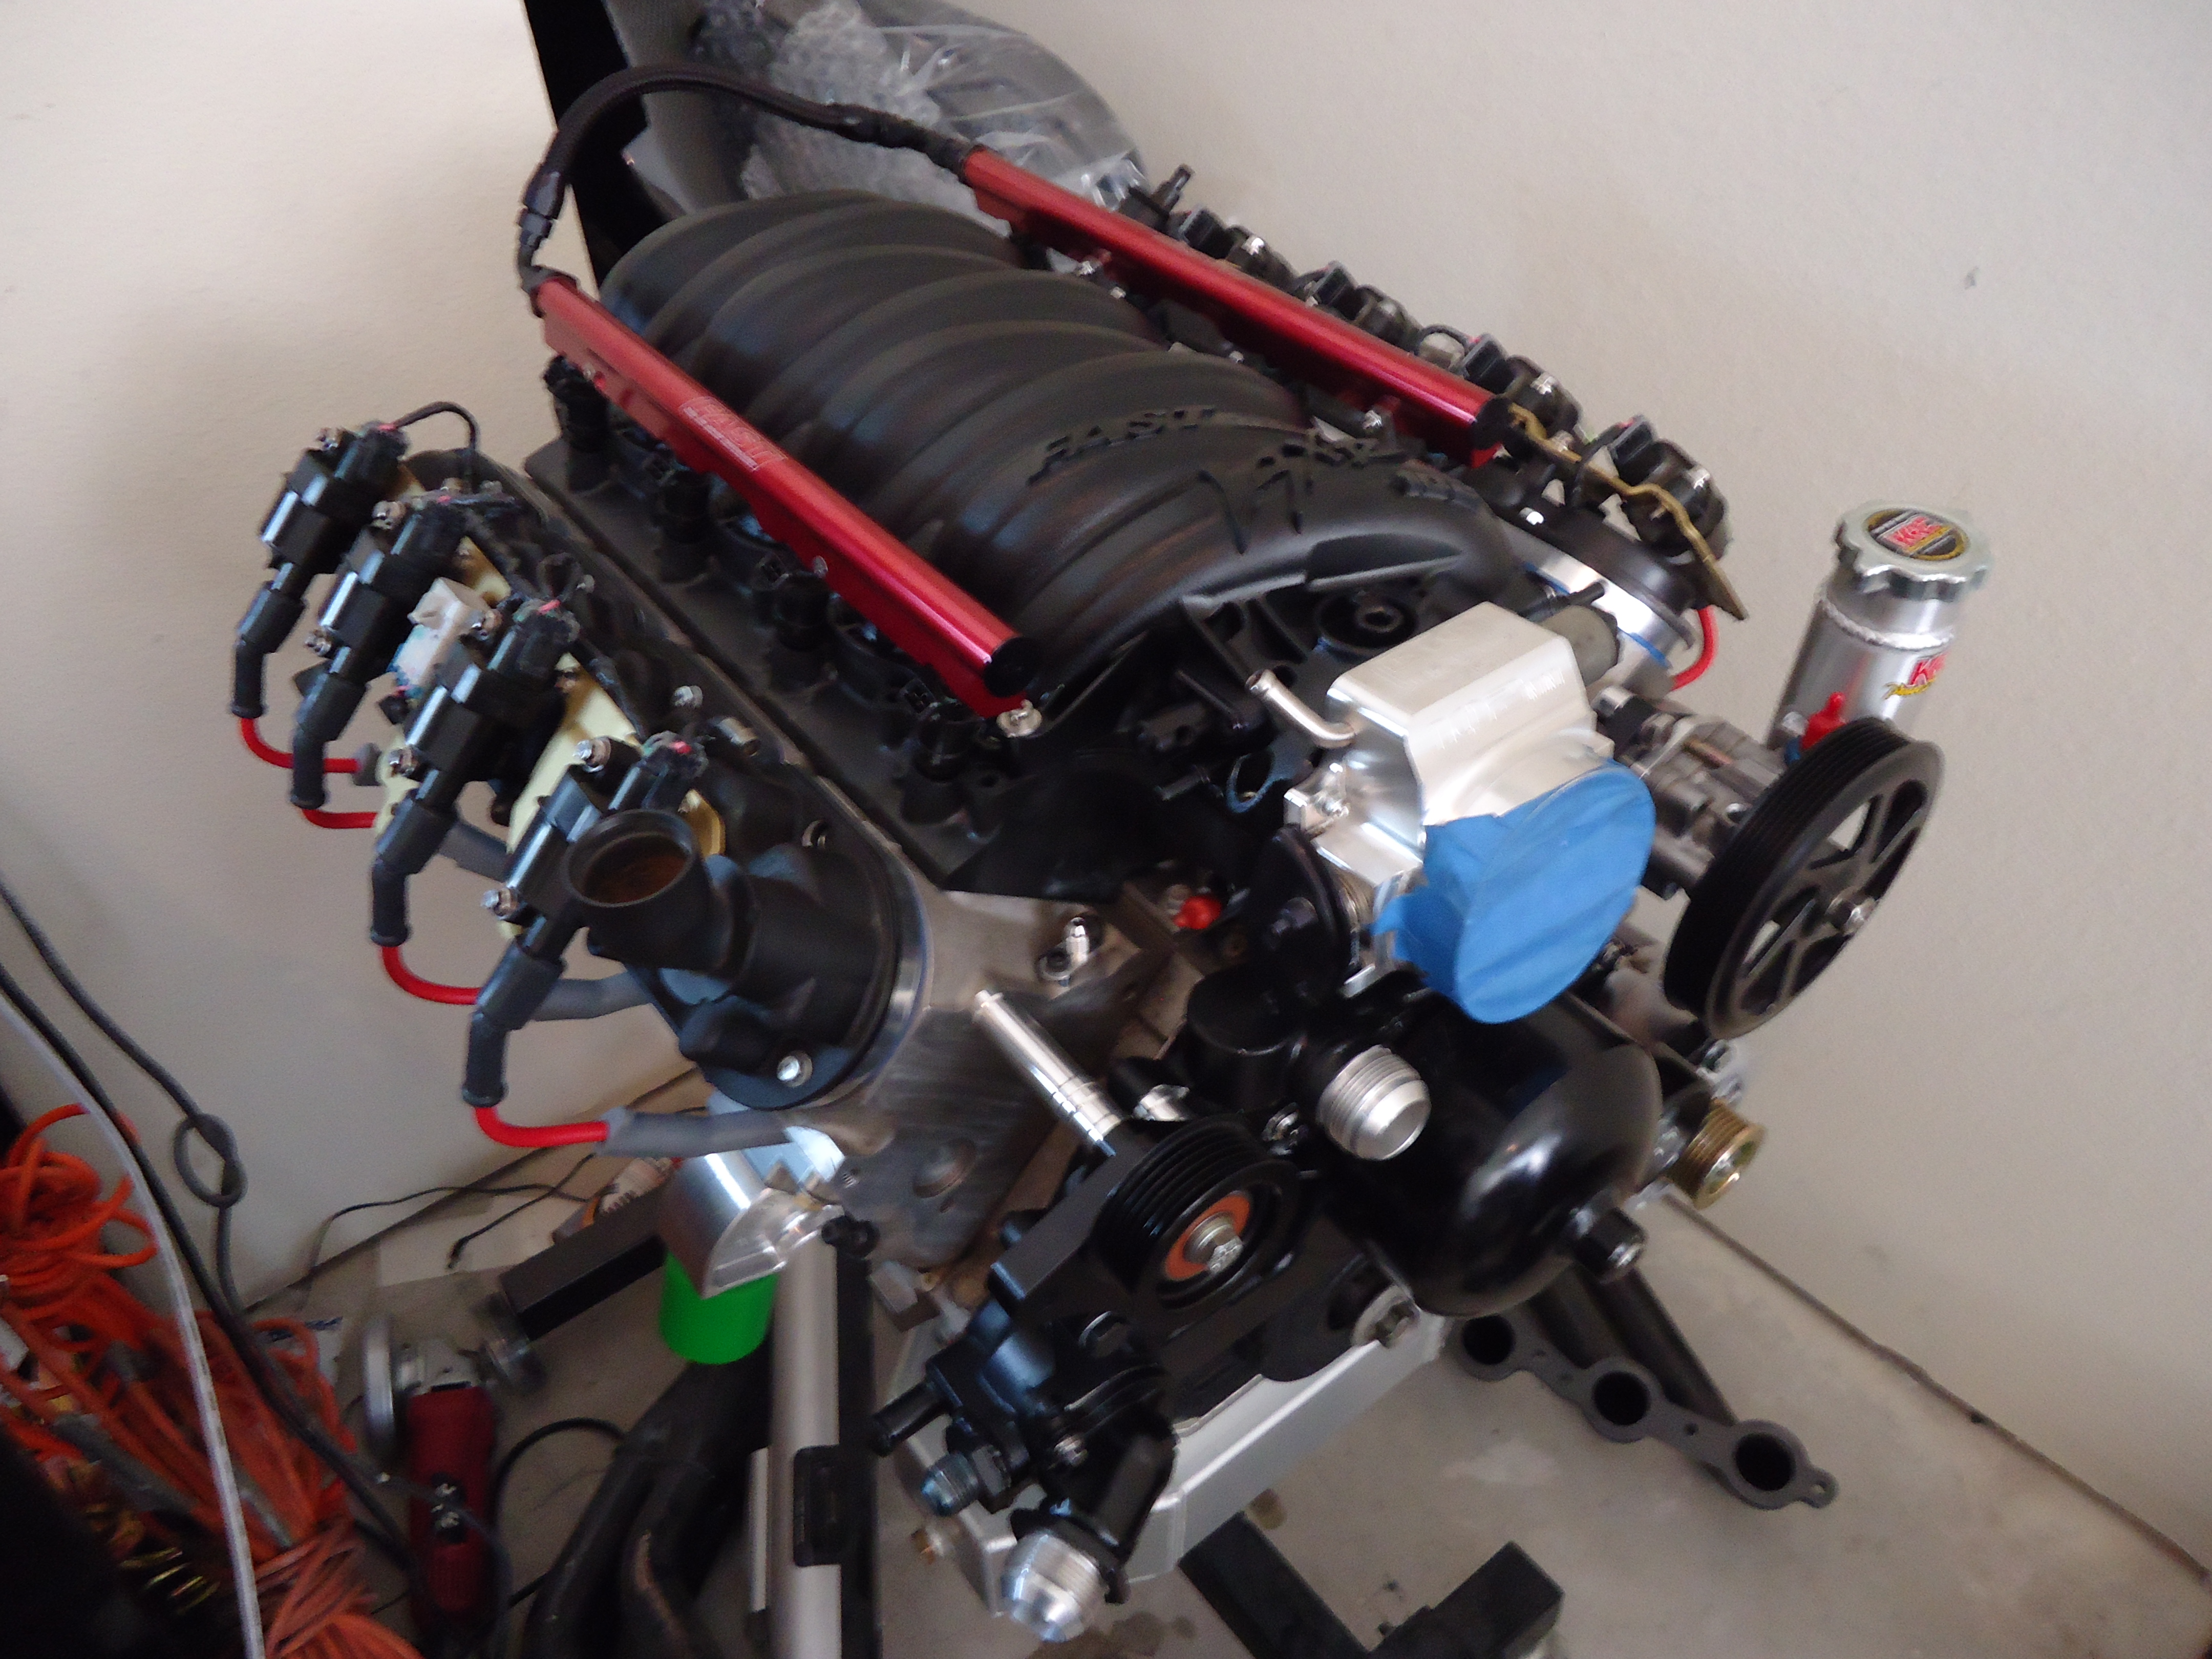
Next I installed my 42lb Lucas injectors with my FAST billet fuel rail, which is a nice upgrade from the one I had installed before.
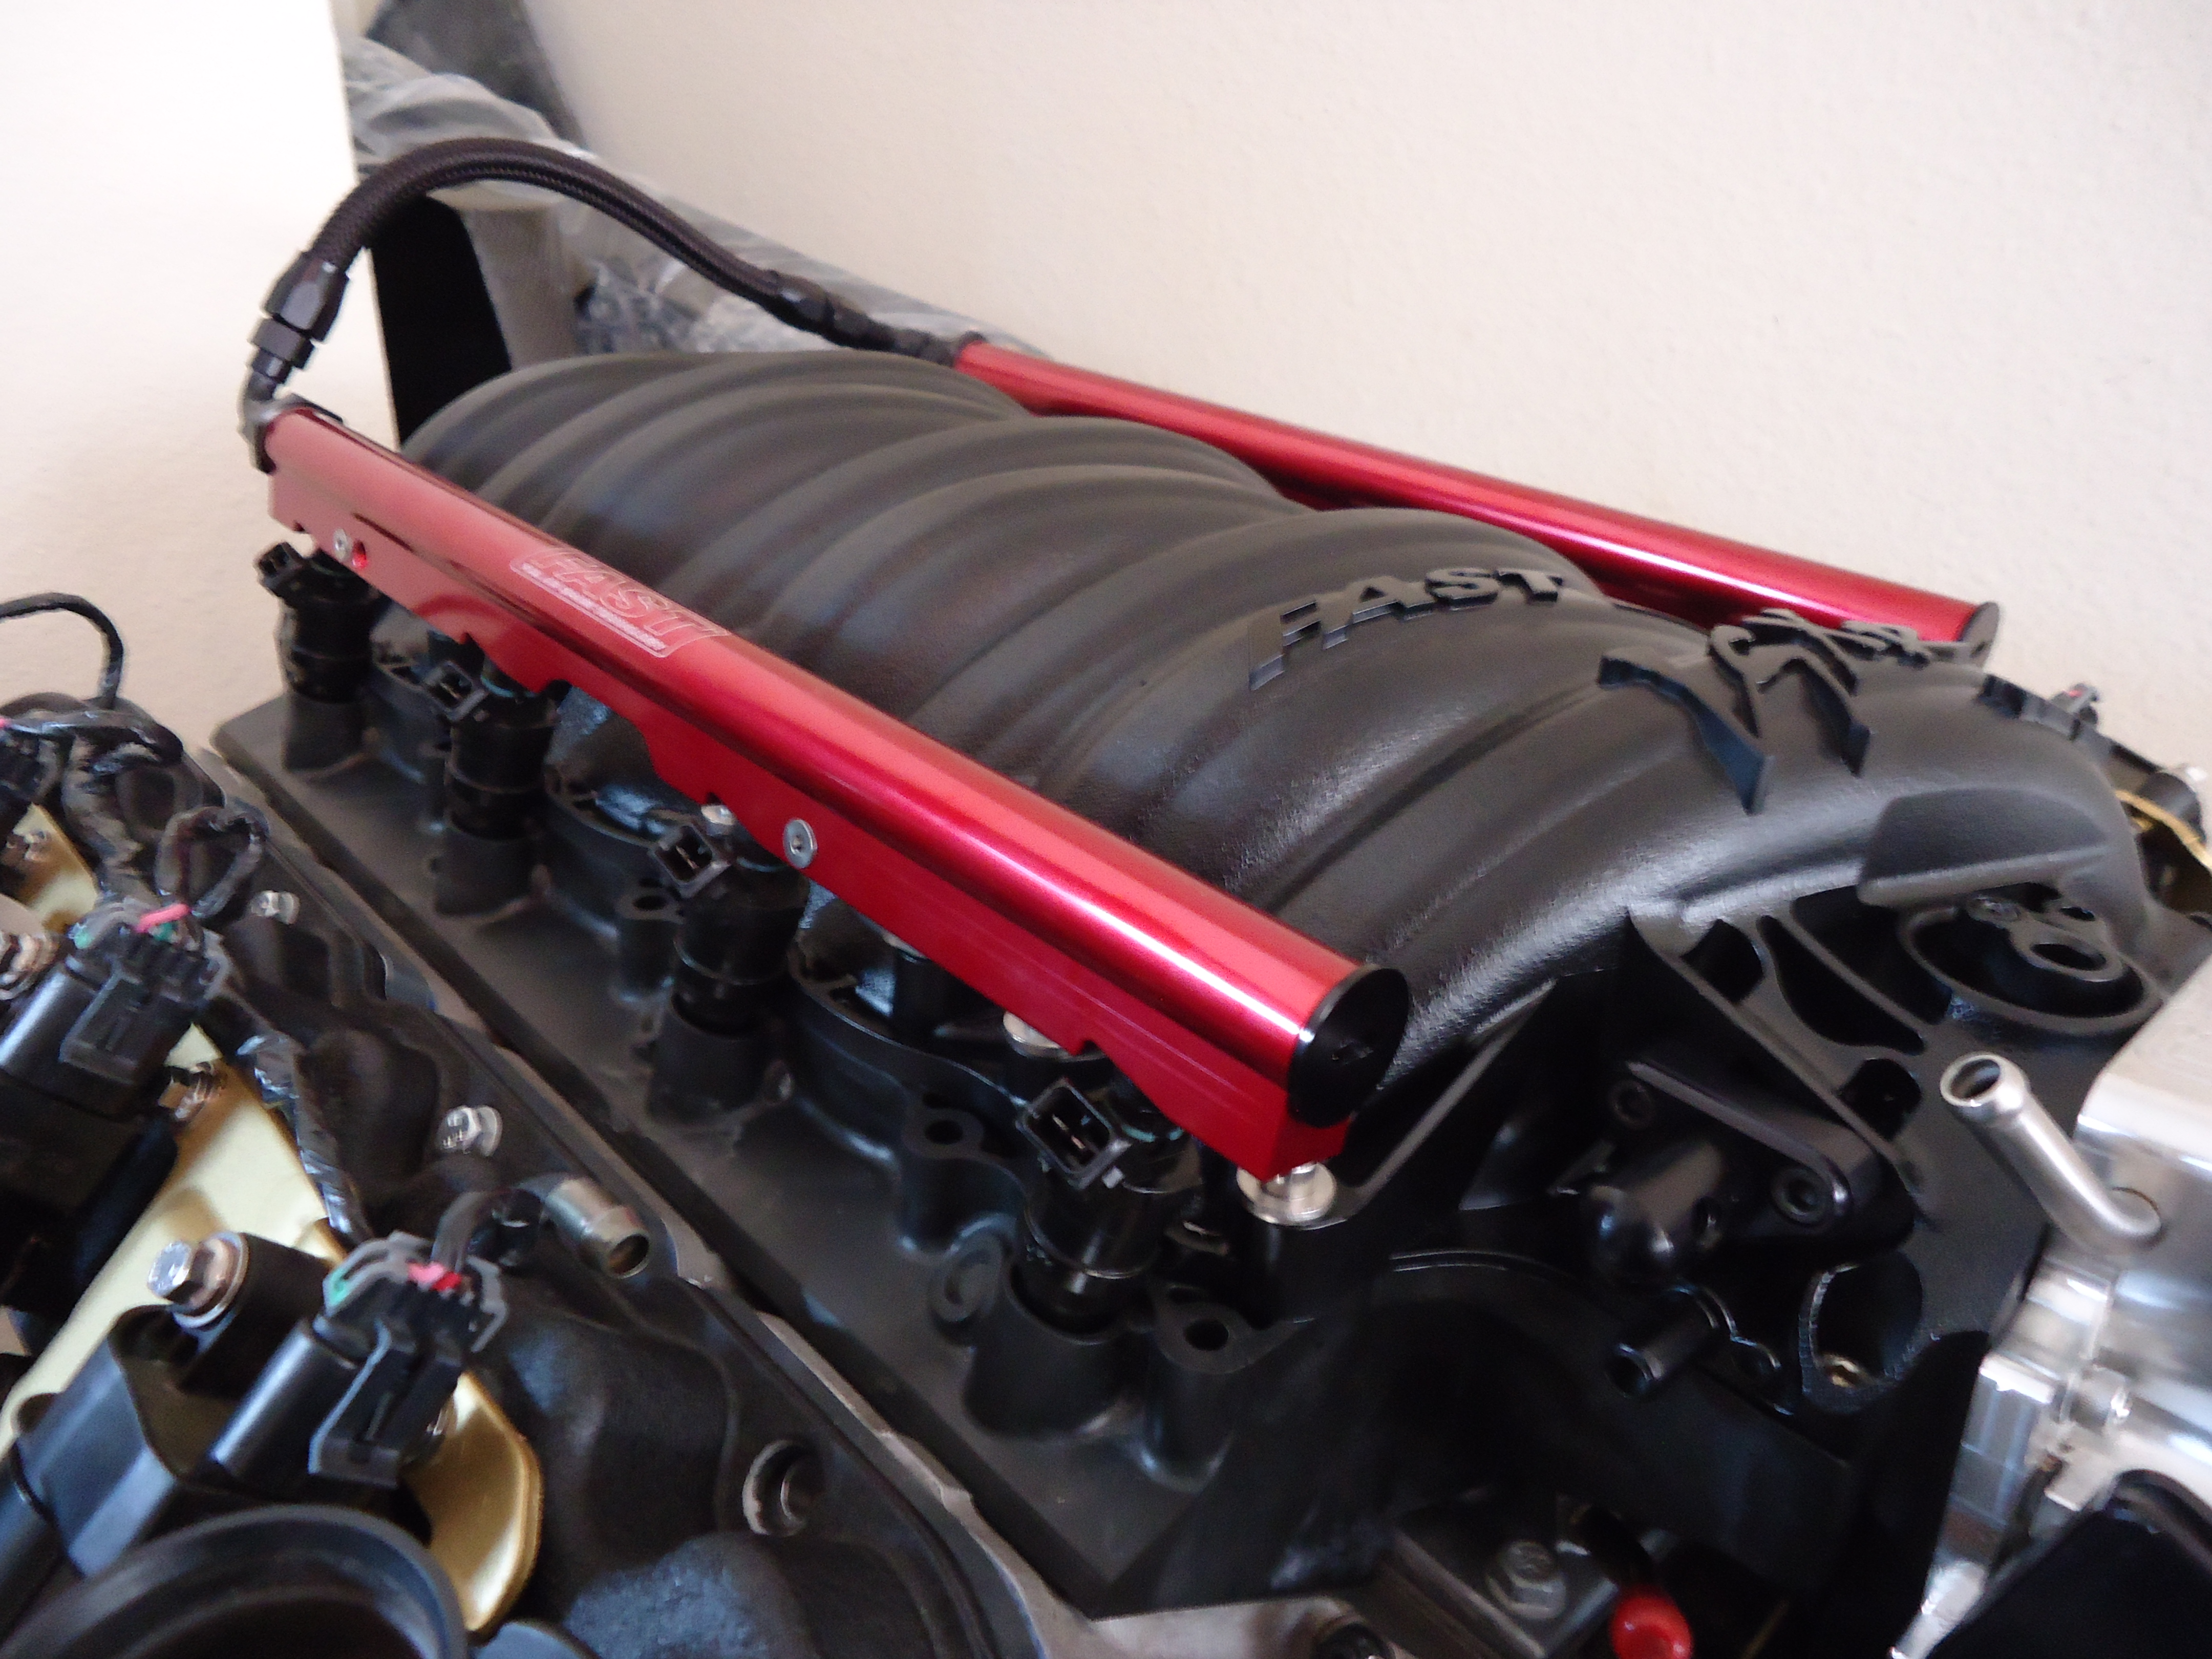
So the rails are installed and they will be bridged and T'ed off in the rear so the passenger side will feed back into the FPR... But nice and clean up front..

Next is my starter..
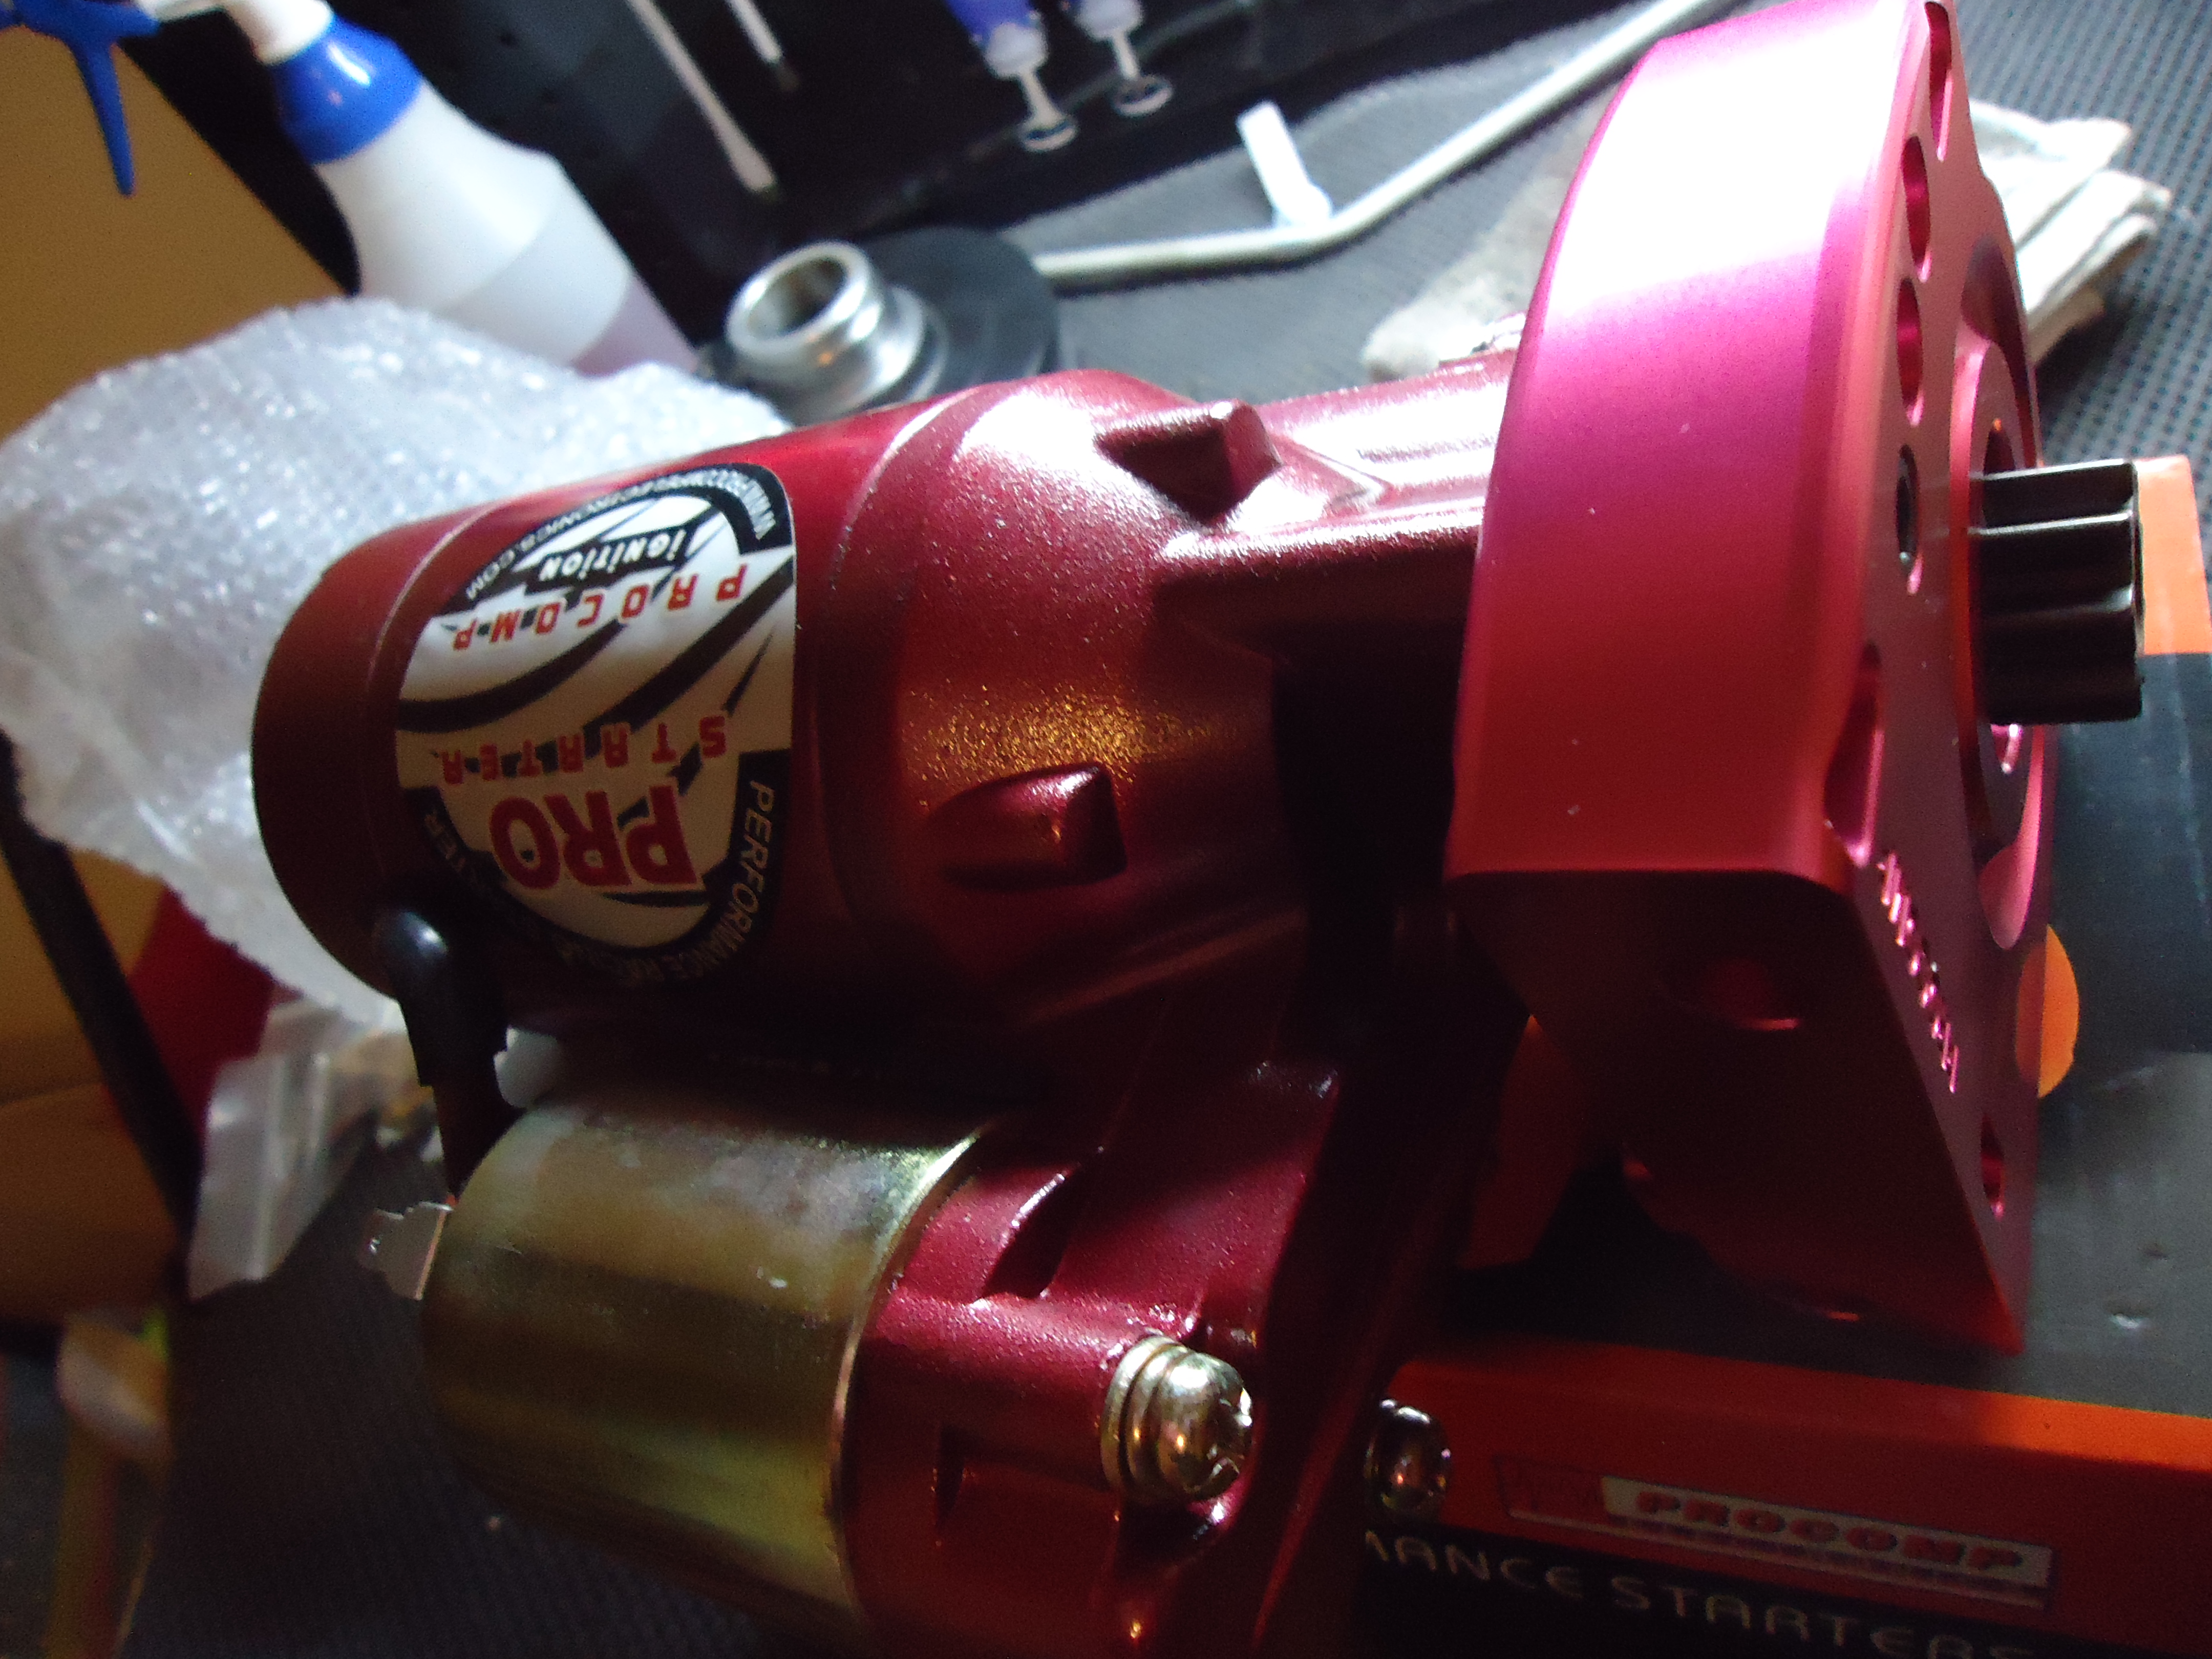
Picked up this nice PRO Starter that I think will get the job done nicely.. And looks good too..
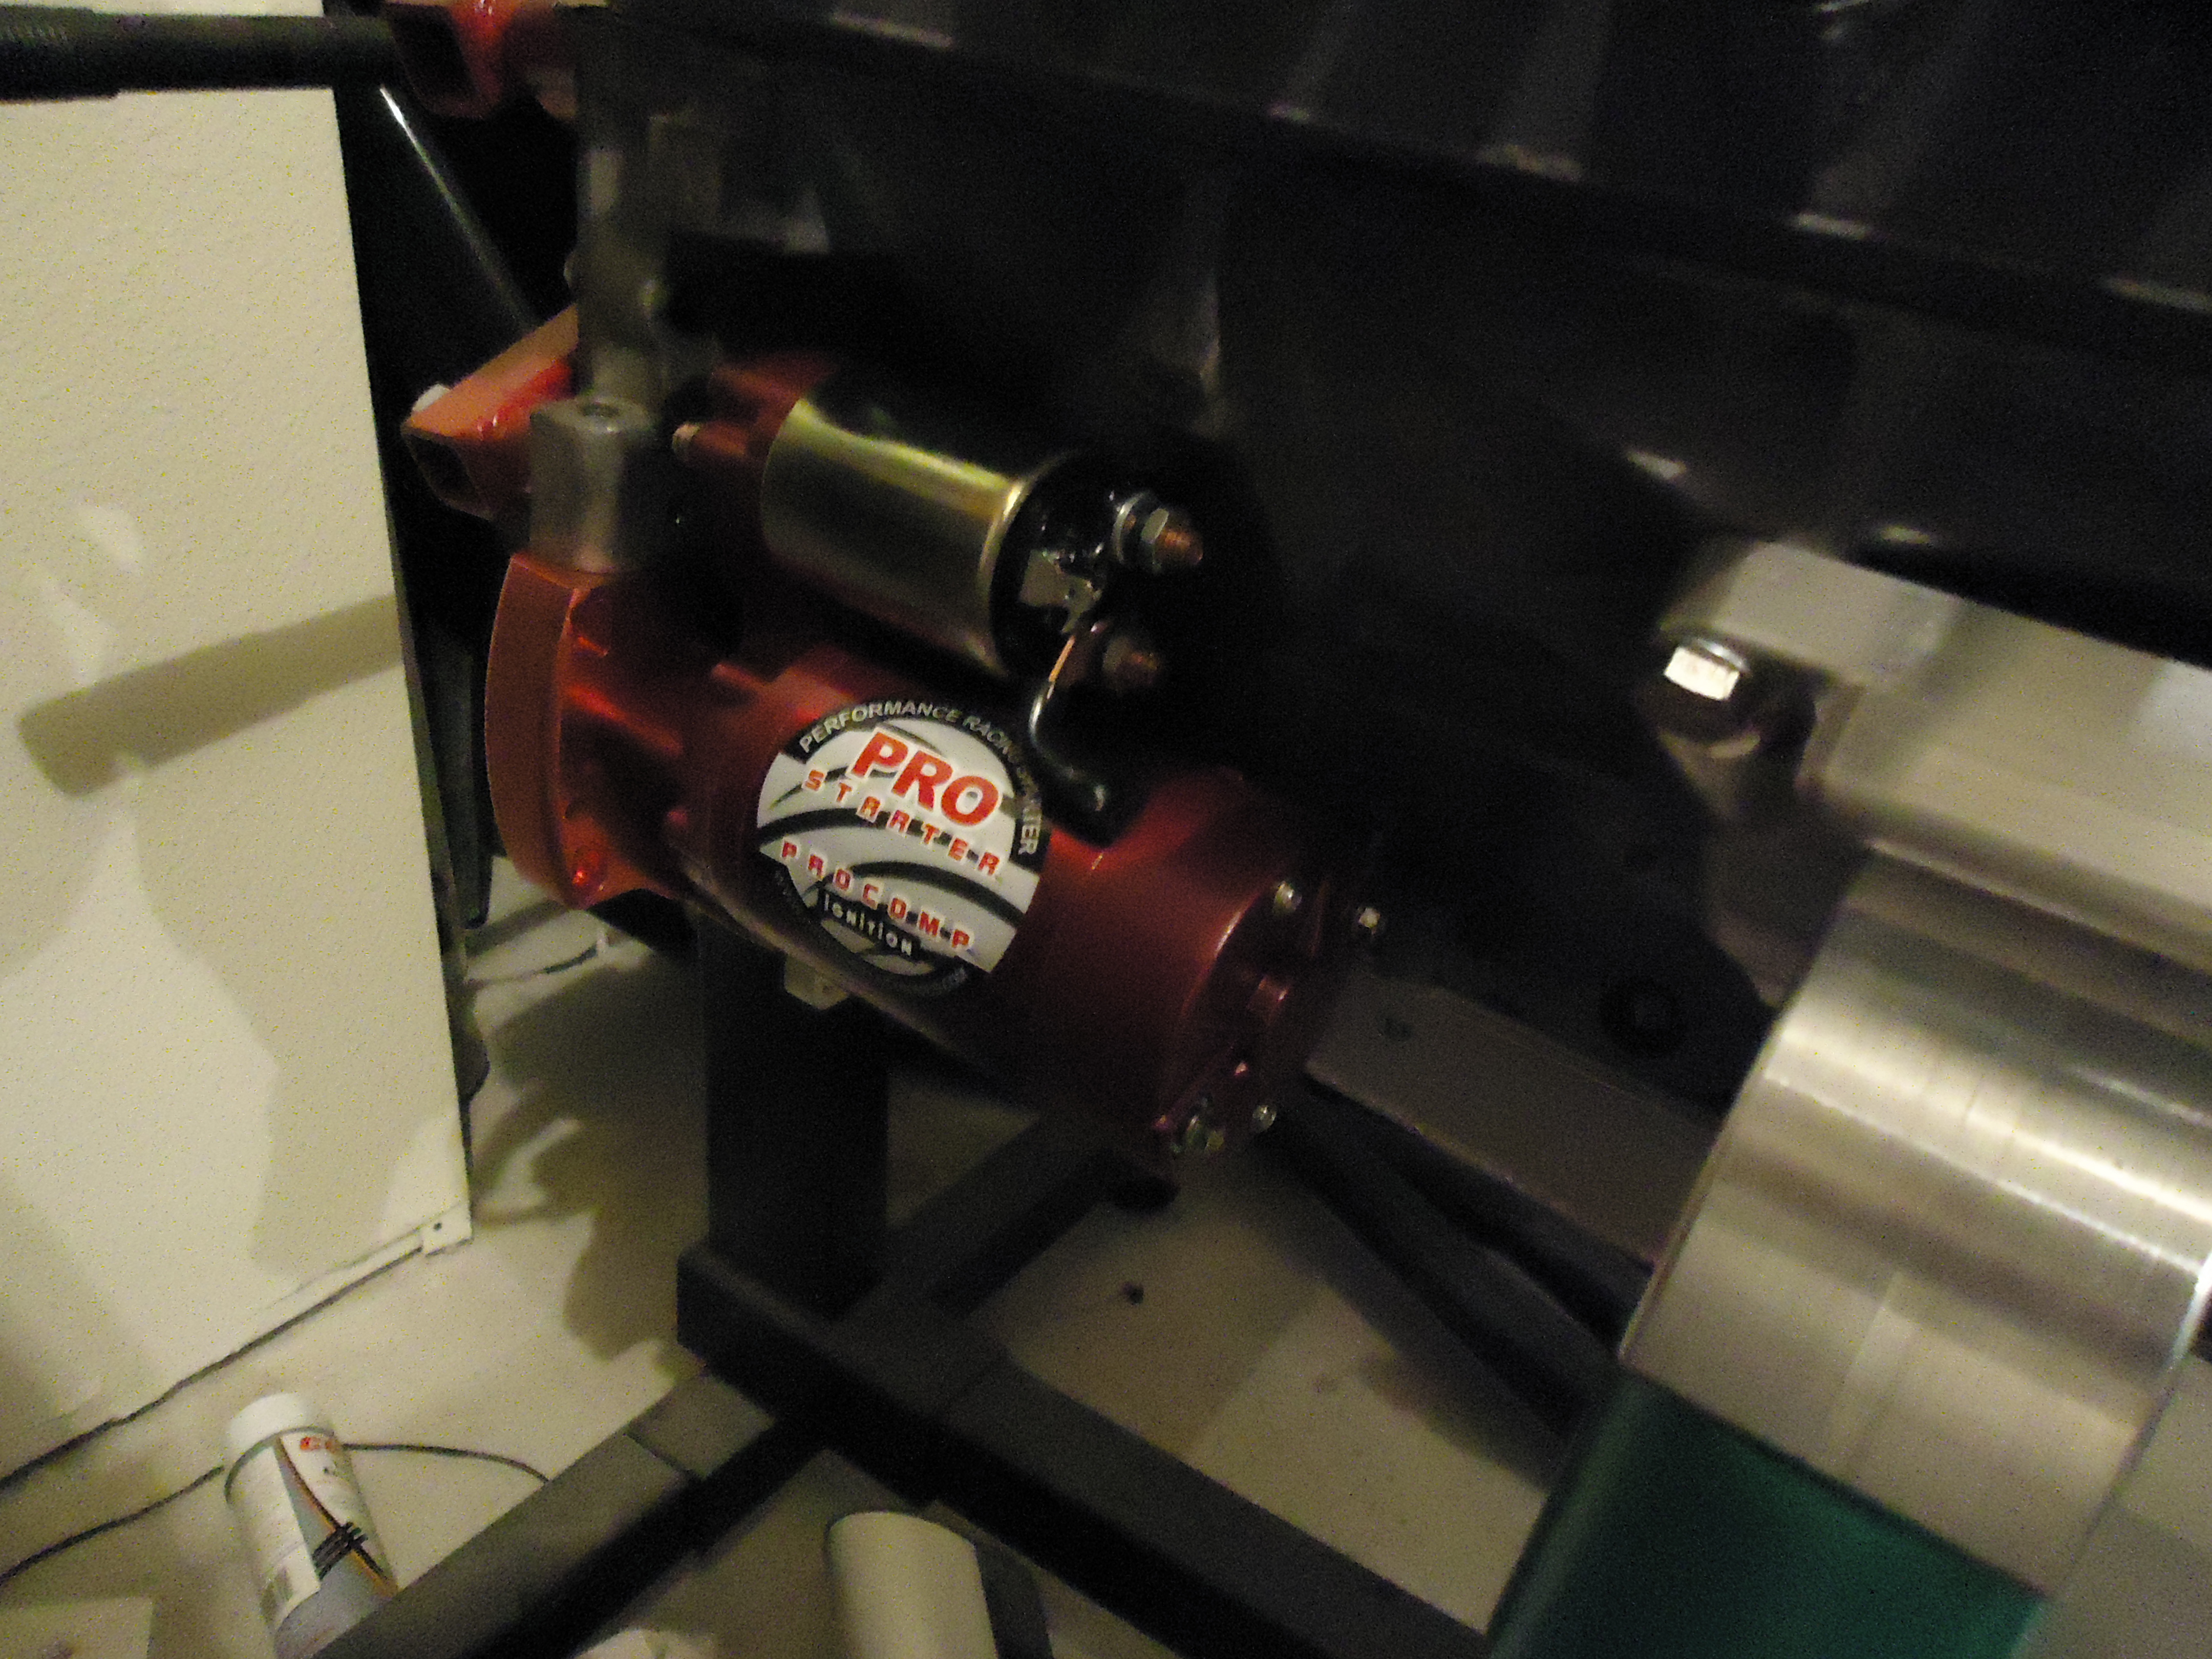
BAM installed. I do still have to replace one or two sensors just to have peace of mind since I found one that was cracked..
But everything is ready to rock,
Just have to get my V-bands welded to my headers and get them ceramic coated and they will be done.
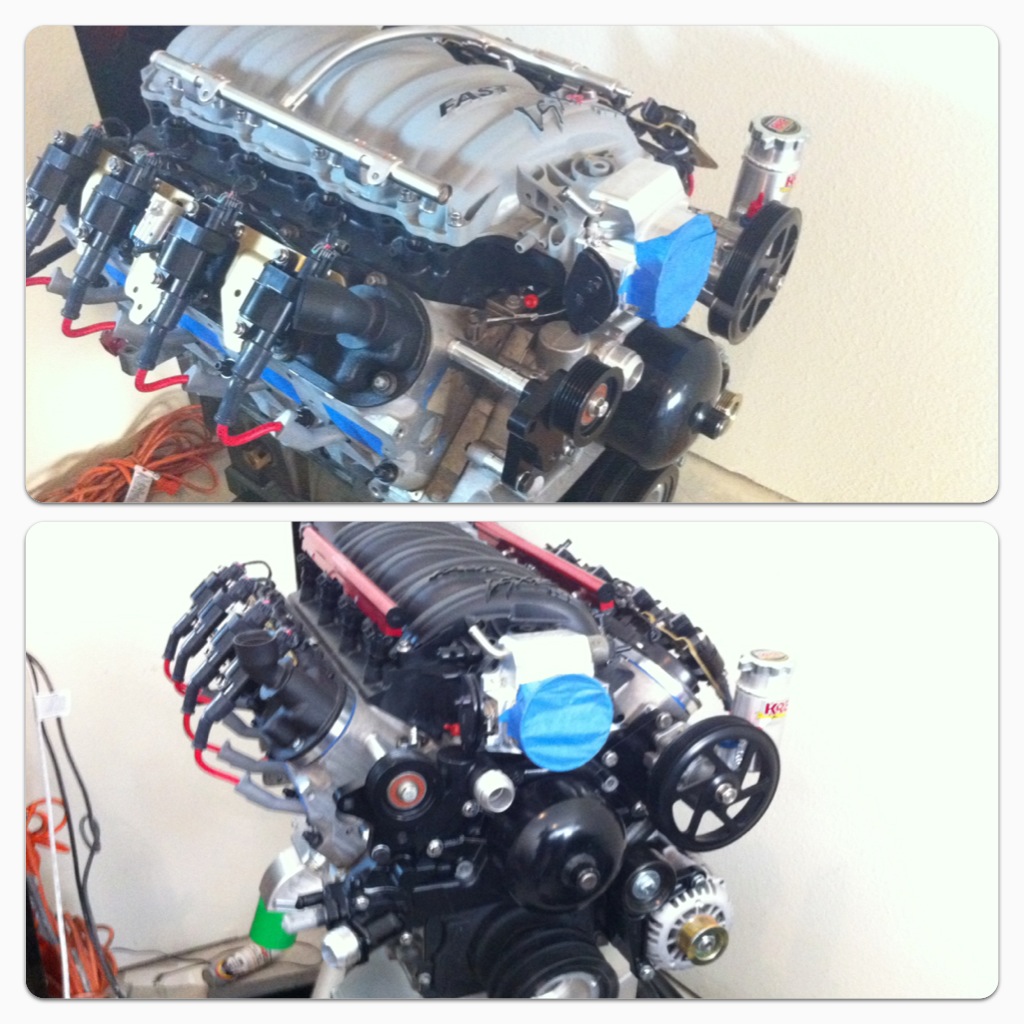
here is a nice pic showing how the engine looked before it got turned into a black beast and with the new fuel rail. Much better and should look good in the Gold engine bay..
Next update will be focused on my suspension, As I am replacing almost everything and have to get everything put on before I can drop motor in.. So till next time enjoy a good beer...
With saying all that lets kick this thing off with the beer for the week which is Magic hat "Elder Betty" this beer is a Weiss Ale type of beer a Hefeweizen yest, which is my fav and by far a good beer for the summer and BBQs.
So with this update I have addressed a couple of things. First was the cam, which I stated on my last update that I have purchased a torquer V3 cam which will better suit my needs as the MS4 was to aggressive. Next was the purchase of new ported and milled heads, which was a impulse buy, so what you see in this pic is me switching over all my springs and valves to the new heads.. And yet again some good beer in the pic which is a Kona Longboard beer so good.
Next I addressed the FAST 102 intake cause I hatted the grey, so painted it black.
Installed the FAST 102 TB and my Lokar Throttle cable bracket and also the sensors. I think it looks really good black
I also repainted my Water Pump to pull all the black components together.
also here is a little teaser of what my fittings will look like.. Black & titanium finish AN fittings FTW!!!
So took some time off from the build to help out my good buddy Stewart Leask during LSB and Rd2 of Lone Star Drift series. Which he killed it in and got 1st..
Also had some epic tandems with Matt Powers... too much fun.
Now back to the build.. So my water pump holes were a bit stripped so I took on the task of re-tapping them with Helicoil which will save me later on done the line.. It was a easy fix for all 6 wholes and came out good.
Next I picked up two sets of KRC Water Bypass fittings, So I can run these to my Tank.
Going to bridge the front and have it sent to the Tank, but the rear will have each side going straight to the Tank, trying to prevent any over heating issues I my come a cross.
Next I installed my 42lb Lucas injectors with my FAST billet fuel rail, which is a nice upgrade from the one I had installed before.
So the rails are installed and they will be bridged and T'ed off in the rear so the passenger side will feed back into the FPR... But nice and clean up front..
Next is my starter..
Picked up this nice PRO Starter that I think will get the job done nicely.. And looks good too..
BAM installed. I do still have to replace one or two sensors just to have peace of mind since I found one that was cracked..
But everything is ready to rock,
Just have to get my V-bands welded to my headers and get them ceramic coated and they will be done.
here is a nice pic showing how the engine looked before it got turned into a black beast and with the new fuel rail. Much better and should look good in the Gold engine bay..
Next update will be focused on my suspension, As I am replacing almost everything and have to get everything put on before I can drop motor in.. So till next time enjoy a good beer...


be careful with paintin the water pump pulley. i painted mine and it caused a squeak where the belt met the pulley and had to use terry cloth to remove to paint.
epic build for an epic car!
epic build for an epic car!


Thread Starter
New Member
iTrader: (9)
Joined: Sep 2004
Posts: 2,840
Likes: 14
From: San Antonio, TX
Thanks everyone for the kind words...
Yeah I did not paint were the belt meets the pulley, but we will see.
Yeah I did not paint were the belt meets the pulley, but we will see.
more info on the water tank setup. my ls2 coolant line setup blocks off the 2 rears and connects the front. i've also blocked off the fitting that goes to the throttle body because i dont need that sucker warmed up.
none the less, your car gives me a chubby.
none the less, your car gives me a chubby.
Thread Starter
New Member
iTrader: (9)
Joined: Sep 2004
Posts: 2,840
Likes: 14
From: San Antonio, TX
Thanks bro for the kind words..
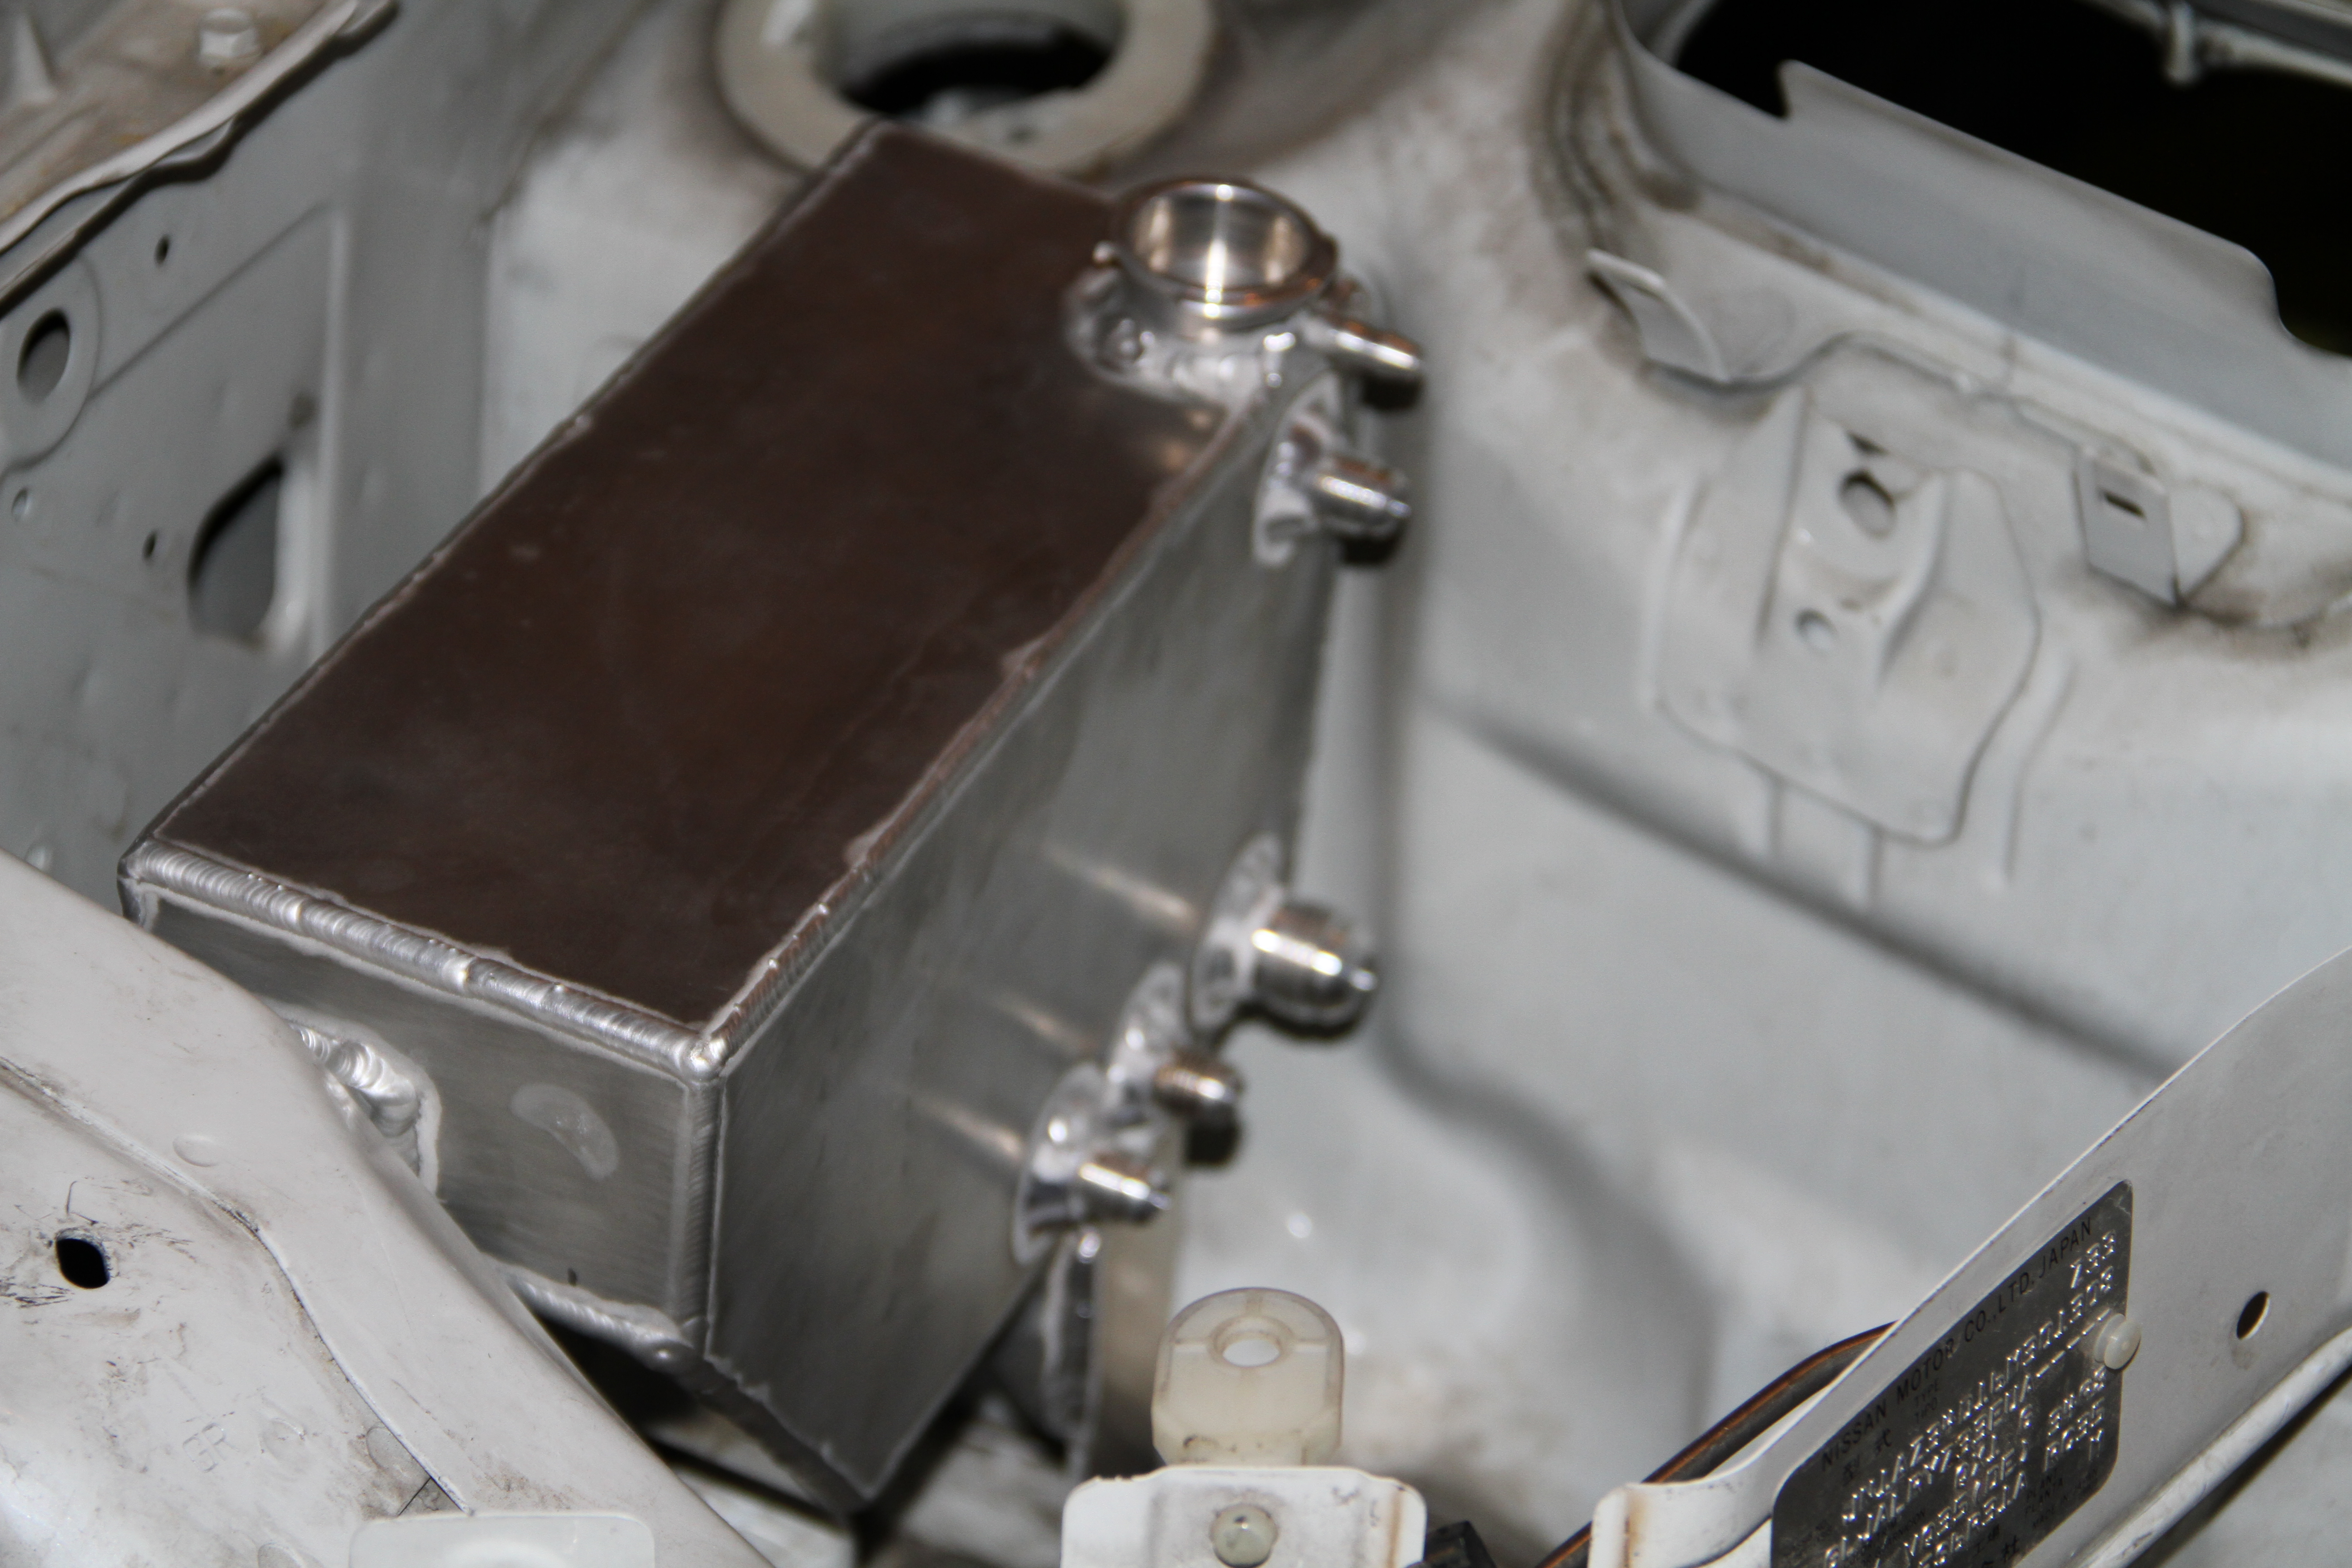
Okay here is a pic of my coolant tank. I have added another fitting to this so I have 5 fittings now..
The top fitting goes to my Radiator
The big fitting bottom far right goes to my water pump
the next fitting goes to drivers rear coolant line
next fitting goes to the passenger rear coolant line
And the next fitting goes to the bridge coolant line in the front of the engine.
Hope this helps, also keep the tank above the engine to reduce any chances of air pockets..
Thread Starter
New Member
iTrader: (9)
Joined: Sep 2004
Posts: 2,840
Likes: 14
From: San Antonio, TX
Just to give everyone a heads up George has now completed developing the rear dual caliper kit for the Z33/G35 community, and I should receive the prototype soon and will have a nice write up on this. I feel this is a good option for any one that is in need of a dual caliper setup.. Here is a pic of the kit and a small description form George..

"Z33/G35 Dual caliper bracket final prototype. This one was significantly harder than the s-chassis one to design. CAD designed and FEA tested. It is compatible with stock iron and brembo calipers. It is also compatible with OEM rotors! They will be released after some real world testing. Watch for it!"
"Z33/G35 Dual caliper bracket final prototype. This one was significantly harder than the s-chassis one to design. CAD designed and FEA tested. It is compatible with stock iron and brembo calipers. It is also compatible with OEM rotors! They will be released after some real world testing. Watch for it!"
Thread Starter
New Member
iTrader: (9)
Joined: Sep 2004
Posts: 2,840
Likes: 14
From: San Antonio, TX
Here is his test fit
Plastic prototype for test fit

Looks good, you guys can use either two OEM Iron Calipers, two Brembos or two aftermarket Calipers if you choose too.. Dual 6 piston calipers anyone??

Plastic prototype for test fit
Looks good, you guys can use either two OEM Iron Calipers, two Brembos or two aftermarket Calipers if you choose too.. Dual 6 piston calipers anyone??
