
Slowly but surely...


Thread Starter
Registered User
Joined: Oct 2007
Posts: 38
Likes: 0
From: Missouri
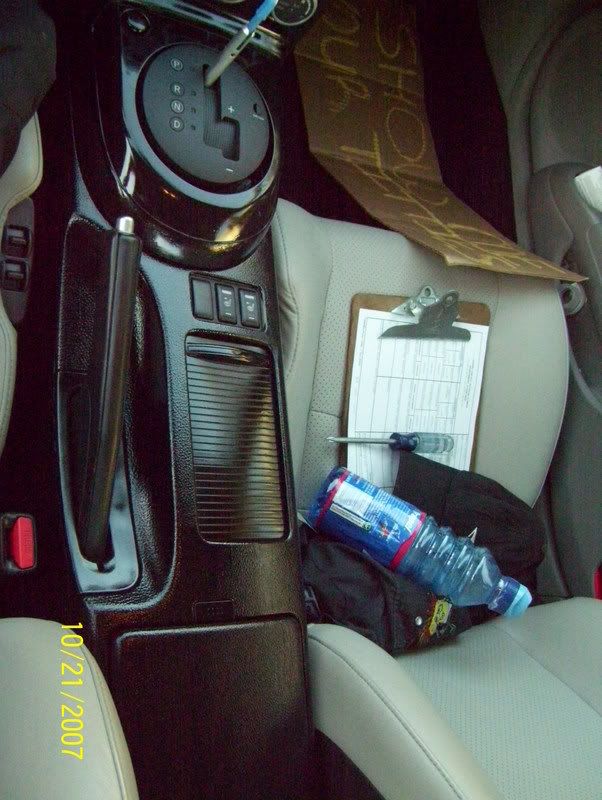
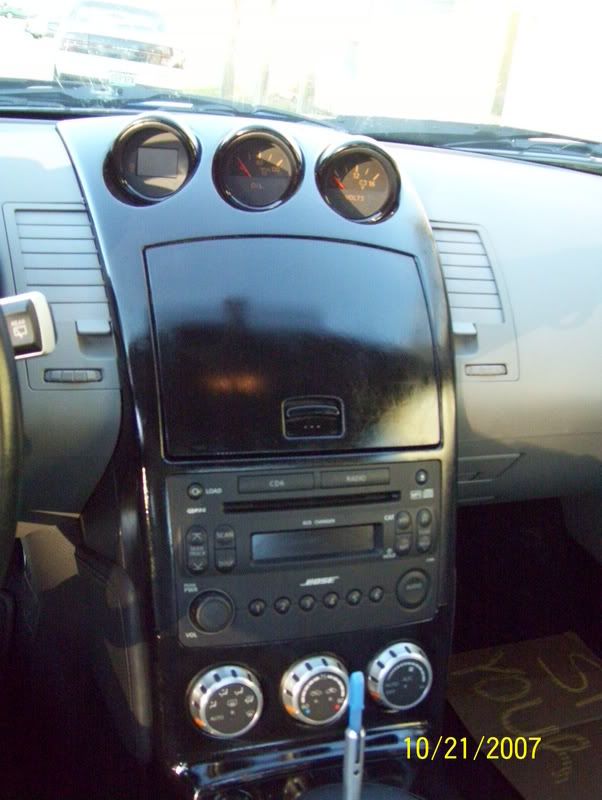
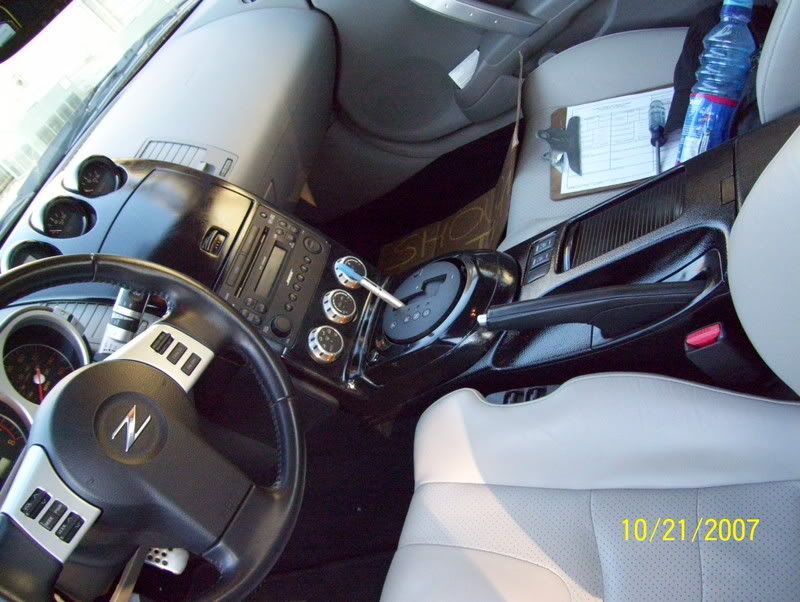
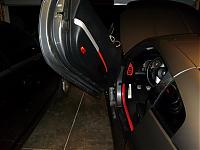
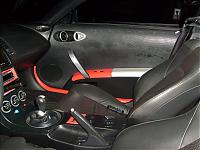
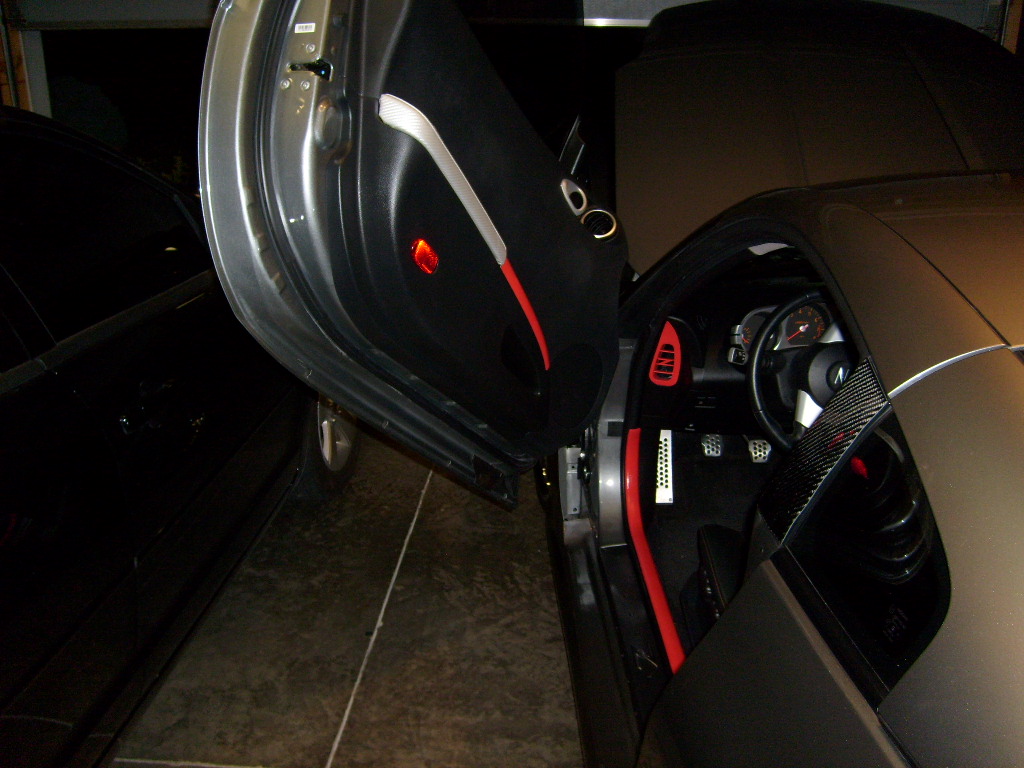
Just waiting for more time to get things done on the car but for now I figure I would change up the inside a touch. The gray/tan interior everywhere is nice but nowhere near my flavor
Now I need to figure out how to remove just about everything else in the car. Any tips from people?
Also gonna get some blue in there and have a blue/black theme with it. Just one of those things
Now I need to figure out how to remove just about everything else in the car. Any tips from people?
Also gonna get some blue in there and have a blue/black theme with it. Just one of those things
Um, wow. I hate to say it but that doesnt look clean at all. It looks like you just popped the pieces out and shot them with a rattle can without any prep or anything. I'd order a carbon dress up kit ASAP.
Thread Starter
Registered User
Joined: Oct 2007
Posts: 38
Likes: 0
From: Missouri
Ehhh not a carbon fan IMO...but I know its not the best job but they were sanded down to remove texture (top parts) and the clear needs to sit for a bit longer thats why it seems fuzzy/bright
Originally Posted by lwrthnu
You must have been a boy scout becuase you are definately prepared for the mamorily gifted. LOVE THE SIGN!!! Not so much the paint though, it does look like rattle can job.


Trending Topics

Banned
Joined: Oct 2007
Posts: 103
Likes: 0
From: I chickened out...
Definately rubbing compound. A for effort. Problem with doing these parts is you have to make sure any armor all/cleaning stuff you have ever used is gone. Then need to get some fine grain sand paper and lightly sand the pieces and primer and paint. I did parts over and over the fast/wrong way till I finally took the time to do it wright. Here is couple pics of how mine turned out. And the link below with tons of pics, might give you some more ideas. Most people wouldn of even bothered so keep trying.


Last edited by modified350z; Oct 21, 2007 at 05:42 PM.

Thread Starter
Registered User
Joined: Oct 2007
Posts: 38
Likes: 0
From: Missouri
Hmm dunno guys. Used my mouse sander with 320grit and then 6 and 800wet, cleaned it with 75/25 water alcohol mix, dried it with the hairdryer, grey primer (its what I had), black gloss....Nothing different from what I did in my bagged ranger just rushed...like I said not the best job but its just for now

But does anyone know removal on the other pieces?
Oh and the sign. LOL...keeps me busy on the highway with the long drives
But does anyone know removal on the other pieces?
Oh and the sign. LOL...keeps me busy on the highway with the long drives

That looks bad, you should have either sanded it smooth and painted it glossy or left it how it was. That glossy textured look is kind of tacky. And what is with the show me your ******* sign?
Originally Posted by modified350z
Definately rubbing compound. A for effort. Problem with doing these parts is you have to make sure any armor all/cleaning stuff you have ever used is gone. Then need to get some fine grain sand paper and lightly sand the pieces and primer and paint. I did parts over and over the fast/wrong way till I finally took the time to do it wright. Here is couple pics of how mine turned out. And the link below with tons of pics, might give you some more ideas. Most people wouldn of even bothered so keep trying.Attachment 165677
Attachment 165678
Attachment 165679
Attachment 165680
Attachment 165681
Attachment 165678
Attachment 165679
Attachment 165680
Attachment 165681
Thread Starter
Registered User
Joined: Oct 2007
Posts: 38
Likes: 0
From: Missouri
Dunno mesa. Not necessarily the biggest fan of CF kind of texture but its tasteful IMO. Guess it all depends on what you are going for...
Personally id rather have a ride I know is customized and different than a ride full of bolt-on goodies that everyone will have.
Thats why the blue inside the truck interior...

Personally id rather have a ride I know is customized and different than a ride full of bolt-on goodies that everyone will have.
Thats why the blue inside the truck interior...


Thread
Thread Starter
Forum
Replies
Last Post