
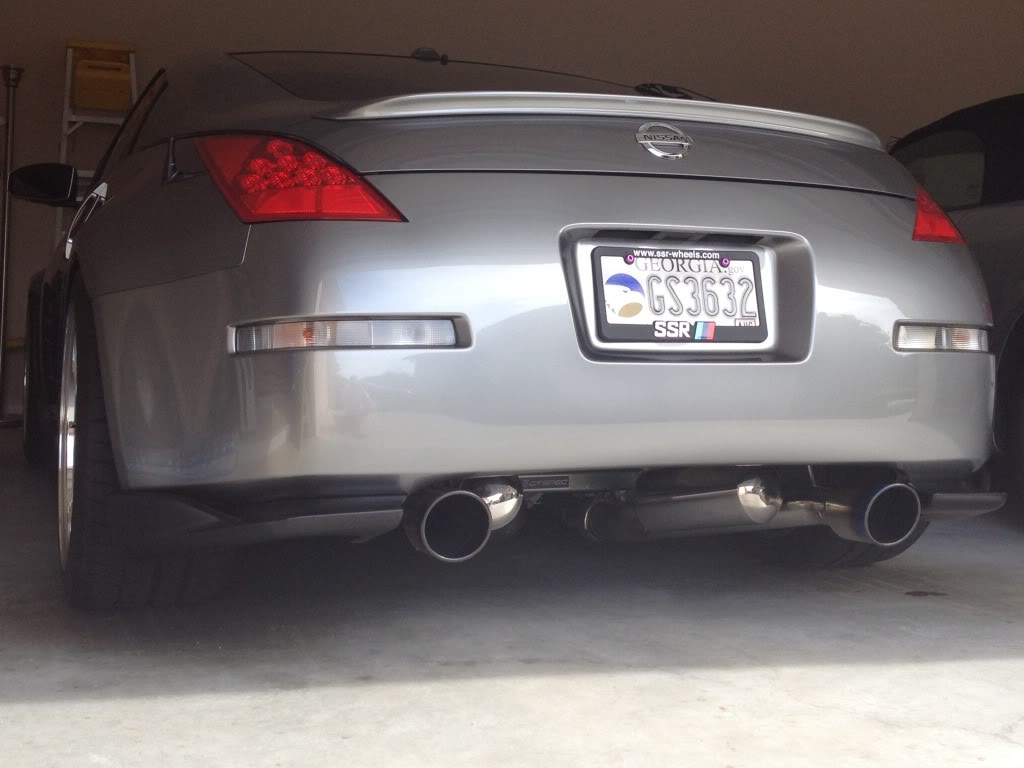
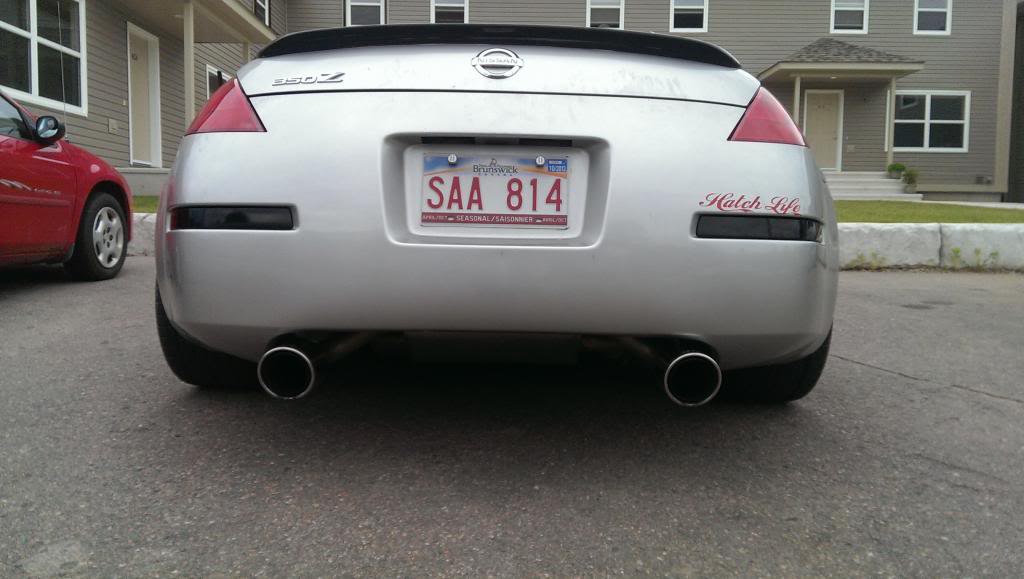
"bumper tuck" pic request!!!


<a href="http://www.flickr.com/photos/29093503@N06/5828880471/" title="Kindaflushed by Q. BiN RaMel, on Flickr"><img src="http://farm4.staticflickr.com/3431/5828880471_d32224e9c3.jpg" width="334" height="500" alt="Kindaflushed "></a>
<a href="http://www.flickr.com/photos/29093503@N06/5946386047/" title="_DSC2819 by Q. BiN RaMel, on Flickr"><img src="http://farm7.staticflickr.com/6131/5946386047_2ab41d0c34.jpg" width="500" height="334" alt="_DSC2819"></a>
here are some of the pix mine....
<a href="http://www.flickr.com/photos/29093503@N06/5946386047/" title="_DSC2819 by Q. BiN RaMel, on Flickr"><img src="http://farm7.staticflickr.com/6131/5946386047_2ab41d0c34.jpg" width="500" height="334" alt="_DSC2819"></a>
here are some of the pix mine....


Registered User
Joined: May 2013
Posts: 11
Likes: 0
From: Las Vegas, Nevada
Does anyone have a picture of this done with a stock exhaust? One of my tabs is broken anyways on my bumper so it sags slightly on one side. I think this would be a good remedy without buying and painting another bumper.


Registered User
Joined: Nov 2012
Posts: 8
Likes: 0
From: New Brunswick, Canada
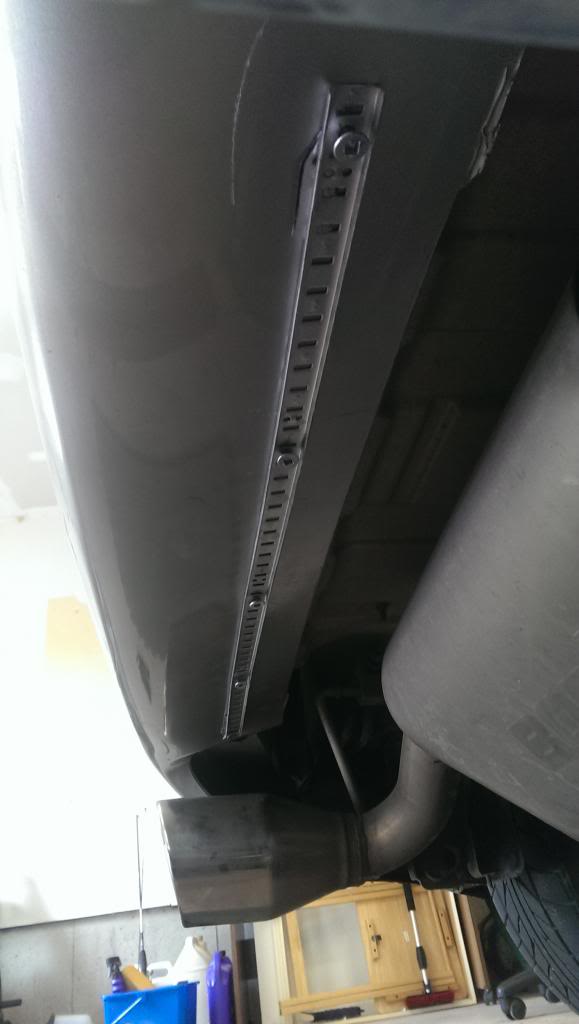
I know this thread is a little old, but I thought I'd add in my bumper tuck to help some people out. I notice a lot of people get the bumper sag between the screws. So I picked up this little metal thing at my Home Hardware (I don't think you have those in the states but any hardware store should have it). I'm not exactly sure what it is, but it works beautifully. Just grabbed a relatively-close-to-body-color rattle can and sprayed it. Metal bar was just like $4. Hopefully this can help some people with that bad sagging between screws.


Joined: Jan 2009
Posts: 7,287
Likes: 189
From: Eastern NC
Zach, my bumper started to sag in the same place as yours (next to the tip) so I drilled a small hole in the lip of the bumper and pulled it up with a zip tie so it matched the other side. Just throwing that out there in case it bothers you.