
My review of BumperFarm's Top Secret diffuser replica (pictures included)


So I've been wanting to get one of these diffusers forever now!! I'm glad that someone else besides Mastergrade makes a replica now because the Mastergrade diffuser is only made to order, and also more expensive. I bought this from Max@BumperFarm and had Cheston install it. He has the authentic Top Secret diffuser so he wanted to check out the quality of this thing. Even Cheston said that this diffuser looks like it's better quality than the Mastergrade one and I'm really happy with the fitment. The fitment was the main thing I was worried about at first, but we had no problems at all installing it. Also I wanna give a HUGE thanks to Cheston for taking the time to install this diffuser for me. We even ran into a few problems (not diffuser related) and he went out of his way to help me out with my car. Thanks again Cheston!!  Anyways, on to the install pictures!!
Cheston already has a very good writeup of how to install the Top Secret diffuser, but I thought I'd post a few pics of the install as well. Here is Cheston's writeup of his authentic diffuser:
https://my350z.com/forum/body-interi...tructions.html
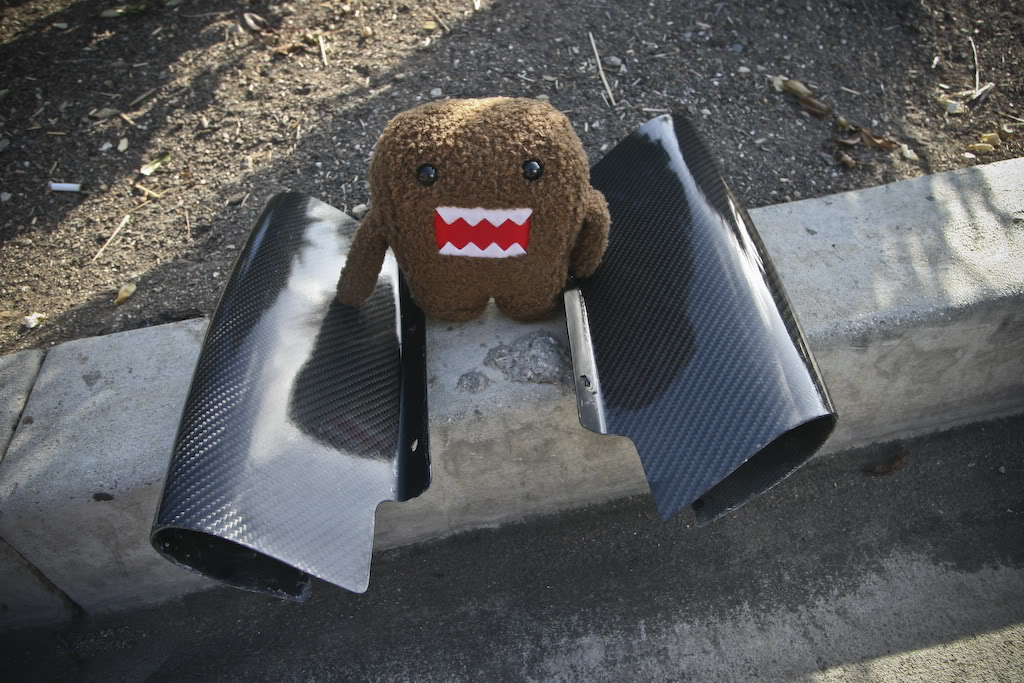
Ok so first, this is what you get from BumperFarm
The diffuser itself:
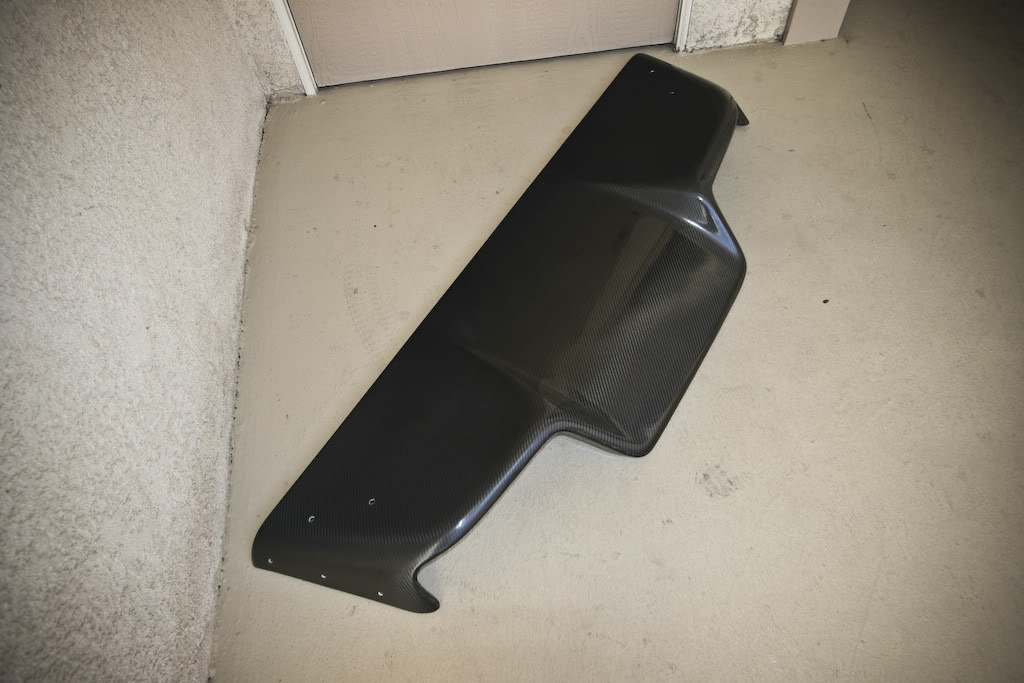
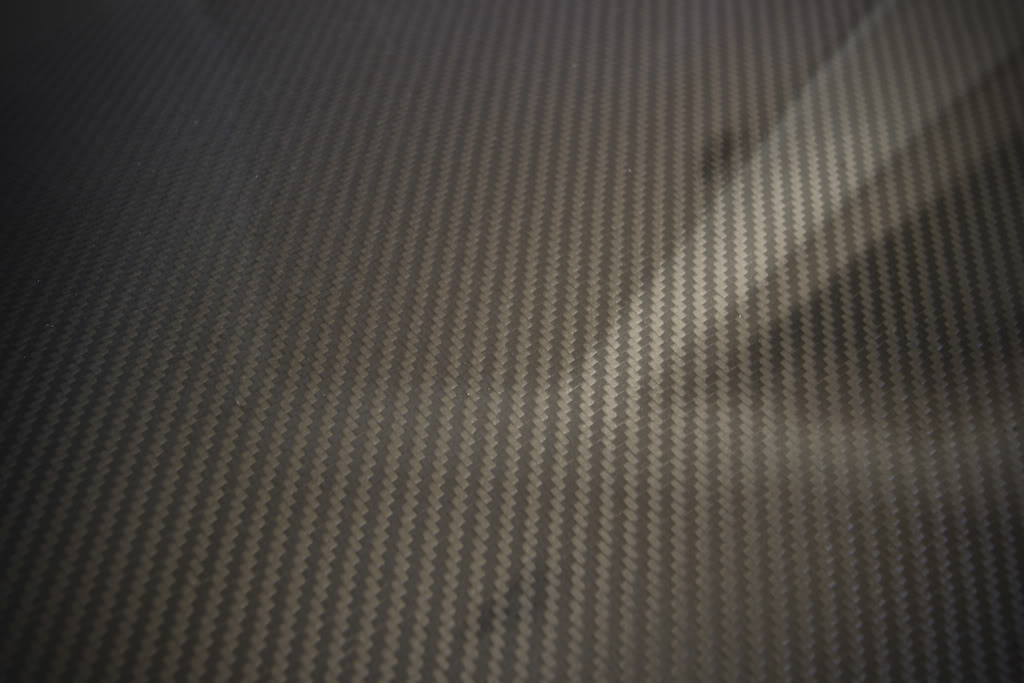
It has a very nice looking 2x2 carbon fiber weave. Cheston said it looks better than Mastergrade's carbon.
The long U-bracket, 2 Z-shaped brackets, 2 metal brackets and hardware
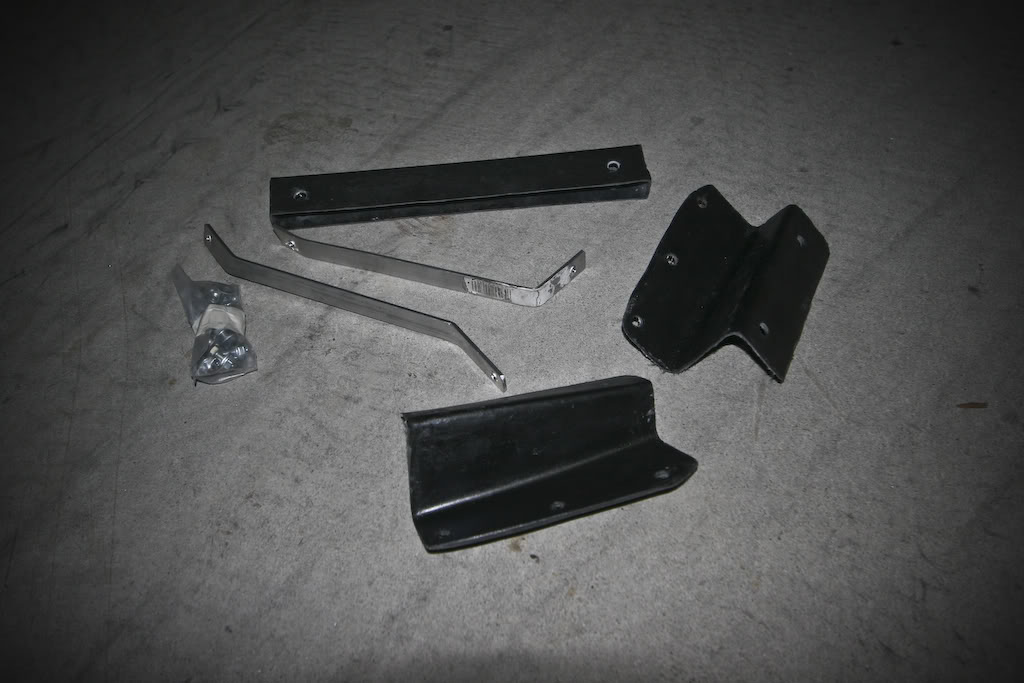
And the 2 vortex generators that you can bolt on to the sides
First attach the vortex generators to the sides of the diffuser
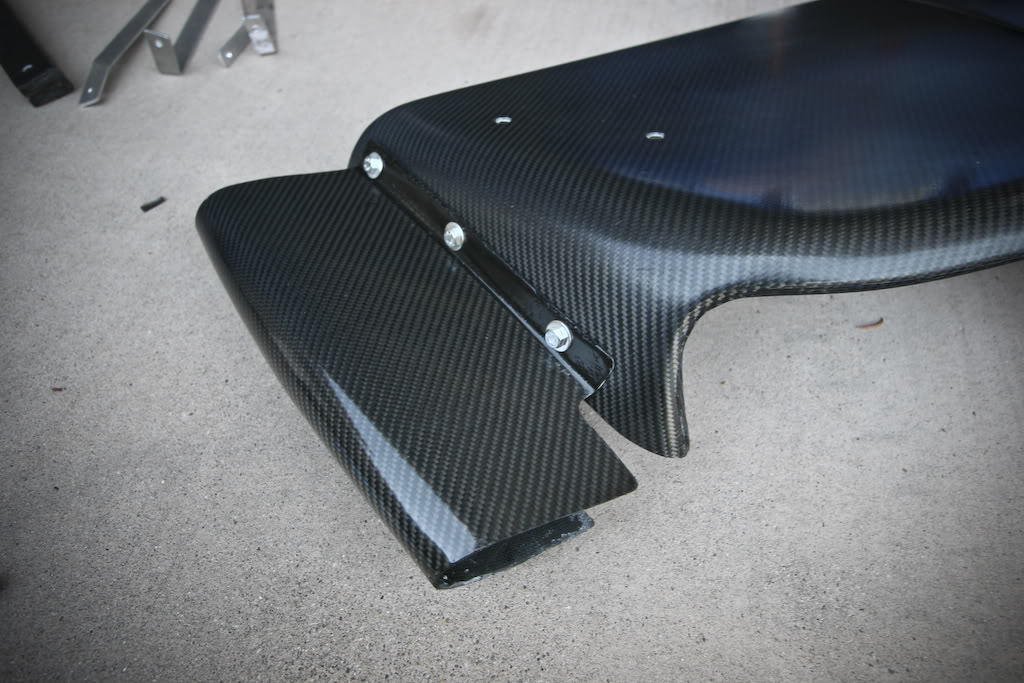
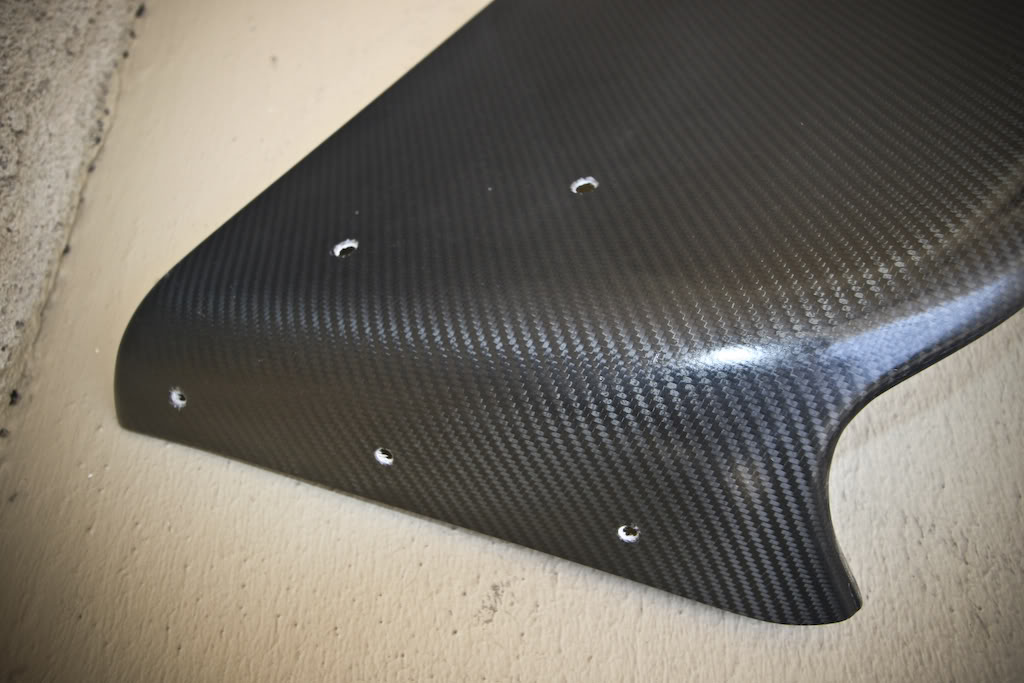
Then bolt on the Z-shaped brackets to make sure they fit. The holes came pre-drilled and everything lined up really well.
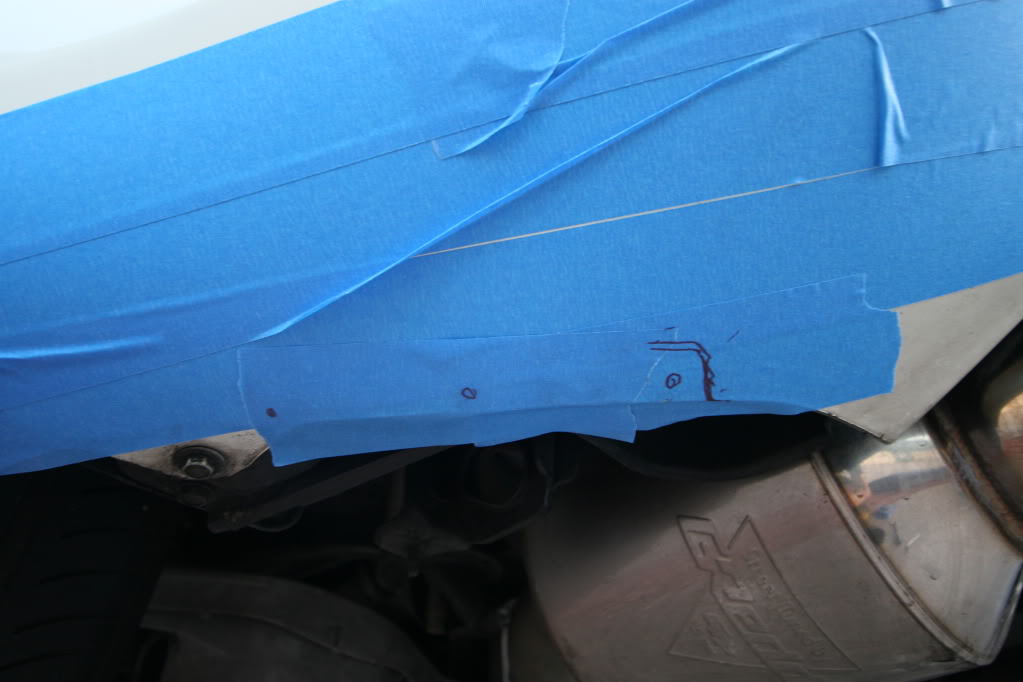
Then tape off the bottom of your bumper like in this picture so you can mark exactly where to drill the bumper. It makes it much easier if you have a friend helping you out here.
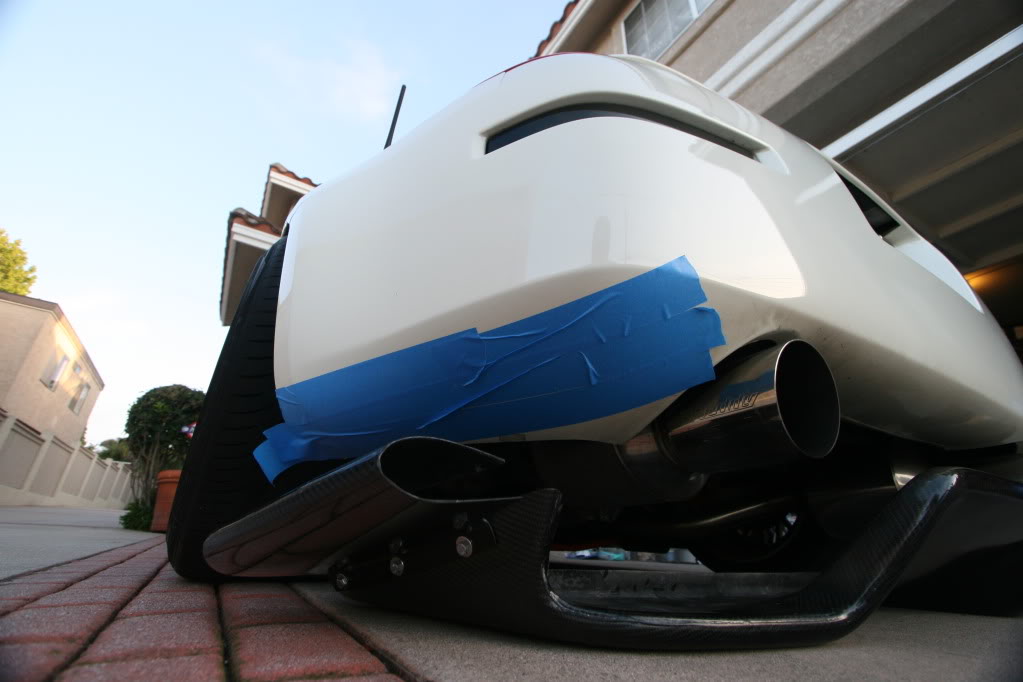
The holes will be very close to the edge of the bumper, so make sure that when you drill, you still have a little bit of plastic left between the hole and the margin.
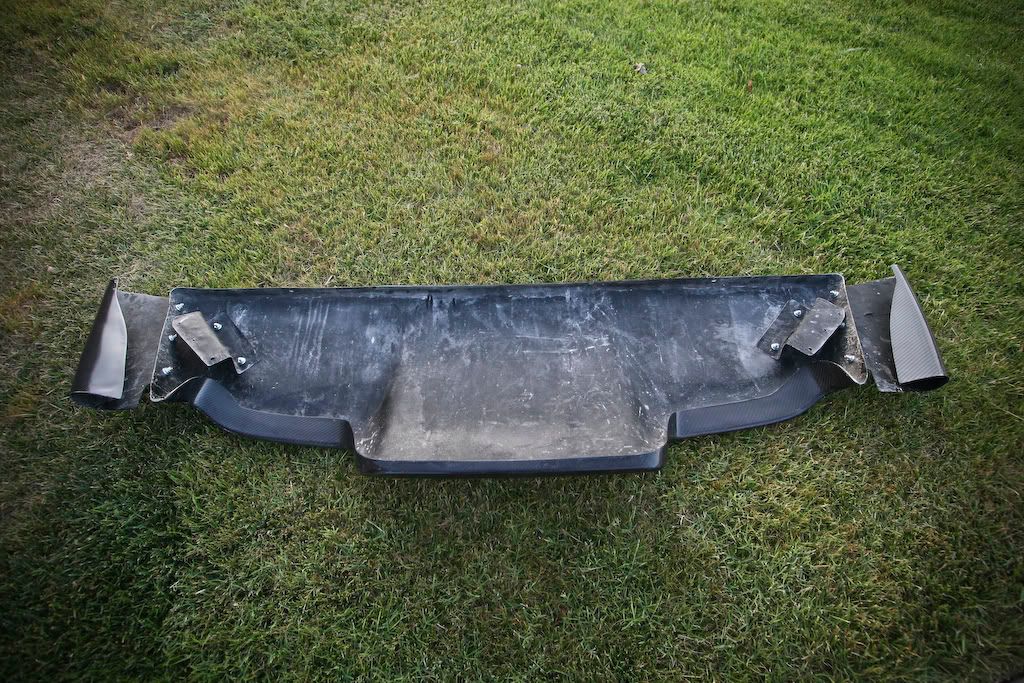
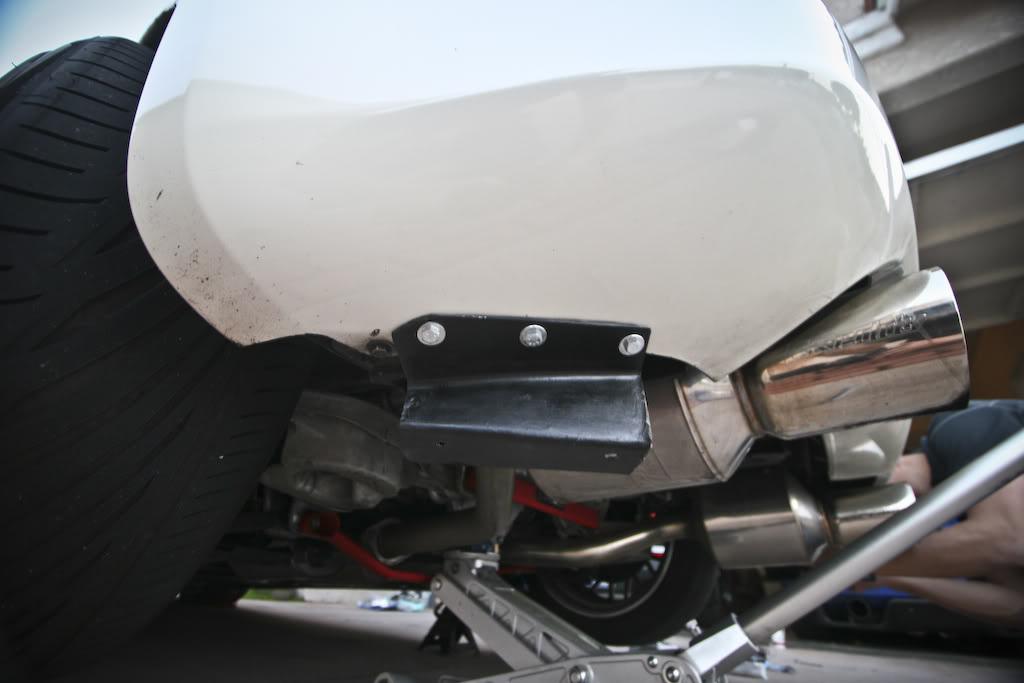
After you drilled the holes, take the Z-shaped brackets off the diffuser and attach them to the bumper like this
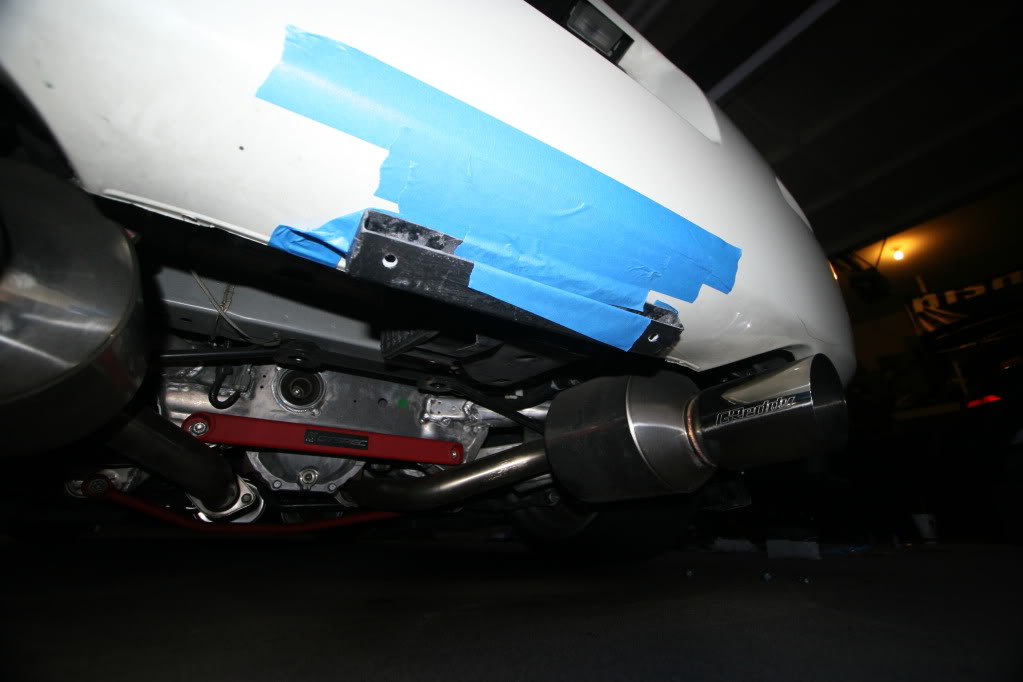
Next you'll need to attach the long bracket like this. This bracket will bolt on to the end part of the diffuser and should hold the diffuser nice and flush against the bumper. Again, use tape to make sure you have everything marked off where you want to drill. Also make sure everything is perfectly lined up before drilling. Also this bracket can be installed a little higher or lower on the bumper, depending on how angled you want the diffuser. Play around with it a little and you'll see what I mean about being able to adjust it. There are no pre-drilled holes in the diffuser to attach this to, so you'll have to drill your own. But that's actually a good thing because it allows you to angle the diffuser however you like, like I mentioned before.
Now the next step is a little bit tricky because it's a somewhat tight fit to stick your fingers between the diffuser and bumper. One of these wrenches will come in really handy

Attach the long U-shaped bracket to the bumper and then to the diffuser on the other side of it. (I think Cheston has better pictures of how to install this, so check out his thread also)
I didn't take pictures of how to mount the 2 metal brackets because it was getting dark by the time we did this and I couldn't take good pictures under the car anyways, but Cheston has a good explanation of how to install them in his thread.
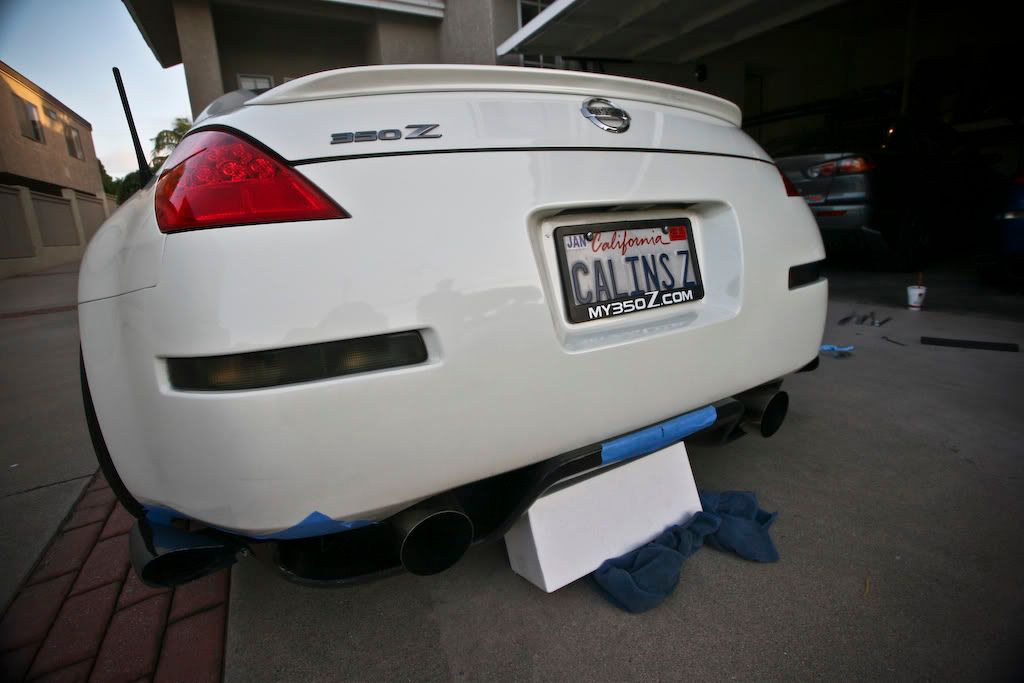
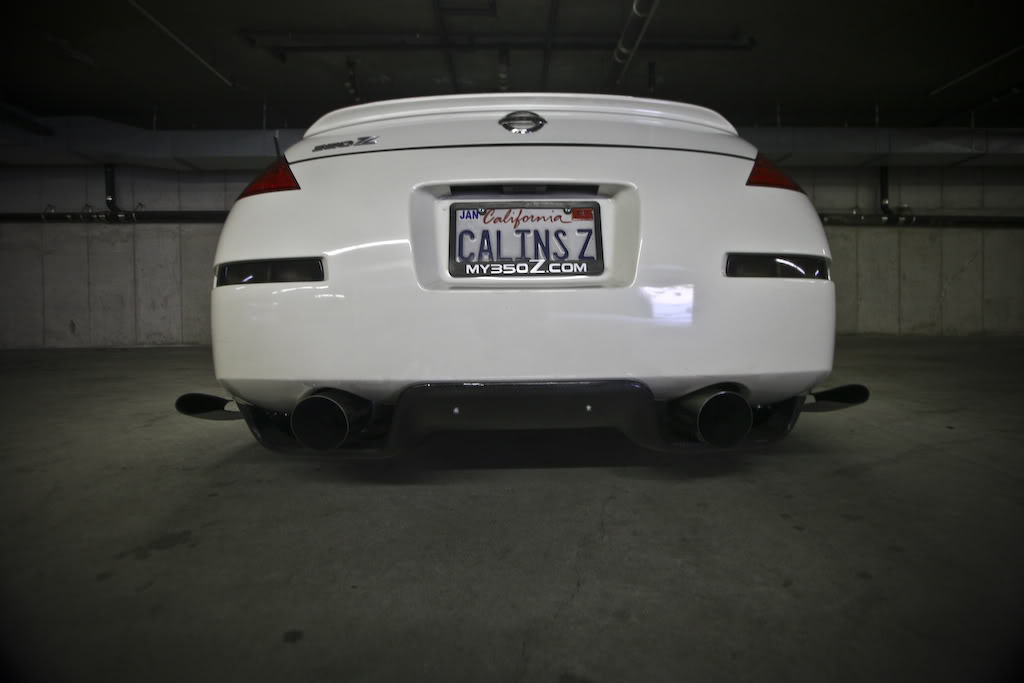
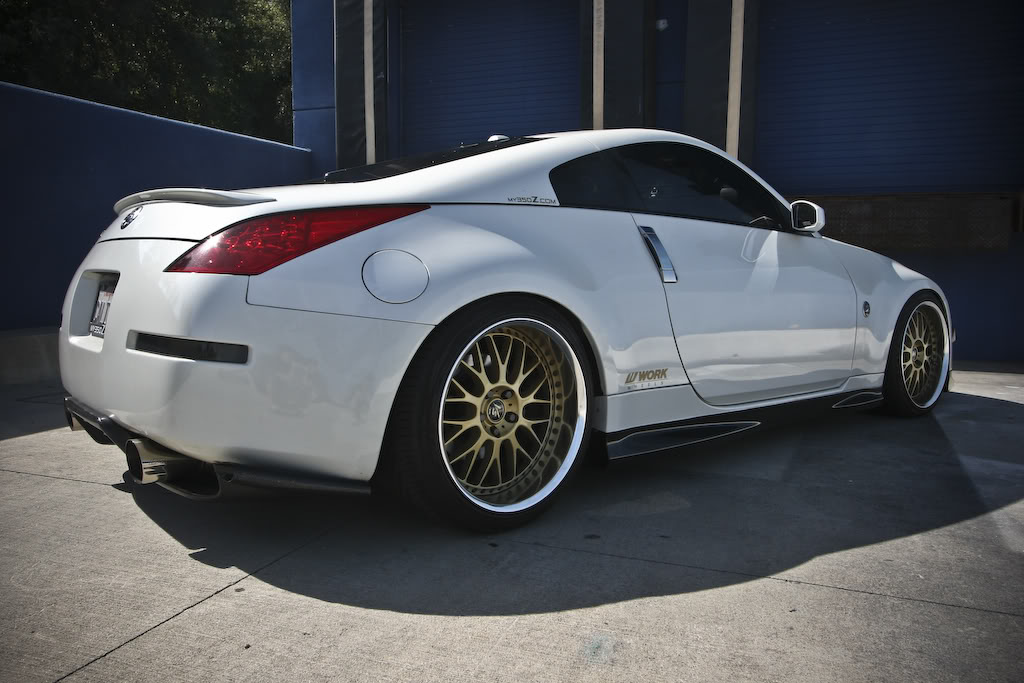
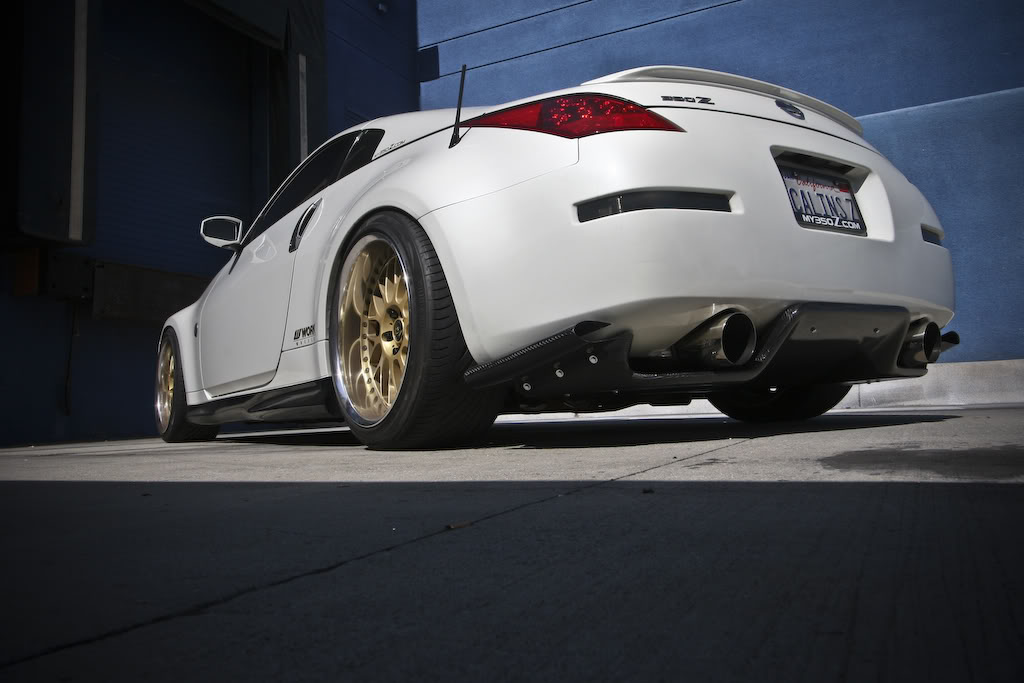
After you got everything bolted on, voila!!
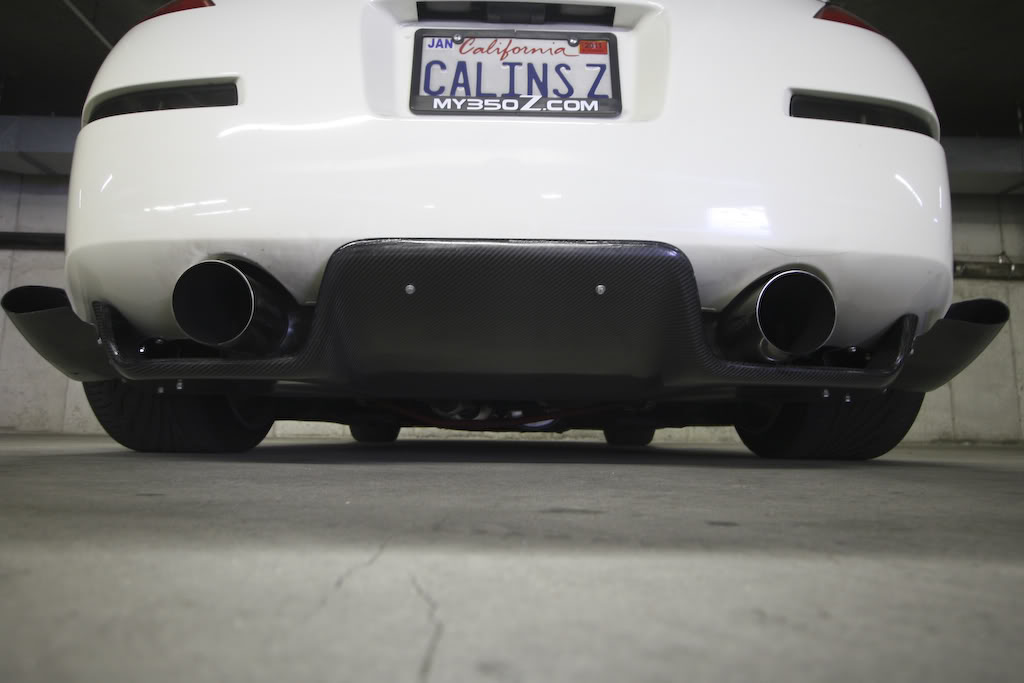
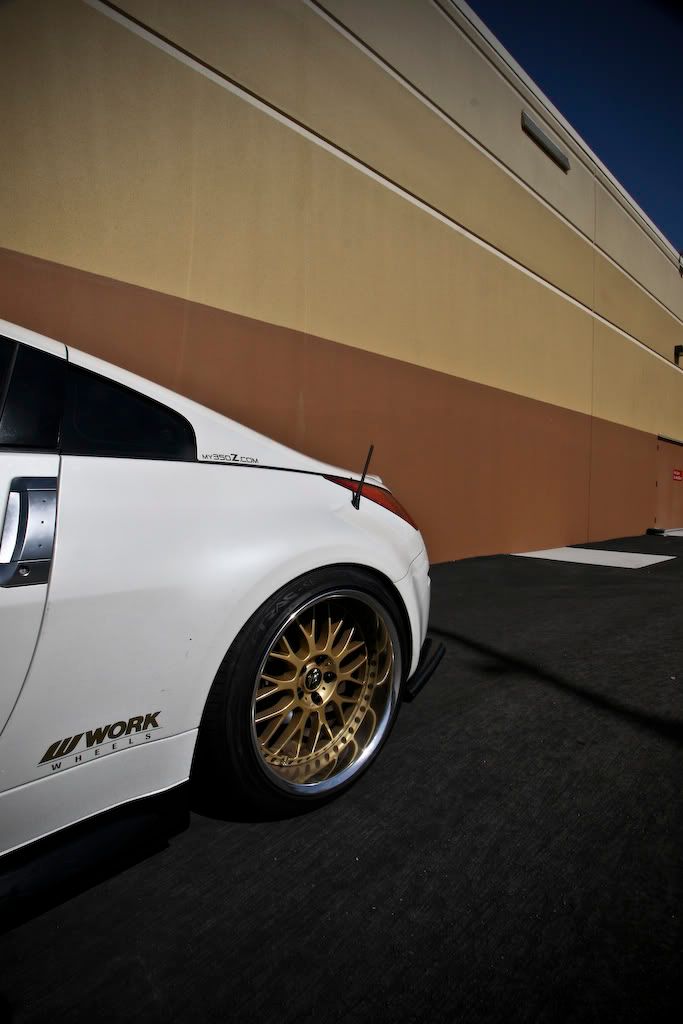
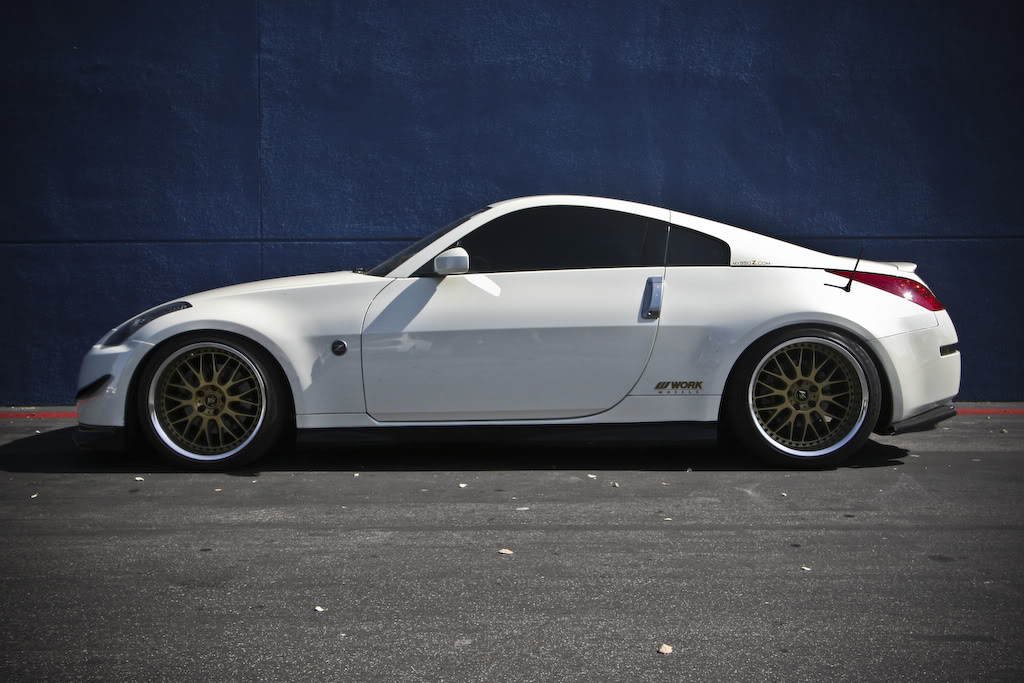
Here are a few more pictures I took just in case anyone is skeptical about the fitment.

Anyways, on to the install pictures!!Cheston already has a very good writeup of how to install the Top Secret diffuser, but I thought I'd post a few pics of the install as well. Here is Cheston's writeup of his authentic diffuser:
https://my350z.com/forum/body-interi...tructions.html
Ok so first, this is what you get from BumperFarm
The diffuser itself:
It has a very nice looking 2x2 carbon fiber weave. Cheston said it looks better than Mastergrade's carbon.
The long U-bracket, 2 Z-shaped brackets, 2 metal brackets and hardware
And the 2 vortex generators that you can bolt on to the sides
First attach the vortex generators to the sides of the diffuser
Then bolt on the Z-shaped brackets to make sure they fit. The holes came pre-drilled and everything lined up really well.
Then tape off the bottom of your bumper like in this picture so you can mark exactly where to drill the bumper. It makes it much easier if you have a friend helping you out here.
The holes will be very close to the edge of the bumper, so make sure that when you drill, you still have a little bit of plastic left between the hole and the margin.
After you drilled the holes, take the Z-shaped brackets off the diffuser and attach them to the bumper like this
Next you'll need to attach the long bracket like this. This bracket will bolt on to the end part of the diffuser and should hold the diffuser nice and flush against the bumper. Again, use tape to make sure you have everything marked off where you want to drill. Also make sure everything is perfectly lined up before drilling. Also this bracket can be installed a little higher or lower on the bumper, depending on how angled you want the diffuser. Play around with it a little and you'll see what I mean about being able to adjust it. There are no pre-drilled holes in the diffuser to attach this to, so you'll have to drill your own. But that's actually a good thing because it allows you to angle the diffuser however you like, like I mentioned before.
Now the next step is a little bit tricky because it's a somewhat tight fit to stick your fingers between the diffuser and bumper. One of these wrenches will come in really handy
Attach the long U-shaped bracket to the bumper and then to the diffuser on the other side of it. (I think Cheston has better pictures of how to install this, so check out his thread also)
I didn't take pictures of how to mount the 2 metal brackets because it was getting dark by the time we did this and I couldn't take good pictures under the car anyways, but Cheston has a good explanation of how to install them in his thread.
After you got everything bolted on, voila!!
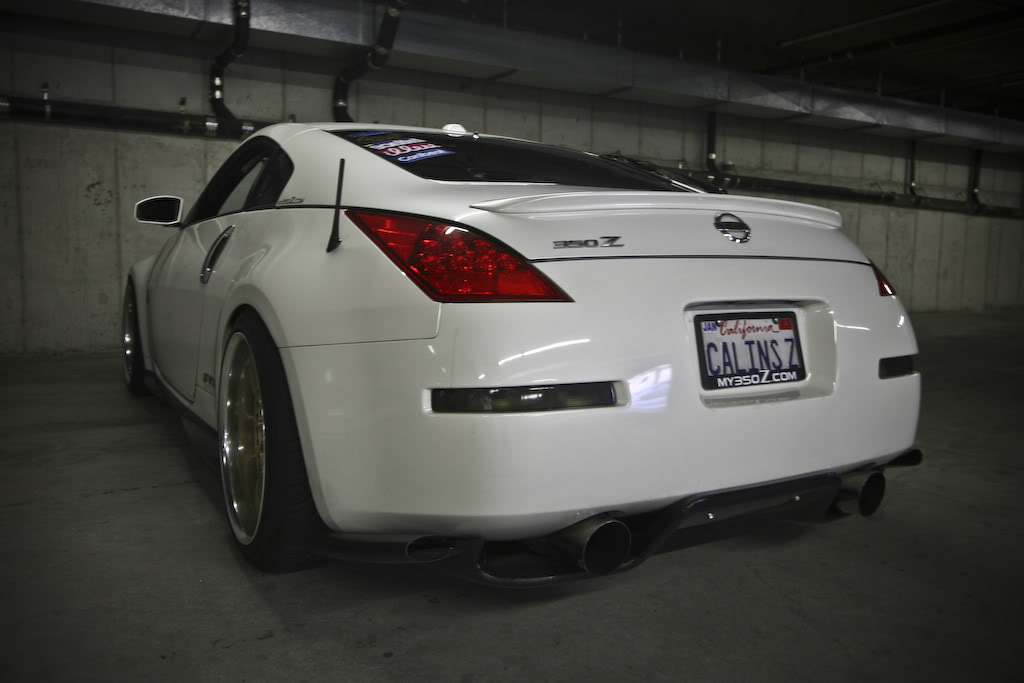
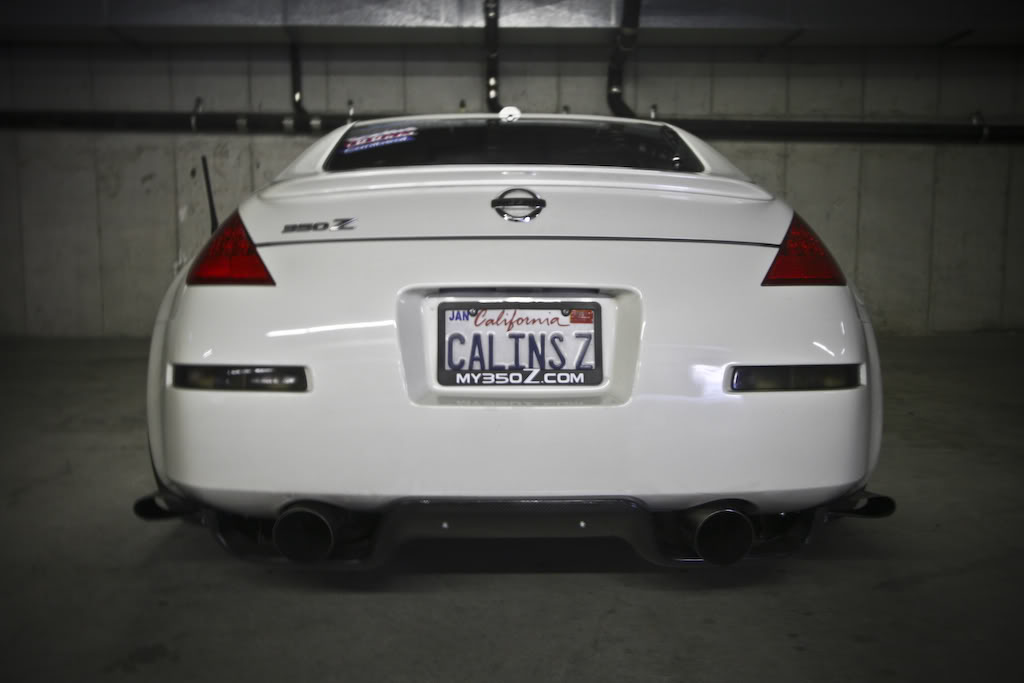
Here are a few more pictures I took just in case anyone is skeptical about the fitment.
Last edited by Chebosto; Jun 17, 2010 at 08:32 PM.


Great writeup, greater pics, and from the looks great product.
I had no clue someone else made a replica besides MG. Im looking to get one of these for my INGS+1 rear. How much did it run you?
I had no clue someone else made a replica besides MG. Im looking to get one of these for my INGS+1 rear. How much did it run you?

Trending Topics

https://my350z.com/forum/body-exteri...group-buy.html
 ... naw im sure it COULD look good, just the ones ive actually seen didnt.


 . But I think this makes the rear look more complete than just a bumper tuck and GTspec bars


