
V1 underwings installed!


Thread Starter
Registered User
iTrader: (30)
Joined: Aug 2009
Posts: 858
Likes: 1
From: Underneath the bridge
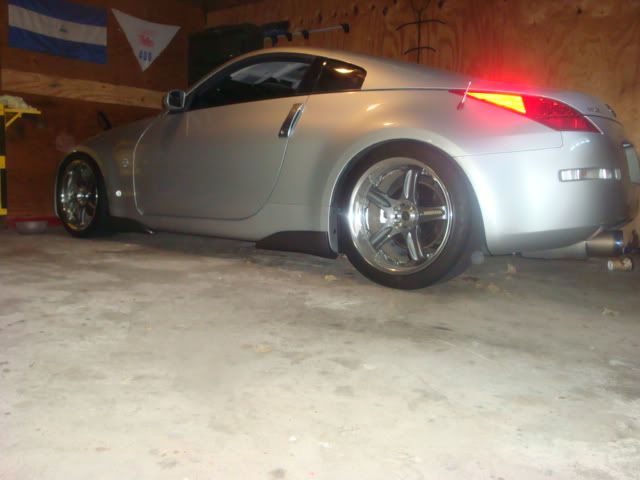
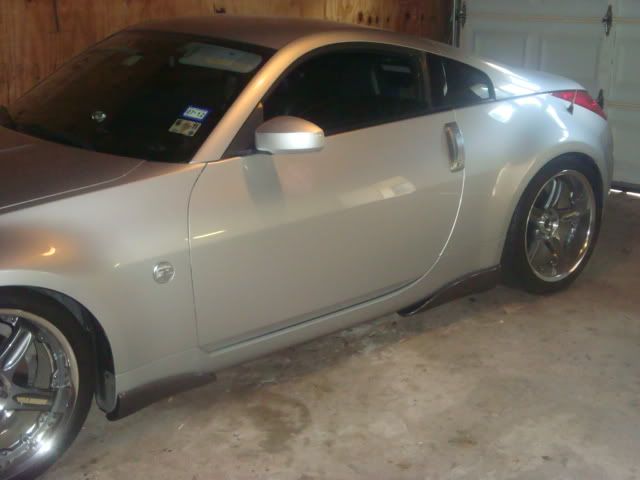
I bought these off of a couple different members on here a few weeks ago. They are AIT fiberglass. After receiving them, I block sanded the gel coat for a smooth surface, primed and rattle canned them gunmetal. I did have to fill in some pinholes here and there, but nothing major. After painting them, I wet sanded, and buffed out with some 3m finesse it II. I did an awesome job, and the paint is shiney and smooth as can be. Total investment, $135.00 for the wings and paint and sandpaper. So with a bit of patience and know how, you can diy with great results...And even tho they're knockoffs,the fitment was easy, and prep work minimal. Here's a few ok pix


Thread Starter
Registered User
iTrader: (30)
Joined: Aug 2009
Posts: 858
Likes: 1
From: Underneath the bridge
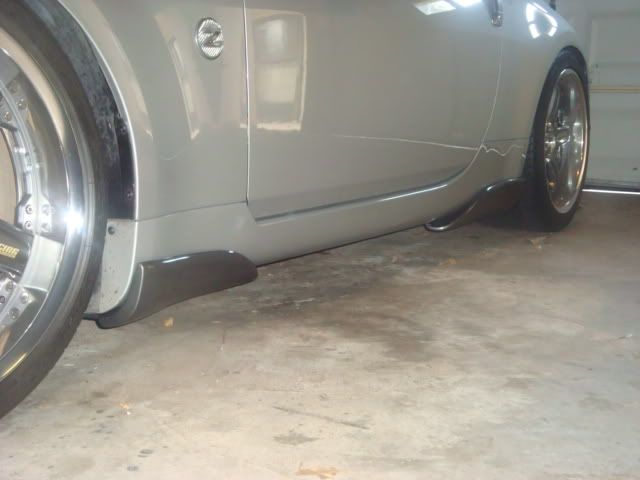
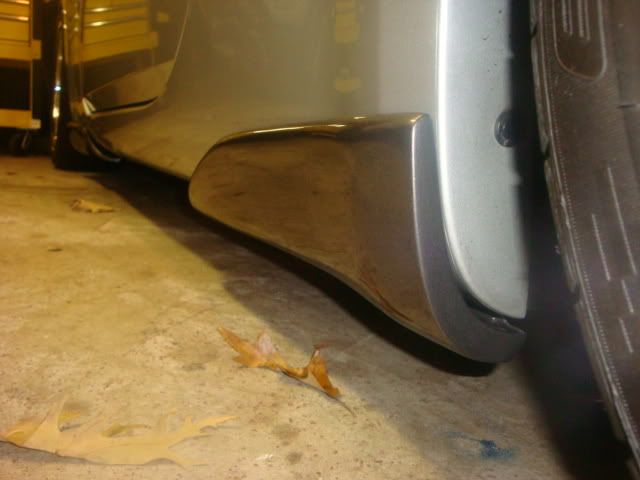
Fitment is pretty good. the rears were a bit of a challenge. they're held in by 3 screws in the bottom of the sideskirt, and the are pre marked where youd drill them out, but the markings are off by about 1/8'', and they're not flat against the bottom of the skirt, but you dont see any of that unless you're under the car looking at it. Outside on the visible part they are all even. Overall I'd say 7/10 on fitment, but with a few minutes of work you can make em look good.
Trending Topics

Great job on the paint. I've tried doing rattle can painting at home before and I know it's a challenge to get it to come out that nicely. Fitment looks good considering the price tag. I had a set of replica v1 underwings before and the rears fit a little worse than yours. It seems like the radius where the wing wraps up from the bottom is wrong. They look good though!


Thread
Thread Starter
Forum
Replies
Last Post
Gruppe-S
Body Interior
13
May 16, 2016 10:42 PM