When you click on links to various merchants on this site and make a purchase, this can result in this site earning a commission. Affiliate programs and affiliations include, but are not limited to, the eBay Partner Network.
Small fries but did you just fiberglass the antenna hole from the inside and use filler on the outside? Or did you weld a piece in? Or some other great way to fill the hole?
No way im moving my gas cap but out of curiosity did you just weld the filler door down or fiberglass over it?
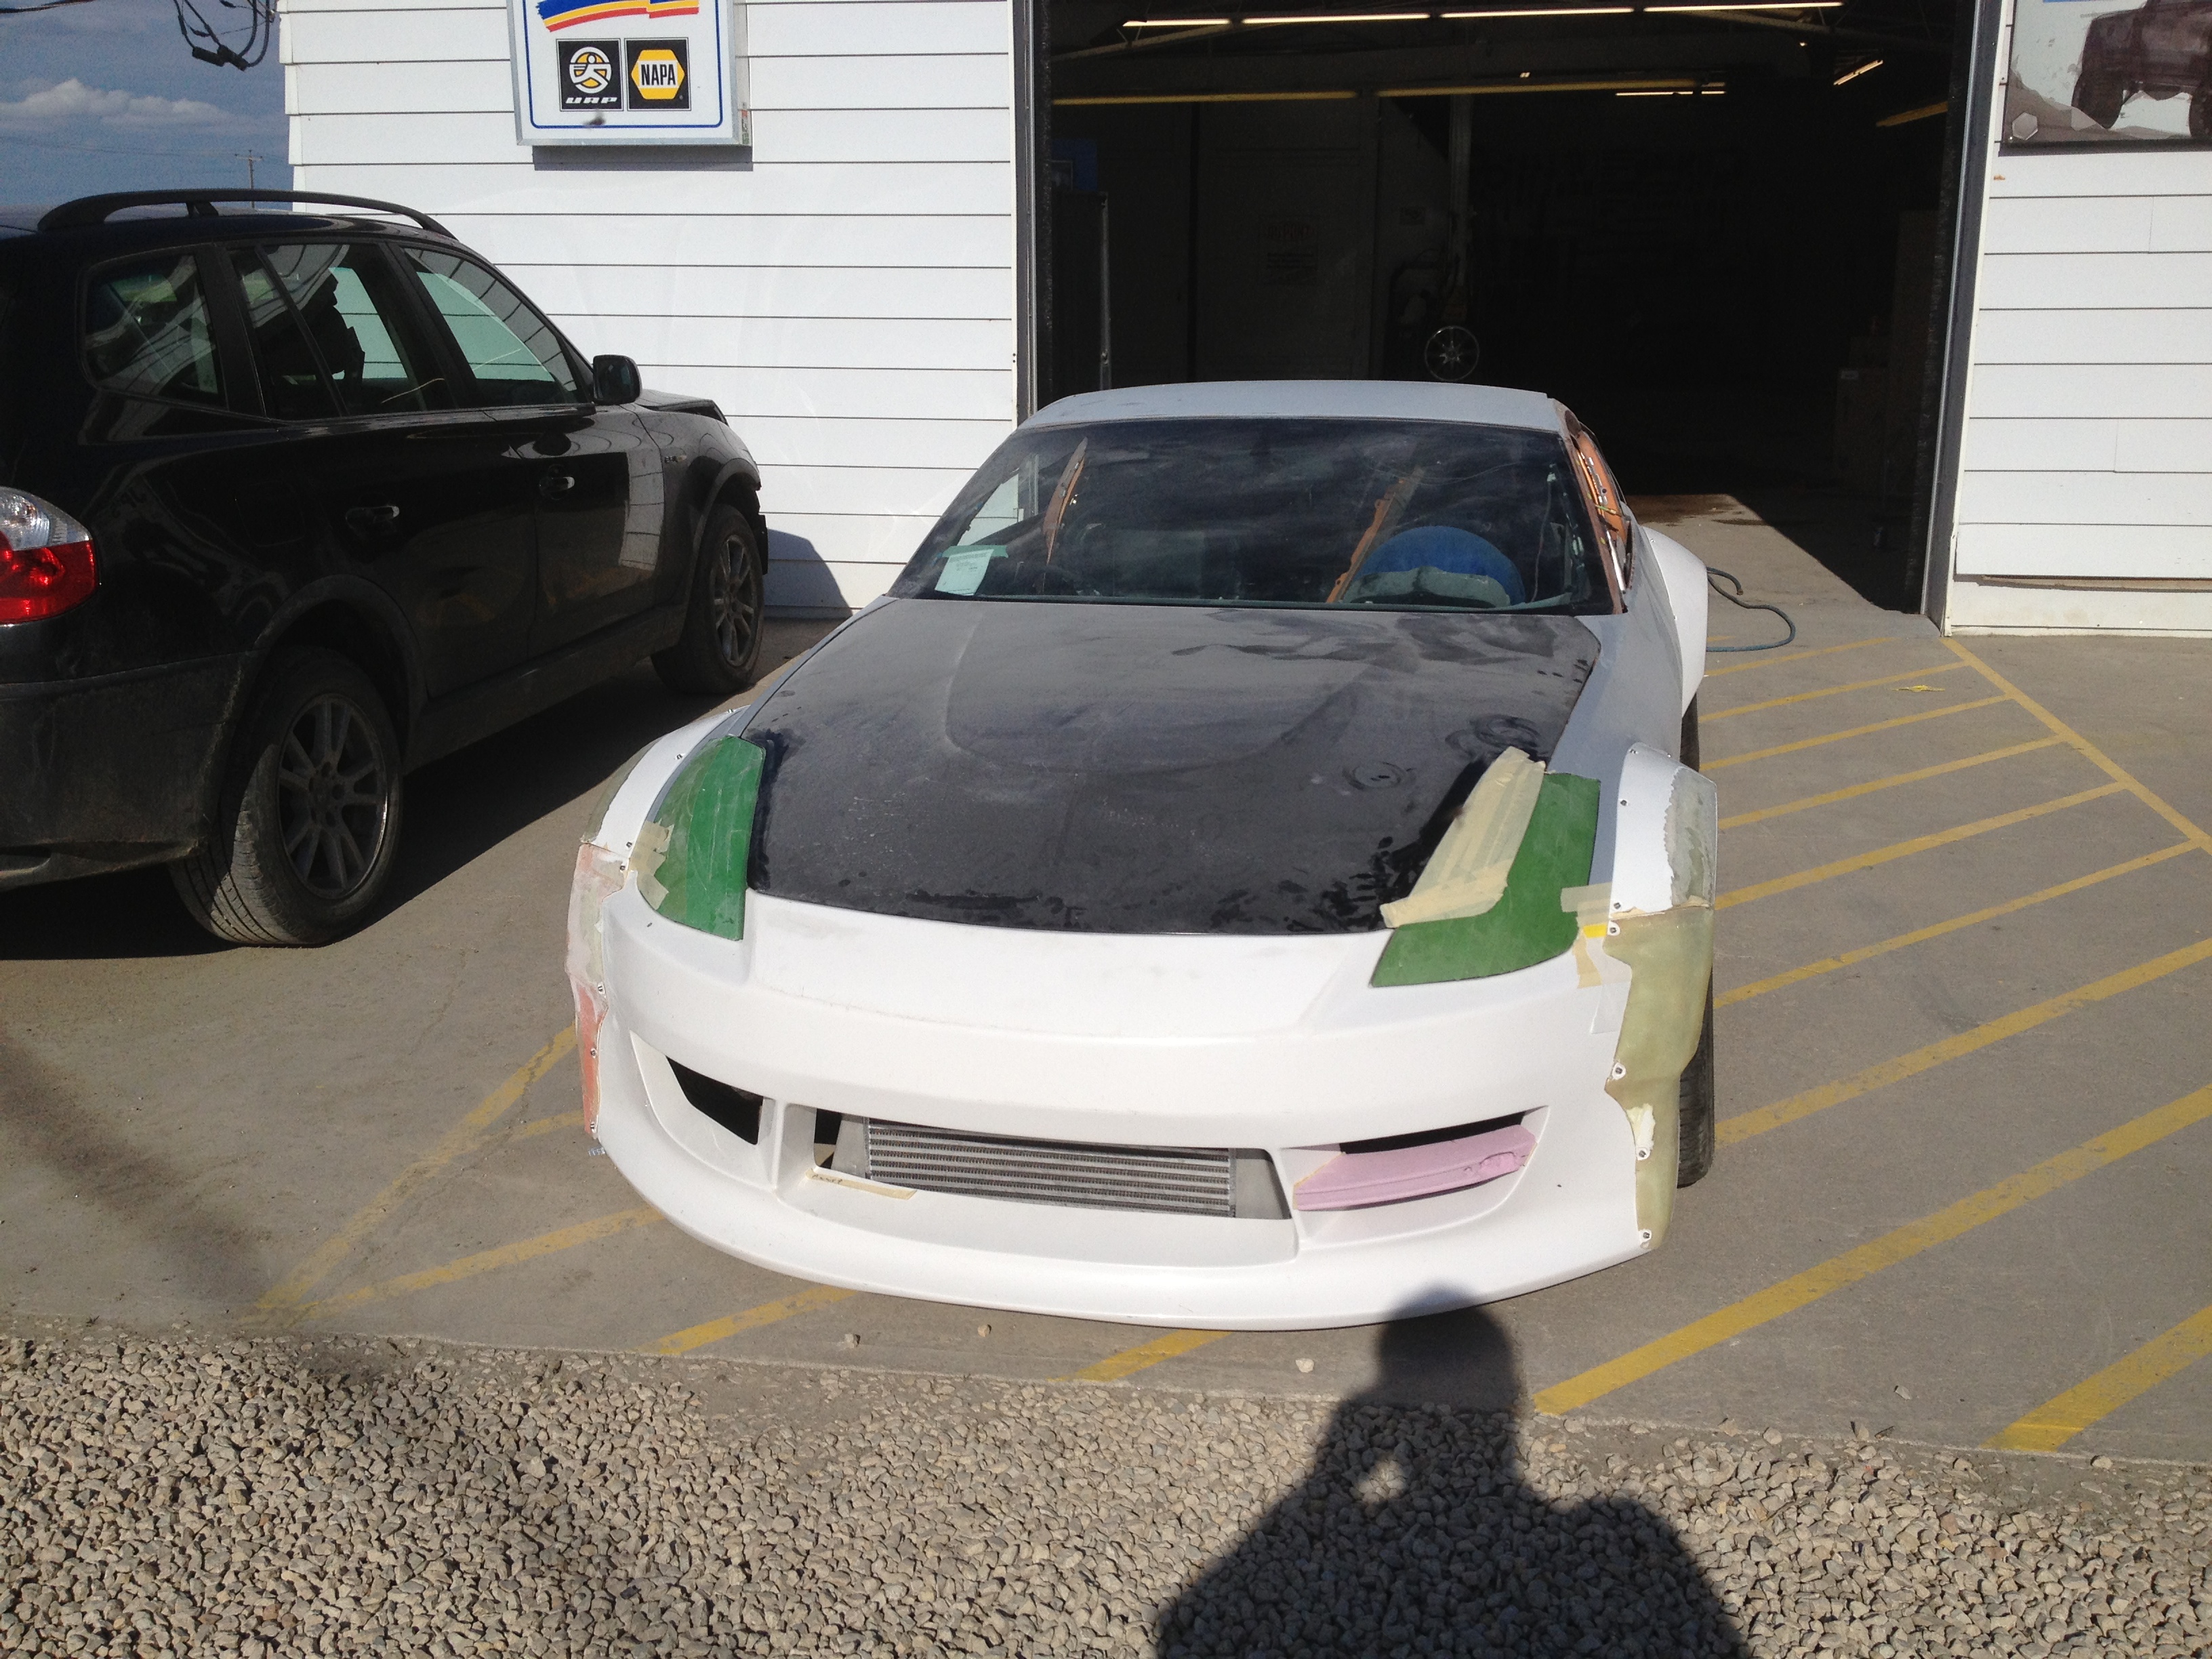
Really like the look of the hood. I think it adds a mean look to the front that works with the rest of it.
Originally Posted by KingBaby
Uncanny the amount of work put into the details !
World Famous Z
Muzzy
350Z AL
Very short list to be apart of !
Thanks guys!!
Originally Posted by dboyzalter
Small fries but did you just fiberglass the antenna hole from the inside and use filler on the outside? Or did you weld a piece in? Or some other great way to fill the hole?
No way im moving my gas cap but out of curiosity did you just weld the filler door down or fiberglass over it?
Antenna was removed and a steel patch was welded in to fill the hole.
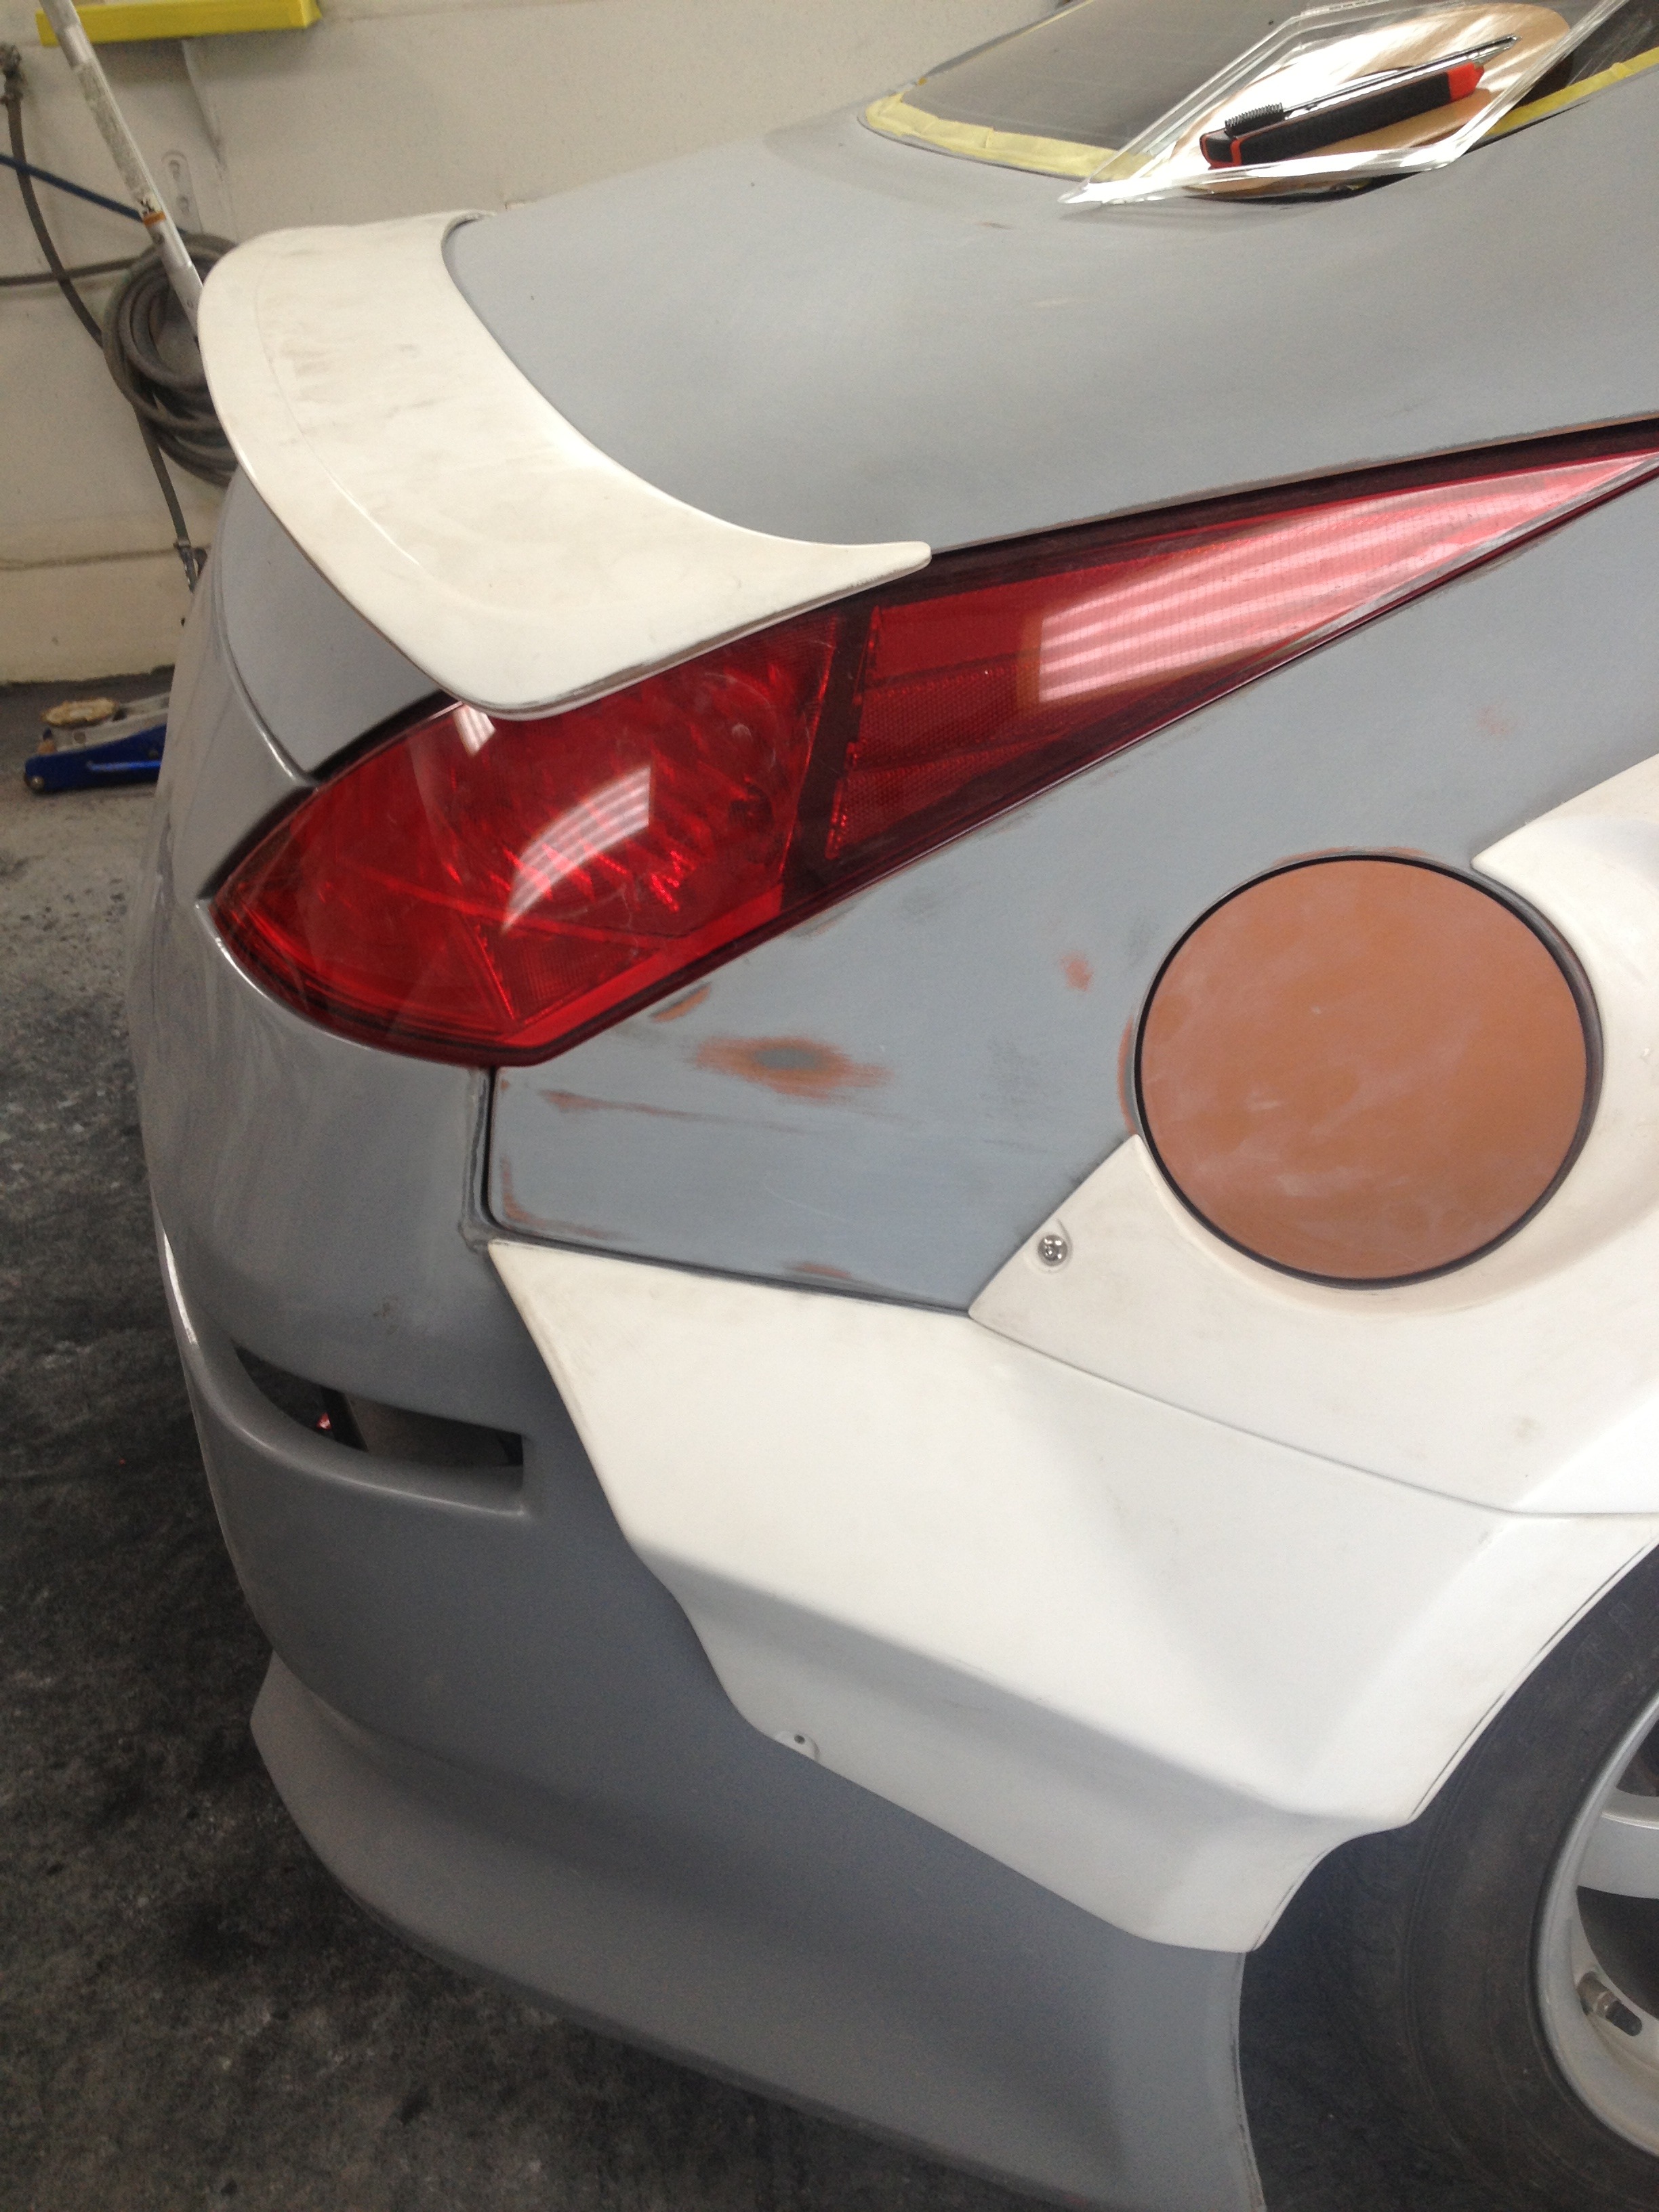
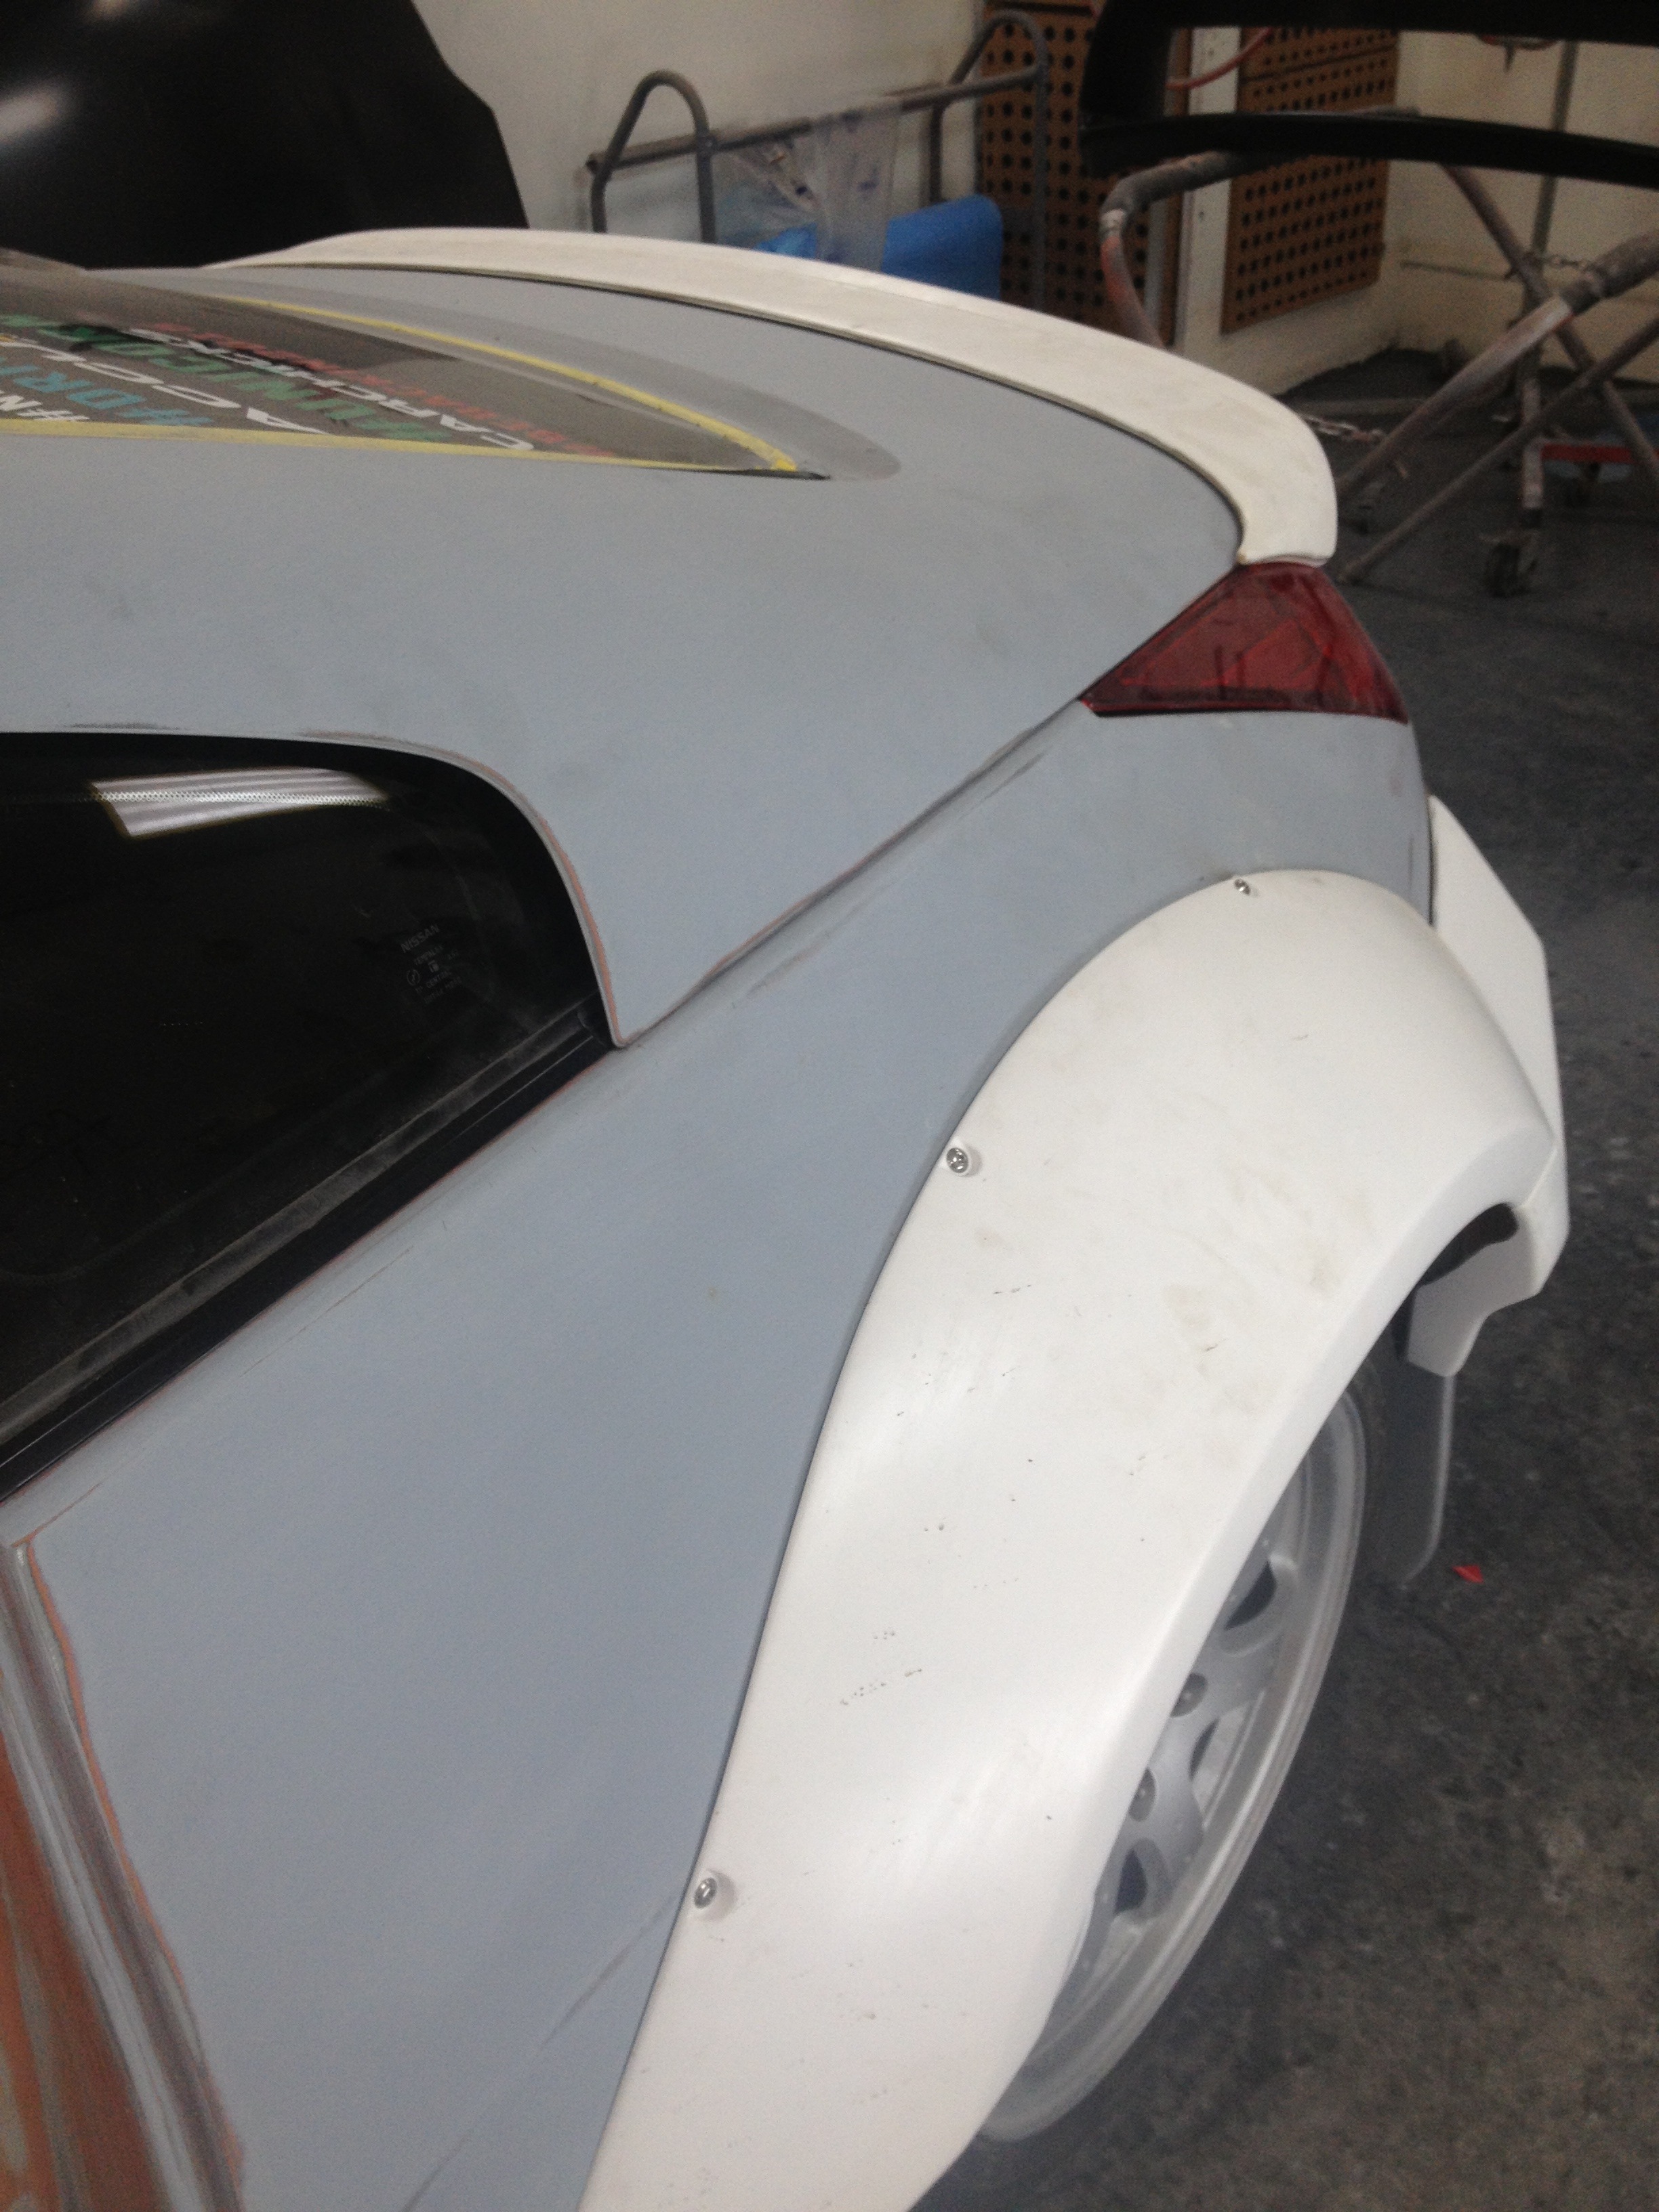
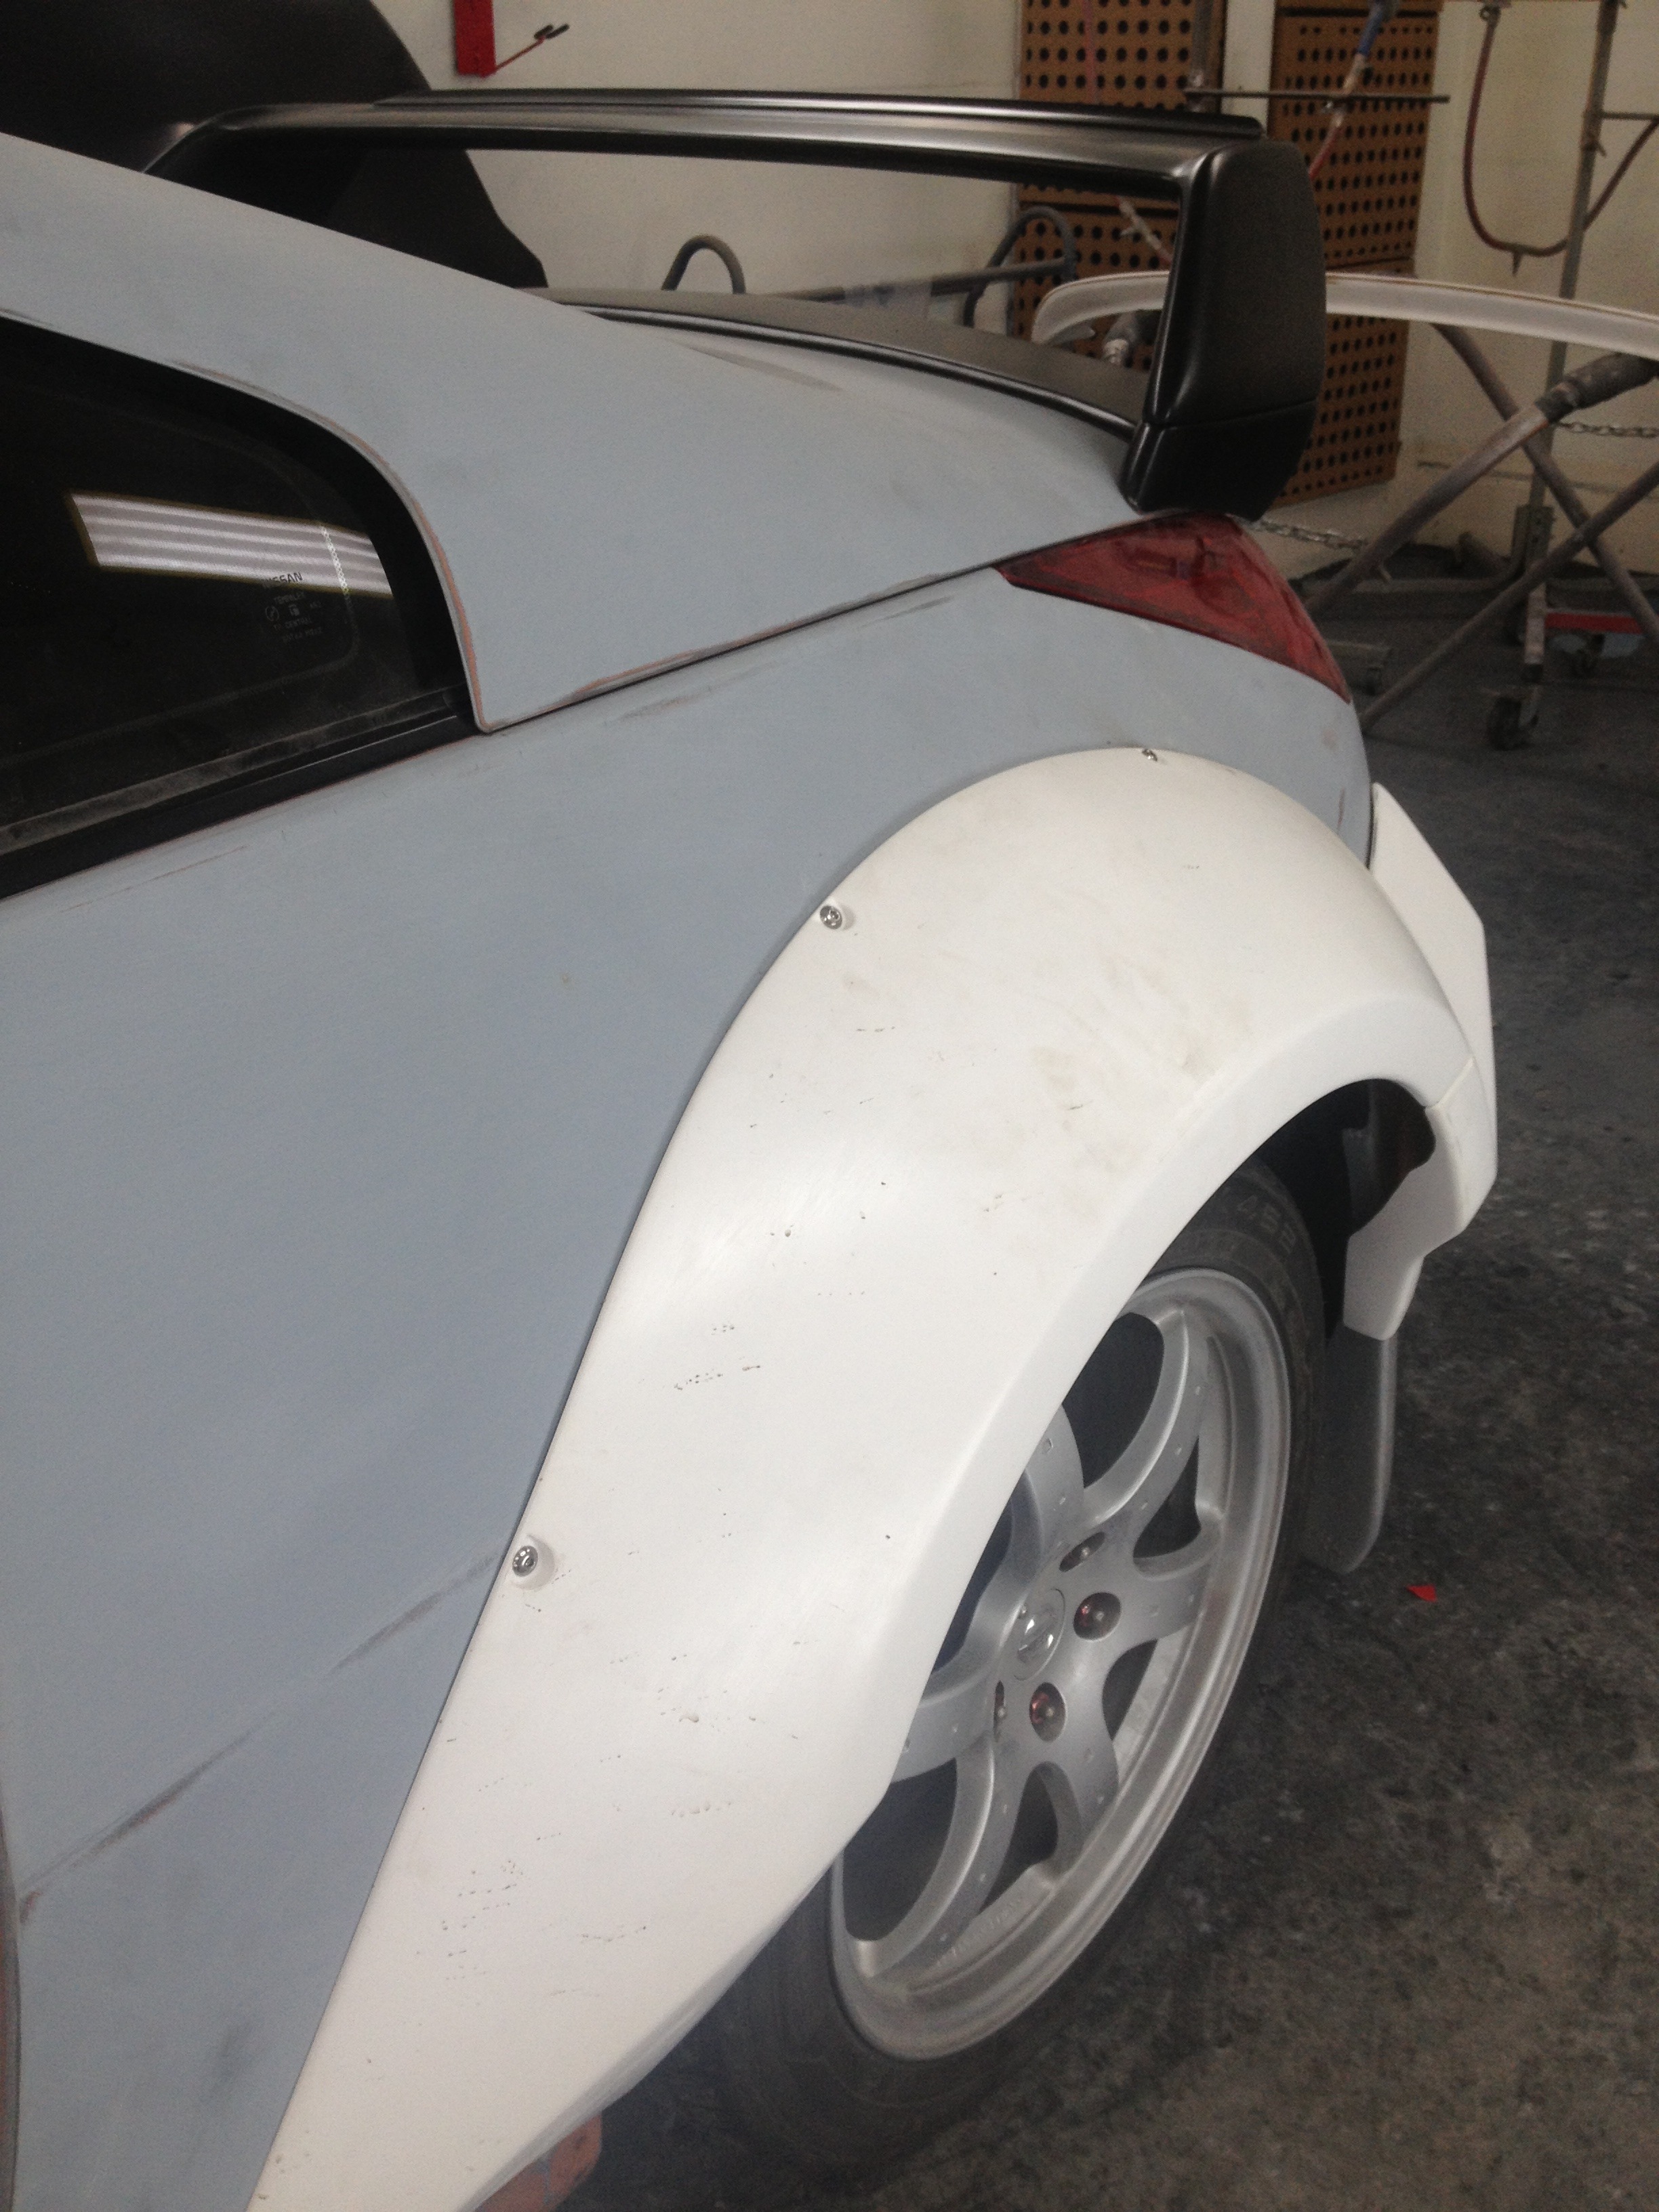
Same with the gas cap, gas cap was removed and a steel patch welded to the car to fill the hole. The gas cap relief on the fender flare was filled with fiberglass because the flare is fiberglass.
There was also a patch welded in from the inner wheel well where the gas filler tube went through the fender.
Now, while I will have a one-of-one in the world exhaust (yay!! ), there is the understanding that this exhaust may go into full production and may end up being a ton less rare. Either way, I'm ecstatic to have a one of one exhaust for now, and still have the first prototype of that exhaust if it does in fact make it to production and retail.
As for hints on what it is and what brand, my lips are sealed until it gets here at the earliest. Maybe as long as until the car gets back on the road. What I can say is, the last update I had is that the exhaust is on a container on its way to North America. I'm excited to finally see the exhaust I've waited about 6 months for!
Cool that you found a solution you're happy with, but why not find a good fabricator and hire them to build a custom exhaust in the first place?
Oh all your picture links don't work. Just so you know.
Cool that you found a solution you're happy with, but why not find a good fabricator and hire them to build a custom exhaust in the first place?
Oh all your picture links don't work. Just so you know.
Because I was concerned with sound as well. You can definitely get a very nicely built exhaust from a skilled fabricator, but unless you're copying somebody else's setup you're guessing what it's going to sound like, and that could be hit or miss.
At least with this exhaust I was able to hear the other one that exists before purchasing. The changes I requested they make were minor and wouldn't affect the sound much if at all.
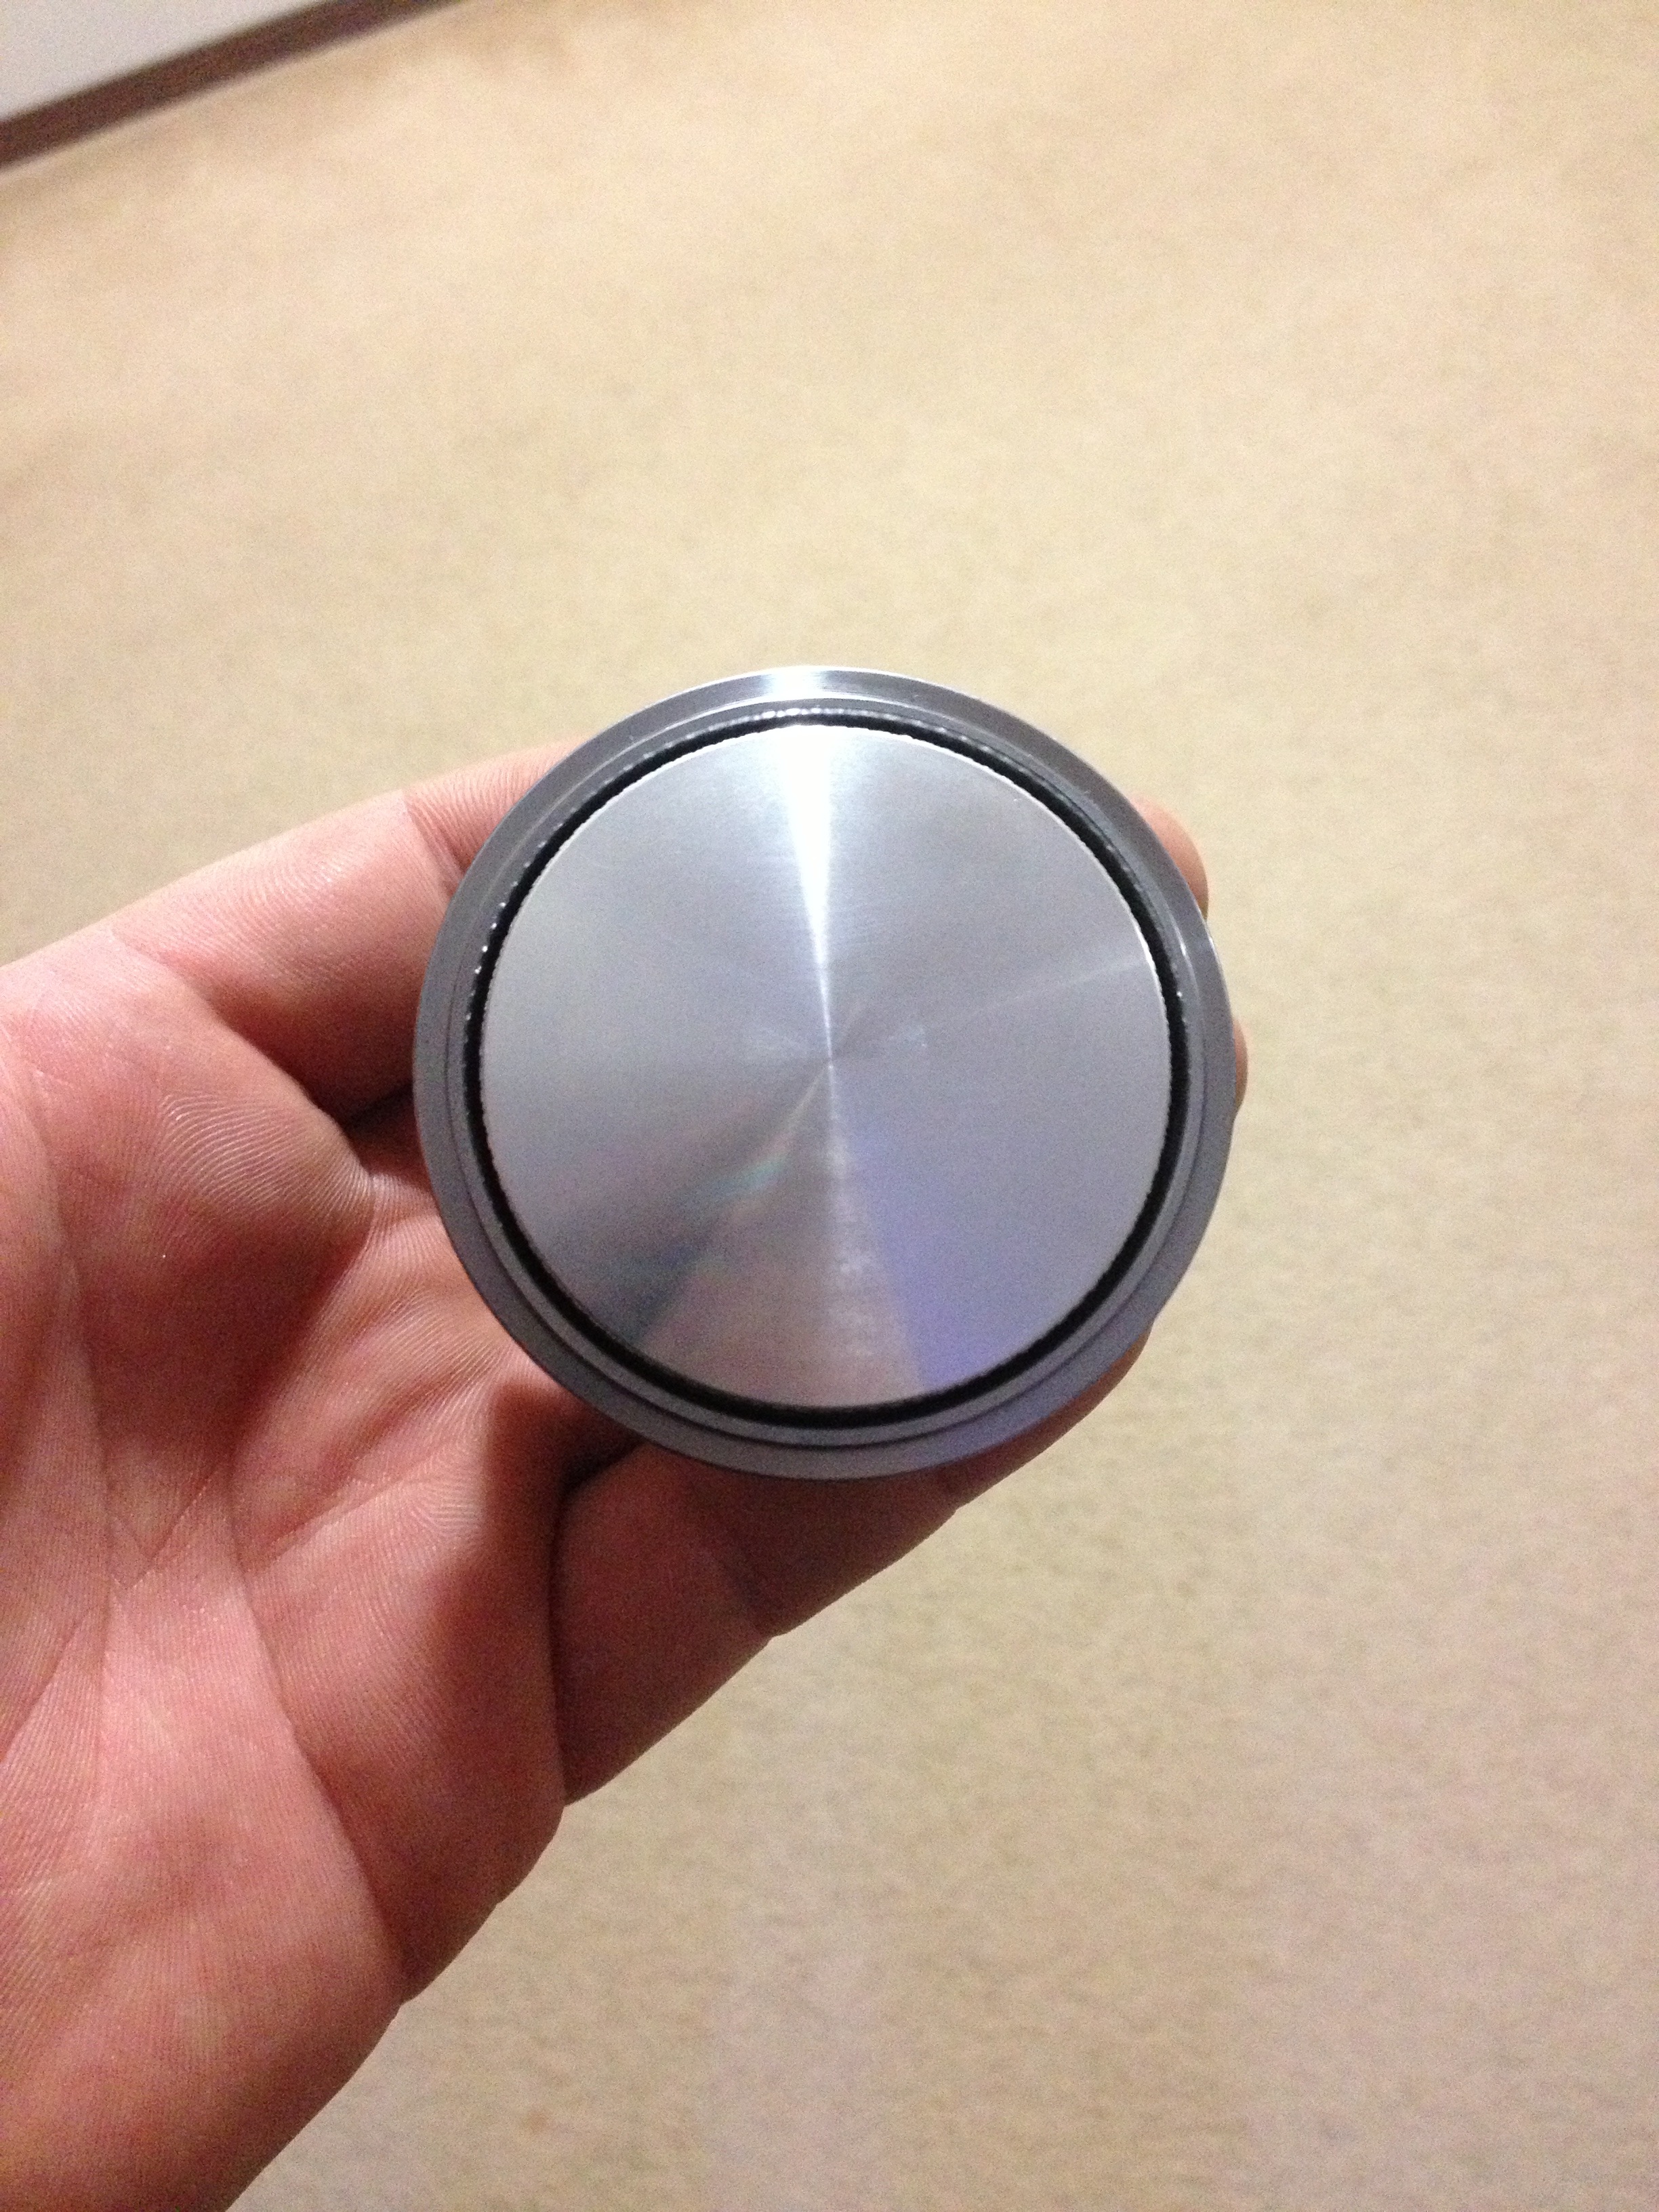
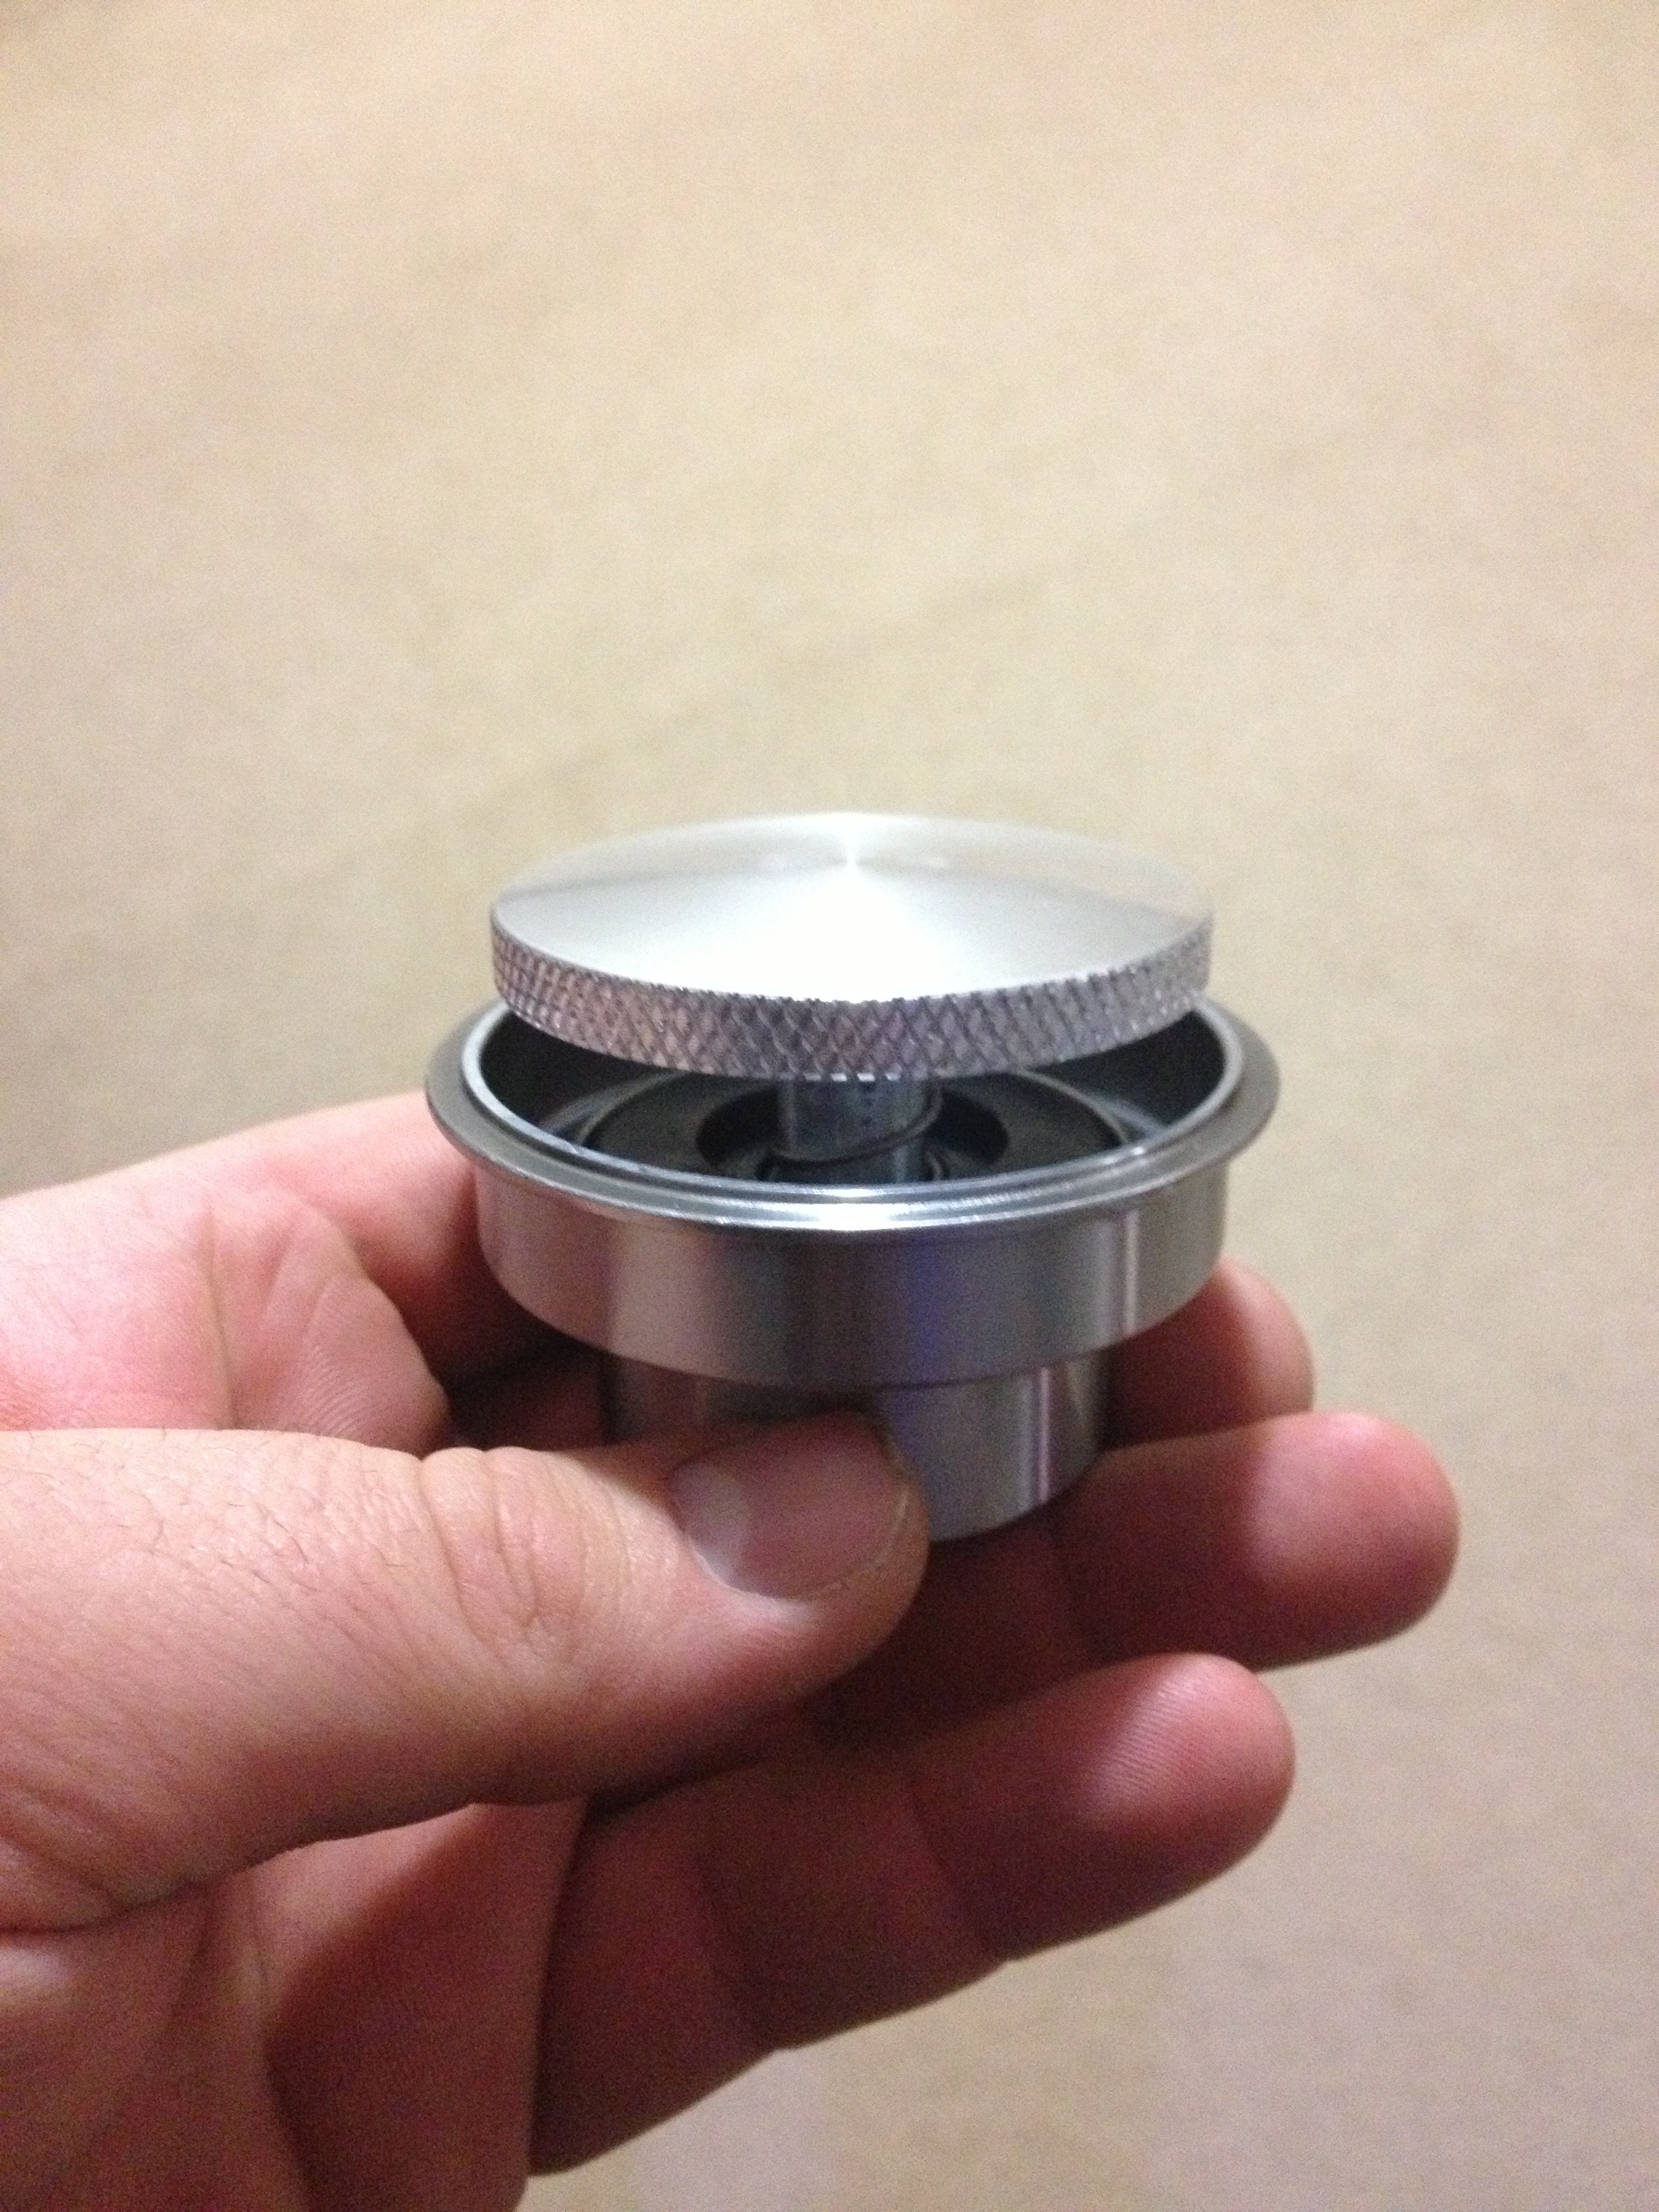
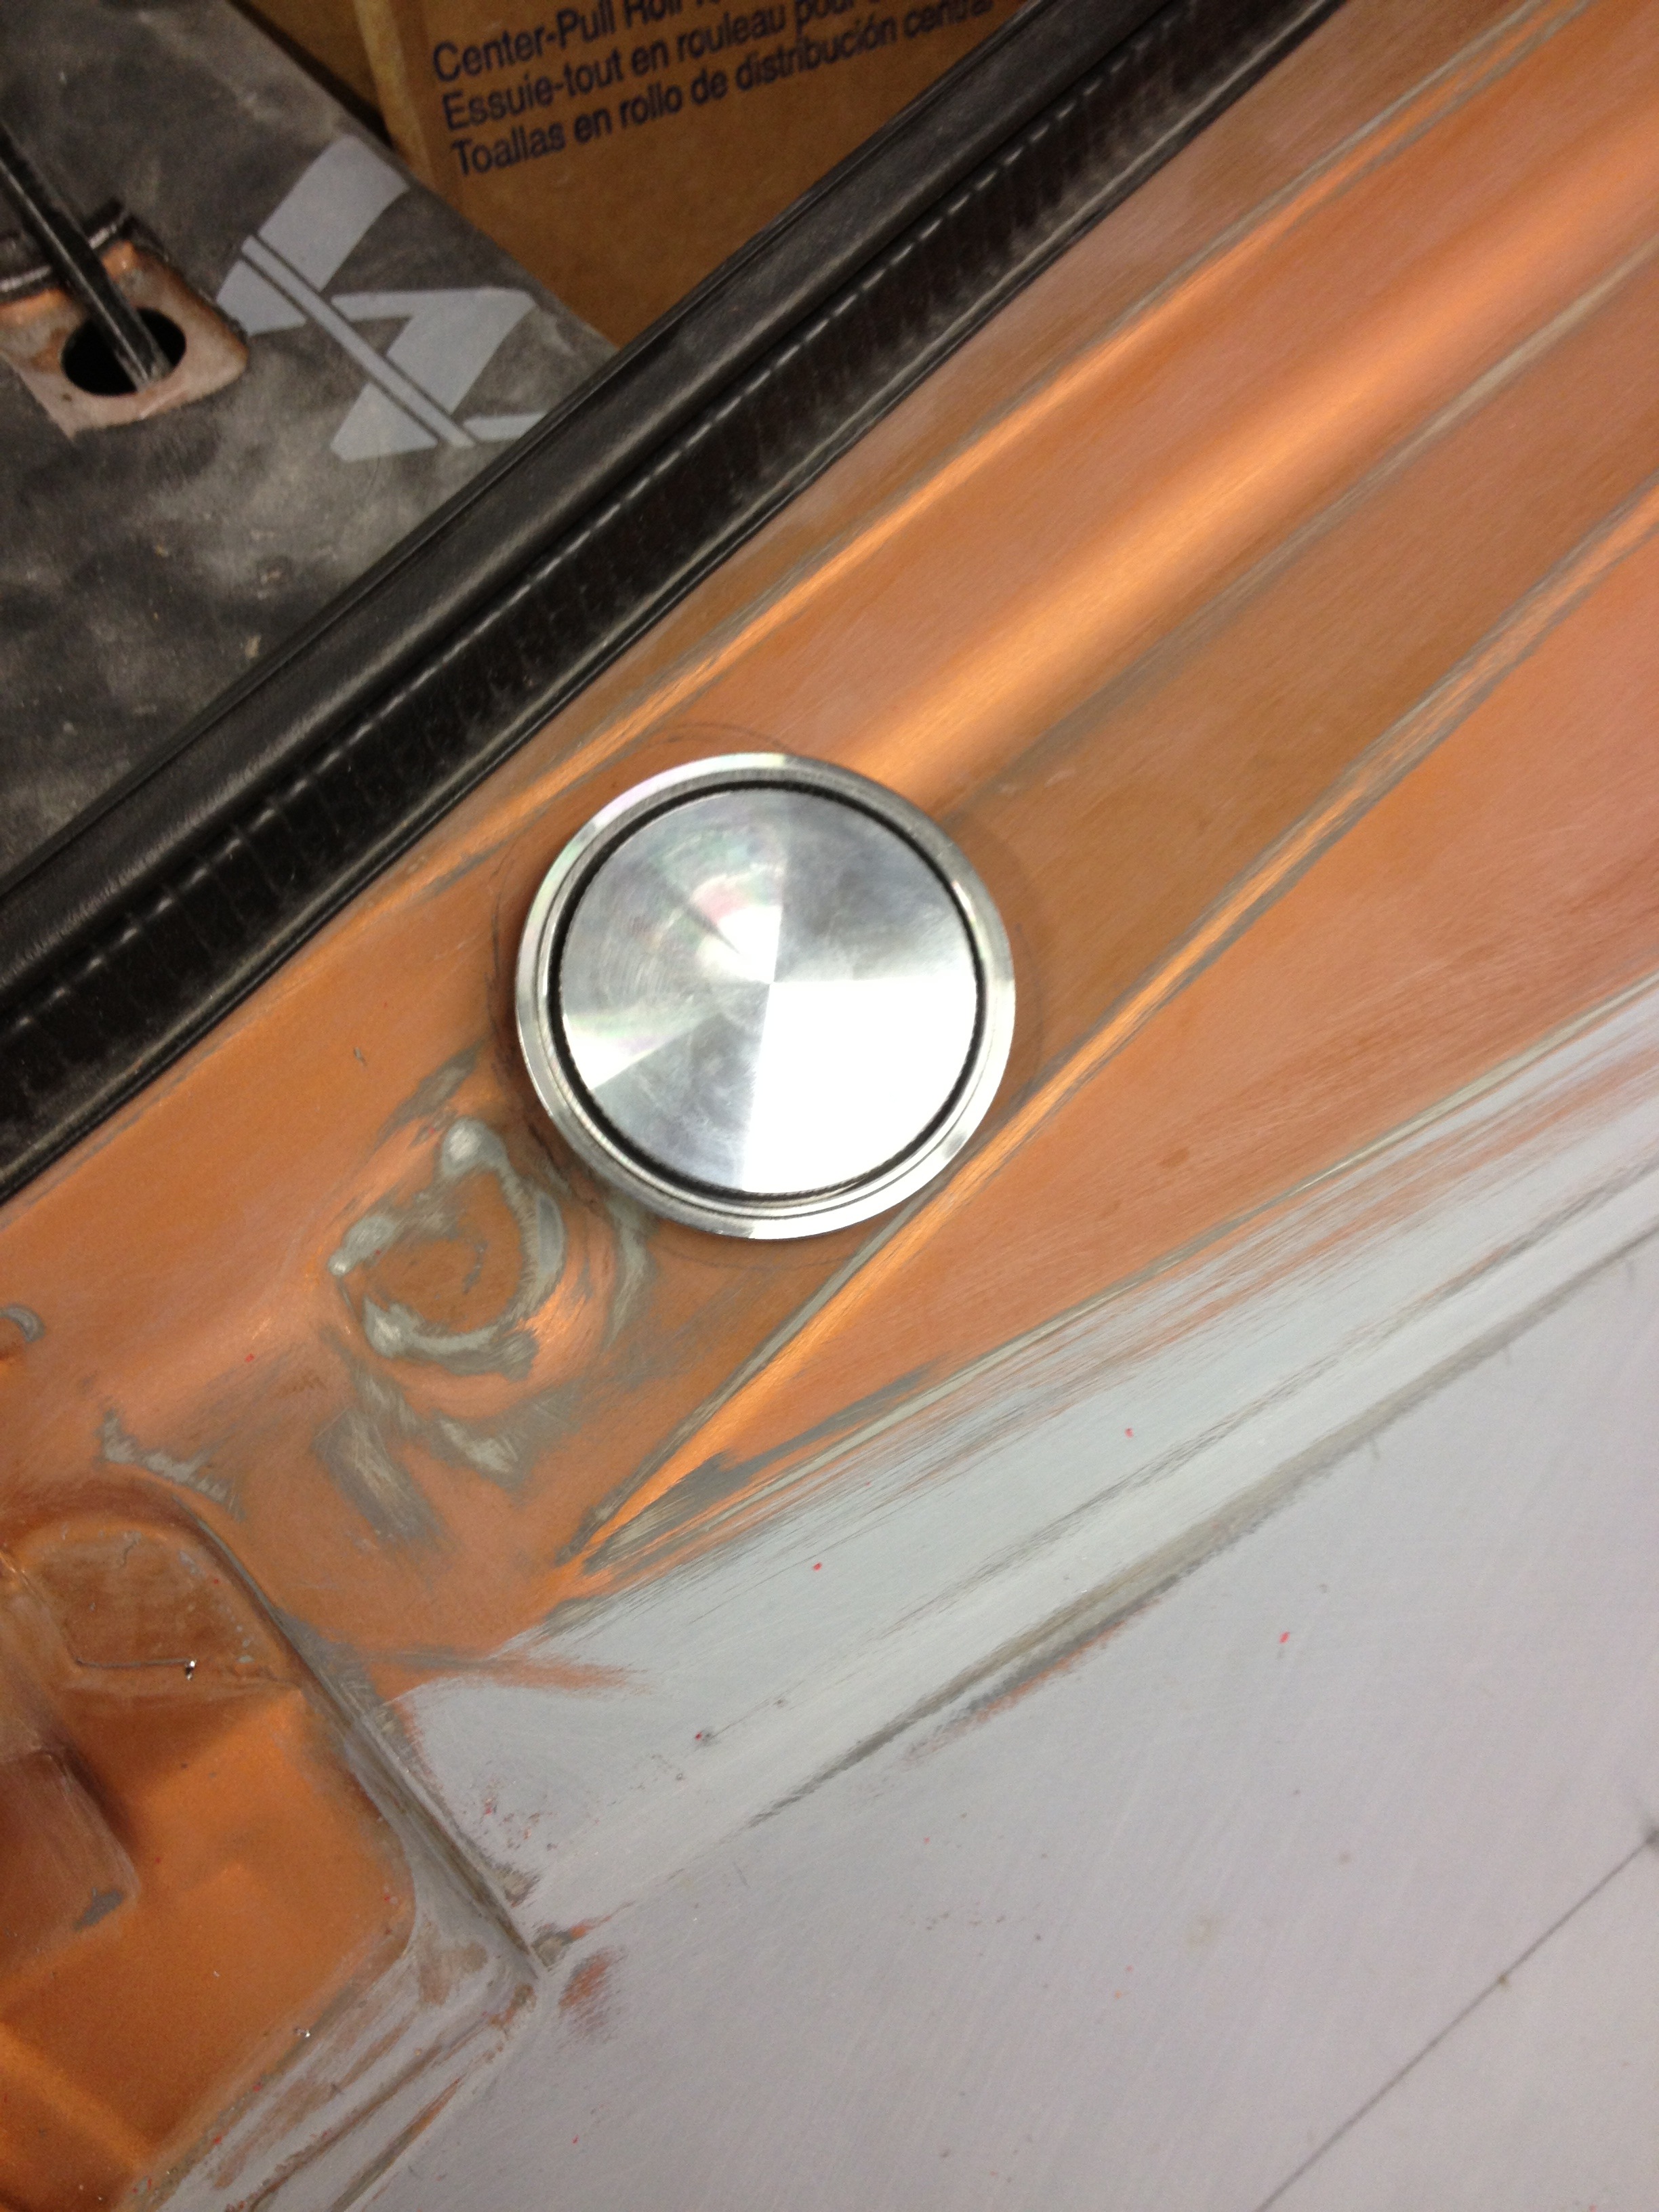
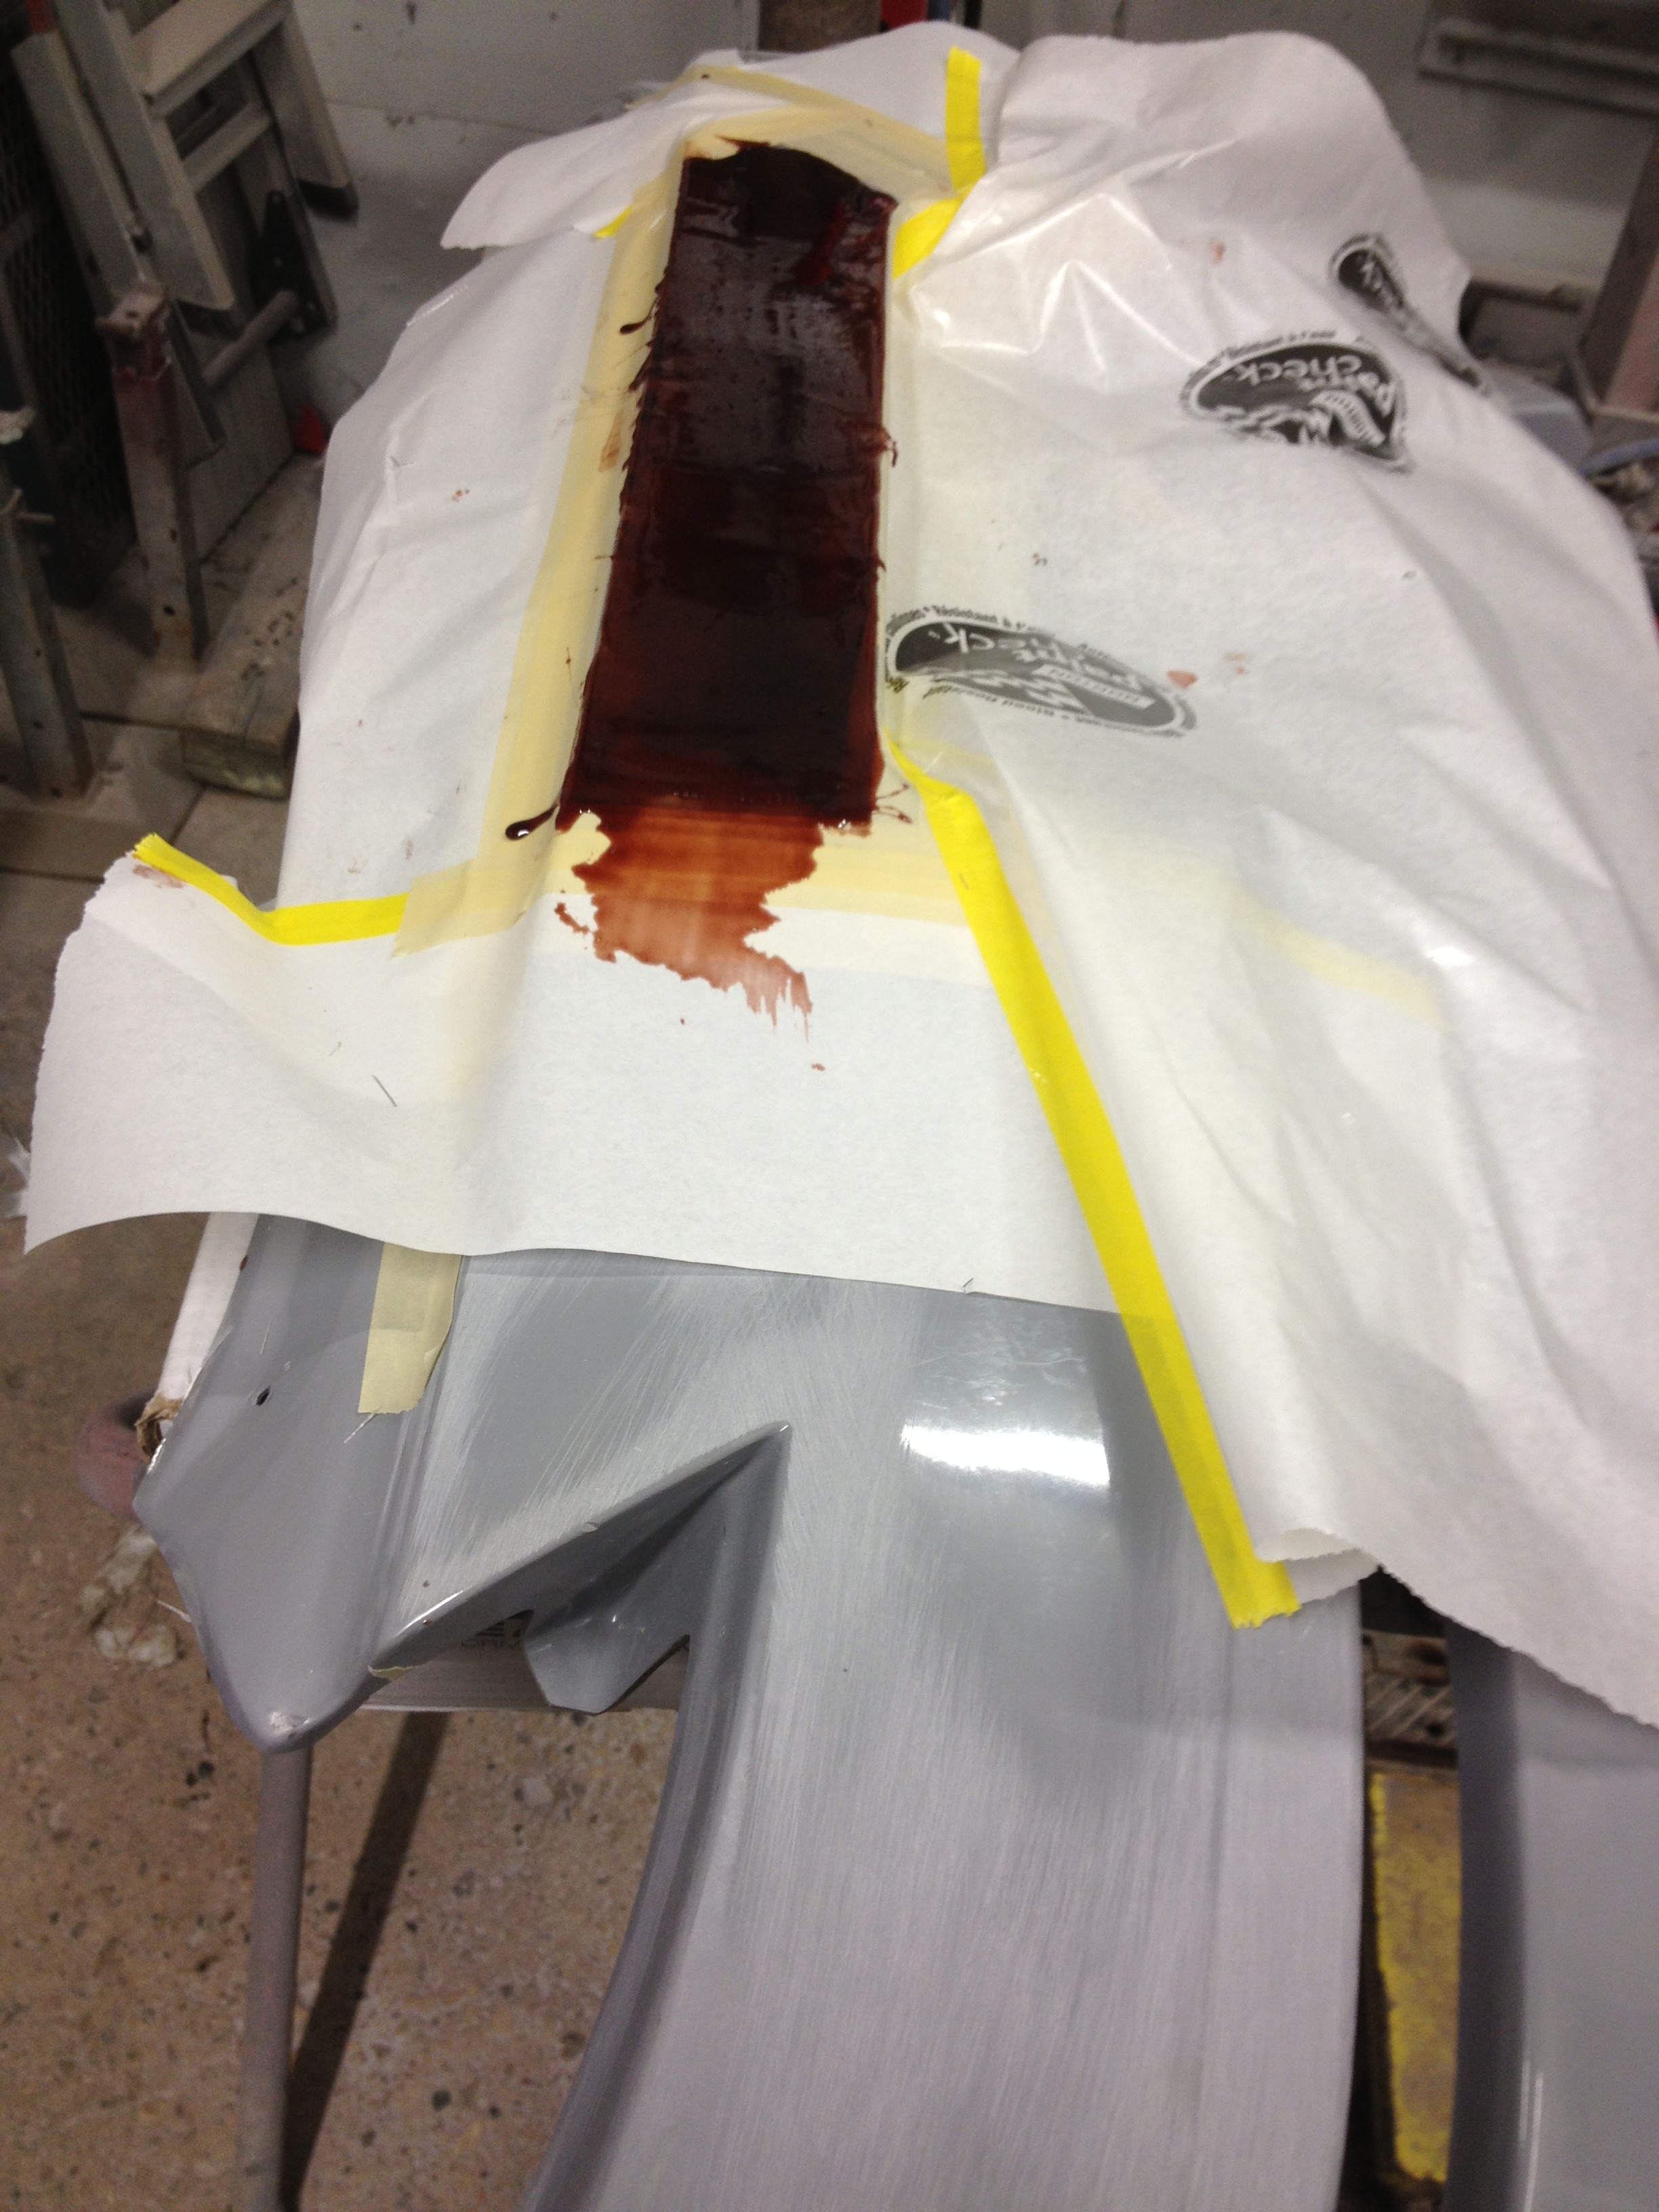
On to the rear fuel filler. It's a flush cap when closed. Push down and turn 1/4 turn and it pops out. You can then unthread it:
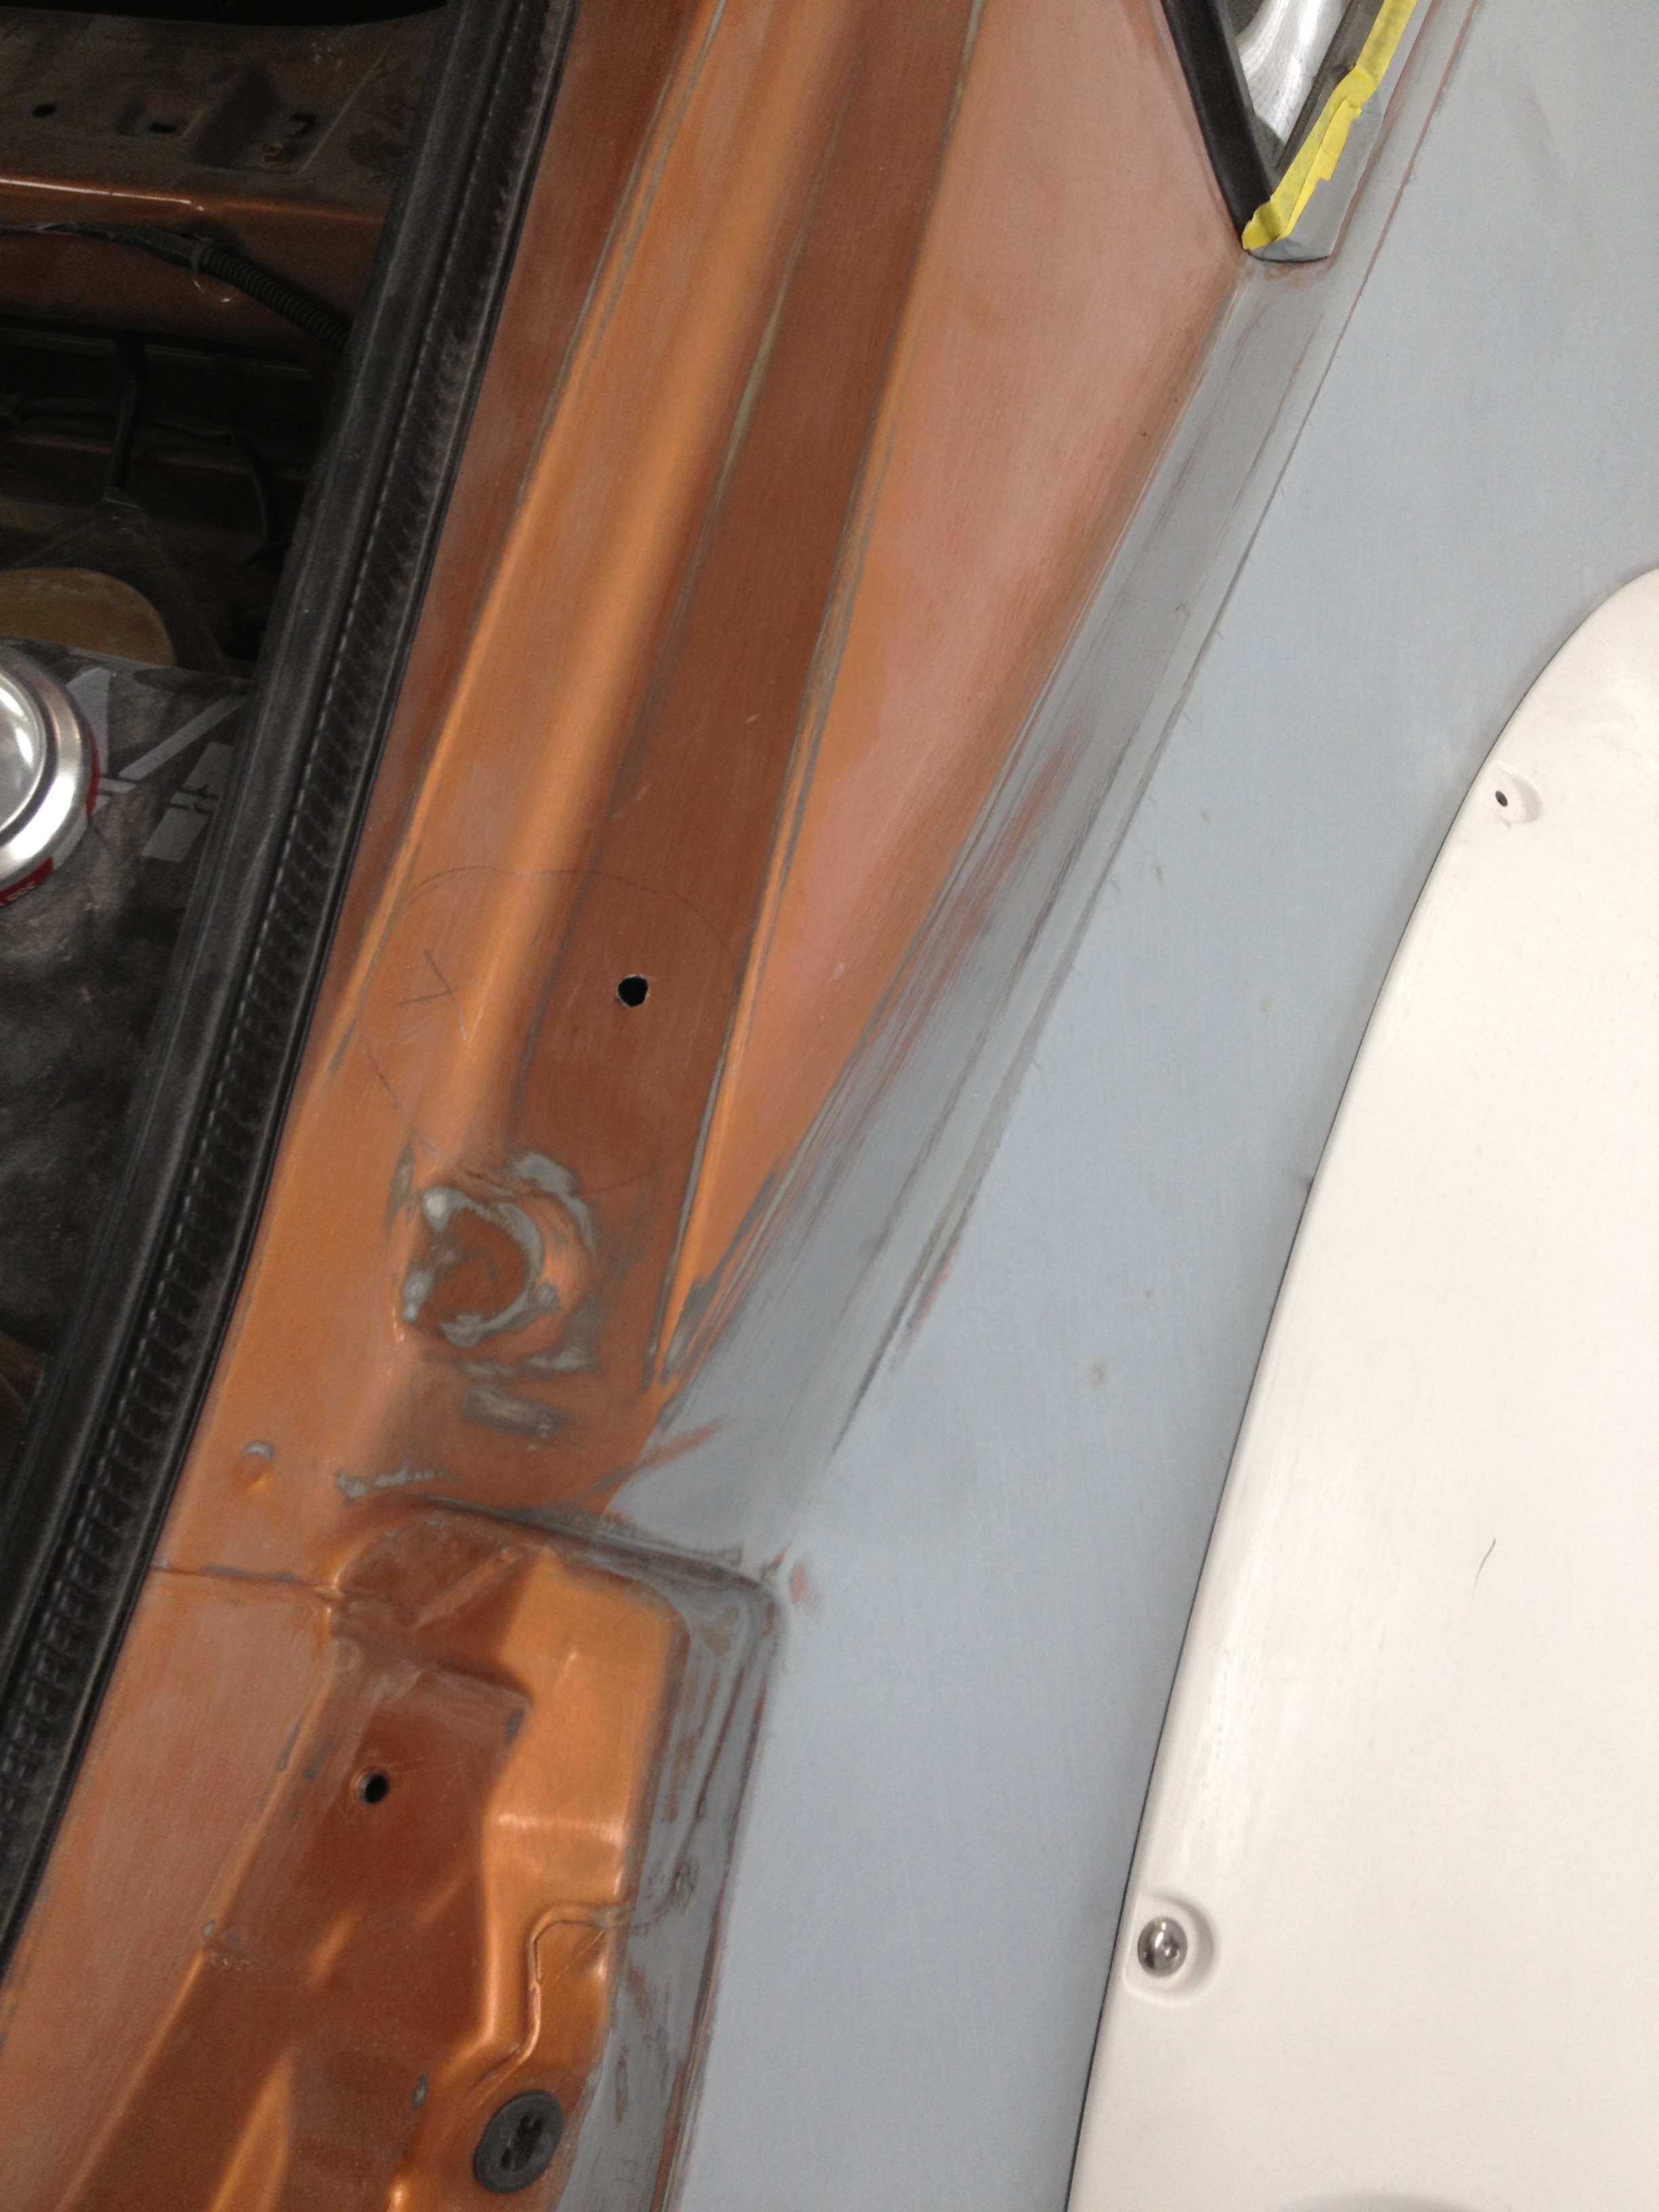
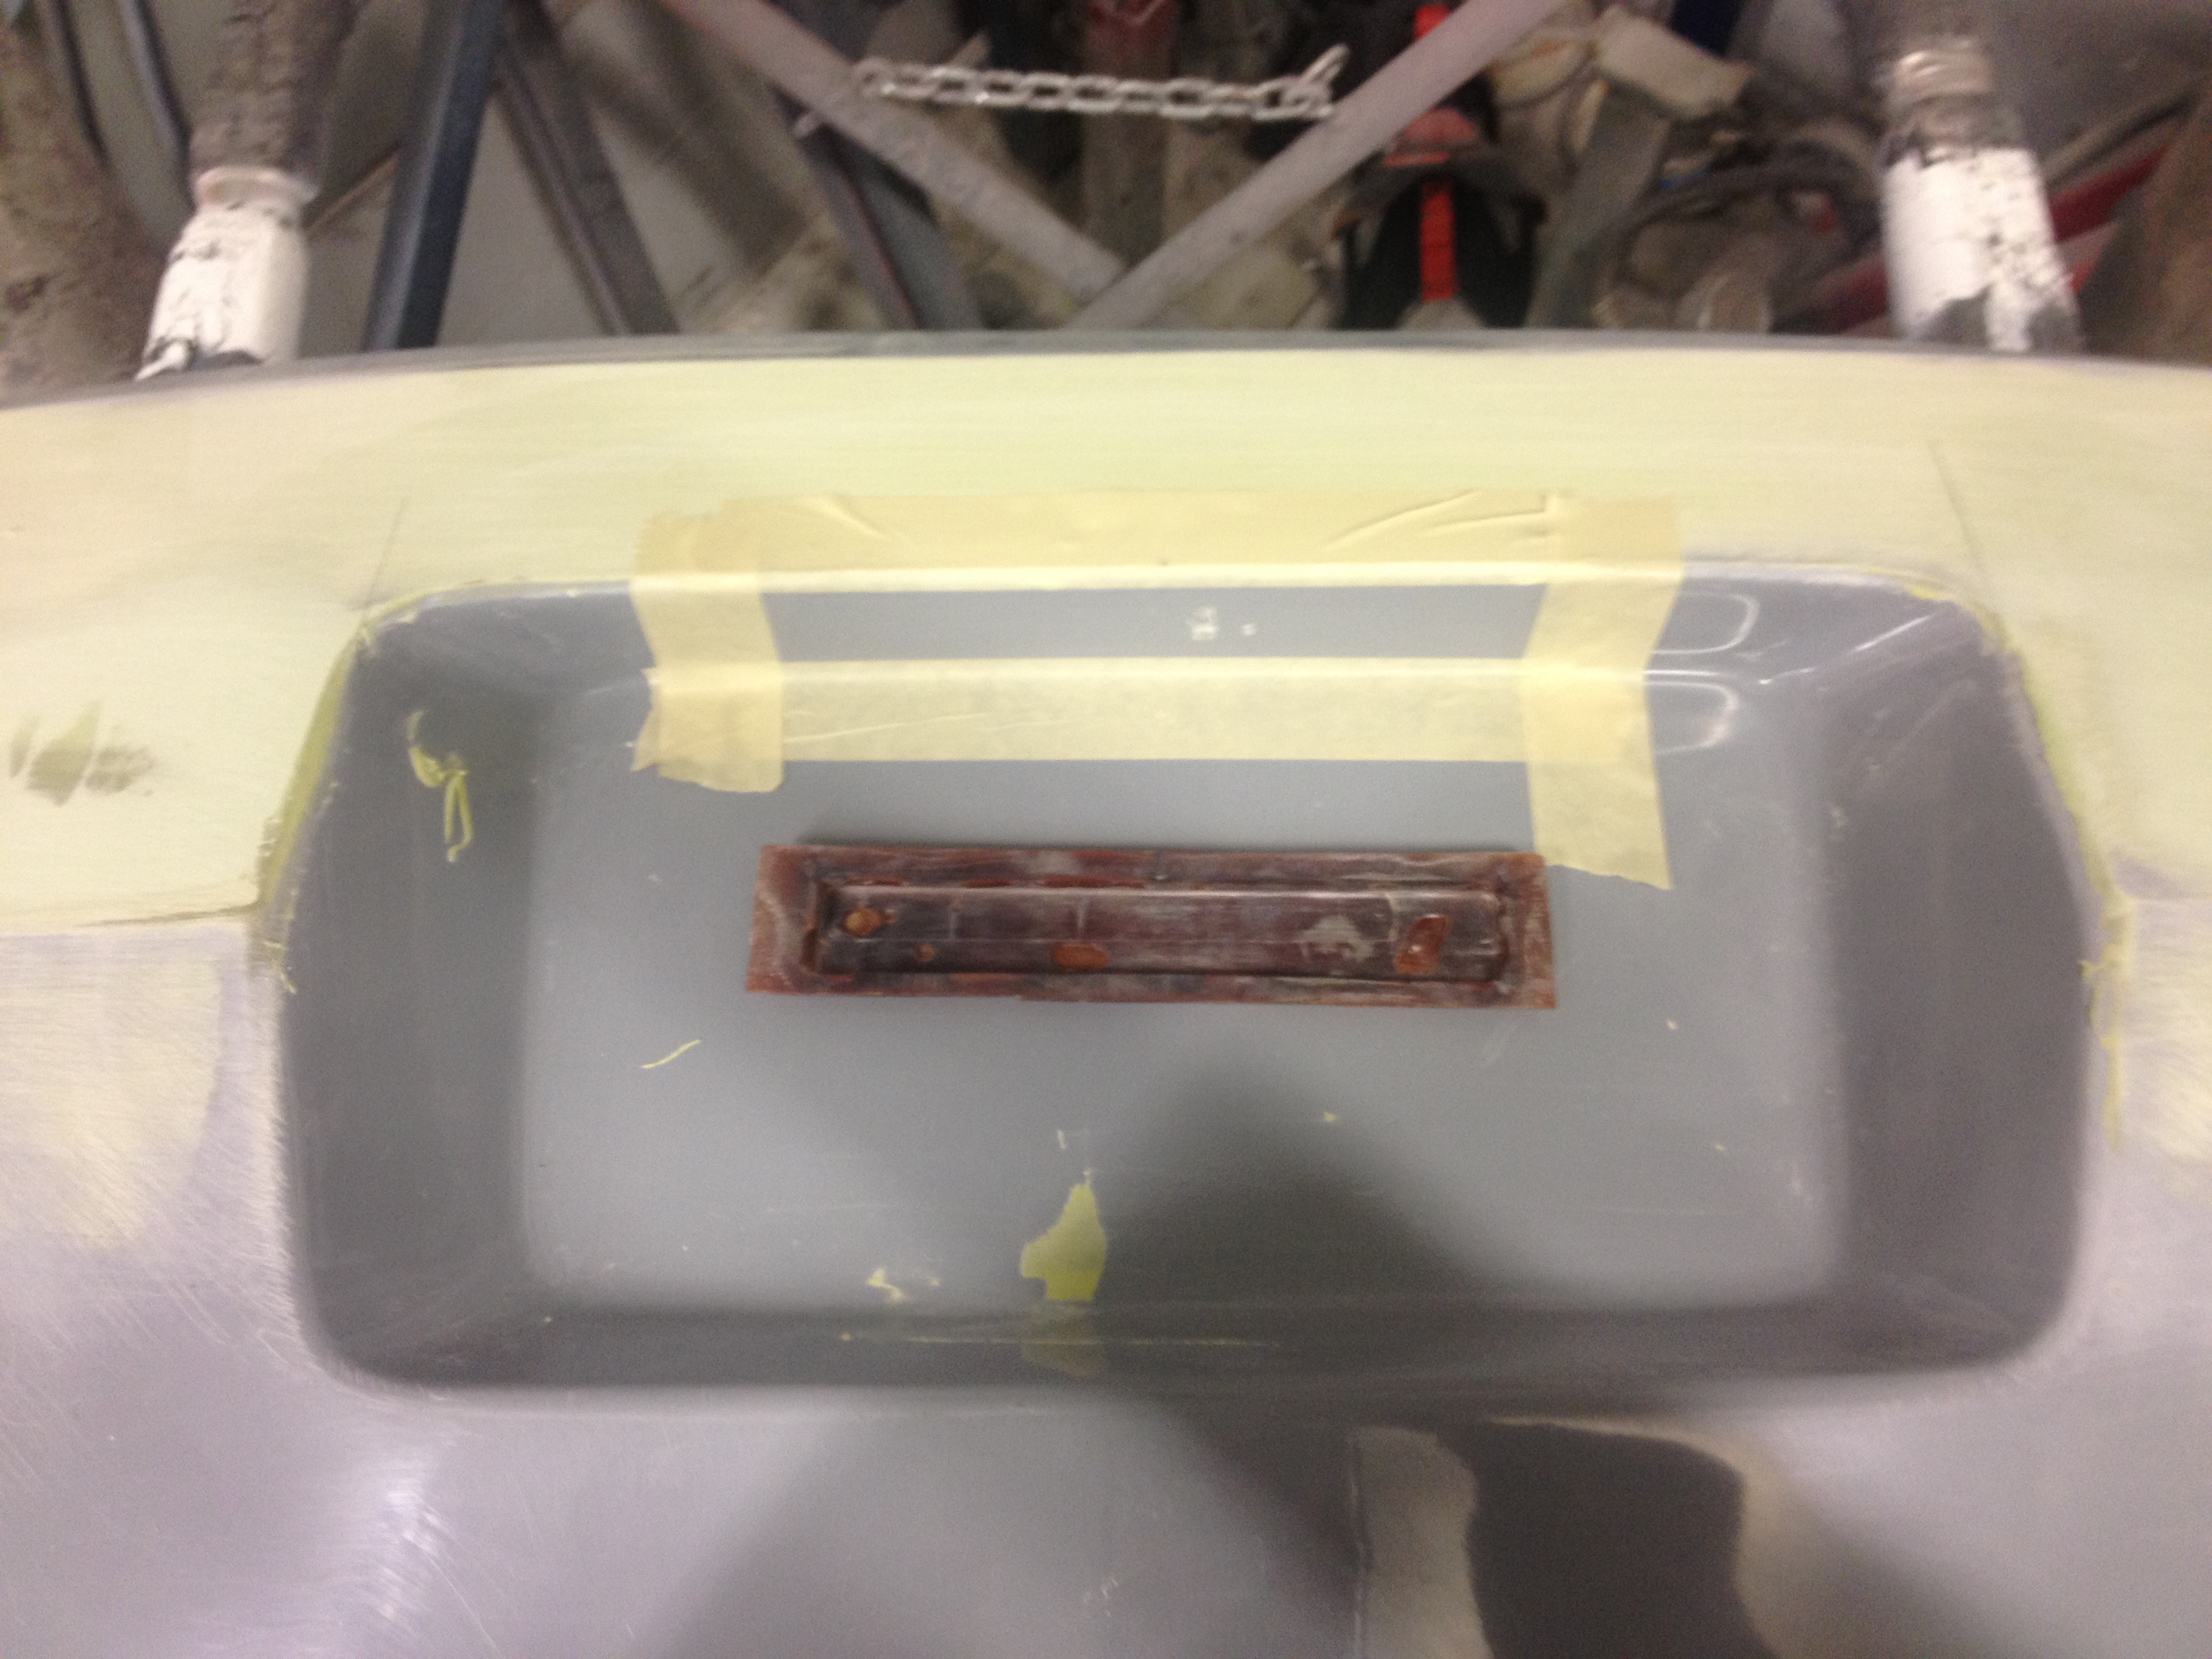
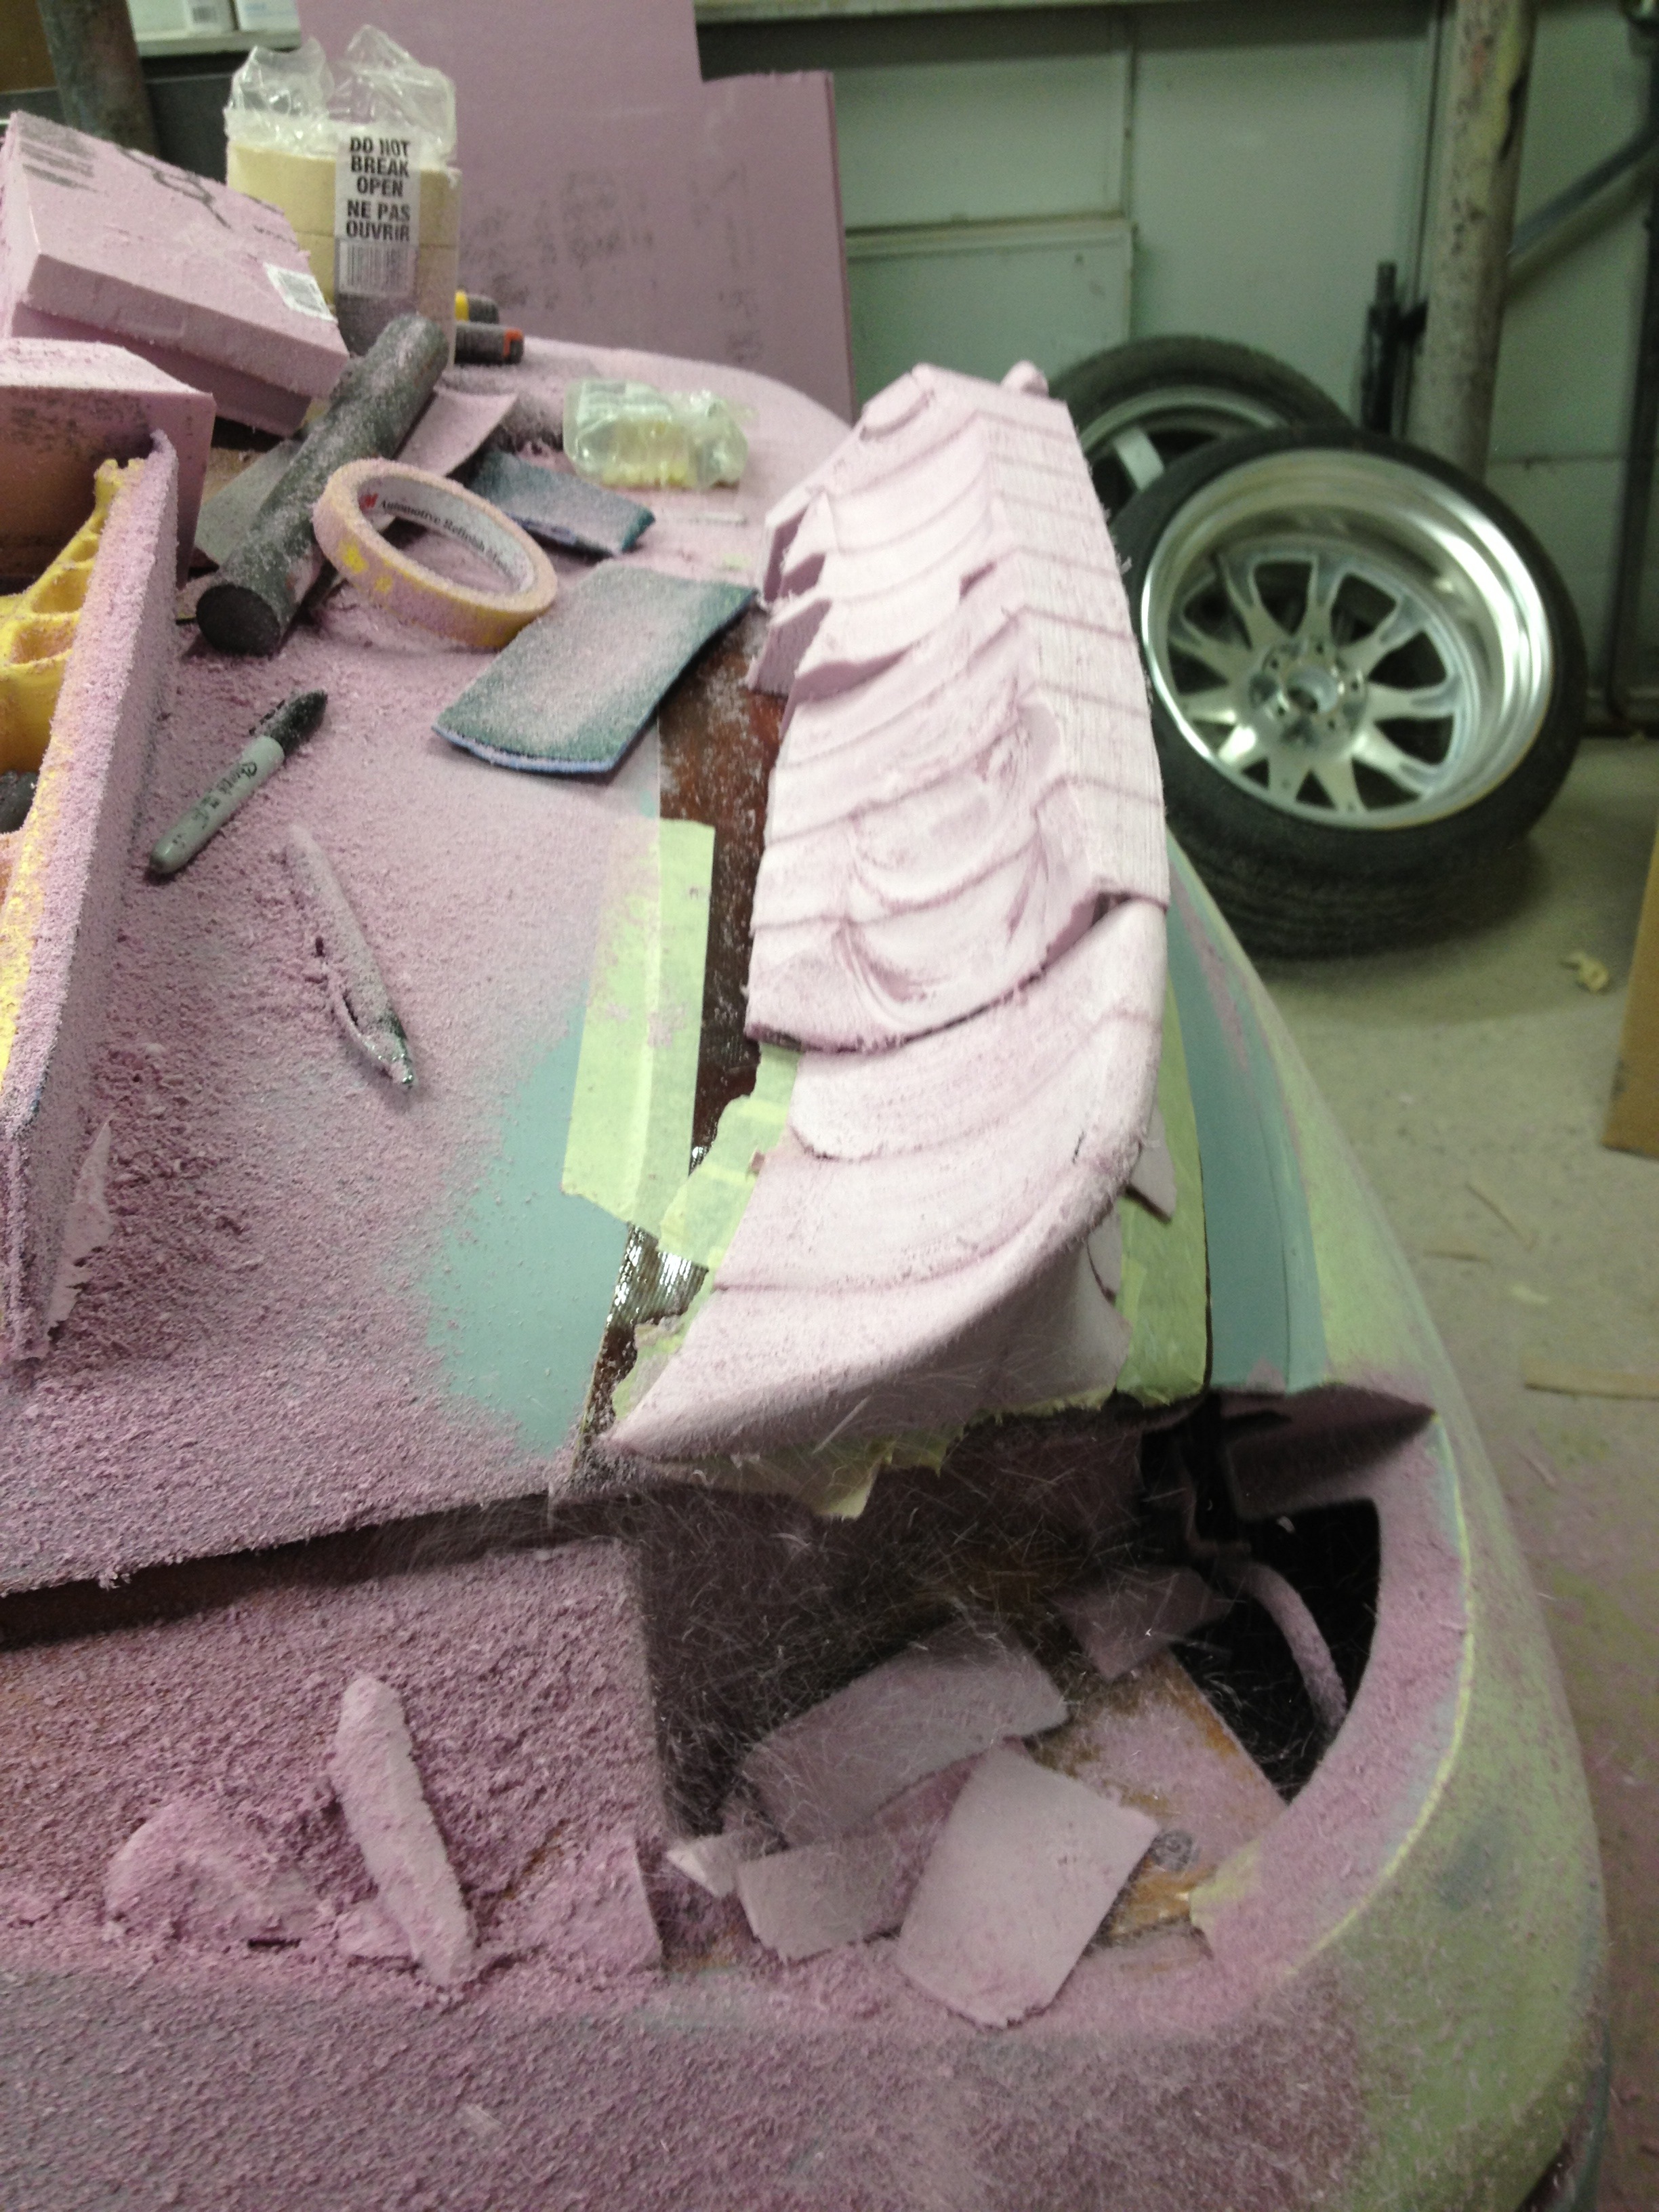
When I bought it I had a rough idea where it was going to go, but you never know what's behind the body panels in the location you want to use. We drilled a small starter hole through the sheet metal, as well as one at the bottom and looked inside to see if we could make that location work.
I wanted to keep the fuel filler cap on the exterior of the vehicle, (it's on the exterior side of the trunk weather stripping) as well as keep all the fuel lines outside the cabin of the car. This location allowed me to meet both of those requirements.
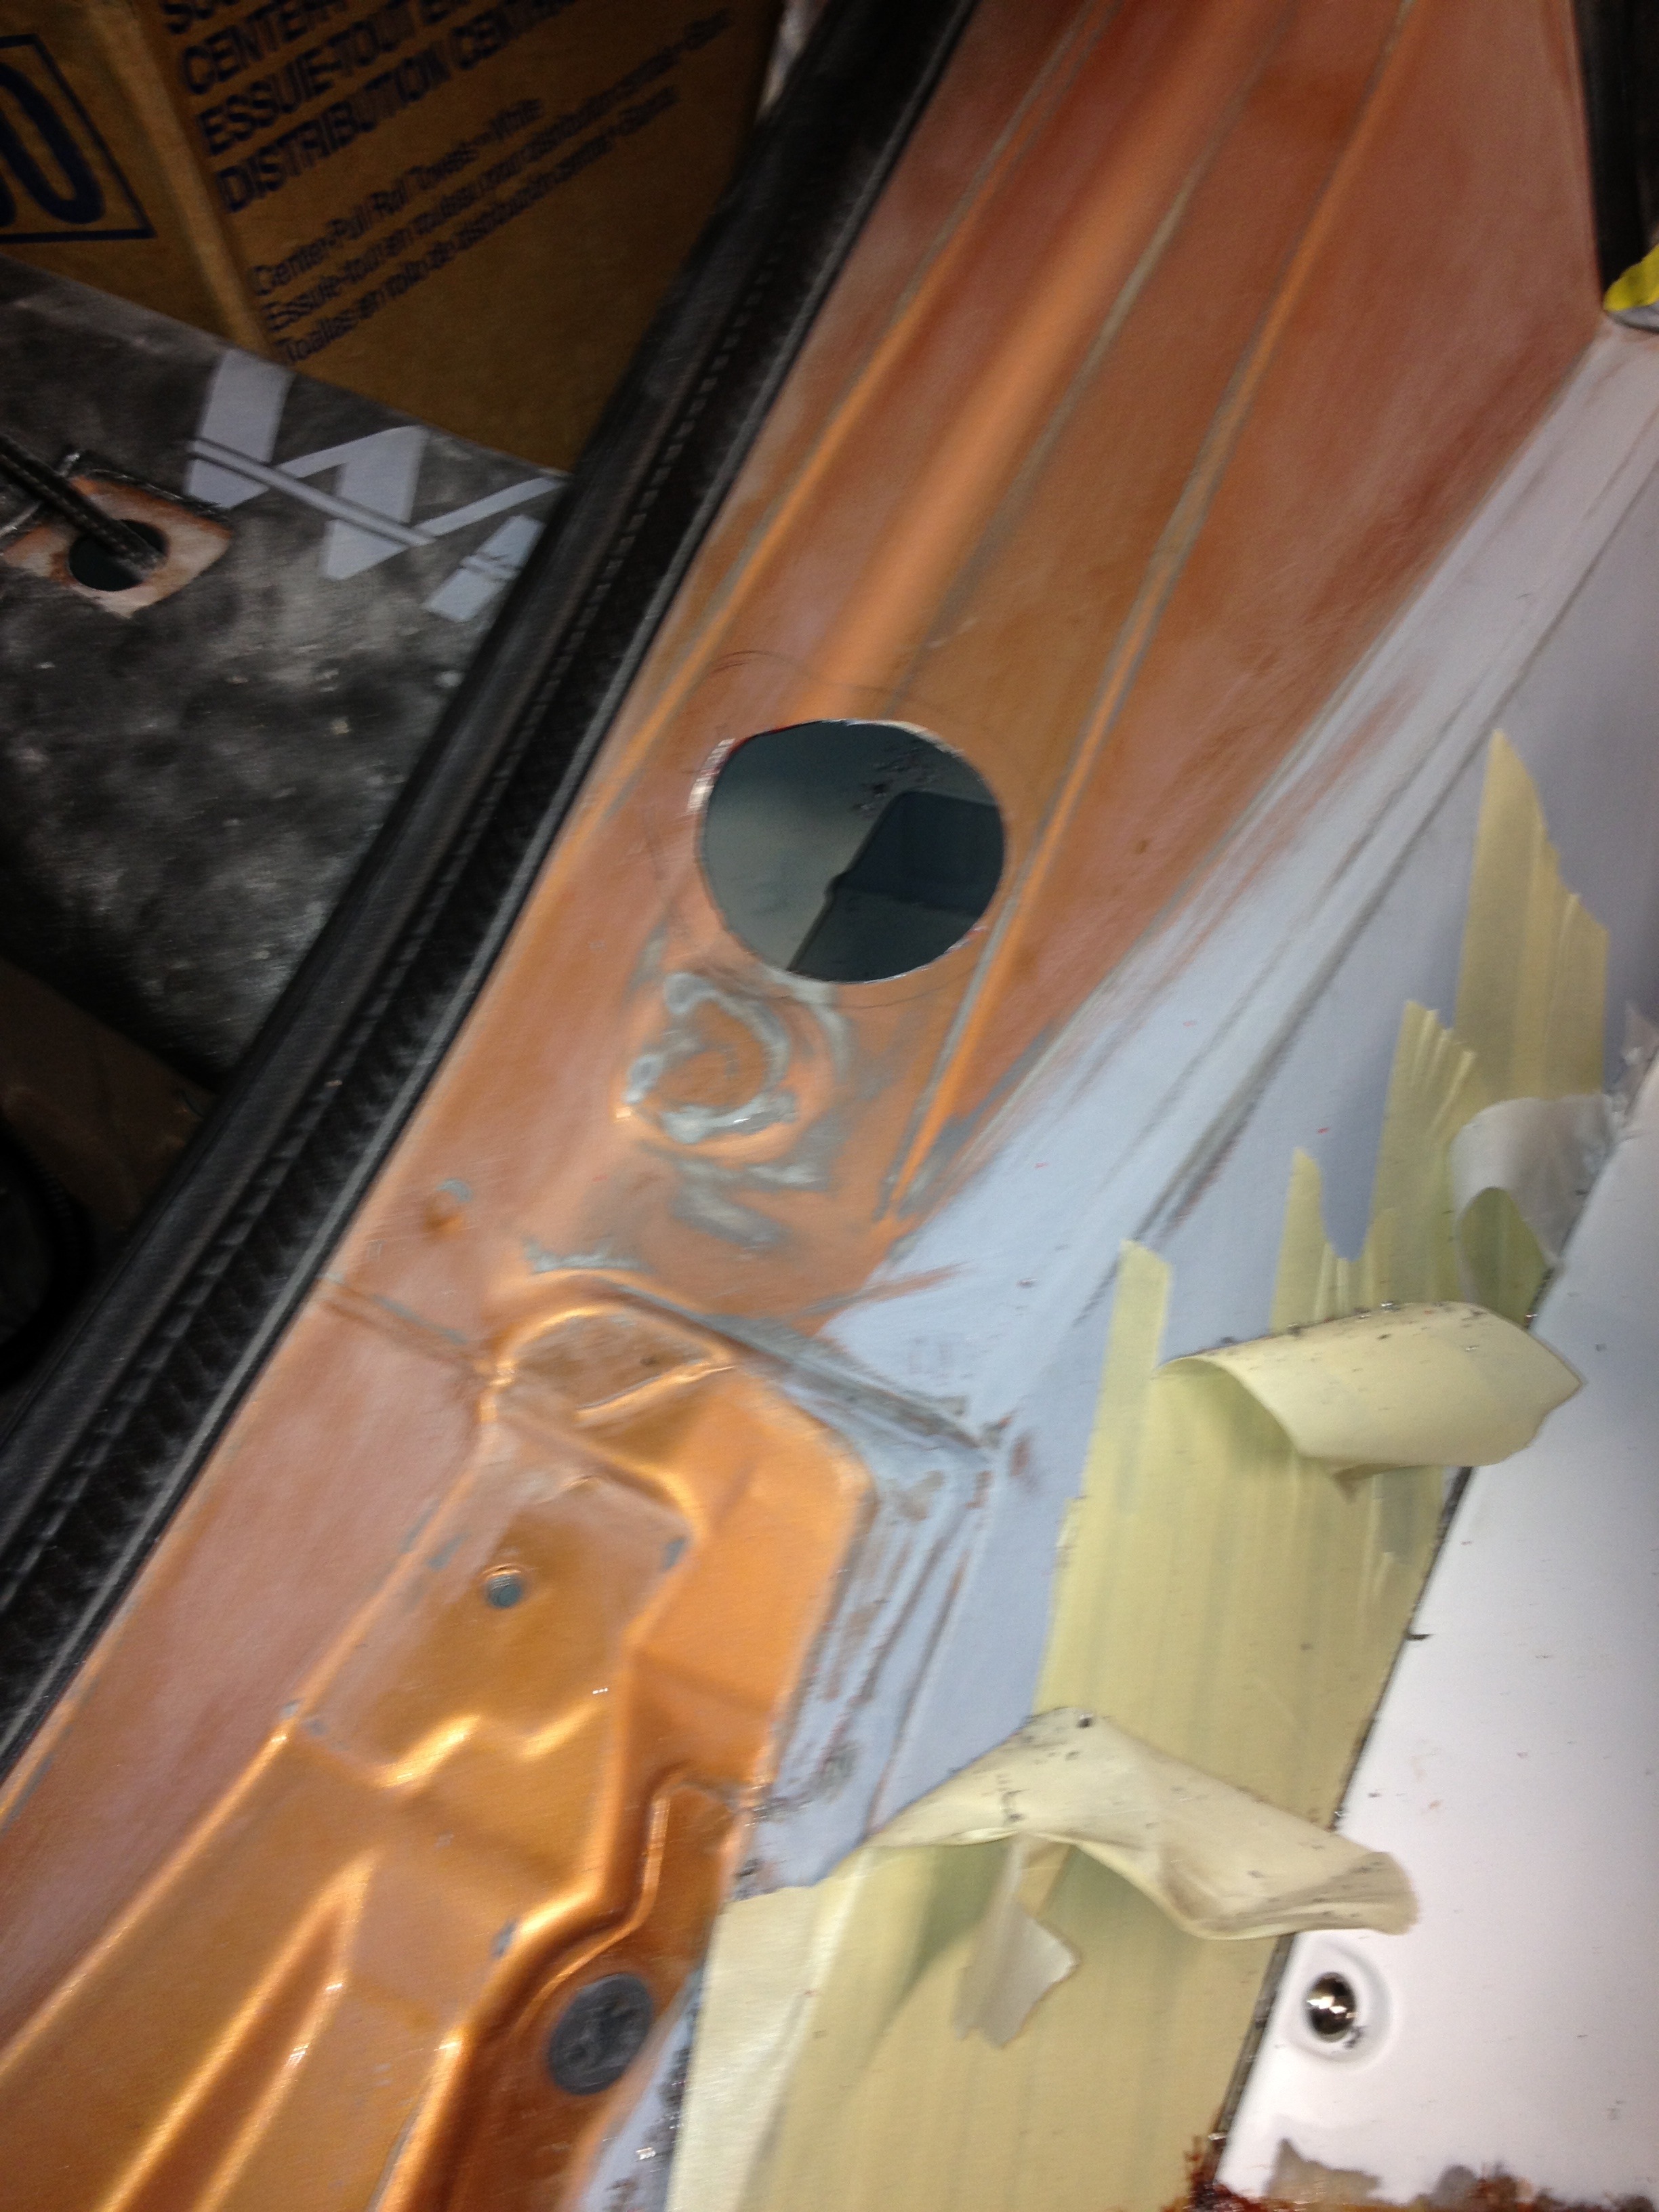
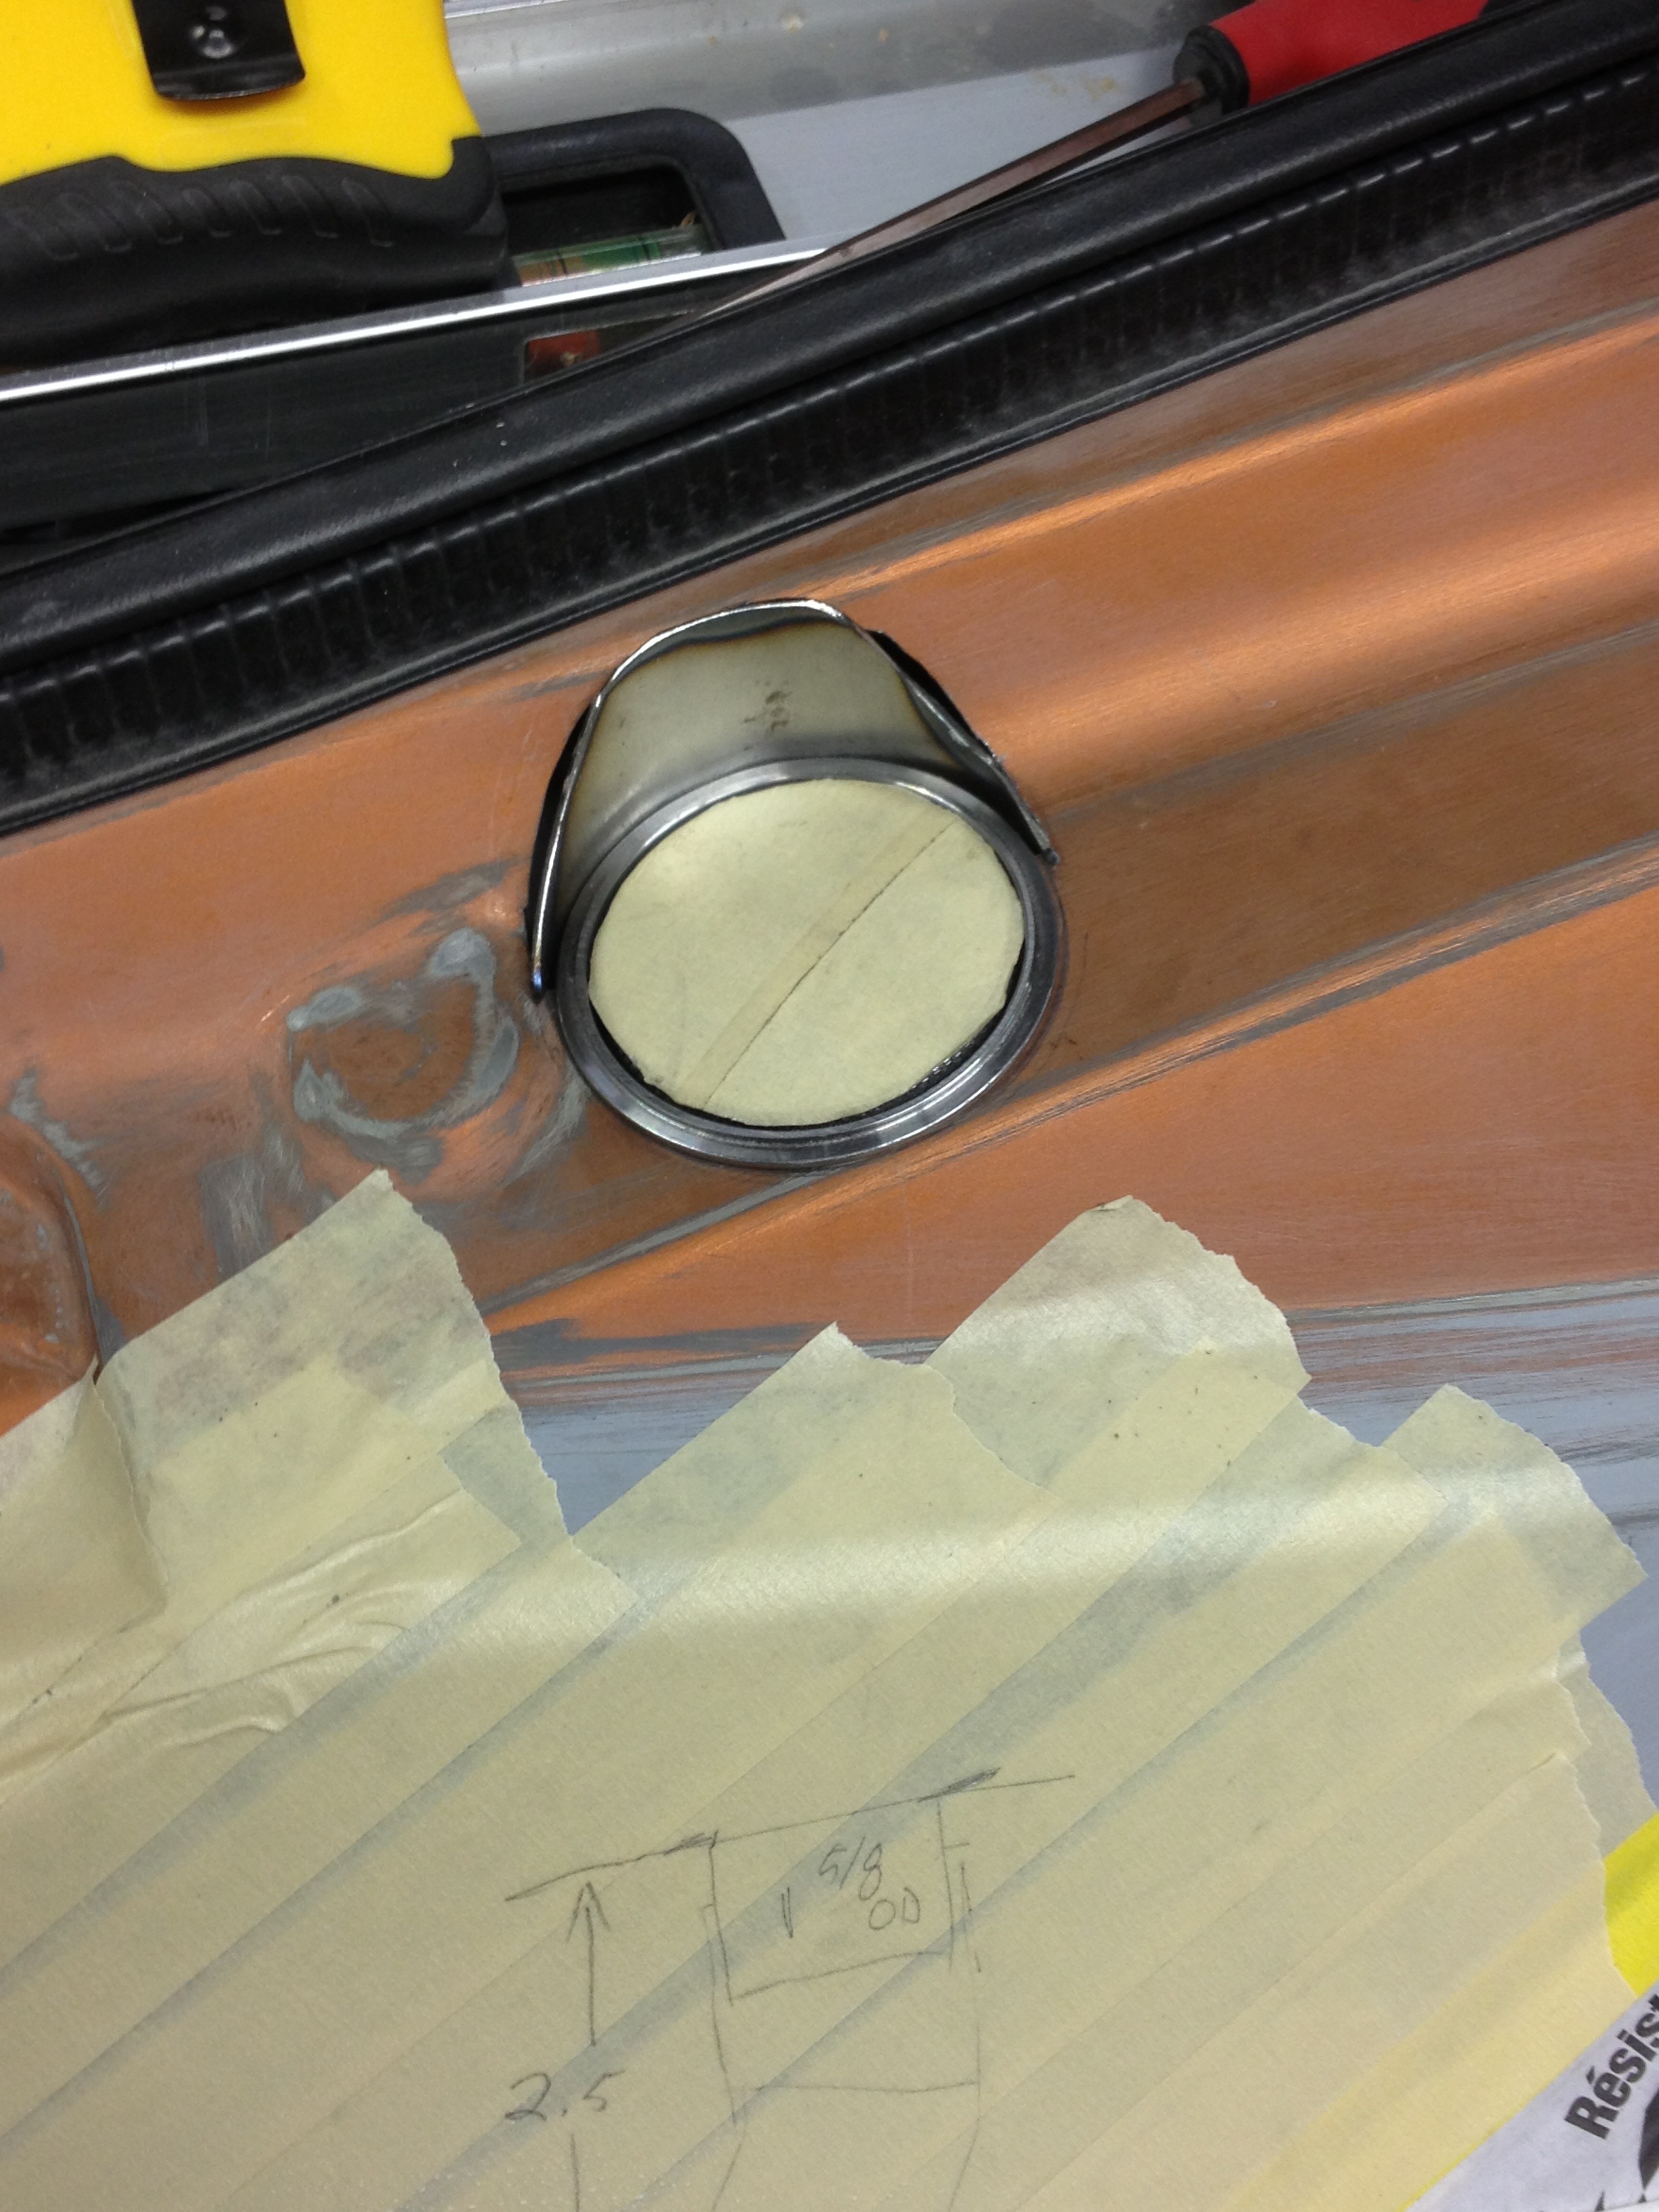
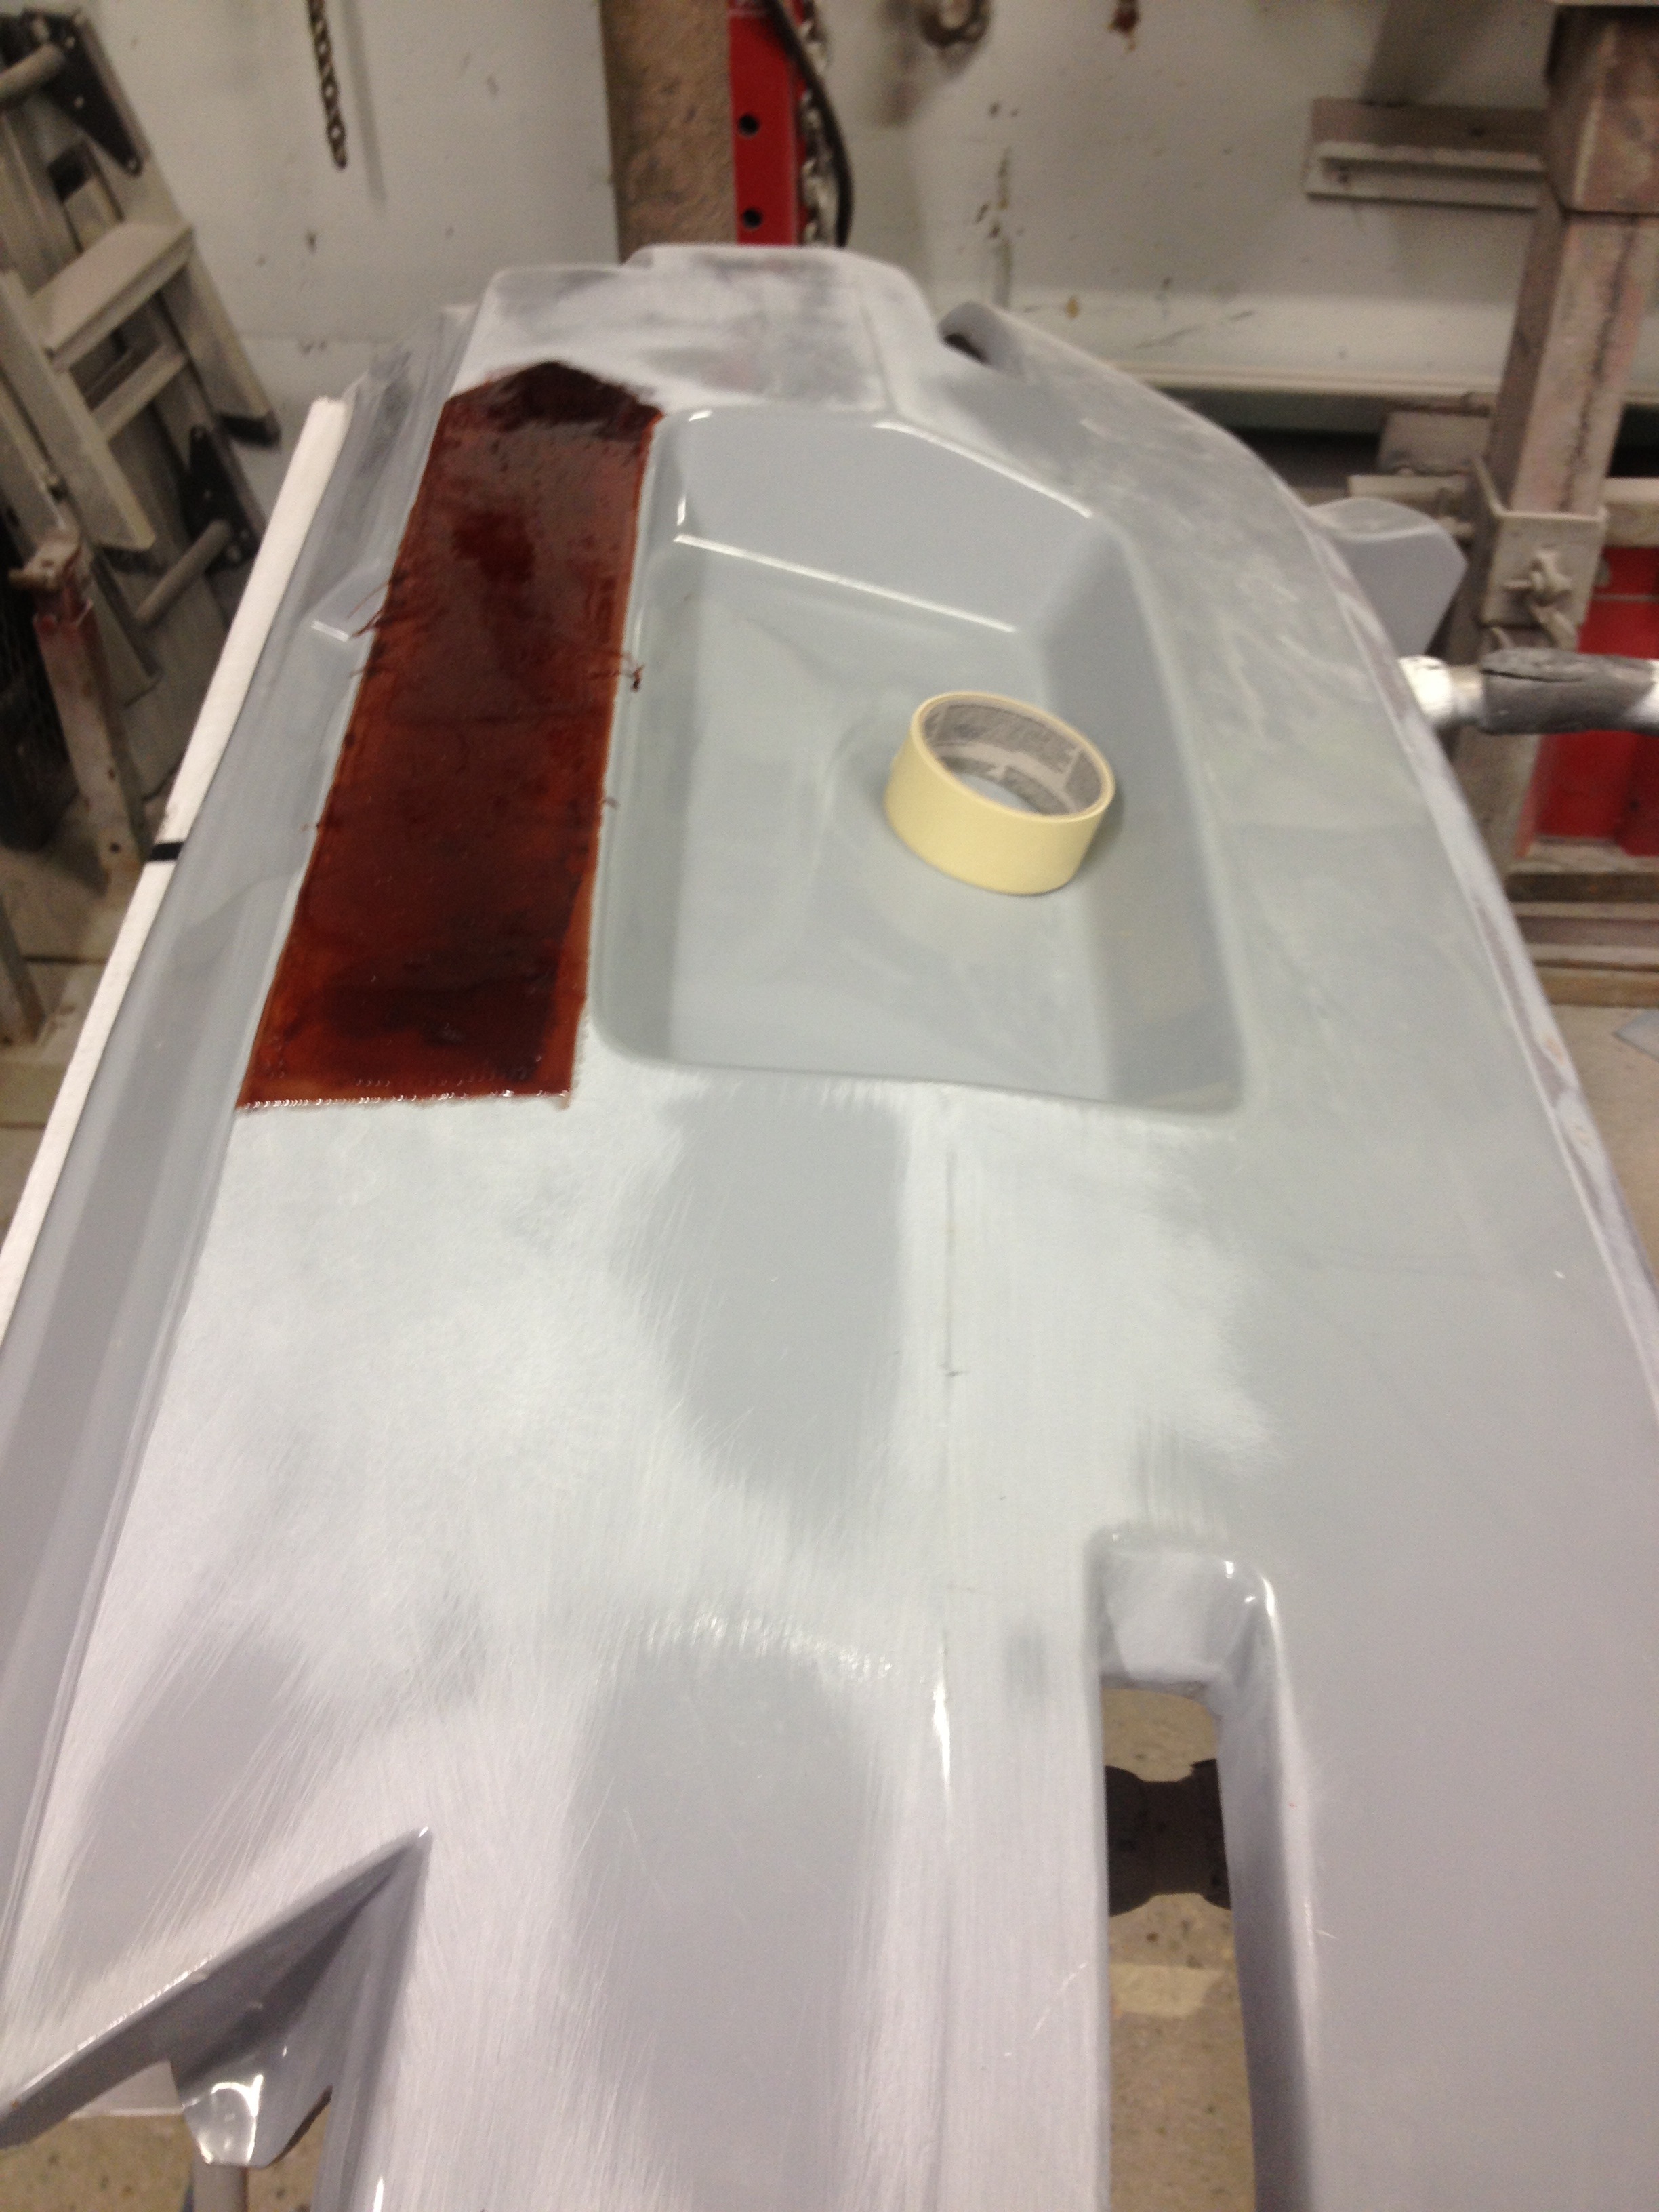
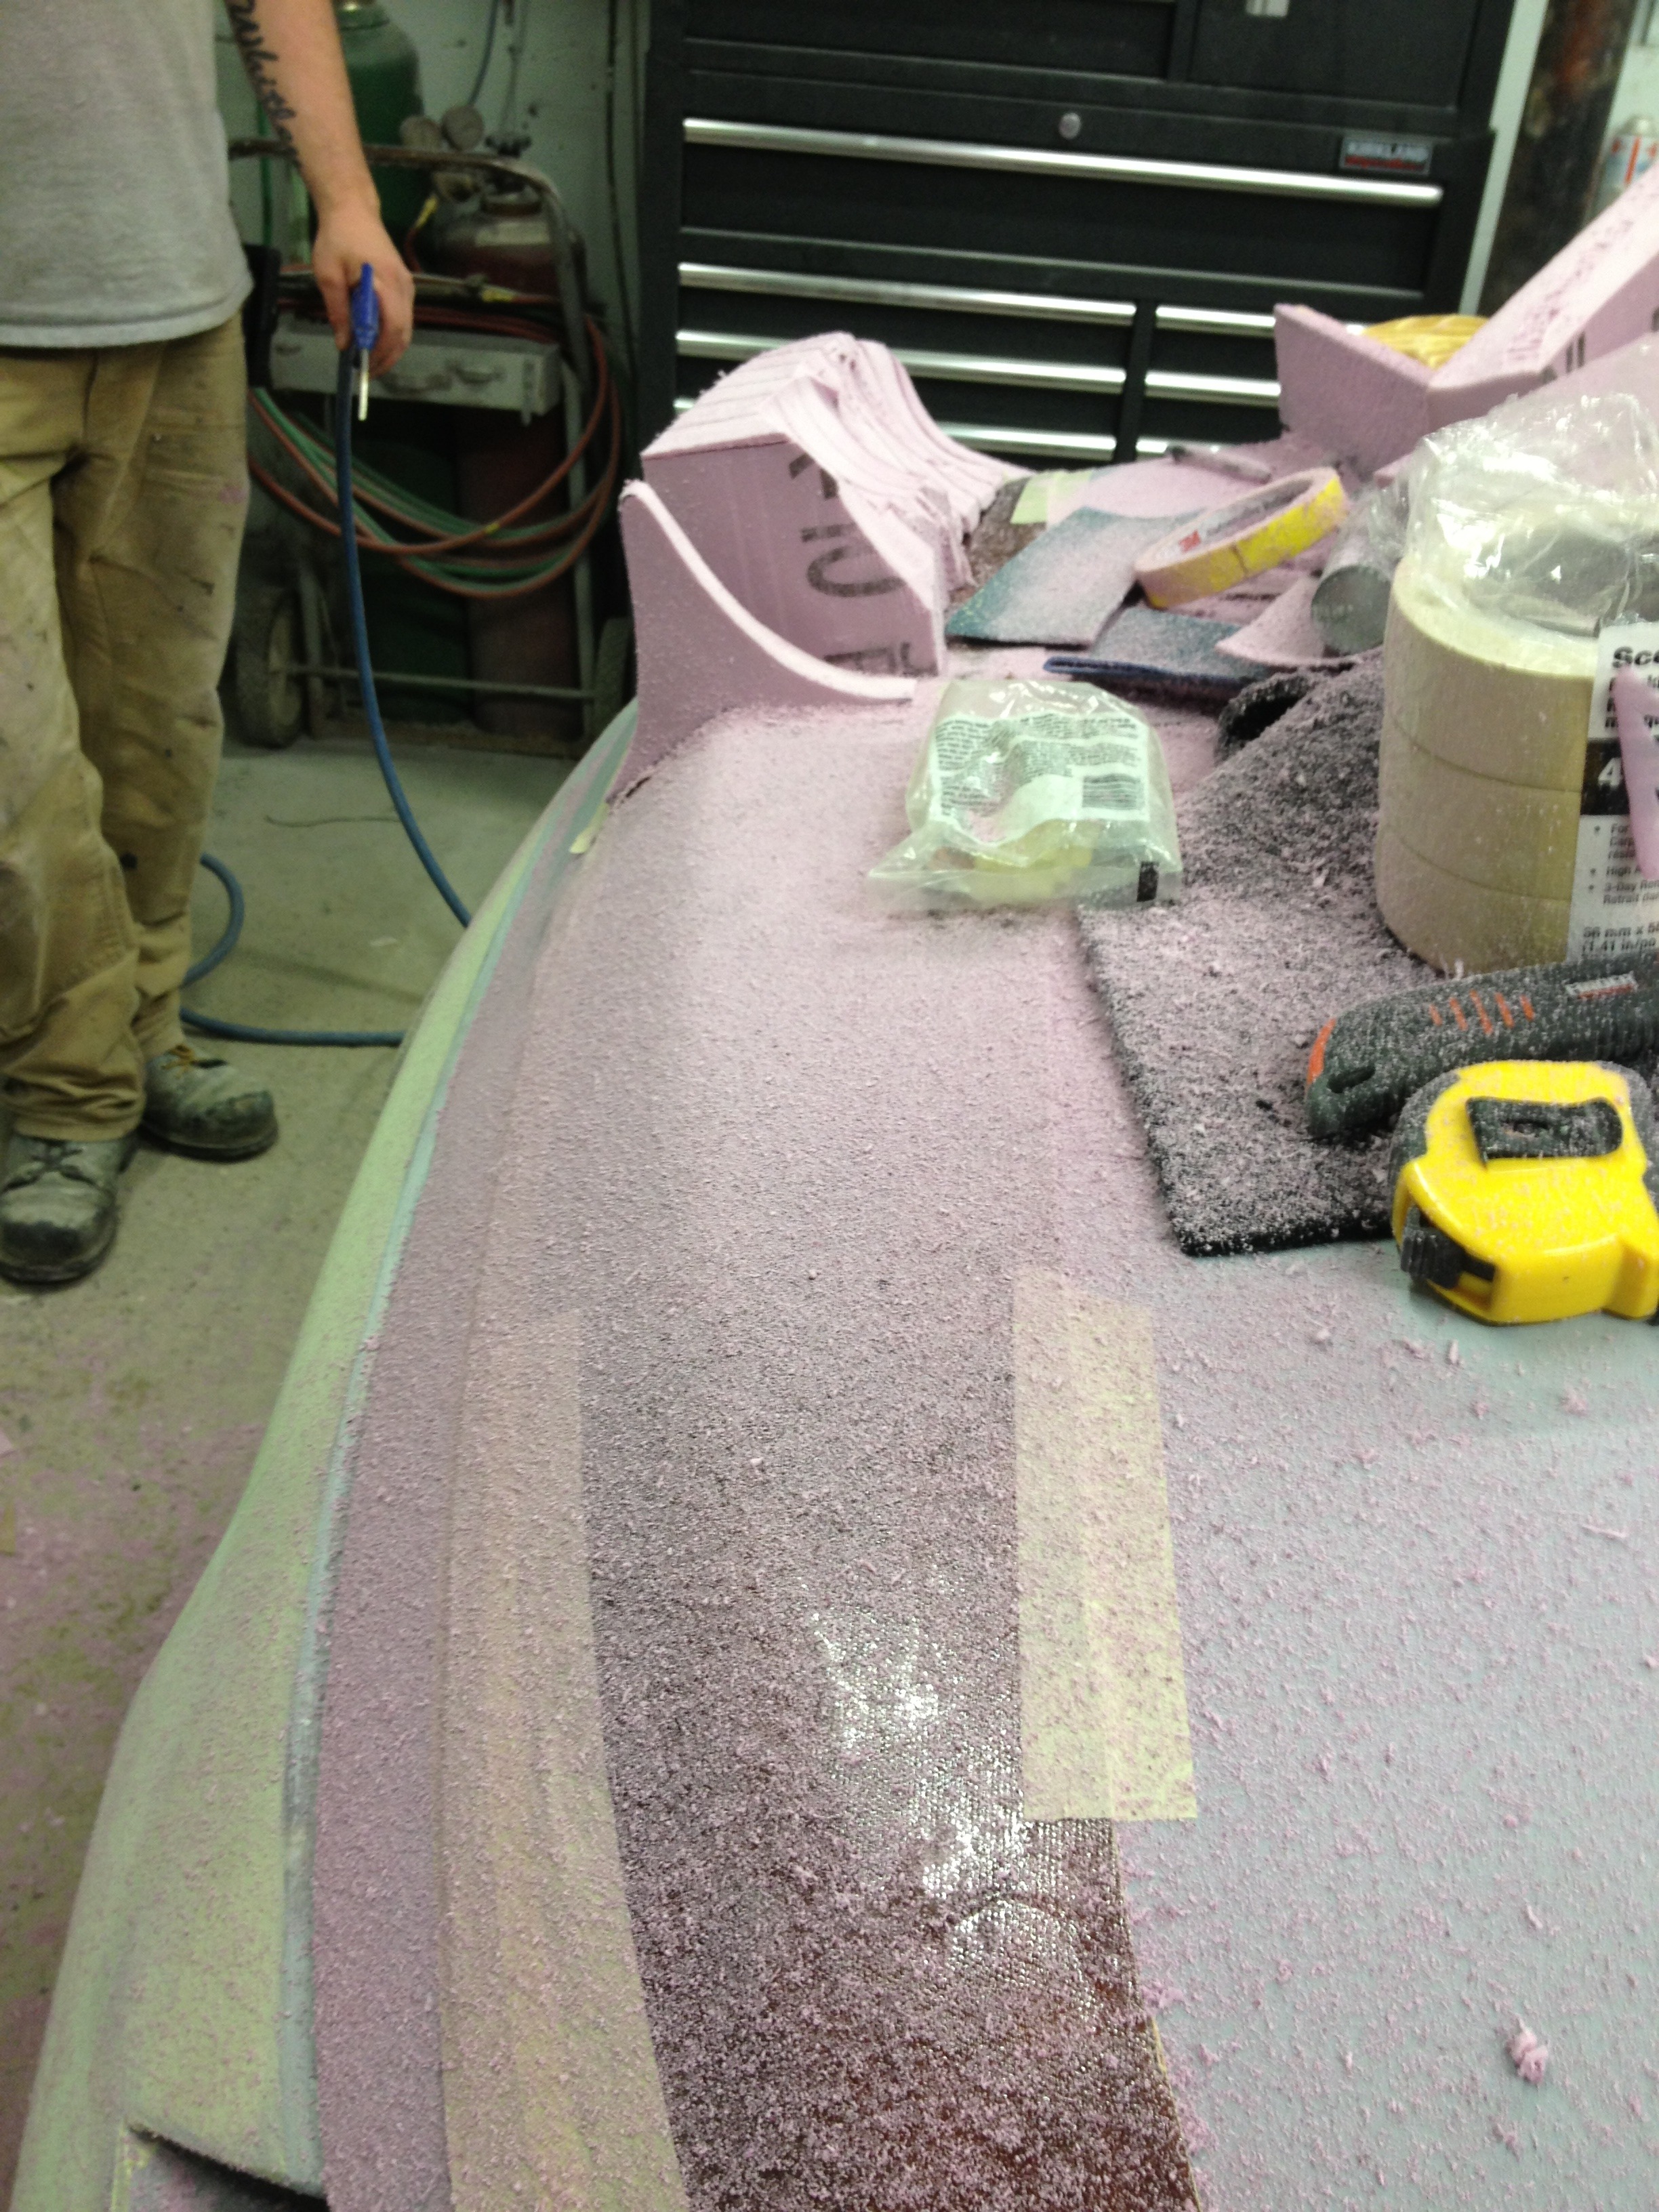
Once we knew the location was good, we cut a bigger hole:
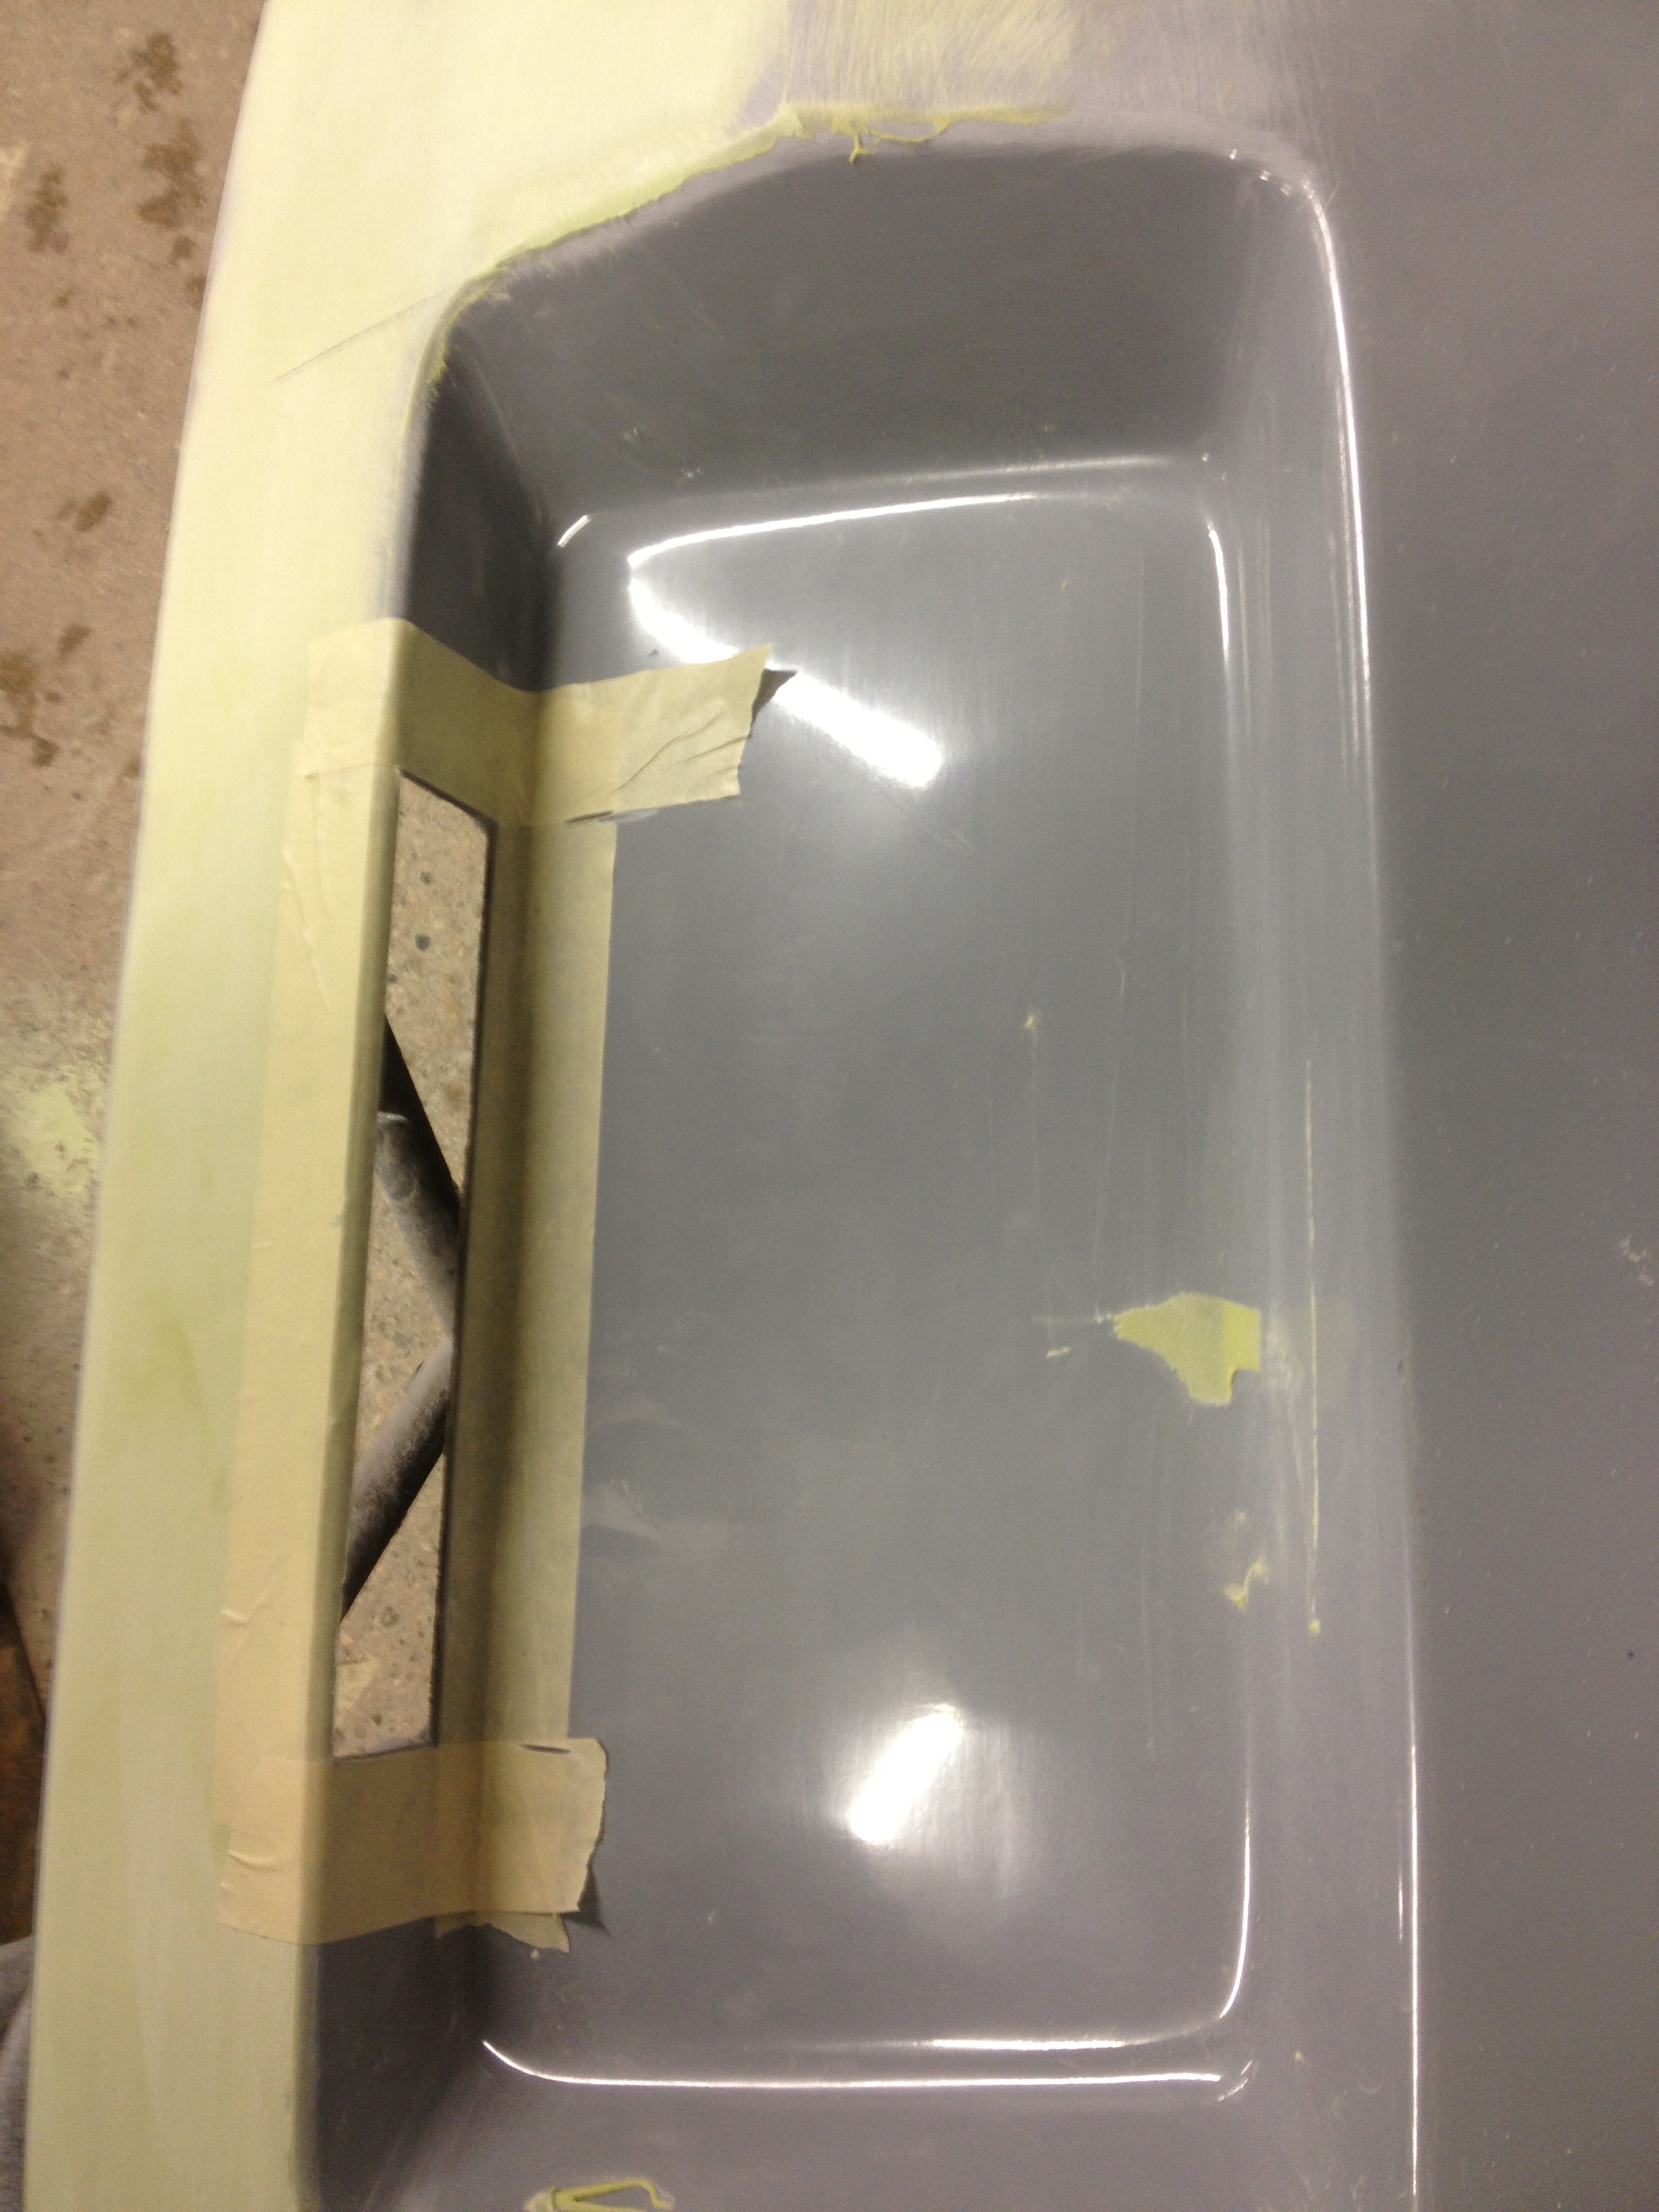
Then test fit the cap:
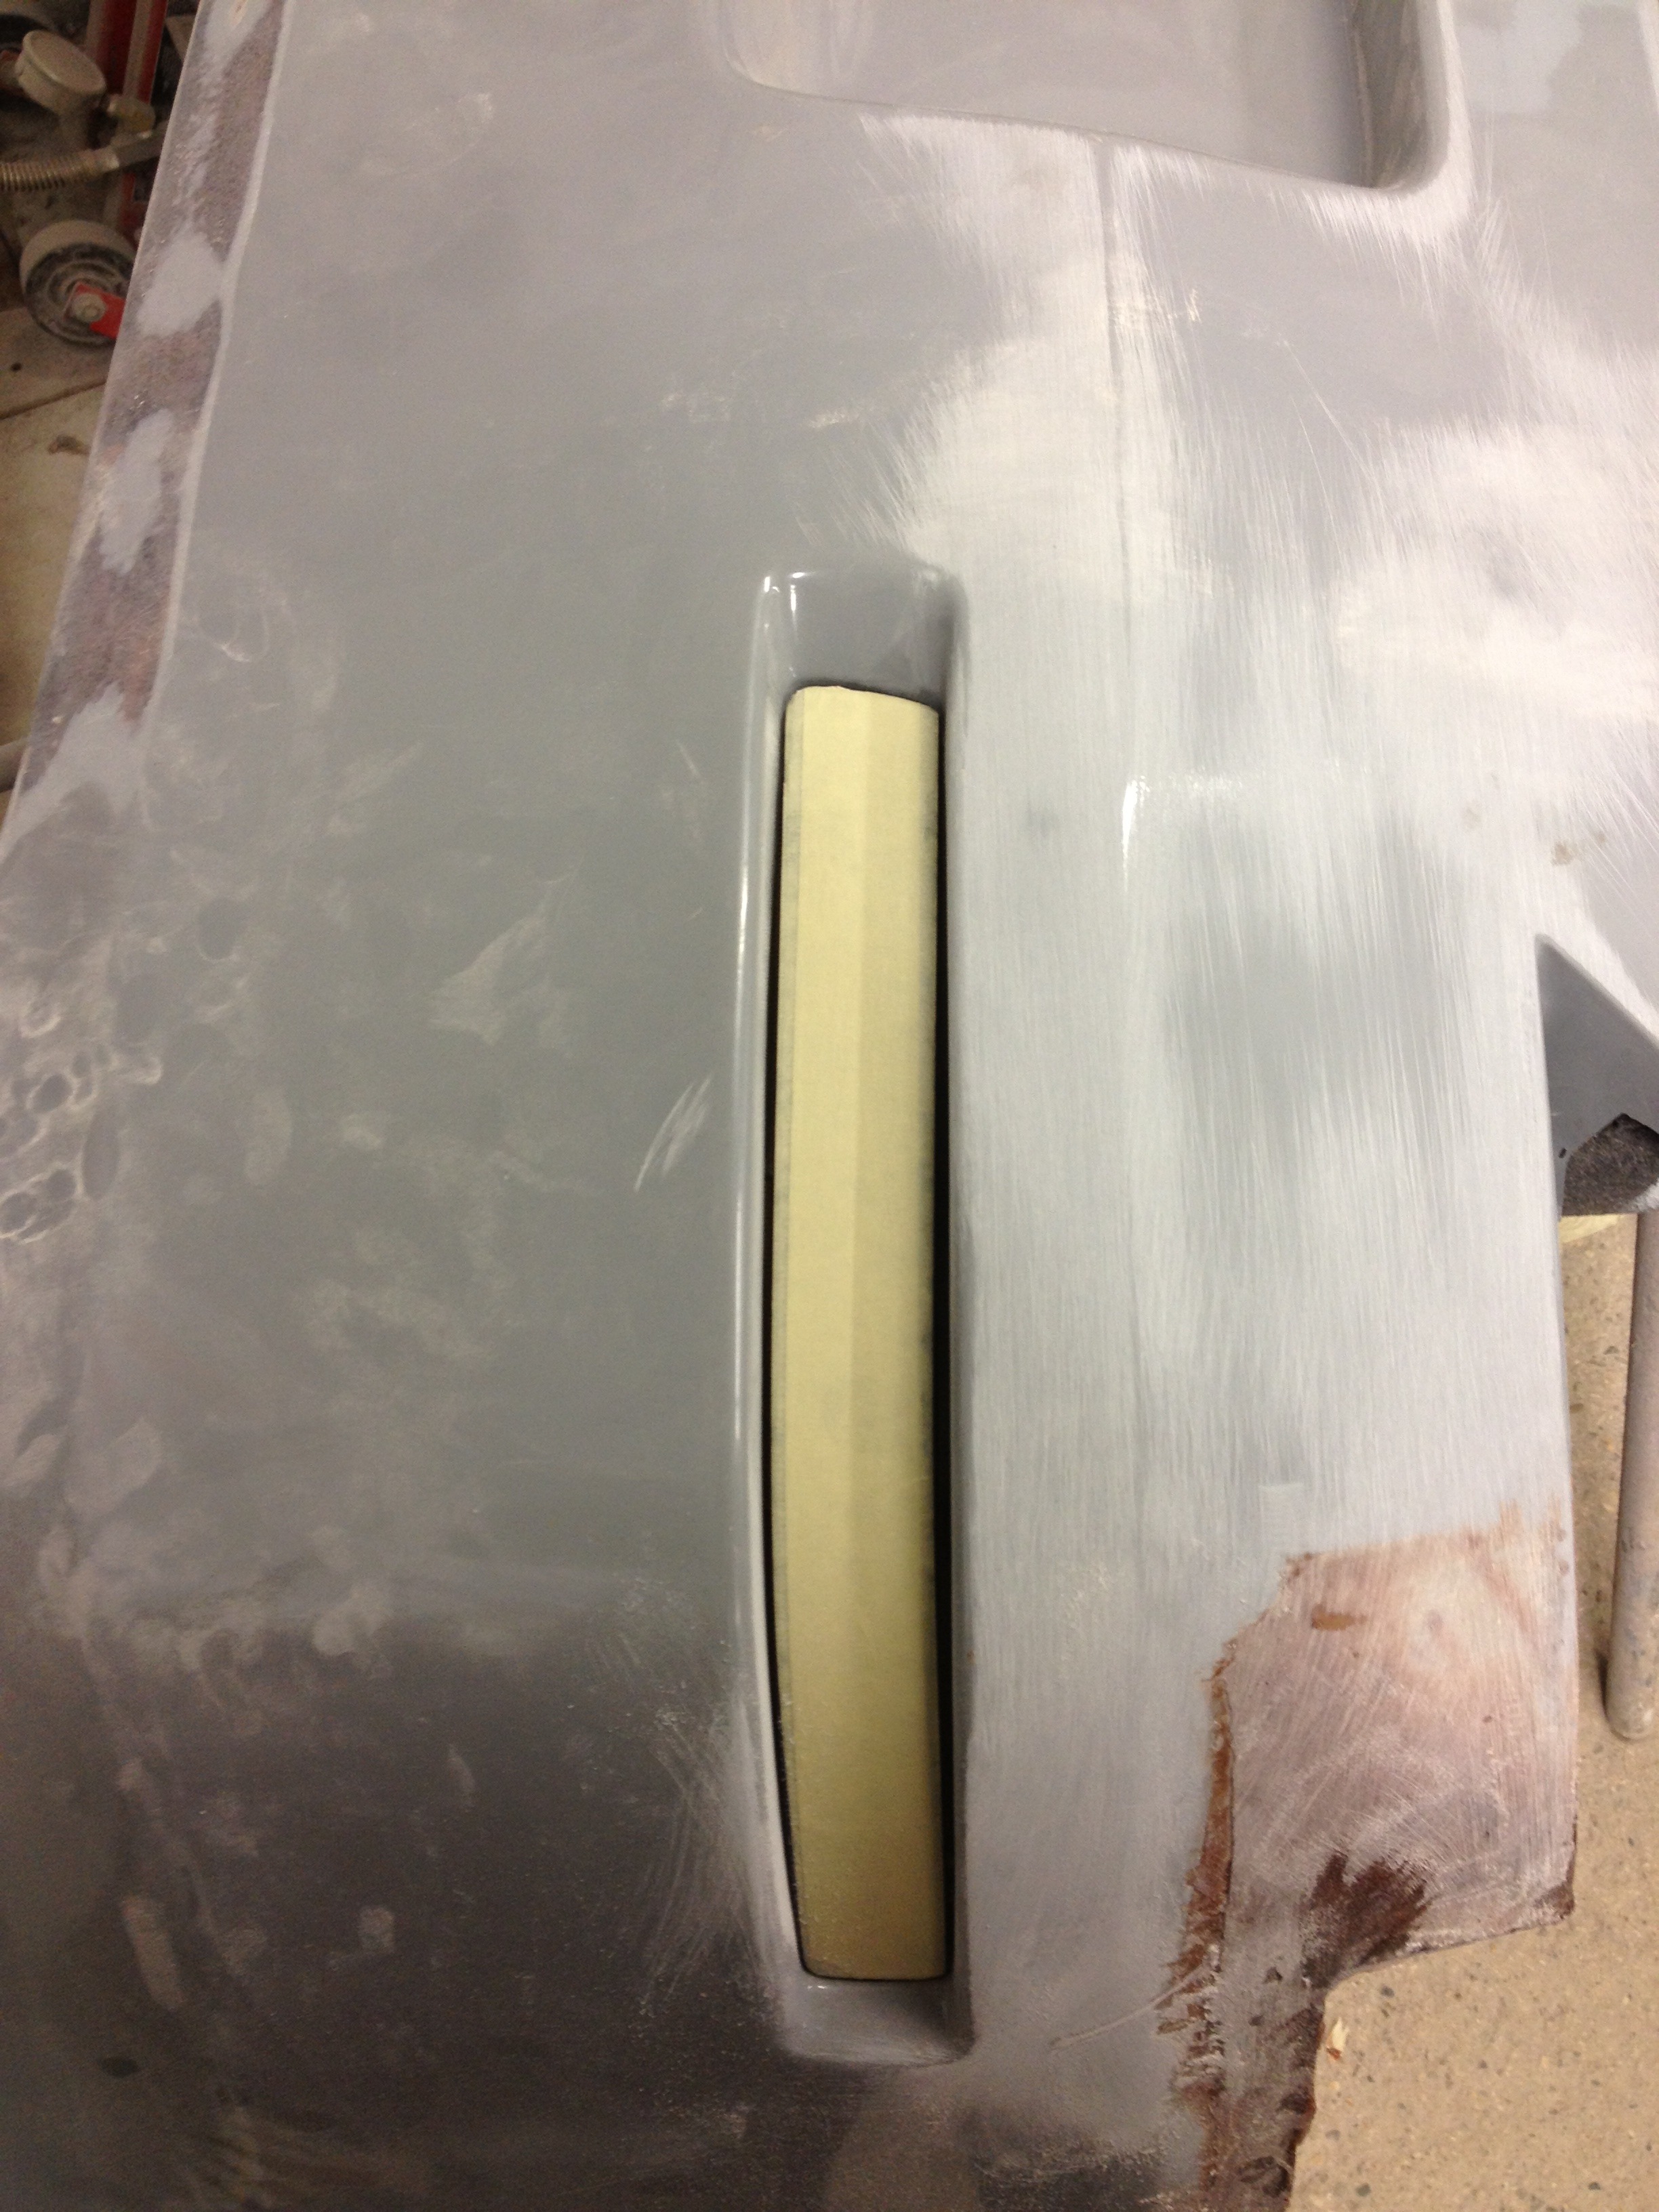
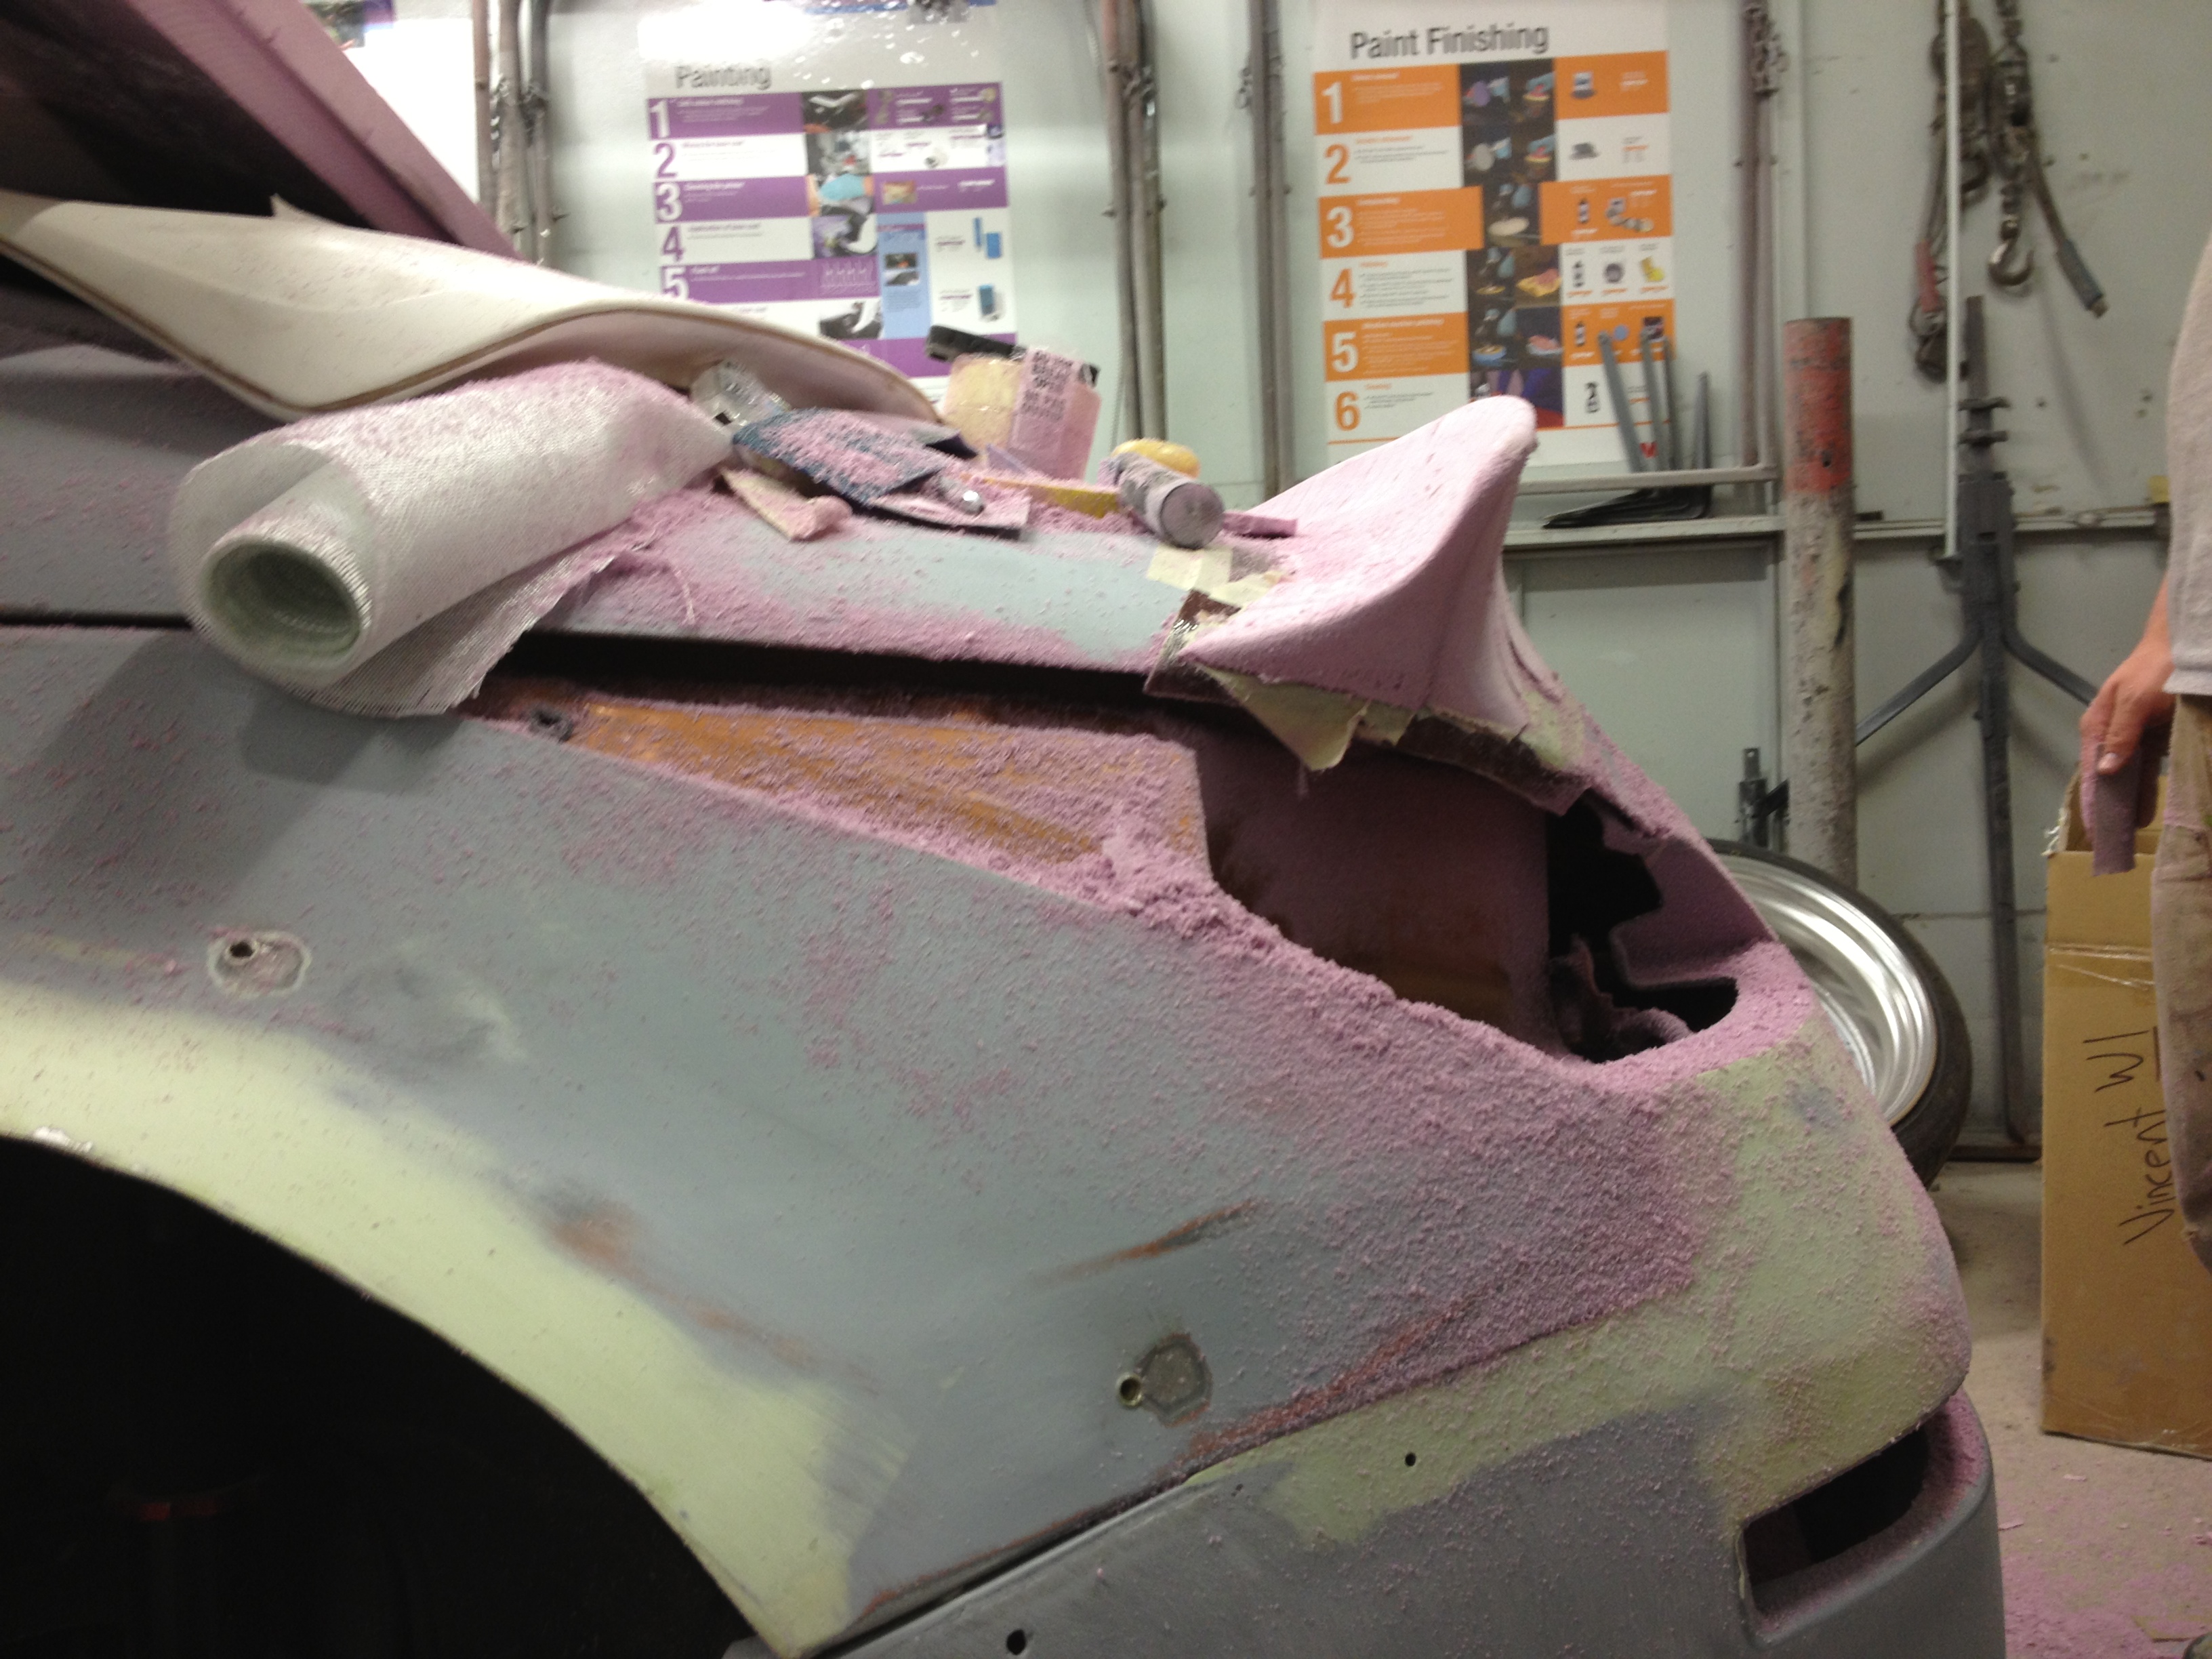
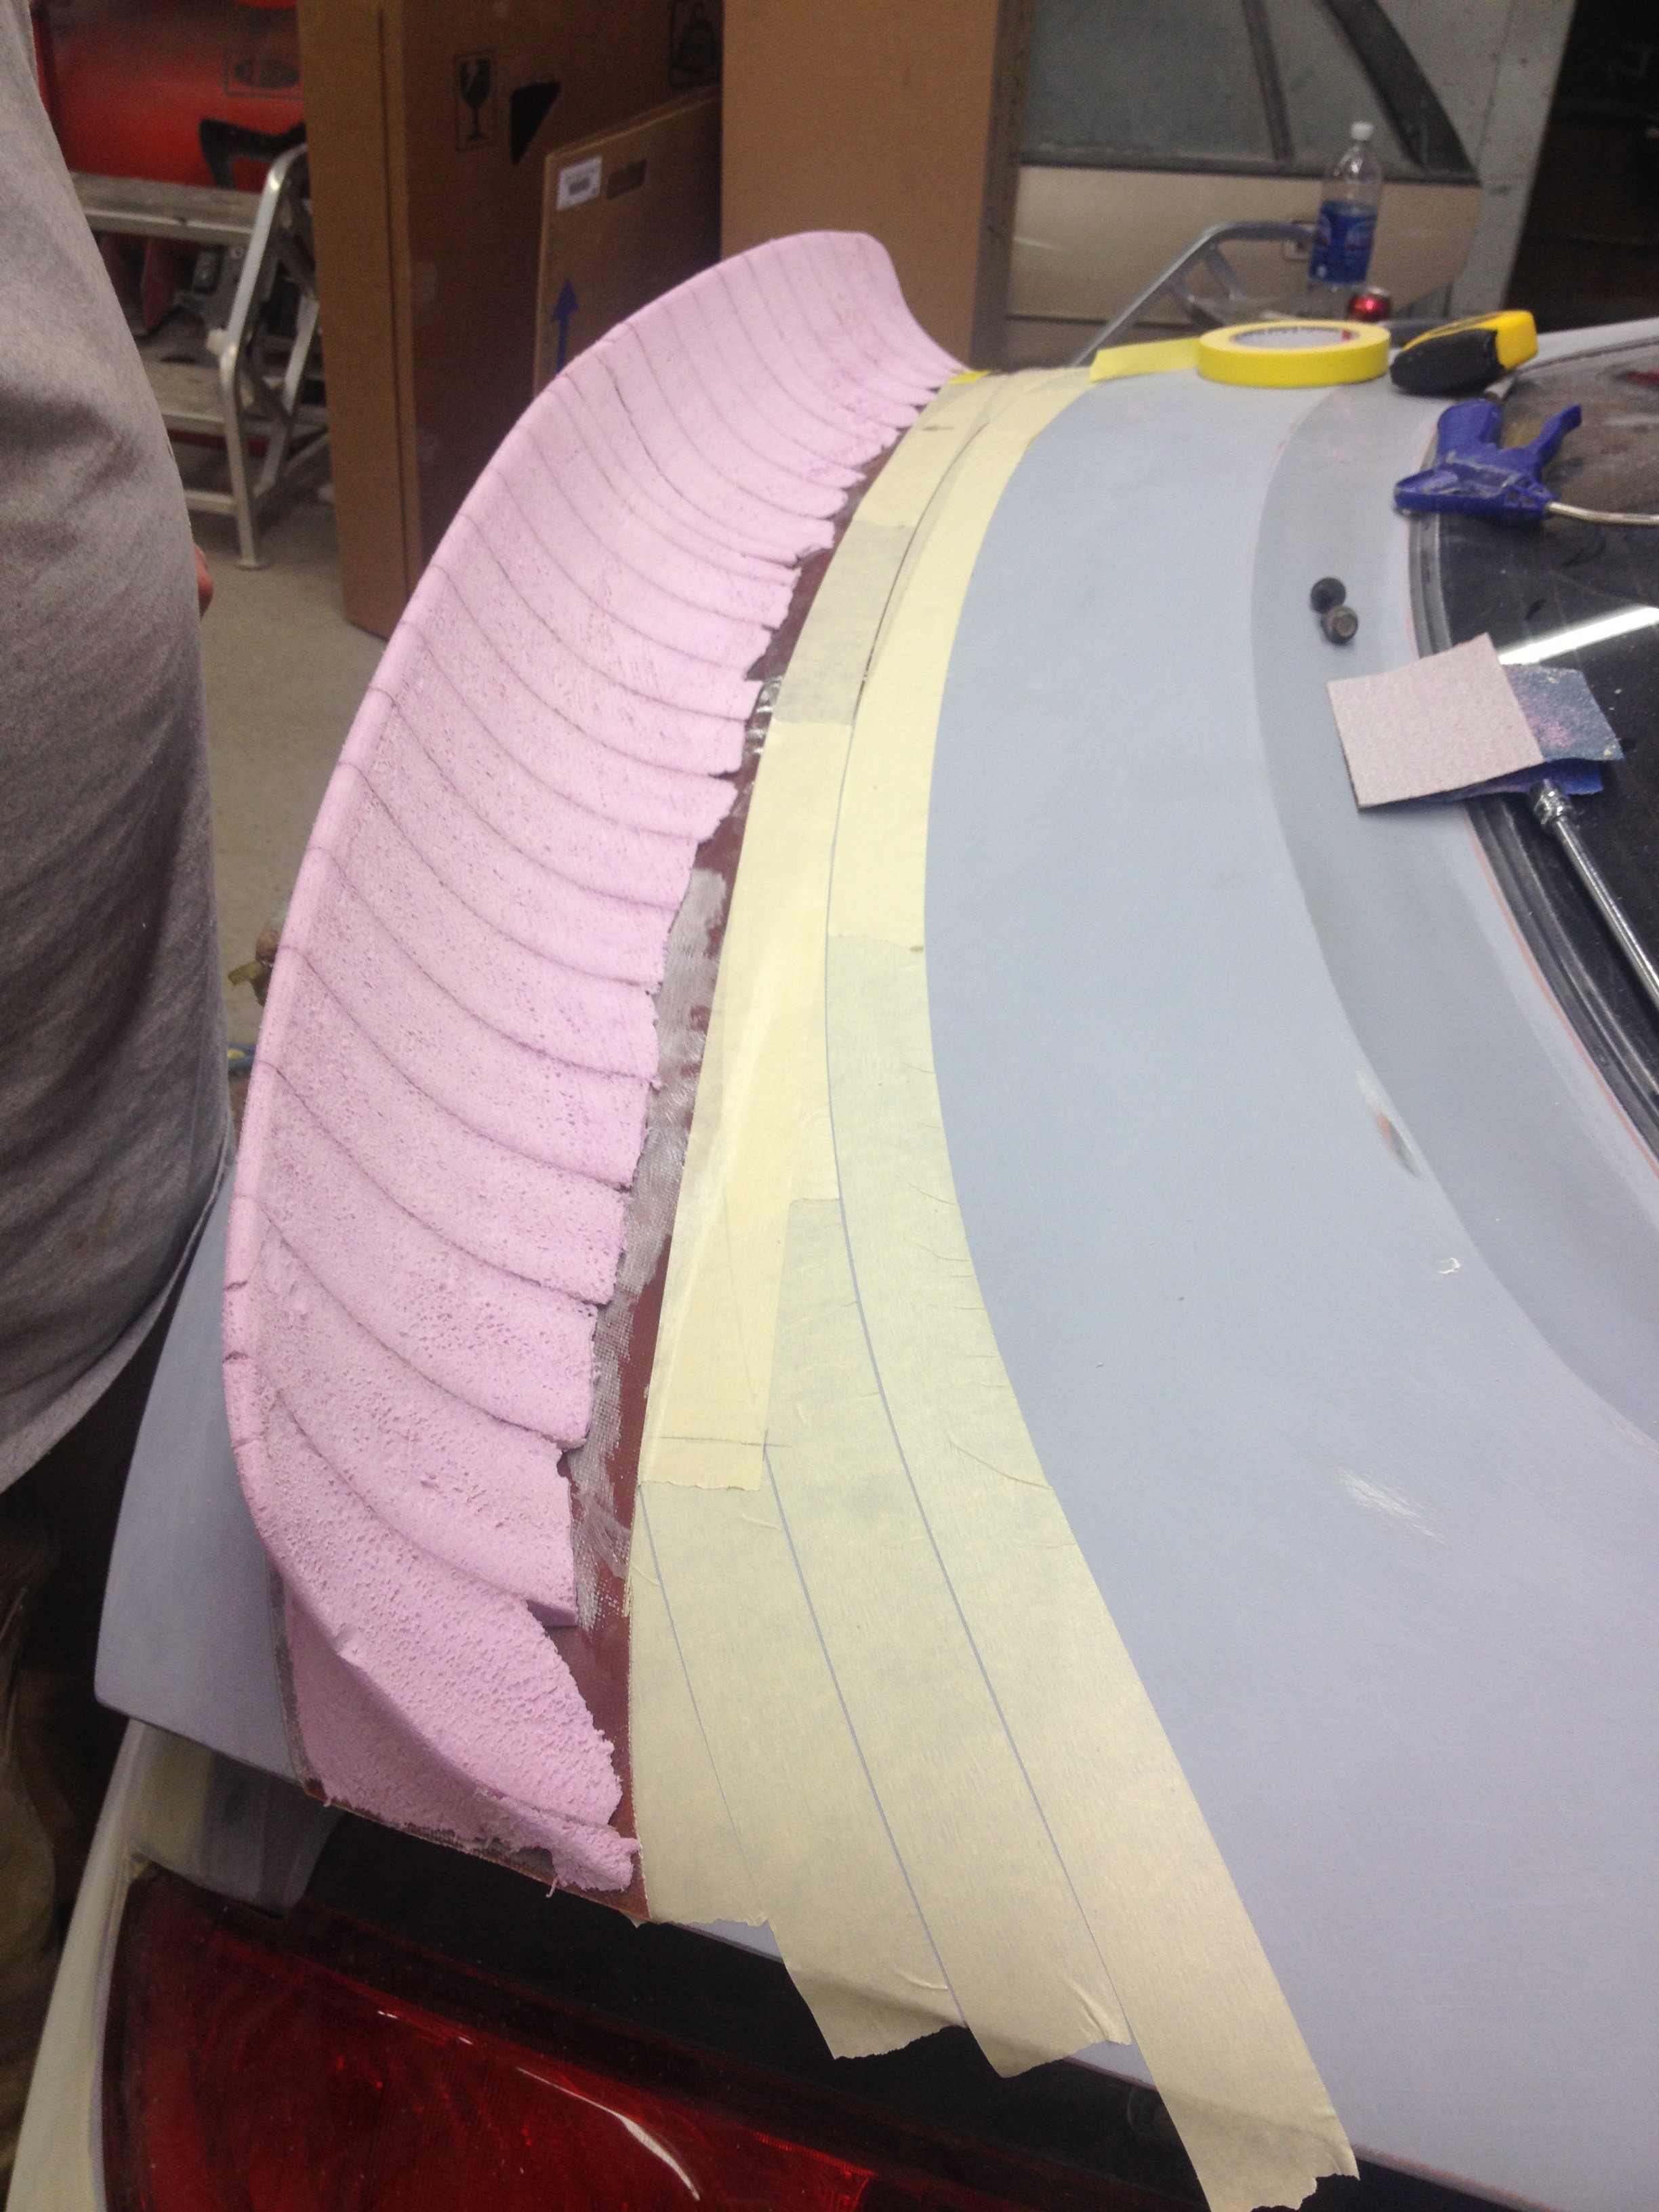
We ended up needing to cut into the side rail a bit too, no big deal. We formed a new filler piece to weld in. You can see some of our design work and measuring on the masking tape below:
That's all I've got uploaded for pics of the gas cap install right now so I'll have to continue the pics of it at another date.
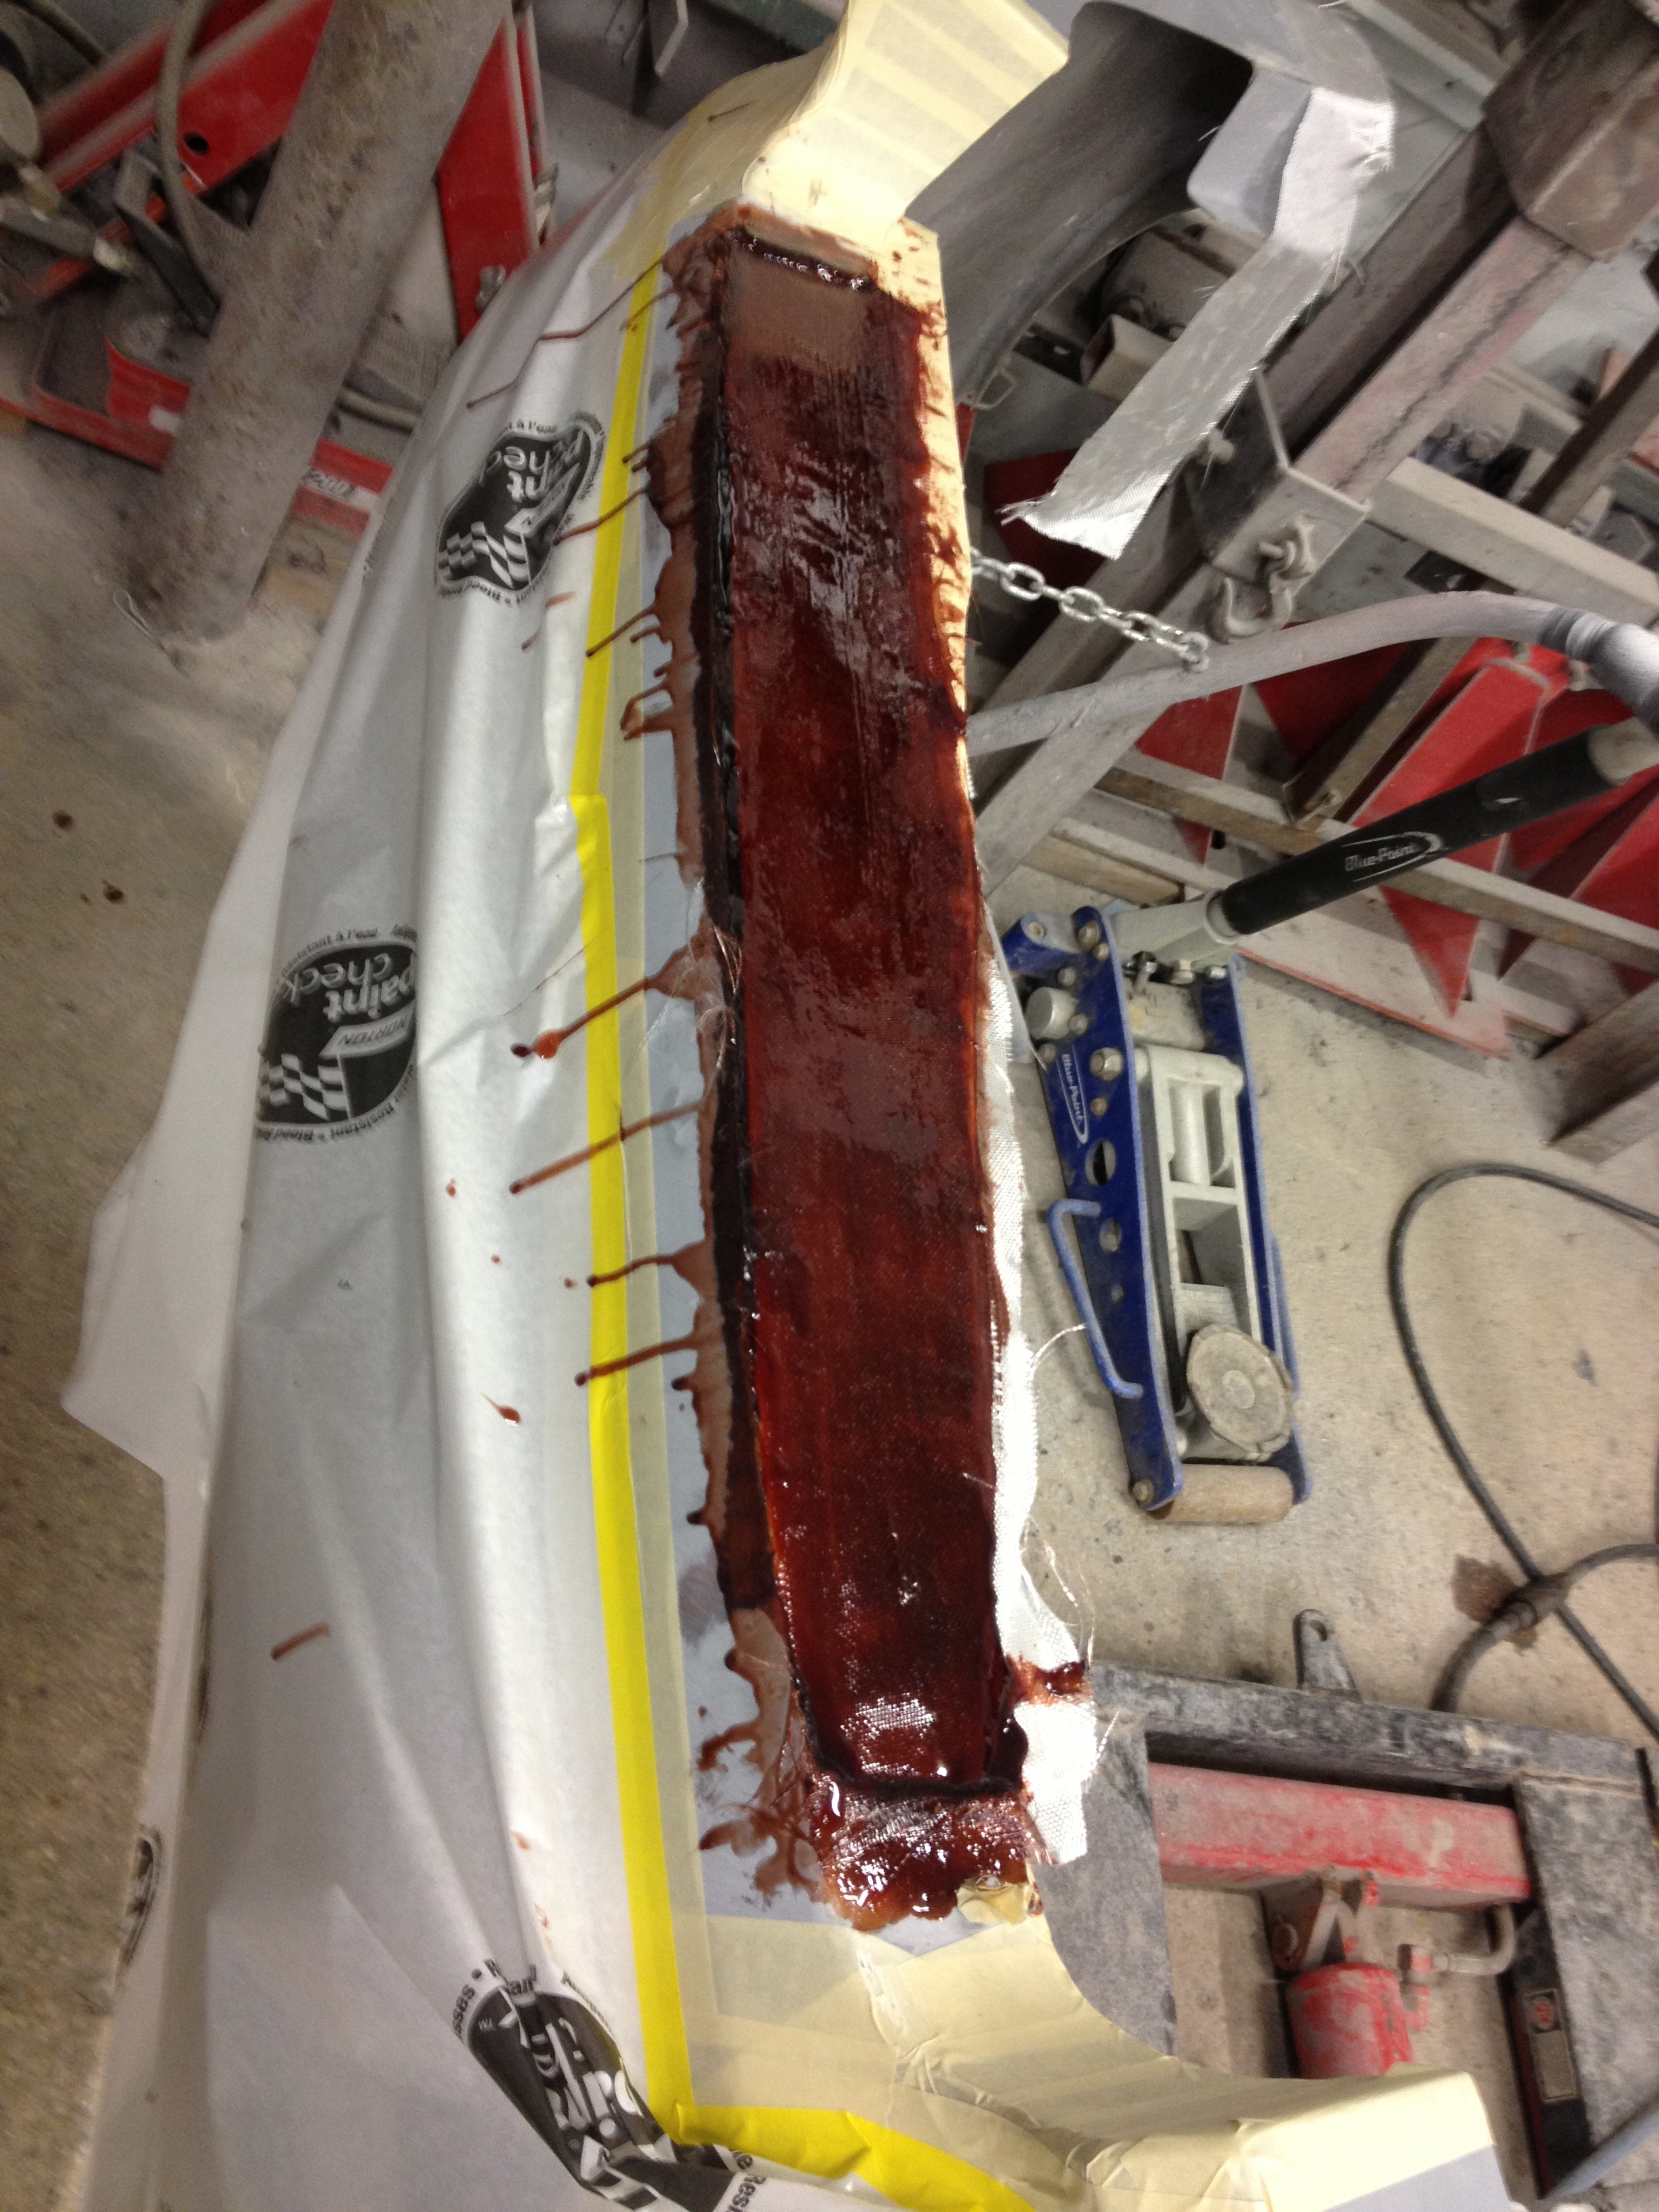
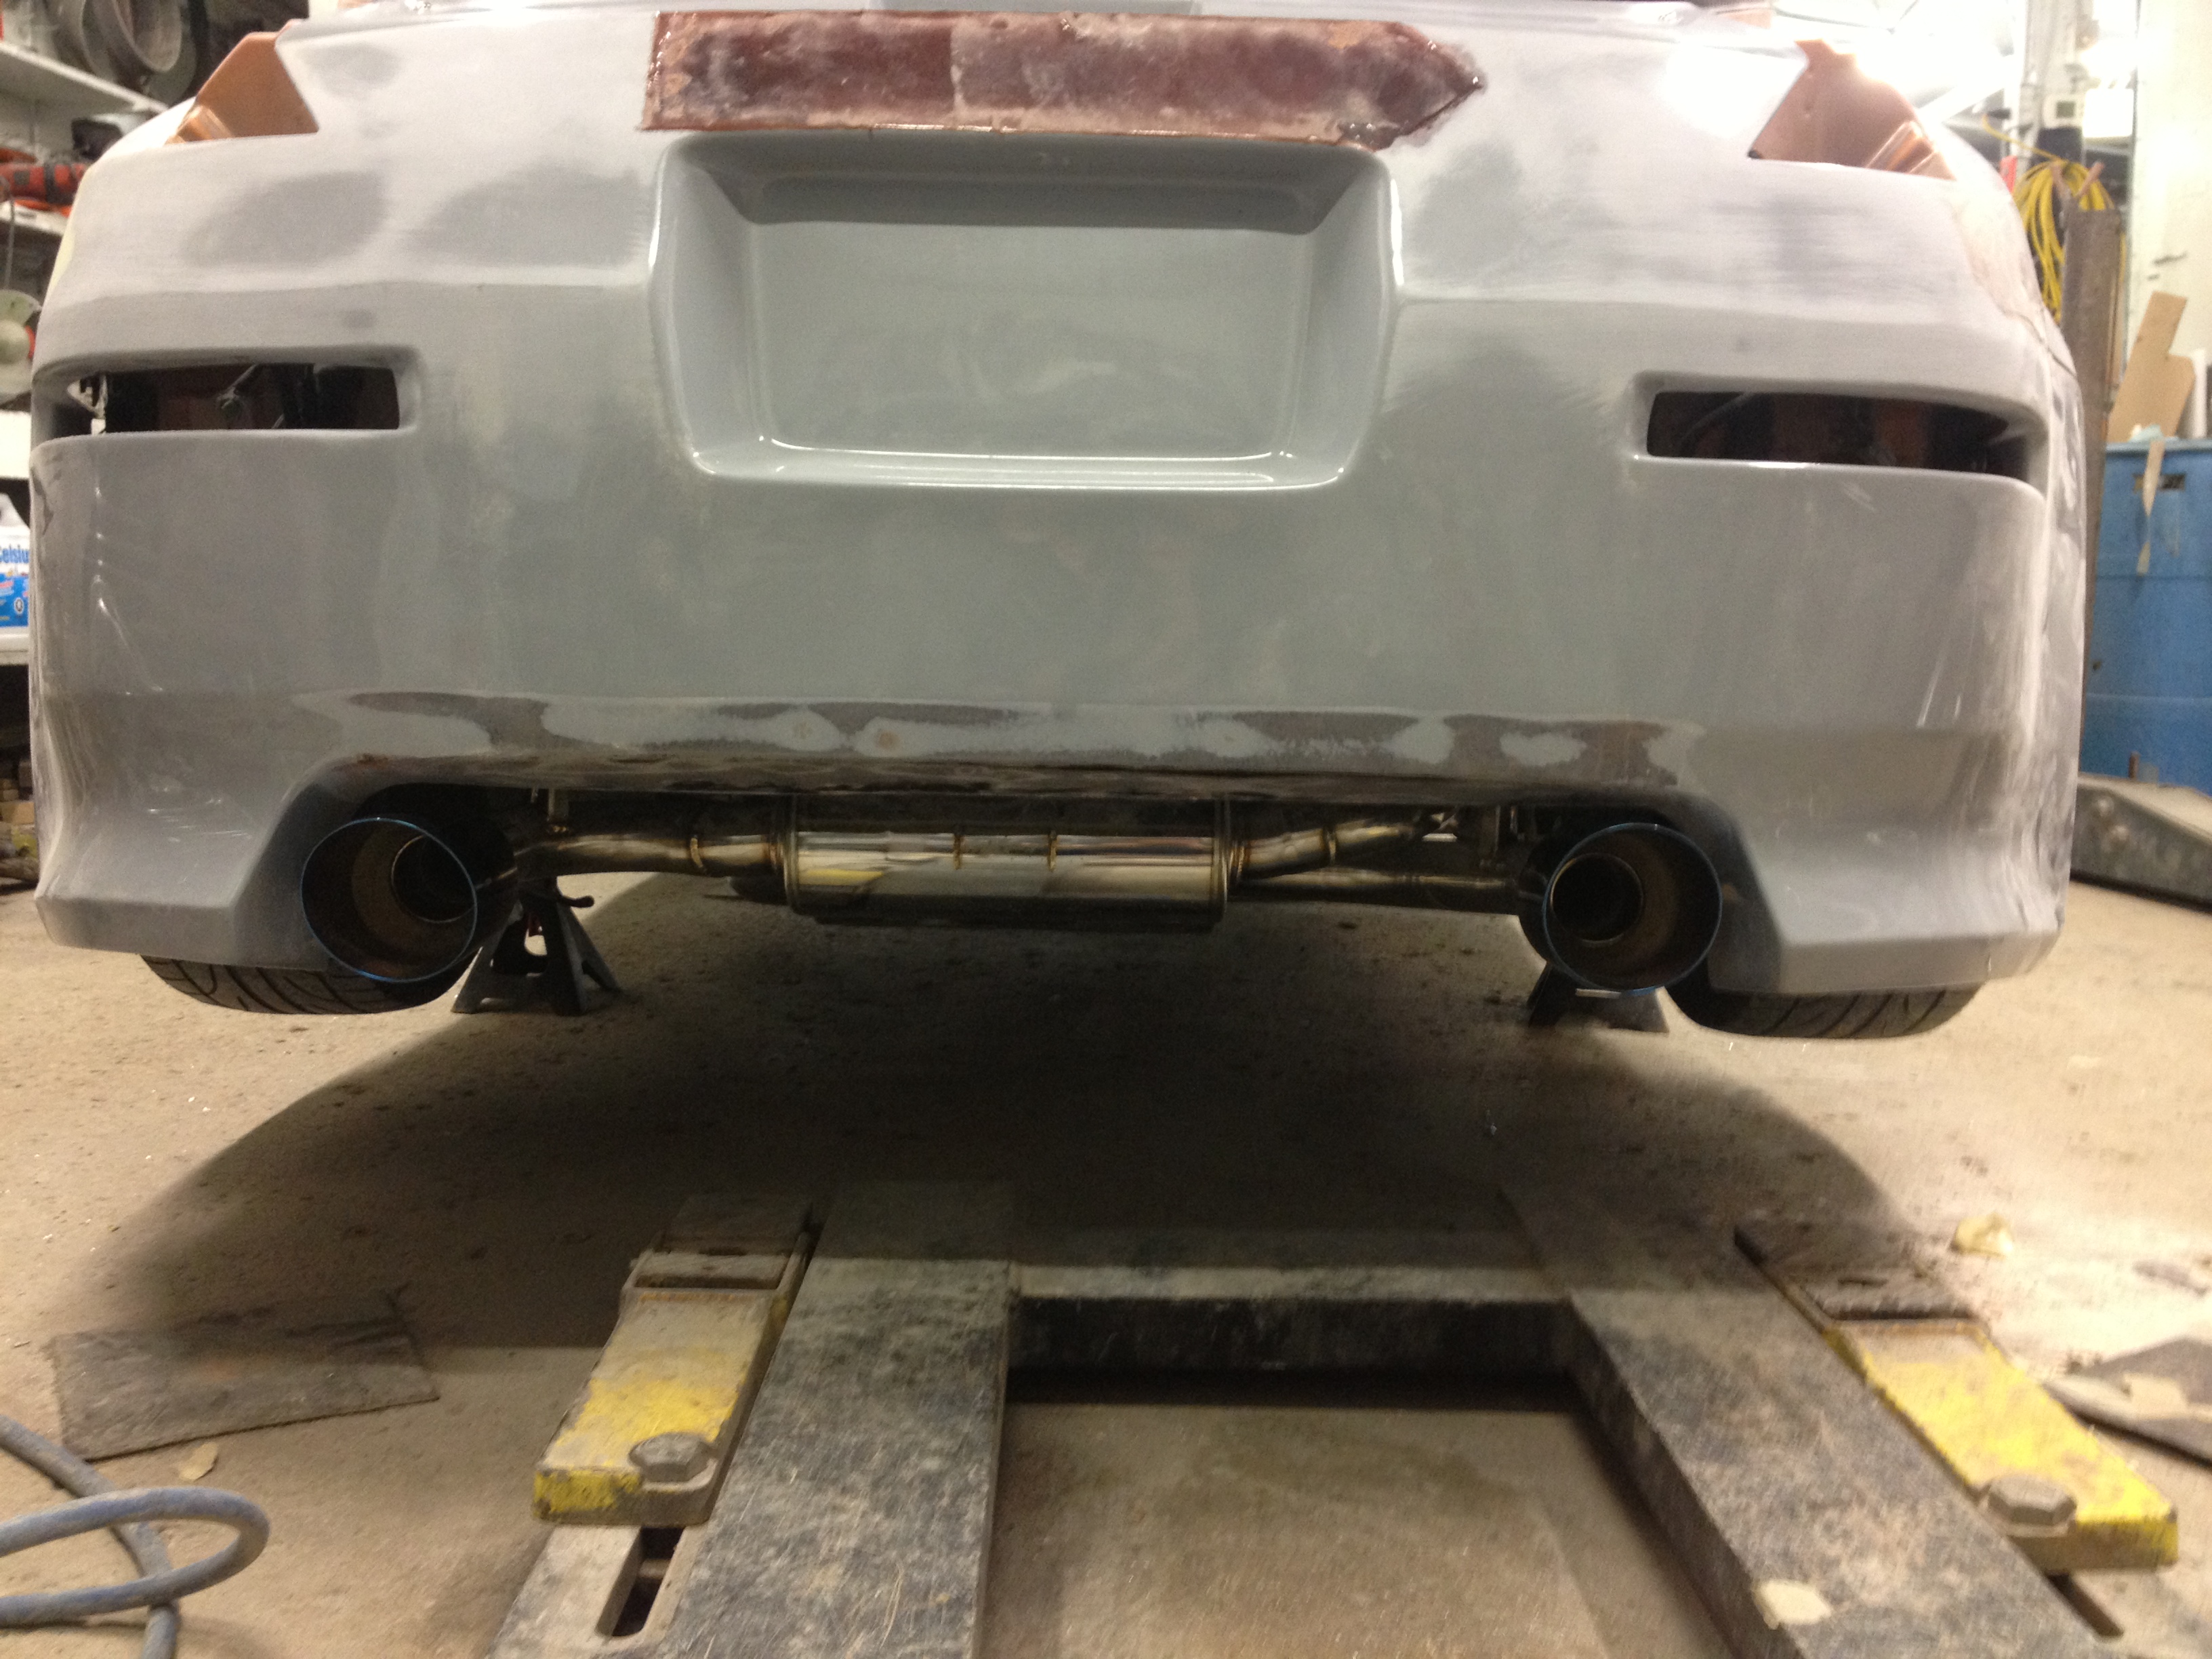
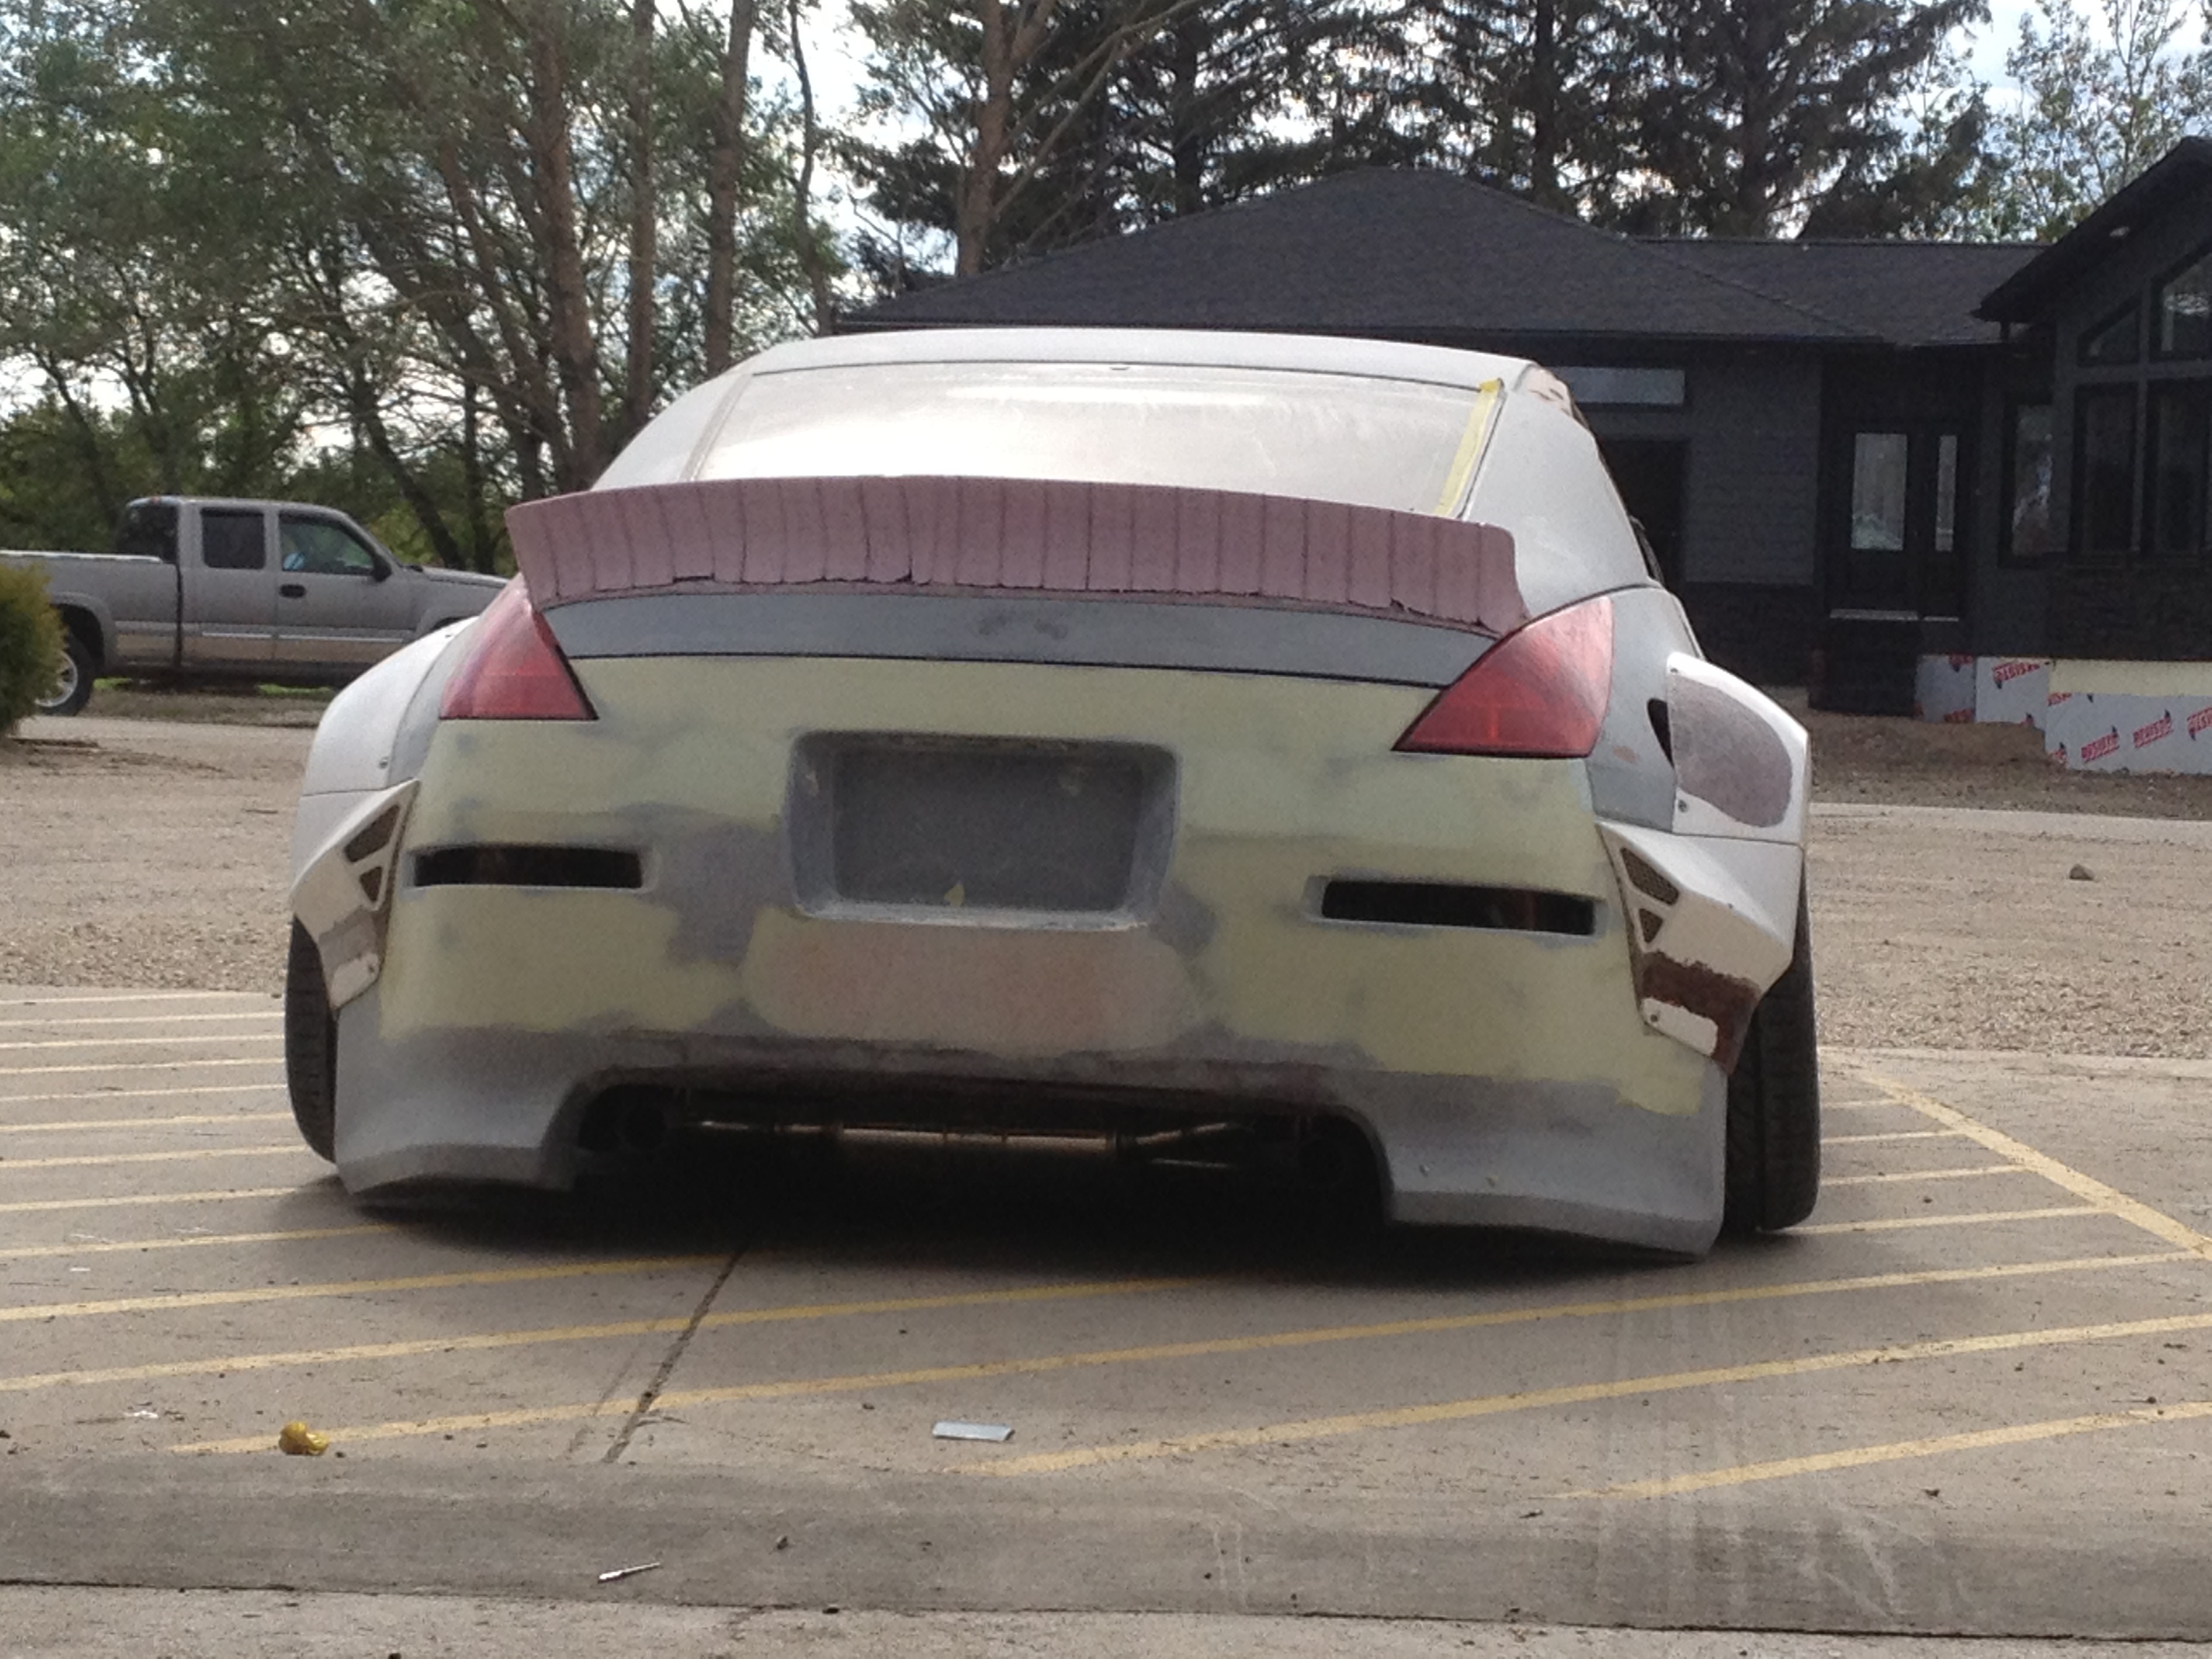
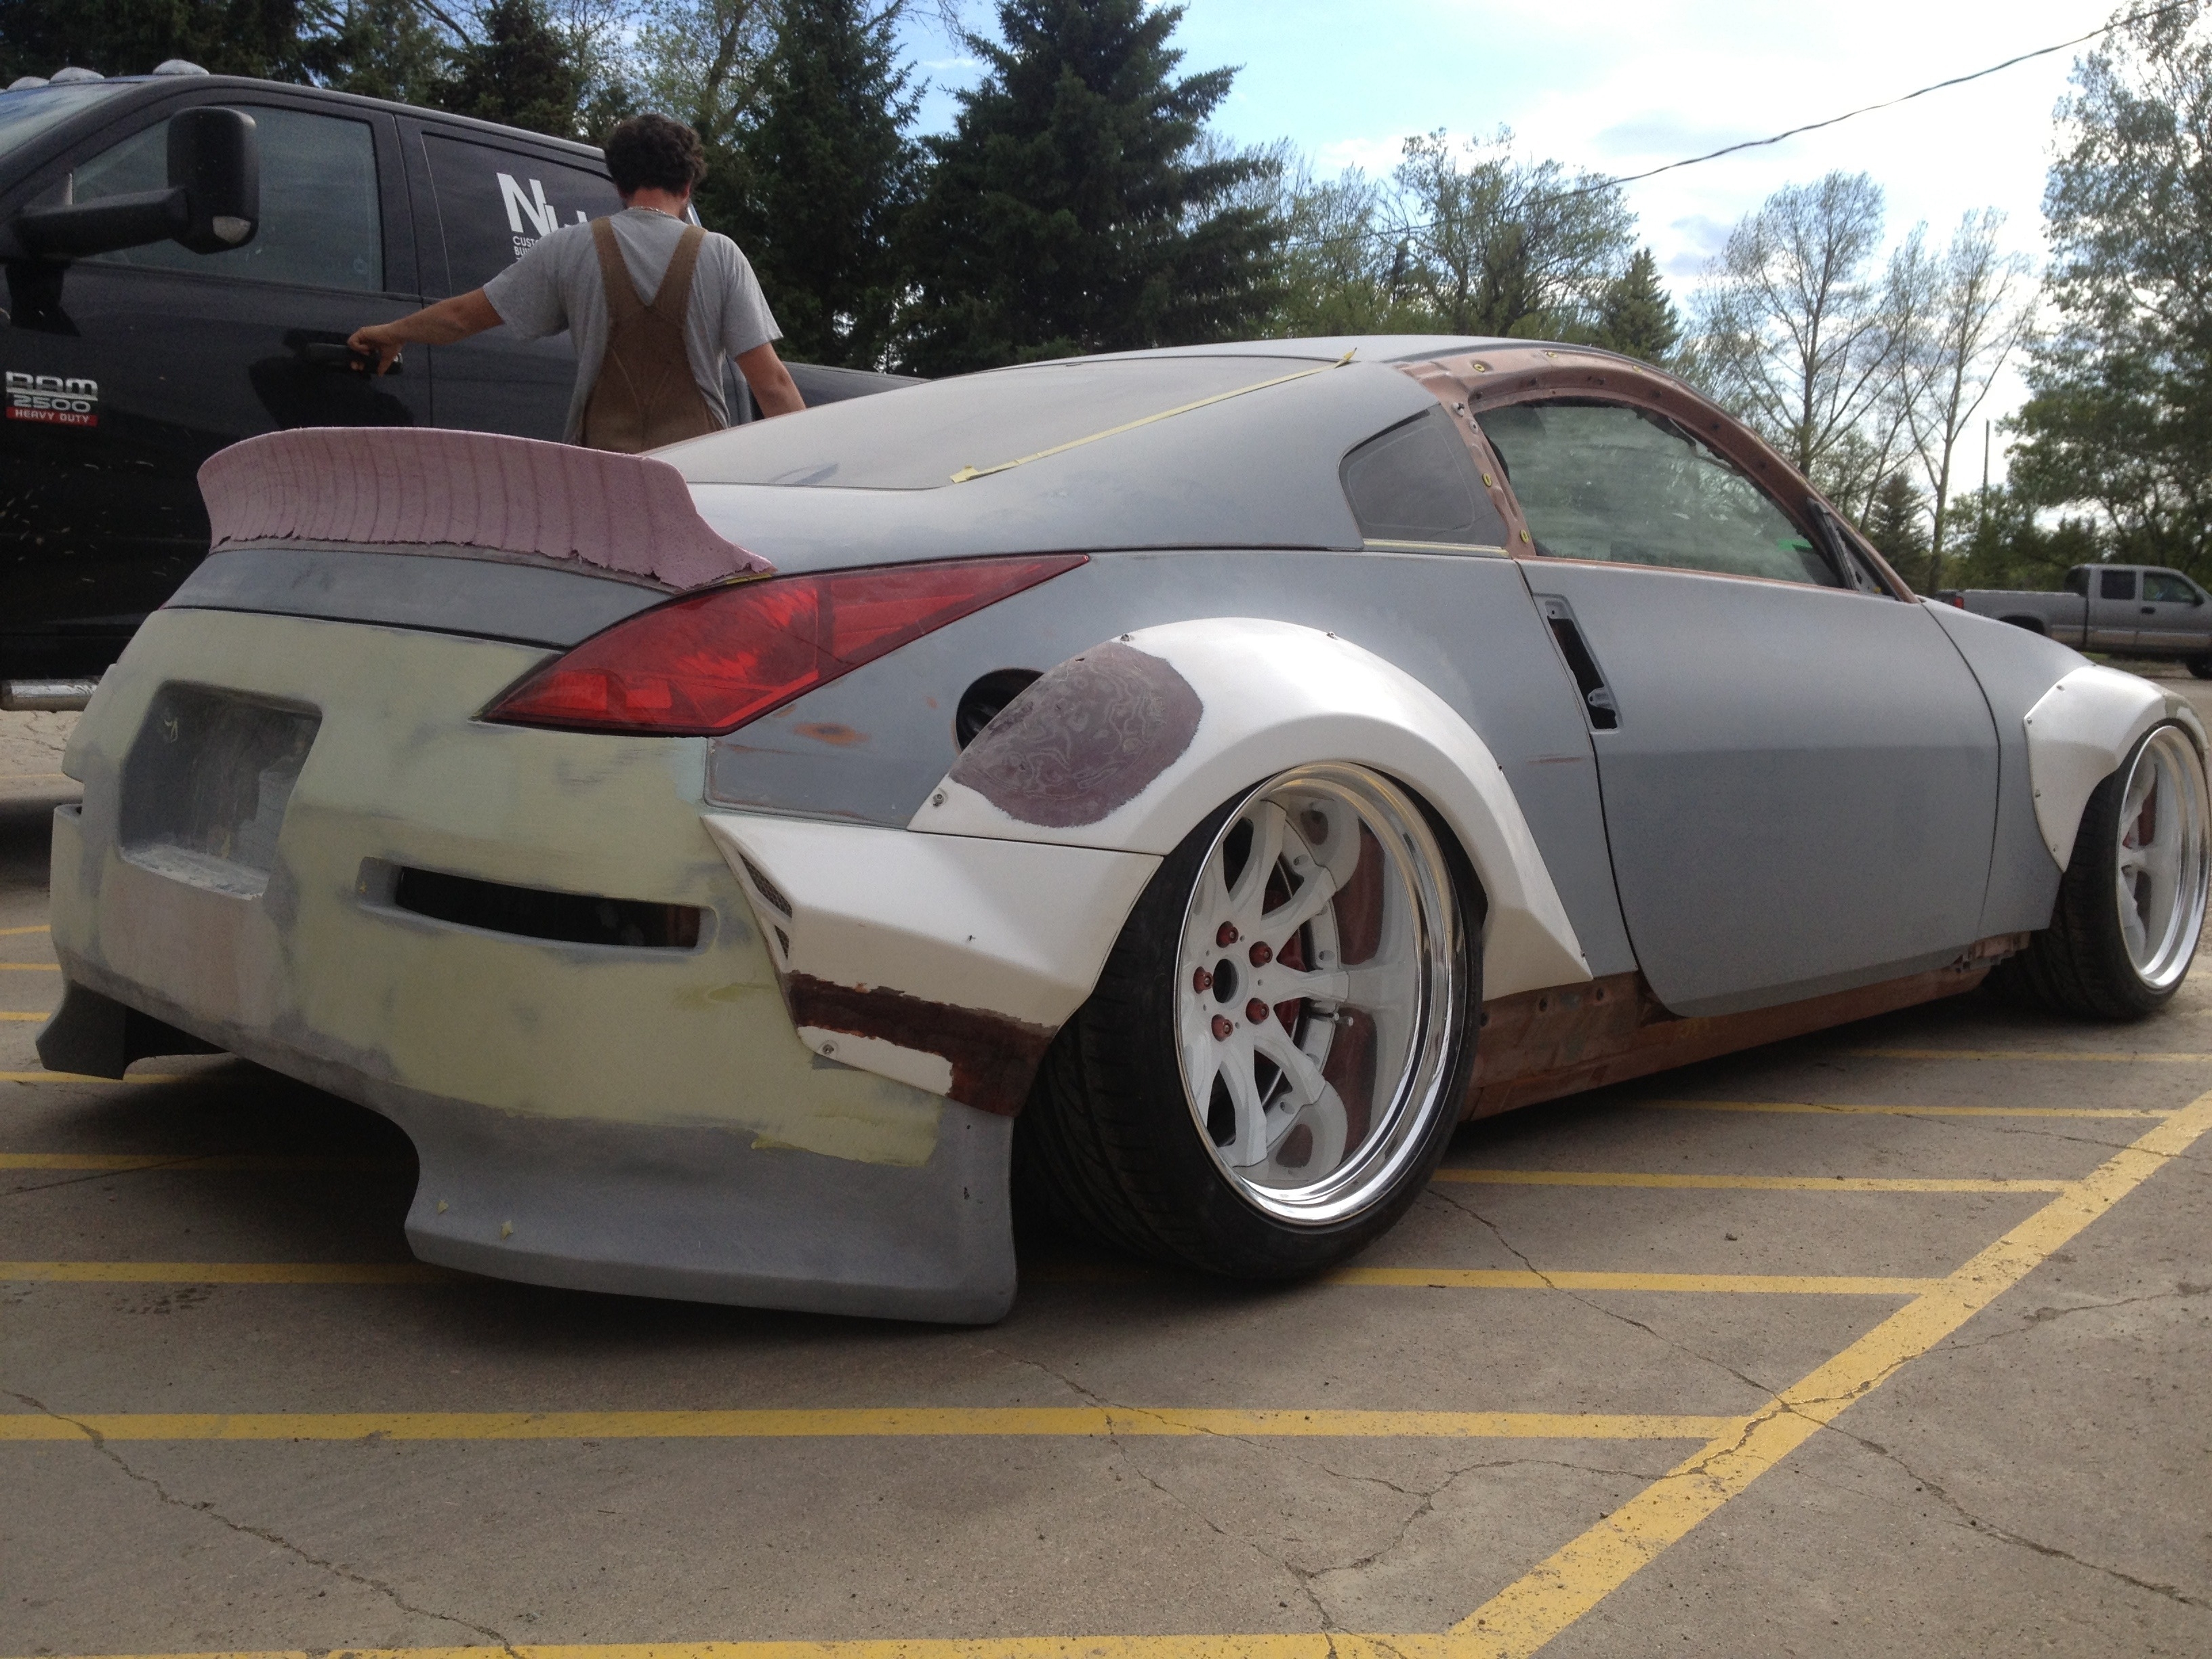
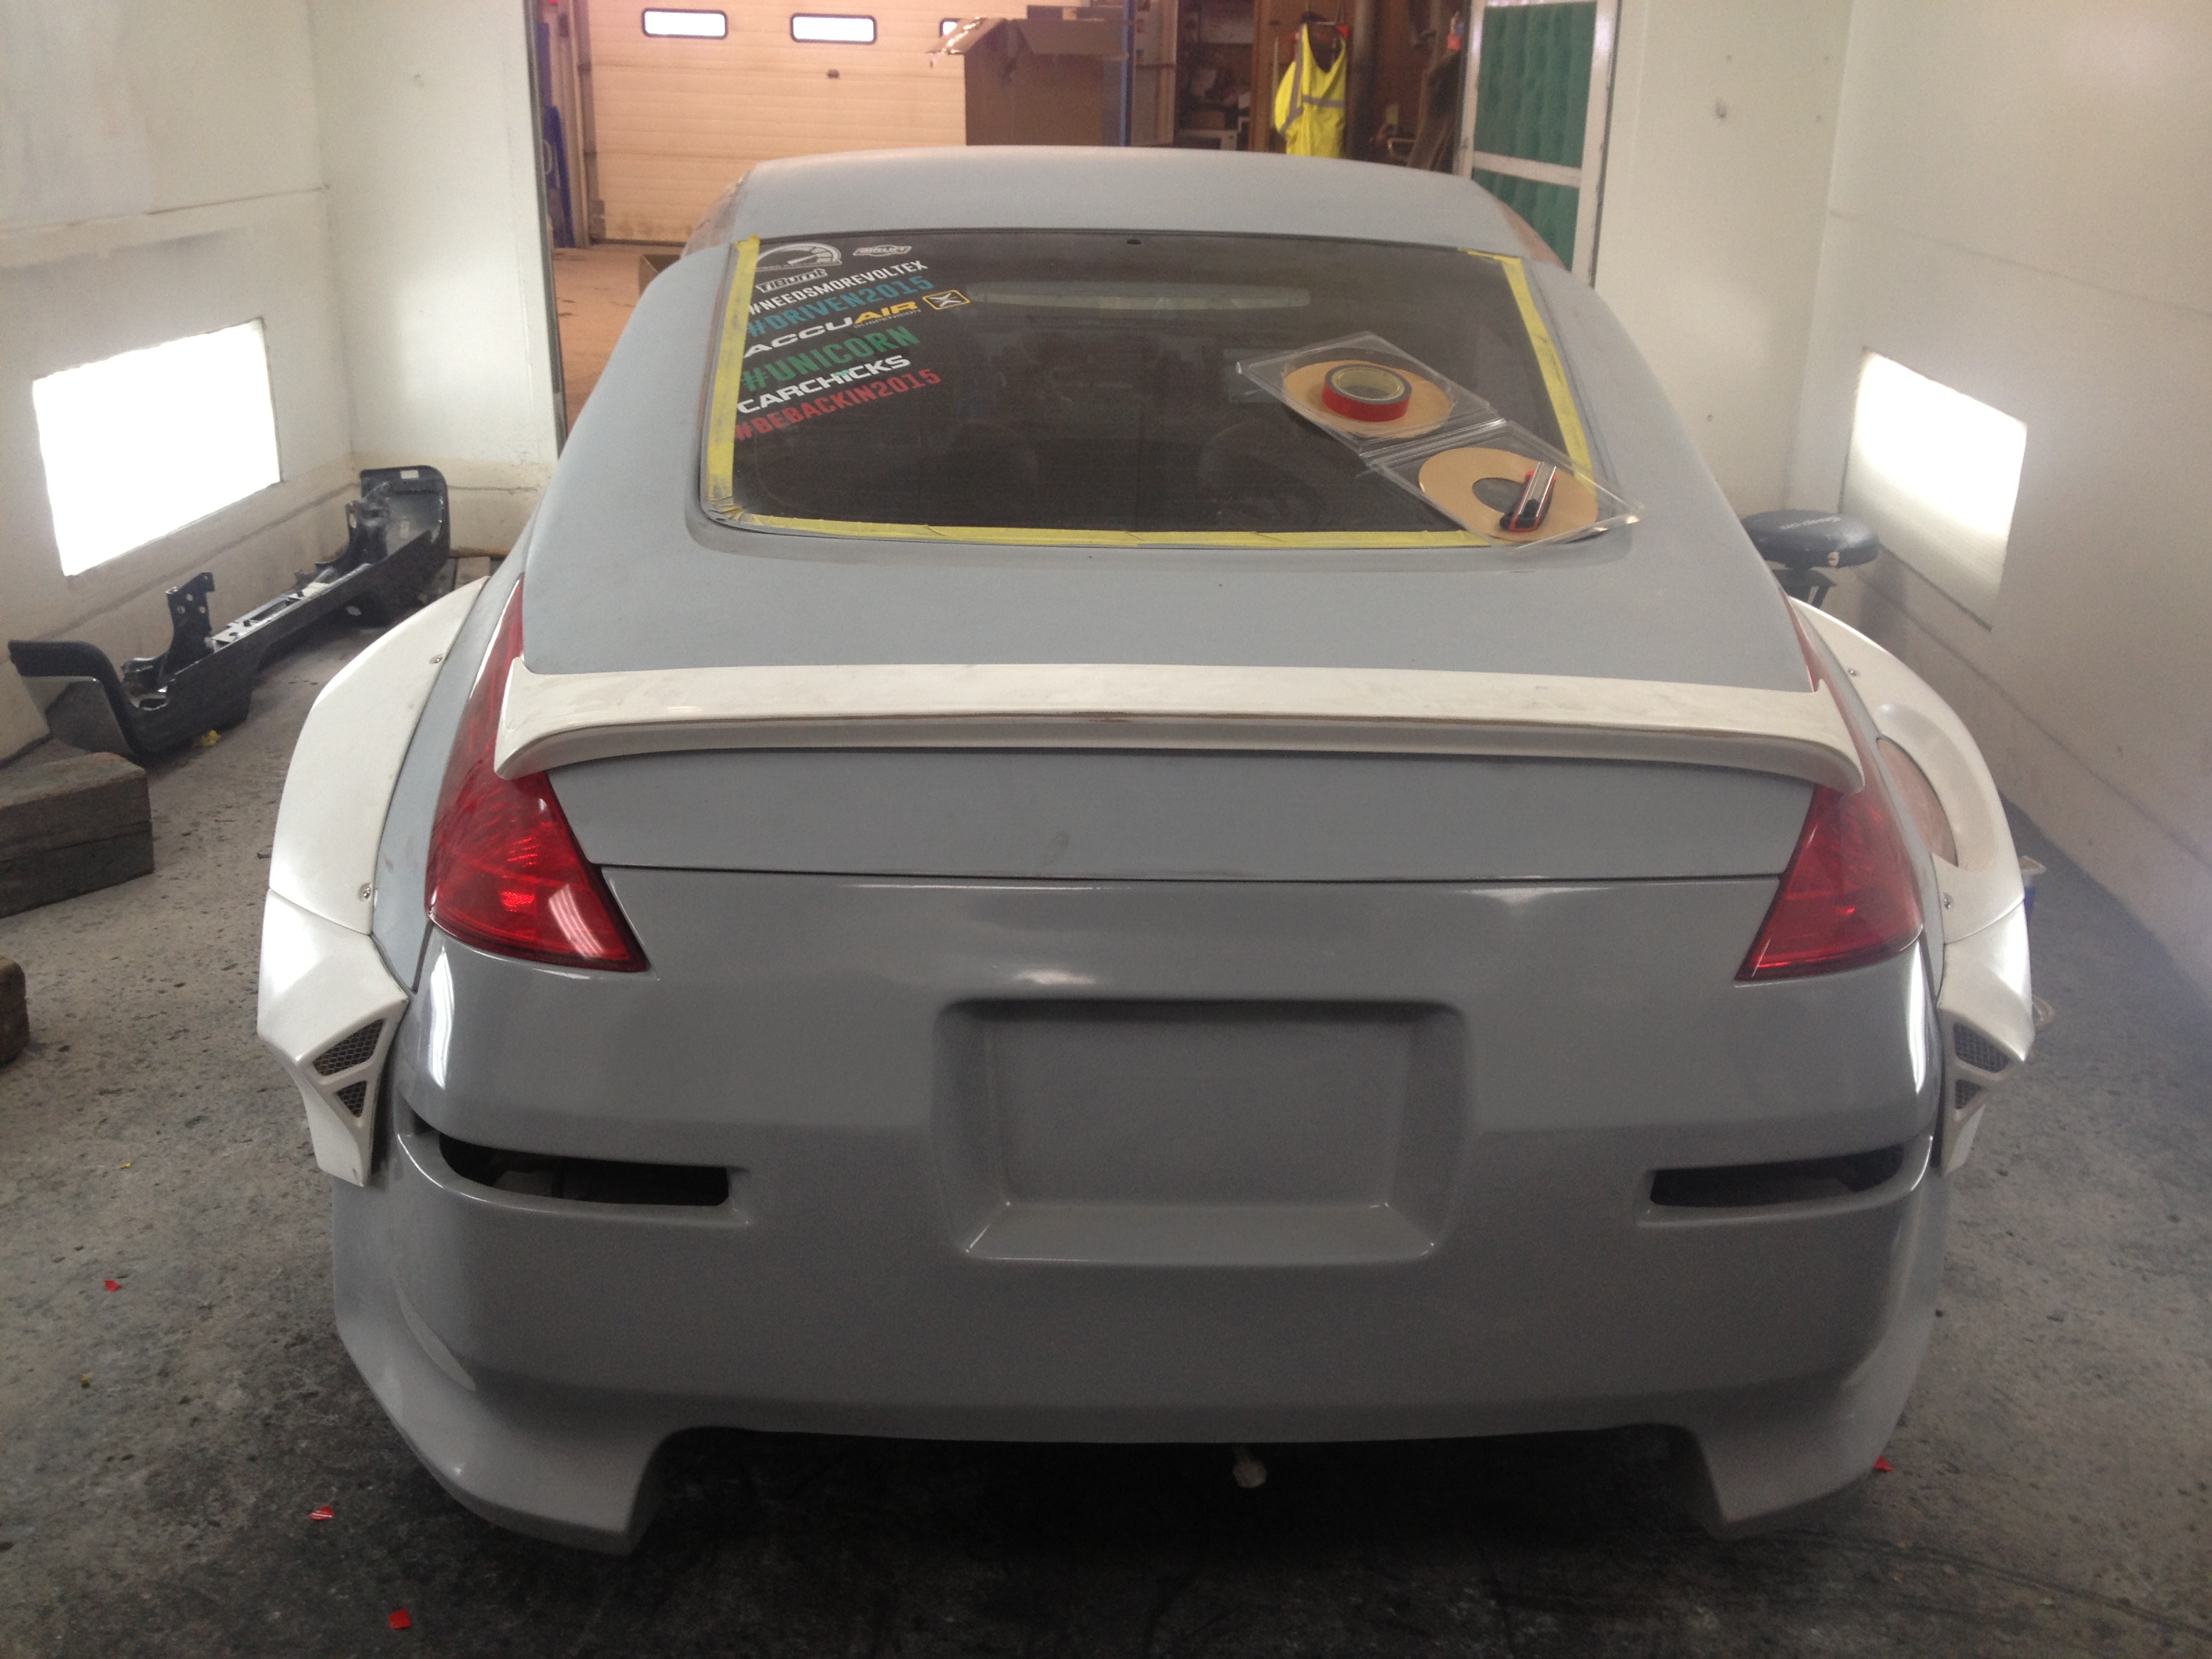
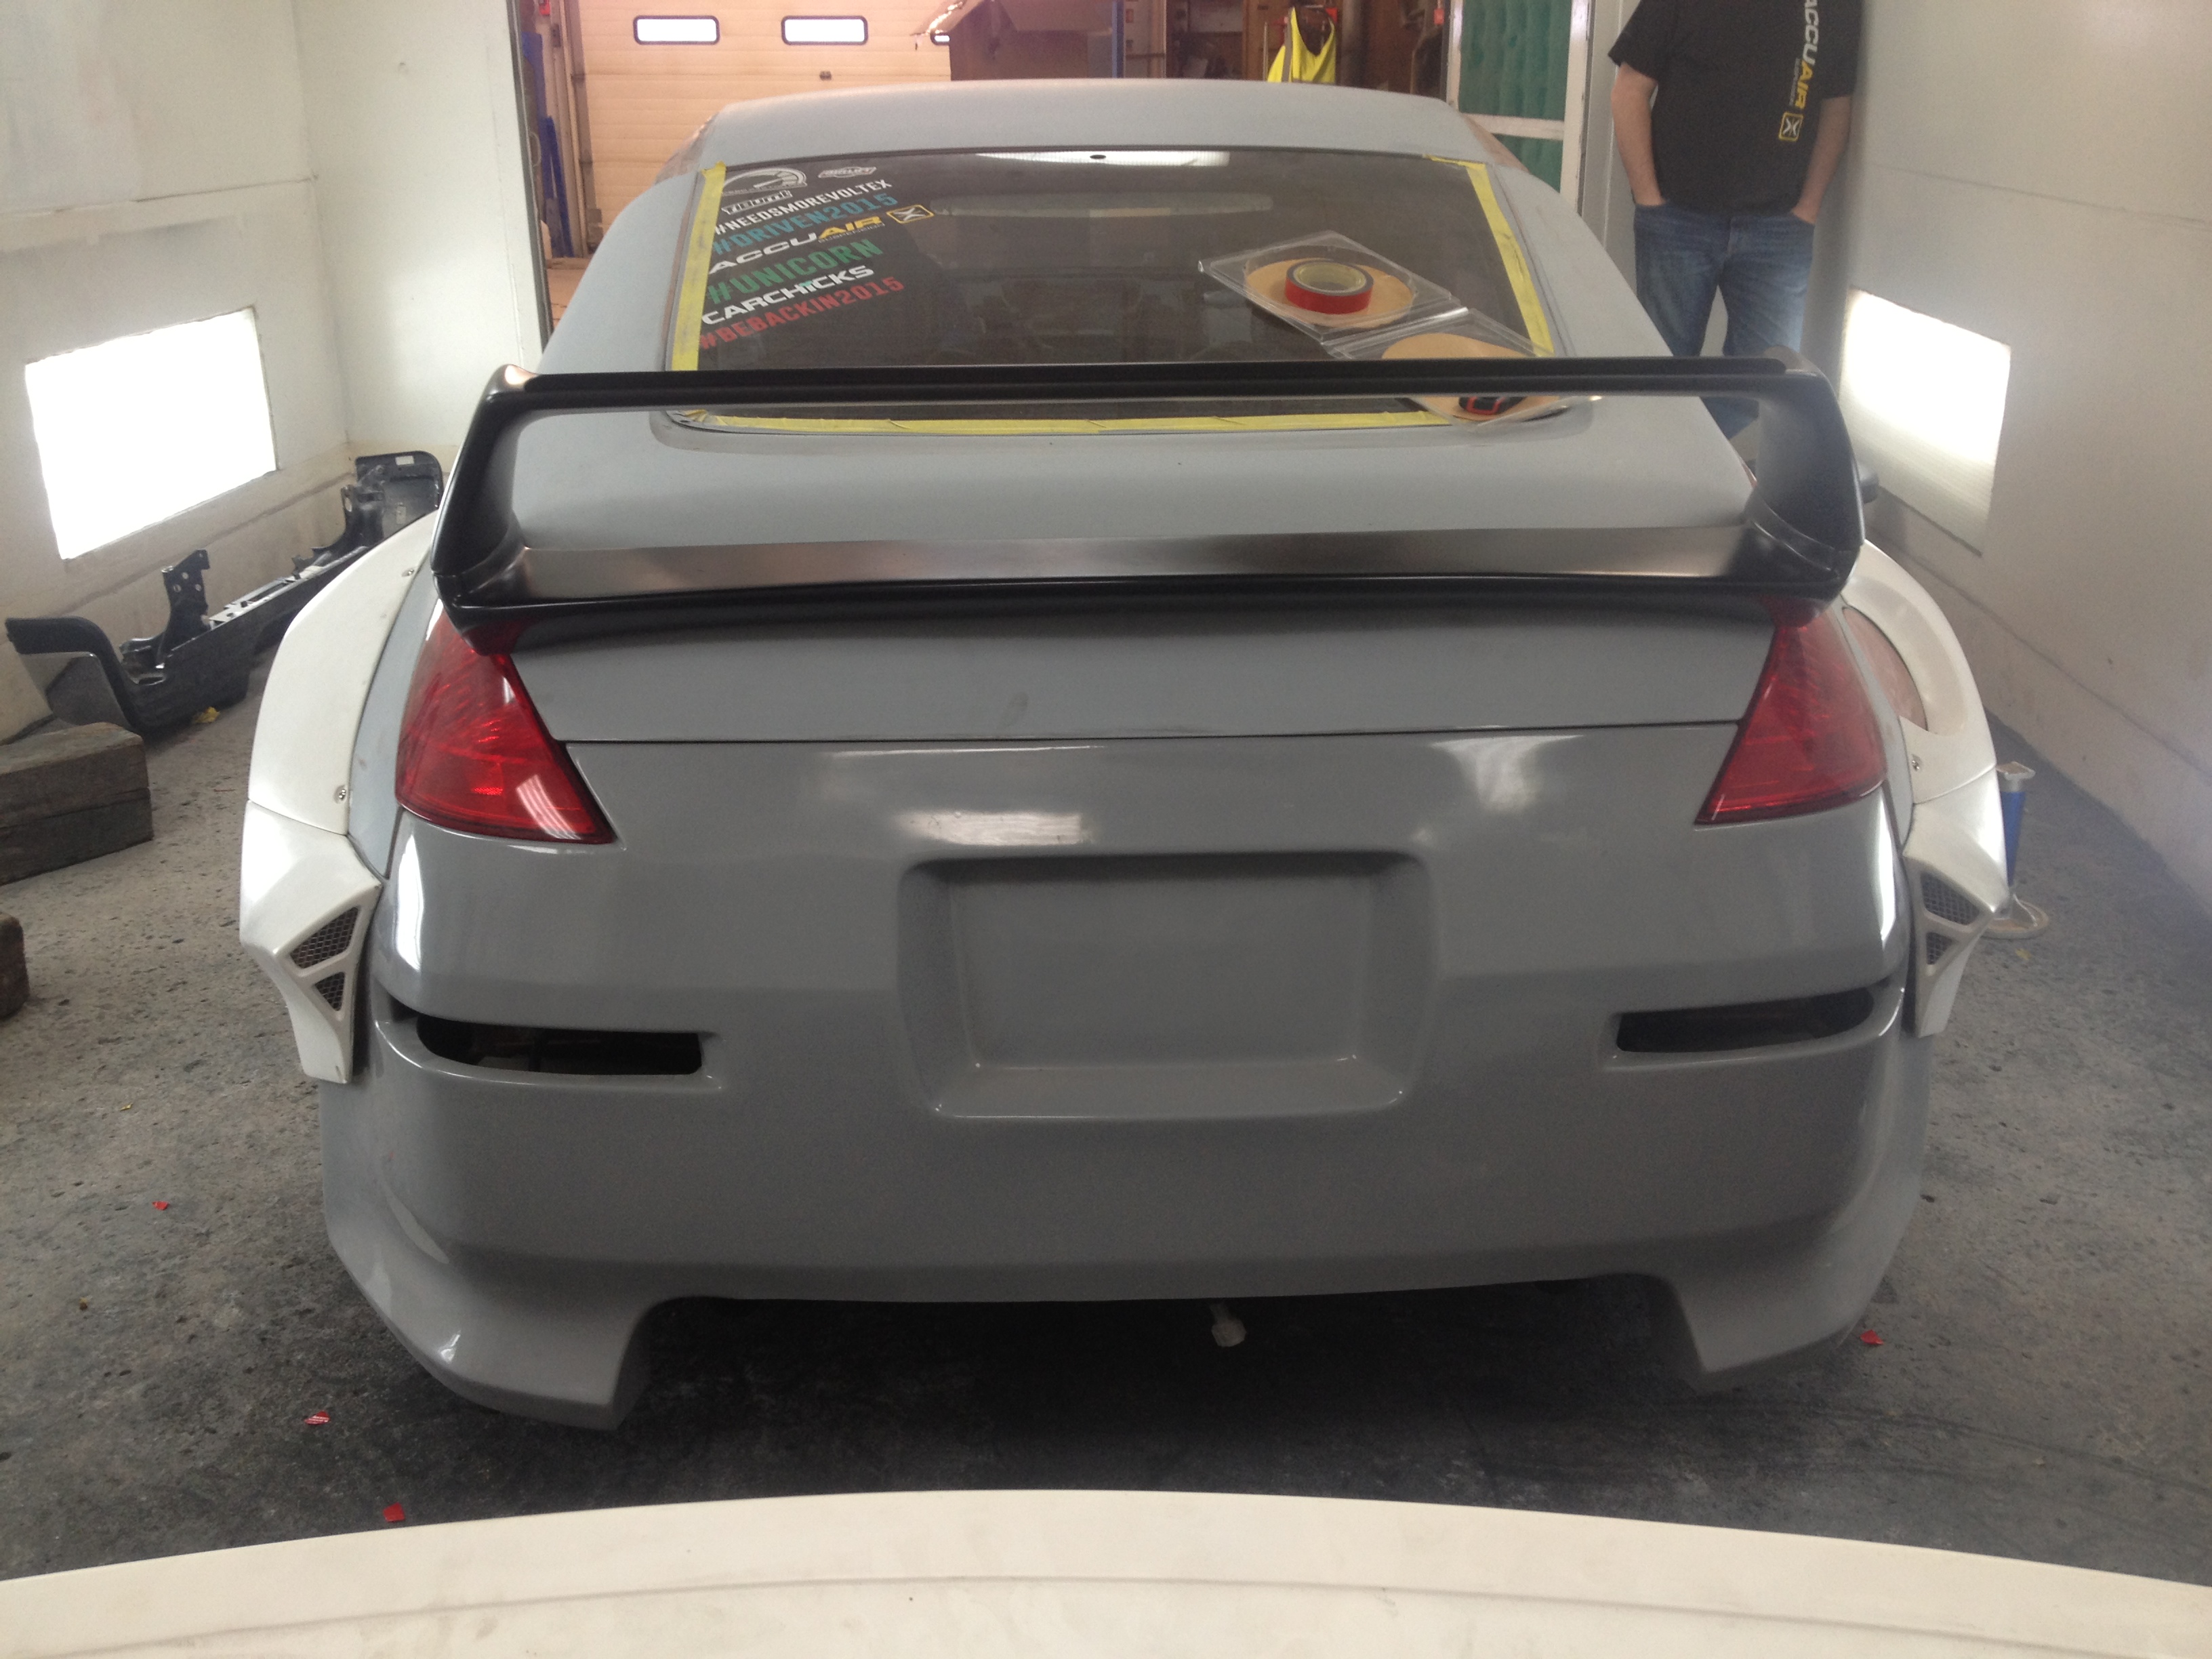
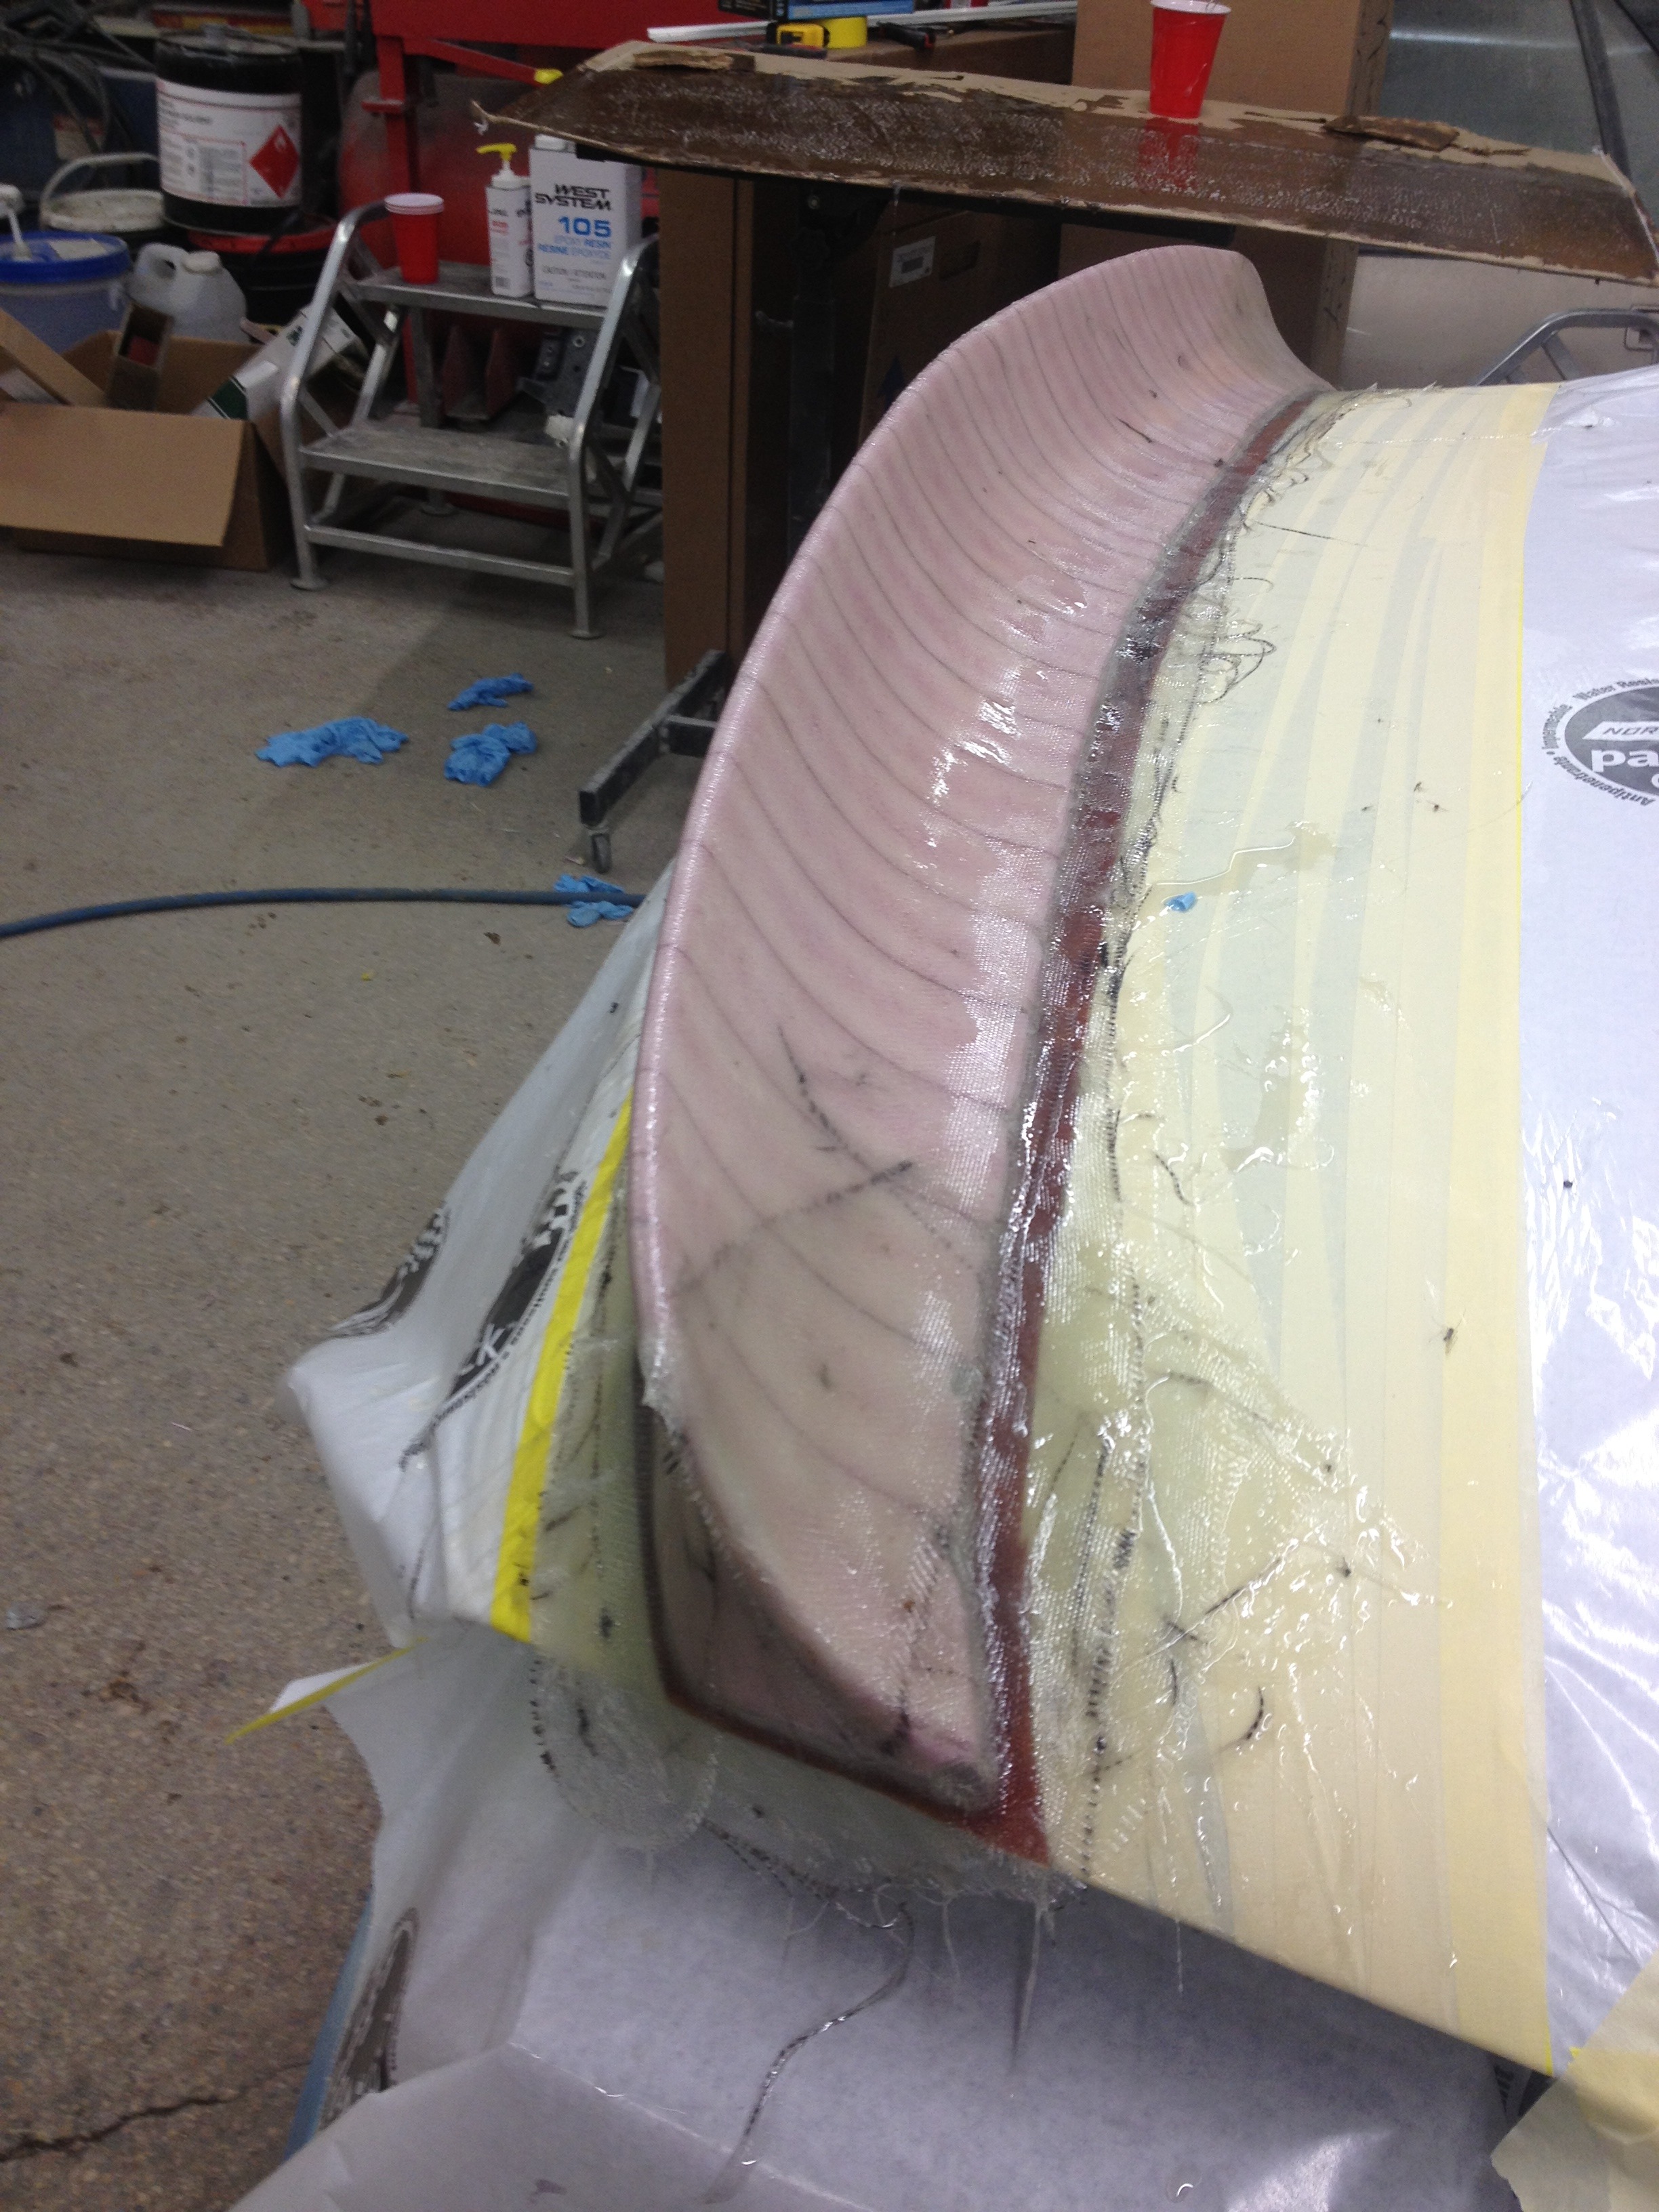
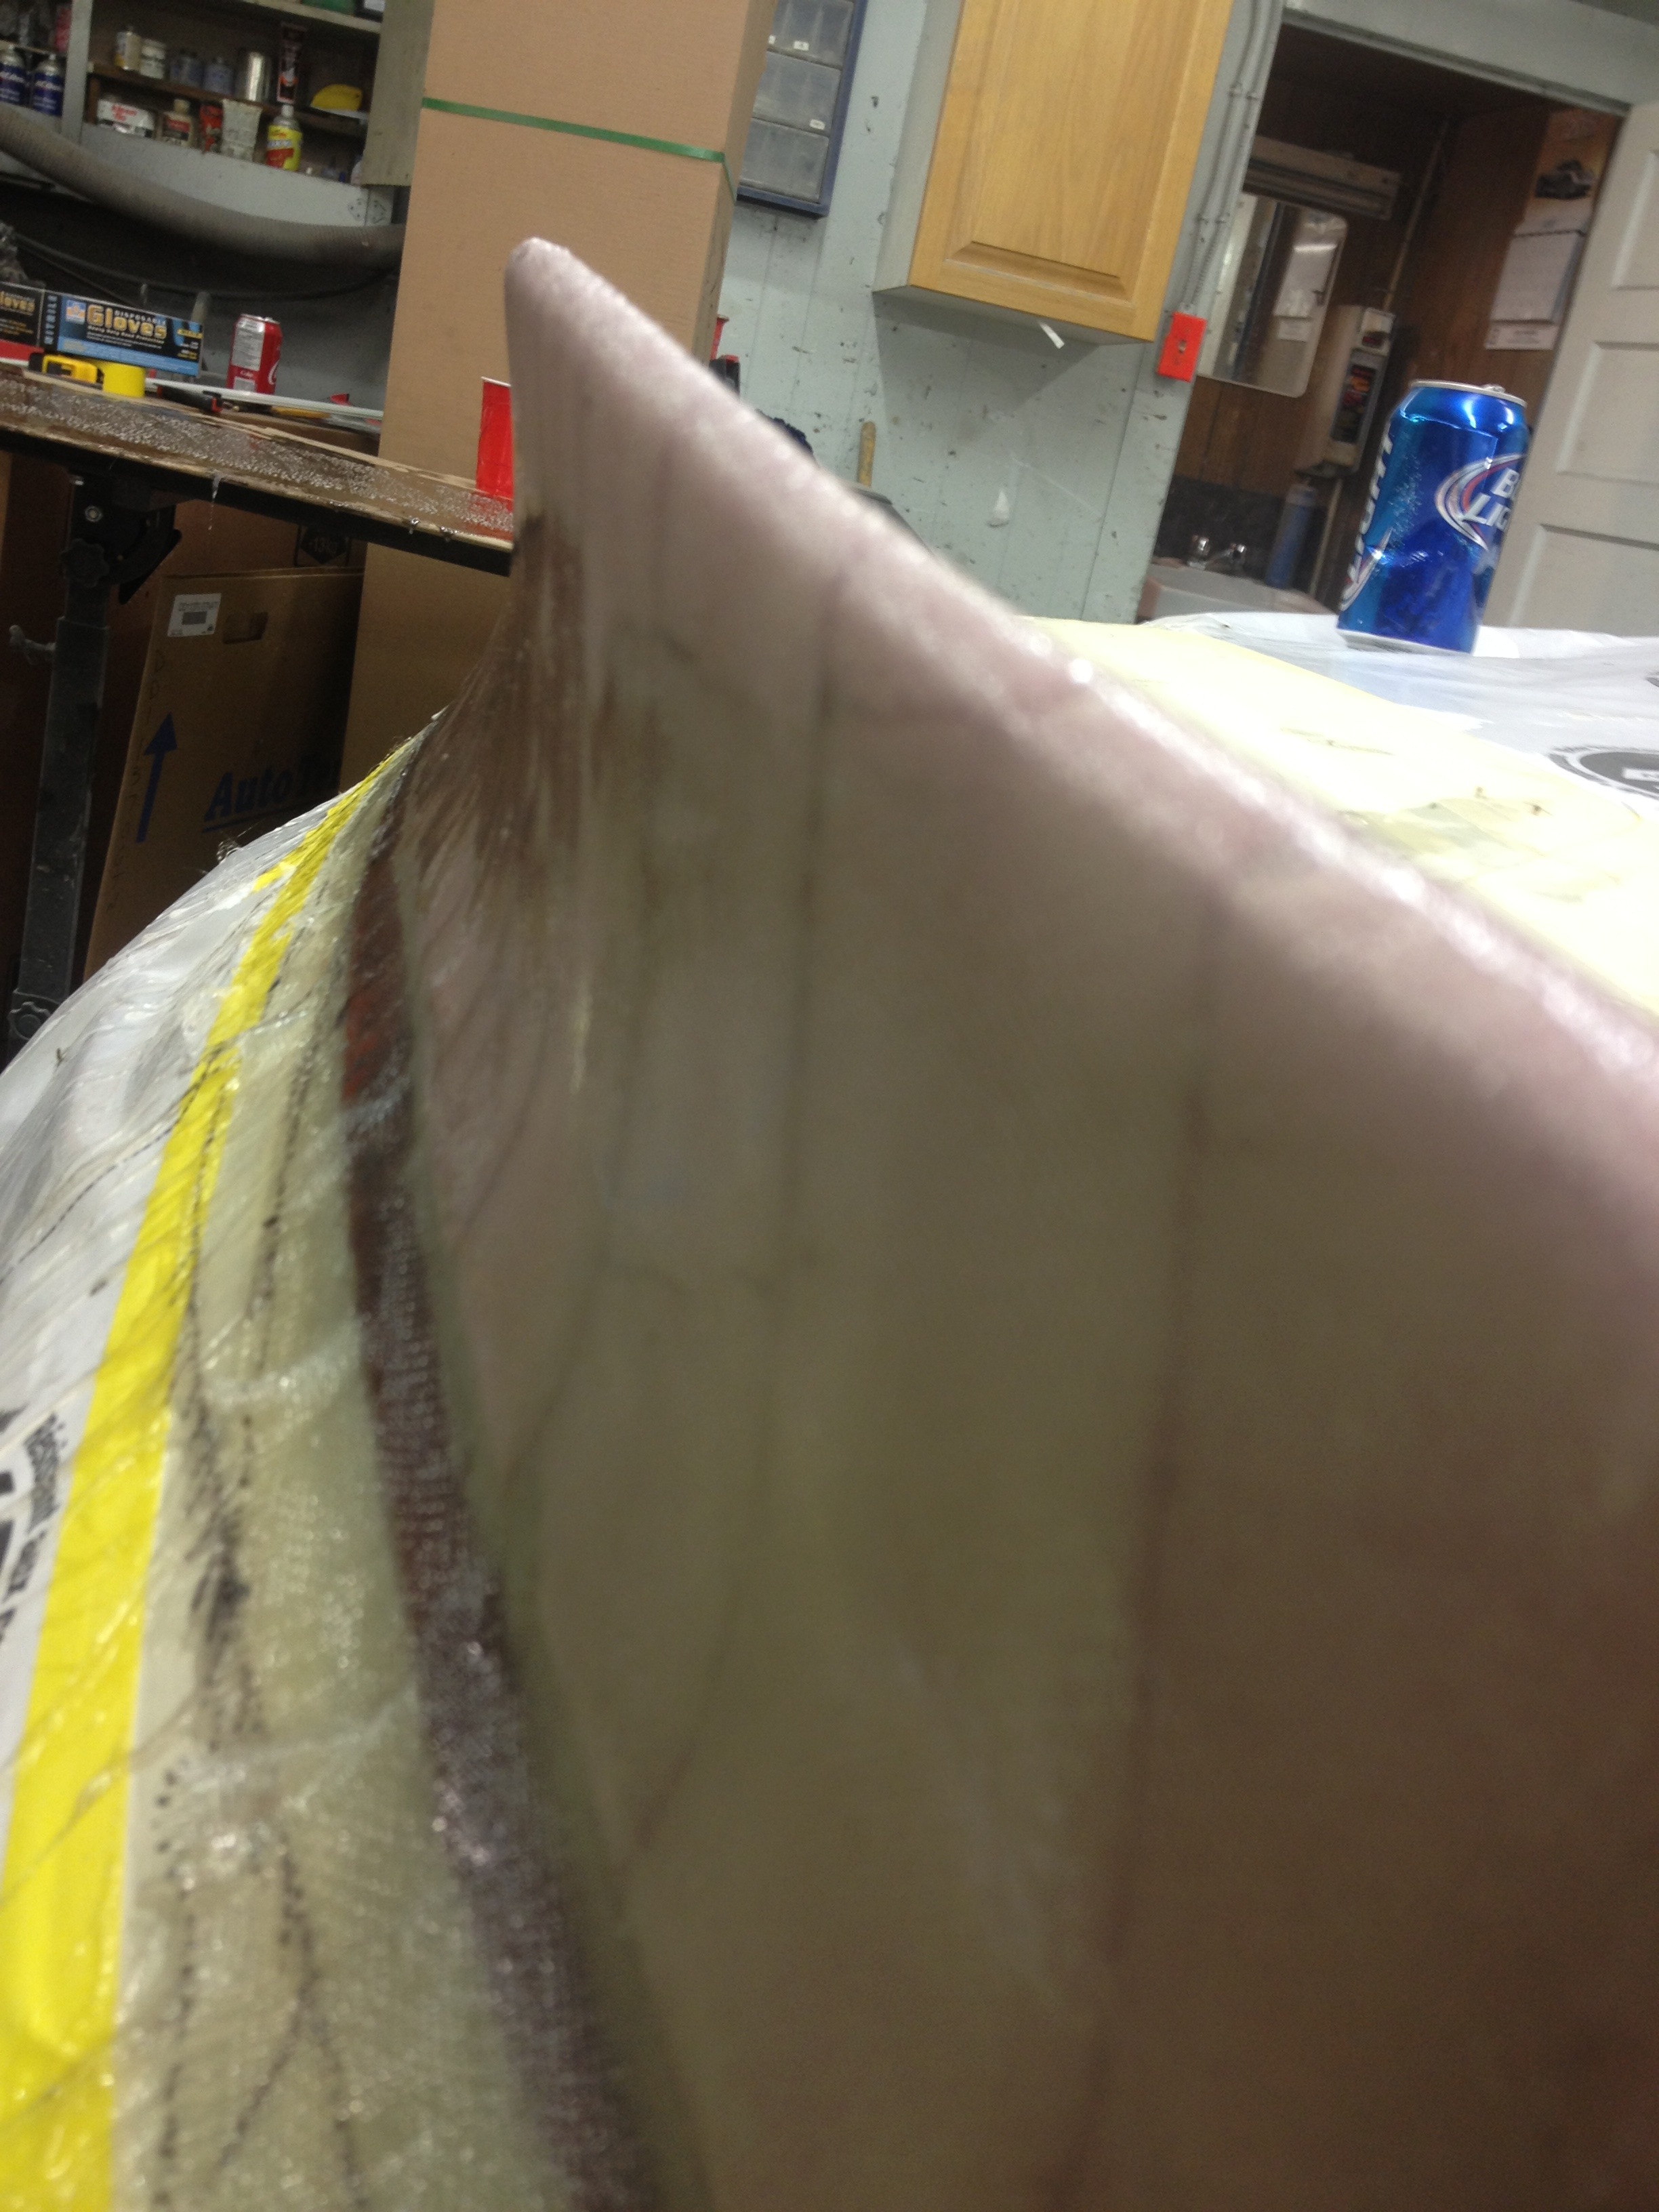
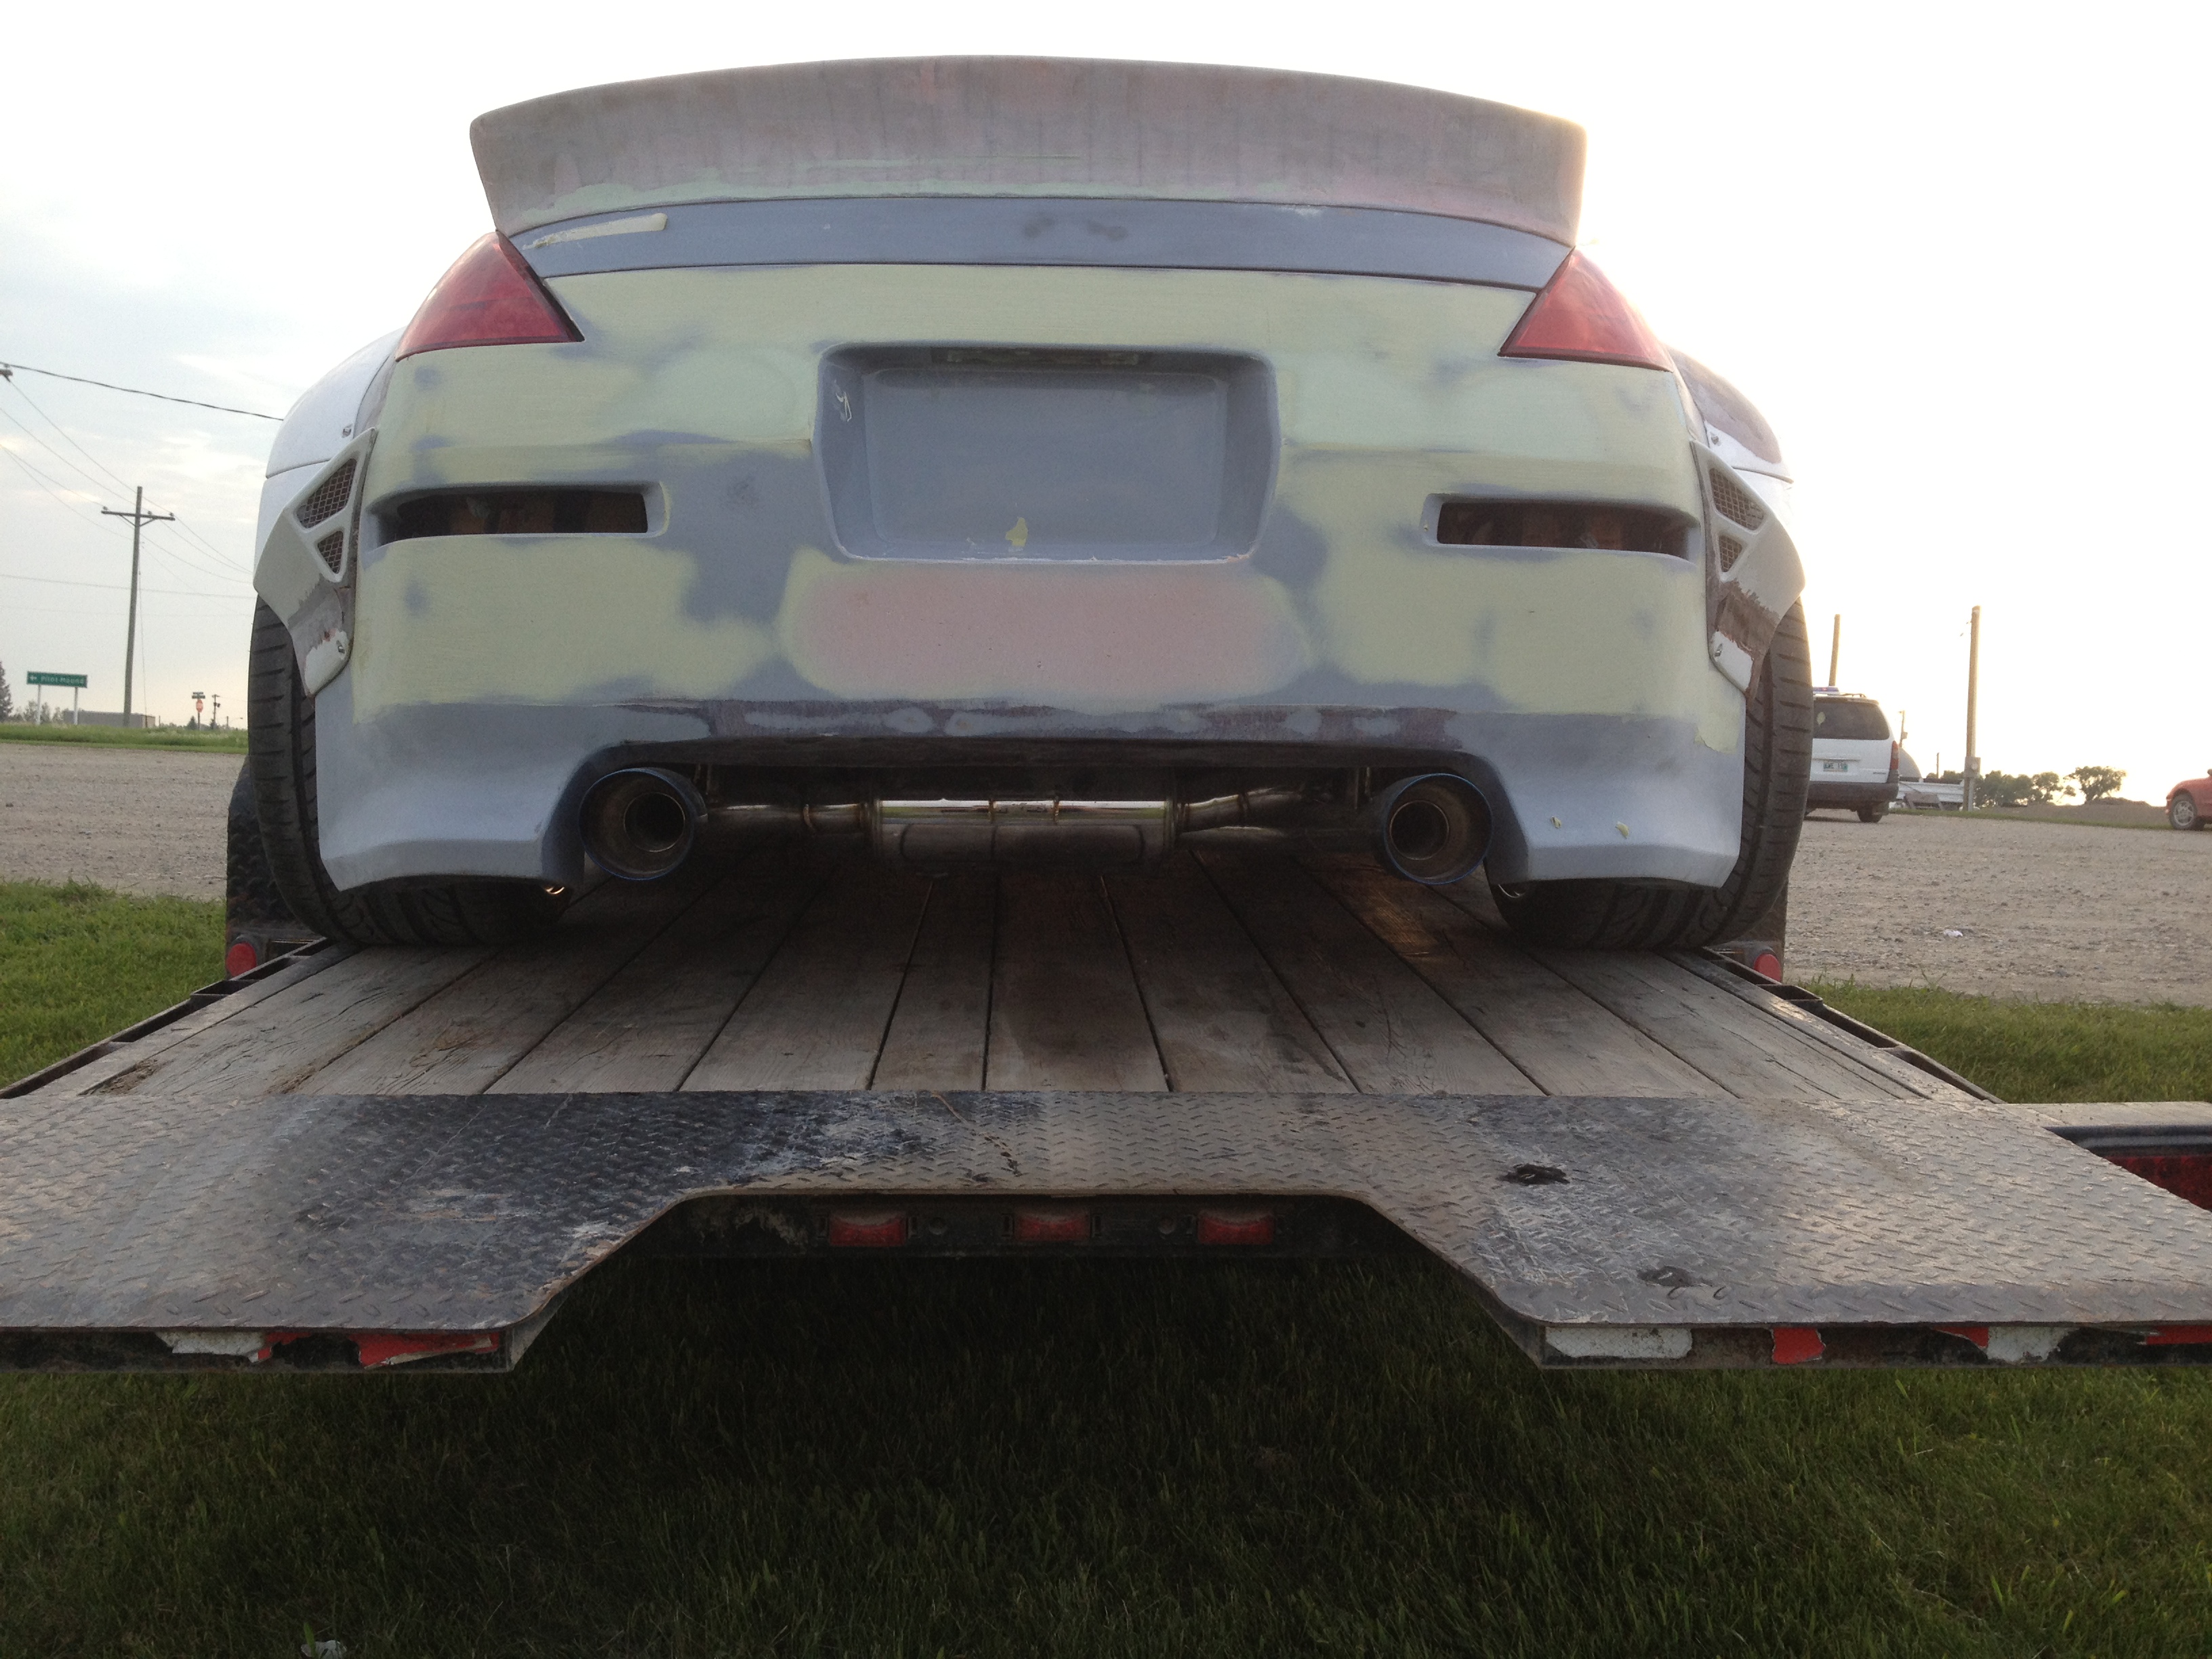
On to the back bumper. As I posted a couple pages back I cut out the center lower section of the bumper to give it a 'tucked' look and to show the exhaust better. Obviously I couldn't leave a cut edge like that because it would look unfinished and the bumper lost a good amount of rigidity.
The bumper also had quite a low spot, so I built it from the front with fiberglass to fill it in and then block sanded it out so it was level.
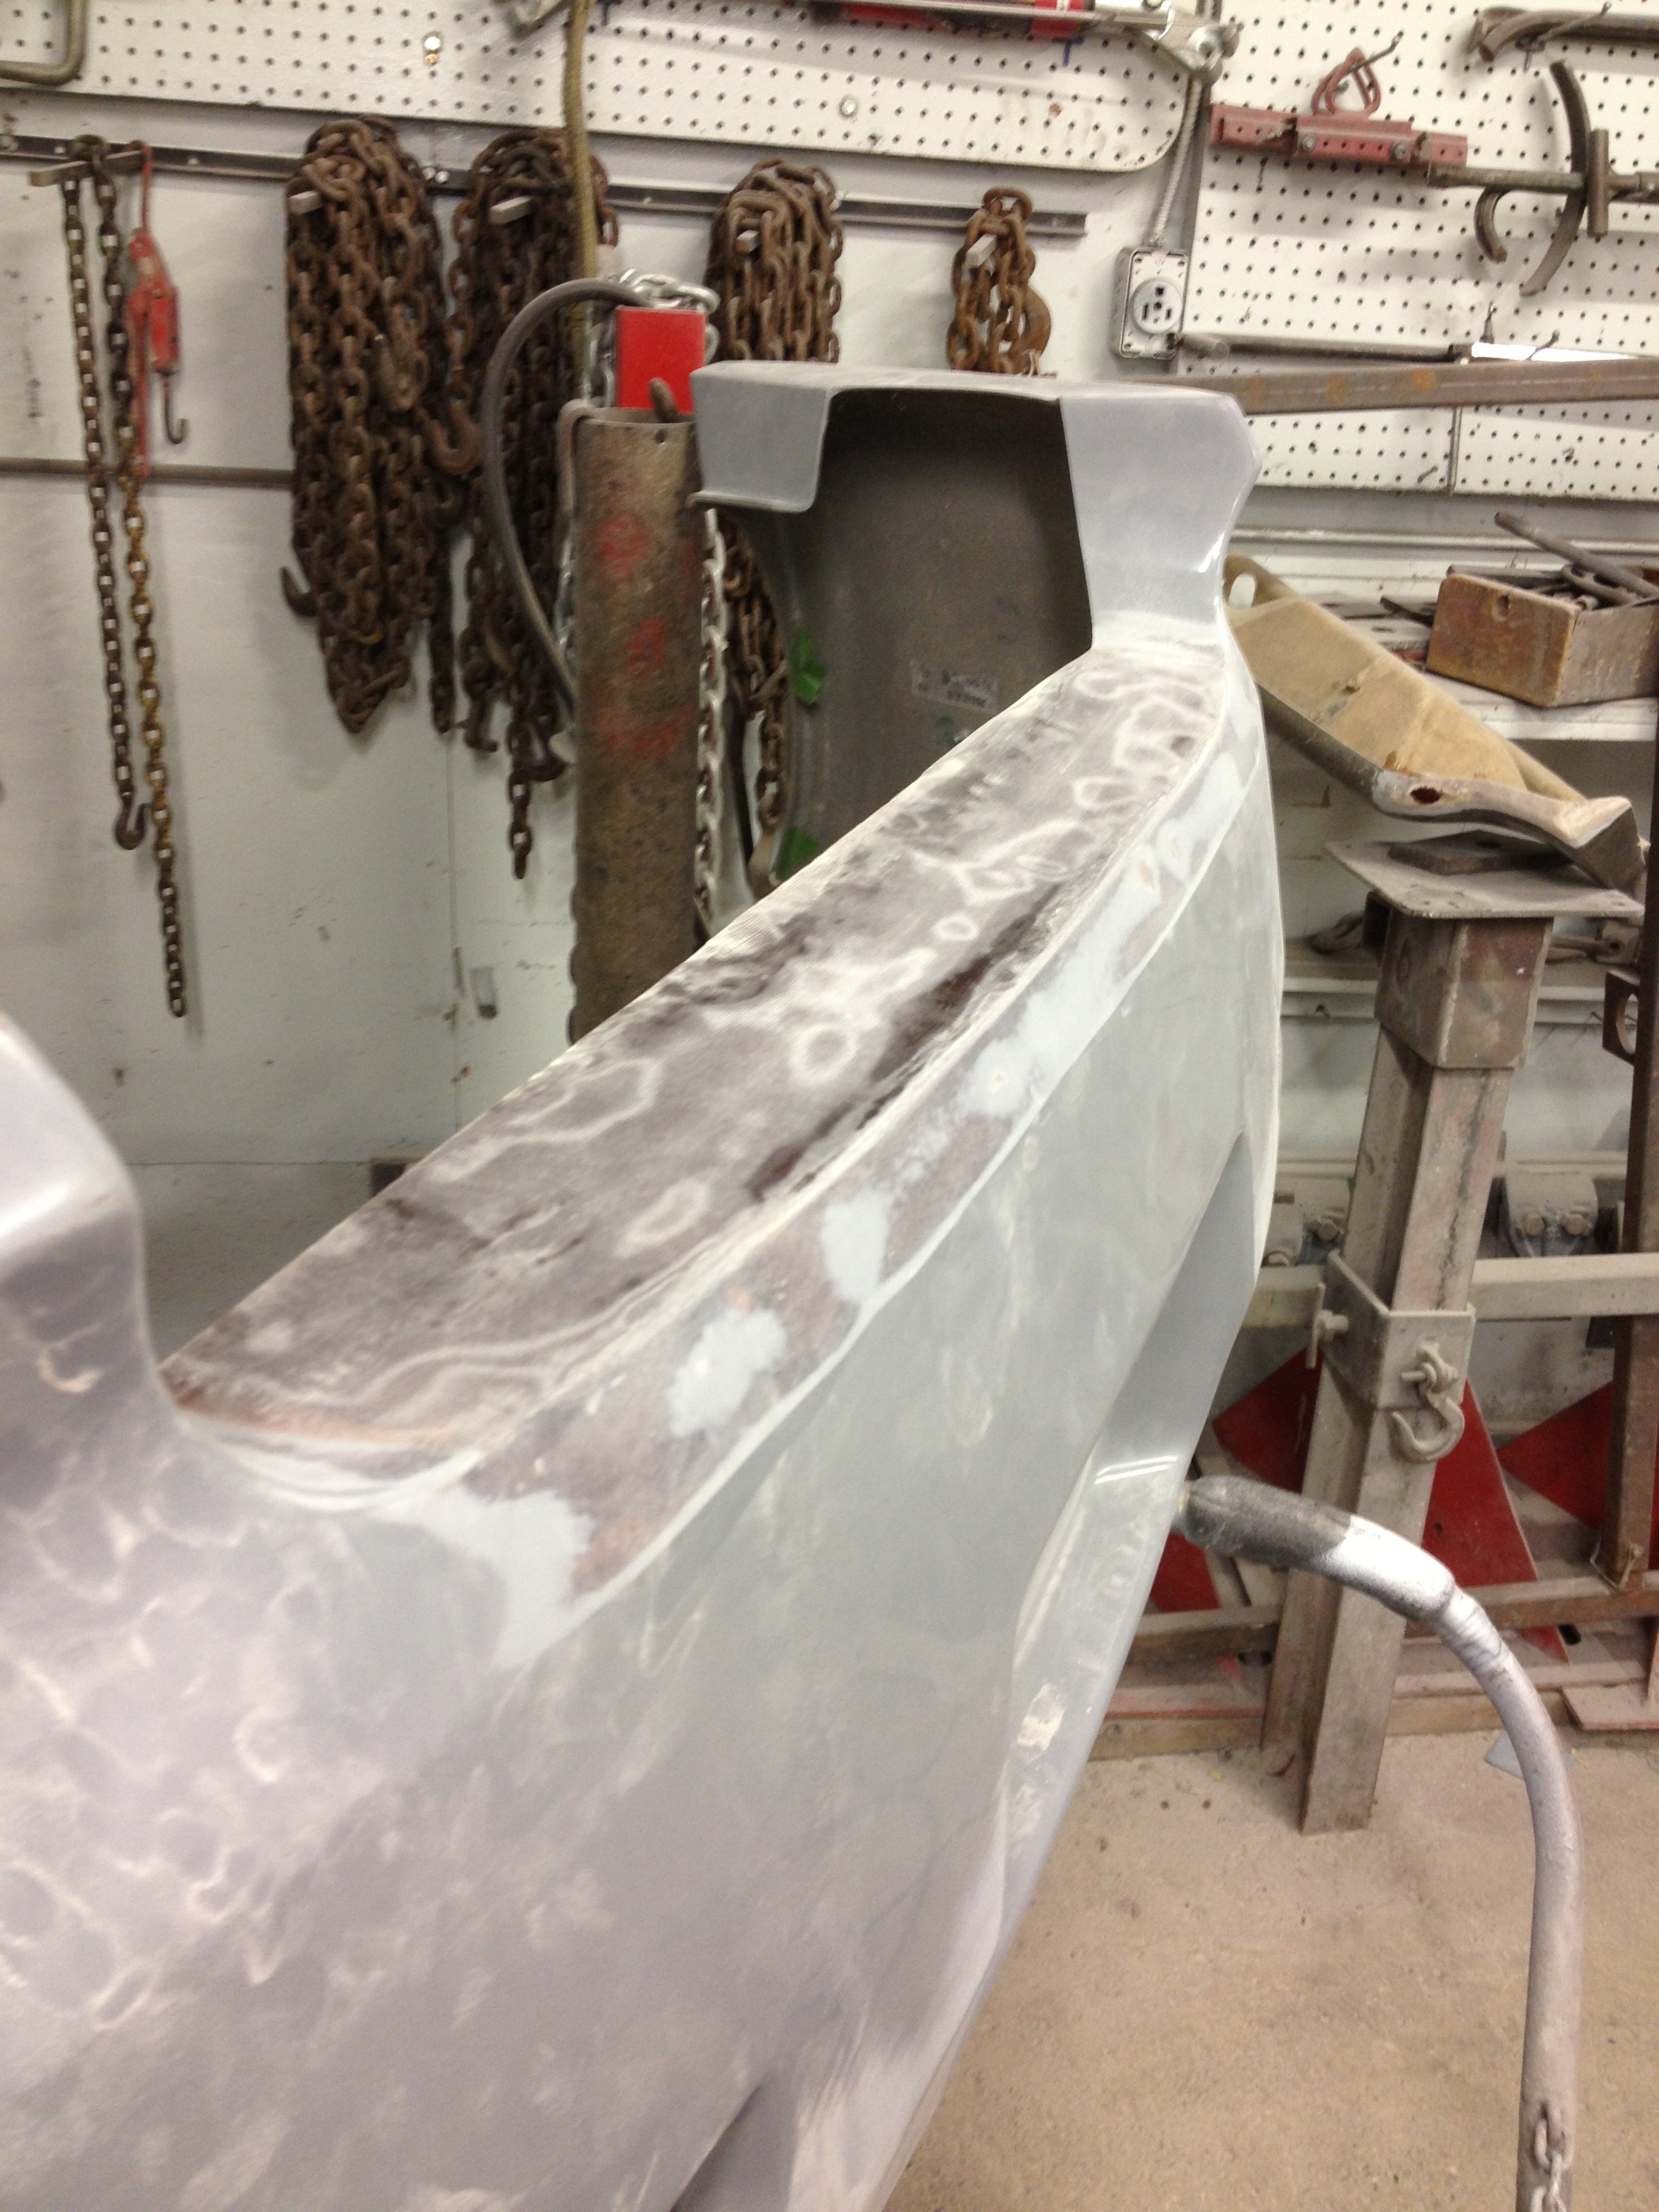
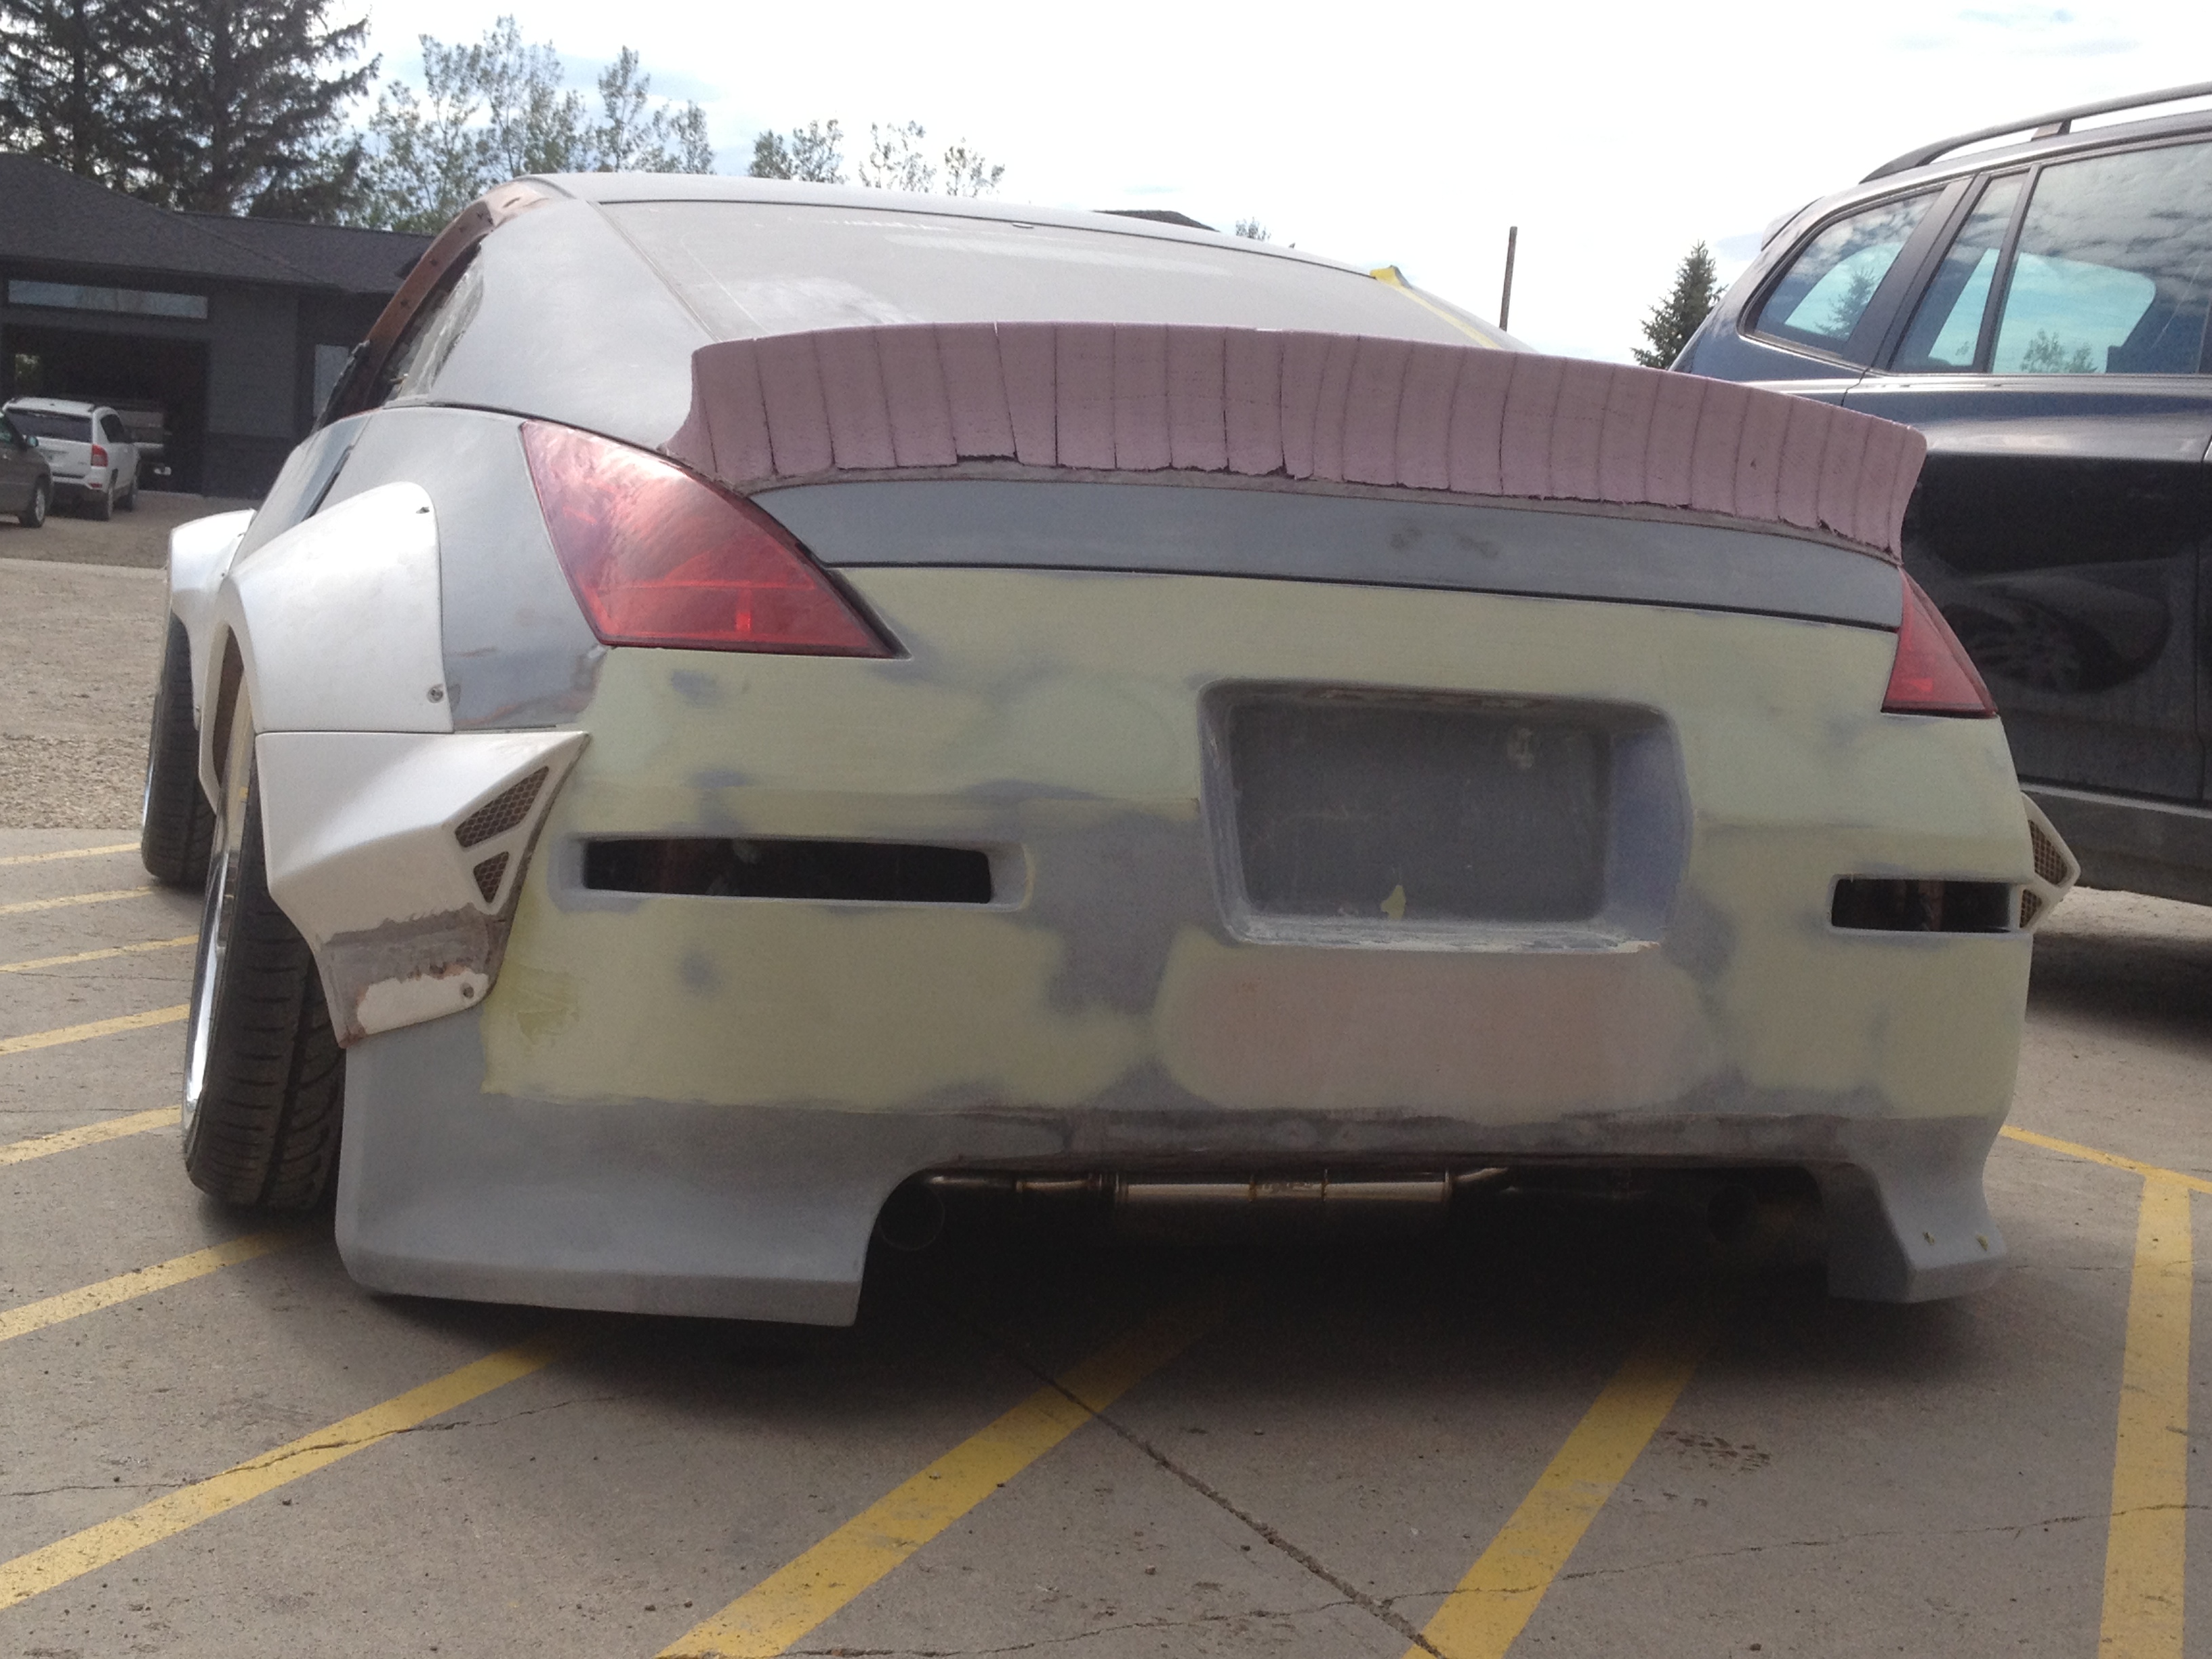
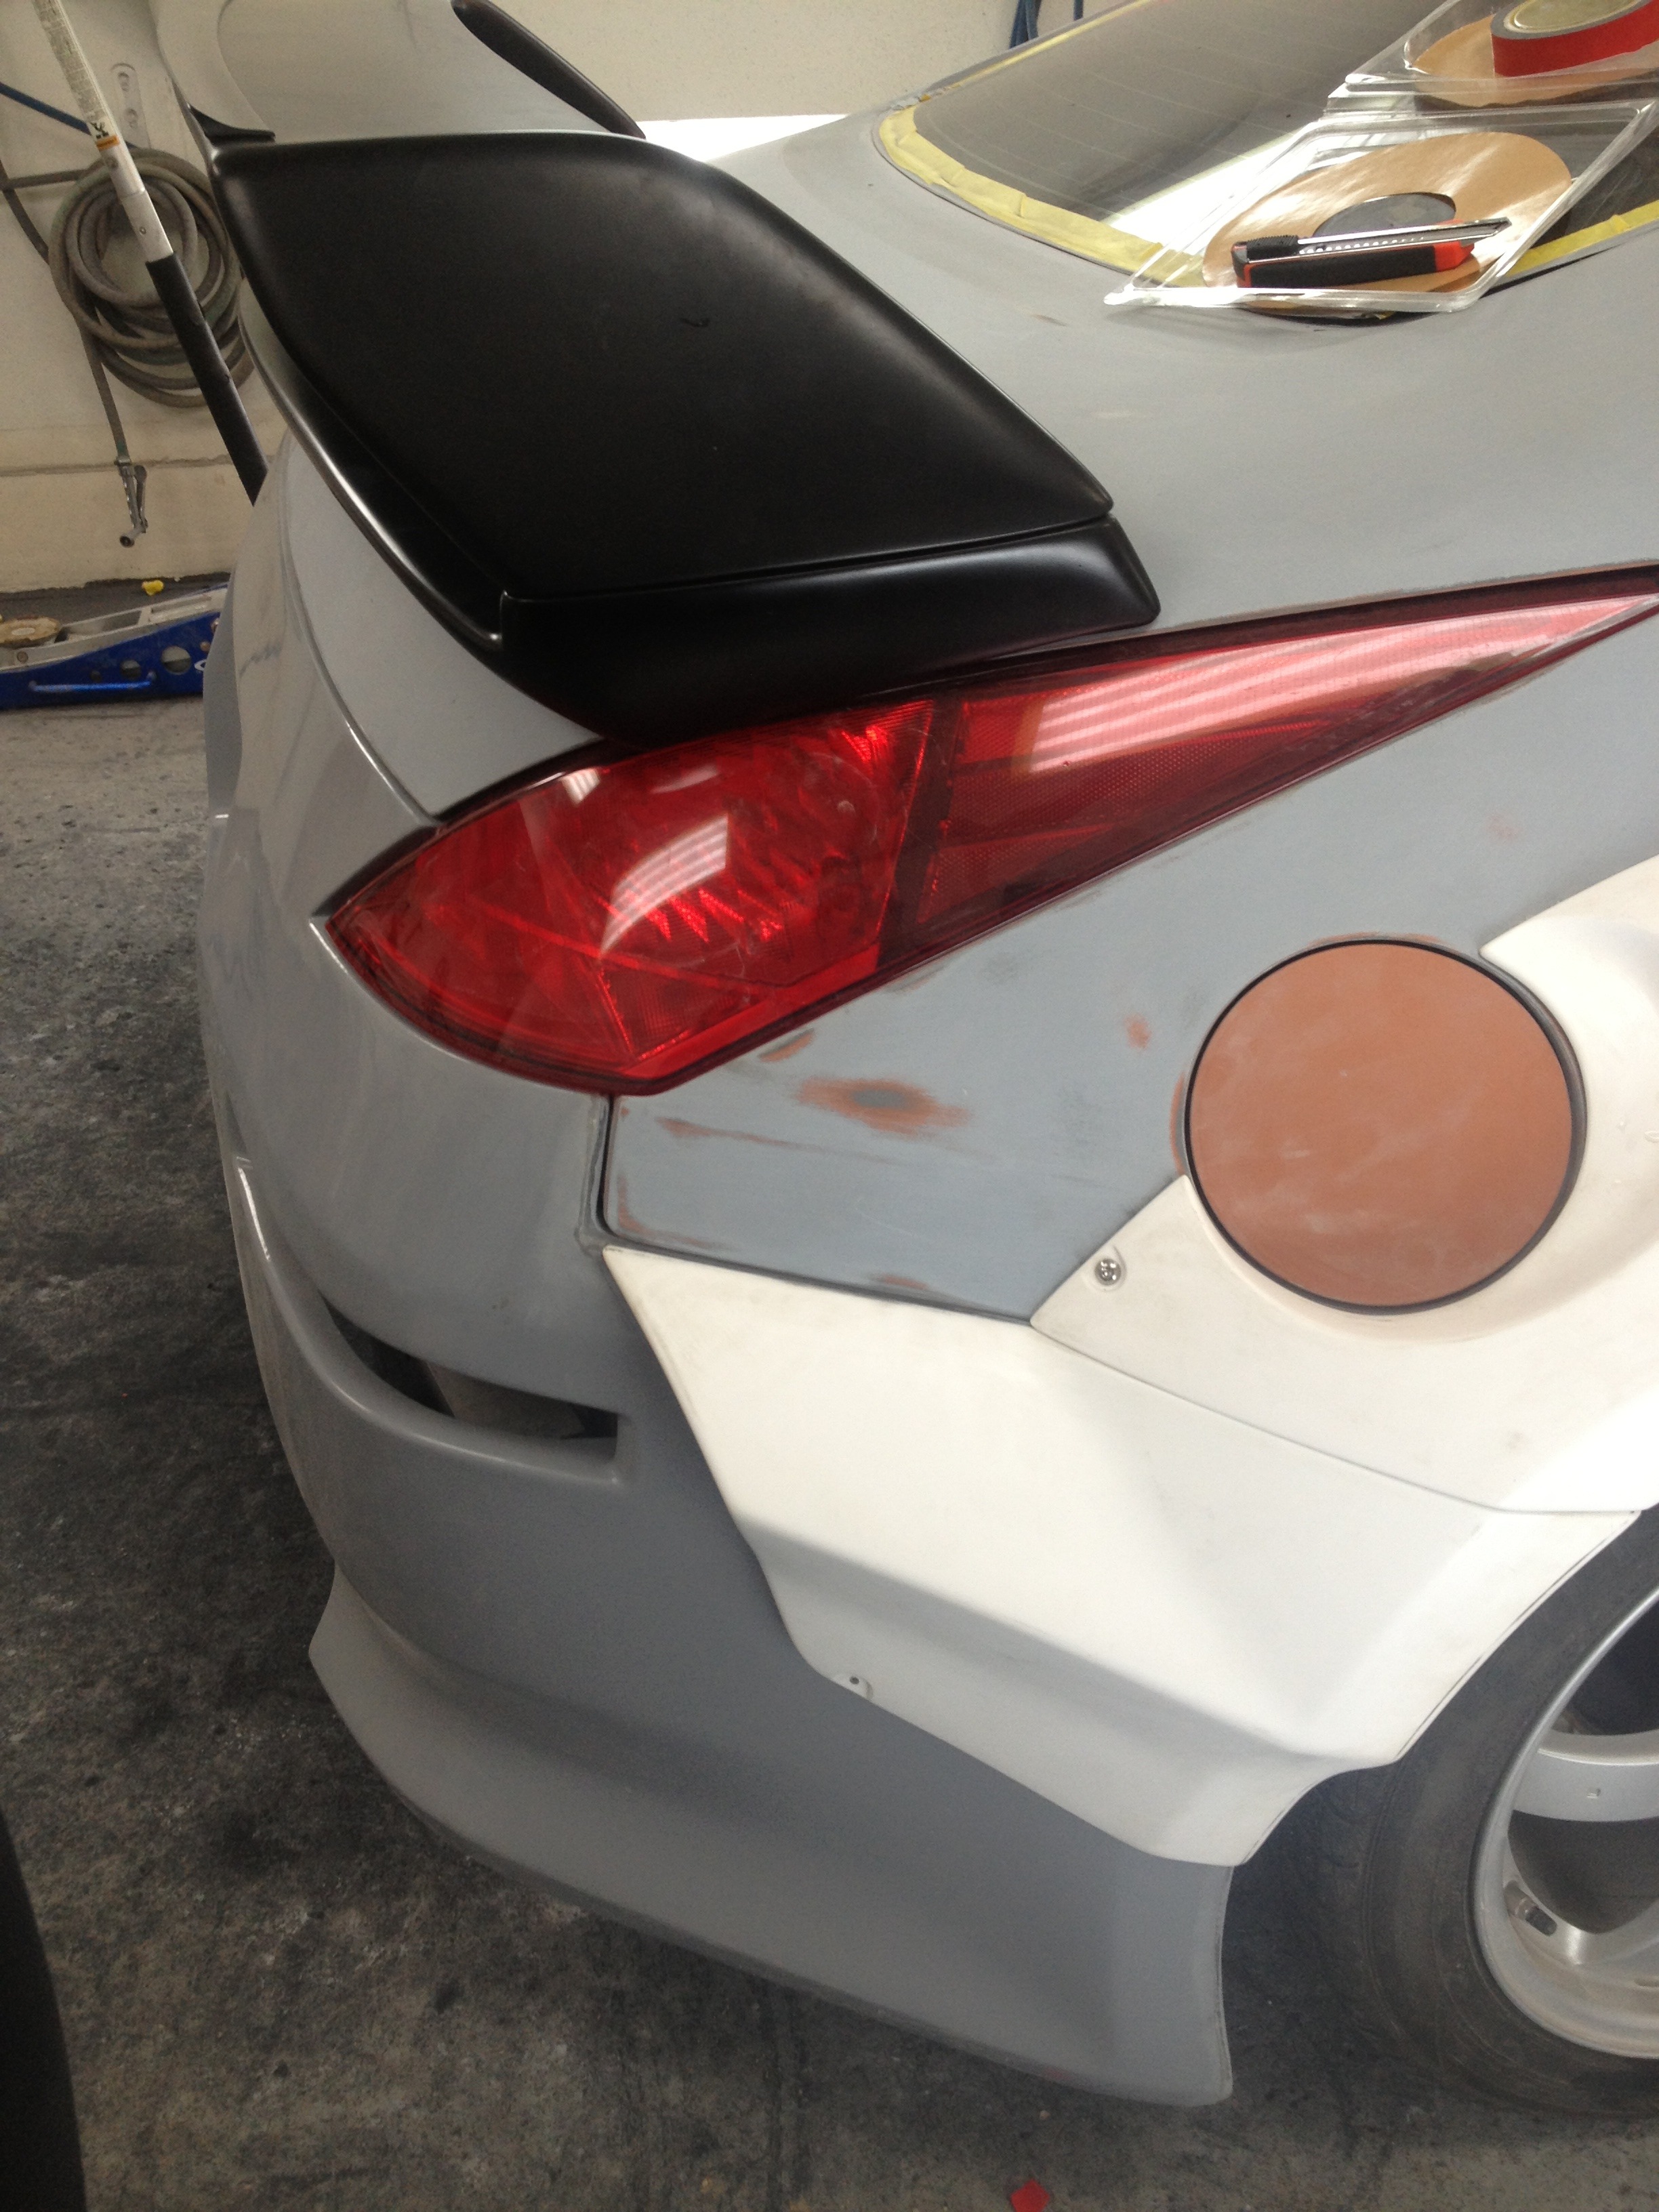
Fitting the rear lights was a bit of a pain in the *** too. I ended up having to make my own fiberglass mounting tabs inside the bumper because the ones that came on the bumper were so far off. You can see in this pic too some of the fiberglass build-up that I had to do where it meets the rear of the car to get everything to line up nicely.
I guess the manufacturer expected you to just cut a gaping hole to install the factory license plate lights. Not a chance!... I made my own inset bezel for the license plate light from scratch with fiberglass, and then cut and fiberglassed it into the bumper. I have a long LED COB strip installed in there now which is stupid bright:
Cut hole:
Fiberglass in new bezel:
Lesson learned, don't buy cheap crappy body kits even if you plan to cut them up. You spend more time fixing them than it's worth. Better off buying high quality products that fit closer from the get-go.
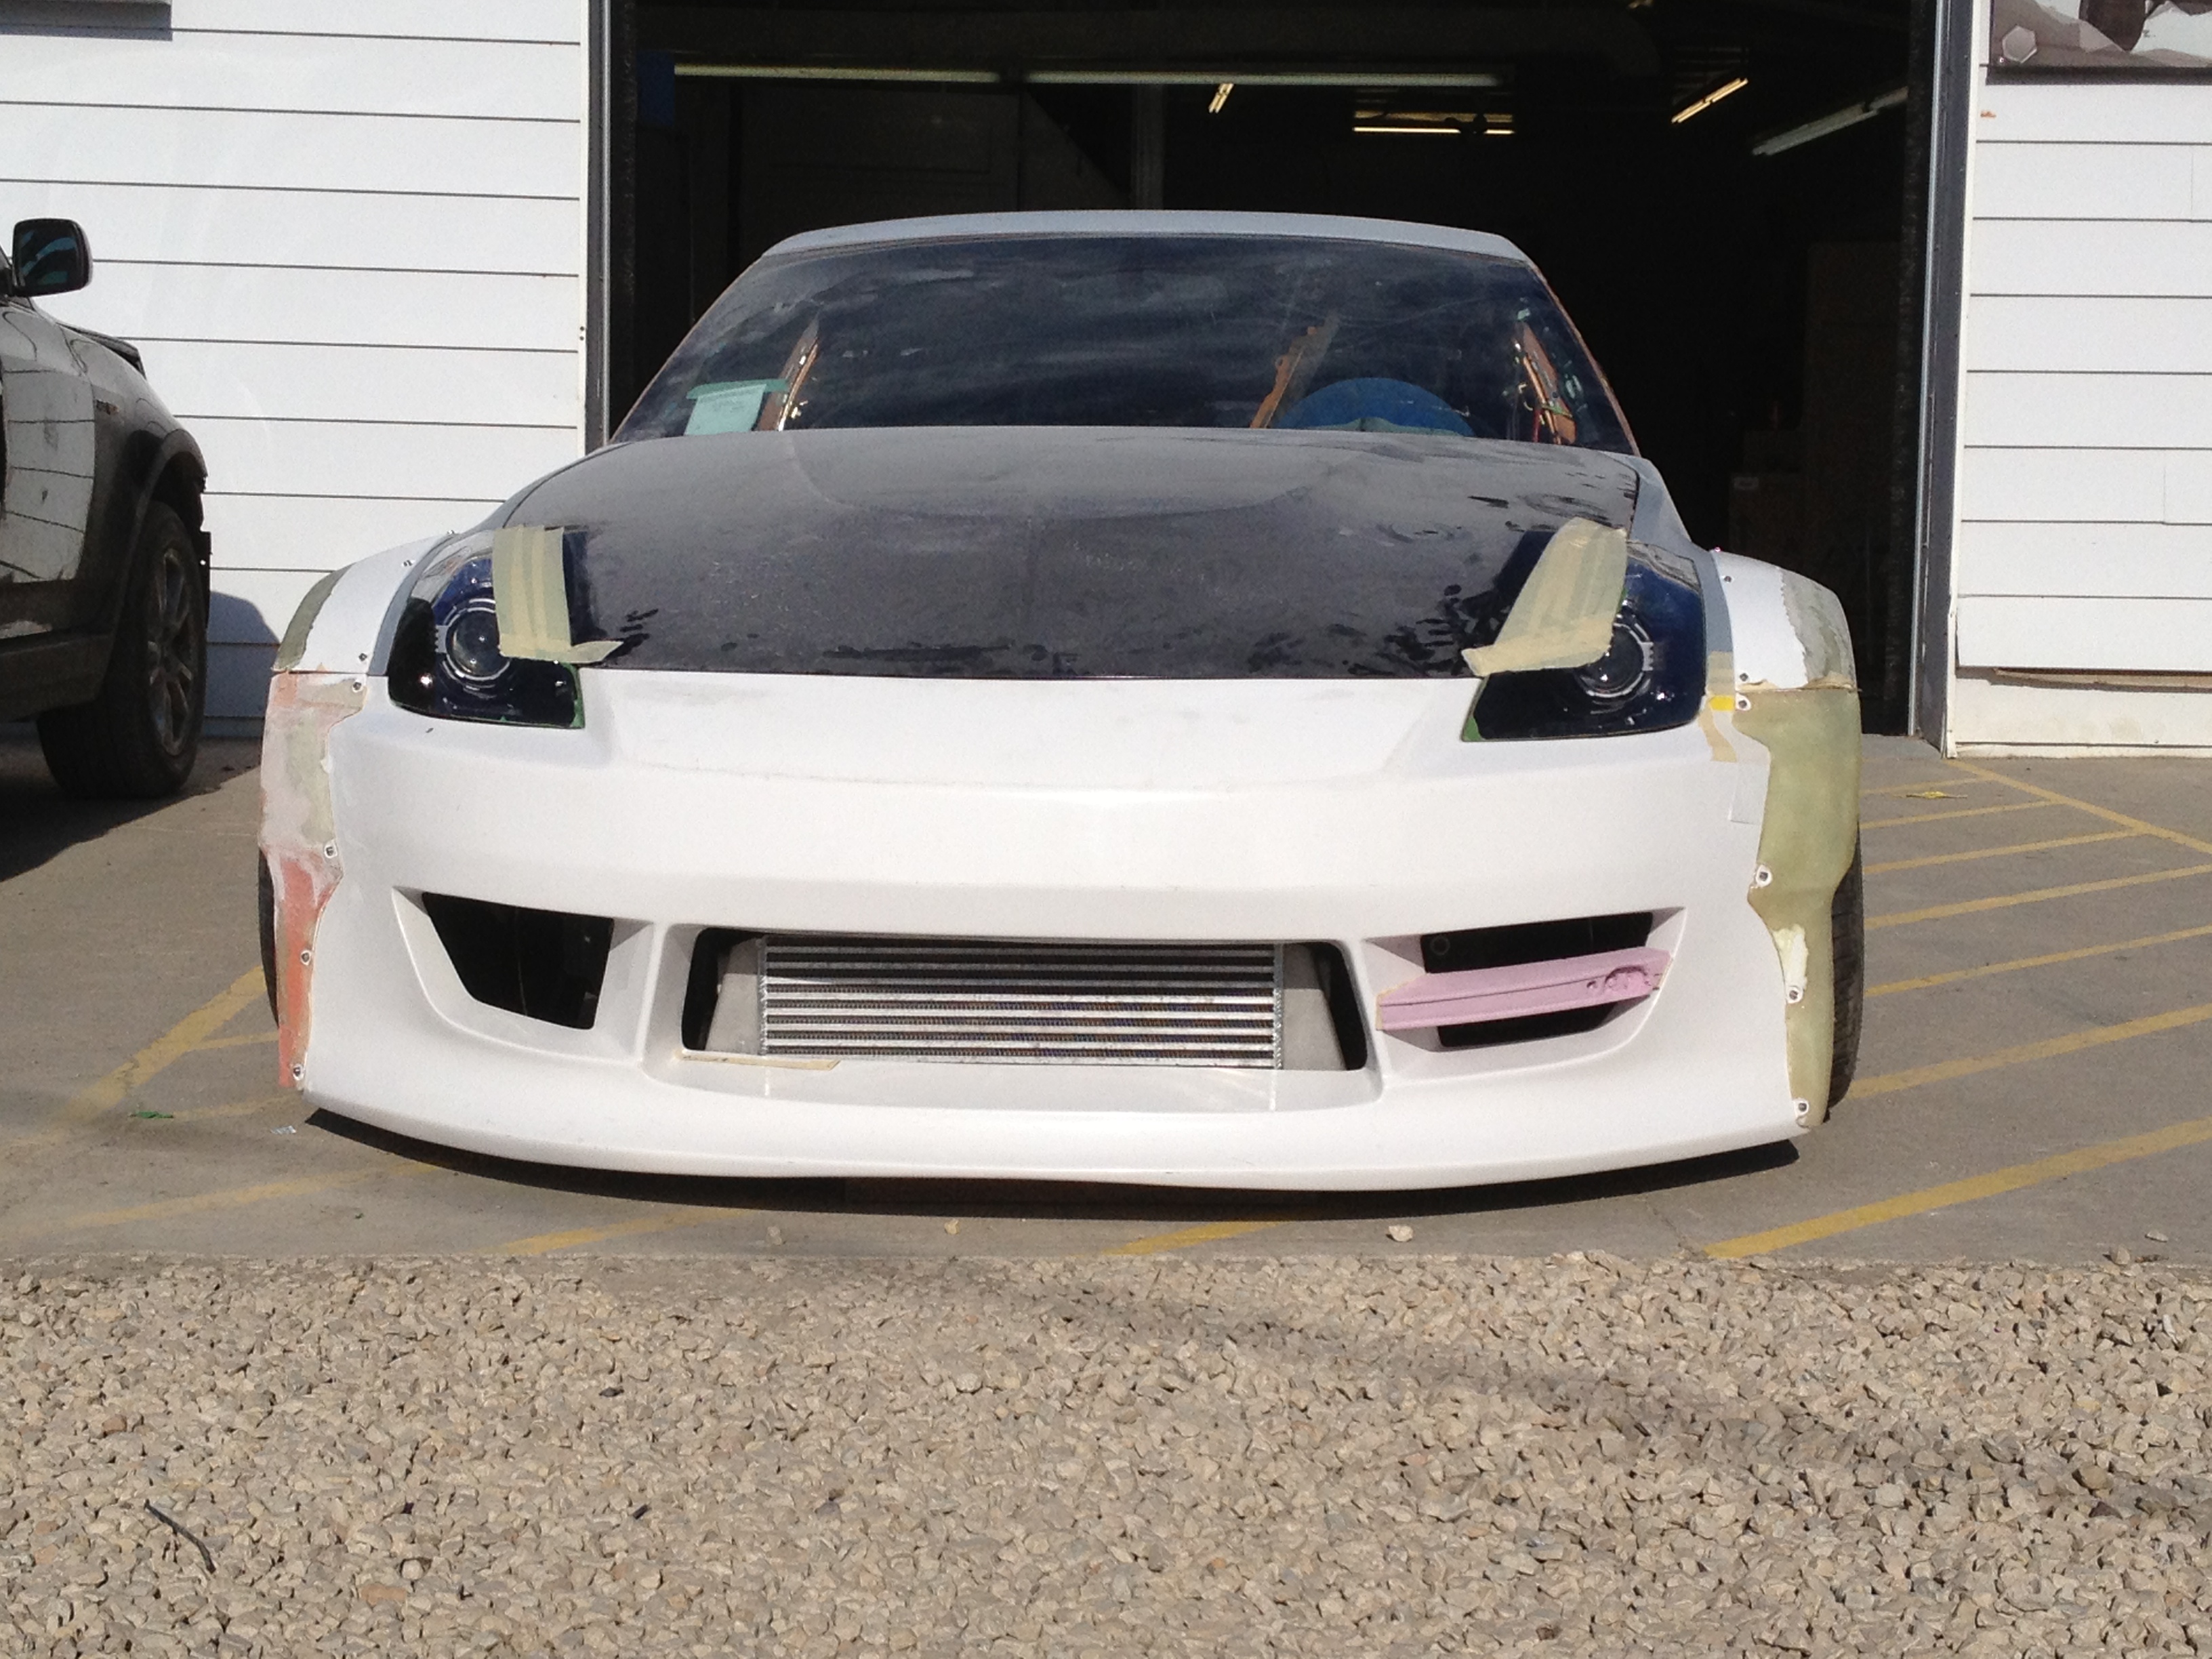
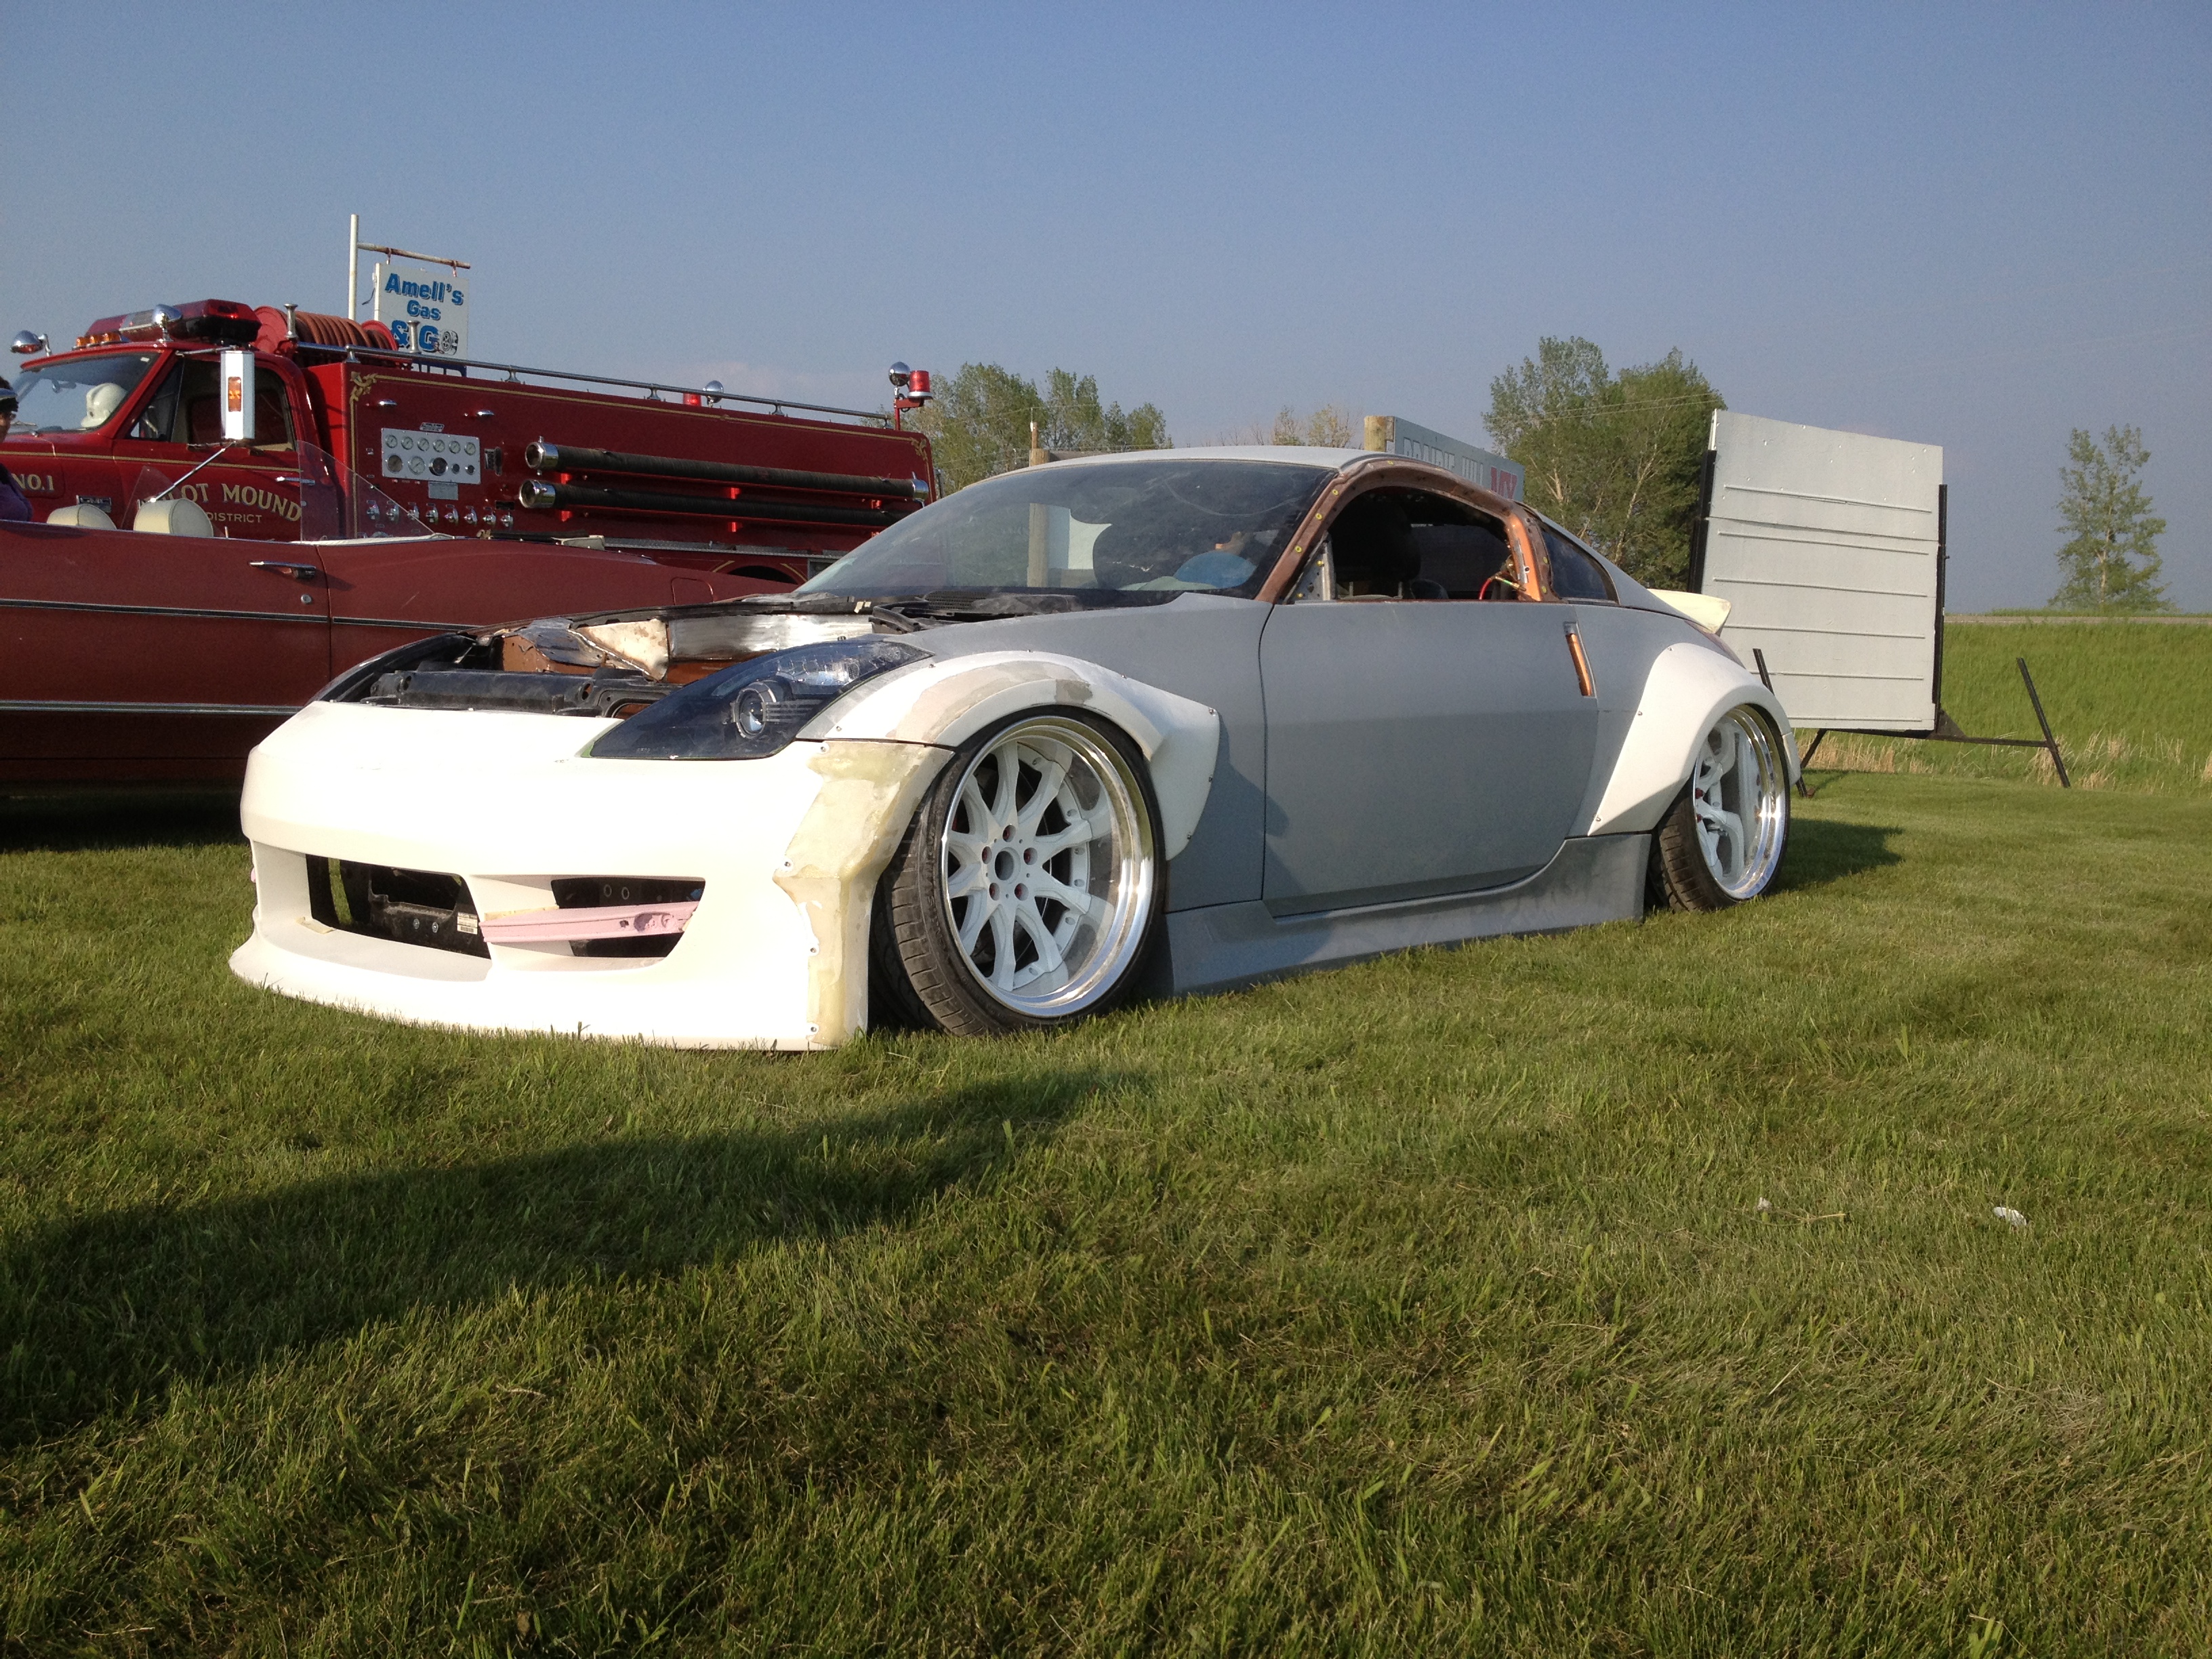
I took a few Fridays off work and spent the weekend out of town working on the car. One Friday afternoon in late May or early June we were at a point working in the car where it had been the most assembled yet, a couple pieces missing but we were close to a complete car.
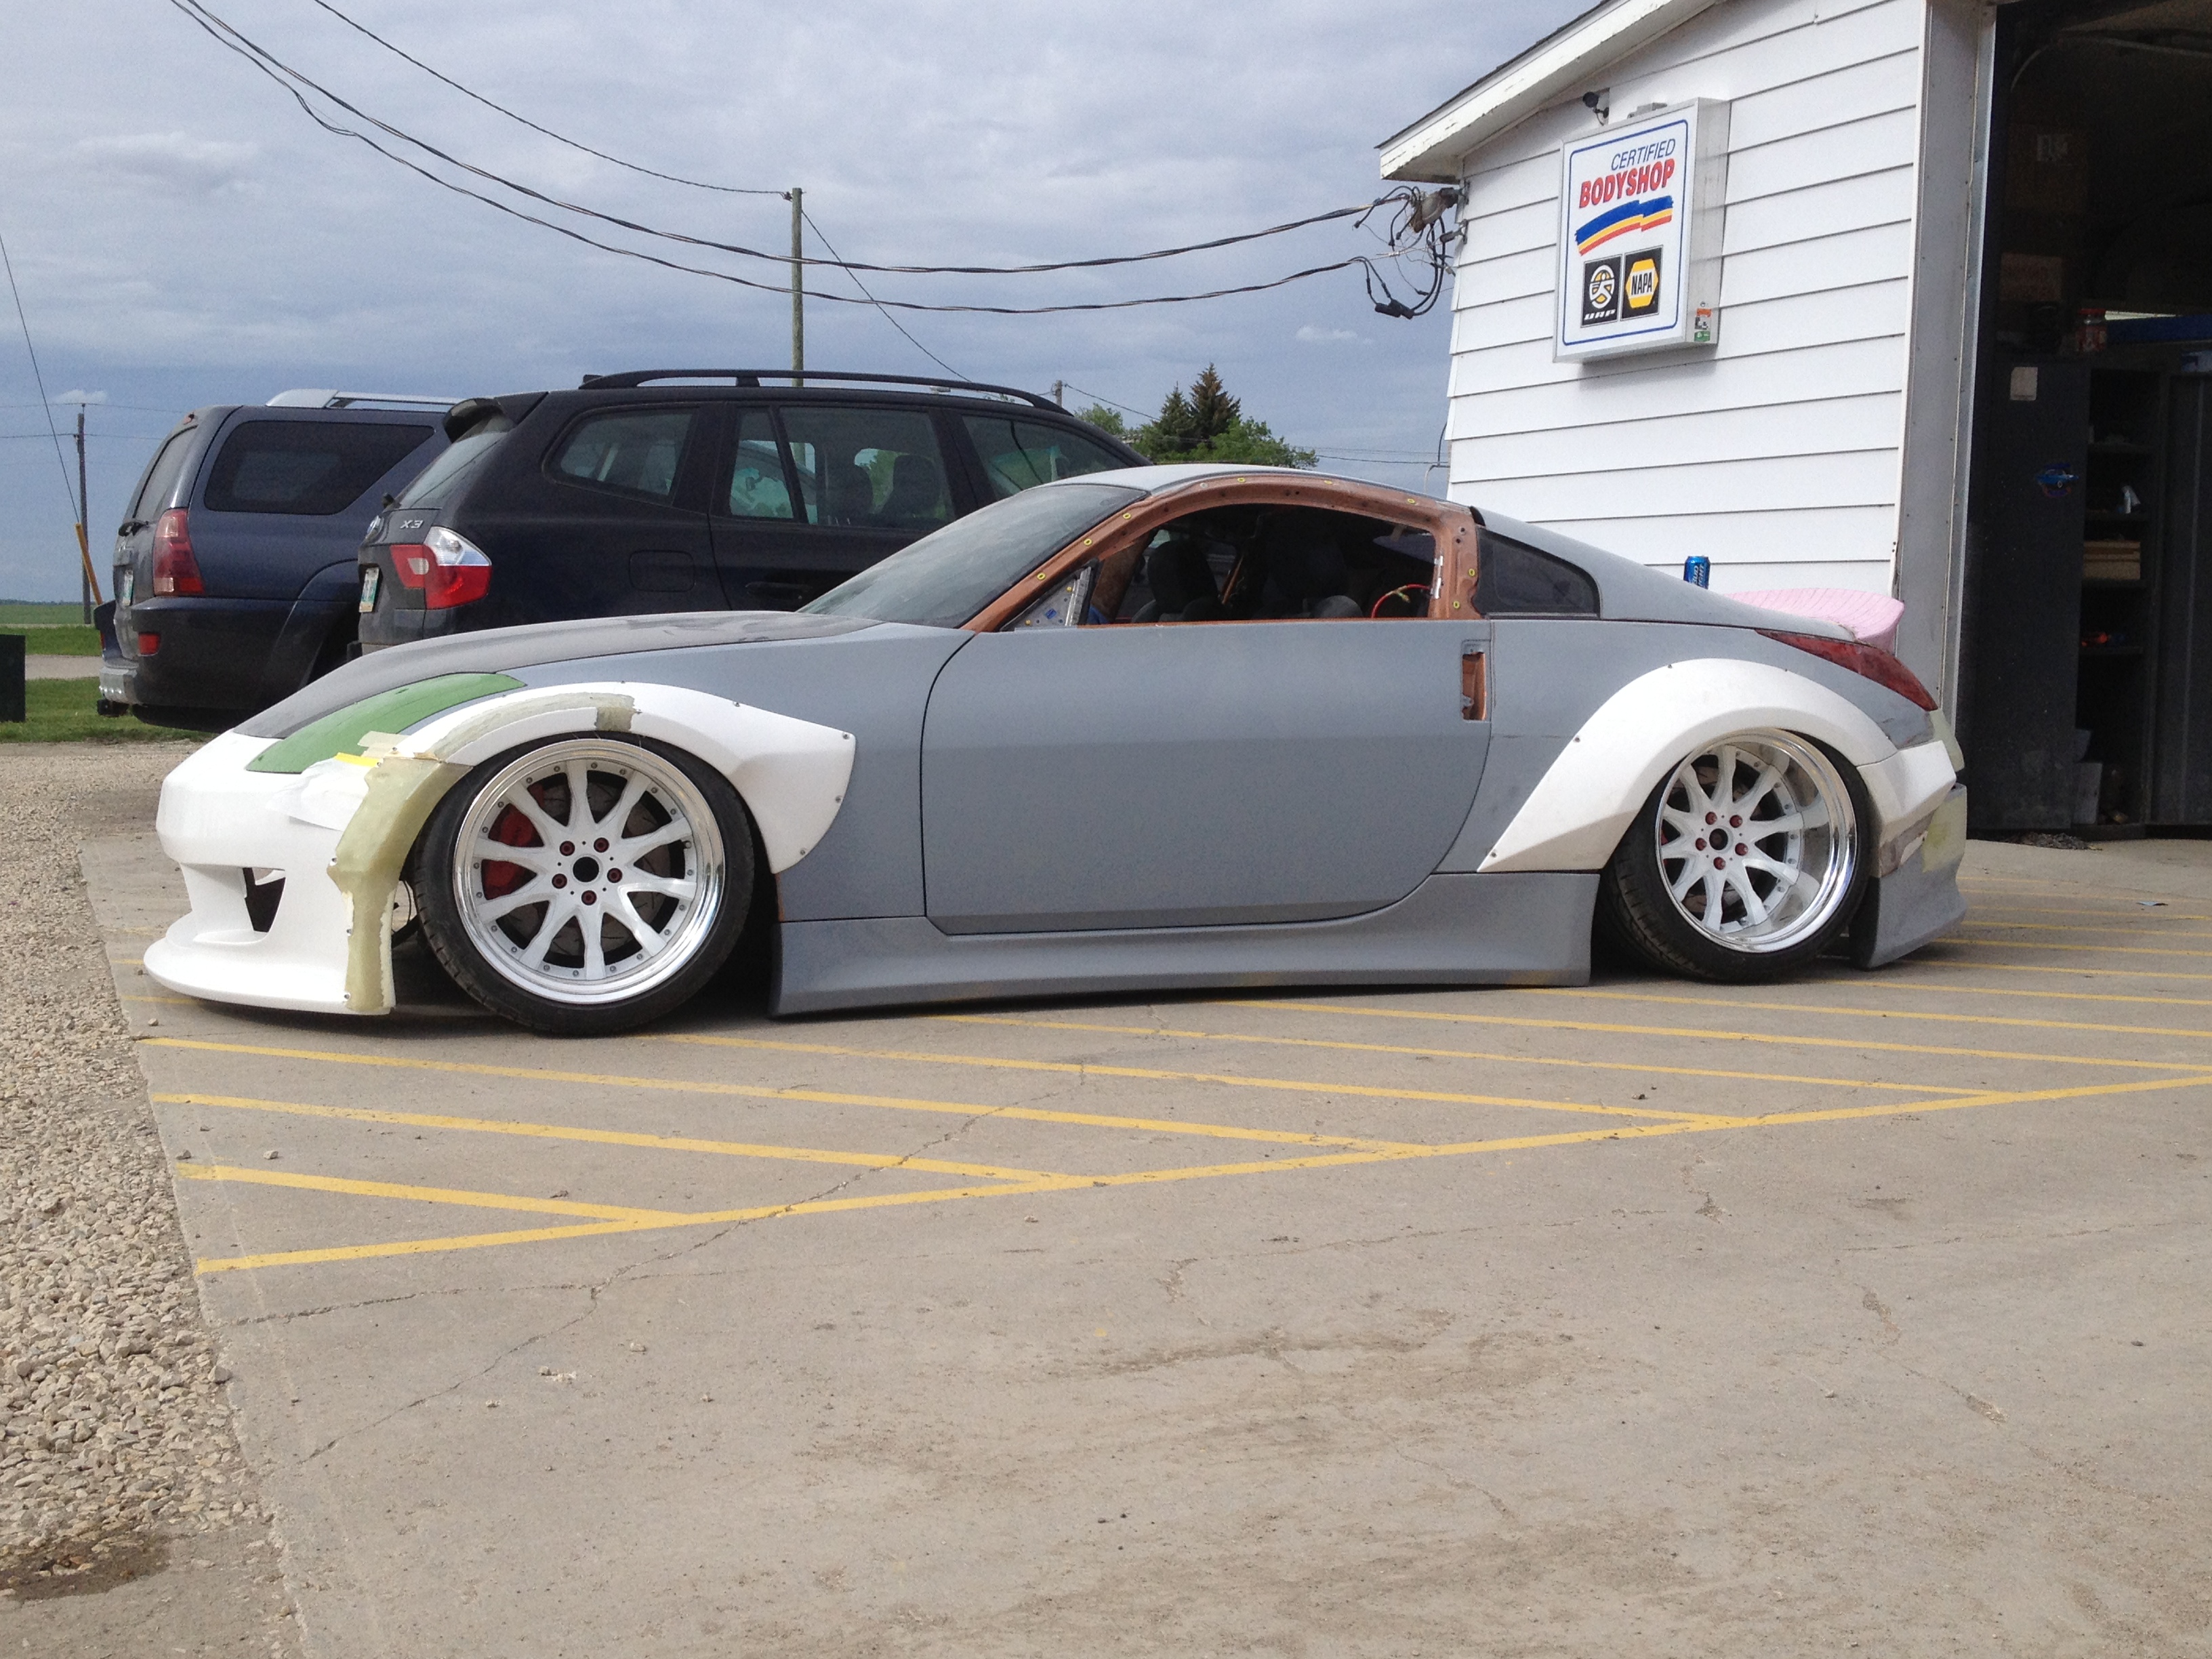
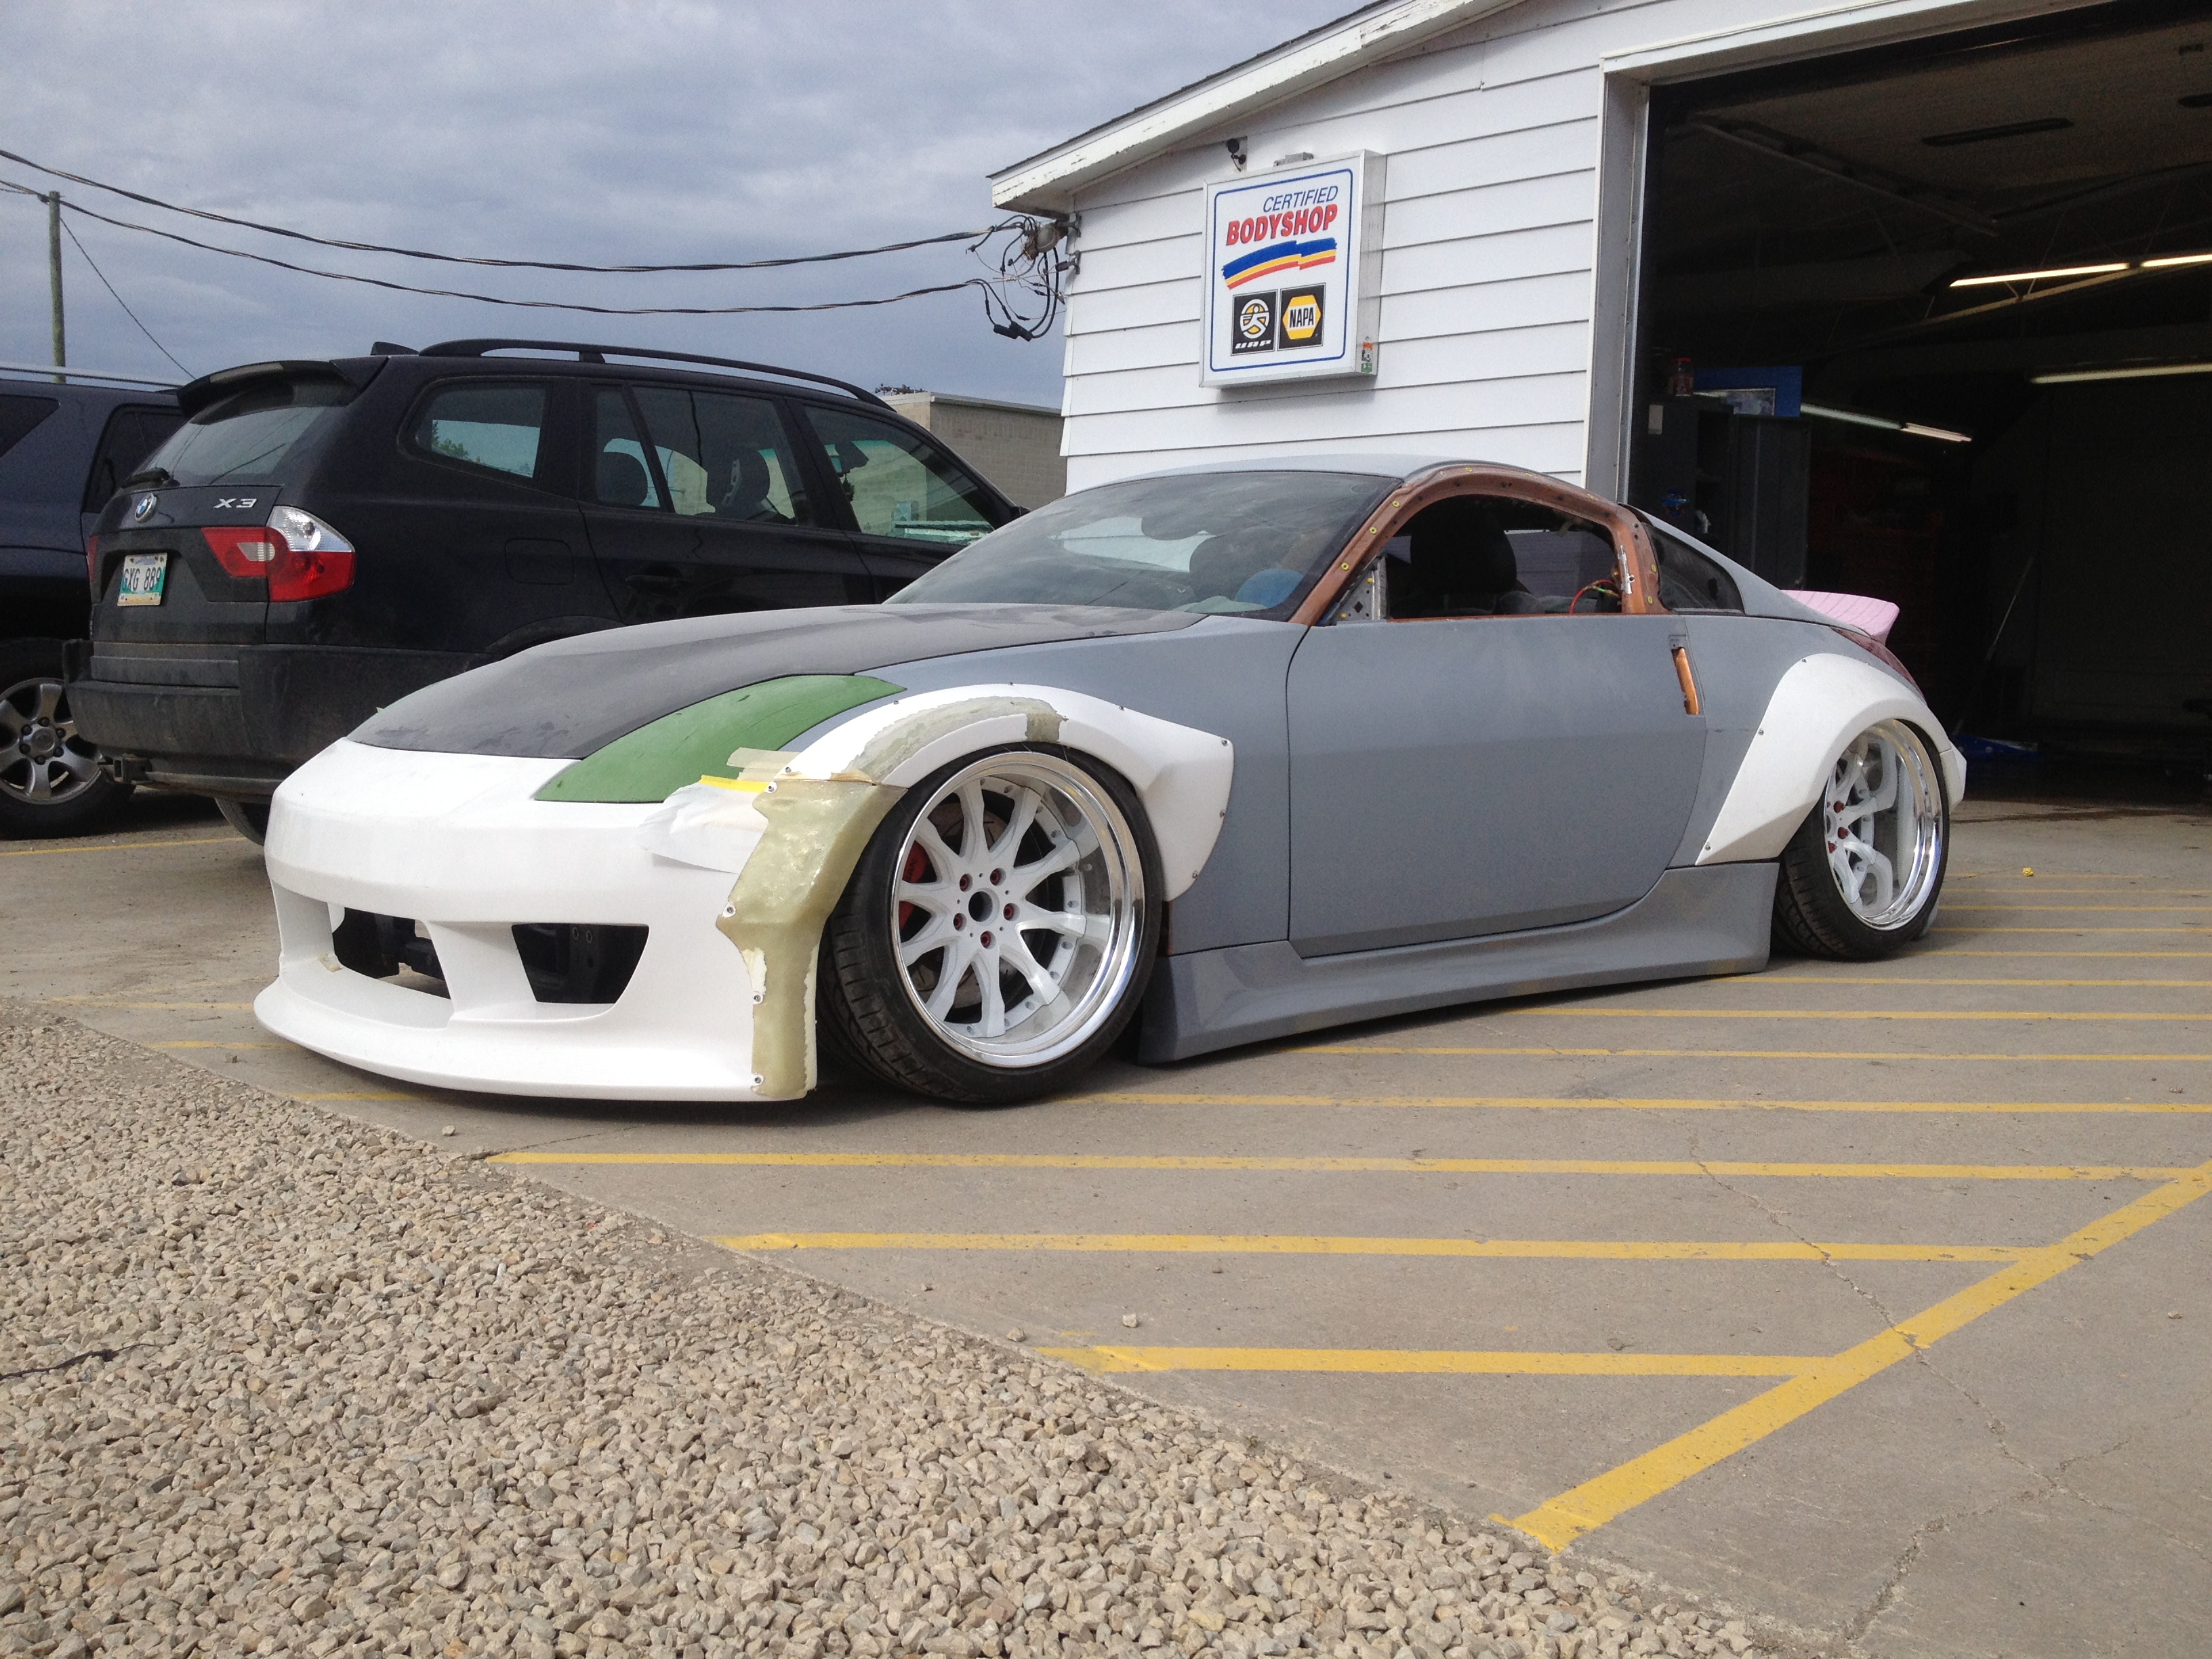
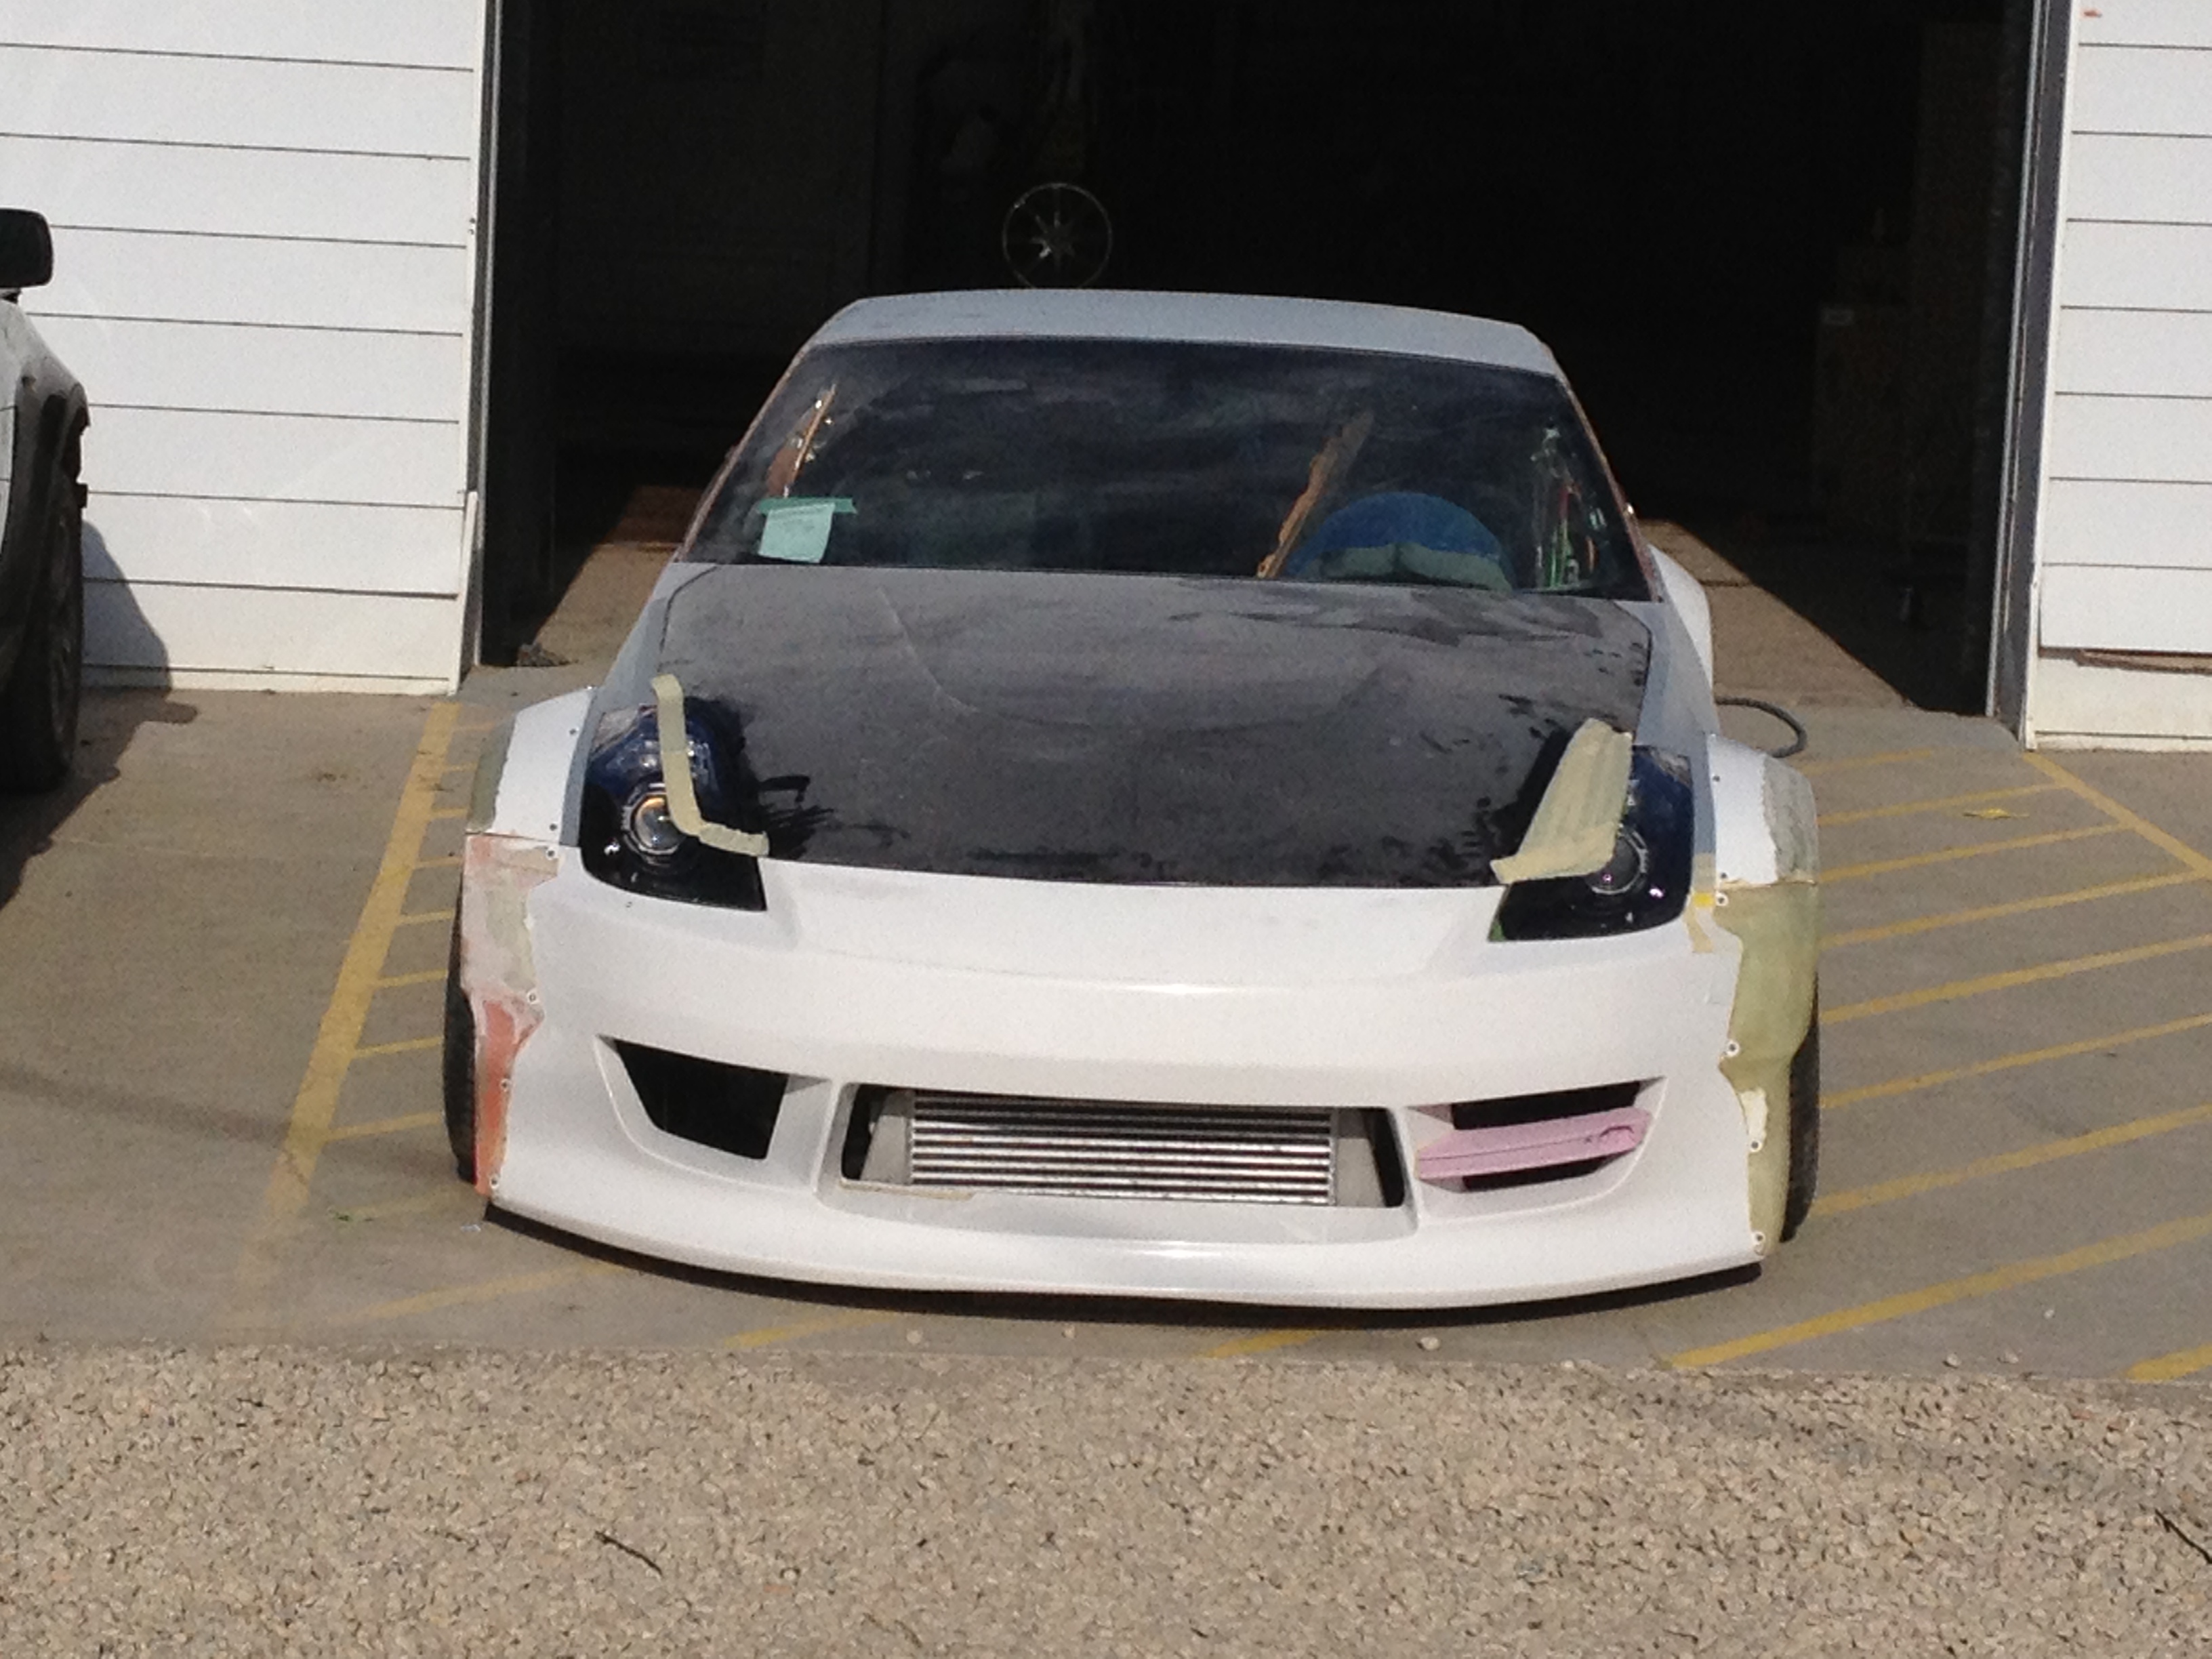
The shop was fairly small with the car being in about a 12'x20' bay so you couldn't really see the car from more than a few feet away. I decided to throw the wheels on the car and roll the car outside.
We rolled the car outside around 6pm and the feeling was unreal. That was the first time we had seen the car together and we knew we were on the right track. We literally brought chairs outside and sat and stared at the car for an hour and a half in the 30 degree sun. There were high fives going around, beers being opened. It was a good feeling for sure.
Even though the time crunch was on, I kept bring up more and more ideas to add to the car. At that point we started discussing eye-lids for the headlights. Again using good ol' masking tape we started mocking up various shapes and sizes to see how it looked.
Tire track in the dust the car left as we were rolling it out of it's bay outside:
Originally I had purchased a Vertex wing for the car. I wanted something subtle with clean smooth lines. I'm not a fan at all of giant wings or 'scaffs' and the like unless the car is going around a track.
It's a nice wing, but it just didn't suit the car in my opinion. It's now for sale if anybody is interested.
Next wing I got in a trade for some other parts. I wasn't sure I'd like it but I figured I'd try it out and if I didn't I sell it. Needless to say, again I wasn't a big fan so it is also for sale. It's a Lester Italy spoiler. Fairly rare piece.
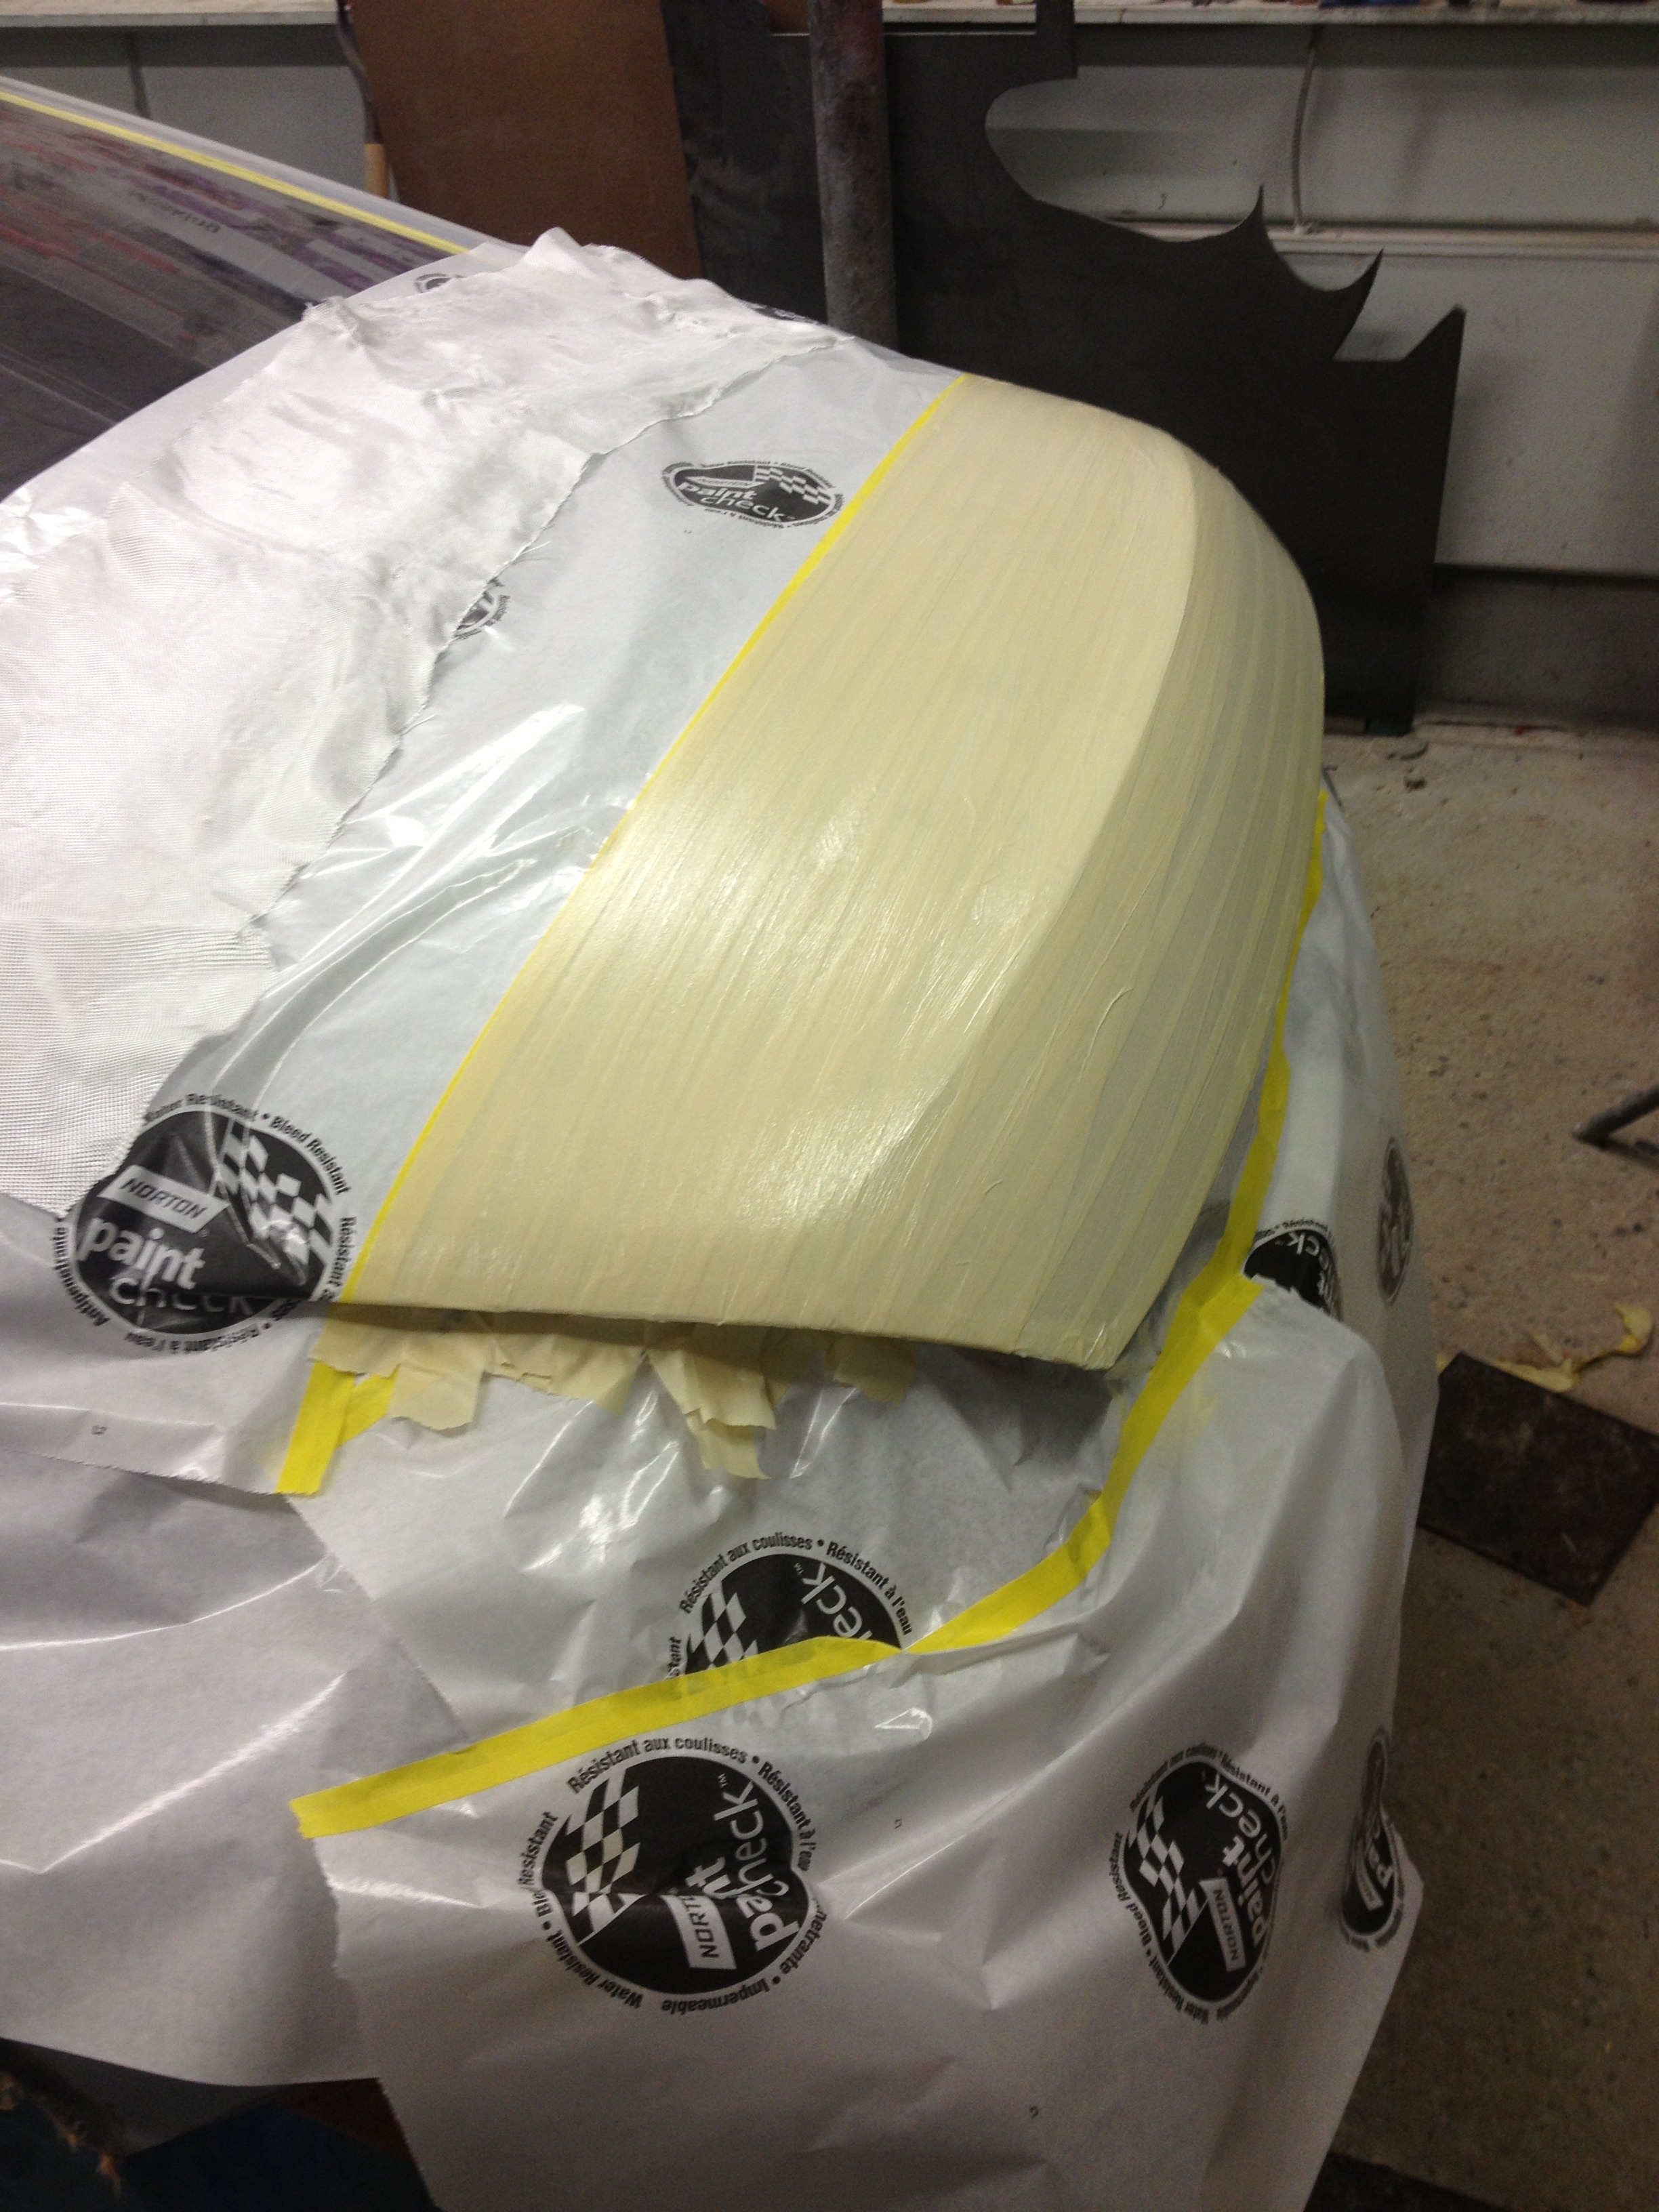
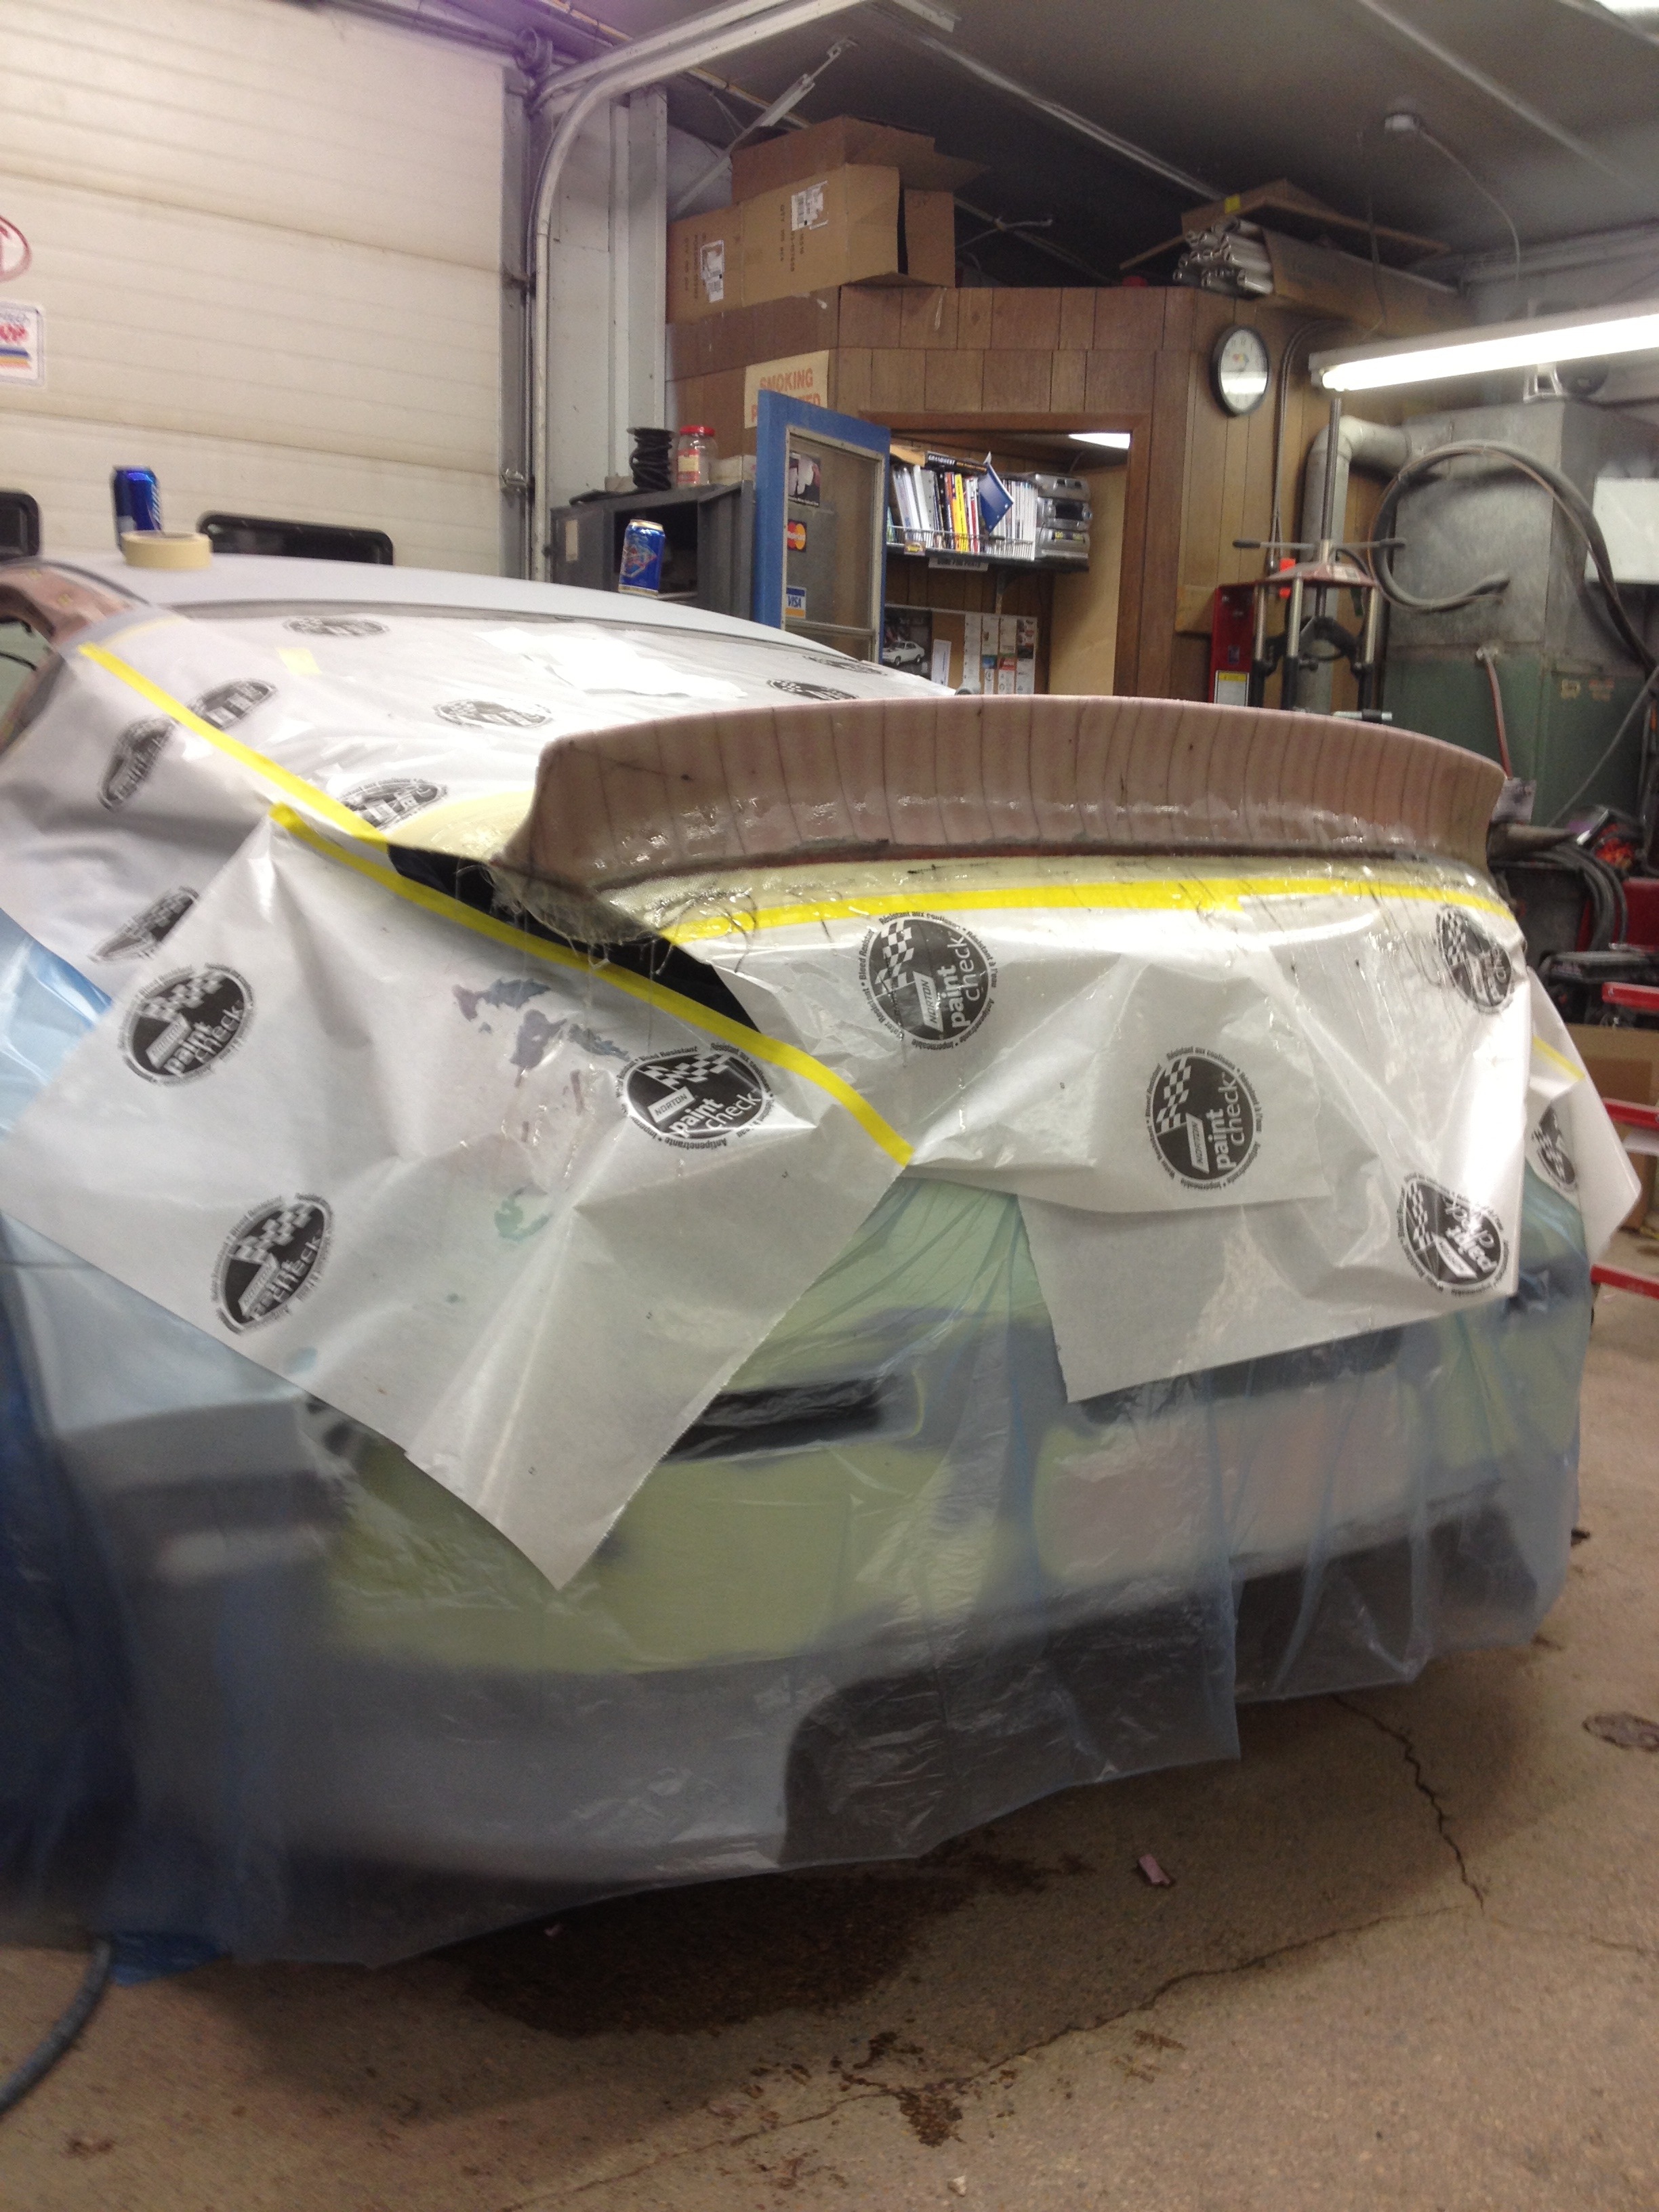
After hours of research for wings, and unsatisfied with what I found on the market I said screw it and decided to make my own wing 100% from scratch.
Made a base for the wing off of the trunk lid:
Dried and rough trimmed:
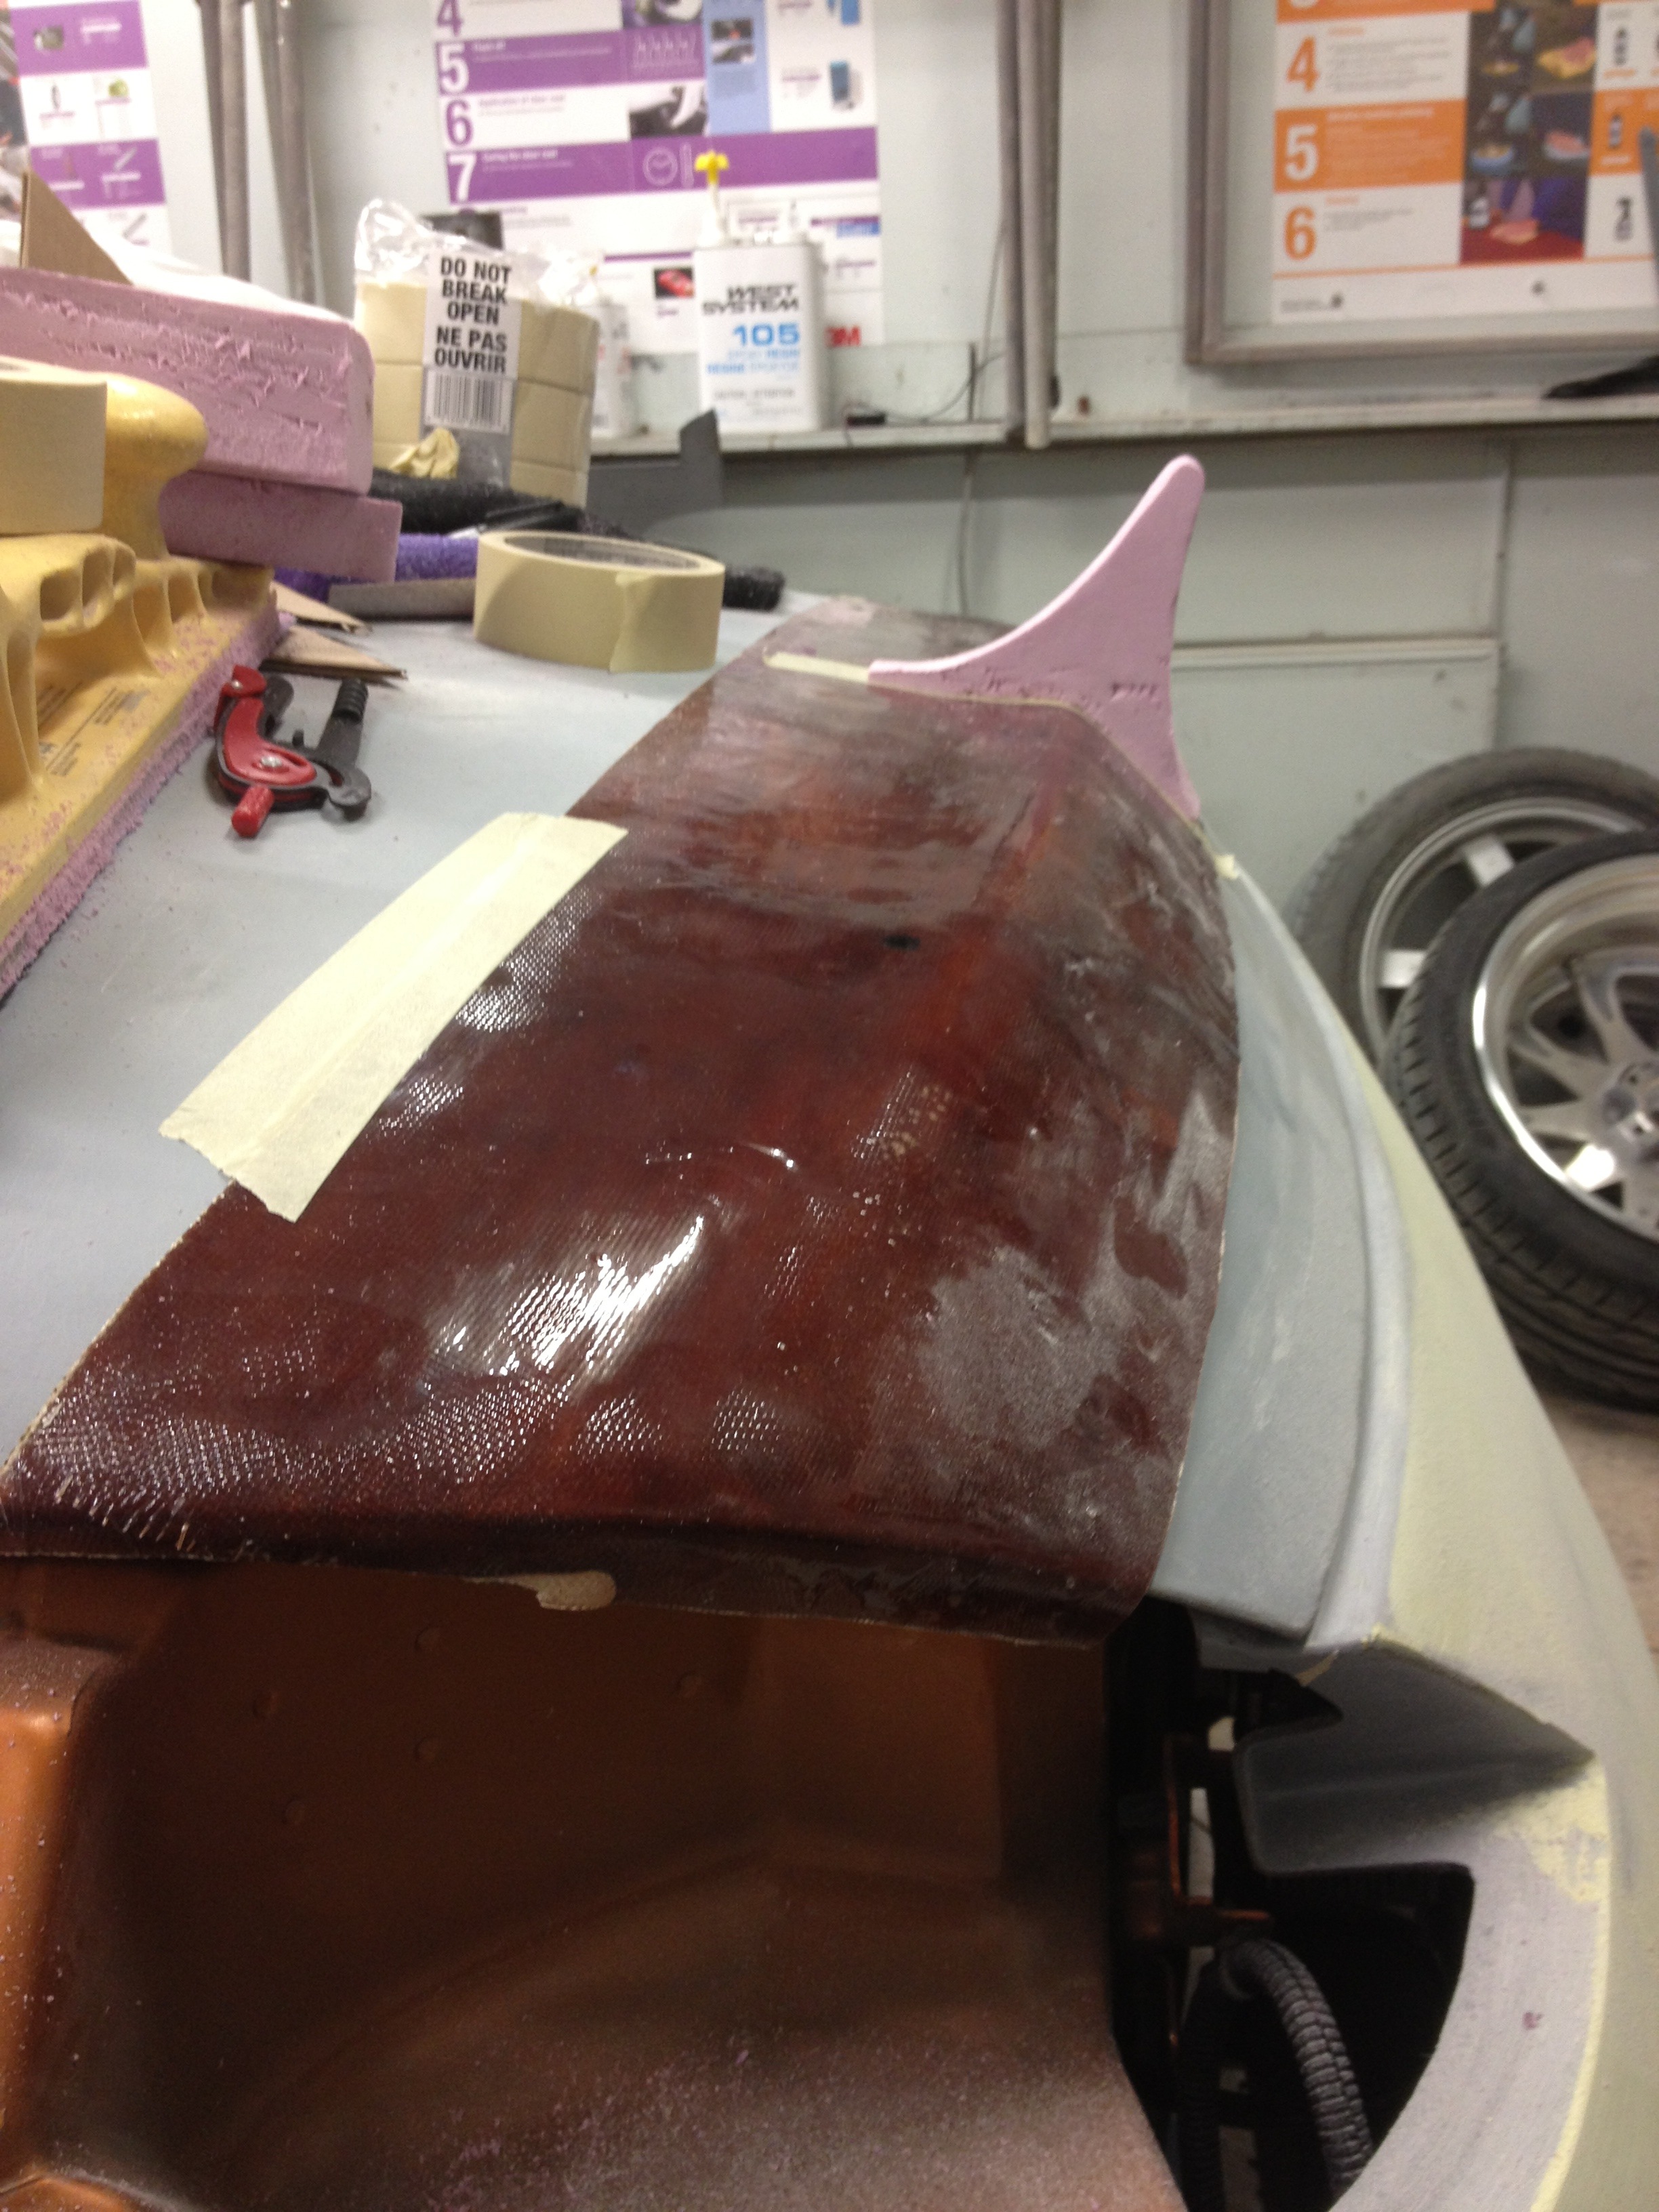
Started to make the profile of the wing. This actually took some time to do to get the main angle of the wing right and the curves to look good. I matched the angle to the angle of the Stardast rear bumper pieces. Not sure how close it ended up after all the shaping and finishing, but there was some inspiration there from the Stardast lines for sure.
Then we played fill in the gaps:
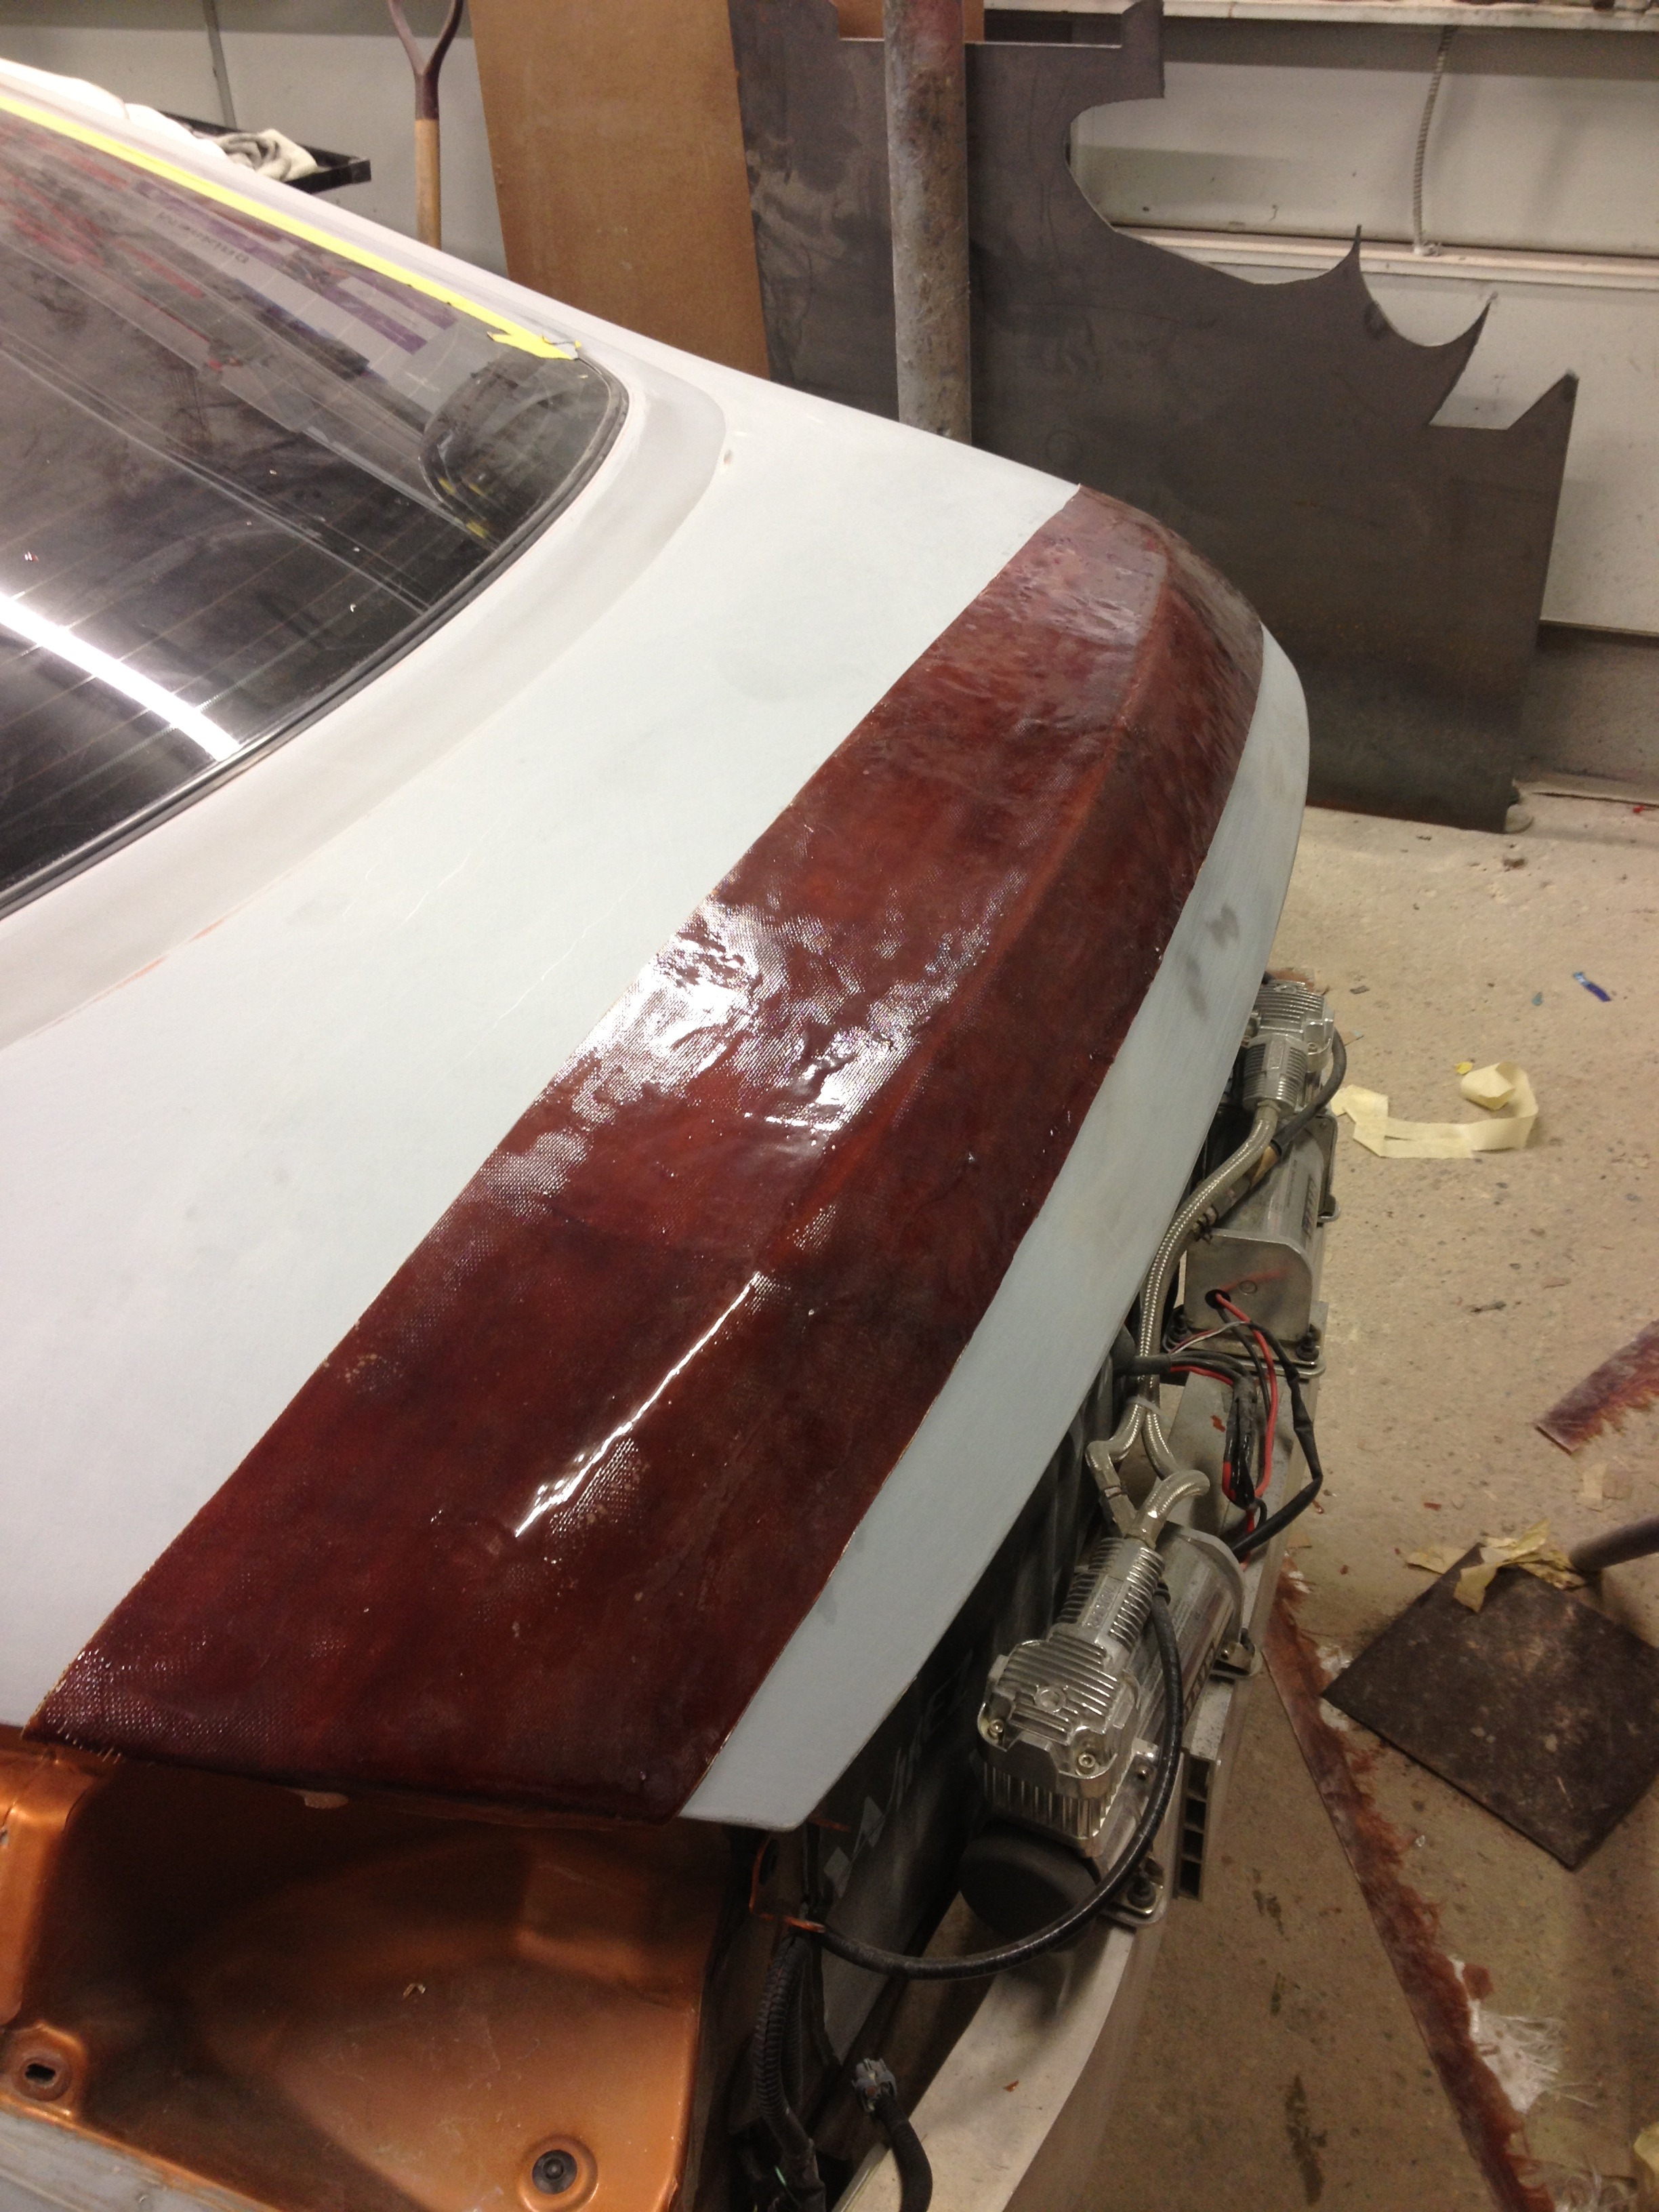
After 11 hours of sanding and shaping we were pretty close:
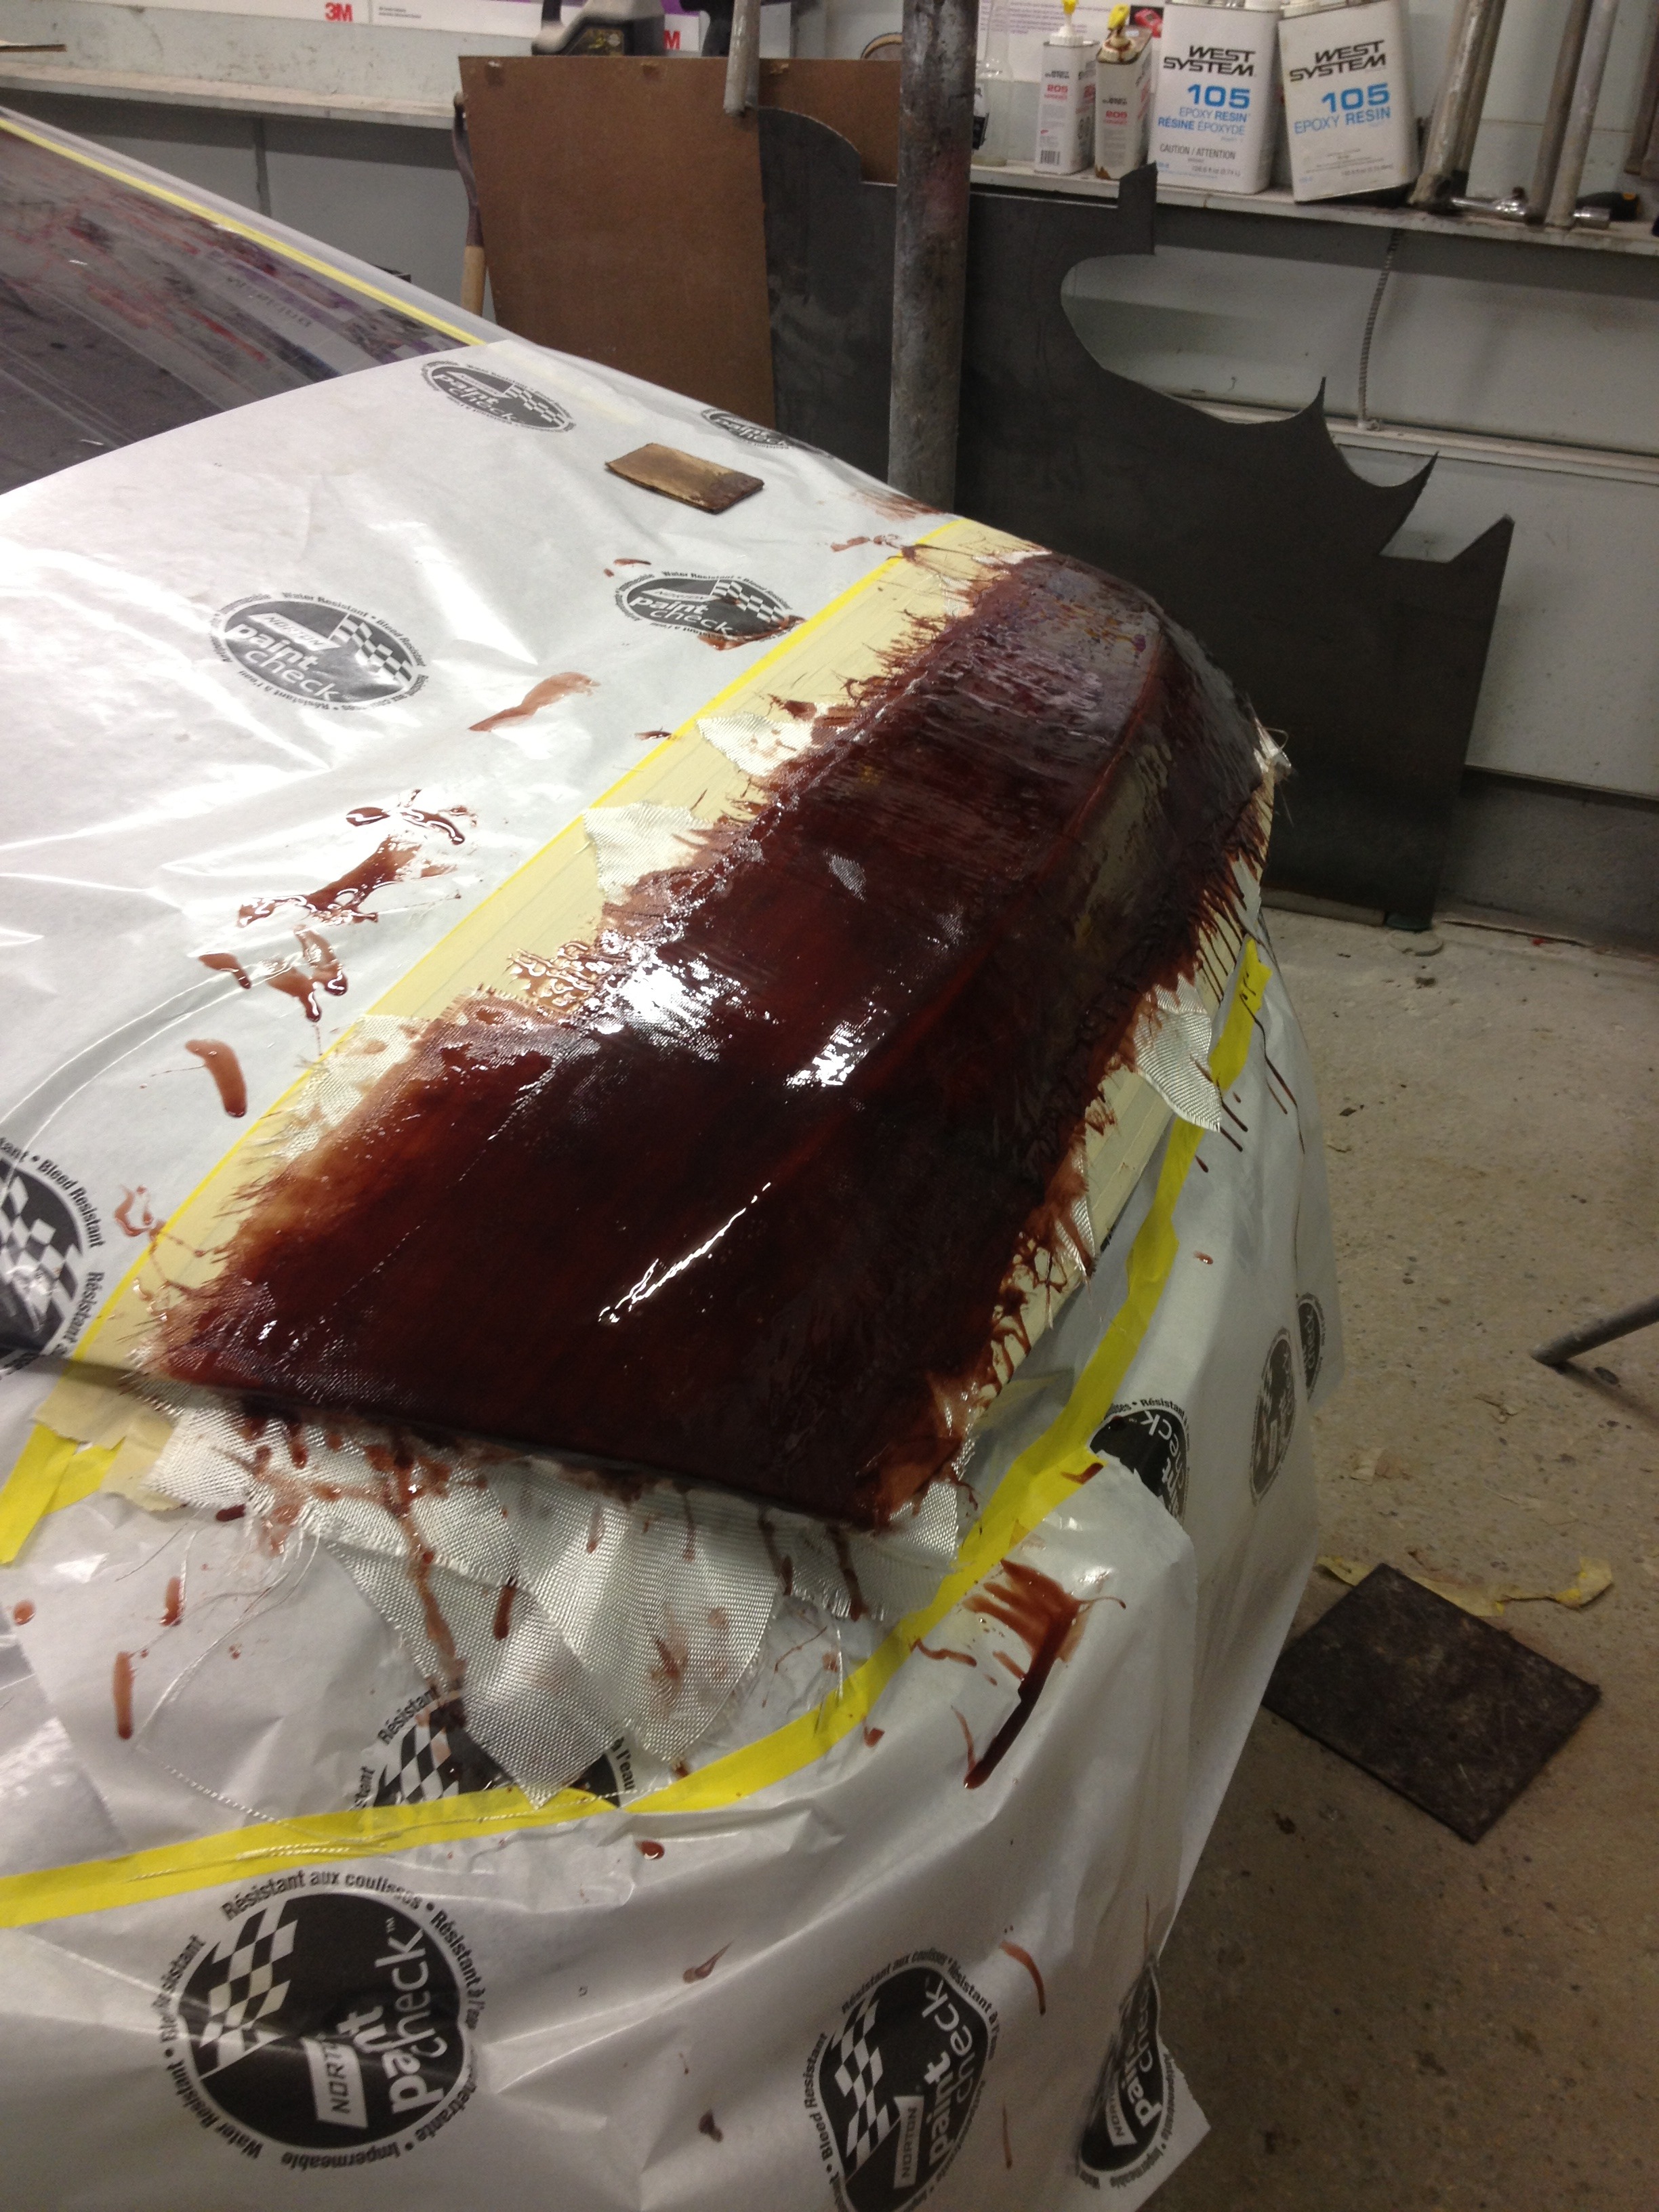
Then it was time to prep the base and fiberglass:
As you can see, we crushed a few Bud Lights during that time:
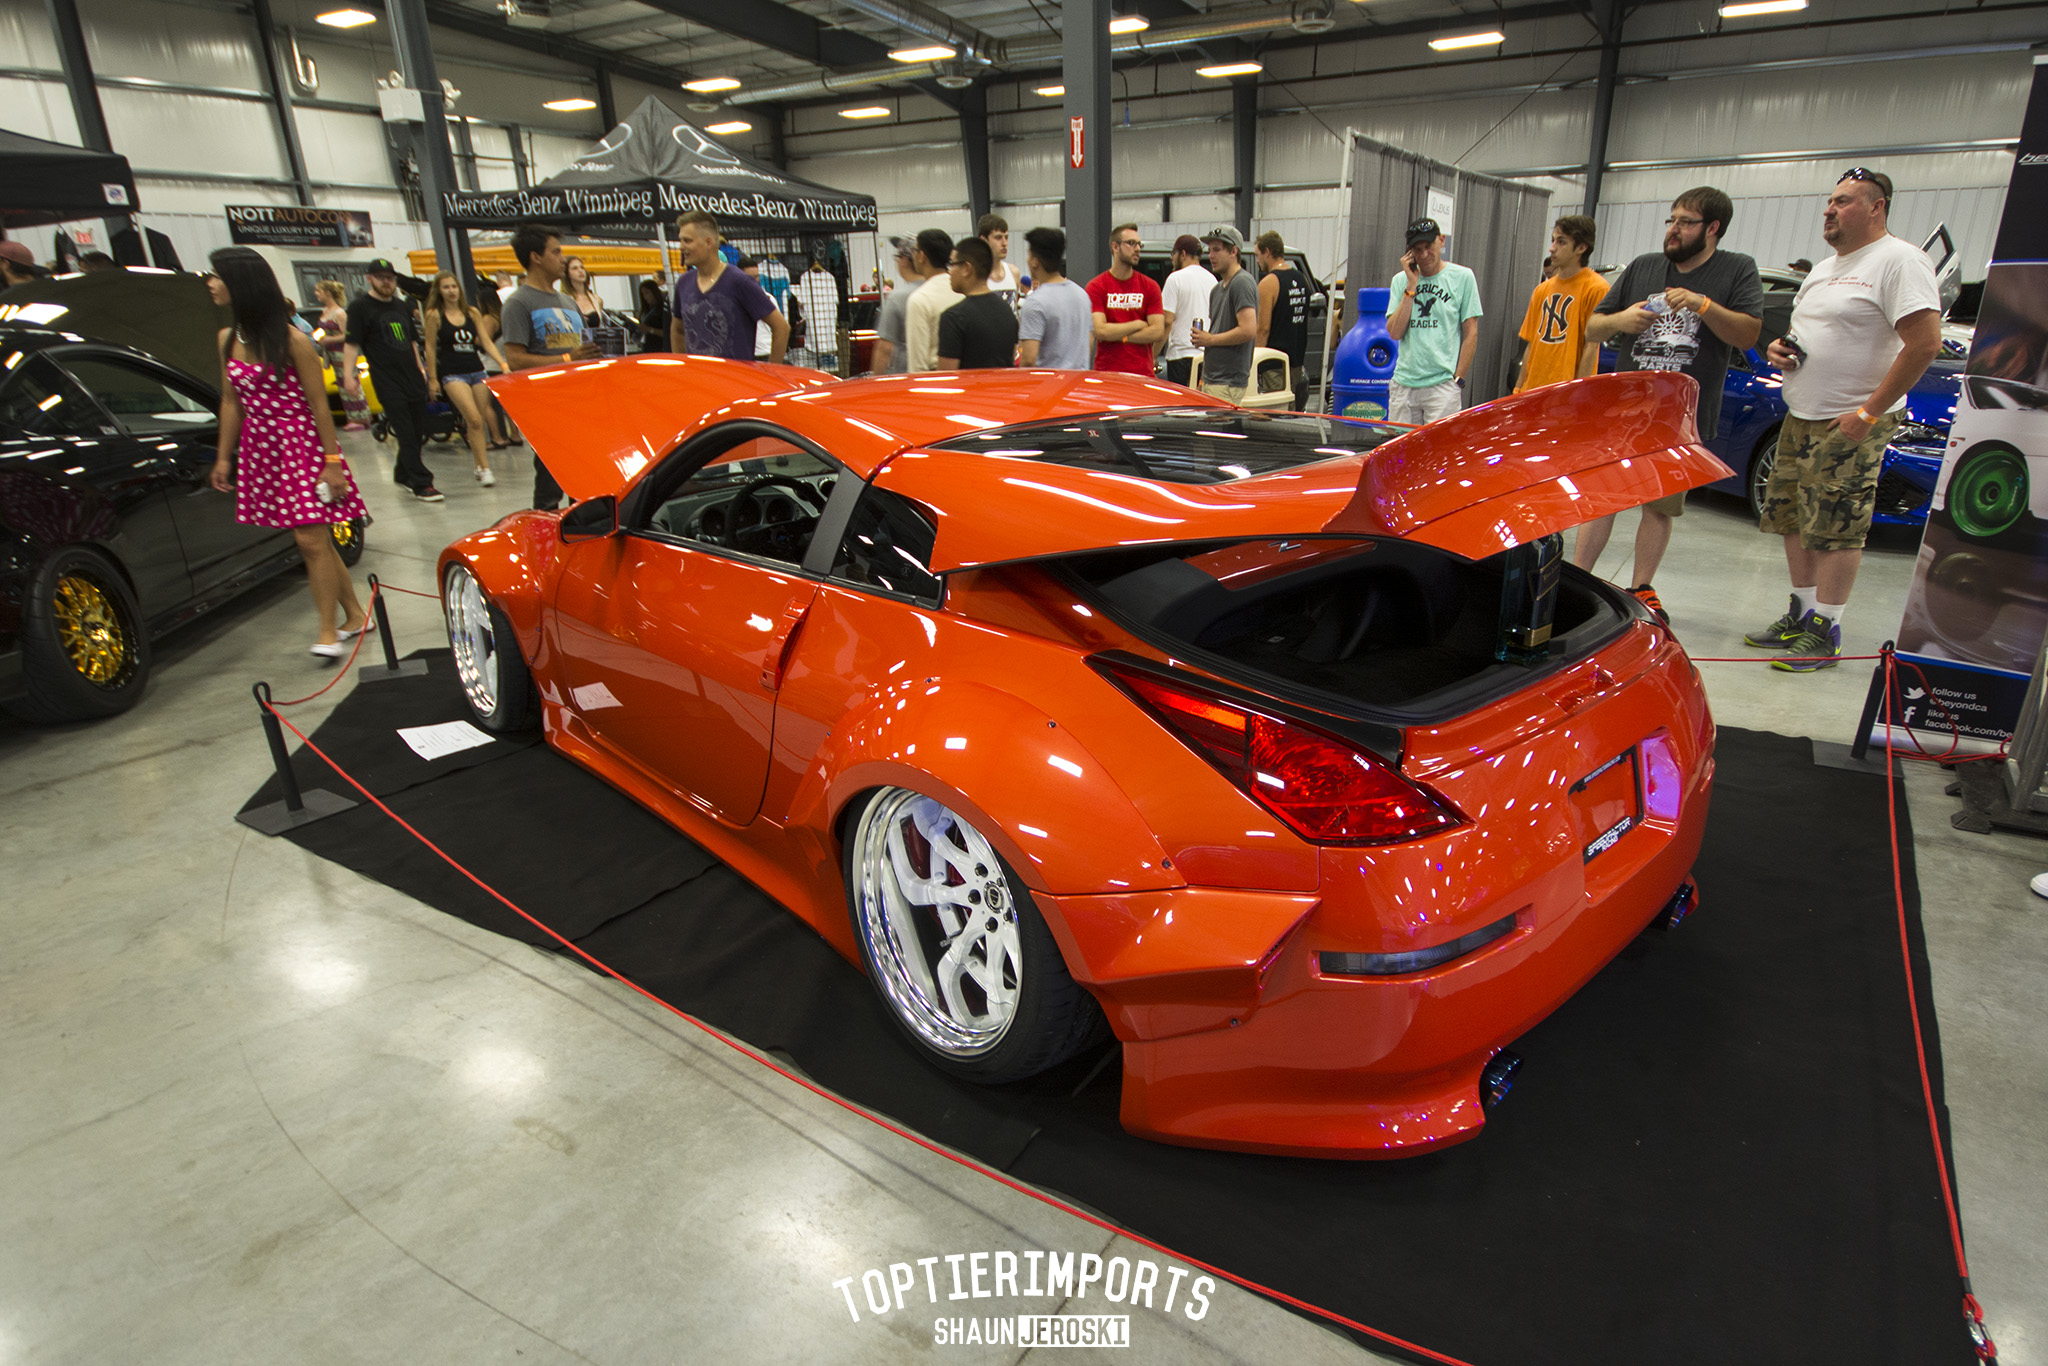
We ended up using the factory bolt holes in the hatch to bolt the wing in like stock. No pics of that unfortunately.
Total time in the wing from beginning through paint I would estimate around 30-40 hours.
I'll continue with a few pics this morning... Contrary to what you may think, Driven 2015 actually wasn't the first show with the cars new look. We trailered the car one Wednesday night to a local car meet at a gas station in Pilot Mound.
Yes, it's actually a hair wider than the trailer...


 ), there is the understanding that this exhaust may go into full production and may end up being a ton less rare. Either way, I'm ecstatic to have a one of one exhaust for now, and still have the first prototype of that exhaust if it does in fact make it to production and retail.

