
Al's 400rwhp, Stardast Flared, Shaved Bay, Bagged Z Build Thread


Thread Starter
Registered User
Joined: Sep 2008
Posts: 908
Likes: 28
From: Winnipeg, MB
Option two
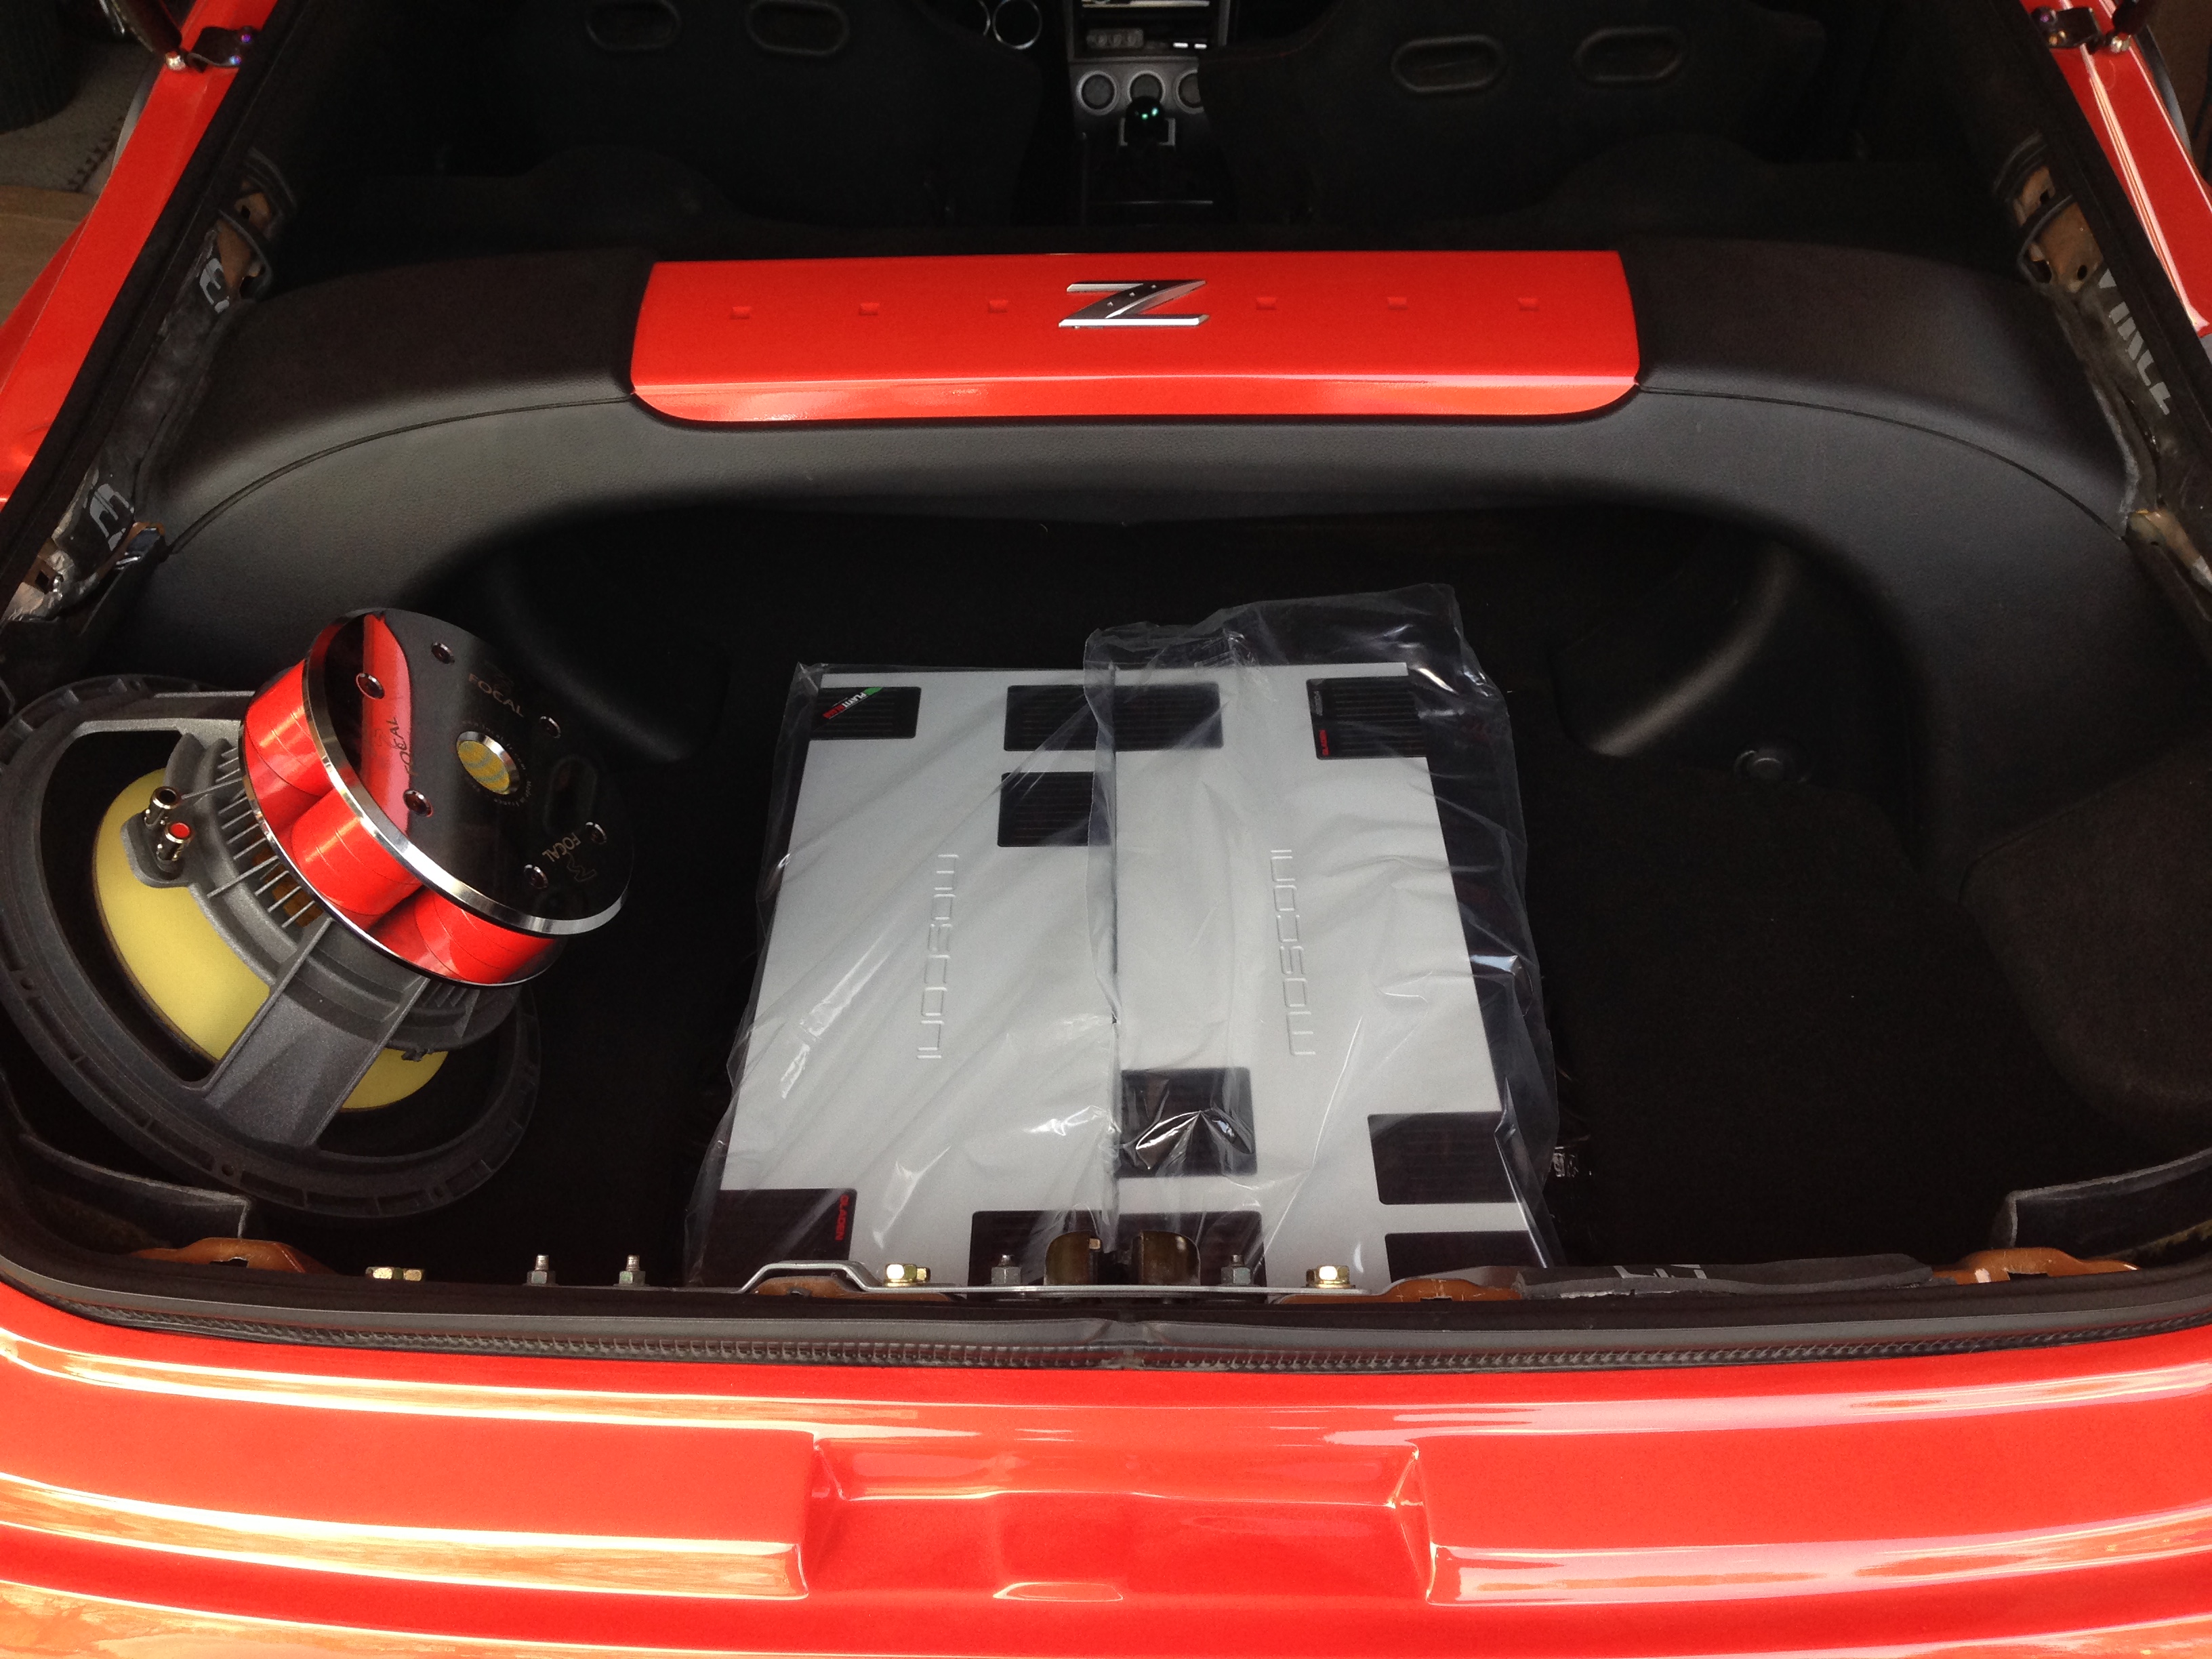
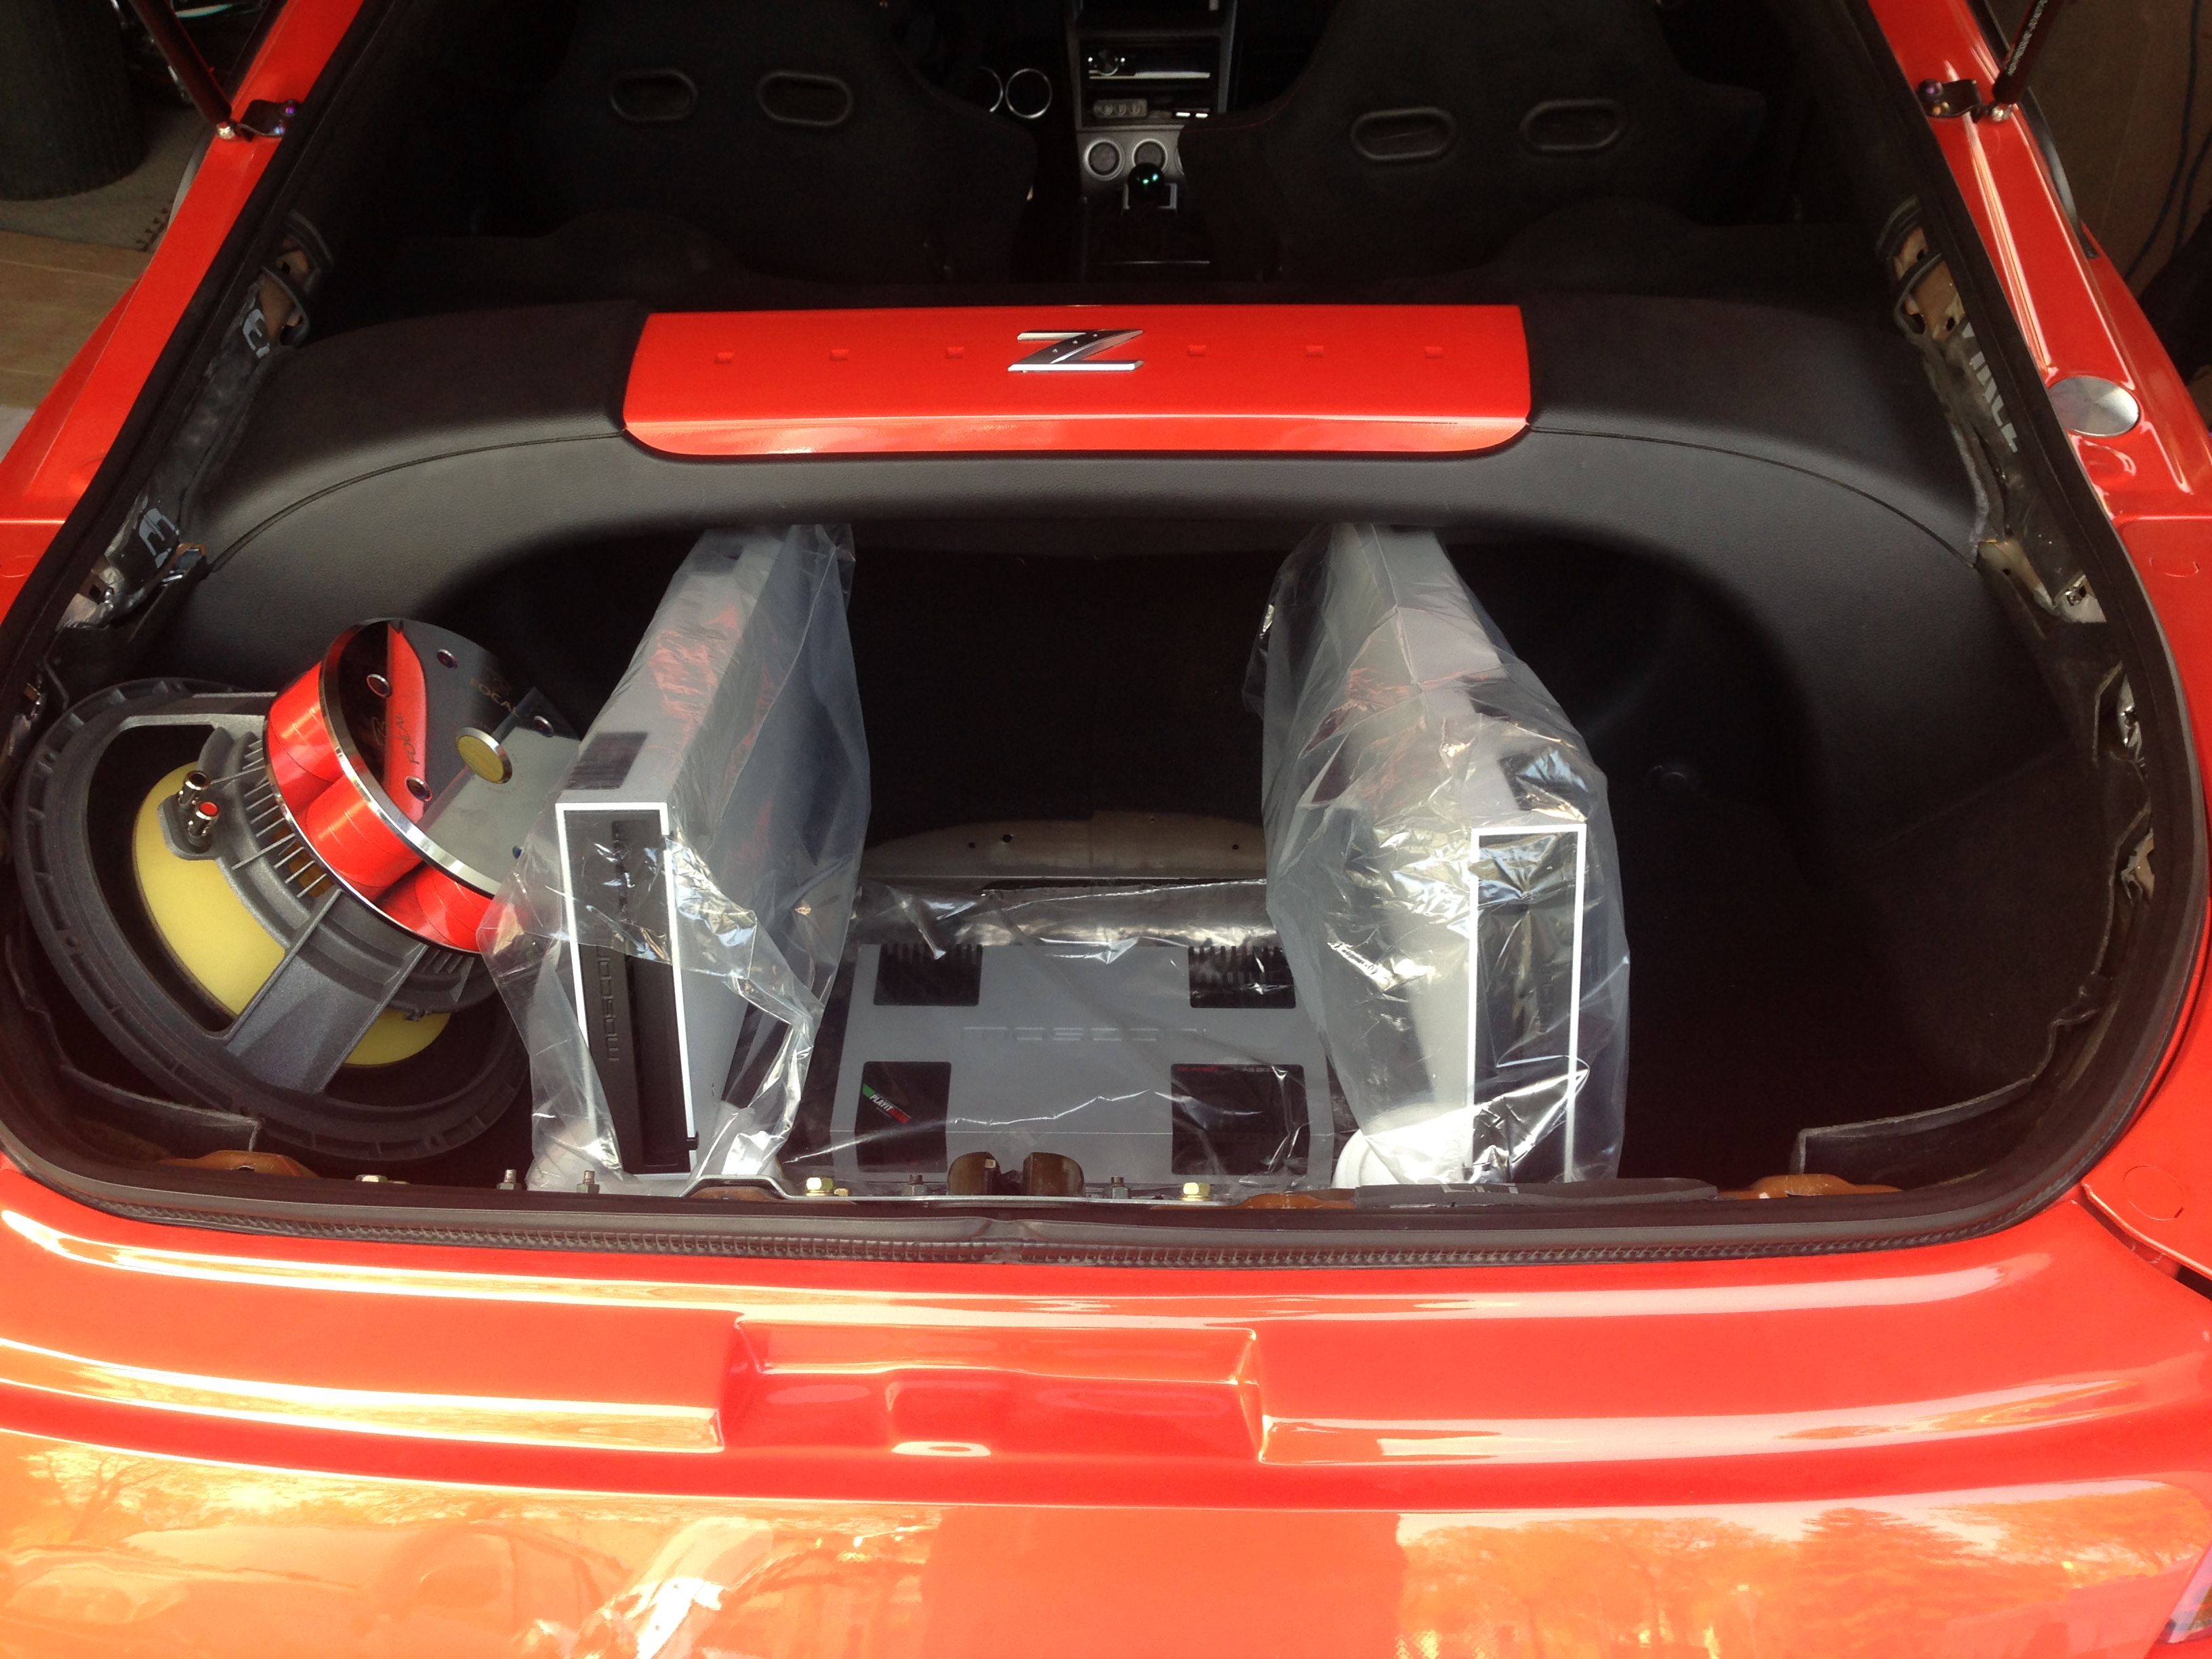
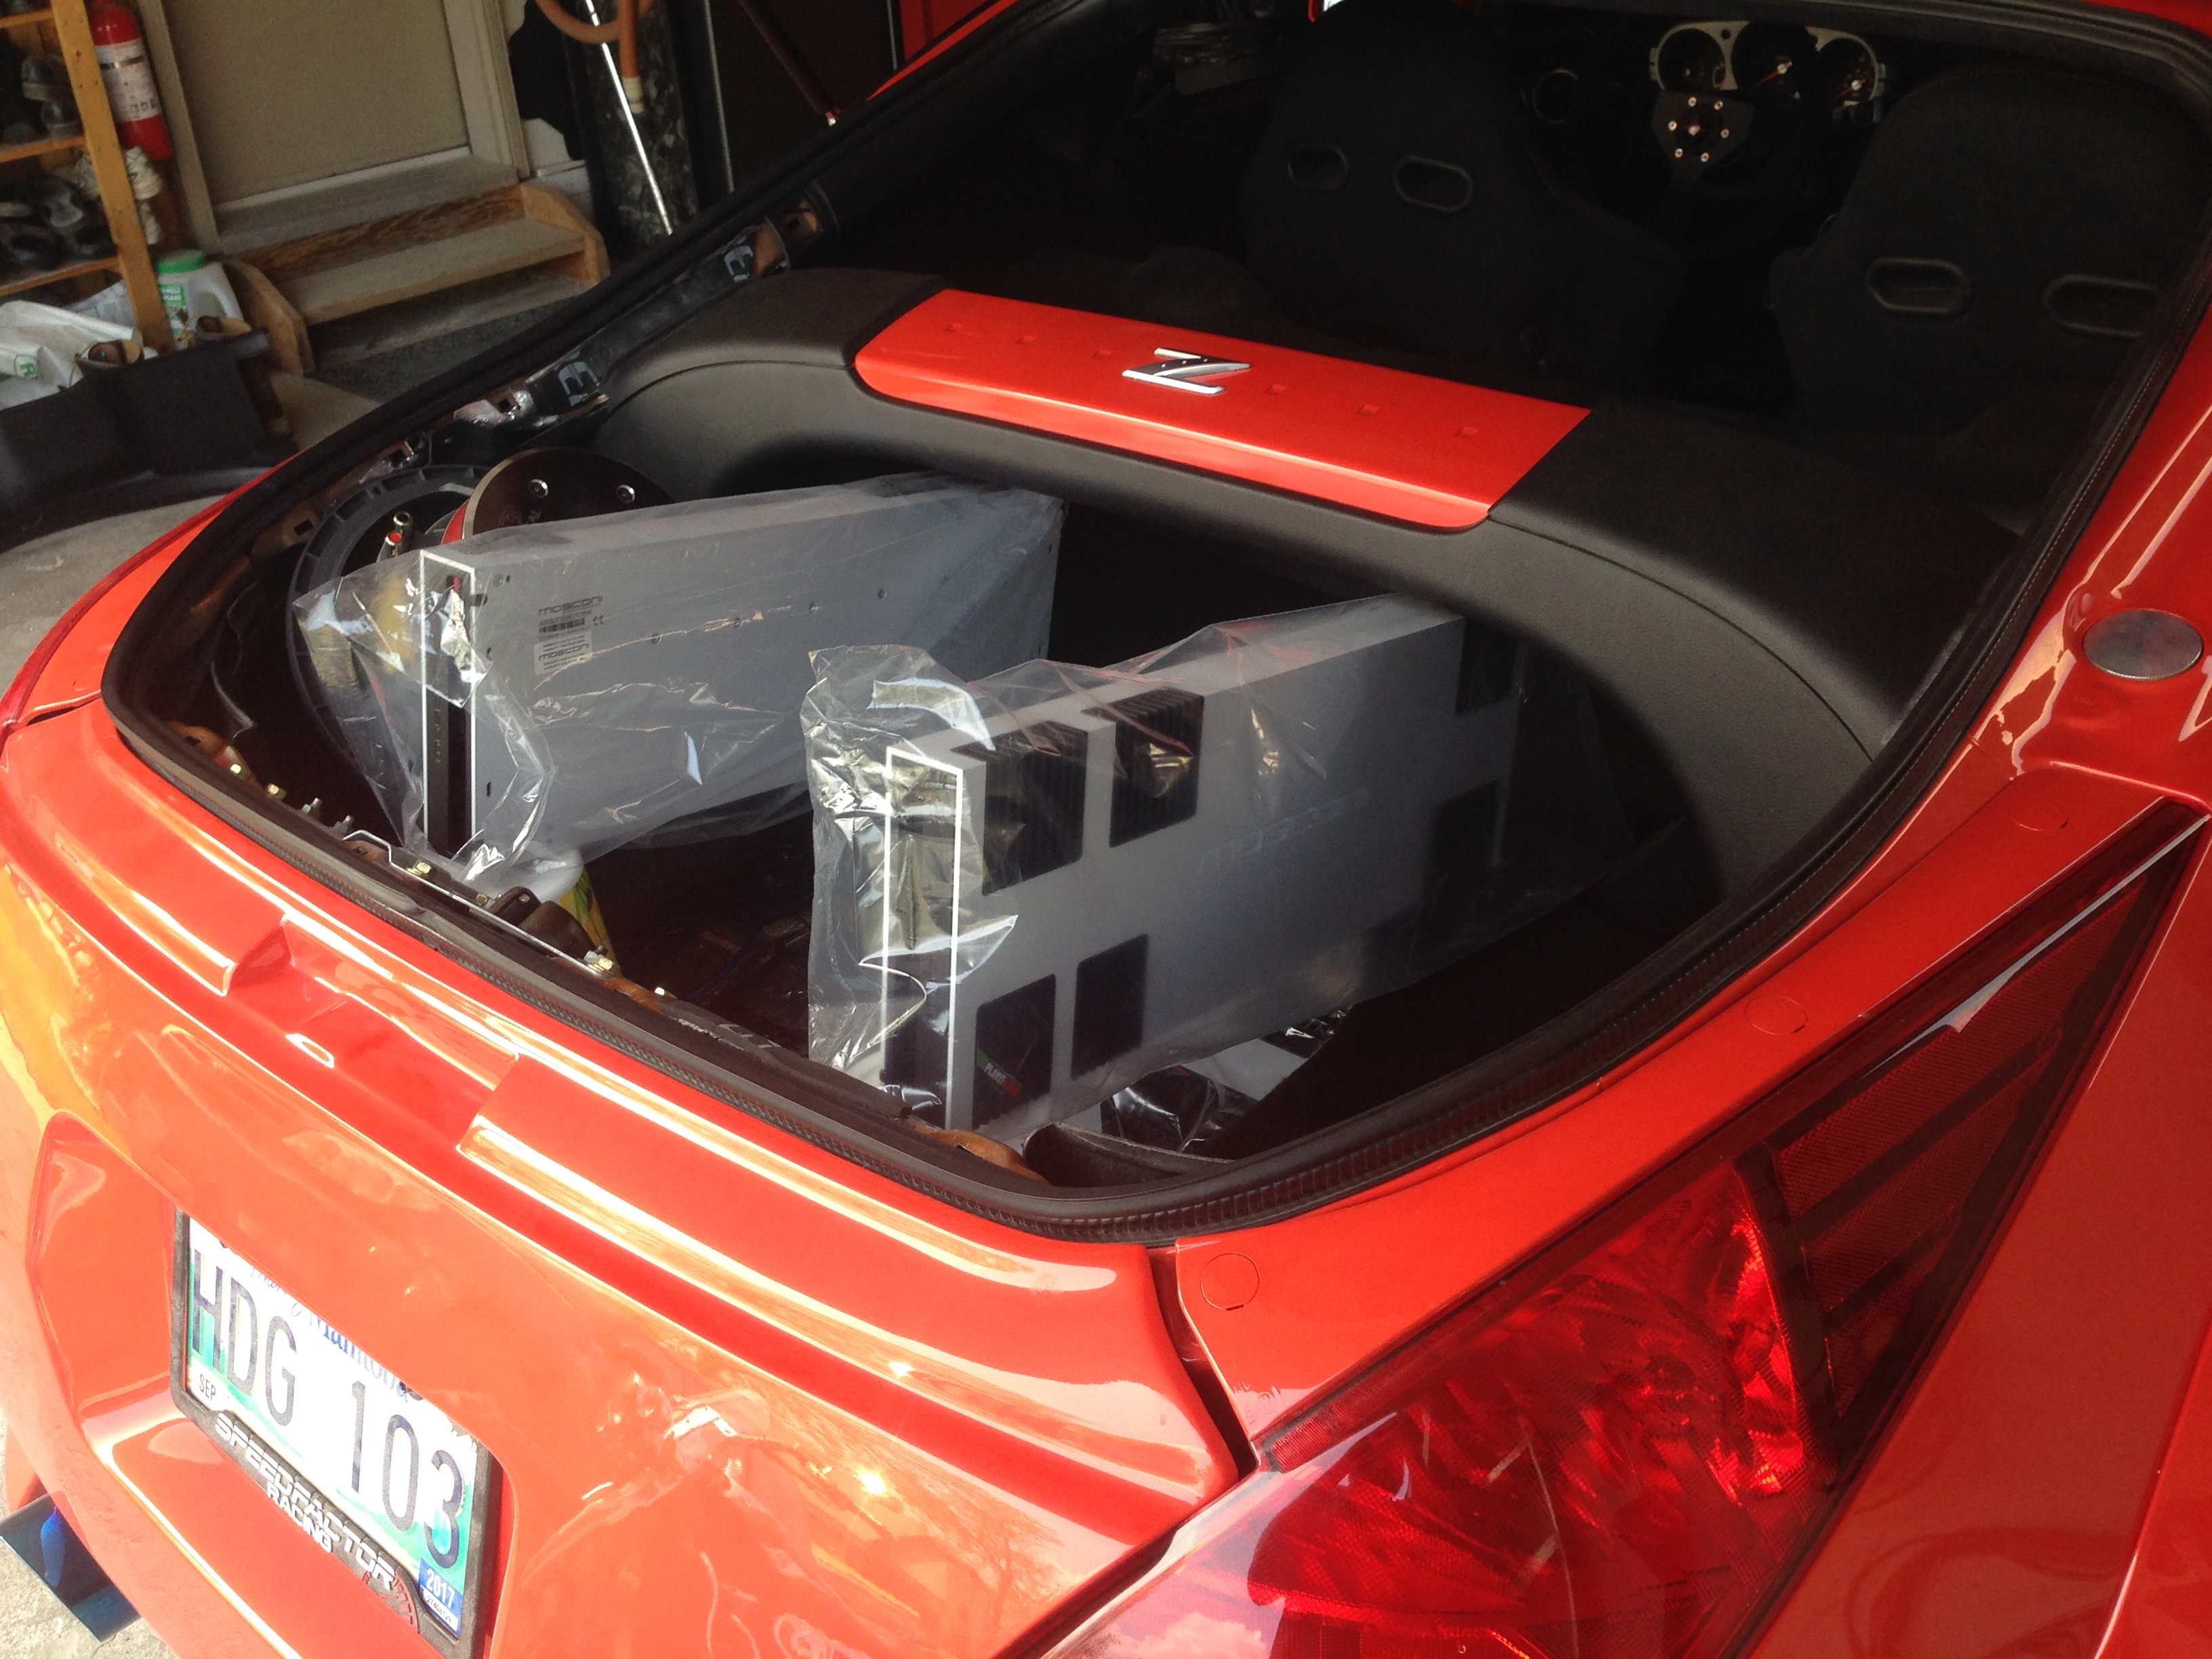
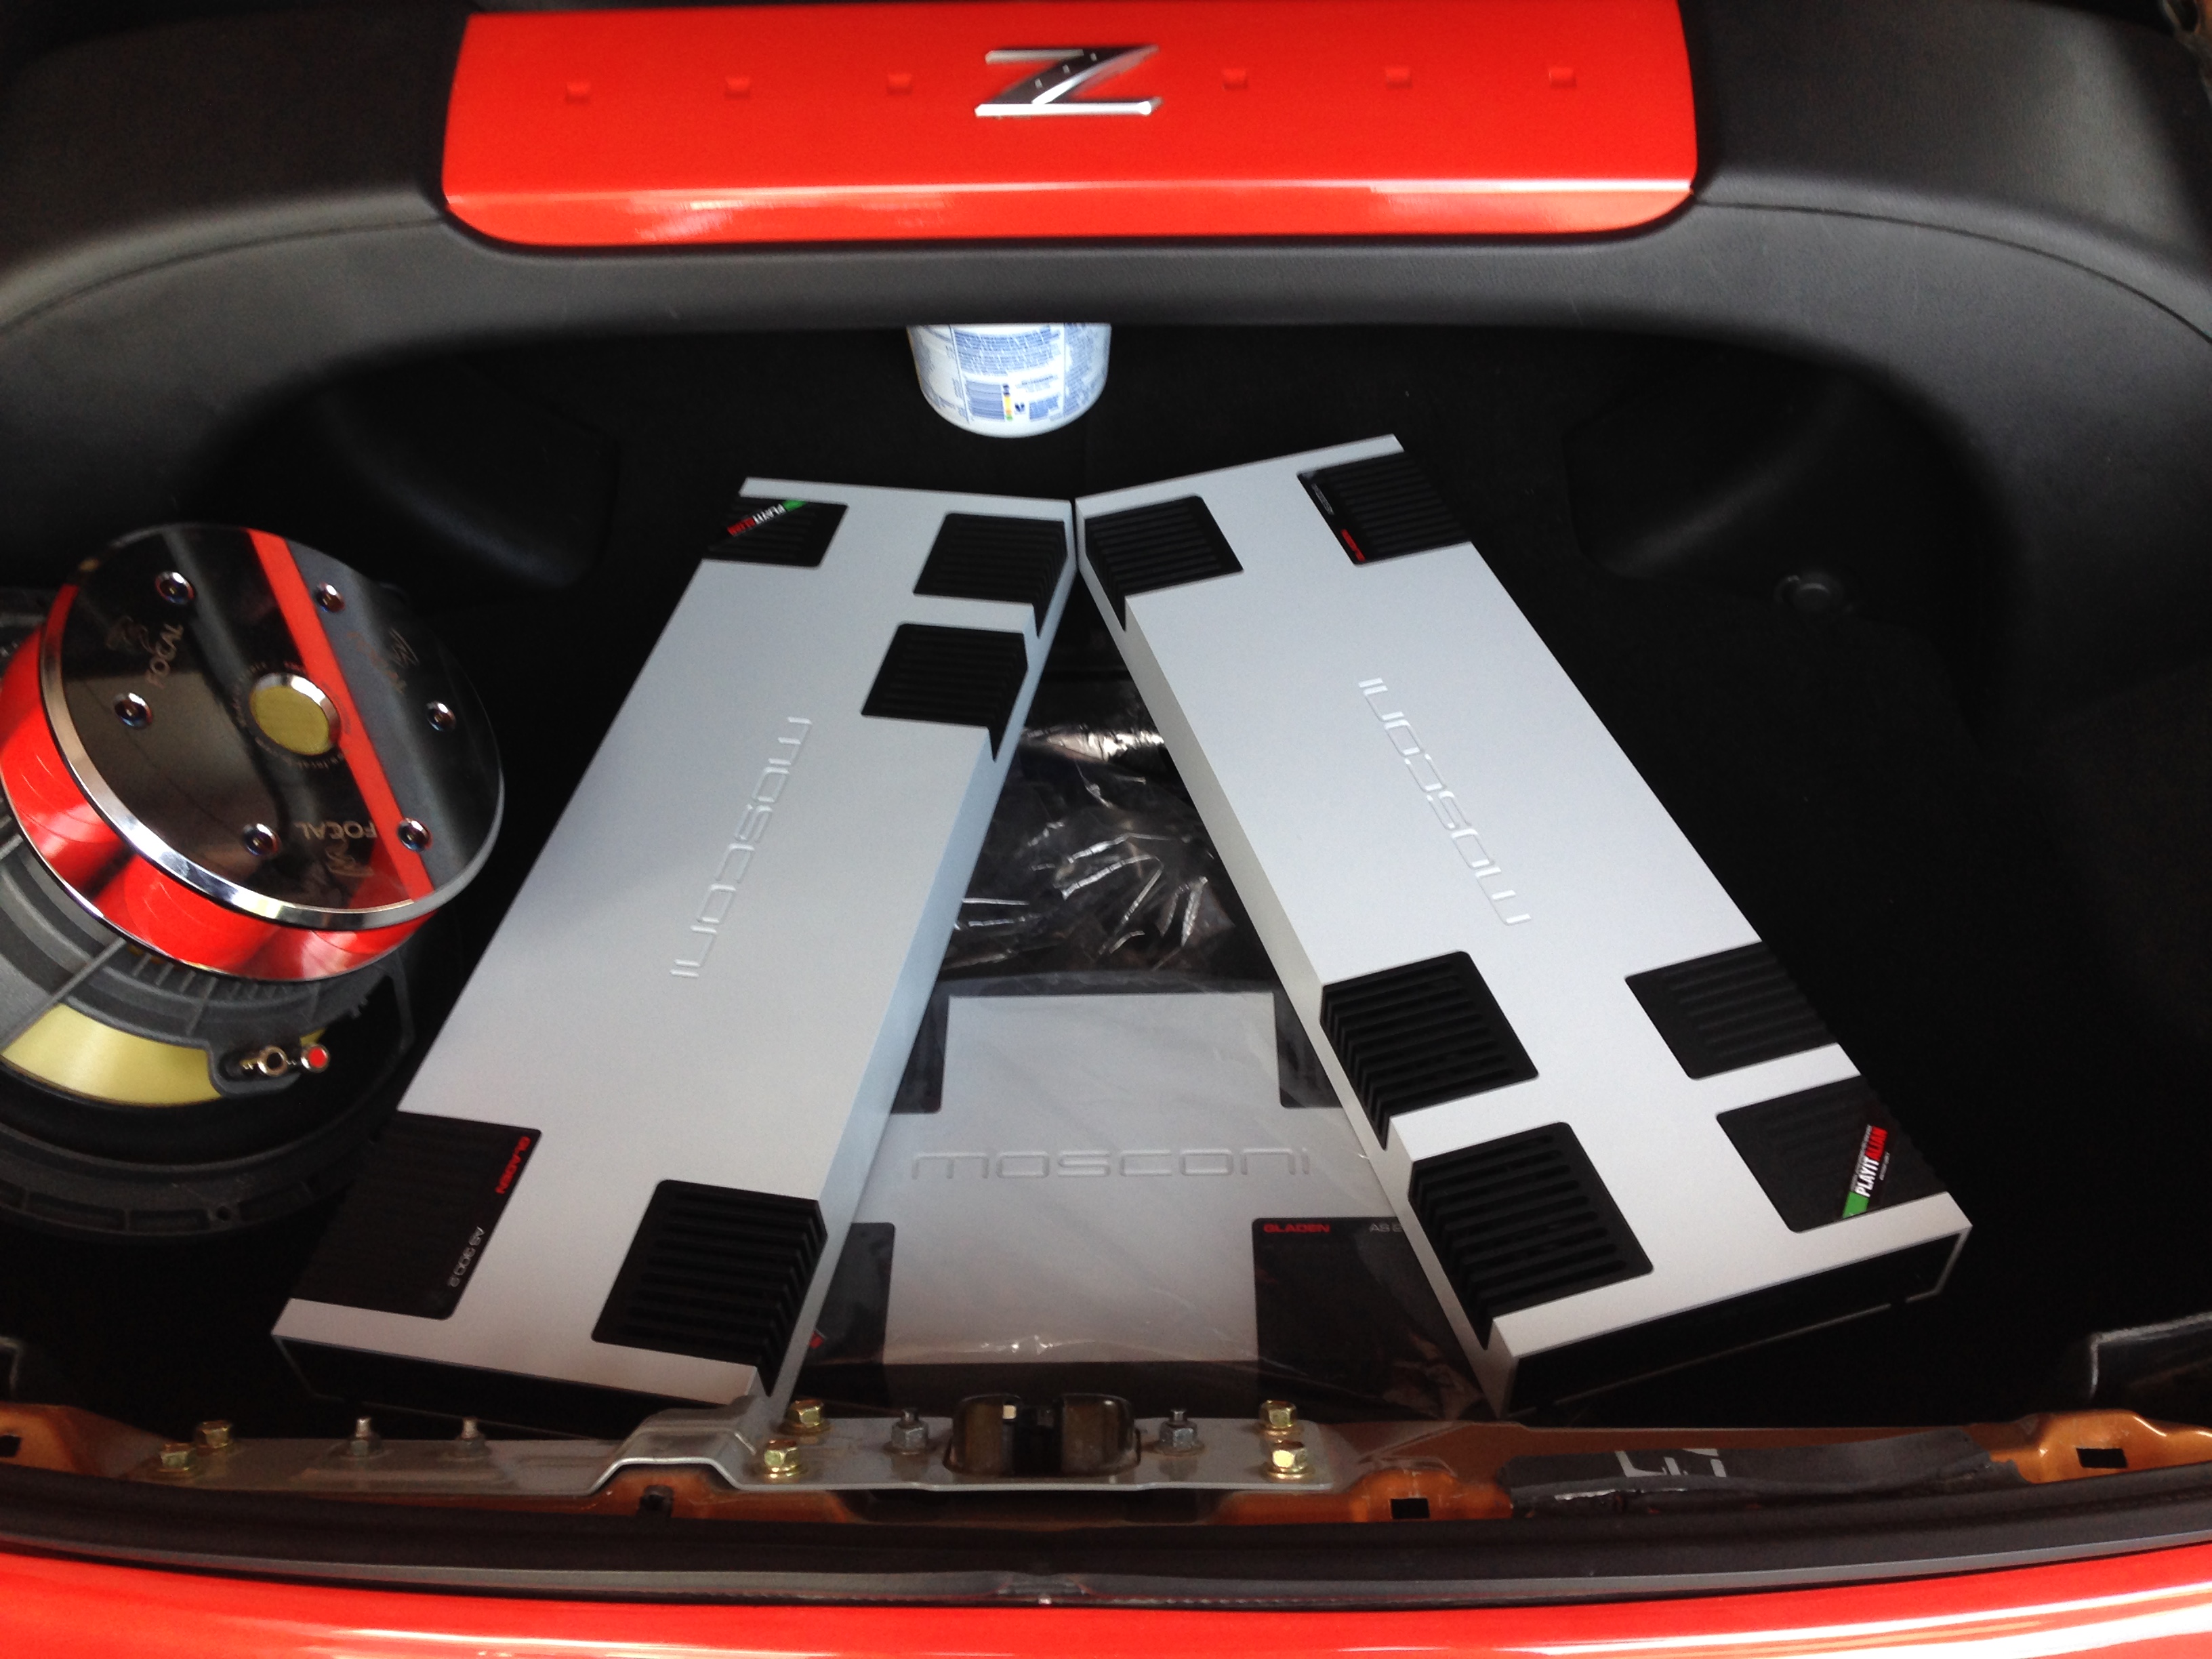
This option would have some motorization. The two top amps would sit flat as in the first pic. They would be motorized to rotate open as seen in the second pic (I would likely normally stop at a 45 degree angle, but have the option to go the full 90 degrees).
The third amp would sit below, under the floor and would be exposed when the top amps rotate open. The third amp could potentially motorize up.
Below the false floor I would have a bunch of nicely done and detailed wiring and power distribution to show off.
I would have to also make some trim panels for the bottoms of the amps. Perhaps backlit logos or something like that.
I would also have to buy a second sub to satisfy my OCD symmetry requirement lol
Pros:
- Cool install with motorization
- Lots of space below floor for batteries, power distribution, etc.
- High equipment visibility because it's all mounted higher in the trunk
Cons:
- Amps look a bit awkward when at 90 degrees.
- More difficult and time consuming install (really not too concerned about that)
- Would have to buy another sub
Some side views
This option would have some motorization. The two top amps would sit flat as in the first pic. They would be motorized to rotate open as seen in the second pic (I would likely normally stop at a 45 degree angle, but have the option to go the full 90 degrees).
The third amp would sit below, under the floor and would be exposed when the top amps rotate open. The third amp could potentially motorize up.
Below the false floor I would have a bunch of nicely done and detailed wiring and power distribution to show off.
I would have to also make some trim panels for the bottoms of the amps. Perhaps backlit logos or something like that.
I would also have to buy a second sub to satisfy my OCD symmetry requirement lol
Pros:
- Cool install with motorization
- Lots of space below floor for batteries, power distribution, etc.
- High equipment visibility because it's all mounted higher in the trunk
Cons:
- Amps look a bit awkward when at 90 degrees.
- More difficult and time consuming install (really not too concerned about that)
- Would have to buy another sub


Some side views


Thread Starter
Registered User
Joined: Sep 2008
Posts: 908
Likes: 28
From: Winnipeg, MB
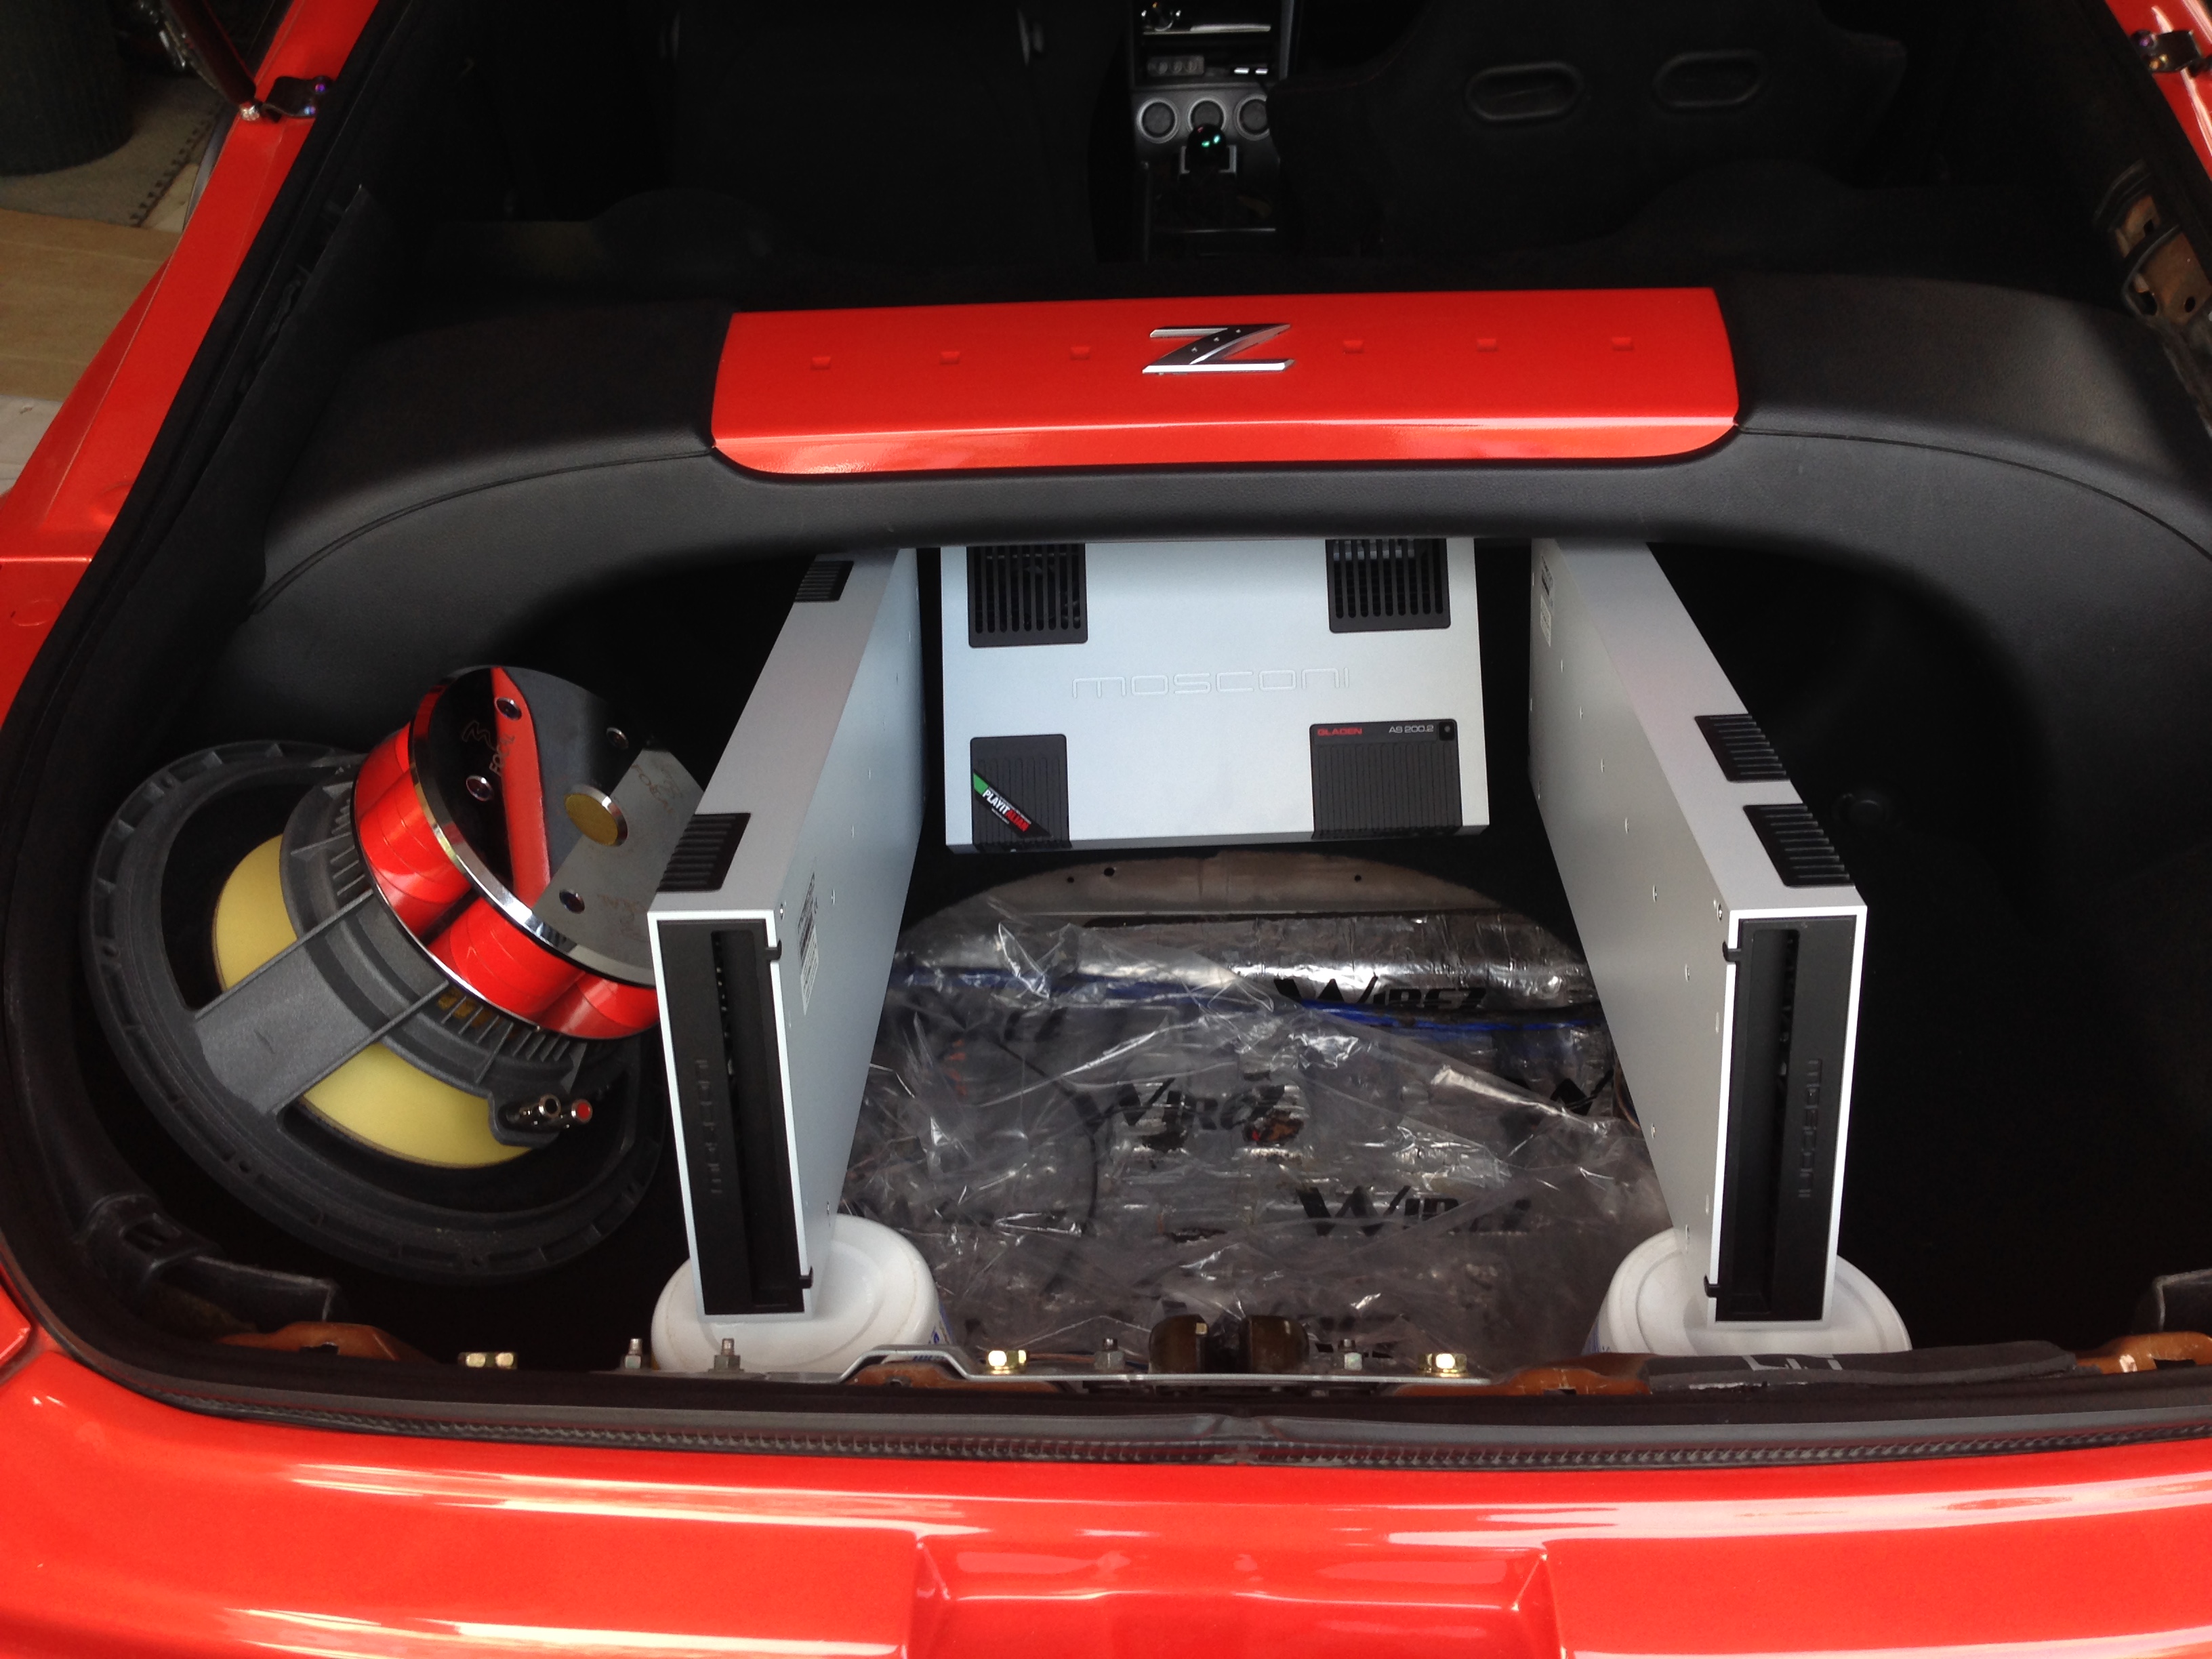
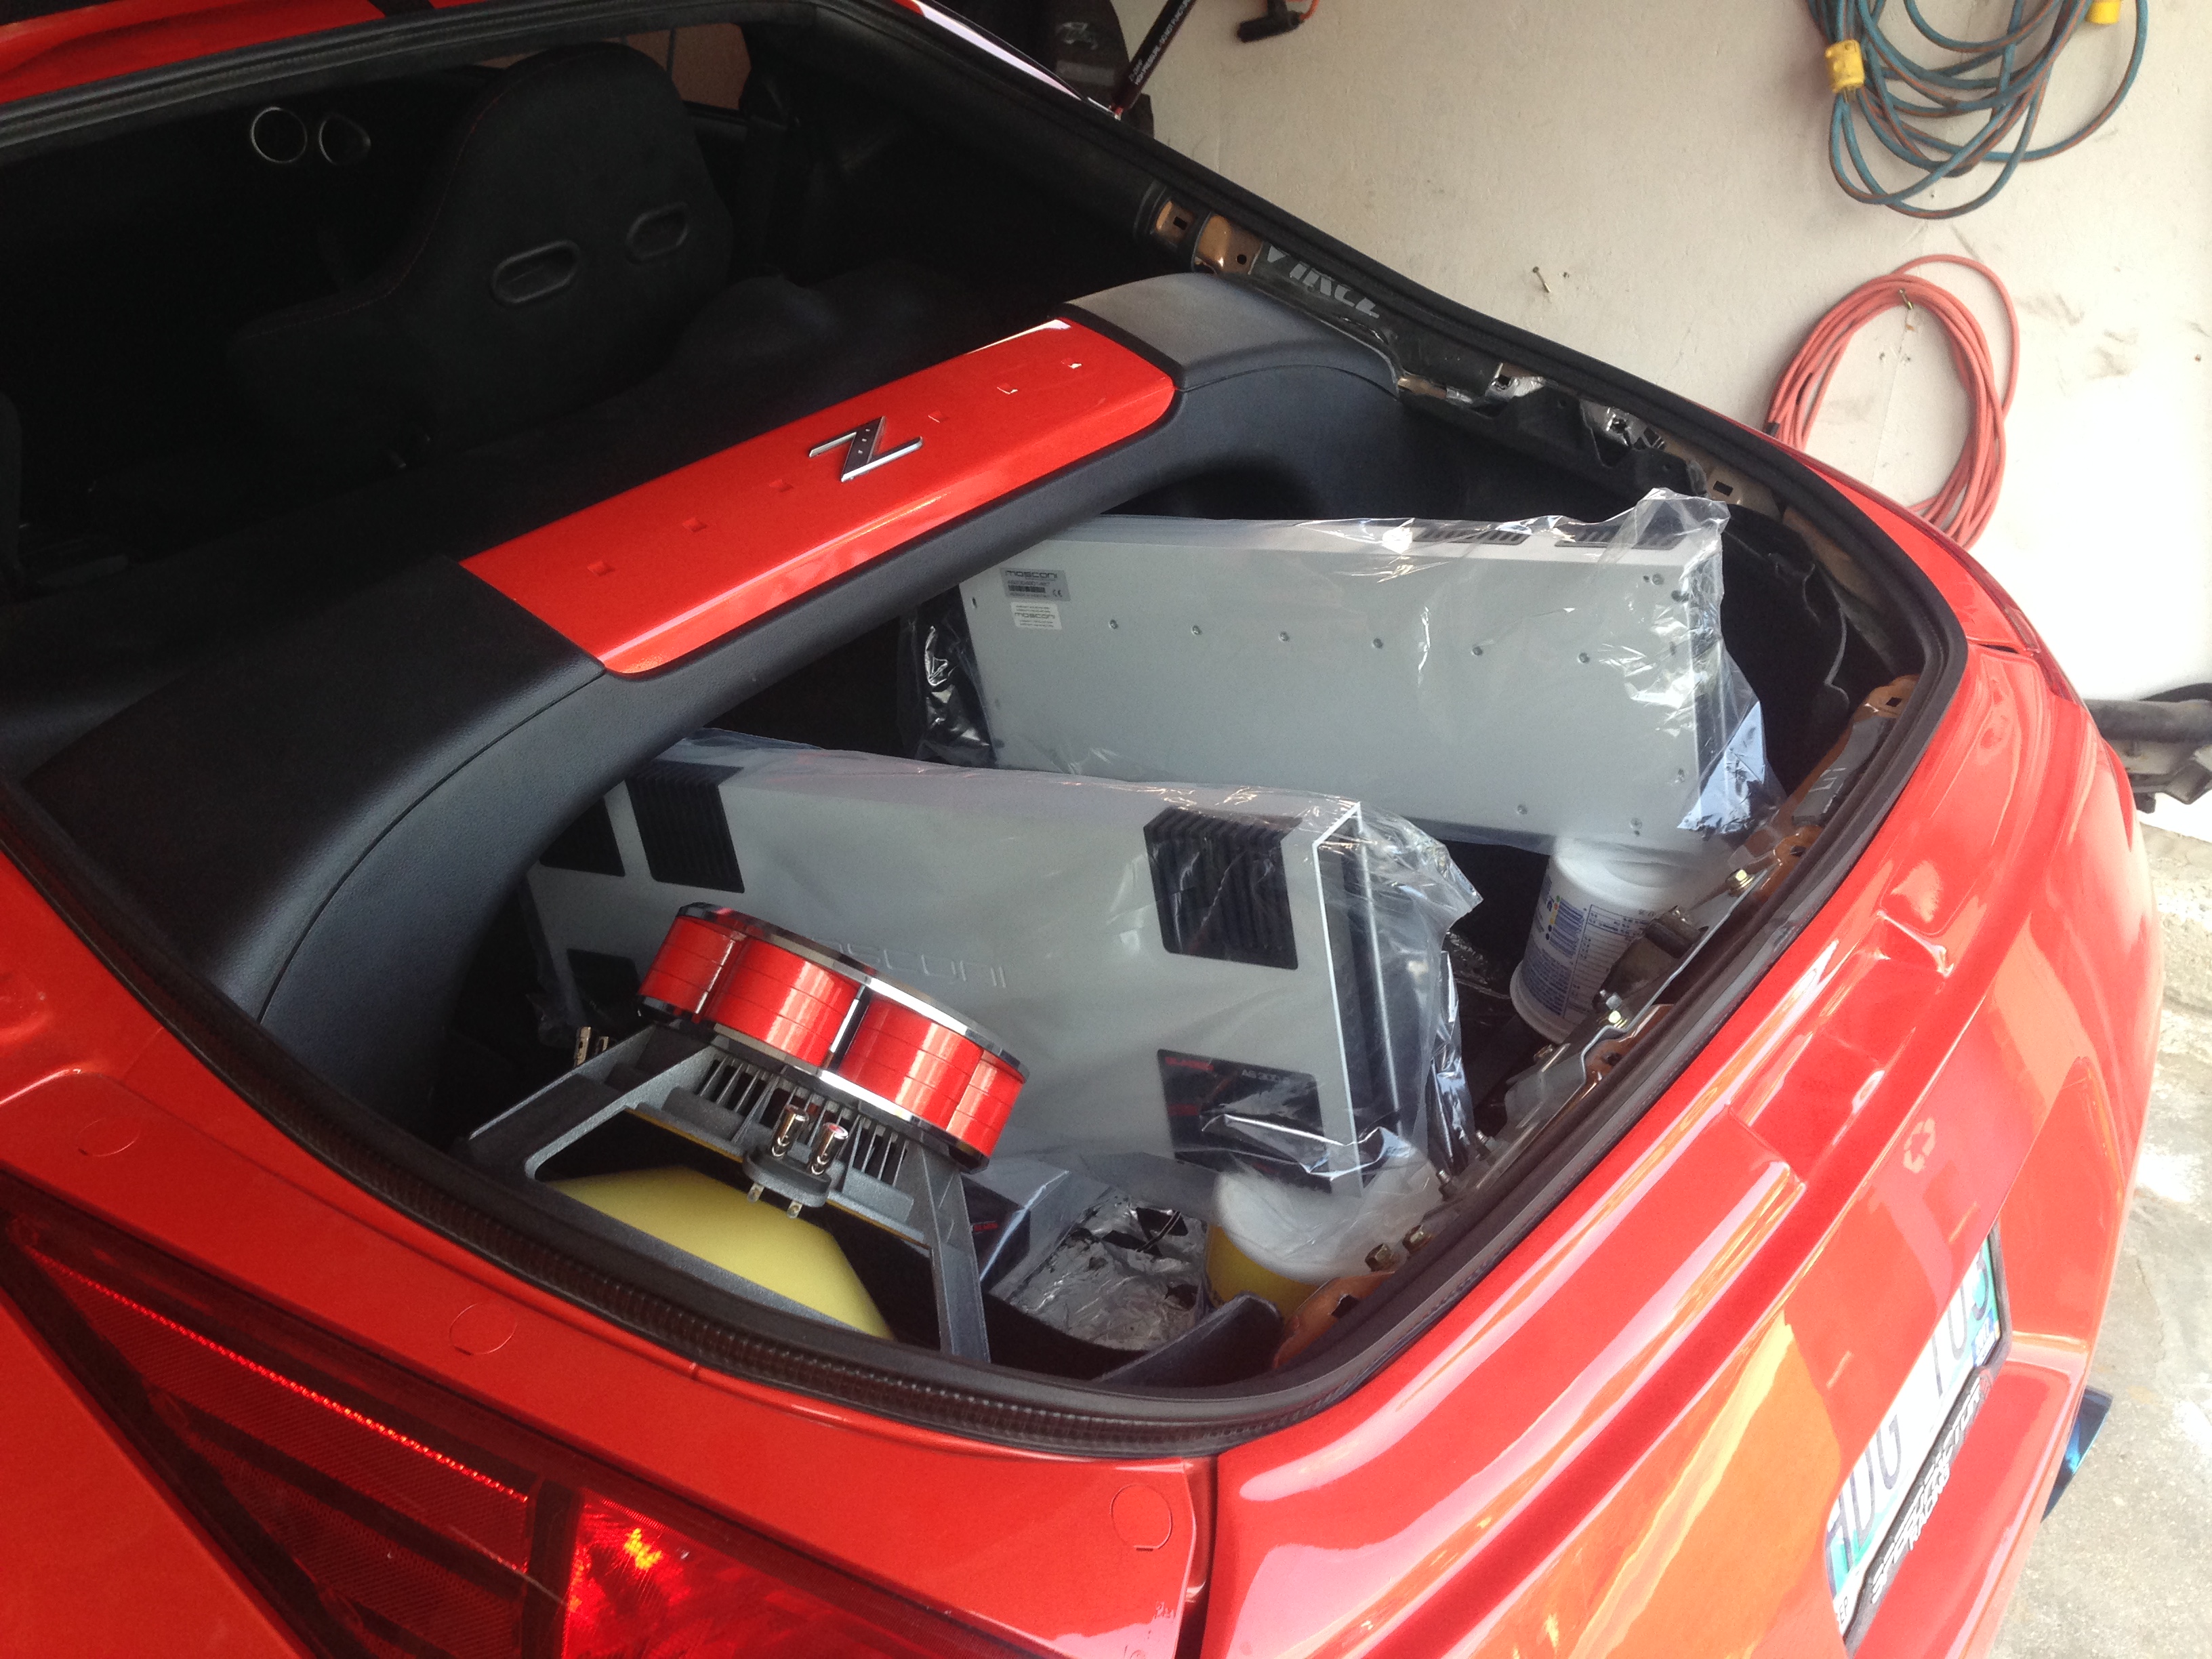
Option three
Amps would sit together normally, then open in a V to show the amp below.
Would have to buy second sub for symmetry
Pros:
- Simple, clean.
Cons:
- Amps do not open very far which does not allow access to planned location for power distribution below floor.

Amps would sit together normally, then open in a V to show the amp below.
Would have to buy second sub for symmetry
Pros:
- Simple, clean.
Cons:
- Amps do not open very far which does not allow access to planned location for power distribution below floor.


Thread Starter
Registered User
Joined: Sep 2008
Posts: 908
Likes: 28
From: Winnipeg, MB
So, I'm about 80% settled on the first option. I have to give credit to Colin at Brian Reimer Audio though, it was actually his layout idea not mine!
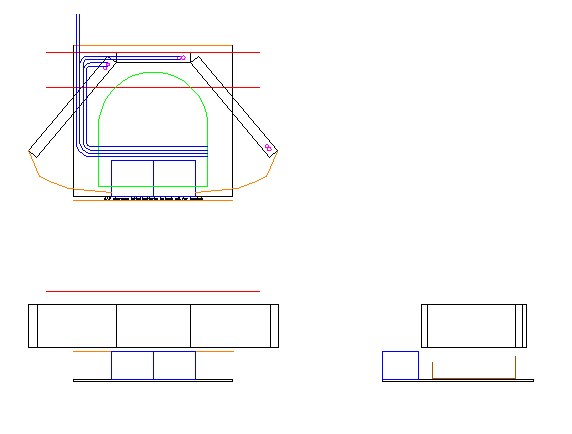
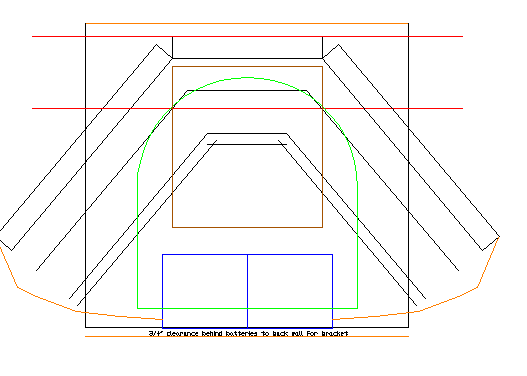
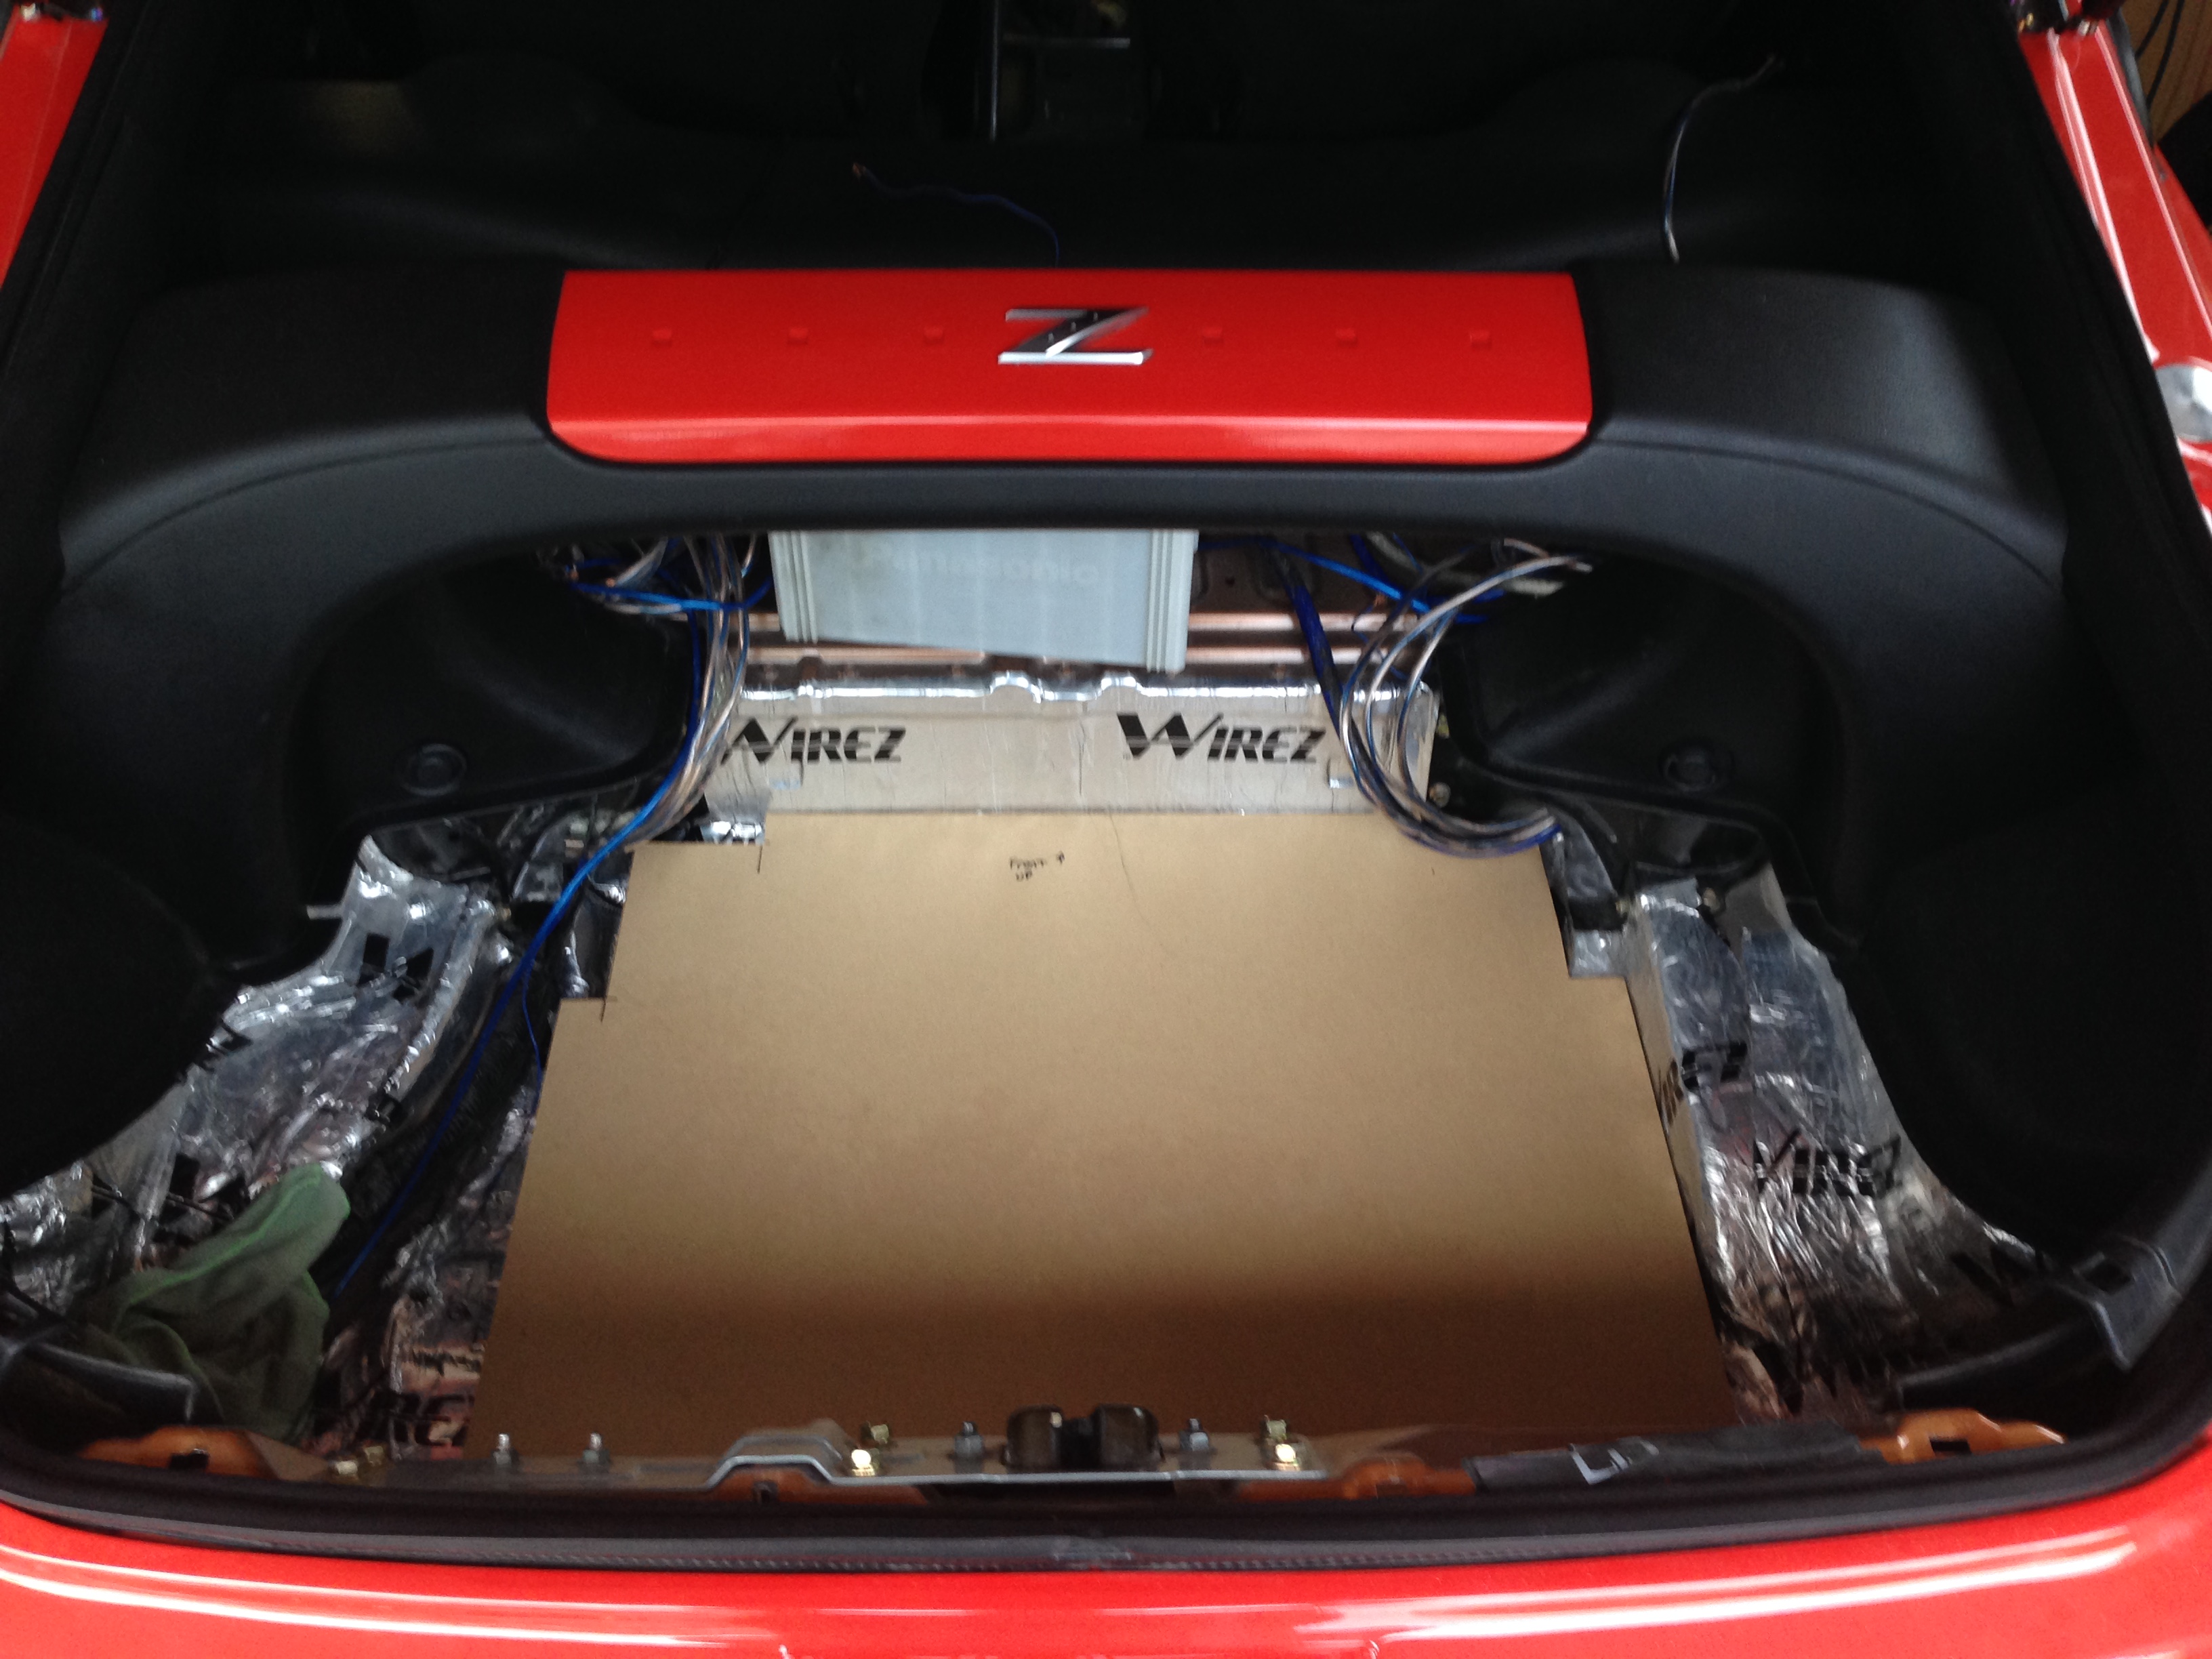
I spent a bit of time taking measurements in the trunk and playing with AutoCAD. I'm working on the trunk layout just getting everything to fit. This allows me to visualize the clearances needed for wiring, placement for batteries, sub box shape and size below the floor etc etc.
I know the drawings below probably don't make sense to anyone at all besides me, but here they are lol... They're nowhere near complete, but the idea is coming together.
I remember back when I was installing years ago I always had a hard time visualizing the finished design before I started and I would just kind of wing it as I went. This caused me to have to re-do some parts, or make changes as I went. I'm hoping this method will help me plan the build a bit better and reduce if not eliminate re-doing of things.
I actually drew up the previous trunk in AutoCAD before building it. It worked fairly well, I built the entire sub box and false floor without even having the car here, it was 2 hours away! Everything fit great yet. Kind of cool lol


Thread Starter
Registered User
Joined: Sep 2008
Posts: 908
Likes: 28
From: Winnipeg, MB
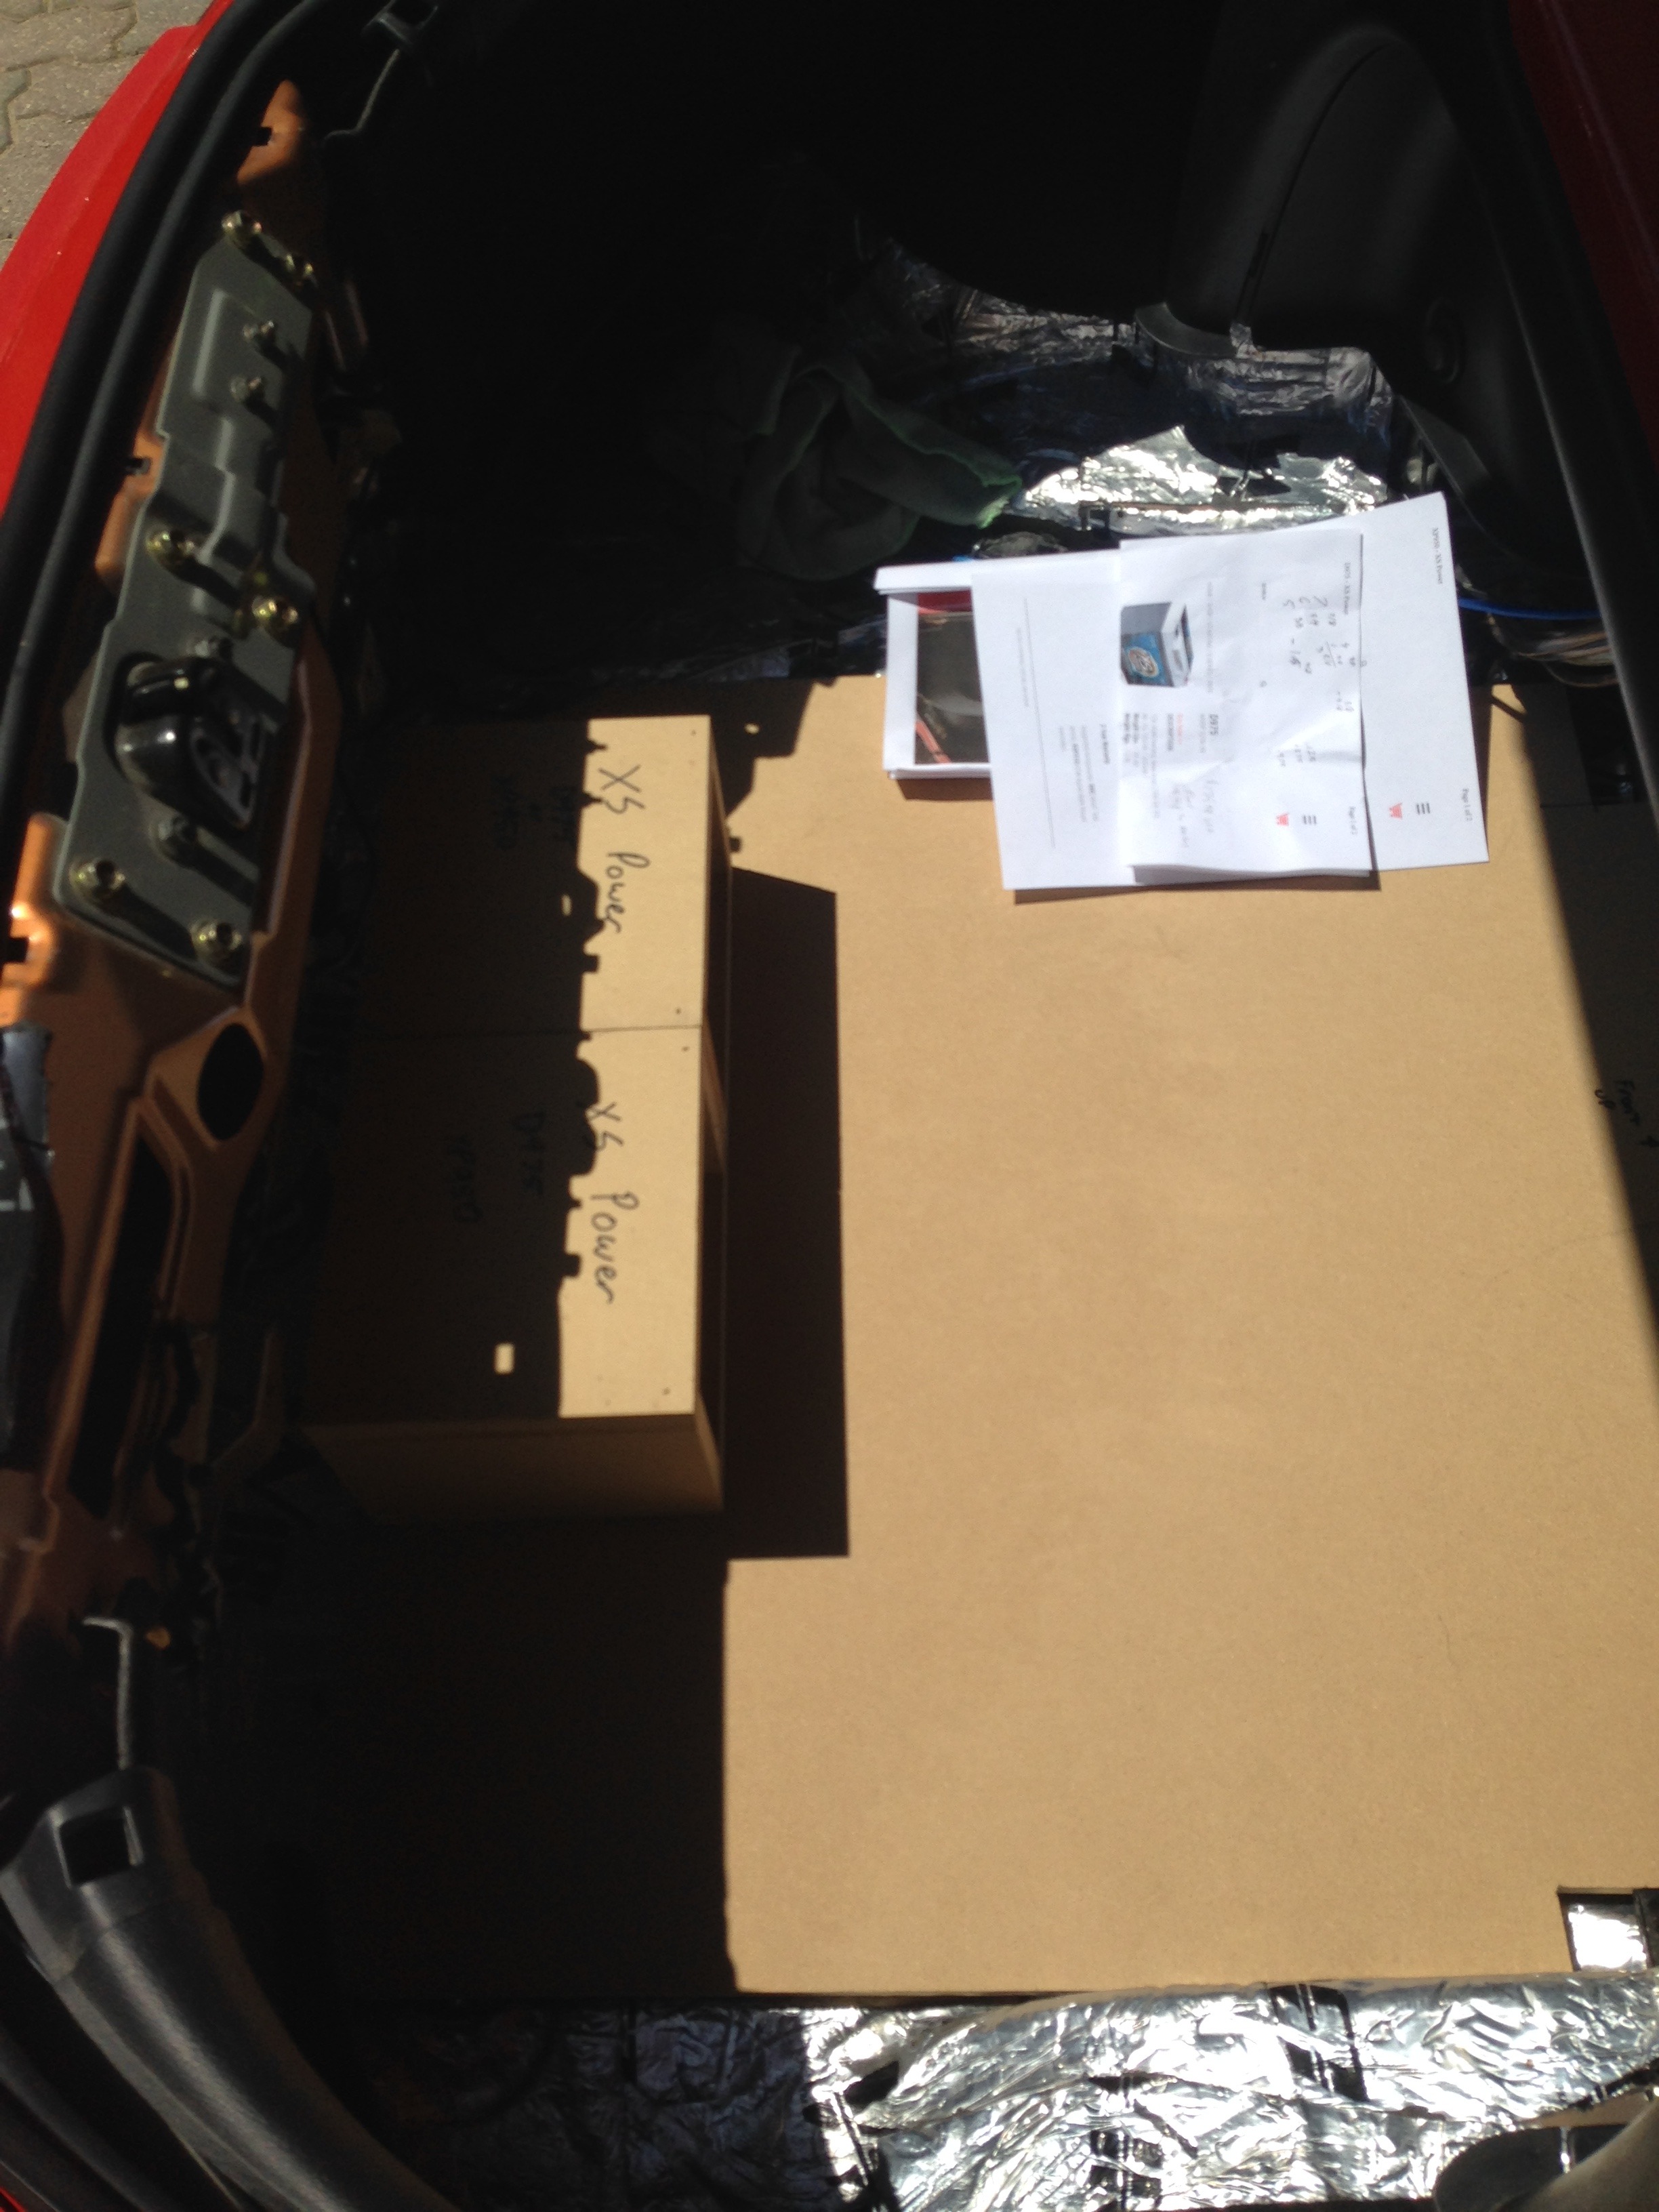
Base trunk piece and a couple mock-up batteries. I got sponsored by XS Power for a couple batteries and a power supply for this build. The batteries should be here in a couple weeks.


Thread Starter
Registered User
Joined: Sep 2008
Posts: 908
Likes: 28
From: Winnipeg, MB
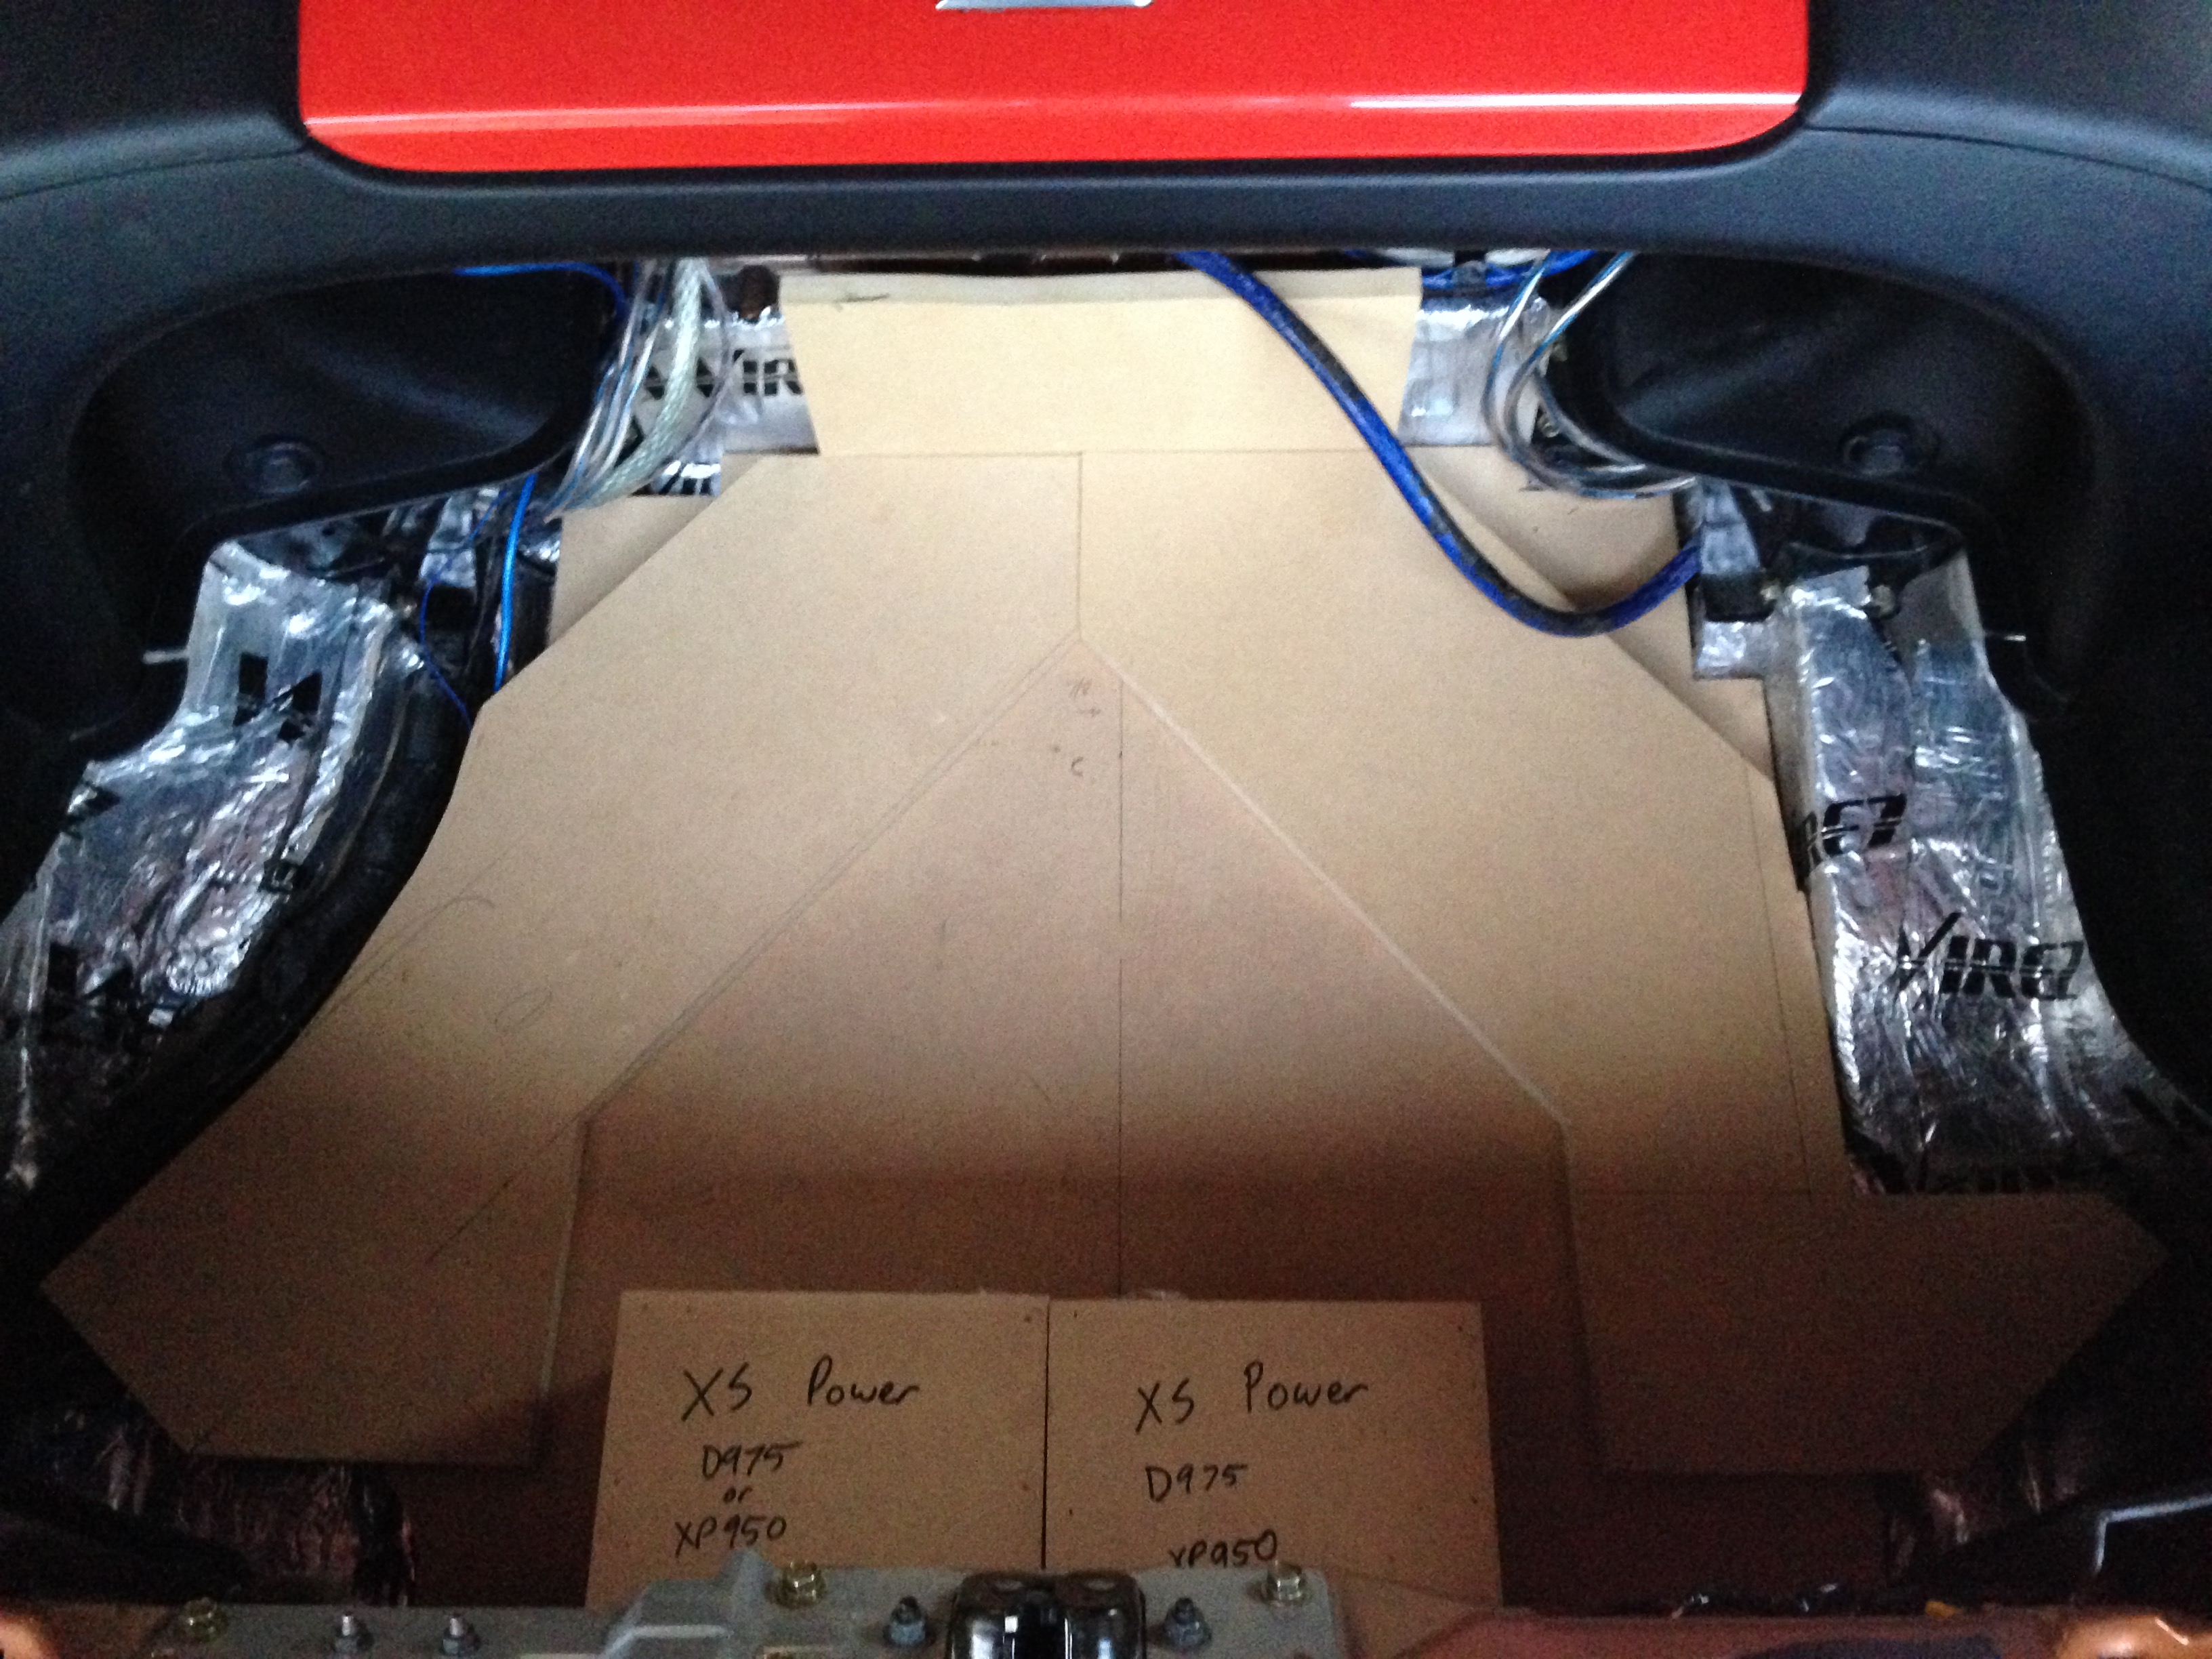
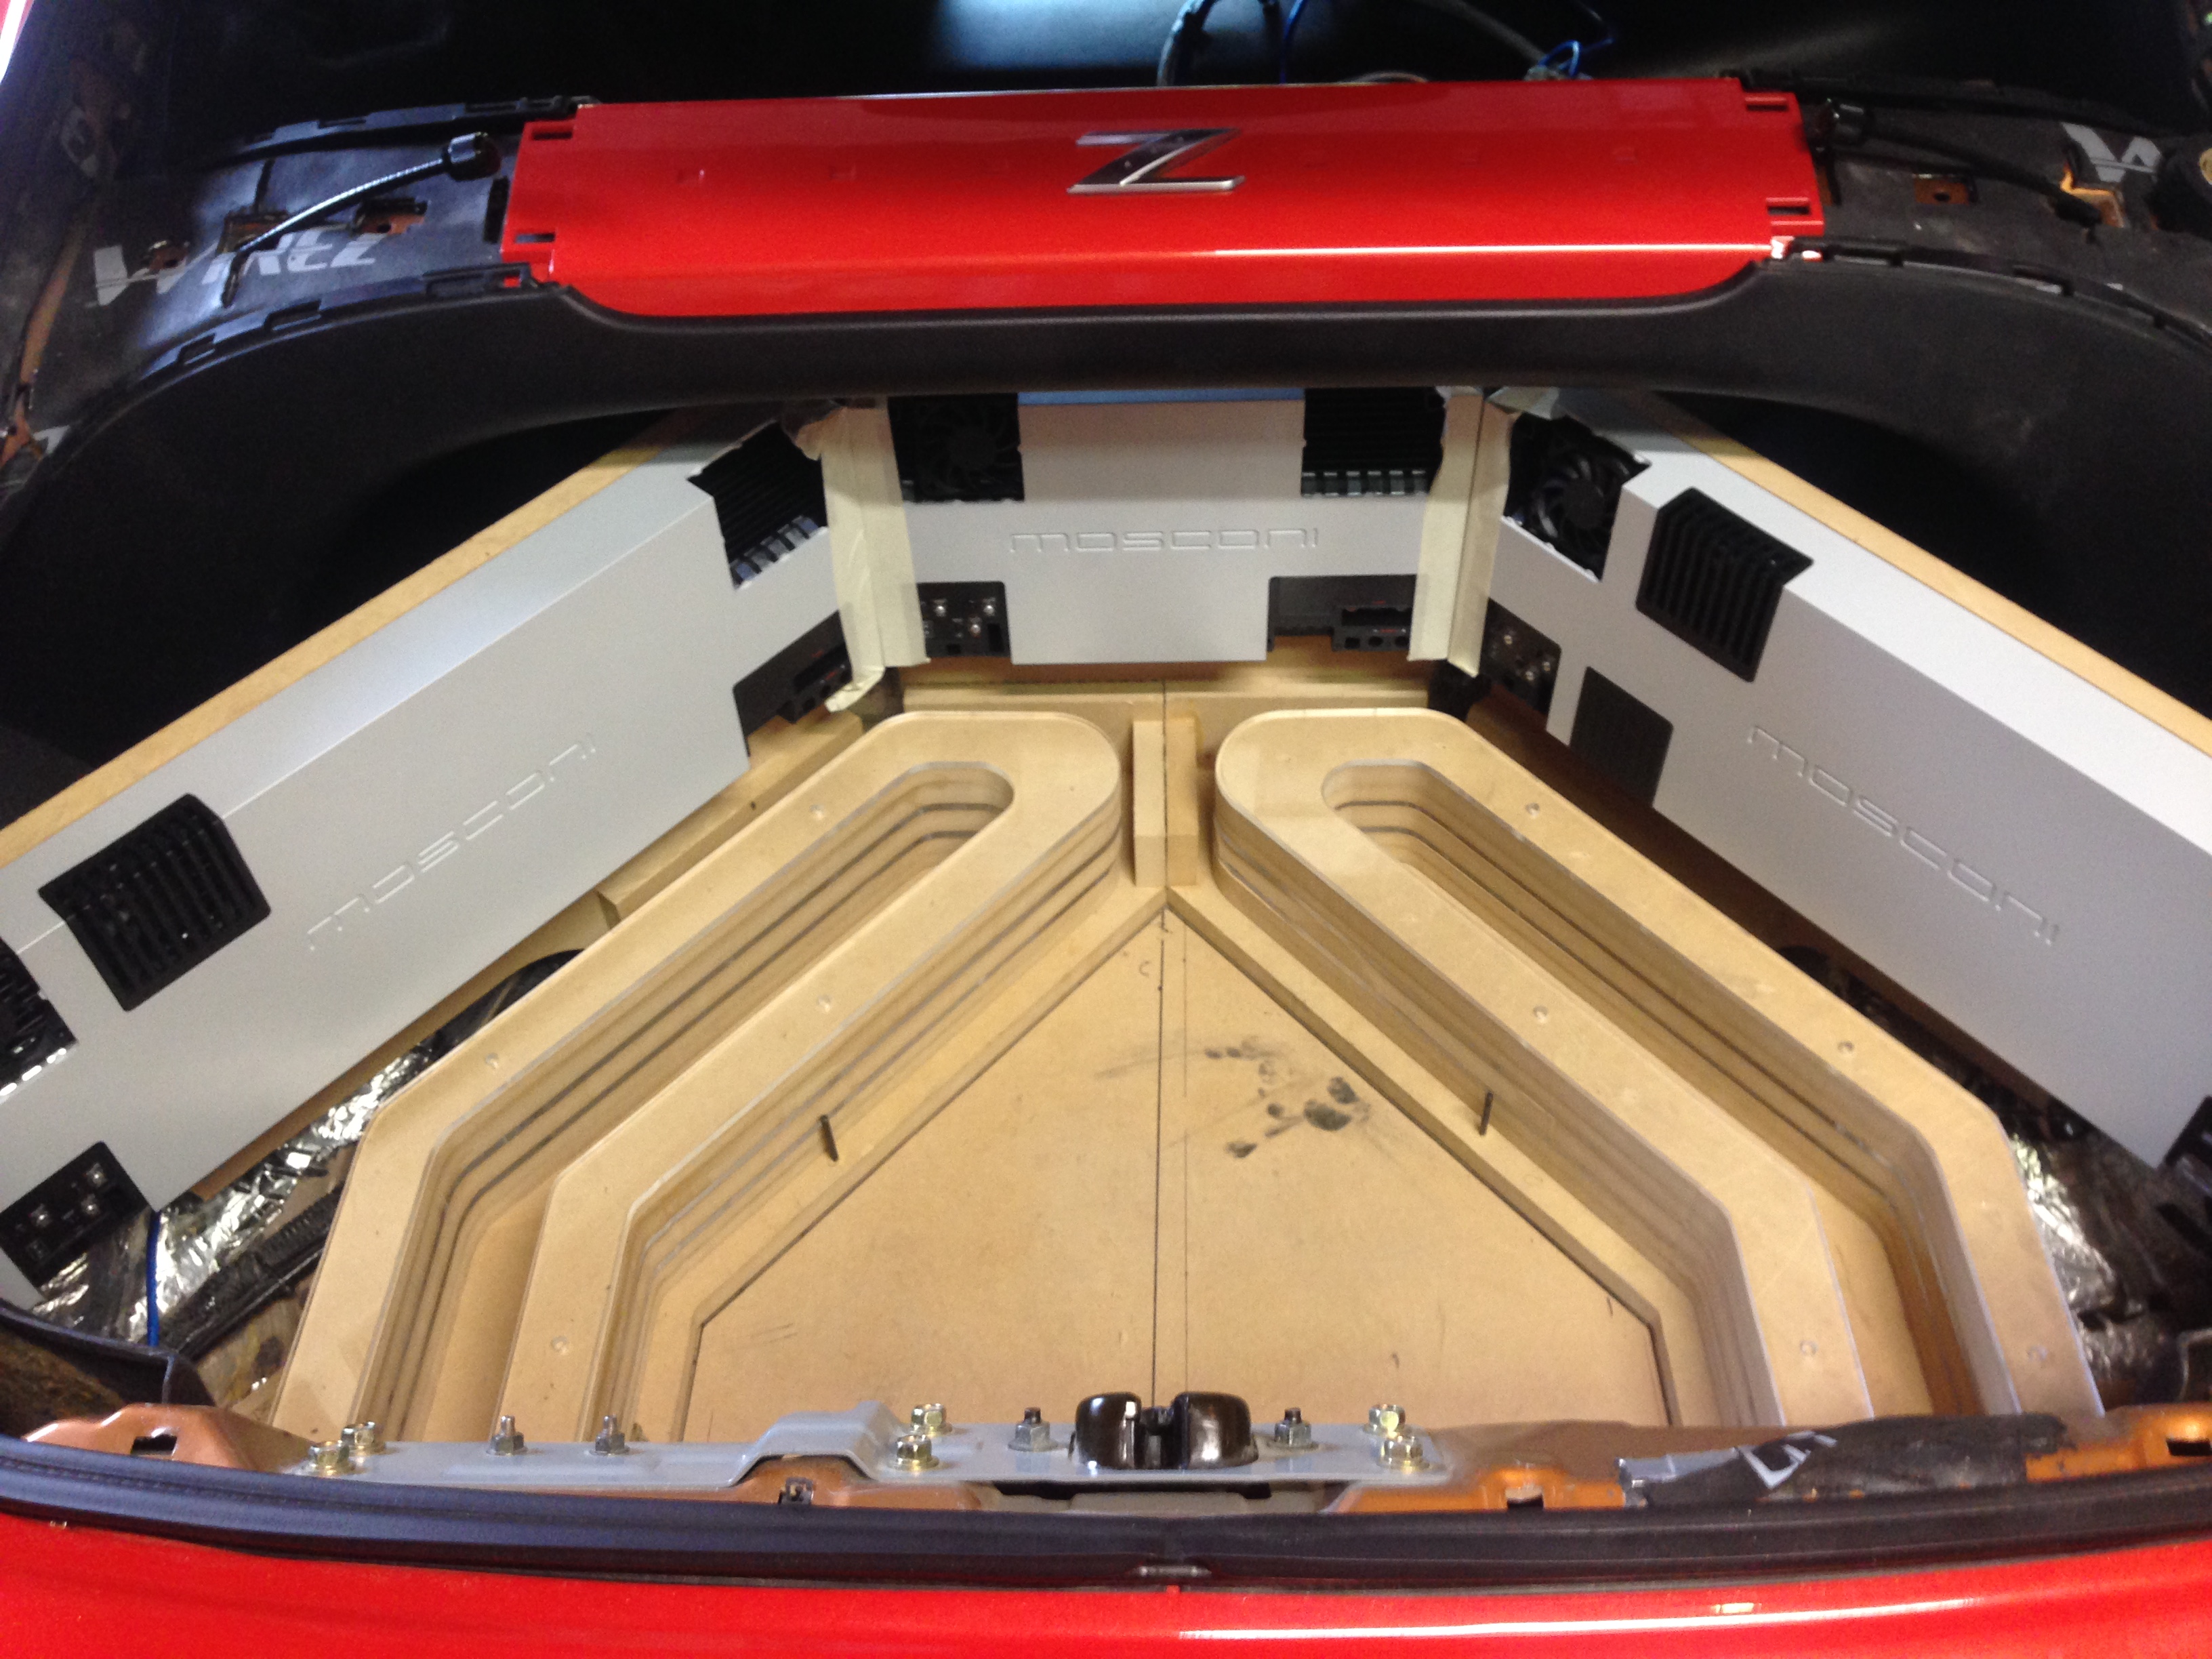
I have to credit Simplicityinsound.. The idea for the trench (that's what I call it anyways) came from this thread:
http://www.diymobileaudio.com/forum/...-illusion.html

I sized mine up quite a bit from the looks of it, but I also plan to run a bunch of wiring through it so it's visible and put my fusing in it so it is easily accessible.
http://www.diymobileaudio.com/forum/...-illusion.html
I sized mine up quite a bit from the looks of it, but I also plan to run a bunch of wiring through it so it's visible and put my fusing in it so it is easily accessible.
Thread Starter
Registered User
Joined: Sep 2008
Posts: 908
Likes: 28
From: Winnipeg, MB
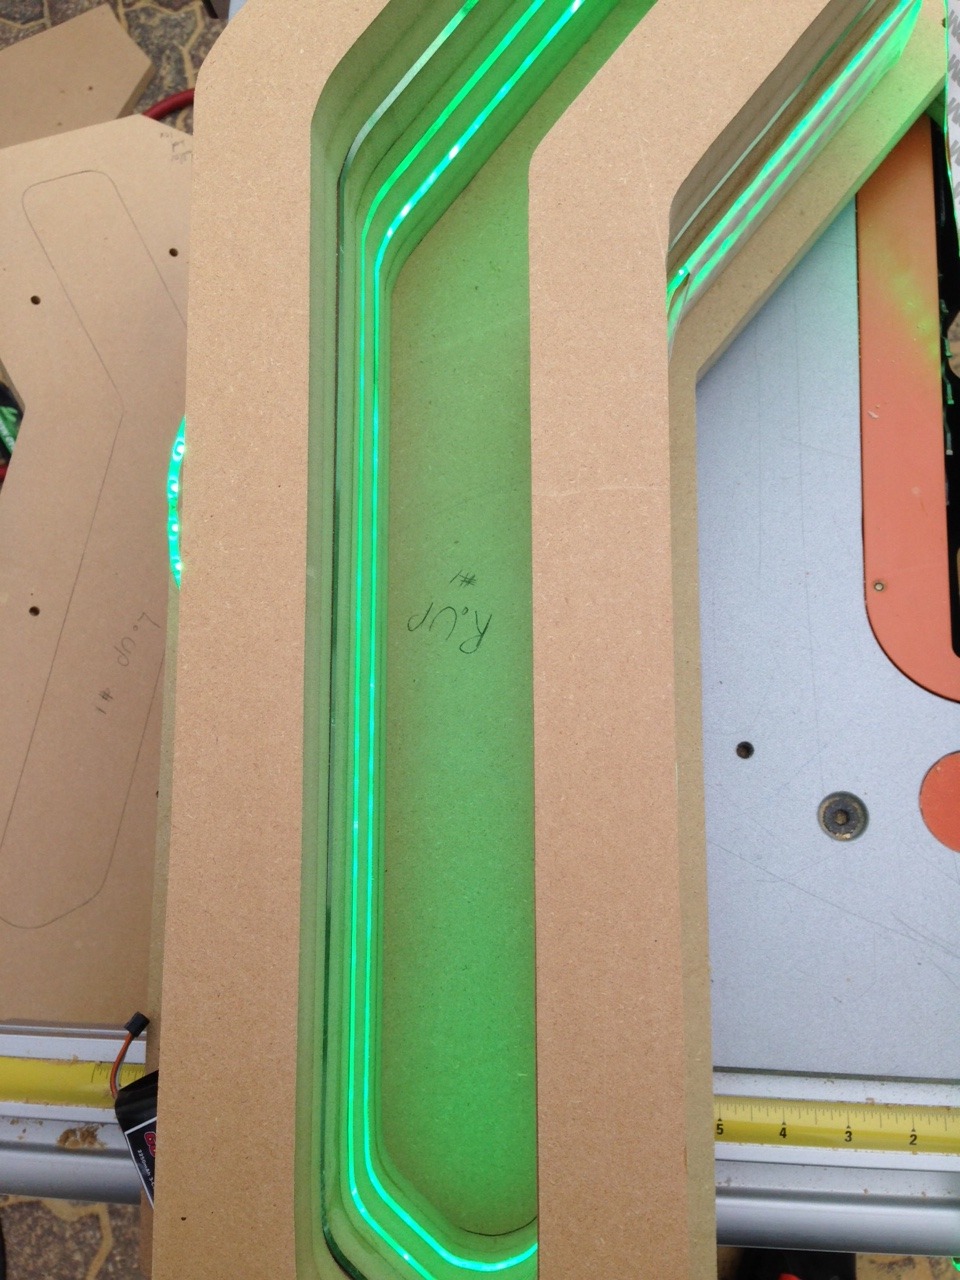
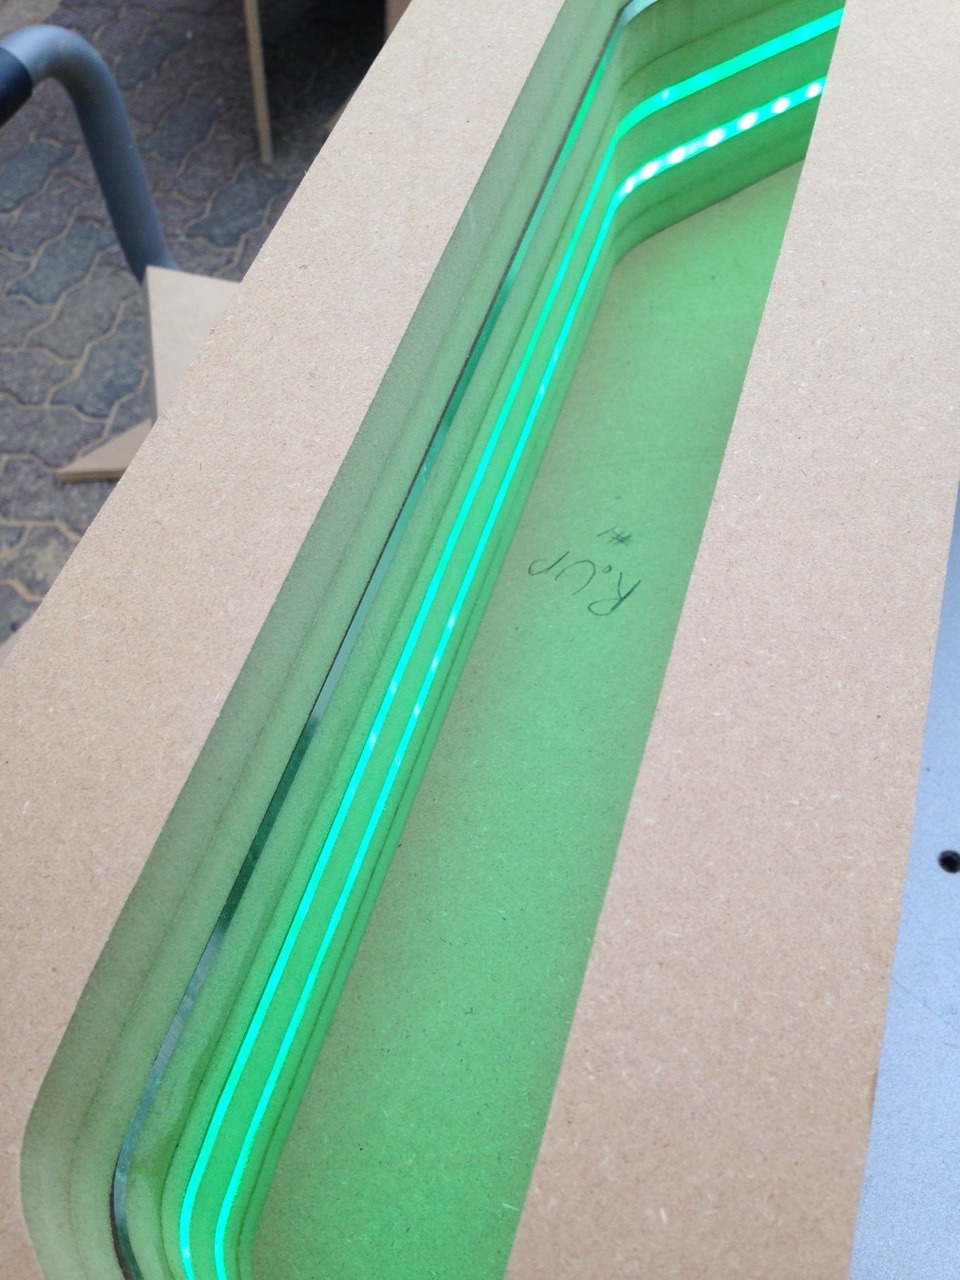
At this point everything's just sitting together, nothing is bolted in yet so the alignment everywhere isn't bang on..
I had a bit of time a couple nights ago and my impatience got the best of me. I wanted to see how the plexi looked with an LED string. The string is the wrong color, I'll be doing RGB and it's also too short, but the idea is there. There will be three runs of 0 gauge power wire run through this open channel that will be visible from above. If I can find fuse holders I like I'm thinking of locating the fuse holders in here as well.
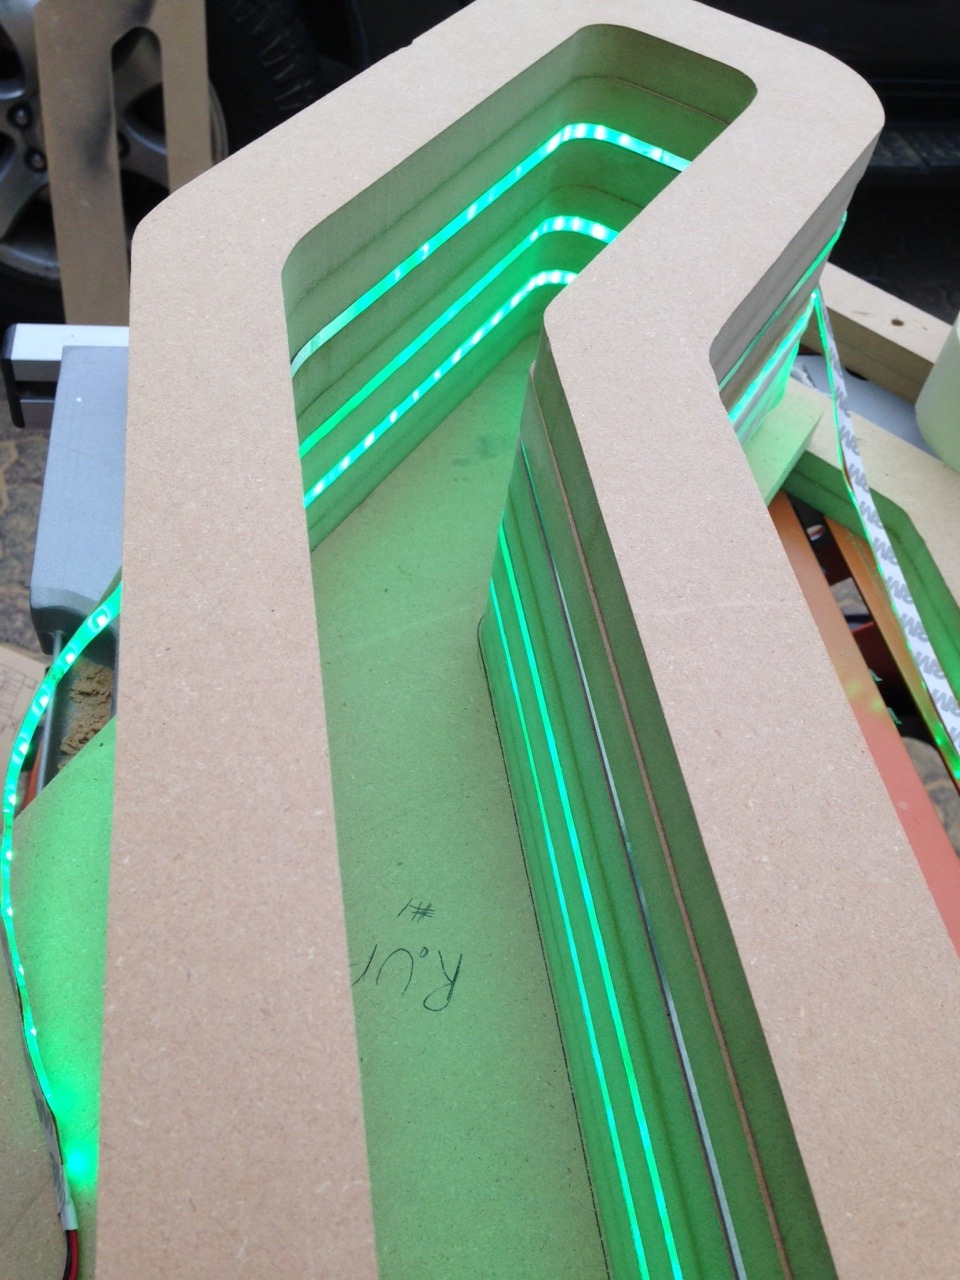
I had a bit of time a couple nights ago and my impatience got the best of me. I wanted to see how the plexi looked with an LED string. The string is the wrong color, I'll be doing RGB and it's also too short, but the idea is there. There will be three runs of 0 gauge power wire run through this open channel that will be visible from above. If I can find fuse holders I like I'm thinking of locating the fuse holders in here as well.


Thread Starter
Registered User
Joined: Sep 2008
Posts: 908
Likes: 28
From: Winnipeg, MB
I used a ton of threaded inserts into the MDF and riv-nuts into the sheet metal of the car. No wood screws at all, everything uses a metric thread. Either M4 for most of the wood to wood and amp mounting and then M6 for mounting to the body of the car.
I need to go get some longer M6 screws for the stacks for the trenches tomorrow.
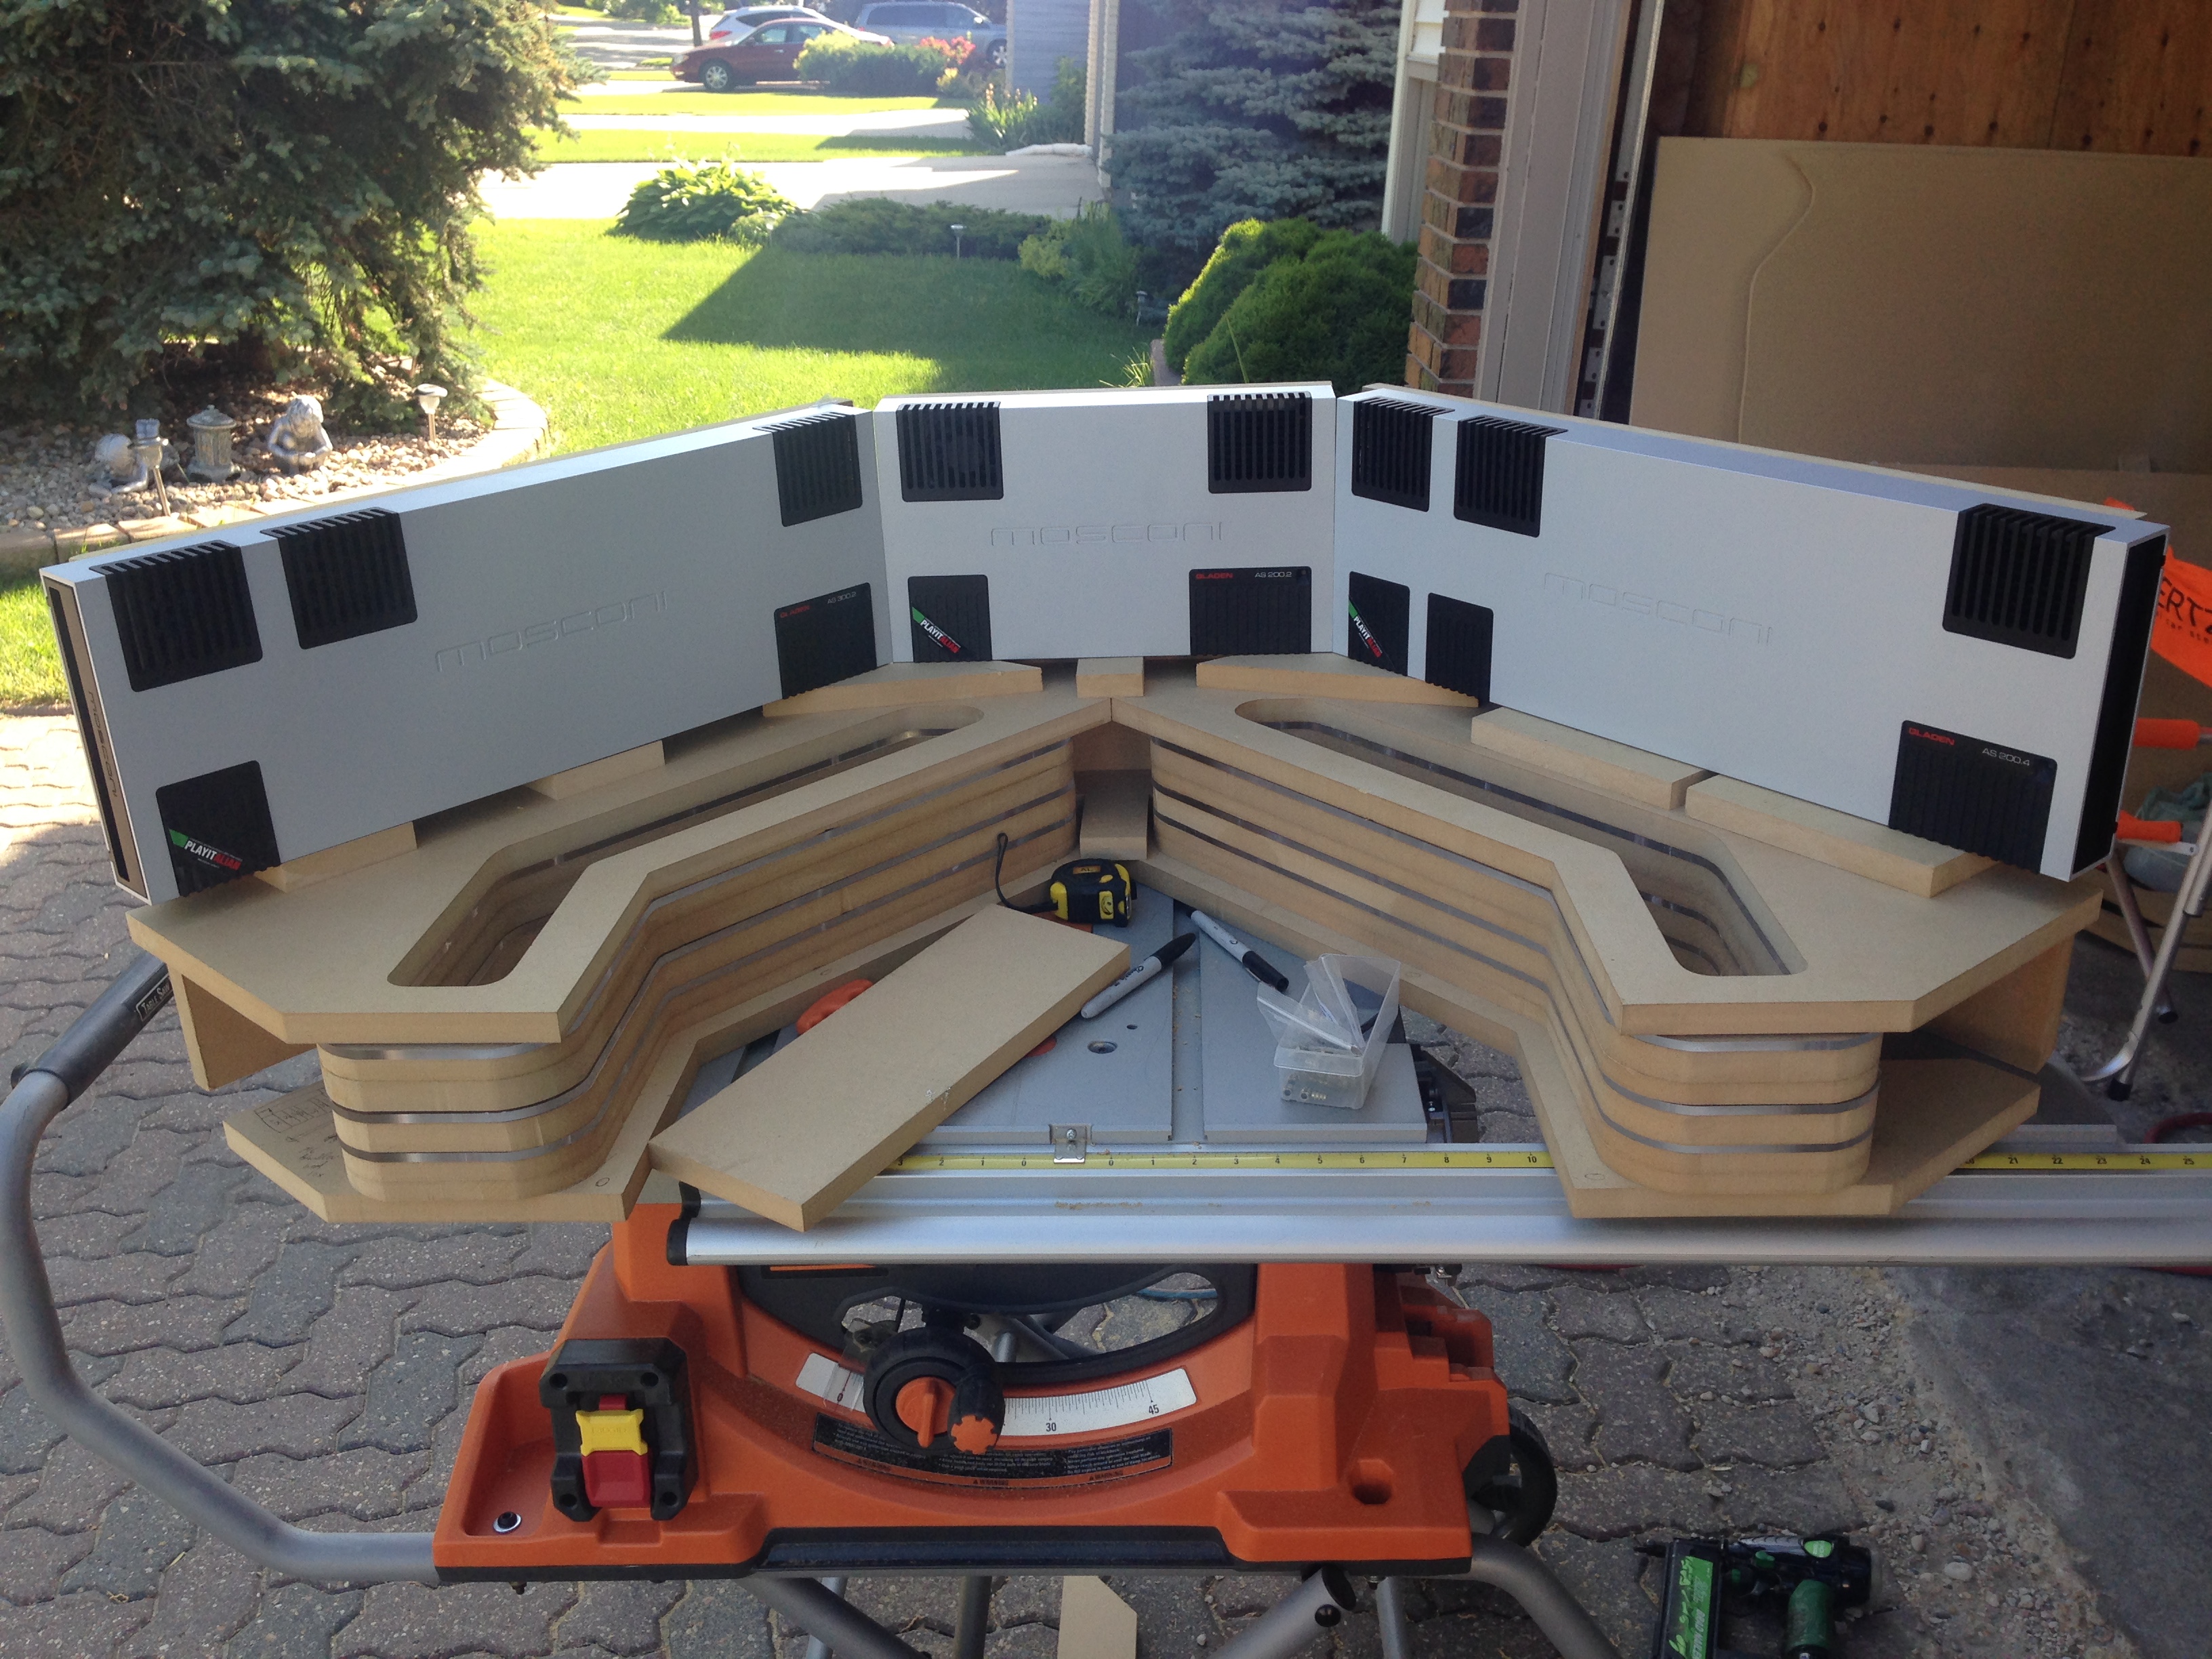
This is the two bases of the trenches. The two scraps of wood holding them together is just temporary to make things easier to work with. The amp back boards aren't bolted on yet in this pic.
Pulled out and stacked with the amps sitting on top.
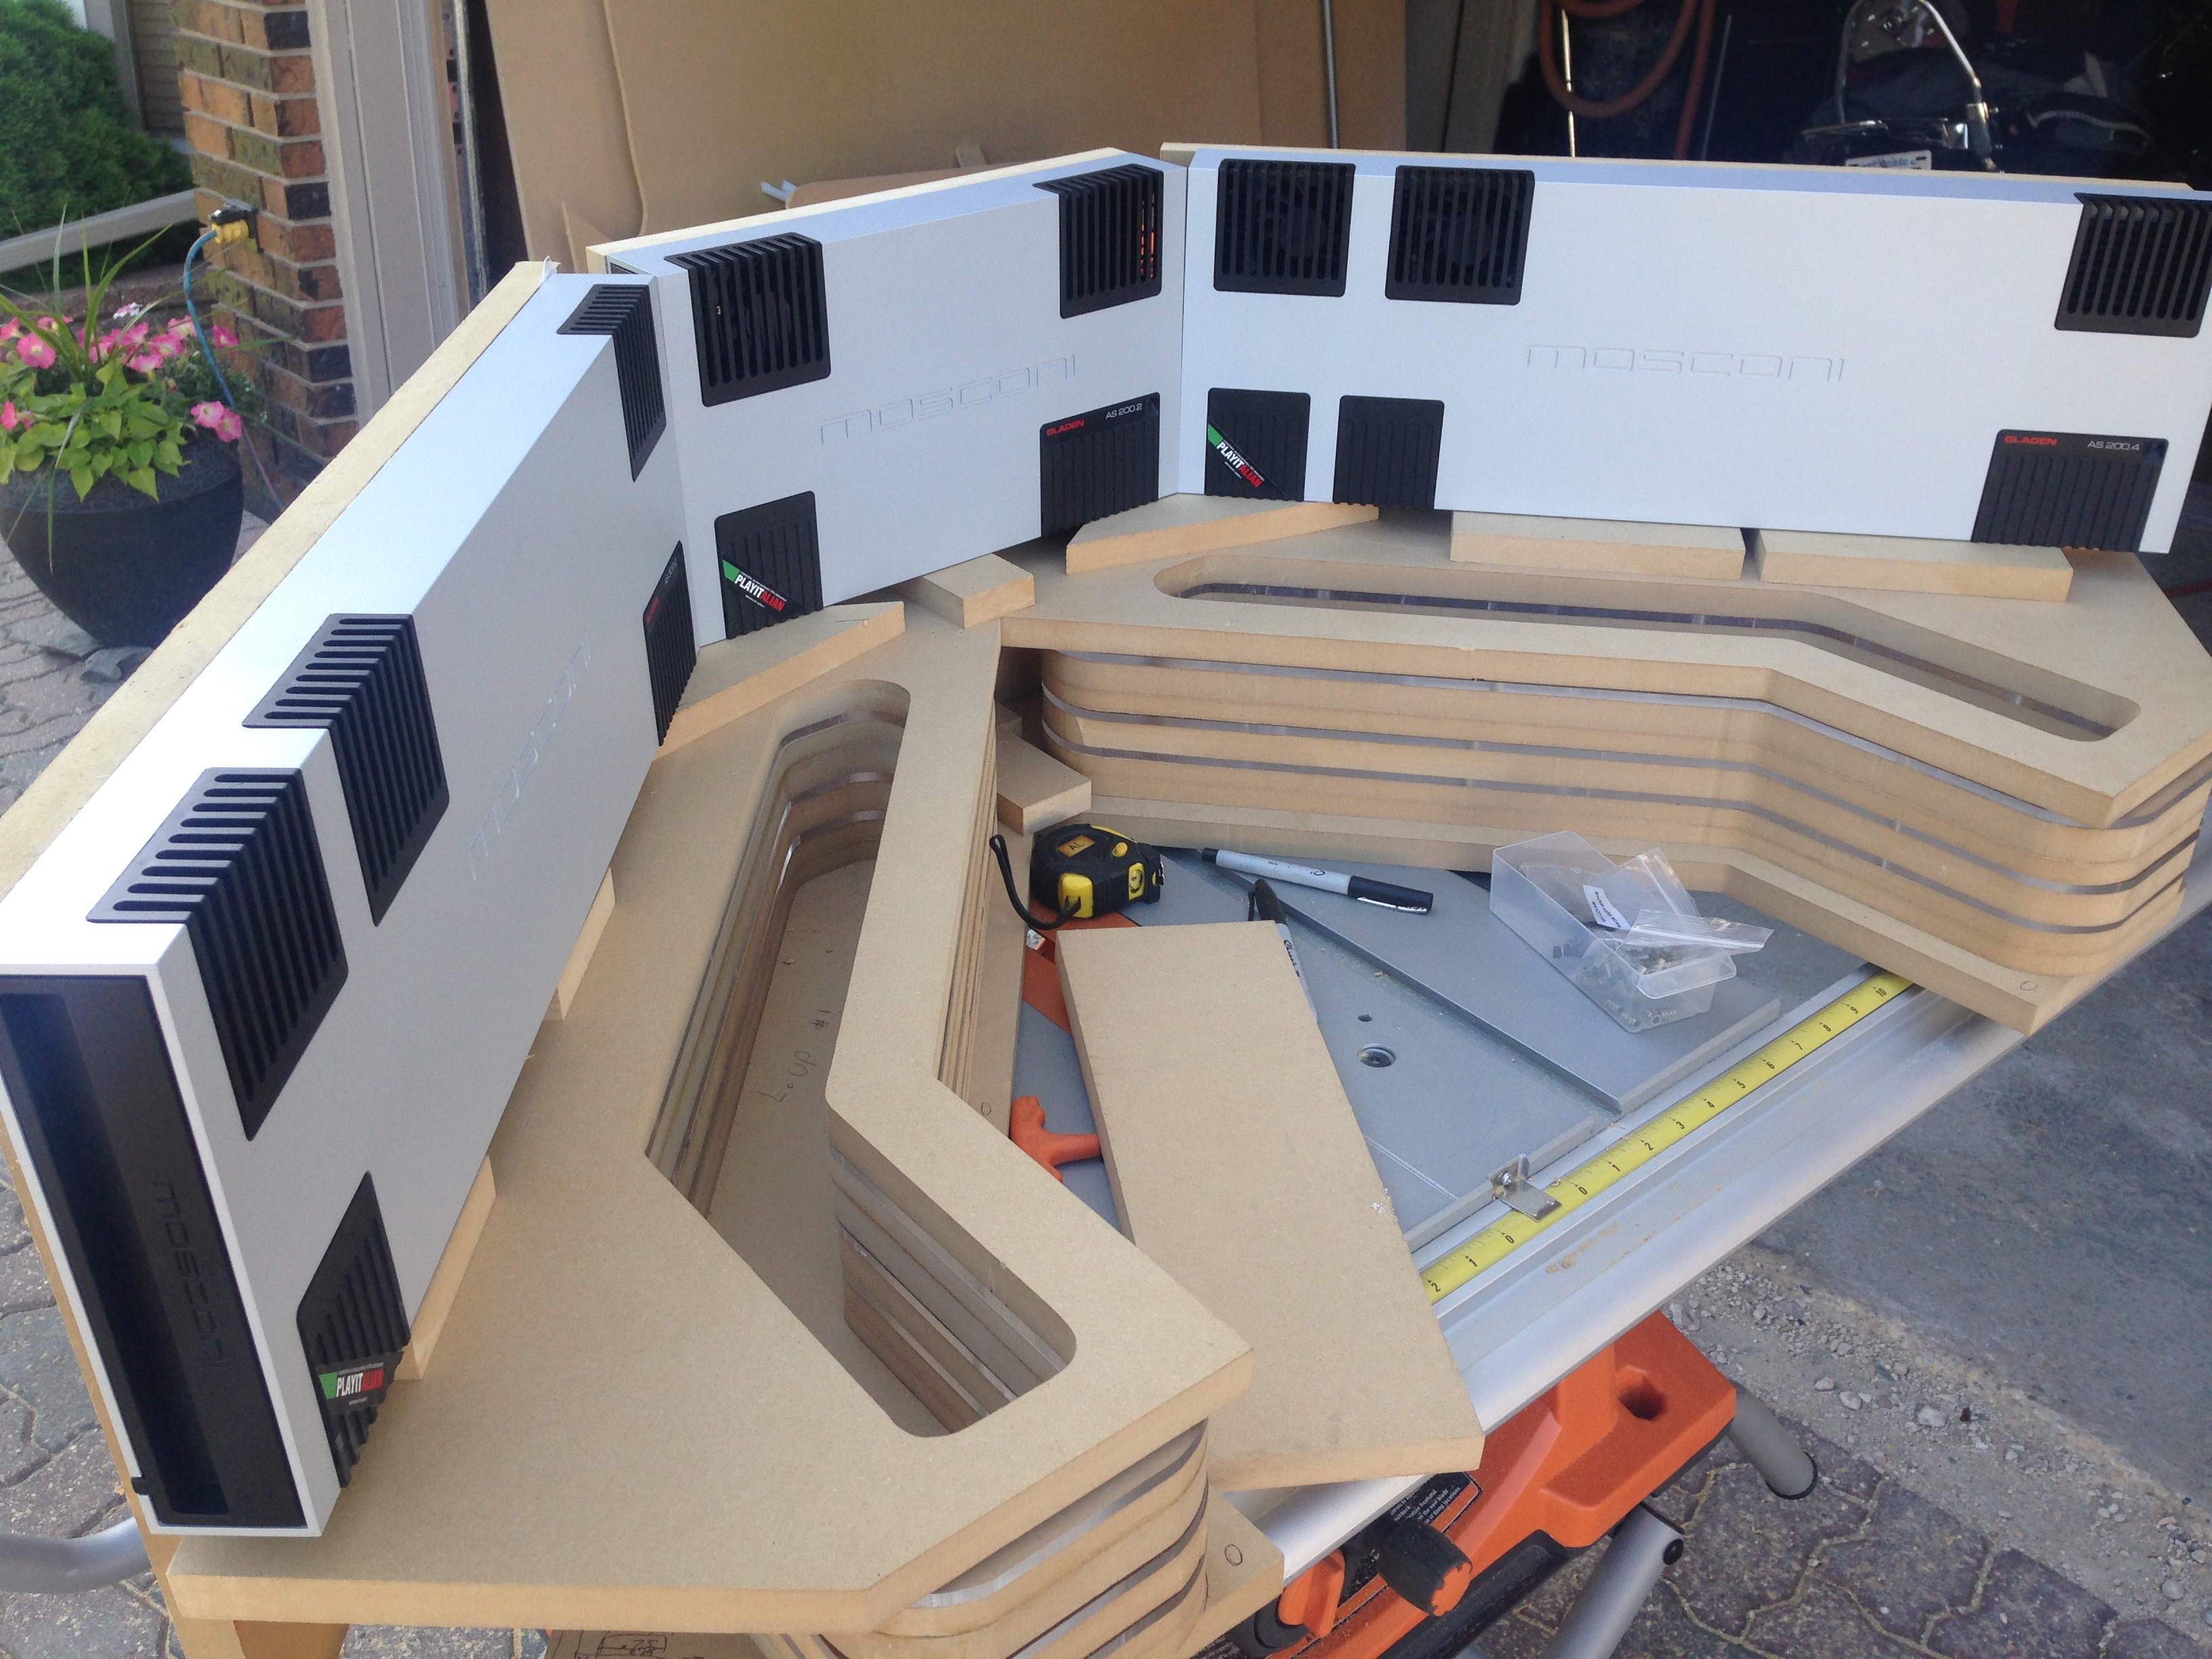
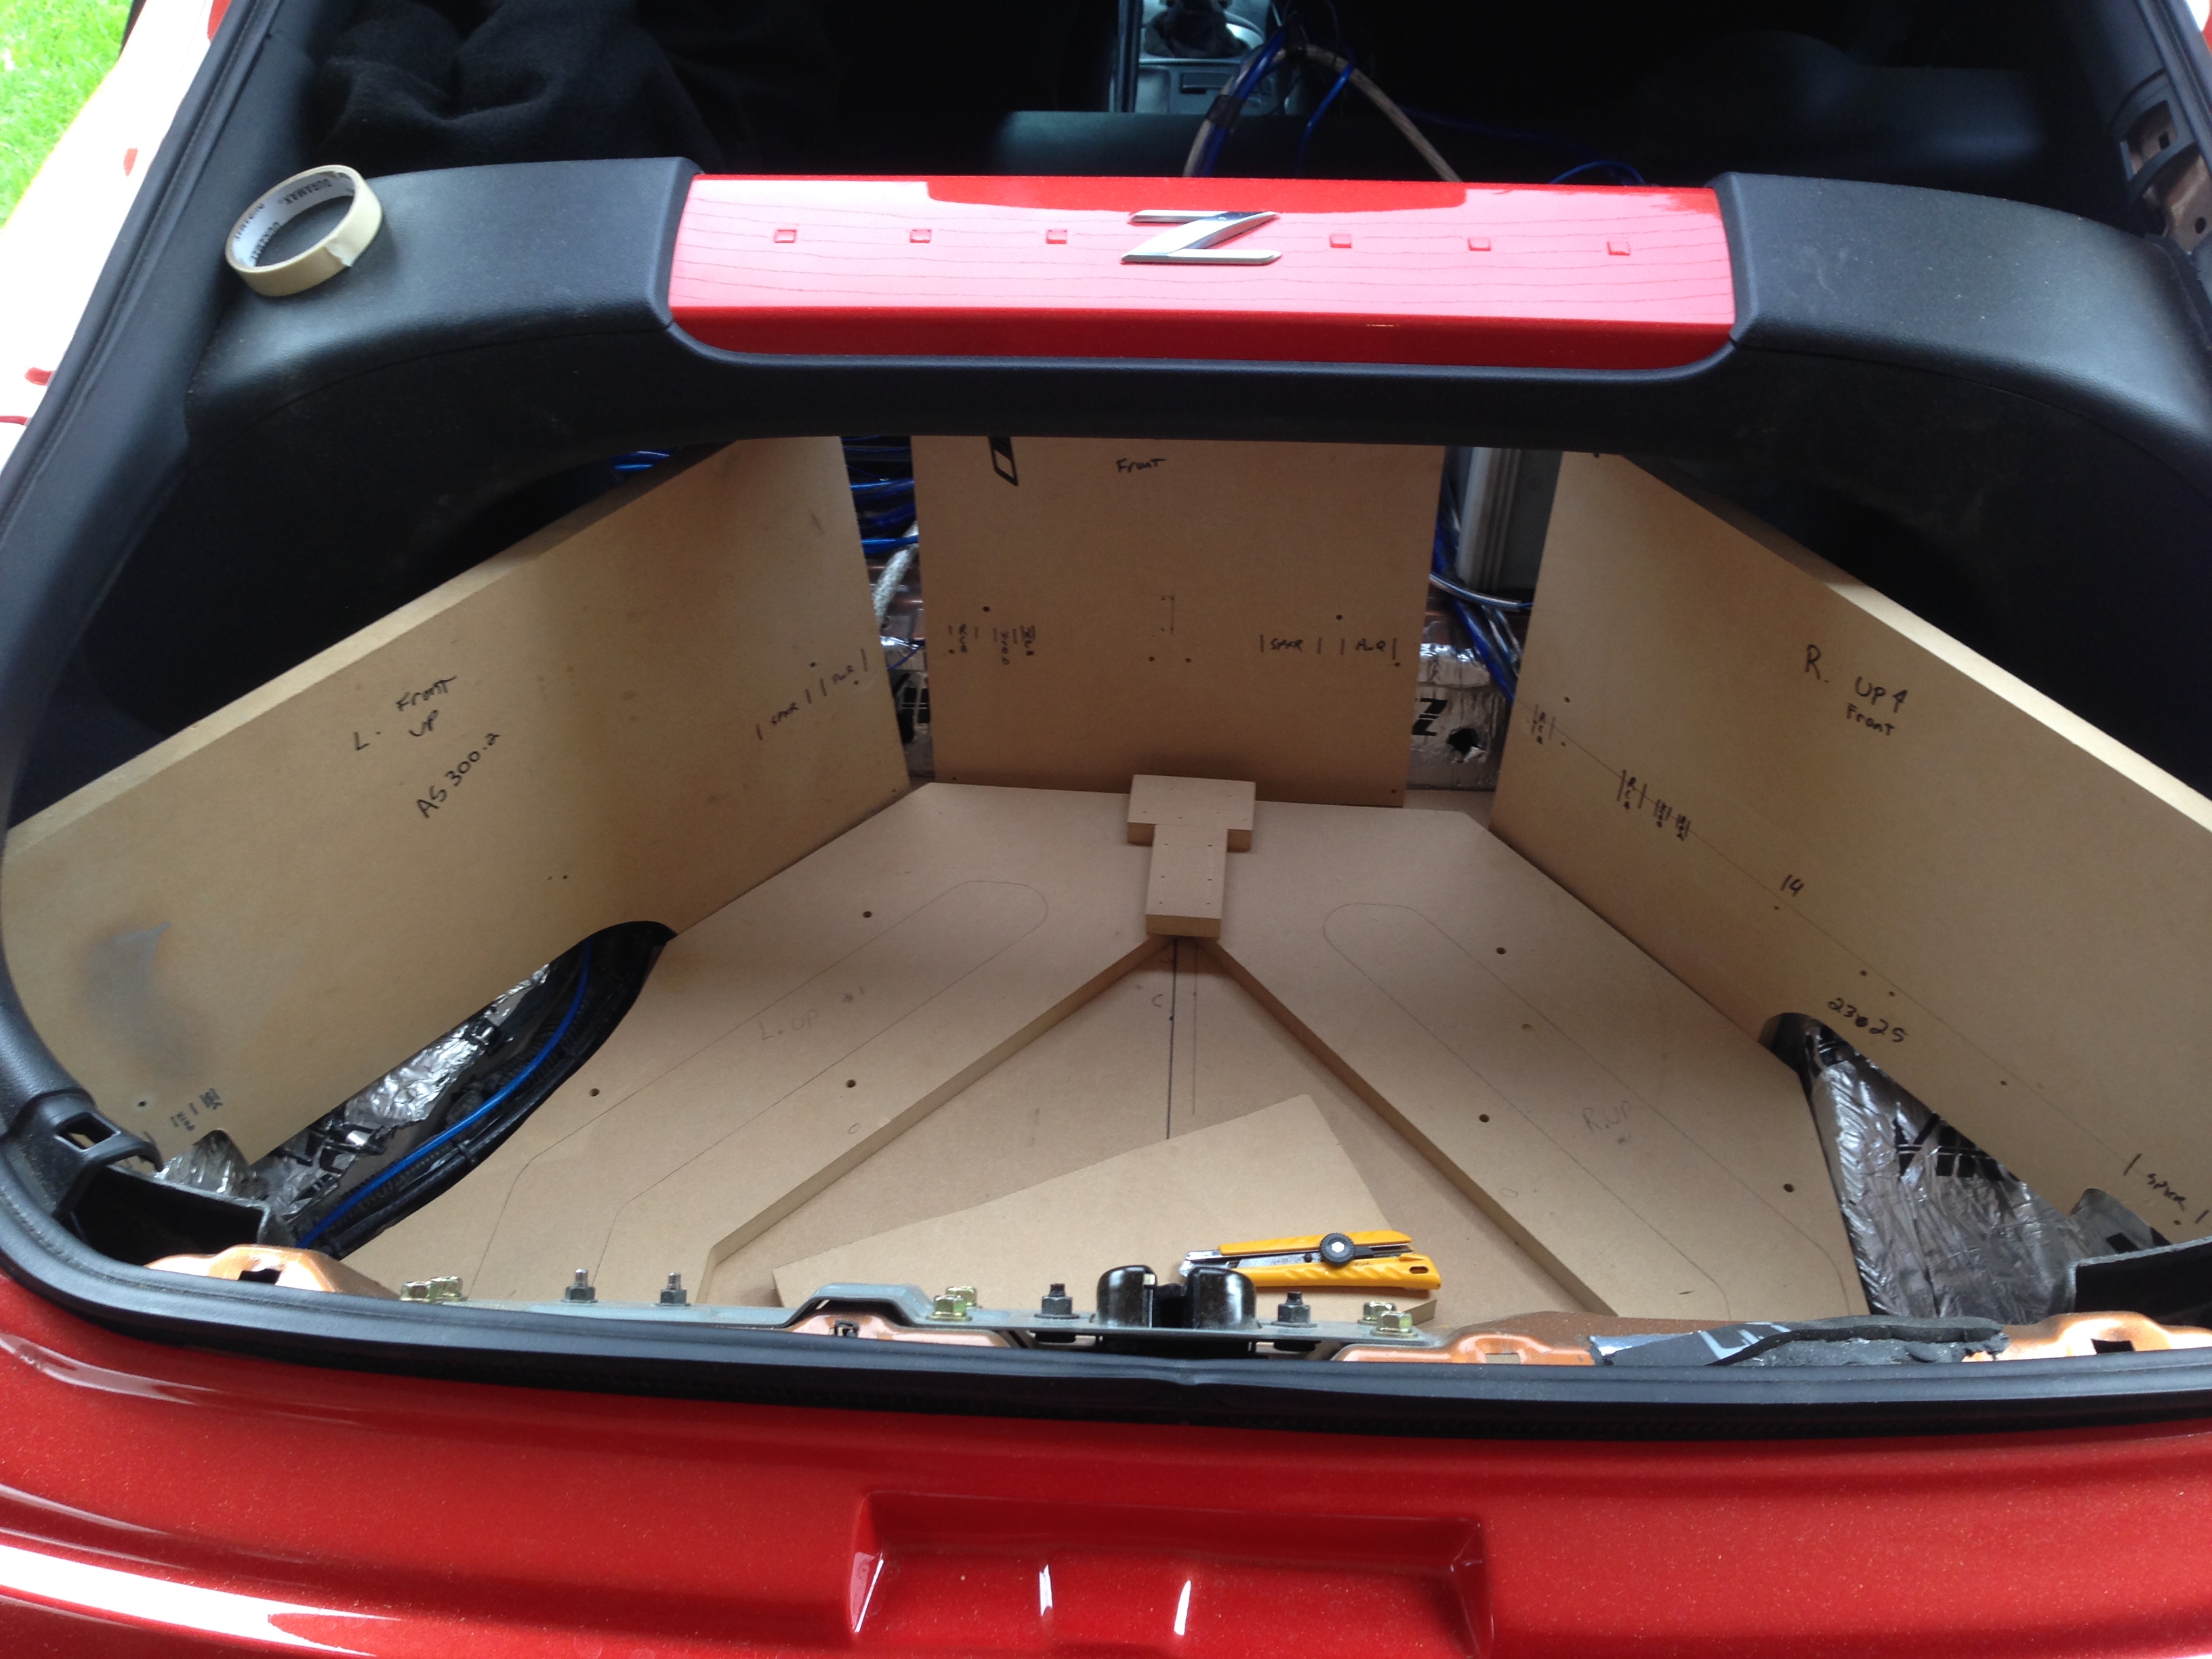
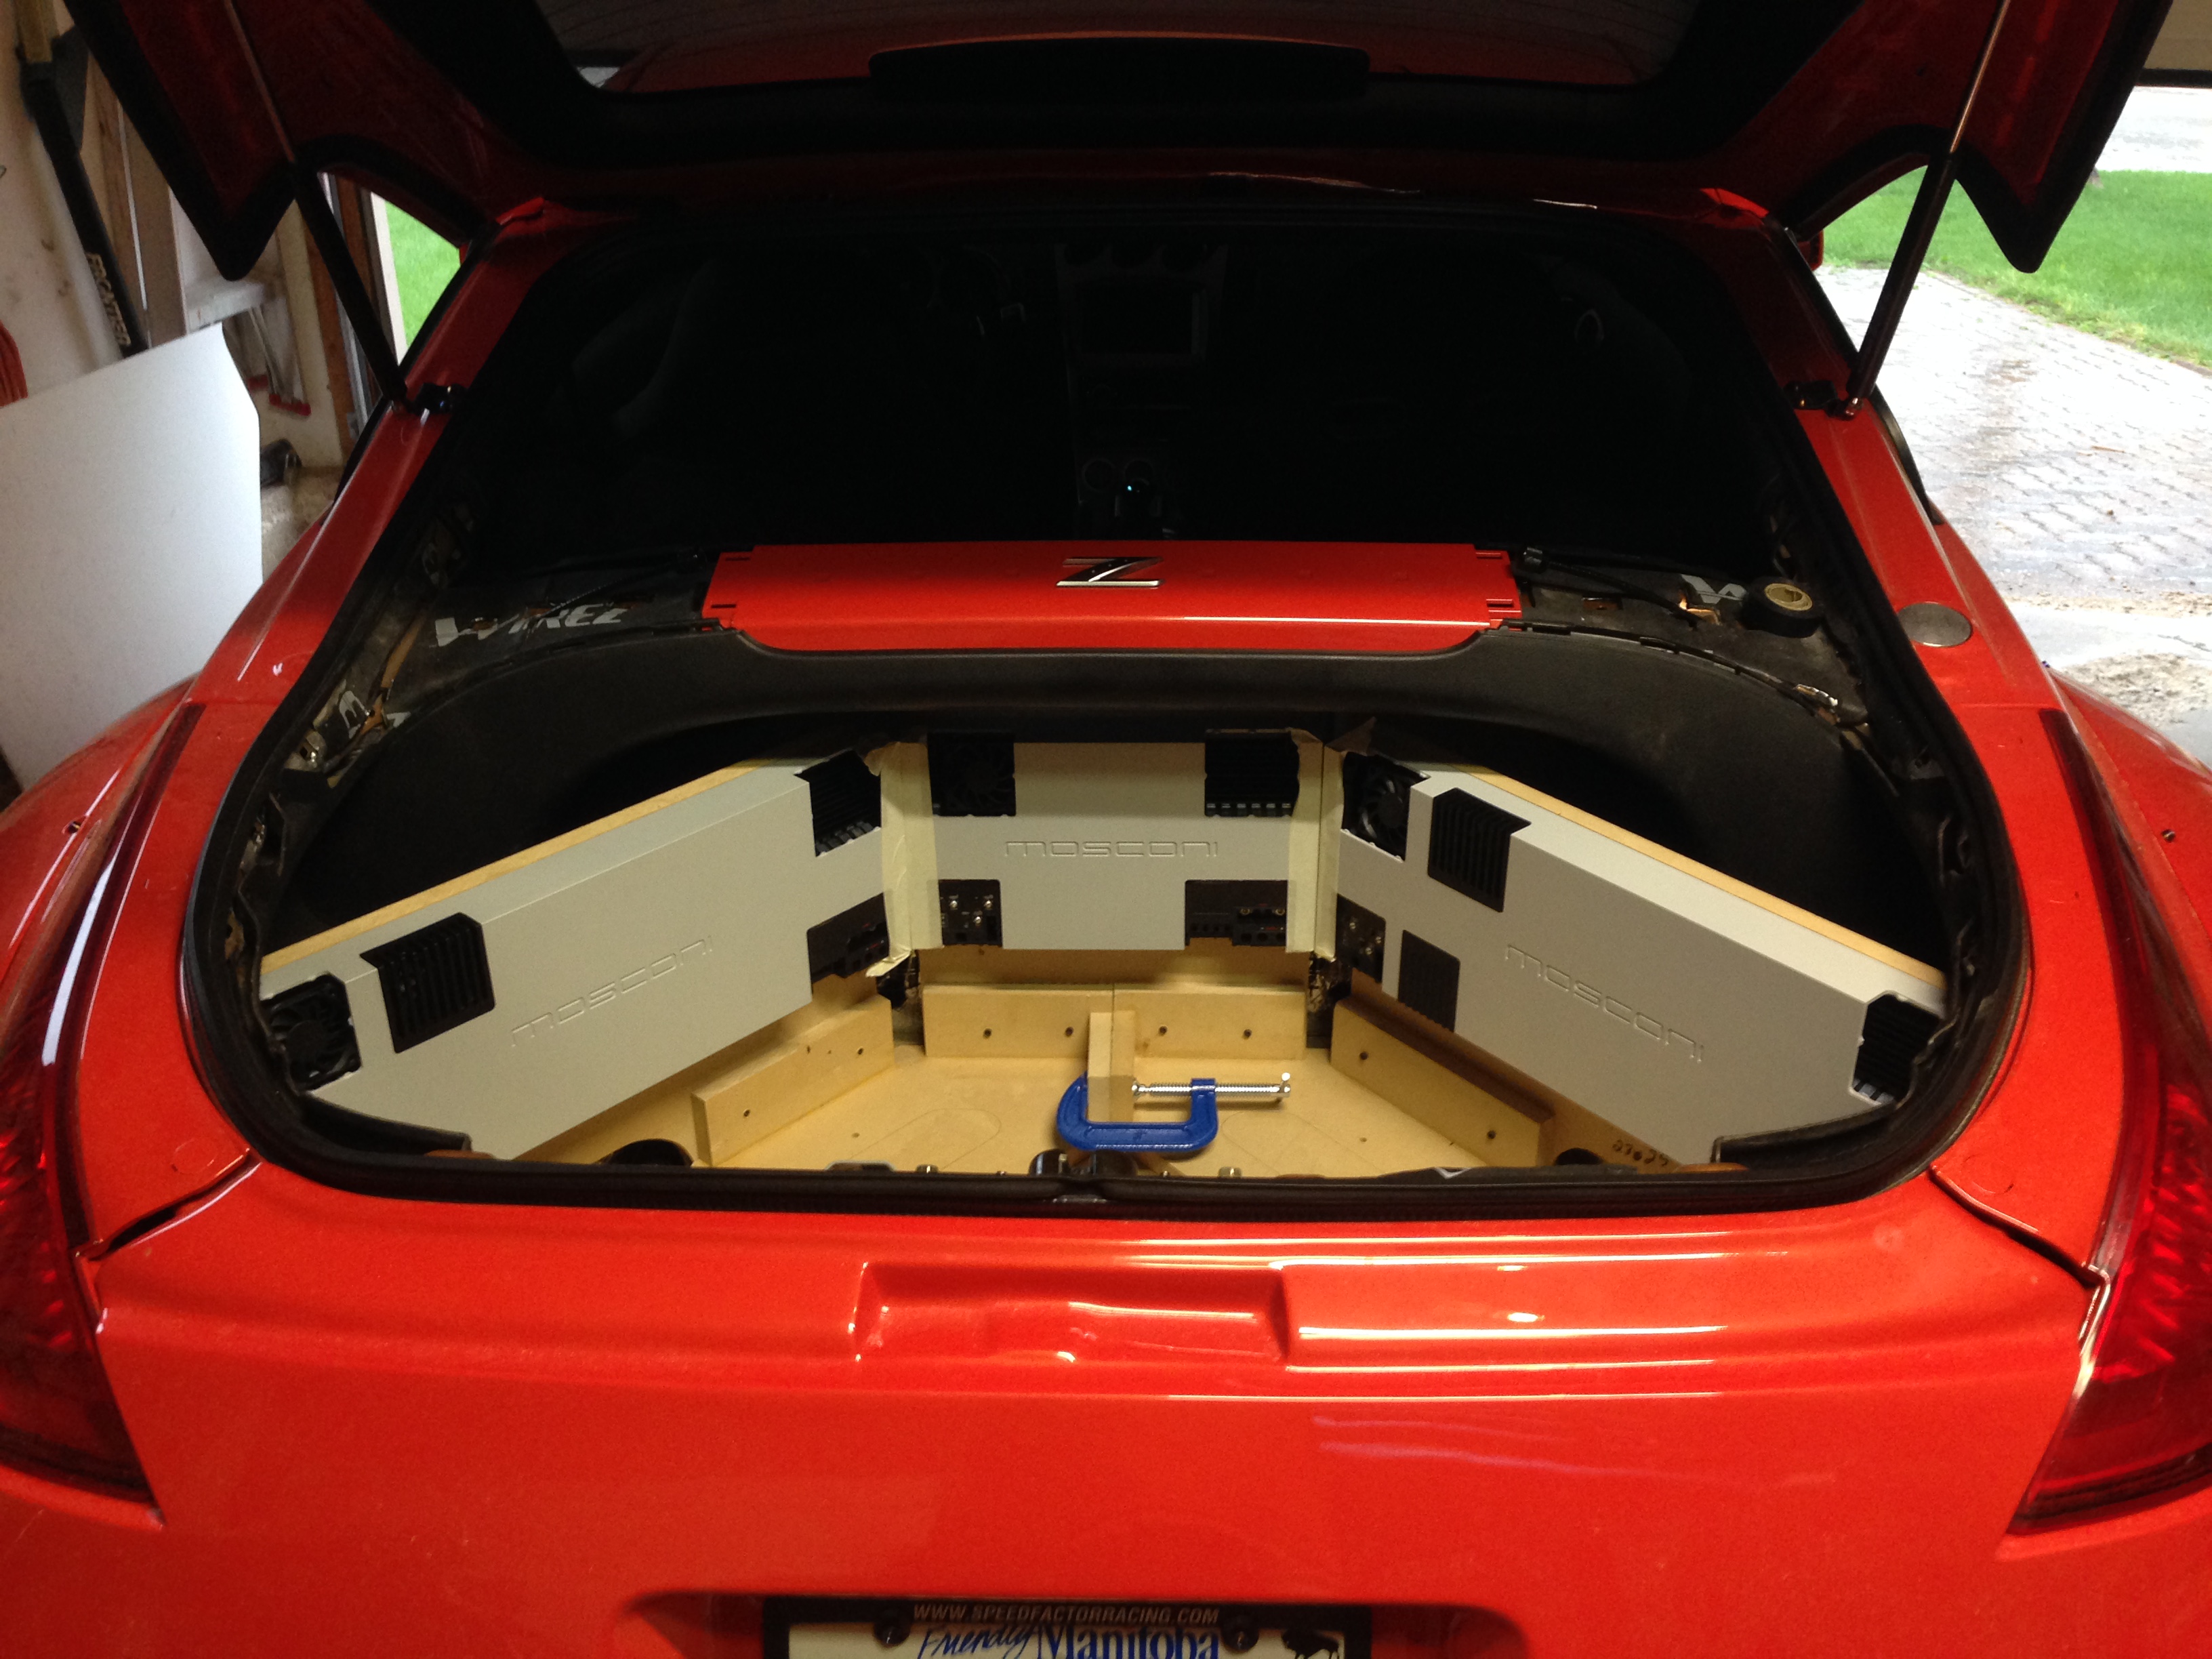
Getting everything centered in the car before I bolt it onto the base plate and to the car.
I need to go get some longer M6 screws for the stacks for the trenches tomorrow.
This is the two bases of the trenches. The two scraps of wood holding them together is just temporary to make things easier to work with. The amp back boards aren't bolted on yet in this pic.

Pulled out and stacked with the amps sitting on top.


Getting everything centered in the car before I bolt it onto the base plate and to the car.

Thread Starter
Registered User
Joined: Sep 2008
Posts: 908
Likes: 28
From: Winnipeg, MB
Starting to assemble the stack with the amps bolted in. The top piece of the stack will bolt to the amp's back plates as well to help support them.
Top pieces in place, as well as the bottom part of the sub enclosure. The space to the rear of the sub enclosure is for two XS Power batteries which are unfortunately on backorder but should be in in a couple weeks.
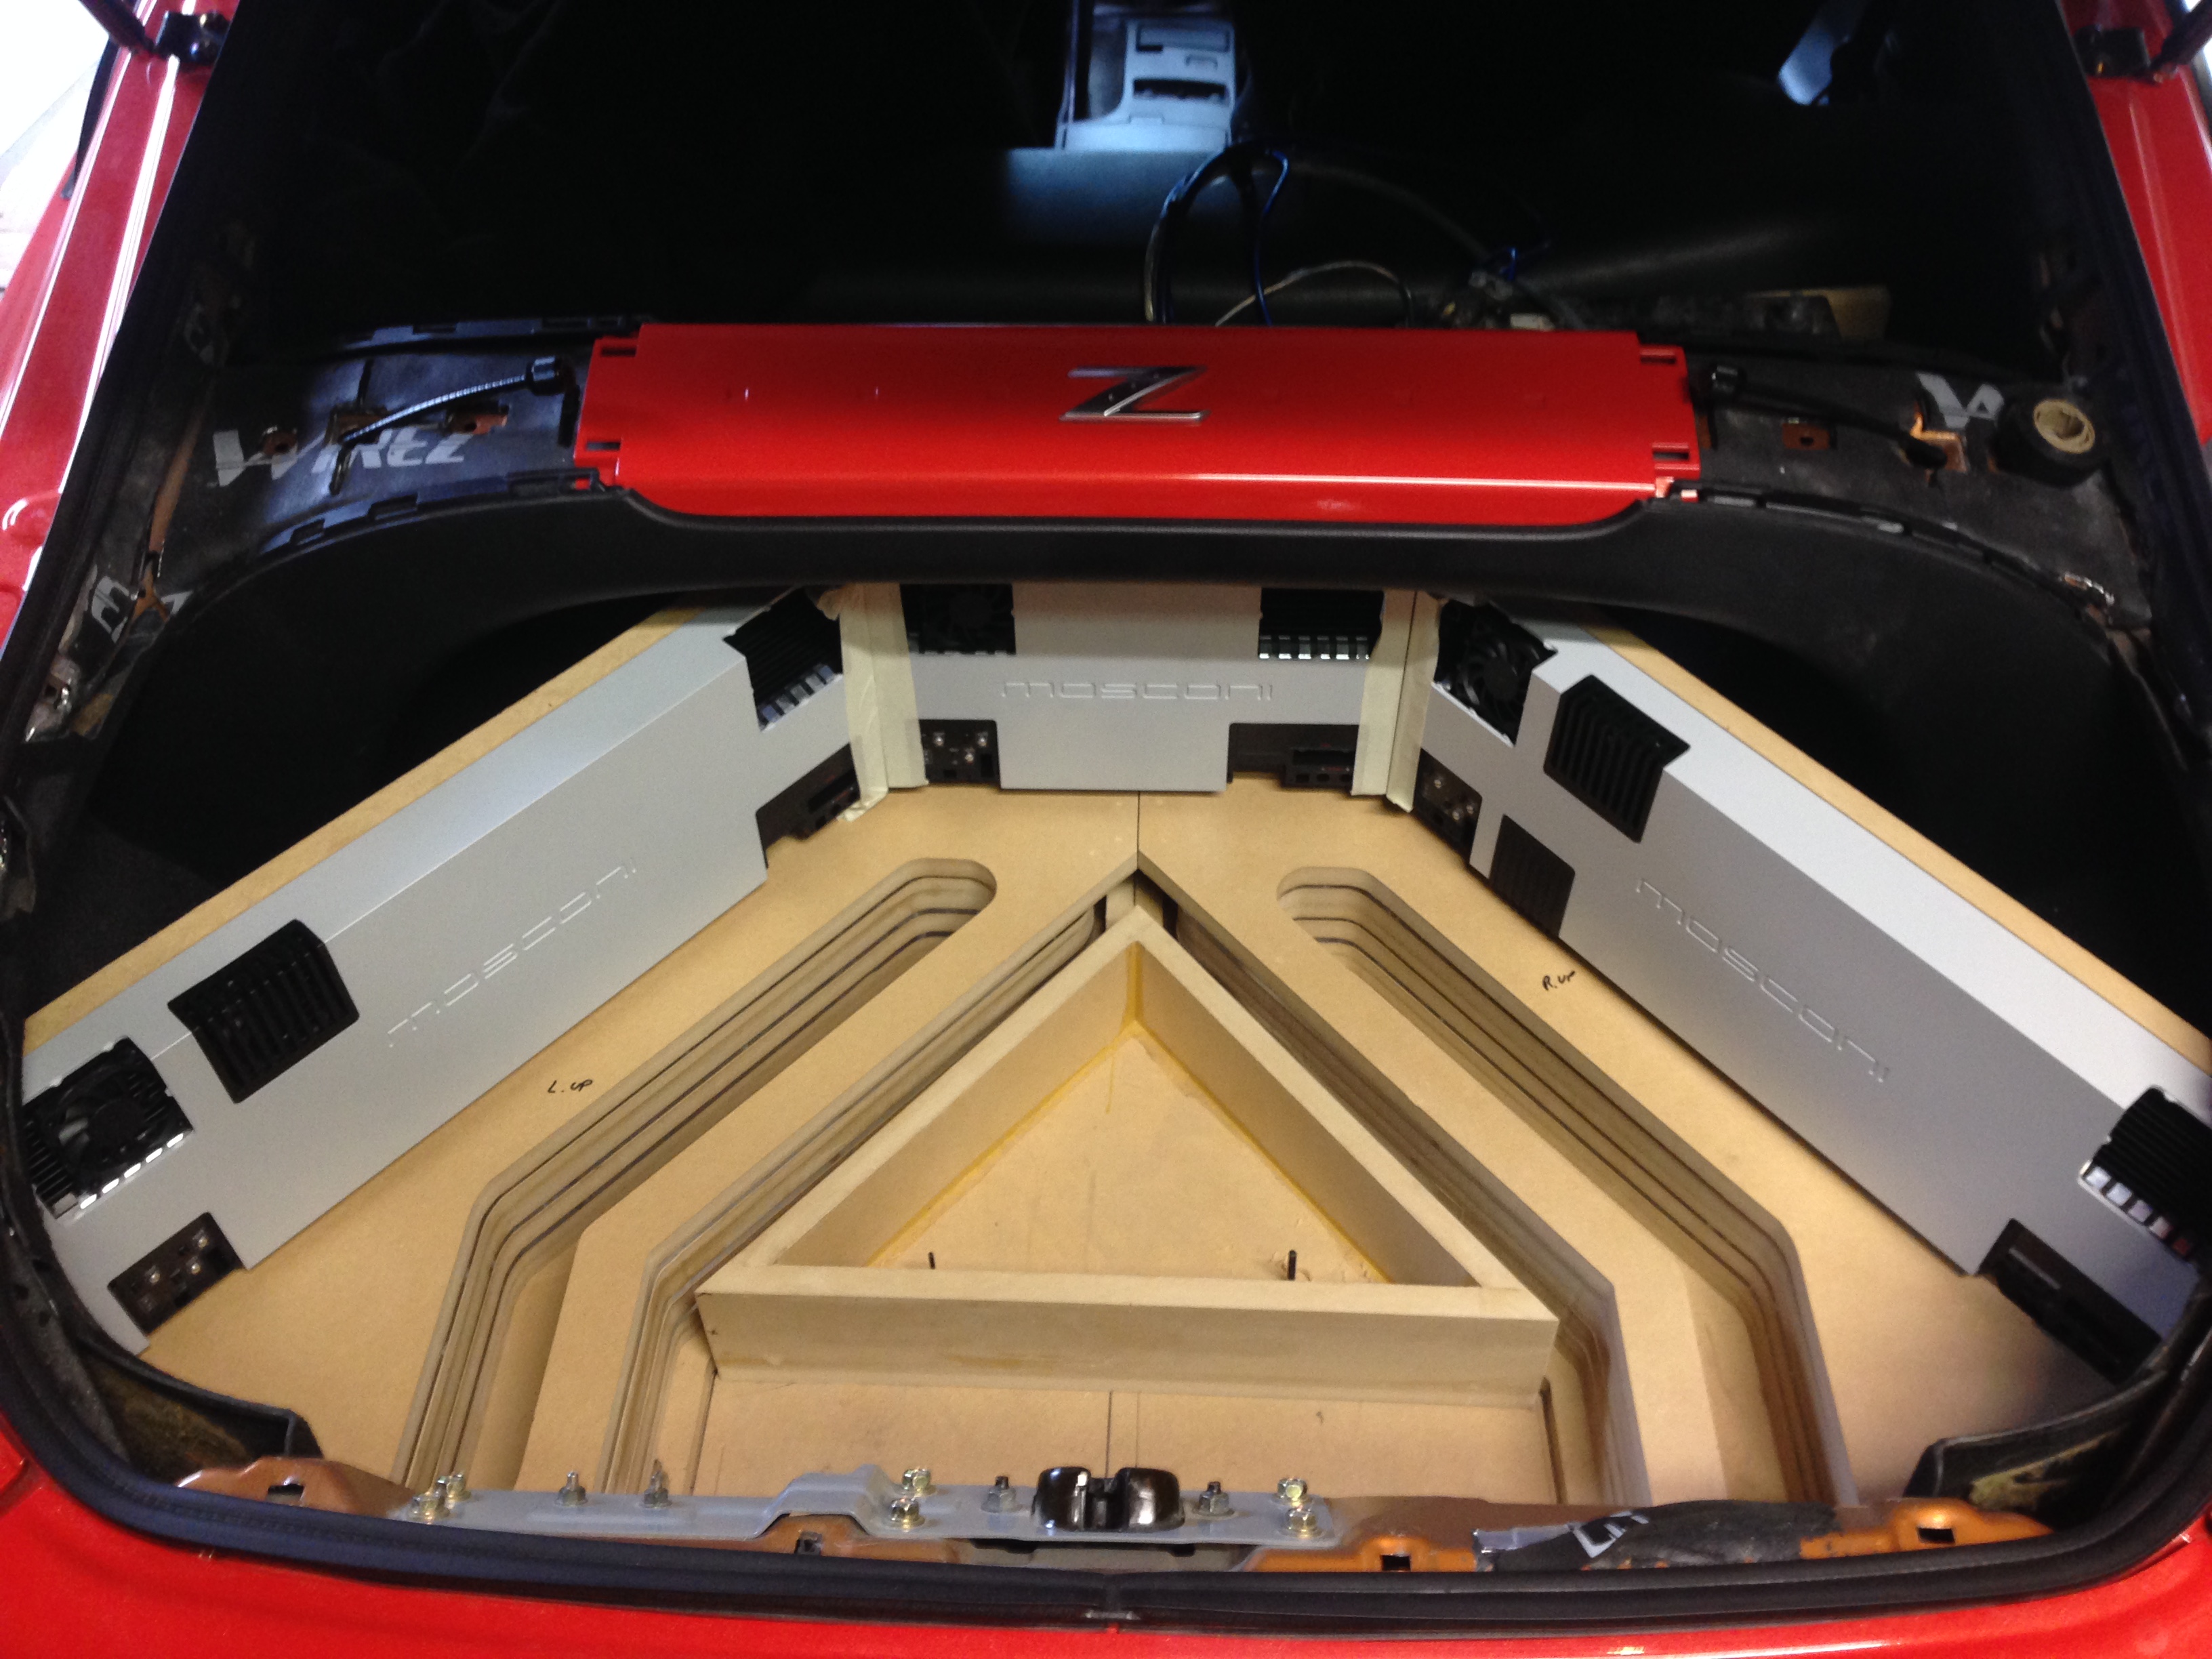
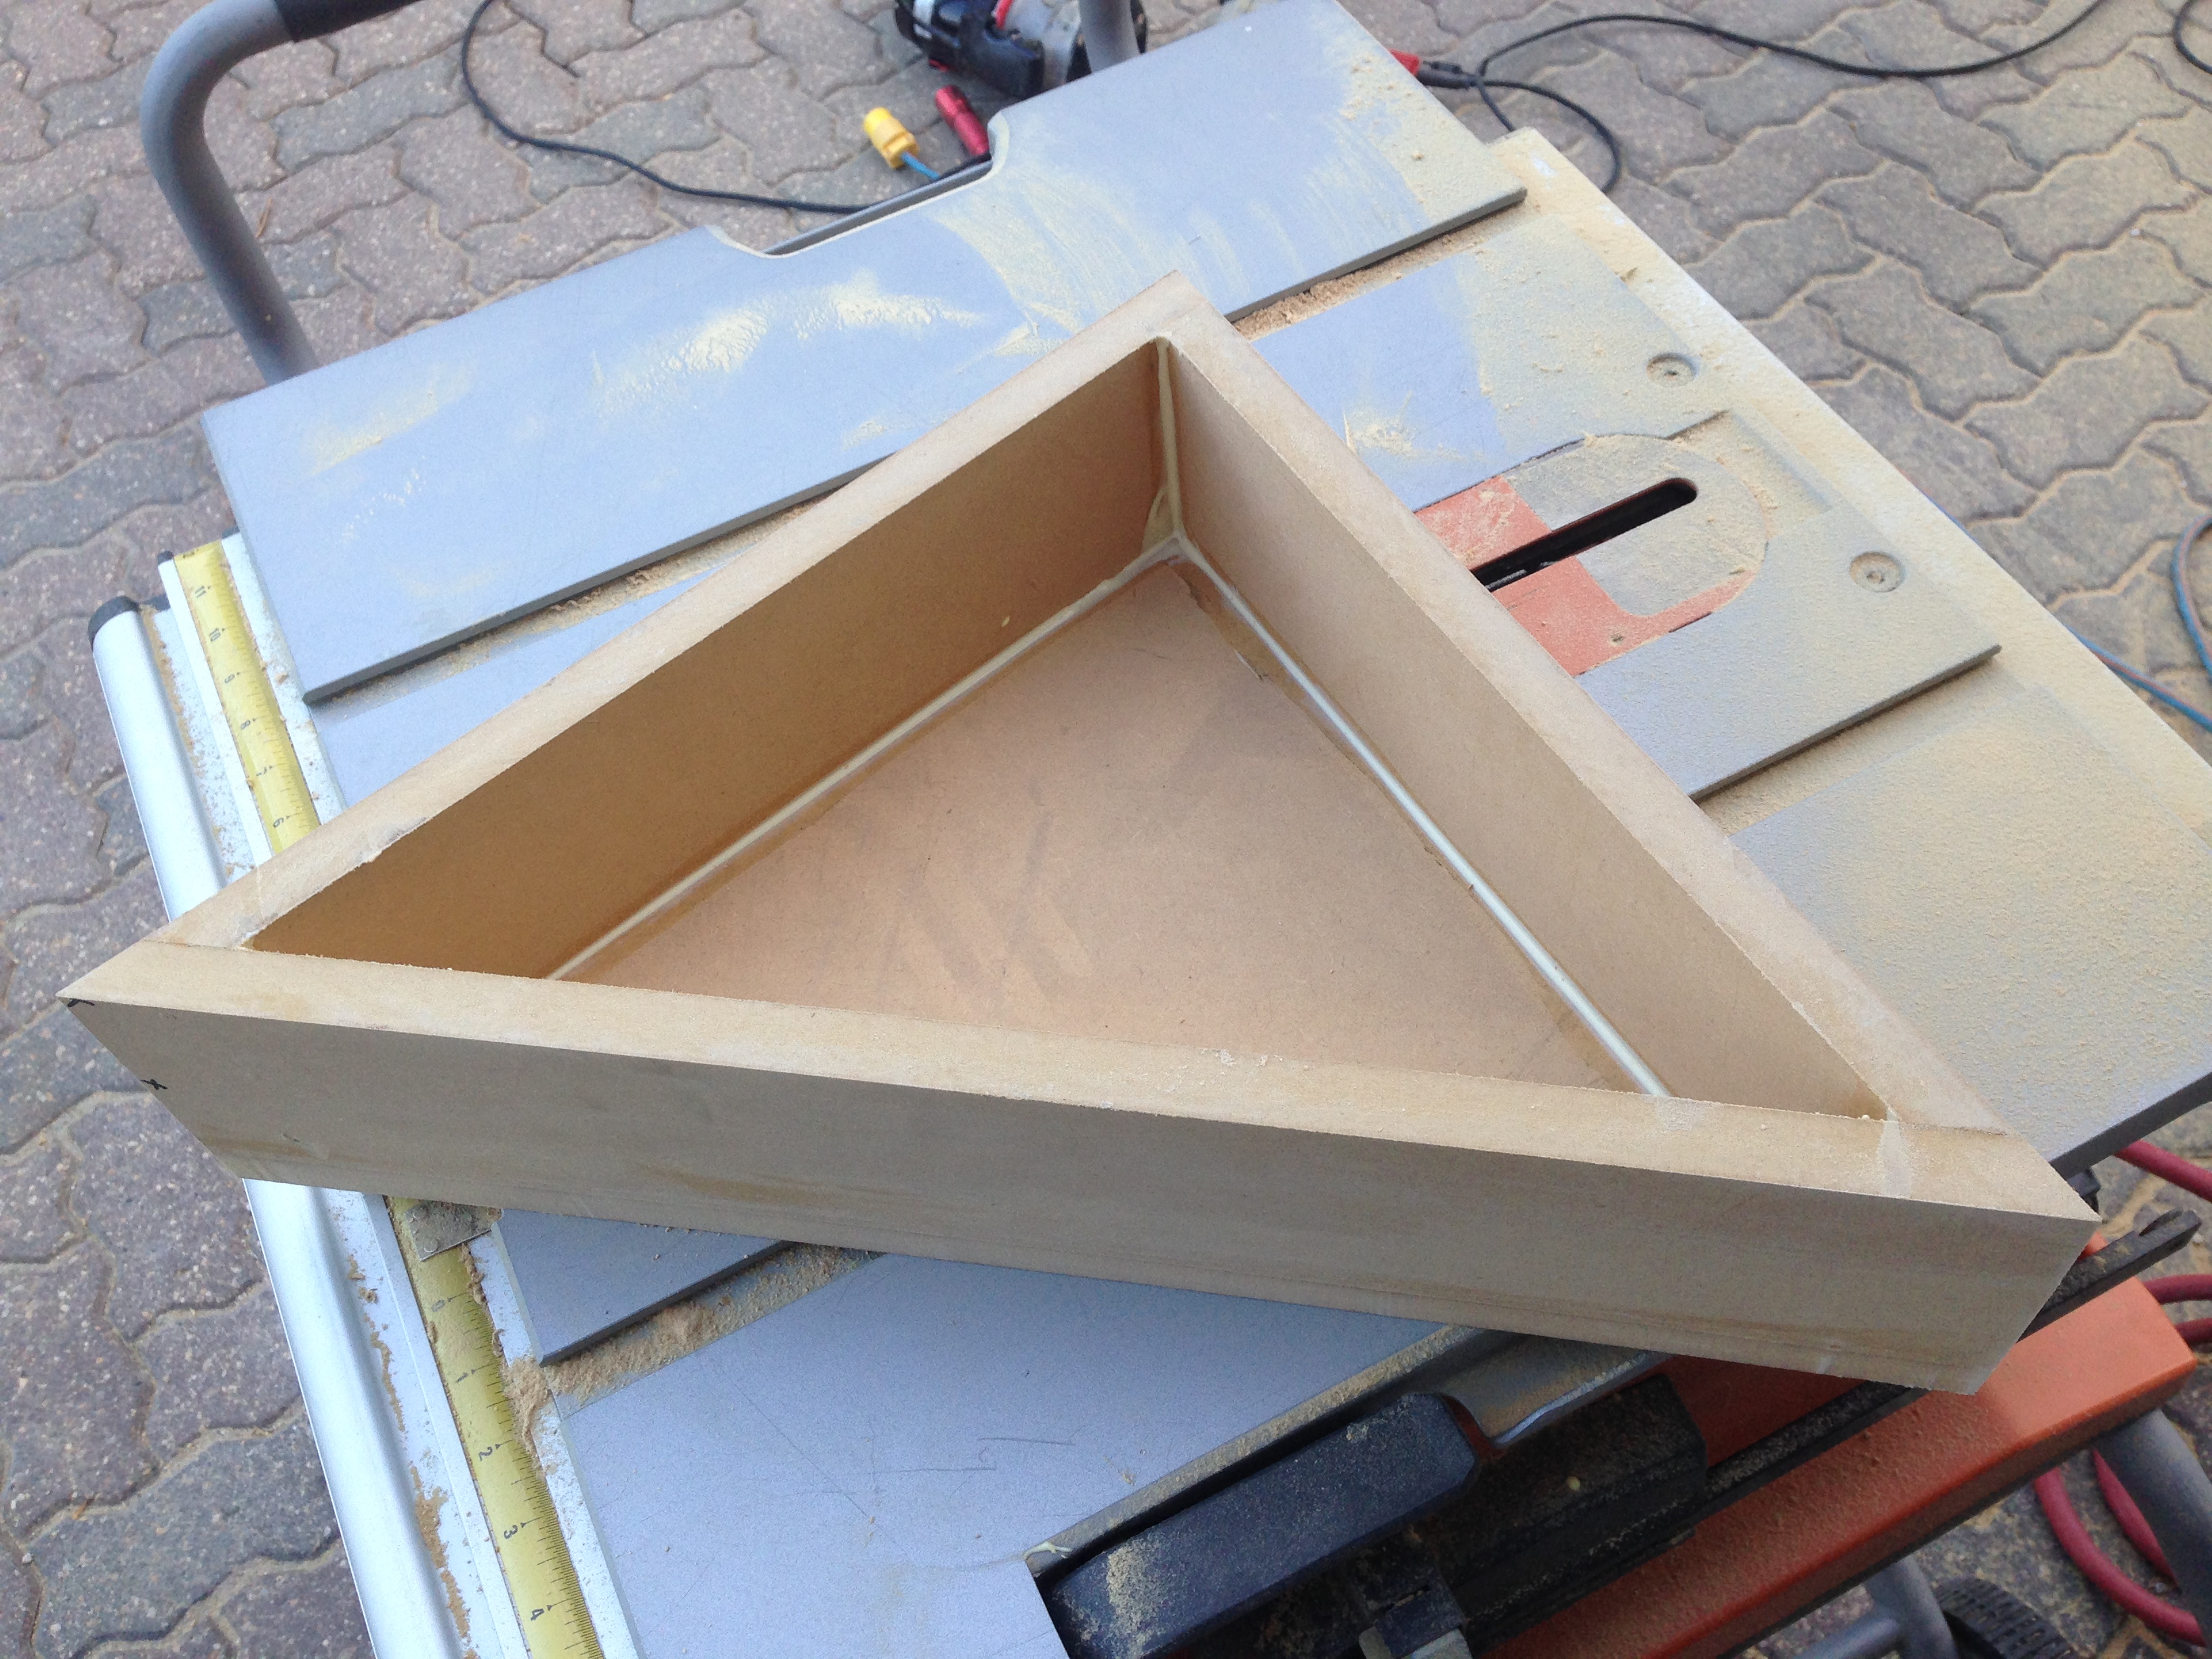
Loose fit without the amps:

I haven't cut angles on a table saw in probably 12 years, and I never was good at it before... Got this one perfect first try!

Top pieces in place, as well as the bottom part of the sub enclosure. The space to the rear of the sub enclosure is for two XS Power batteries which are unfortunately on backorder but should be in in a couple weeks.

Loose fit without the amps:

I haven't cut angles on a table saw in probably 12 years, and I never was good at it before... Got this one perfect first try!


Damn were you super busy today or what, I couldnt even get my front emblem squared away in one day... Glad you didnt go with the motorized moving amps... Still dont know how in the world your going to get them all wired up.
You get this audio all squared away? Did you remove all those unnecessary wire harnesses in the back like the bose amp one and the mystery satellite radio one on the passenger side?

Thread Starter
Registered User
Joined: Sep 2008
Posts: 908
Likes: 28
From: Winnipeg, MB
This thread is quite out of date lol, let me dig up some finished pics of this trunk.
I've actually torn it all apart to change it already
")


Thread Starter
Registered User
Joined: Sep 2008
Posts: 908
Likes: 28
From: Winnipeg, MB
