
Al's 400rwhp, Stardast Flared, Shaved Bay, Bagged Z Build Thread


Thread Starter
Registered User
Joined: Sep 2008
Posts: 908
Likes: 28
From: Winnipeg, MB
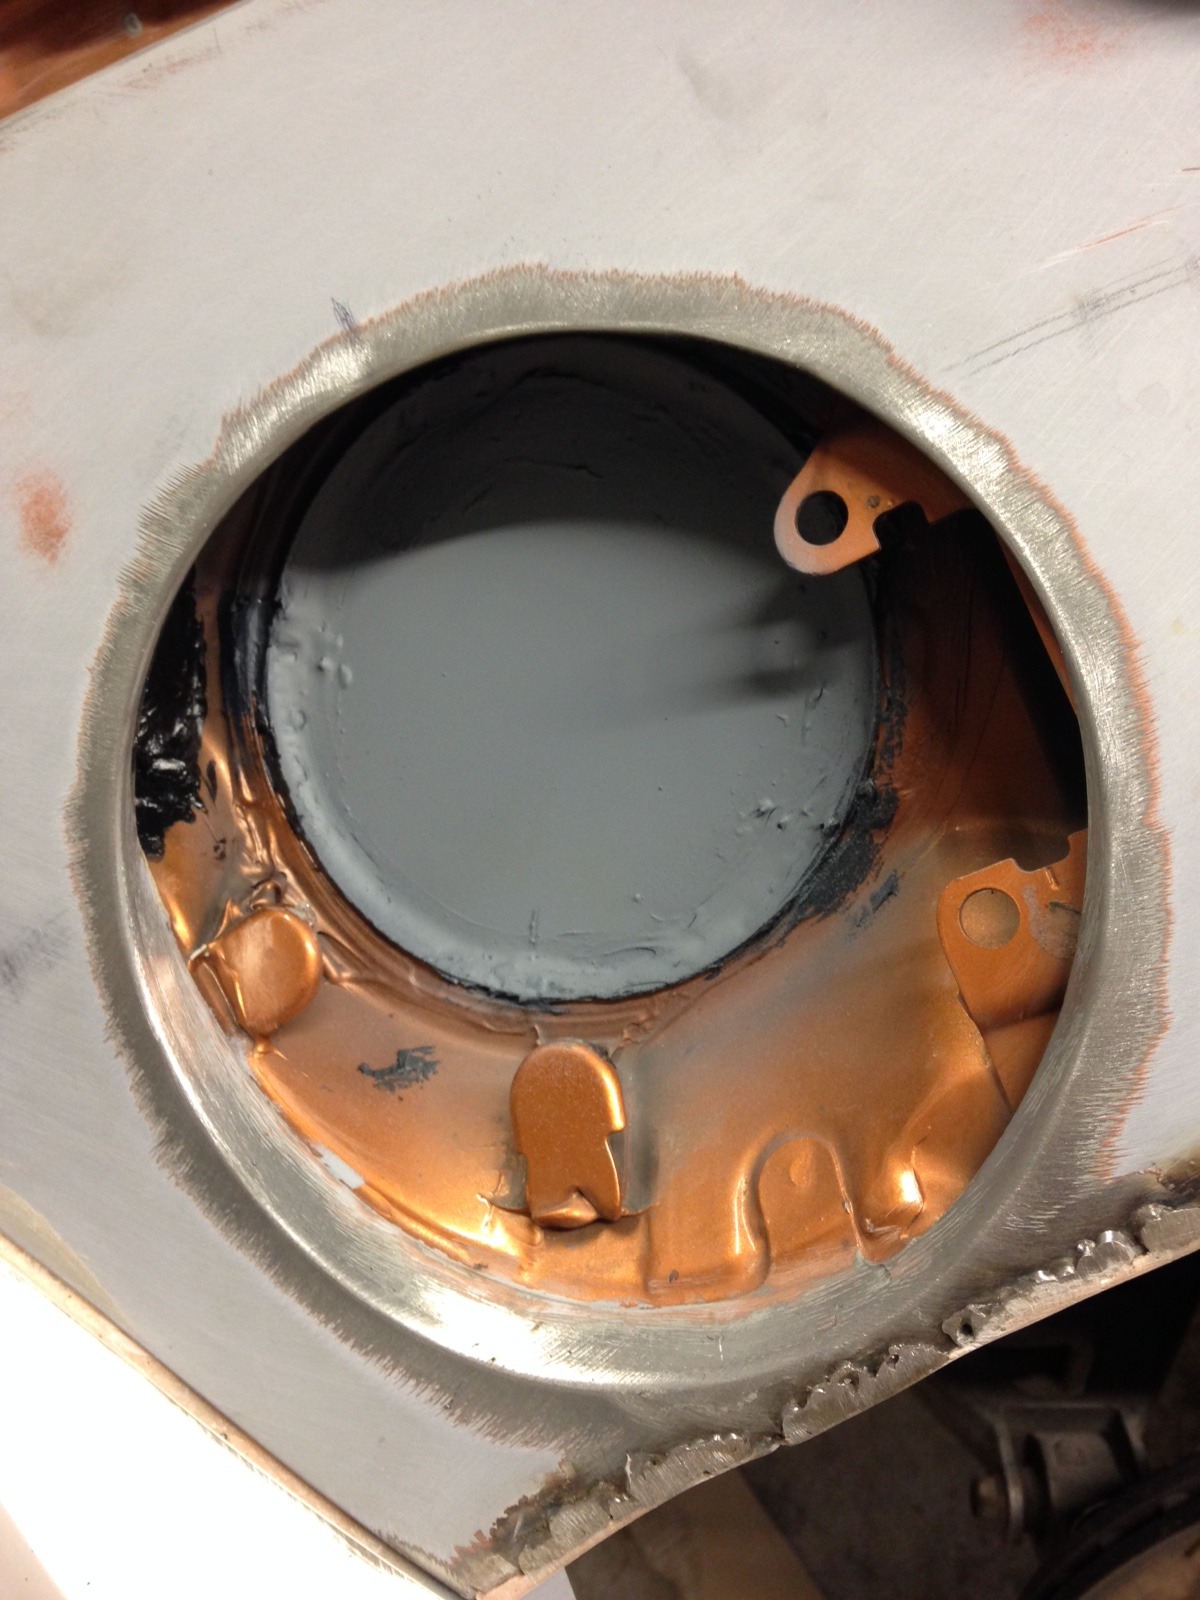
Now a couple pics shaving the gas filler door on the fender.
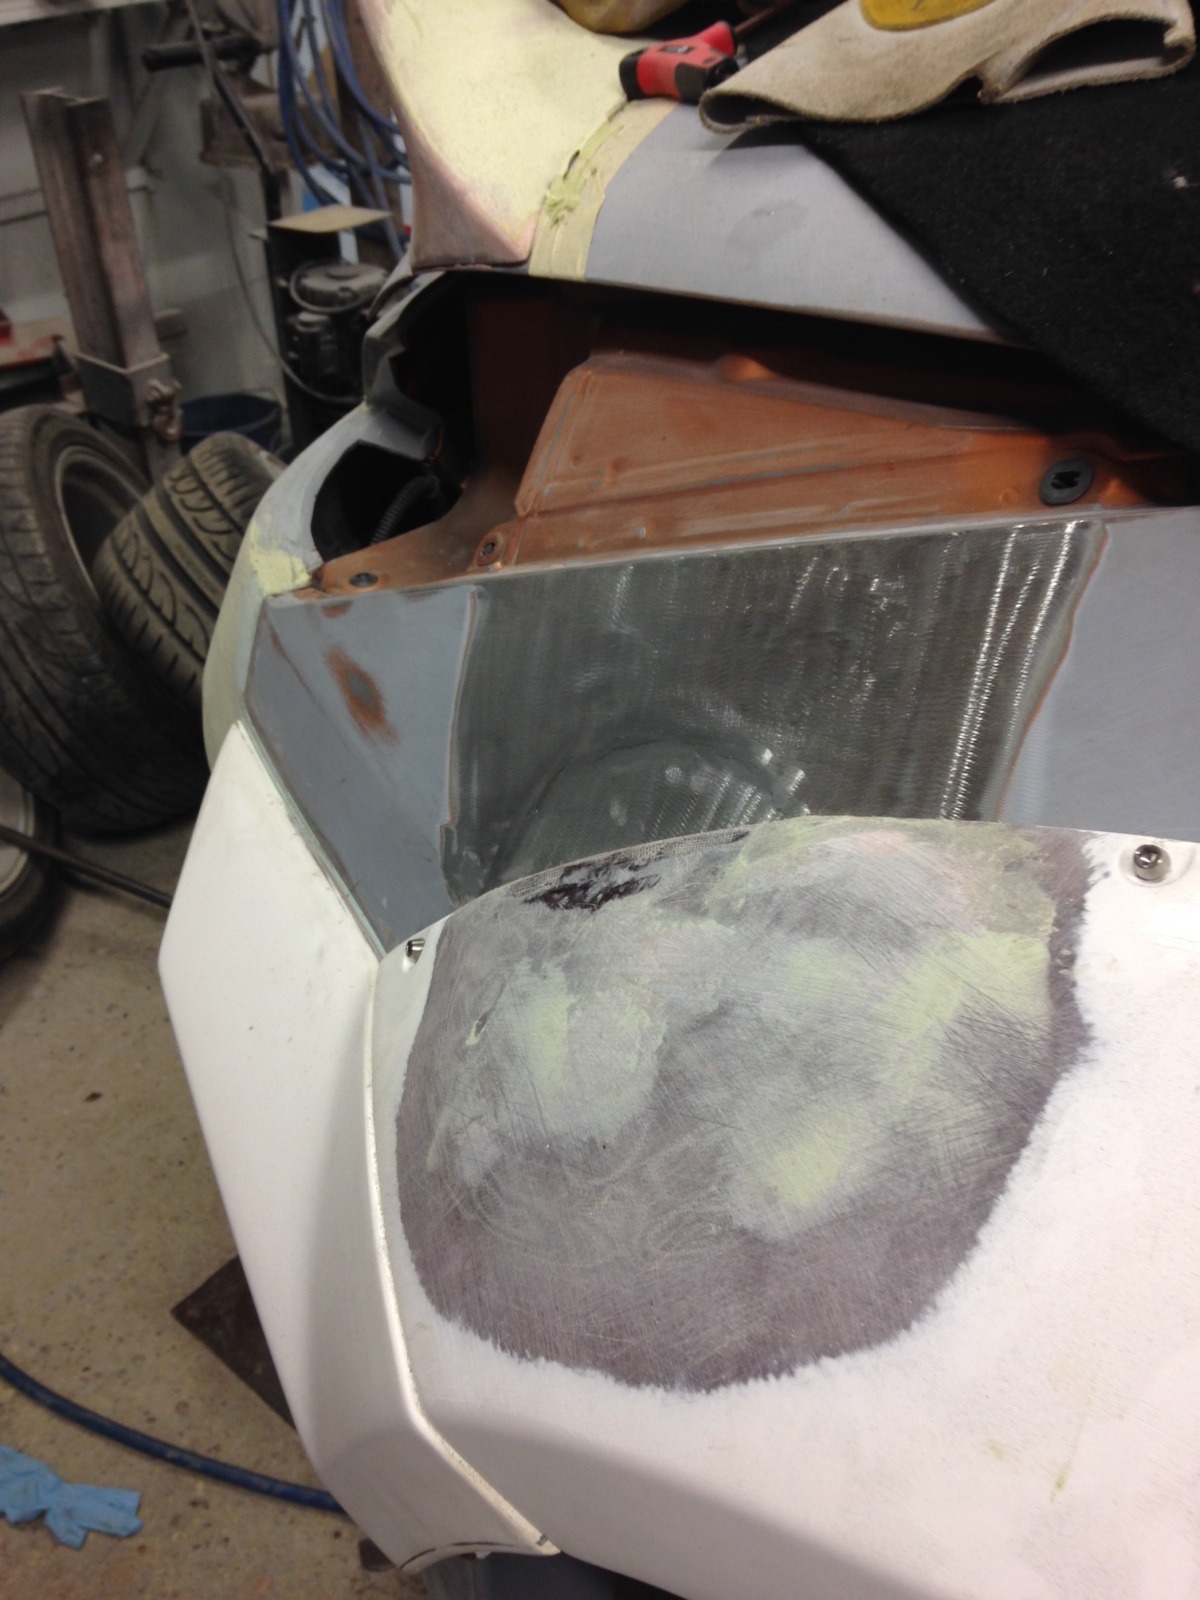
First we made a metal seal to fill the hole from the inner wheel well where the filler tube went through. We glued it in with rubber seam sealer / body adhesive. Once it was dry, we refinished the inside of the wheel well with rubberized undercoat. You'd have a hard time finding the old filler spot from the wheel well now. Looks like a factory wheel well. We also prepped the edge of the fender for welding.
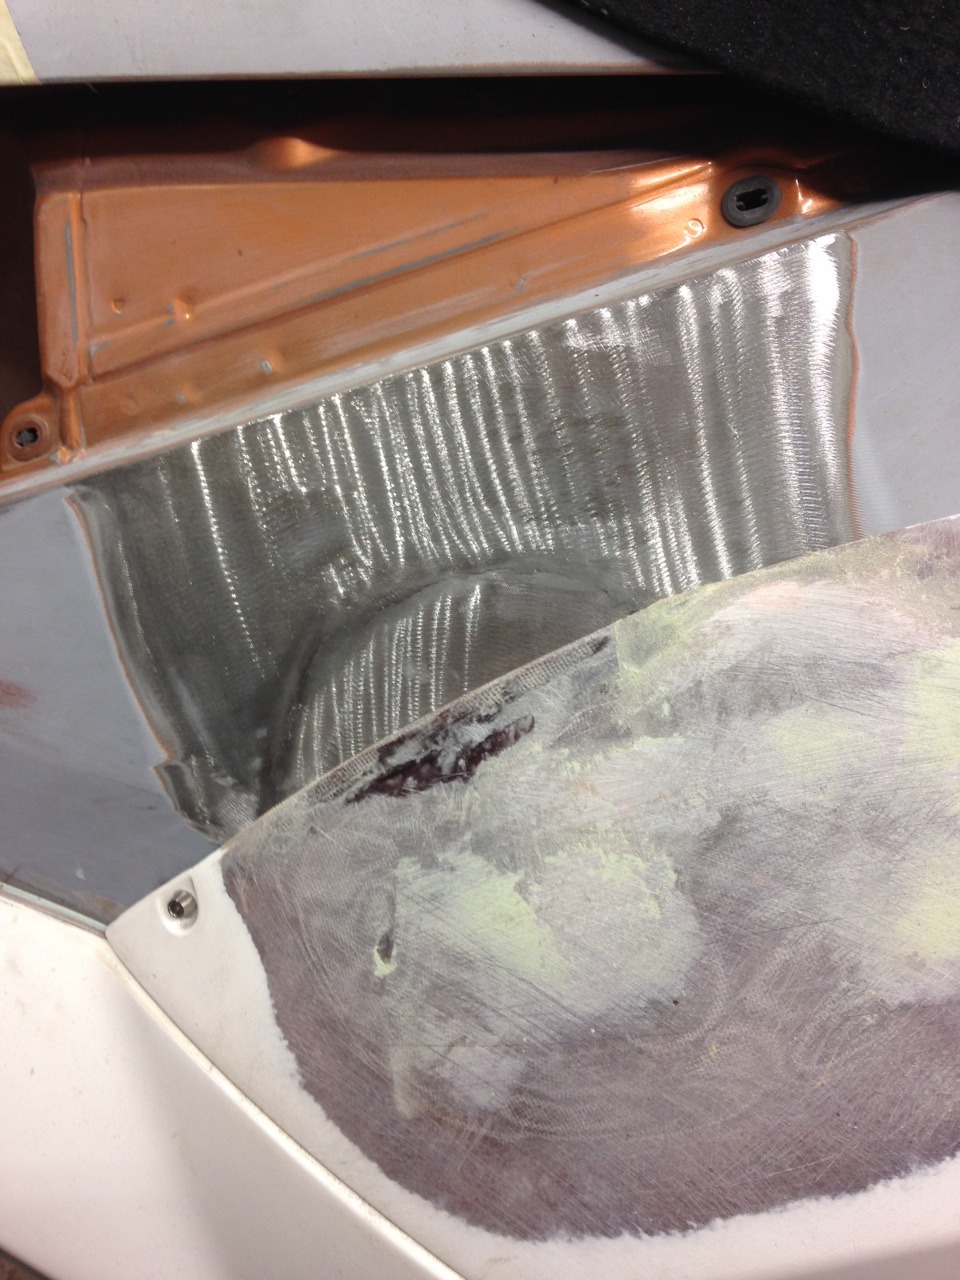
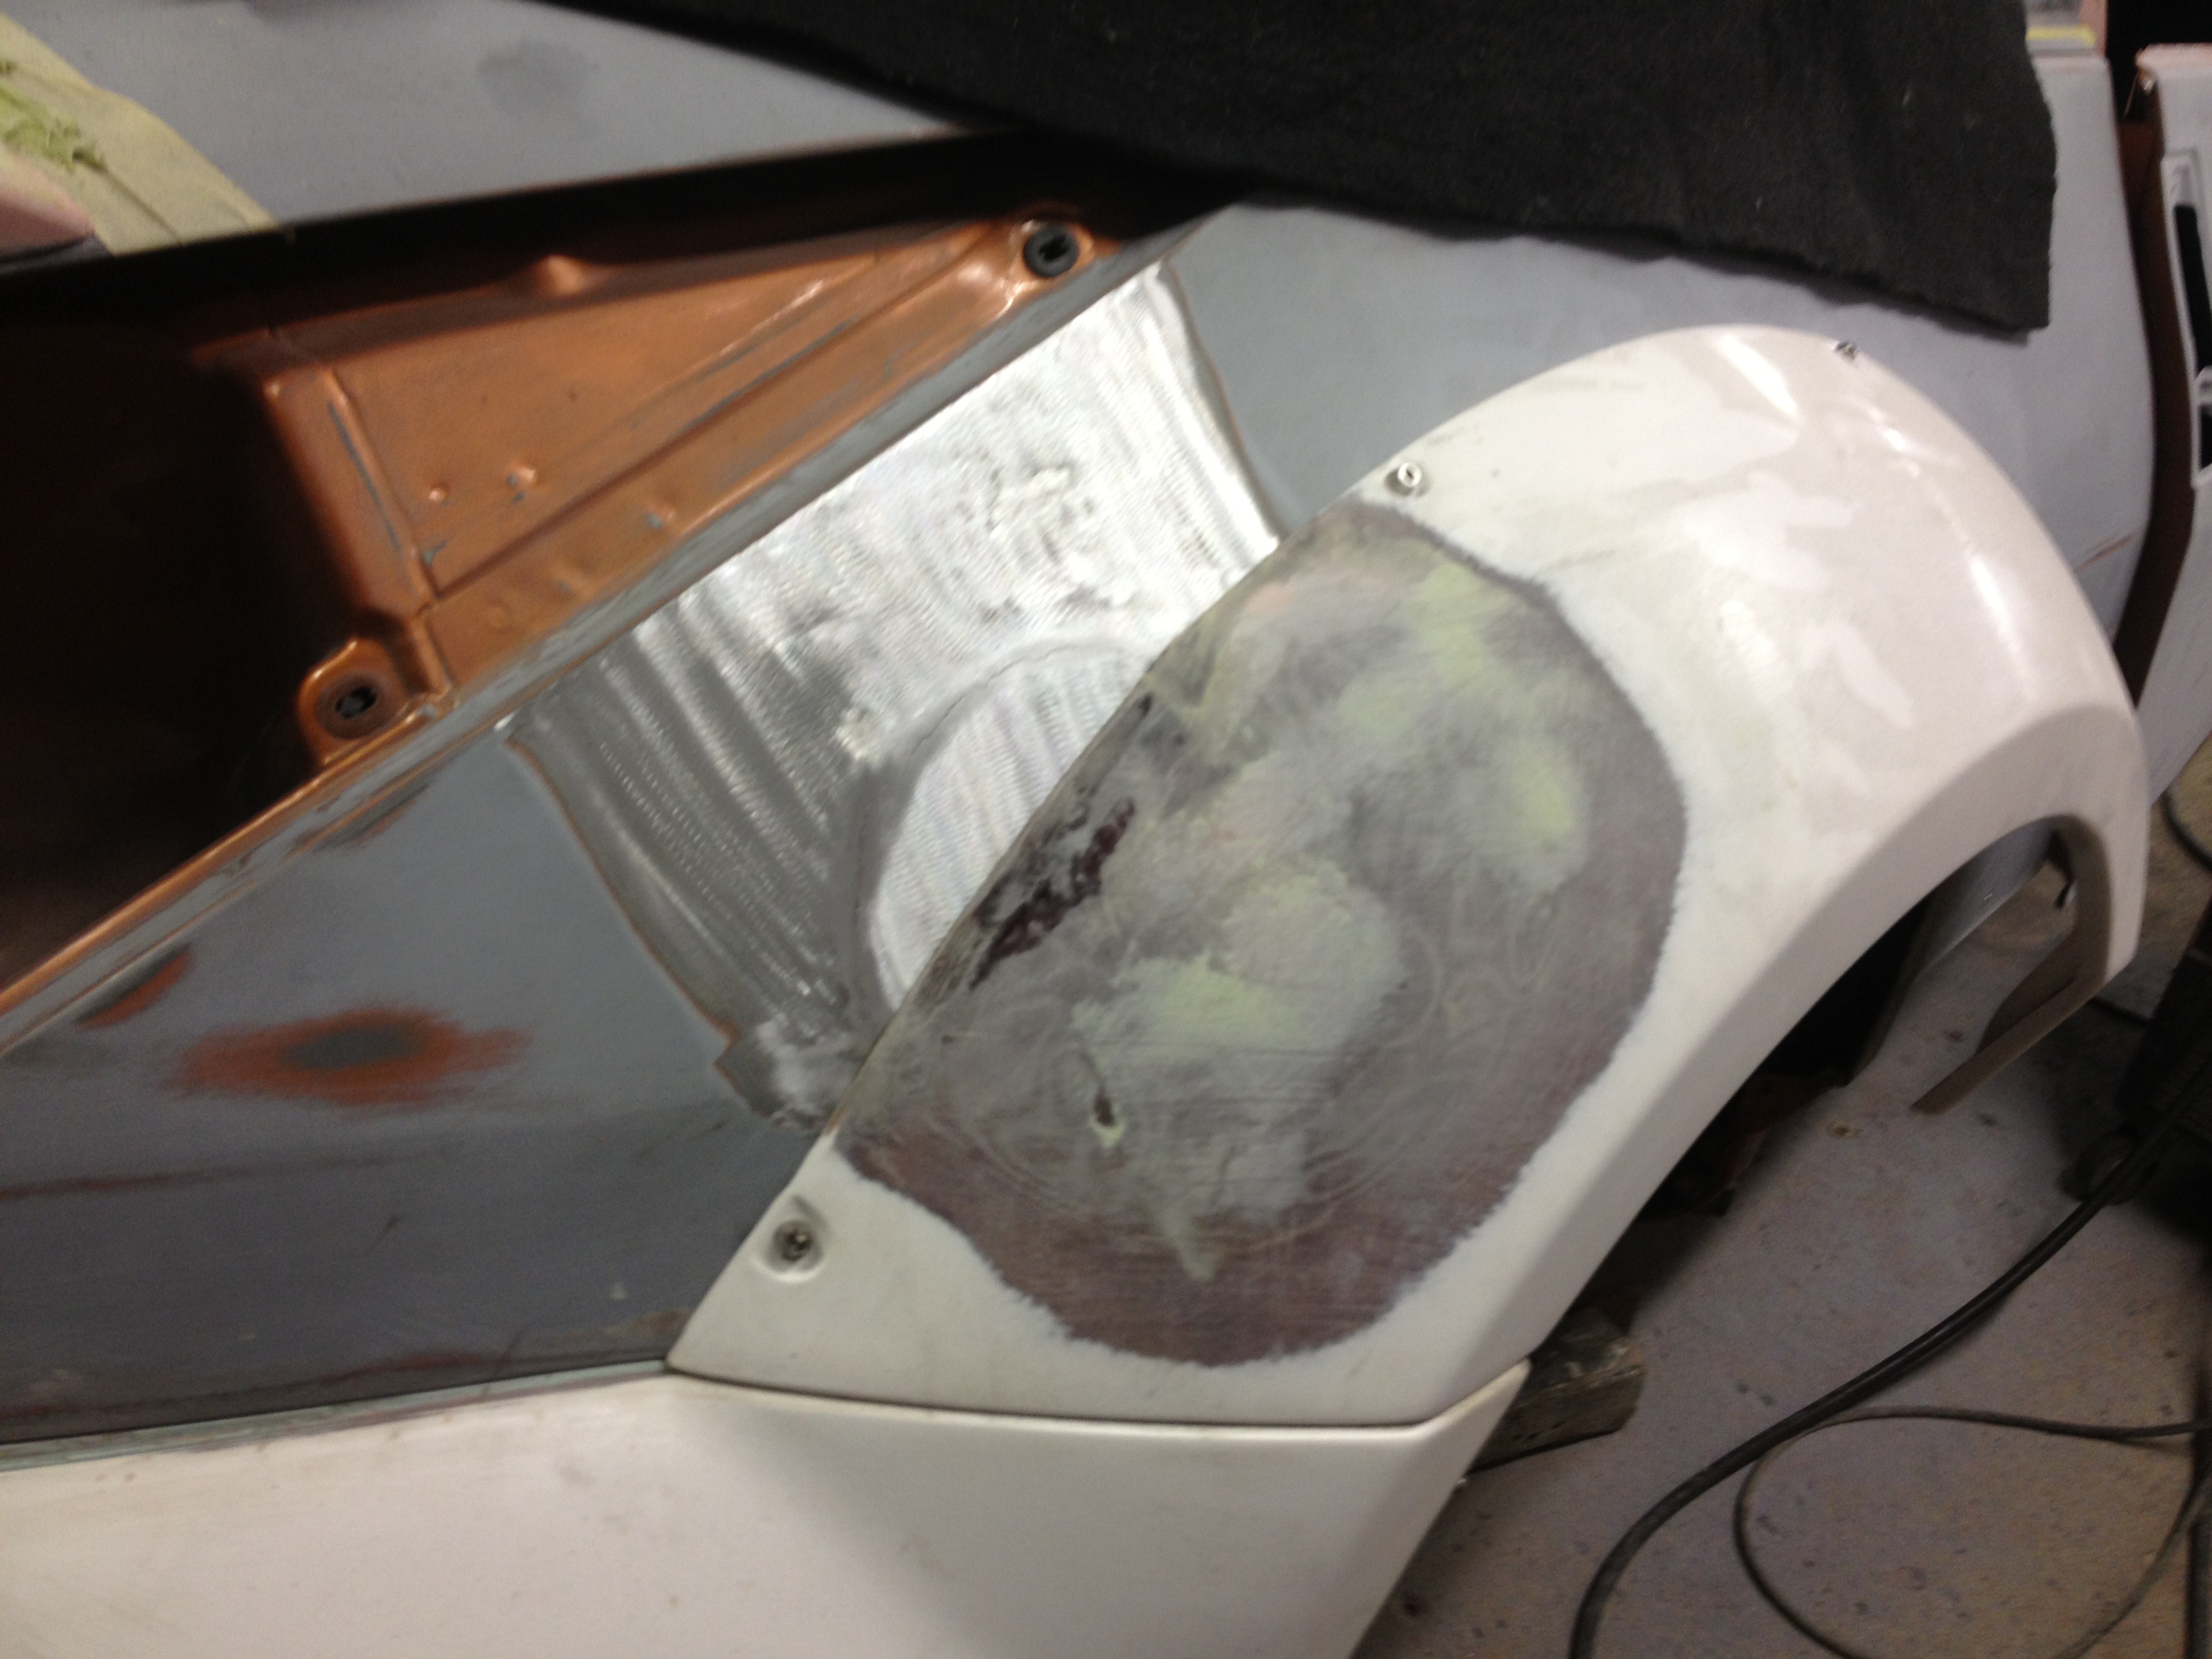
Cut and shaped a filler piece to fit the hole, then JP welded it in, and ground down the welds:
First we made a metal seal to fill the hole from the inner wheel well where the filler tube went through. We glued it in with rubber seam sealer / body adhesive. Once it was dry, we refinished the inside of the wheel well with rubberized undercoat. You'd have a hard time finding the old filler spot from the wheel well now. Looks like a factory wheel well. We also prepped the edge of the fender for welding.

Cut and shaped a filler piece to fit the hole, then JP welded it in, and ground down the welds:


Because I was concerned with sound as well. You can definitely get a very nicely built exhaust from a skilled fabricator, but unless you're copying somebody else's setup you're guessing what it's going to sound like, and that could be hit or miss.
At least with this exhaust I was able to hear the other one that exists before purchasing. The changes I requested they make were minor and wouldn't affect the sound much if at all.
At least with this exhaust I was able to hear the other one that exists before purchasing. The changes I requested they make were minor and wouldn't affect the sound much if at all.
 jk. But ive done a couple of exhaust designs that came out sounding really good if i do toot my own horn. Shameless plug. Amazing what you can do on solidworks alongside some pretty basic helmholtz/resonance understanding. A good tone comes from setting up the standing waves to work properly and equalizing flow to match what youre looking for.
Annnyway, where did you get your foam at? What kind of foam did you choose? Ive spent many a hours sanding, but i always used EPP foam for projects.


Thread Starter
Registered User
Joined: Sep 2008
Posts: 908
Likes: 28
From: Winnipeg, MB
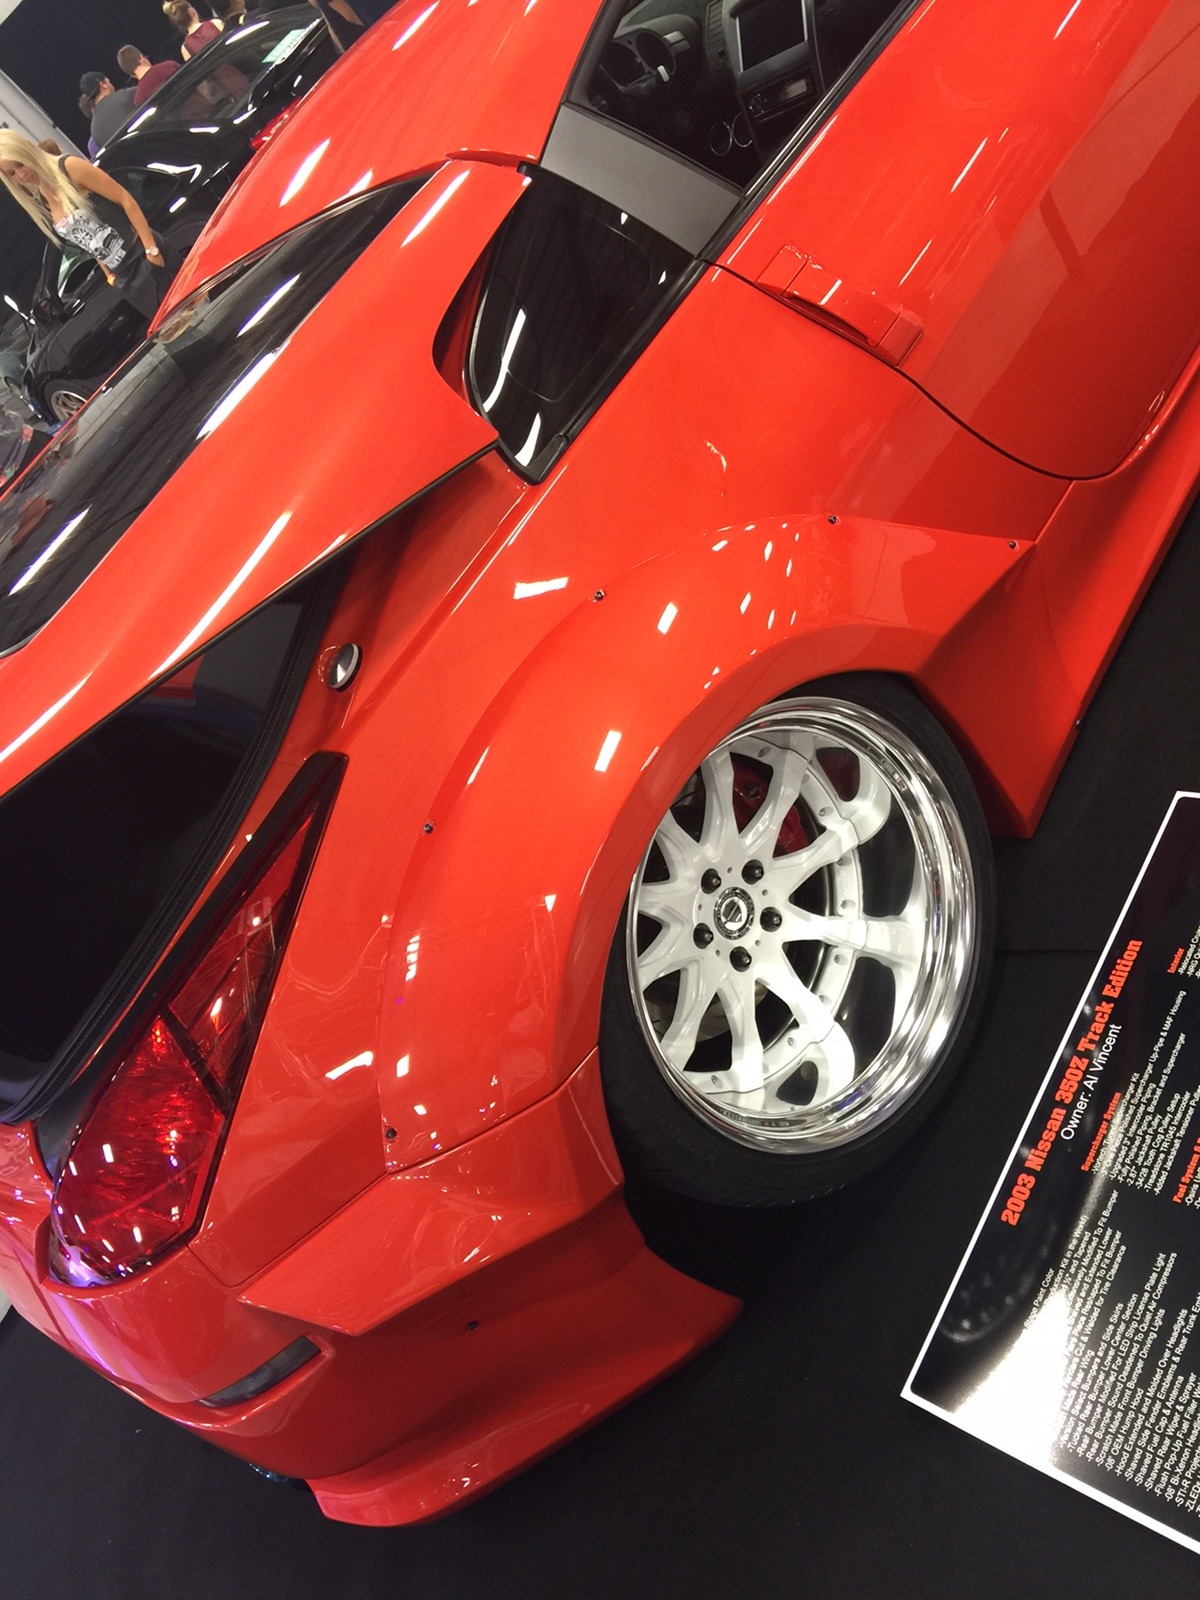
Next up on the hit list was extending the rear flares lower. The Stardast kit is nice, but I felt the rear flares looked unfinished where they stopped at the rocker. It totally depends on the rockers and body kit you use, on some cars they look good stopping there, on others they look unfinished. It's just too abrupt of a stop for the relatively smooth lines of my body kit.
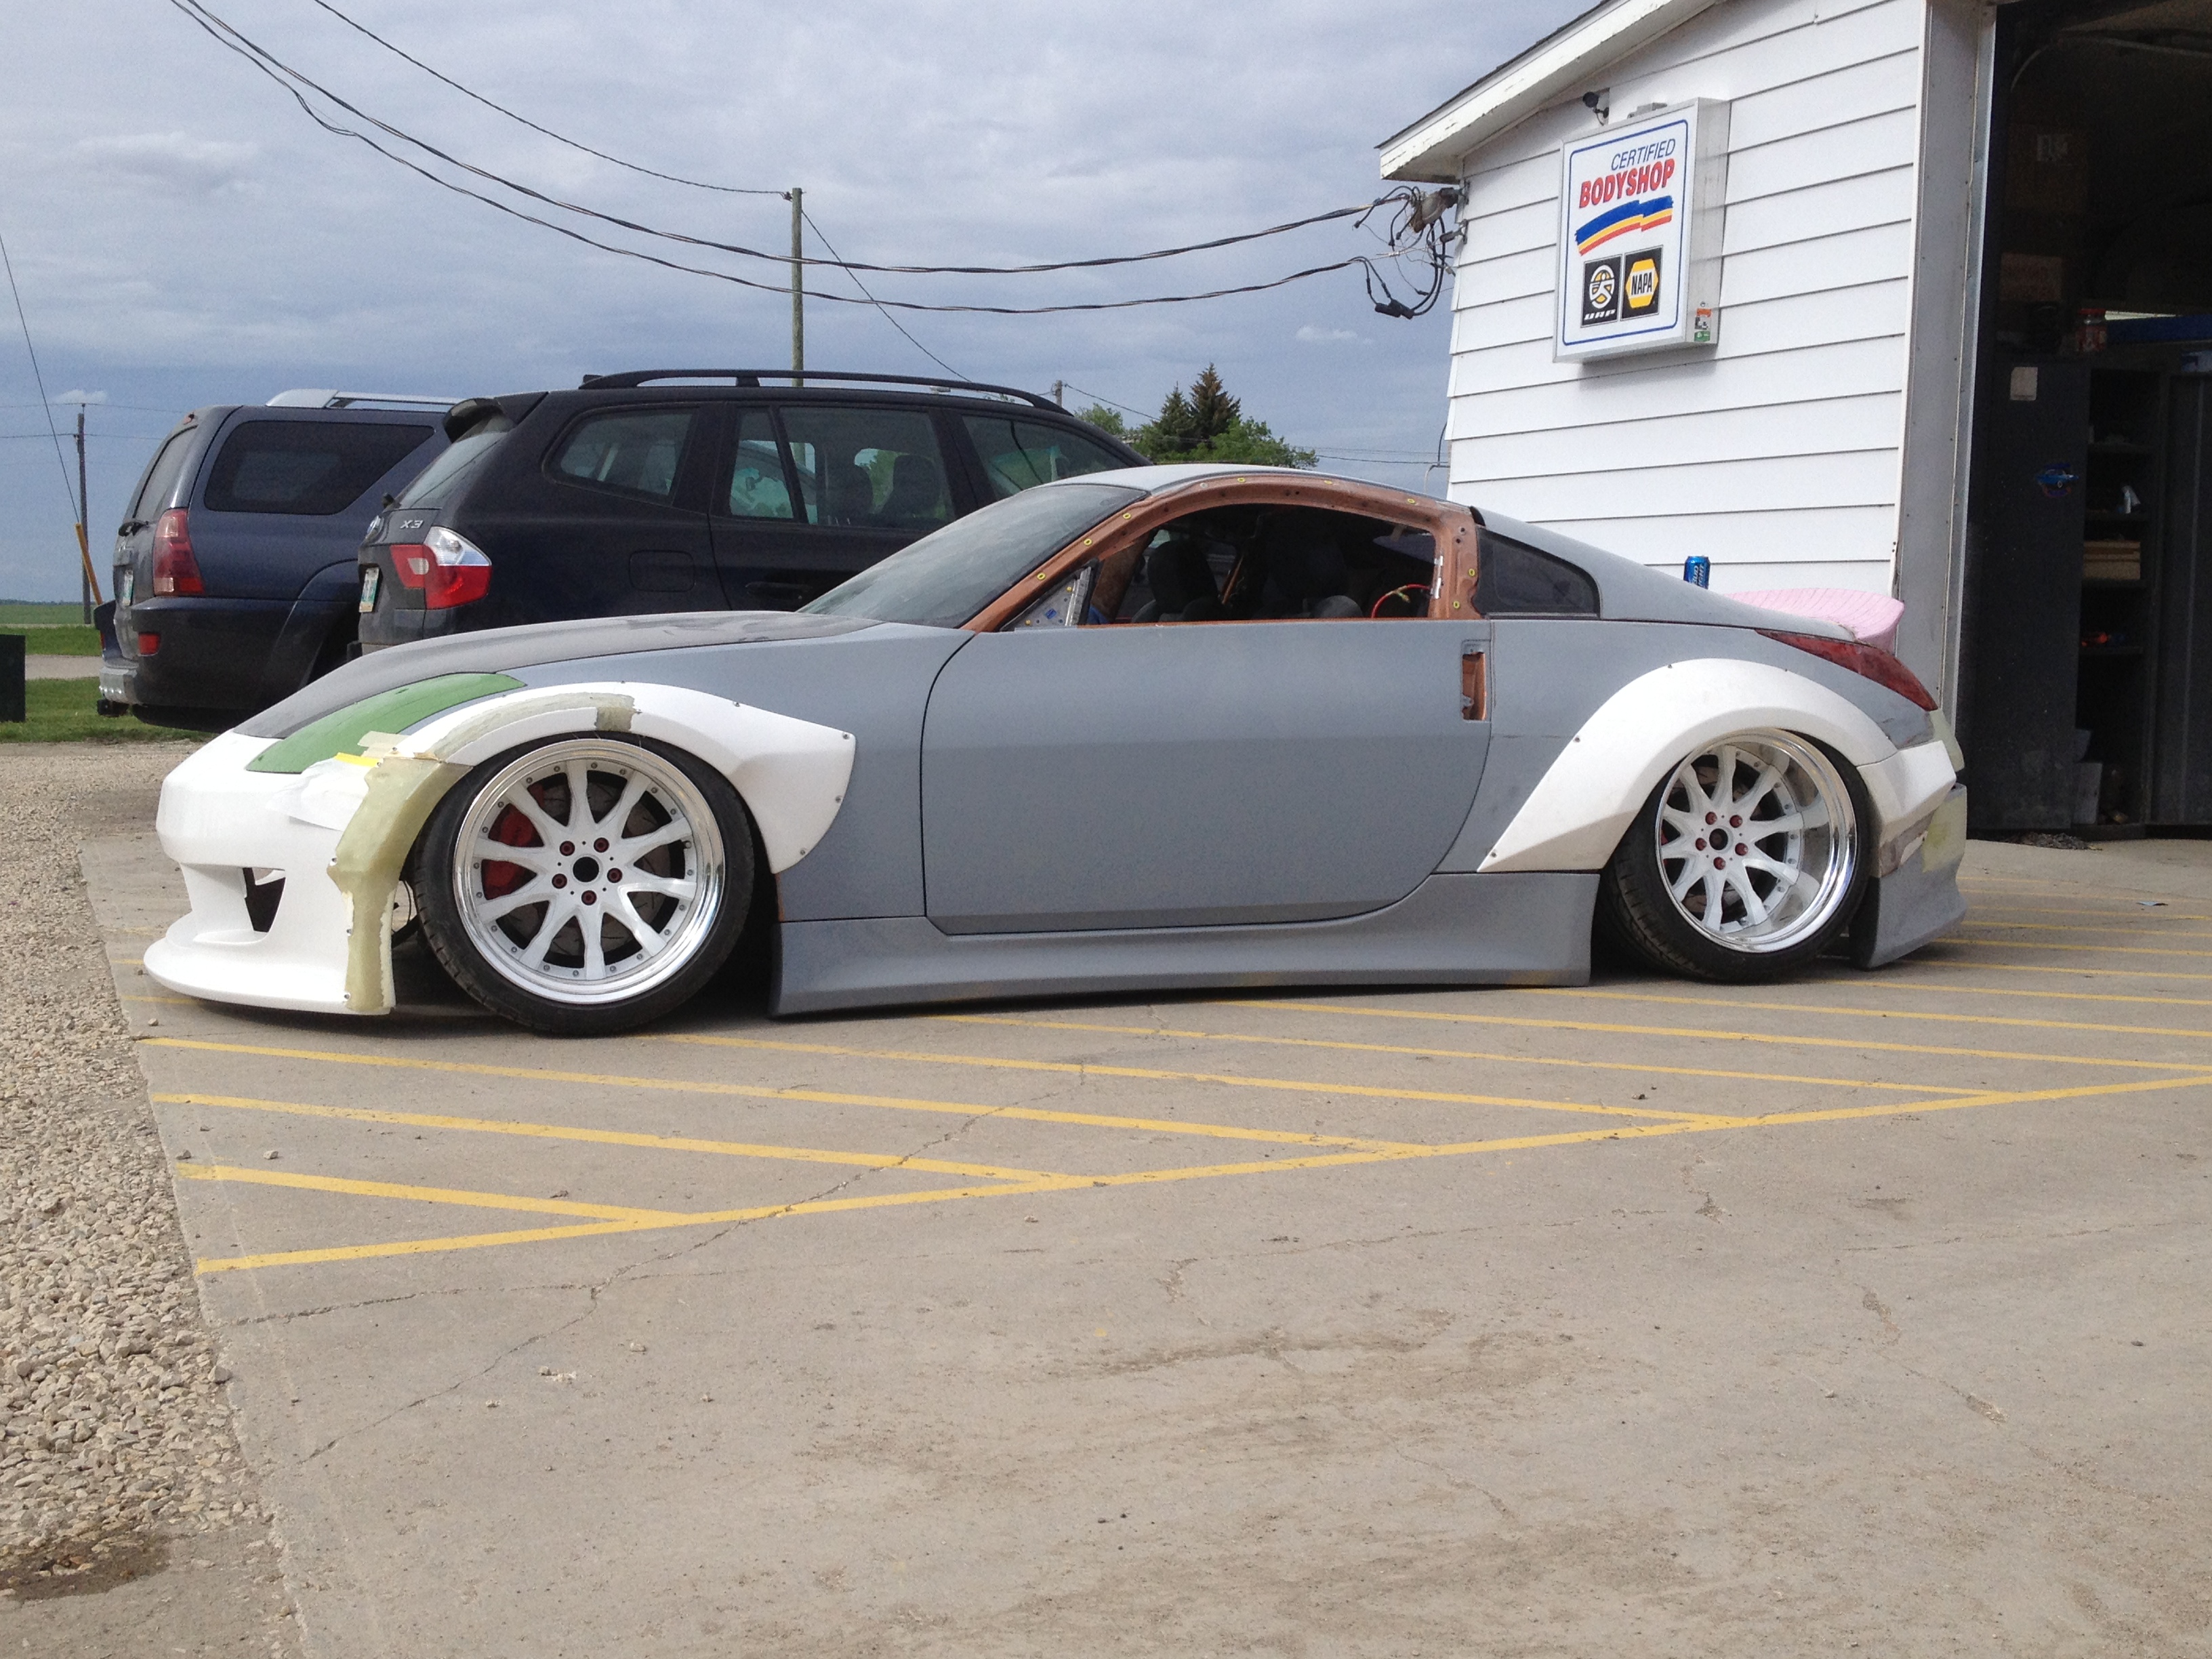
I tried a few different shapes and designs before settling on a final. The first one extended the flare to the bottom of the rocker following the line of the flare. This is pretty typical fashion for a lot of wide fender kids. I found this design to look too large and bulky in my opinion.
Here are a few kits that do it similarly:
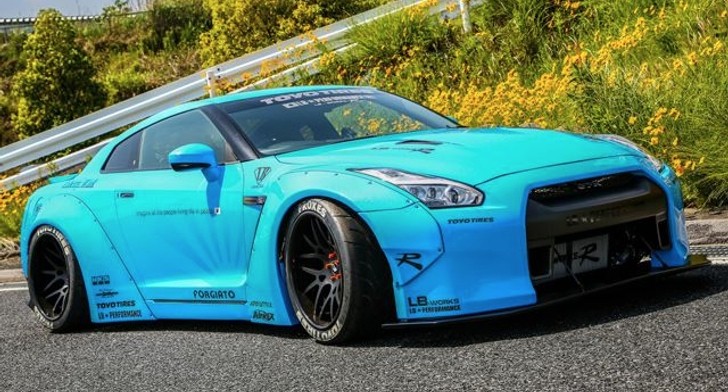

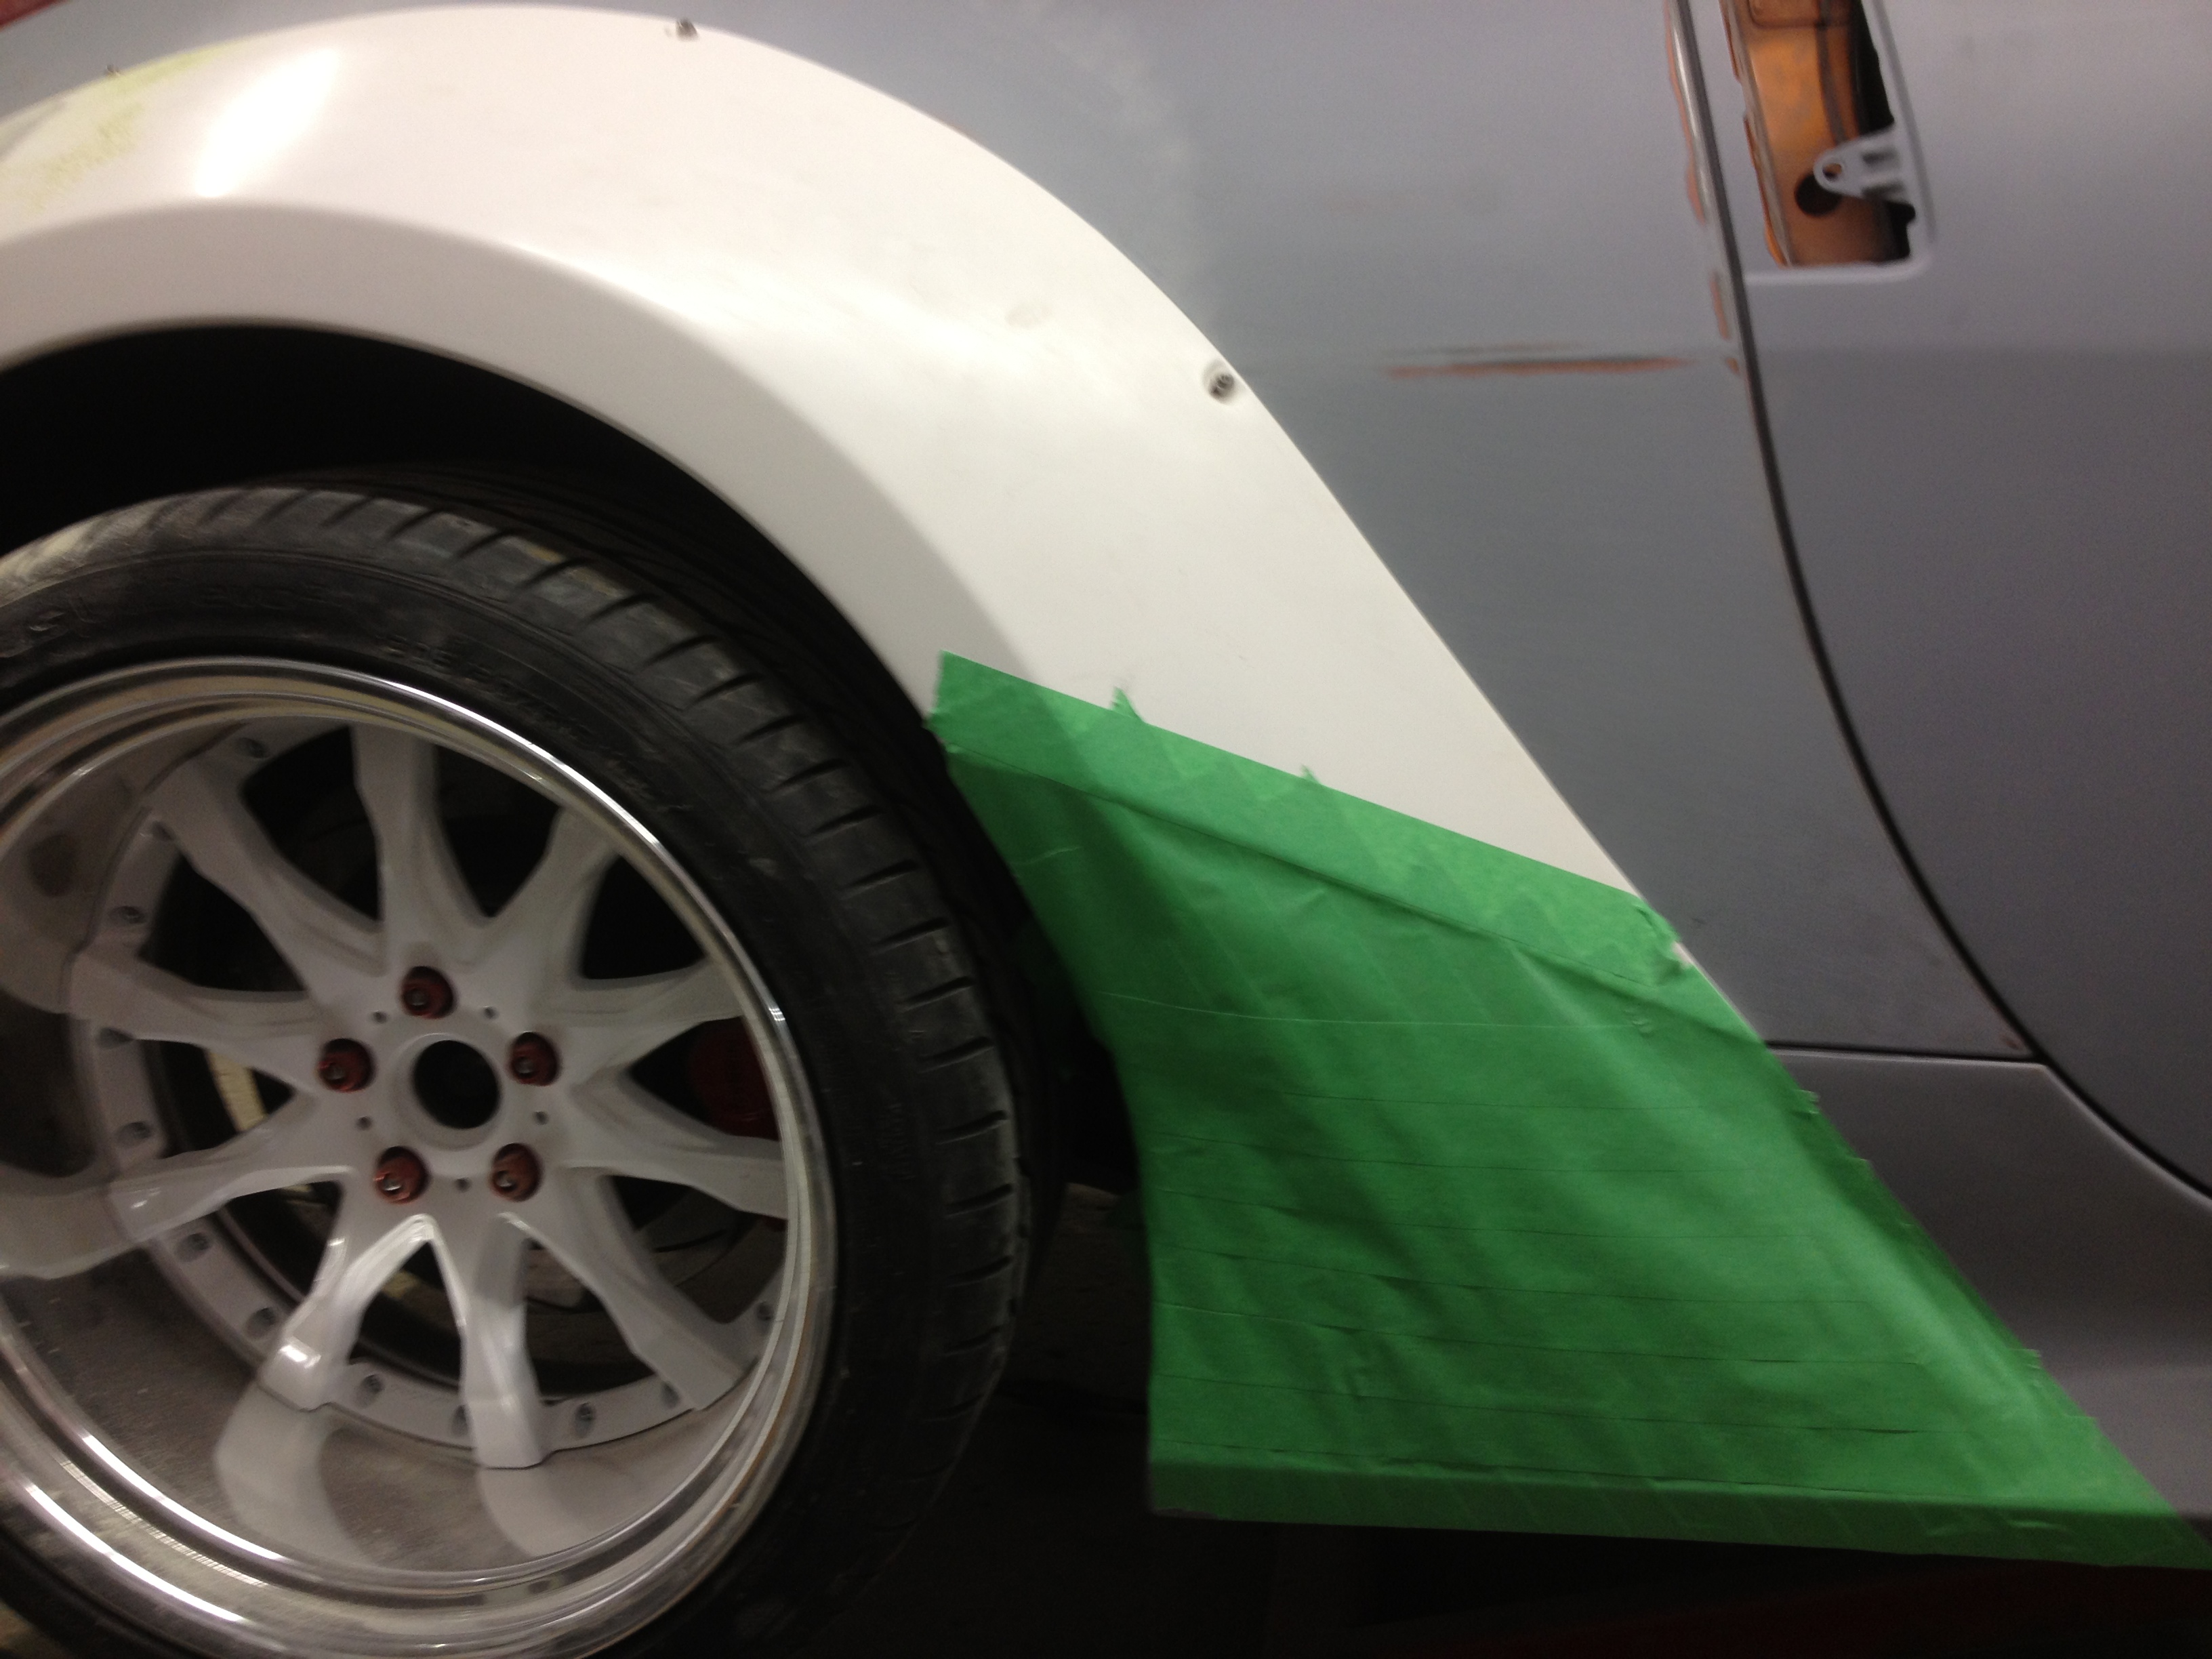
I think this was the third revision. I ended up angling the cutoff line back, perpendicular to the body line on the flare. This is the design I liked best. Now that I look at more pics online, the Liberty Walk 458 kit actually does something similar to this.

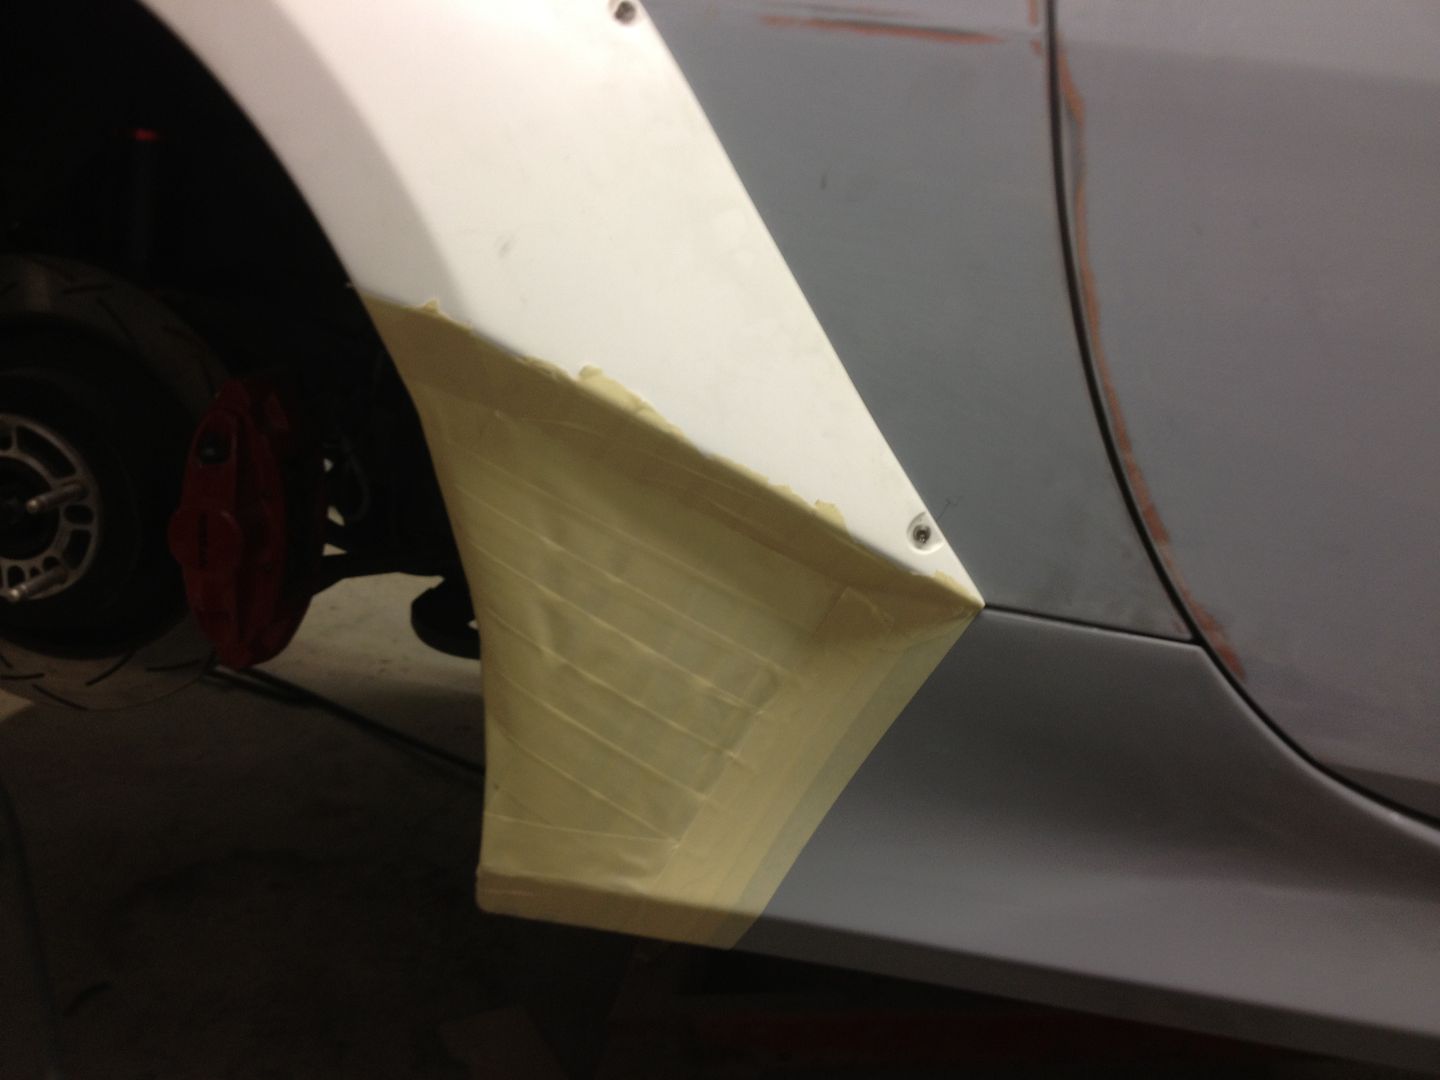
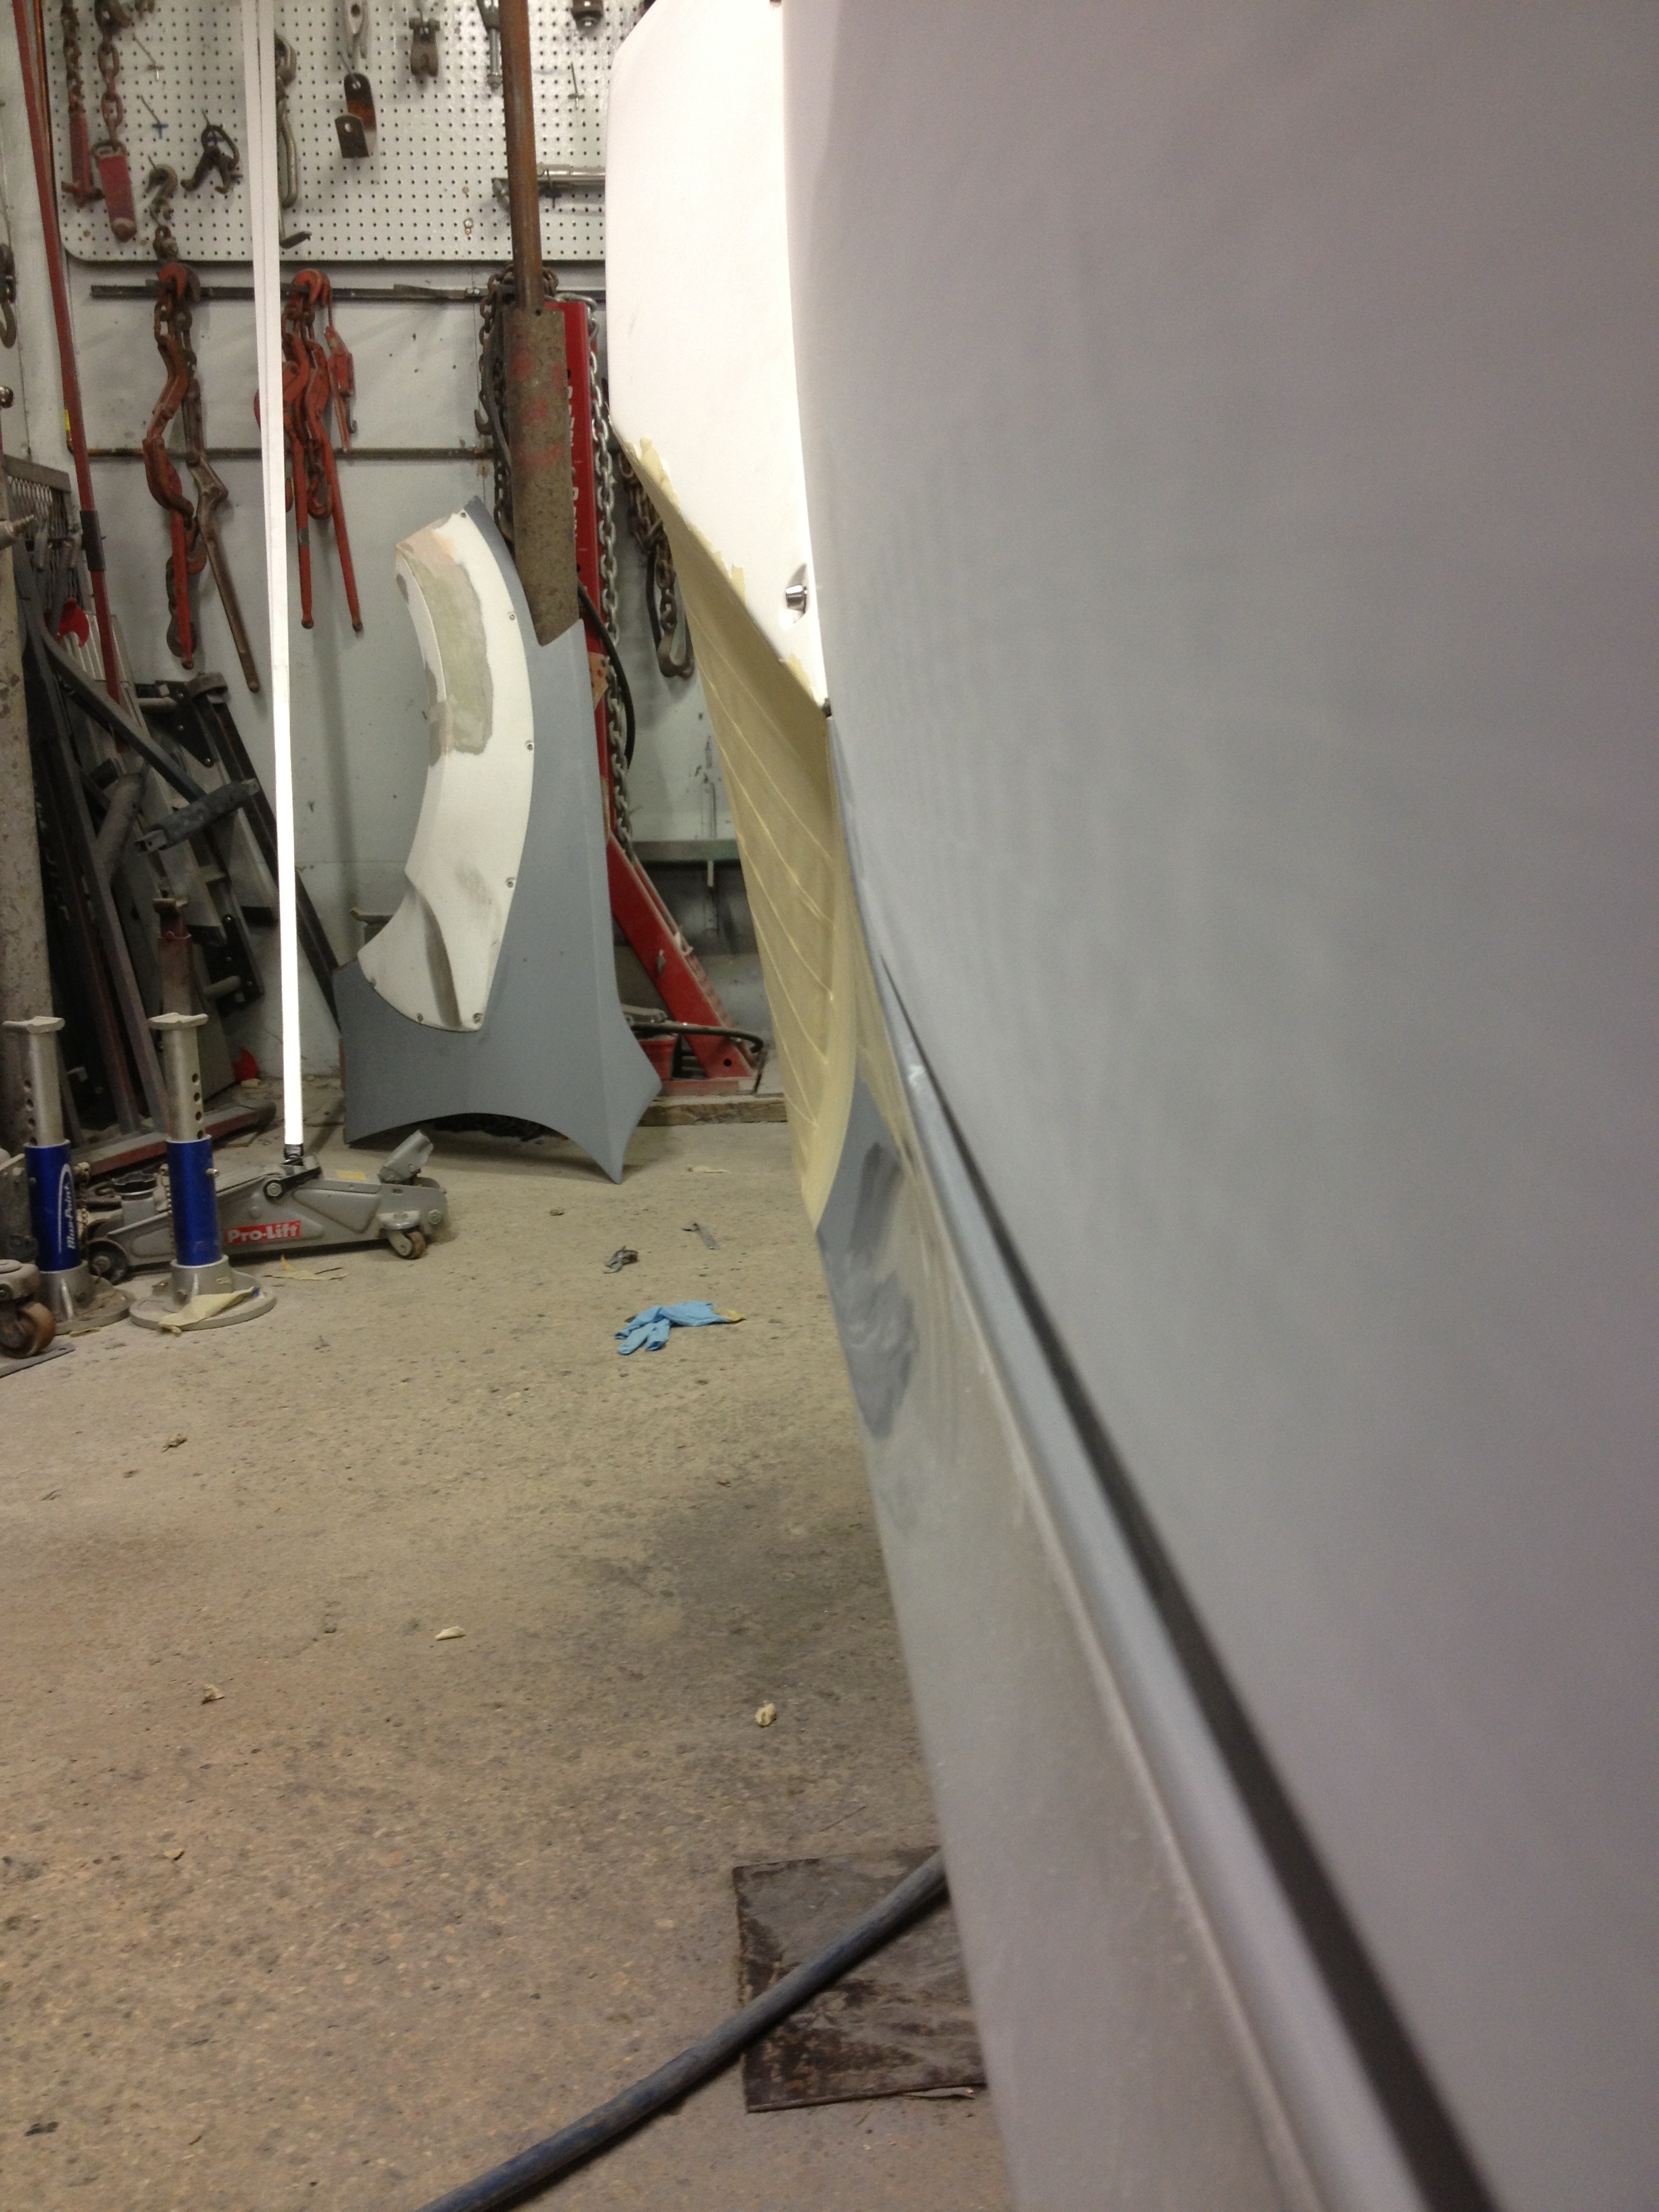
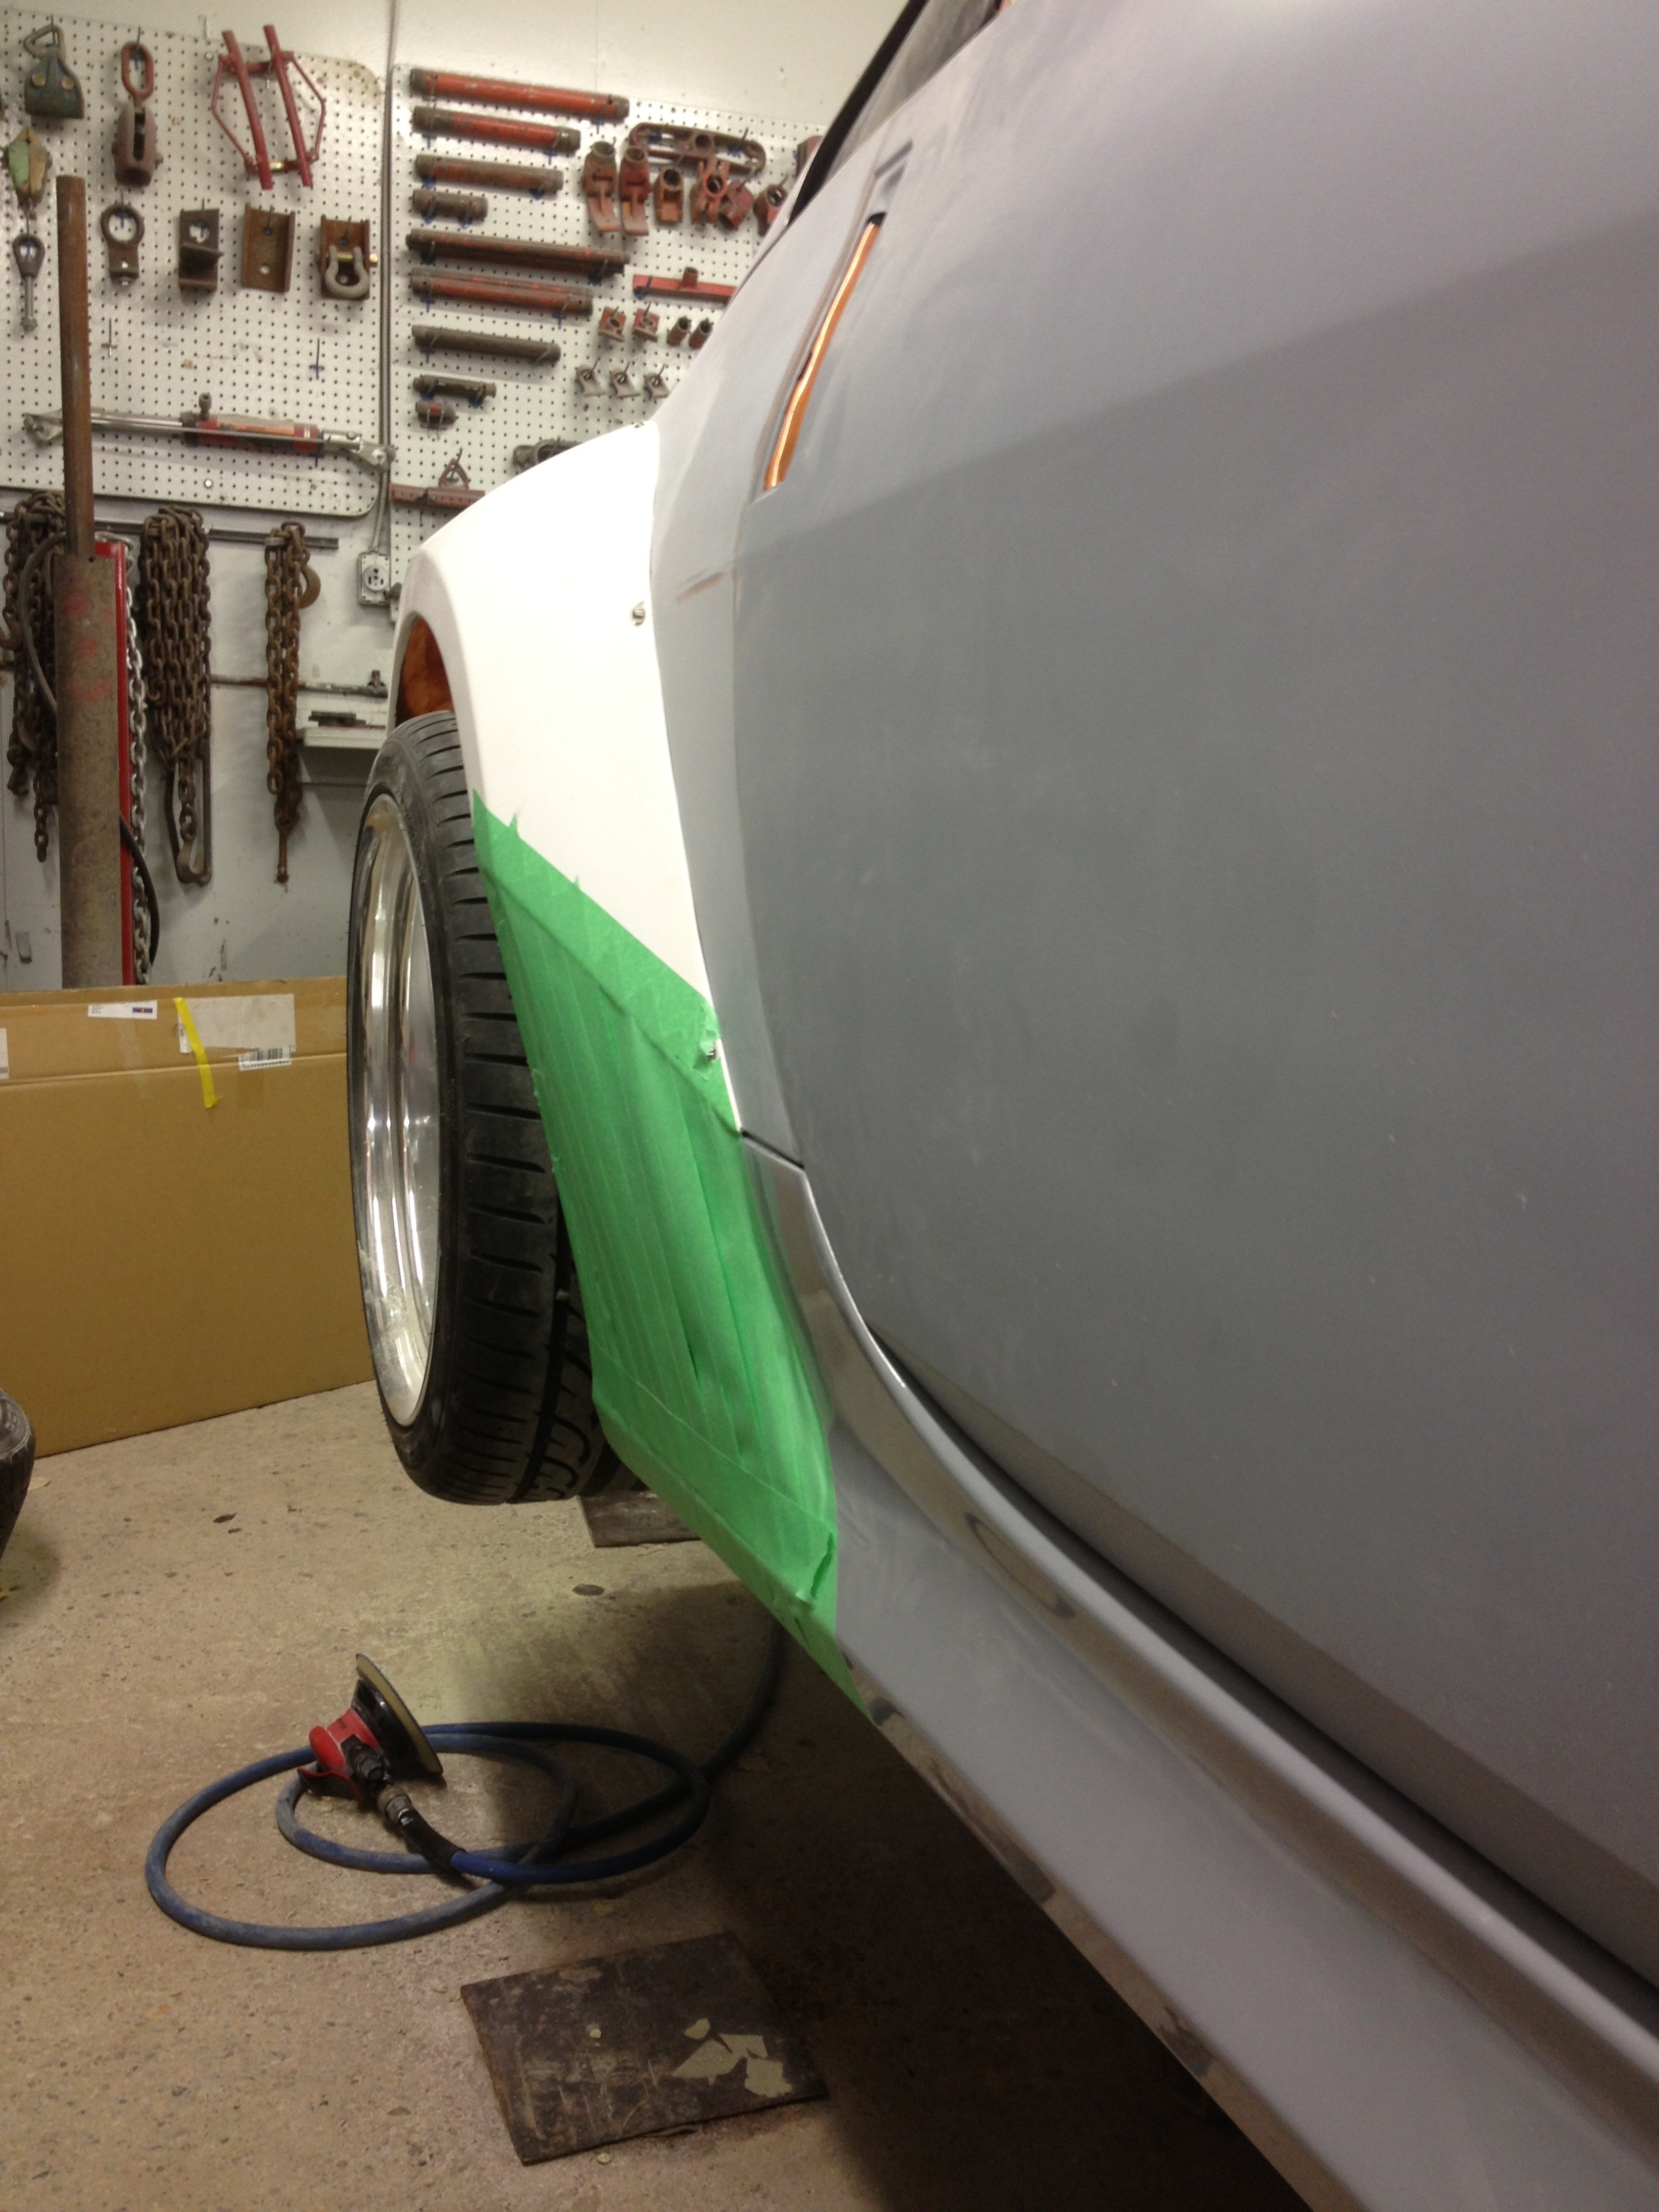
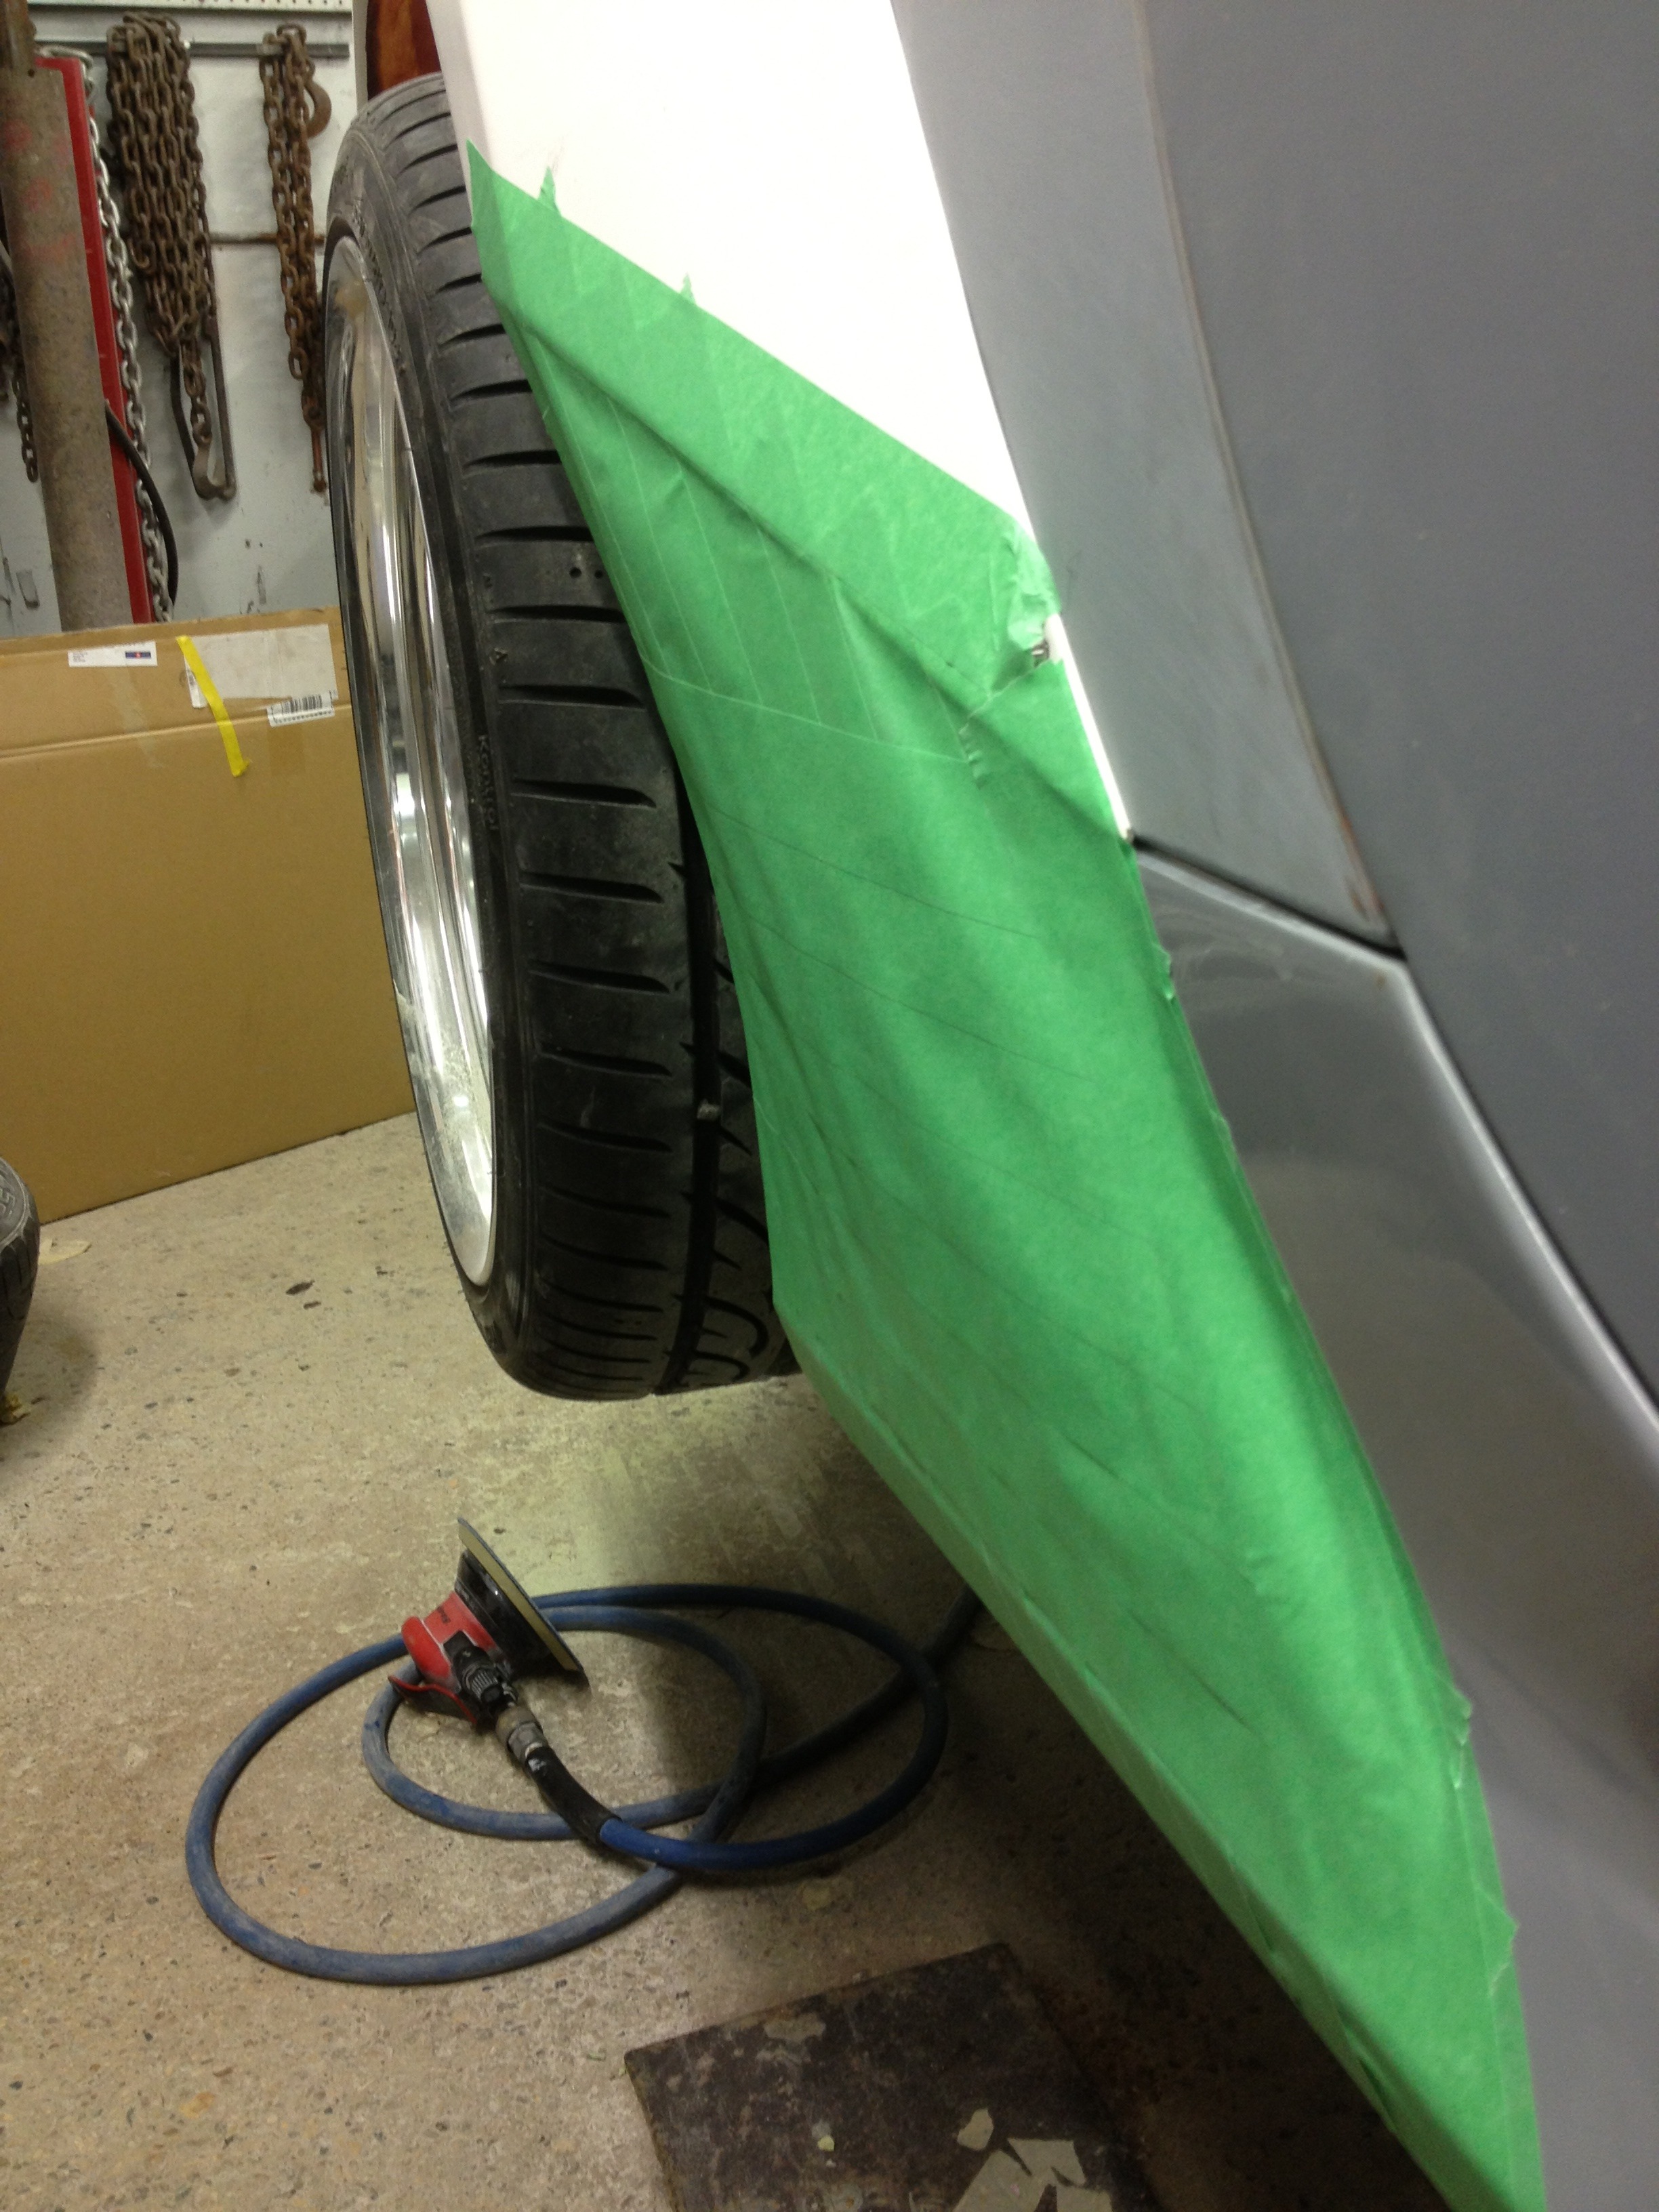
Once the final shape was settled on, I did a bit more fiberglass magic:
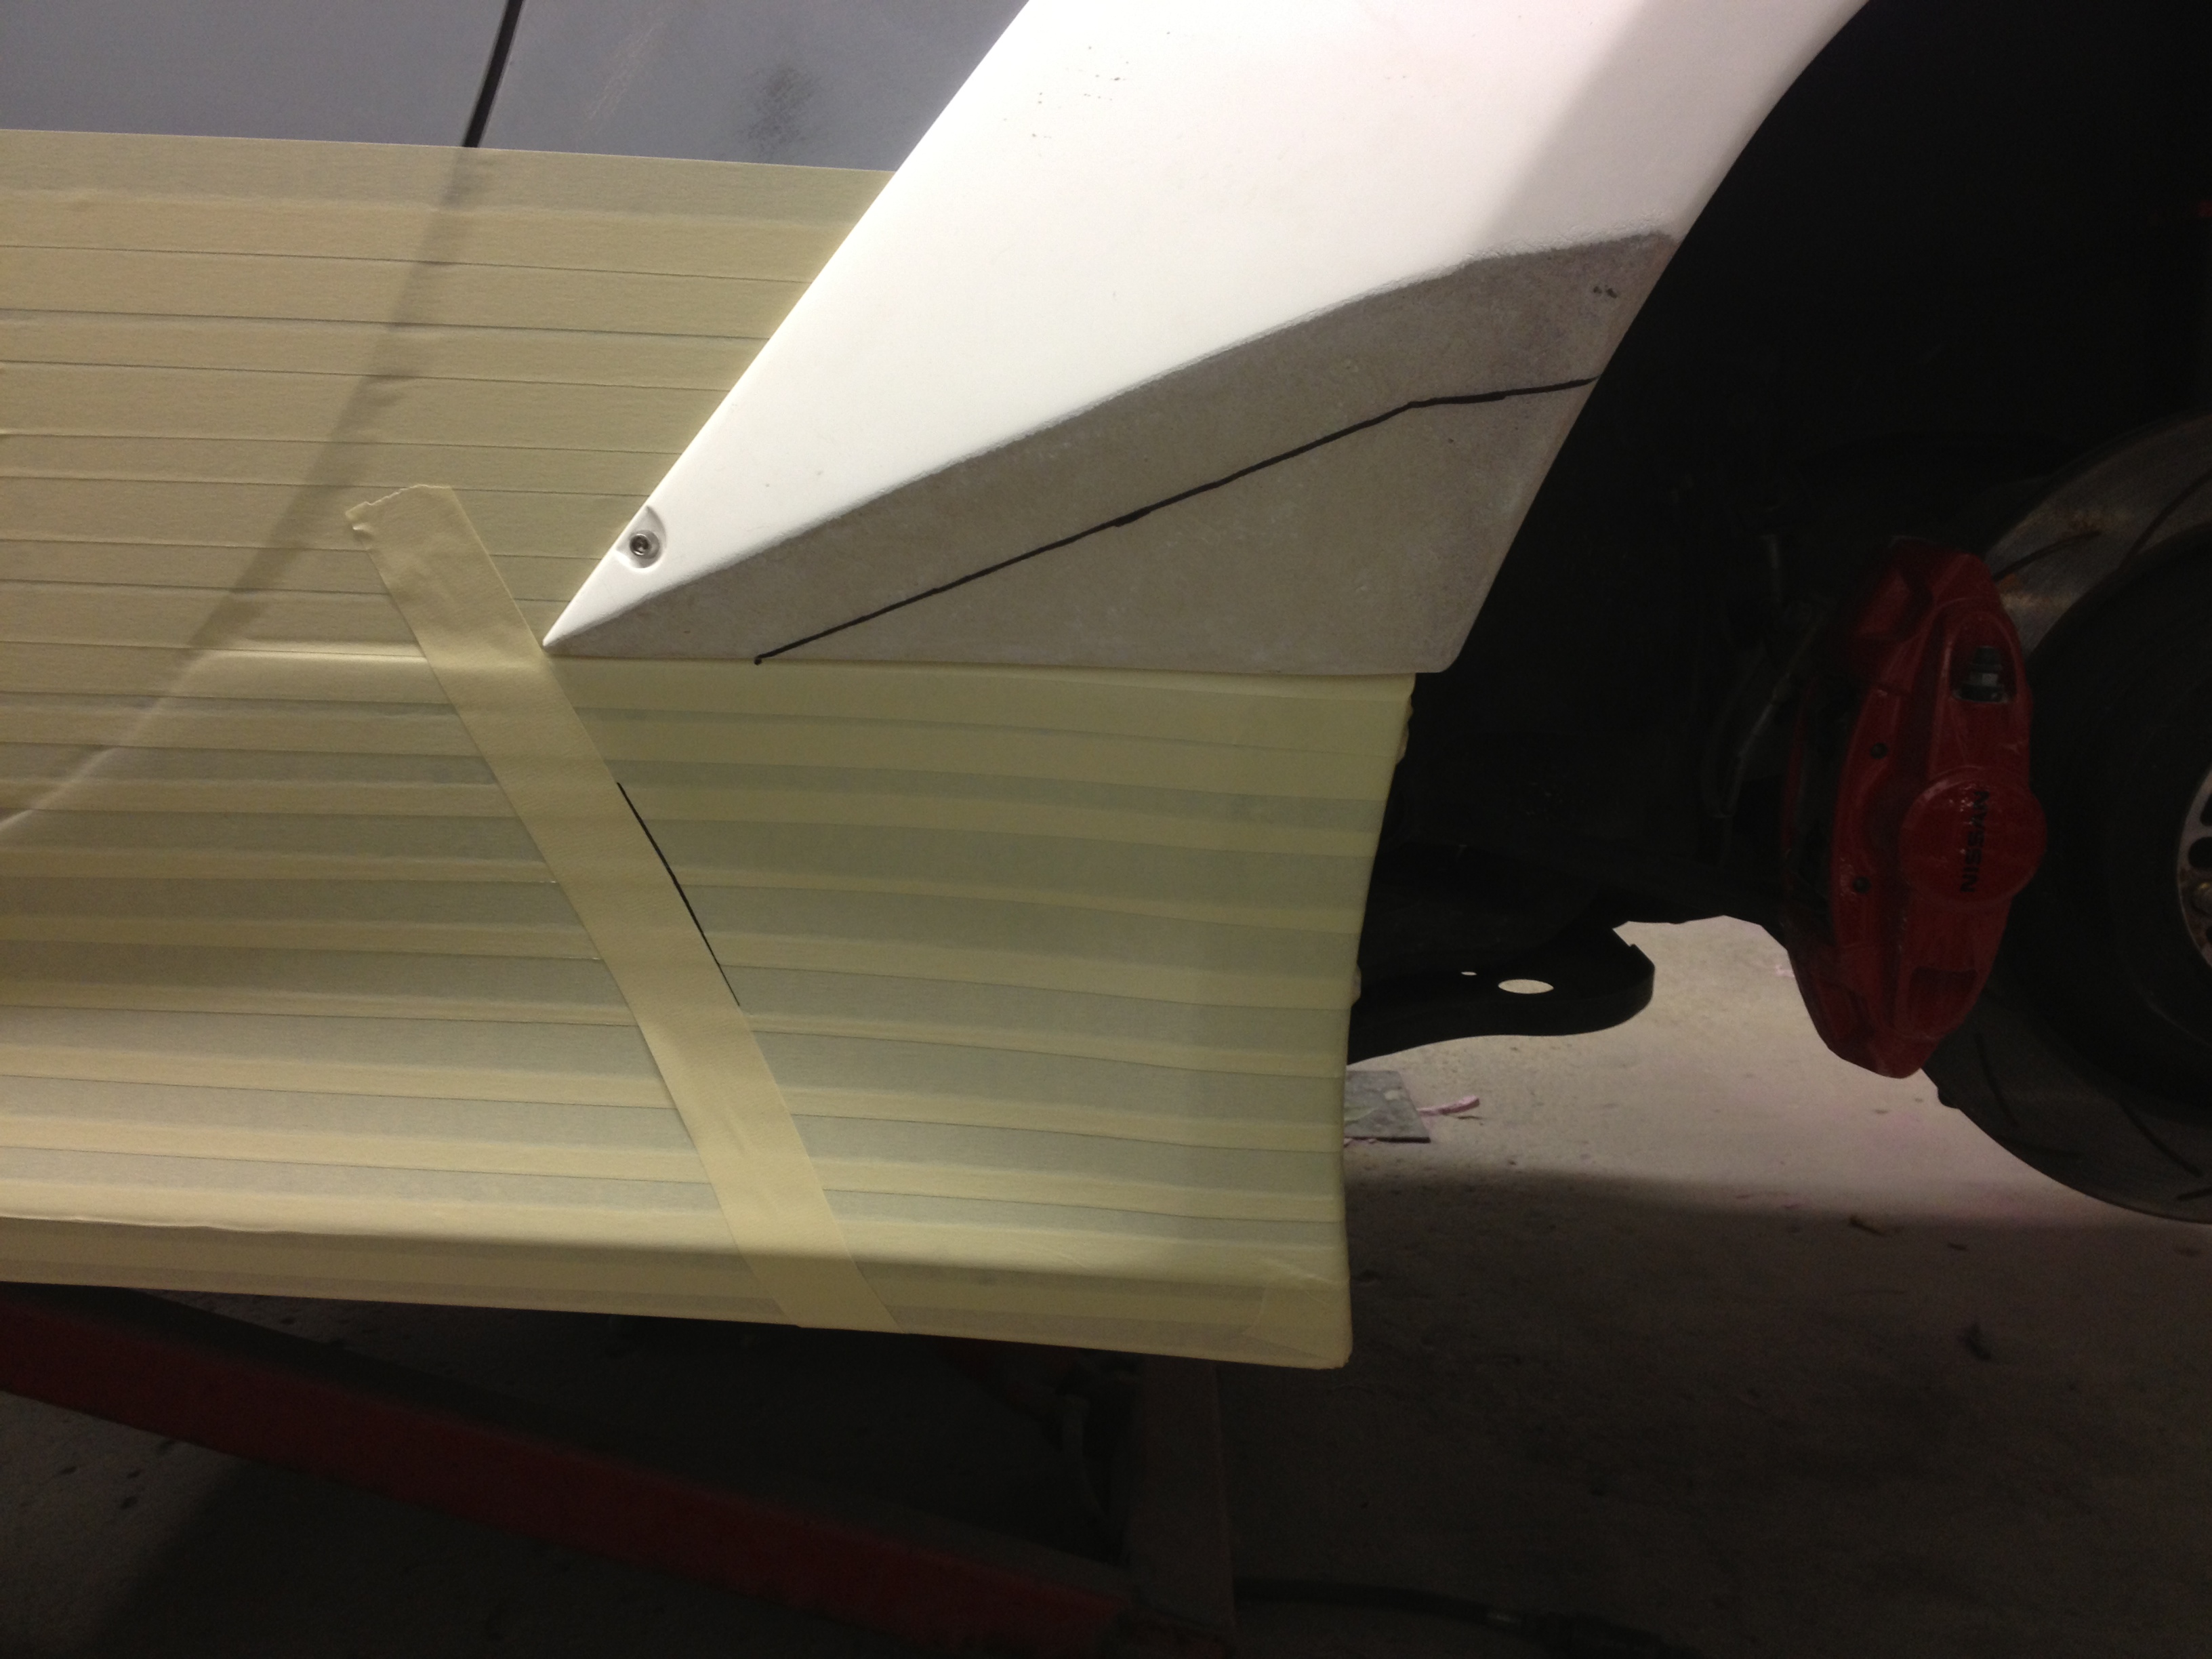
I originally intended to have a couple body lines in the panel as you can see with the marks on the tape and fiberglass. Once the final piece was fiberglassed the transitions were too small and with sanding the body lines basically disappeared so we eliminated them completely. Also in this pic is one of the many, many Caesars that were consumed during the build.
This pic was at 9am on a Sunday... We worked (drinking) until probably 3 am Saturday, figured best bet was to just keep drinking Sunday morning.. Cesars are REAL good in the morning!
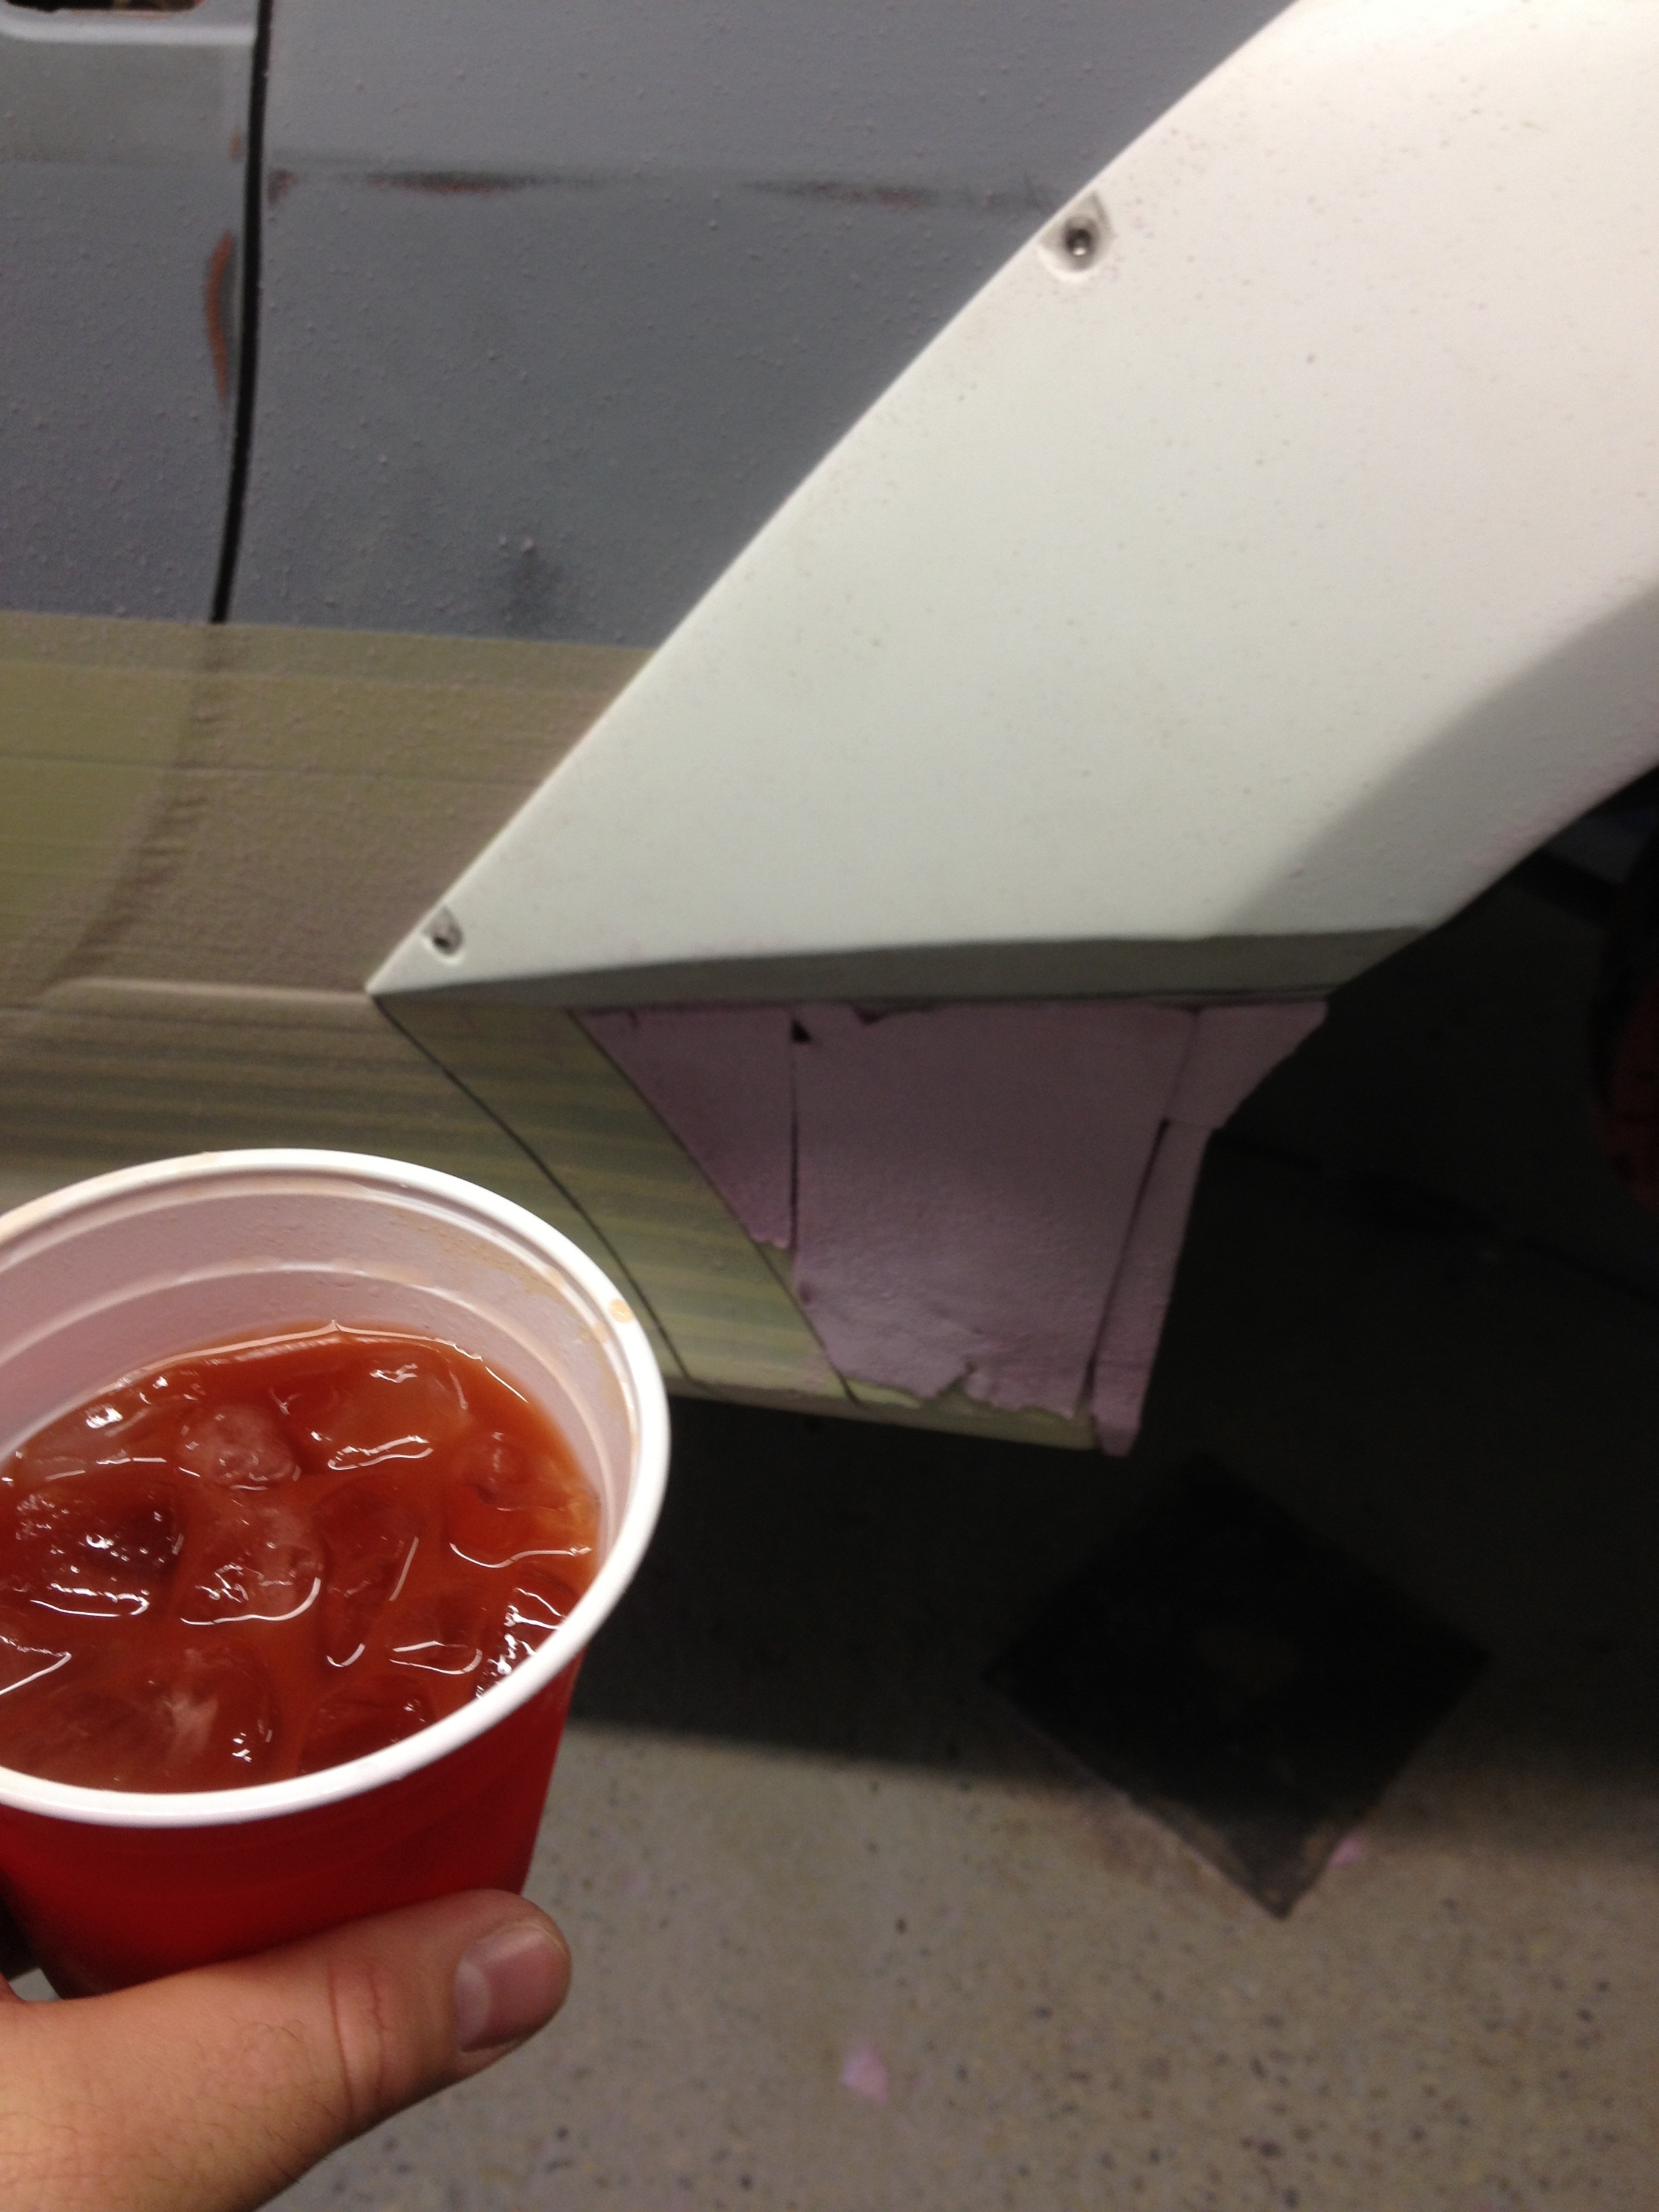
This is after a few layers of fiberglass. The stuff is fairly transparent when wet.

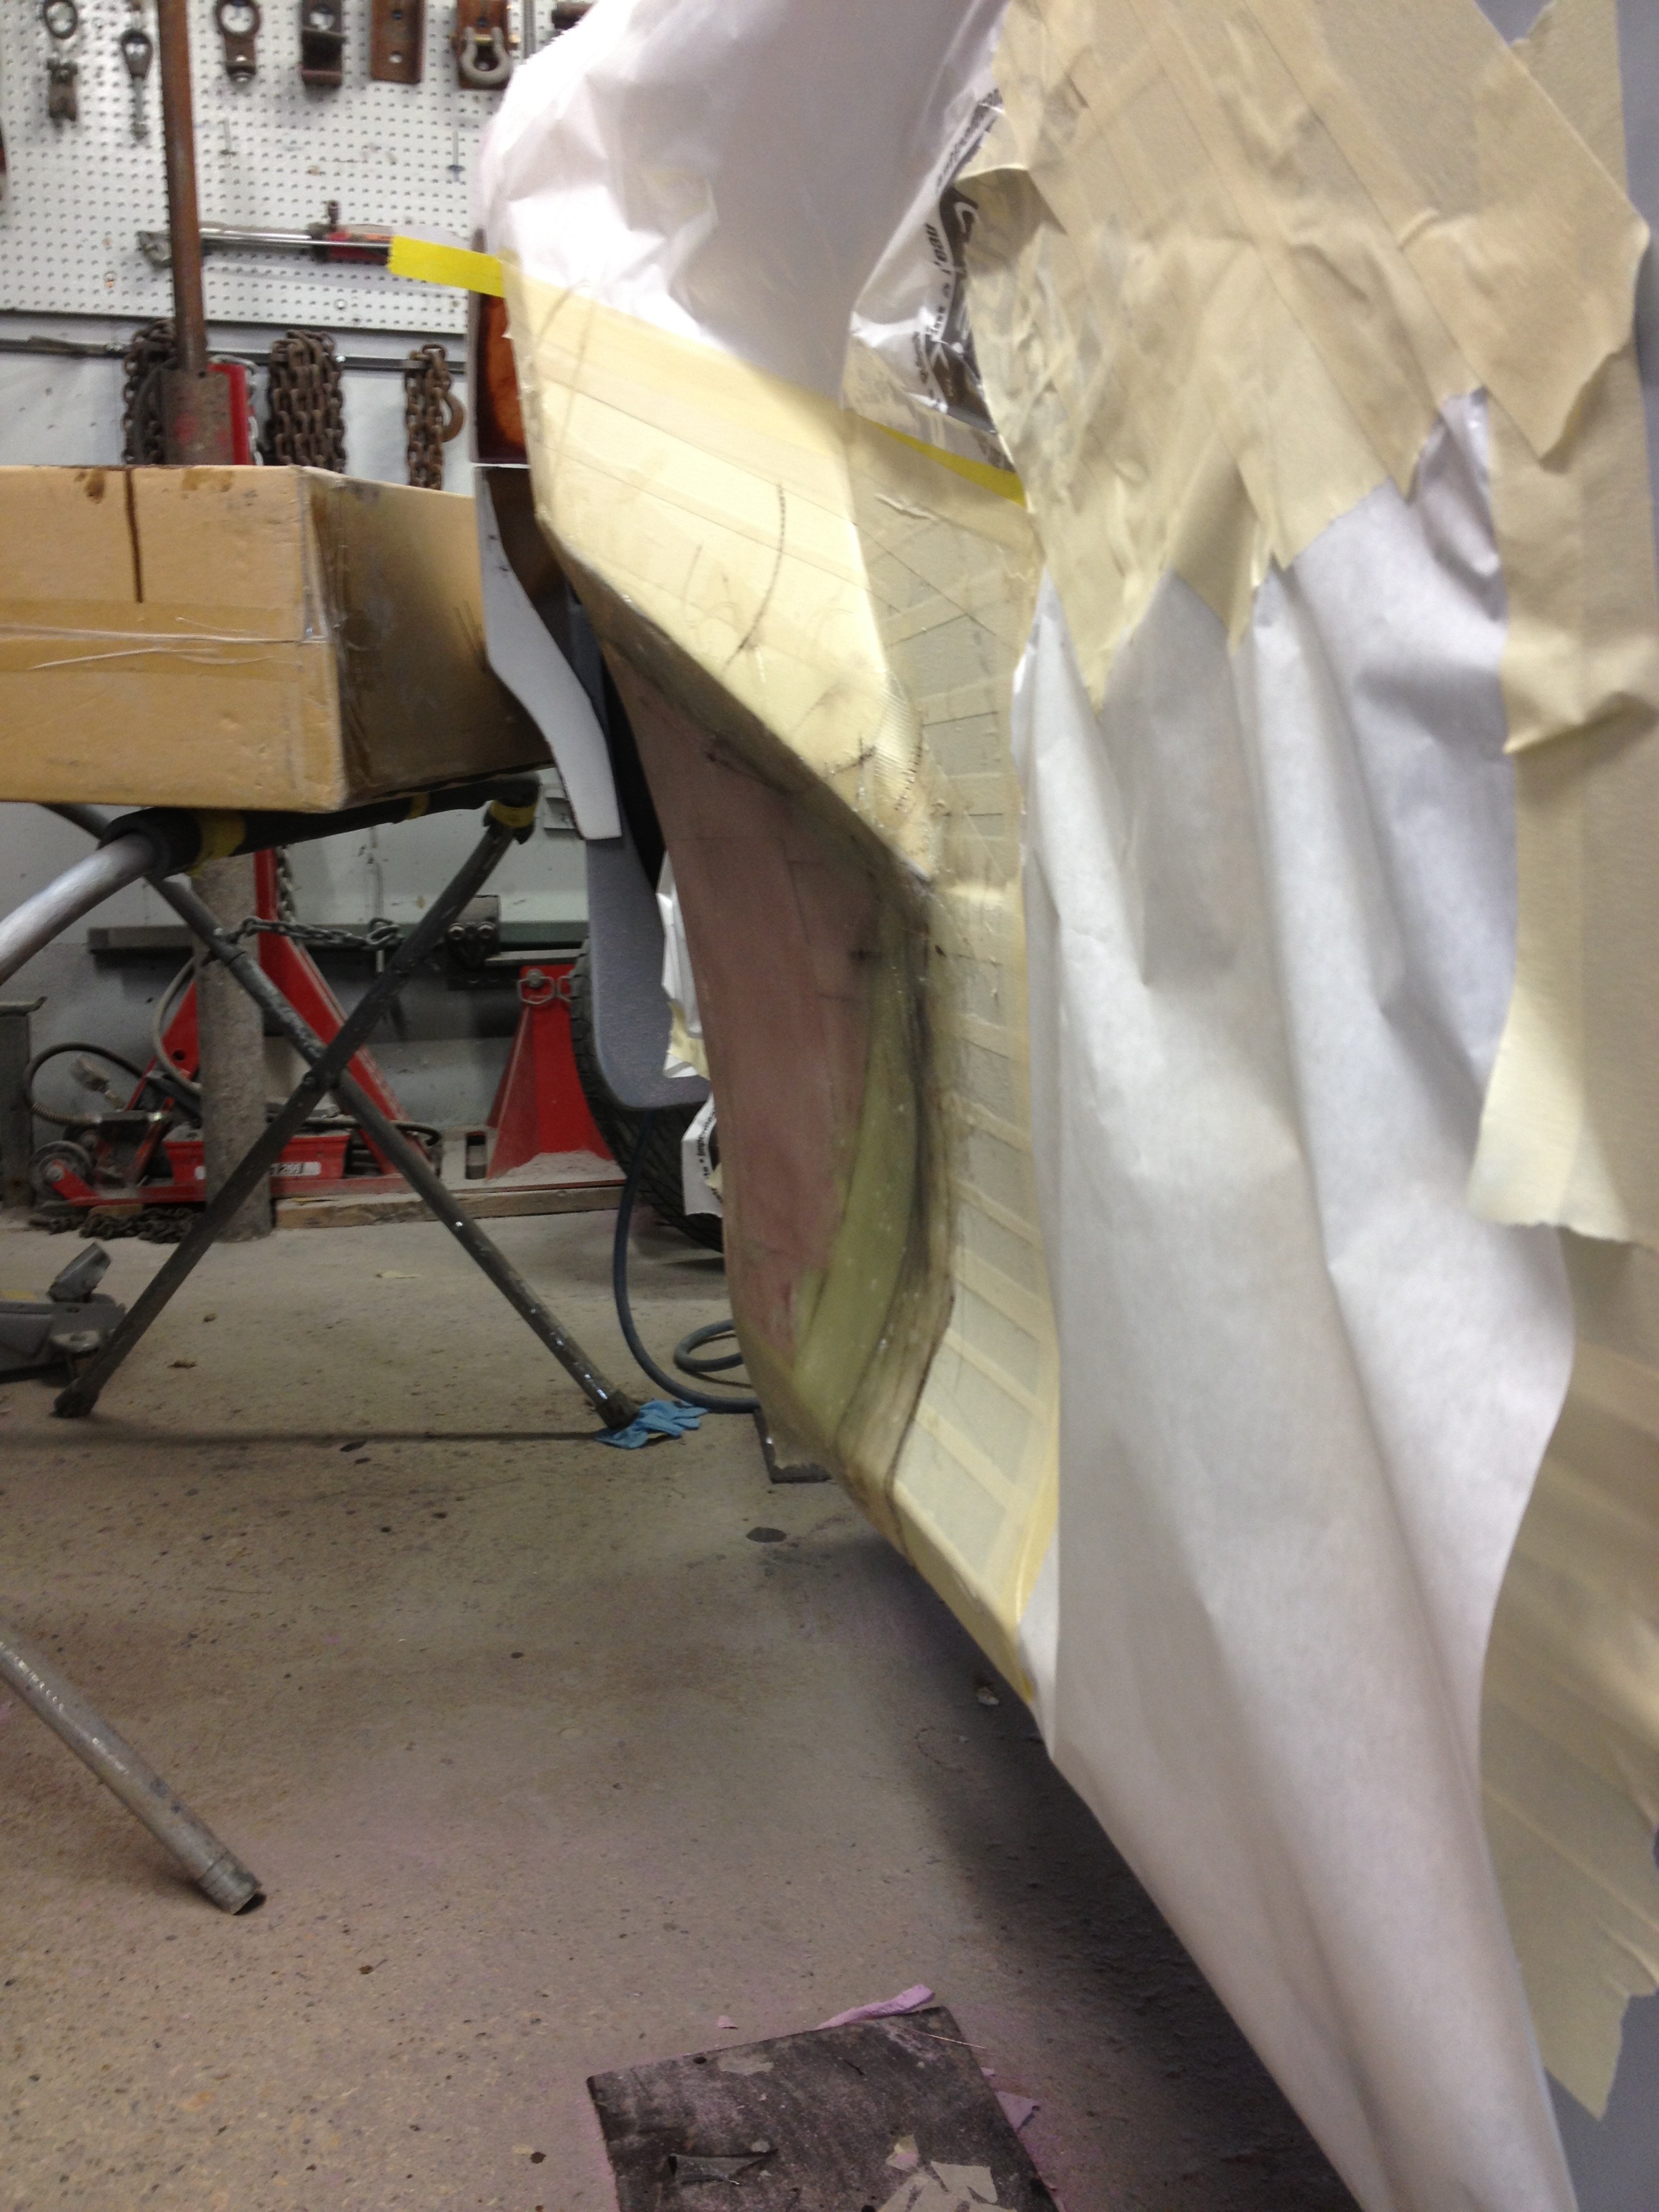
Then after the glass cured and some sanding:
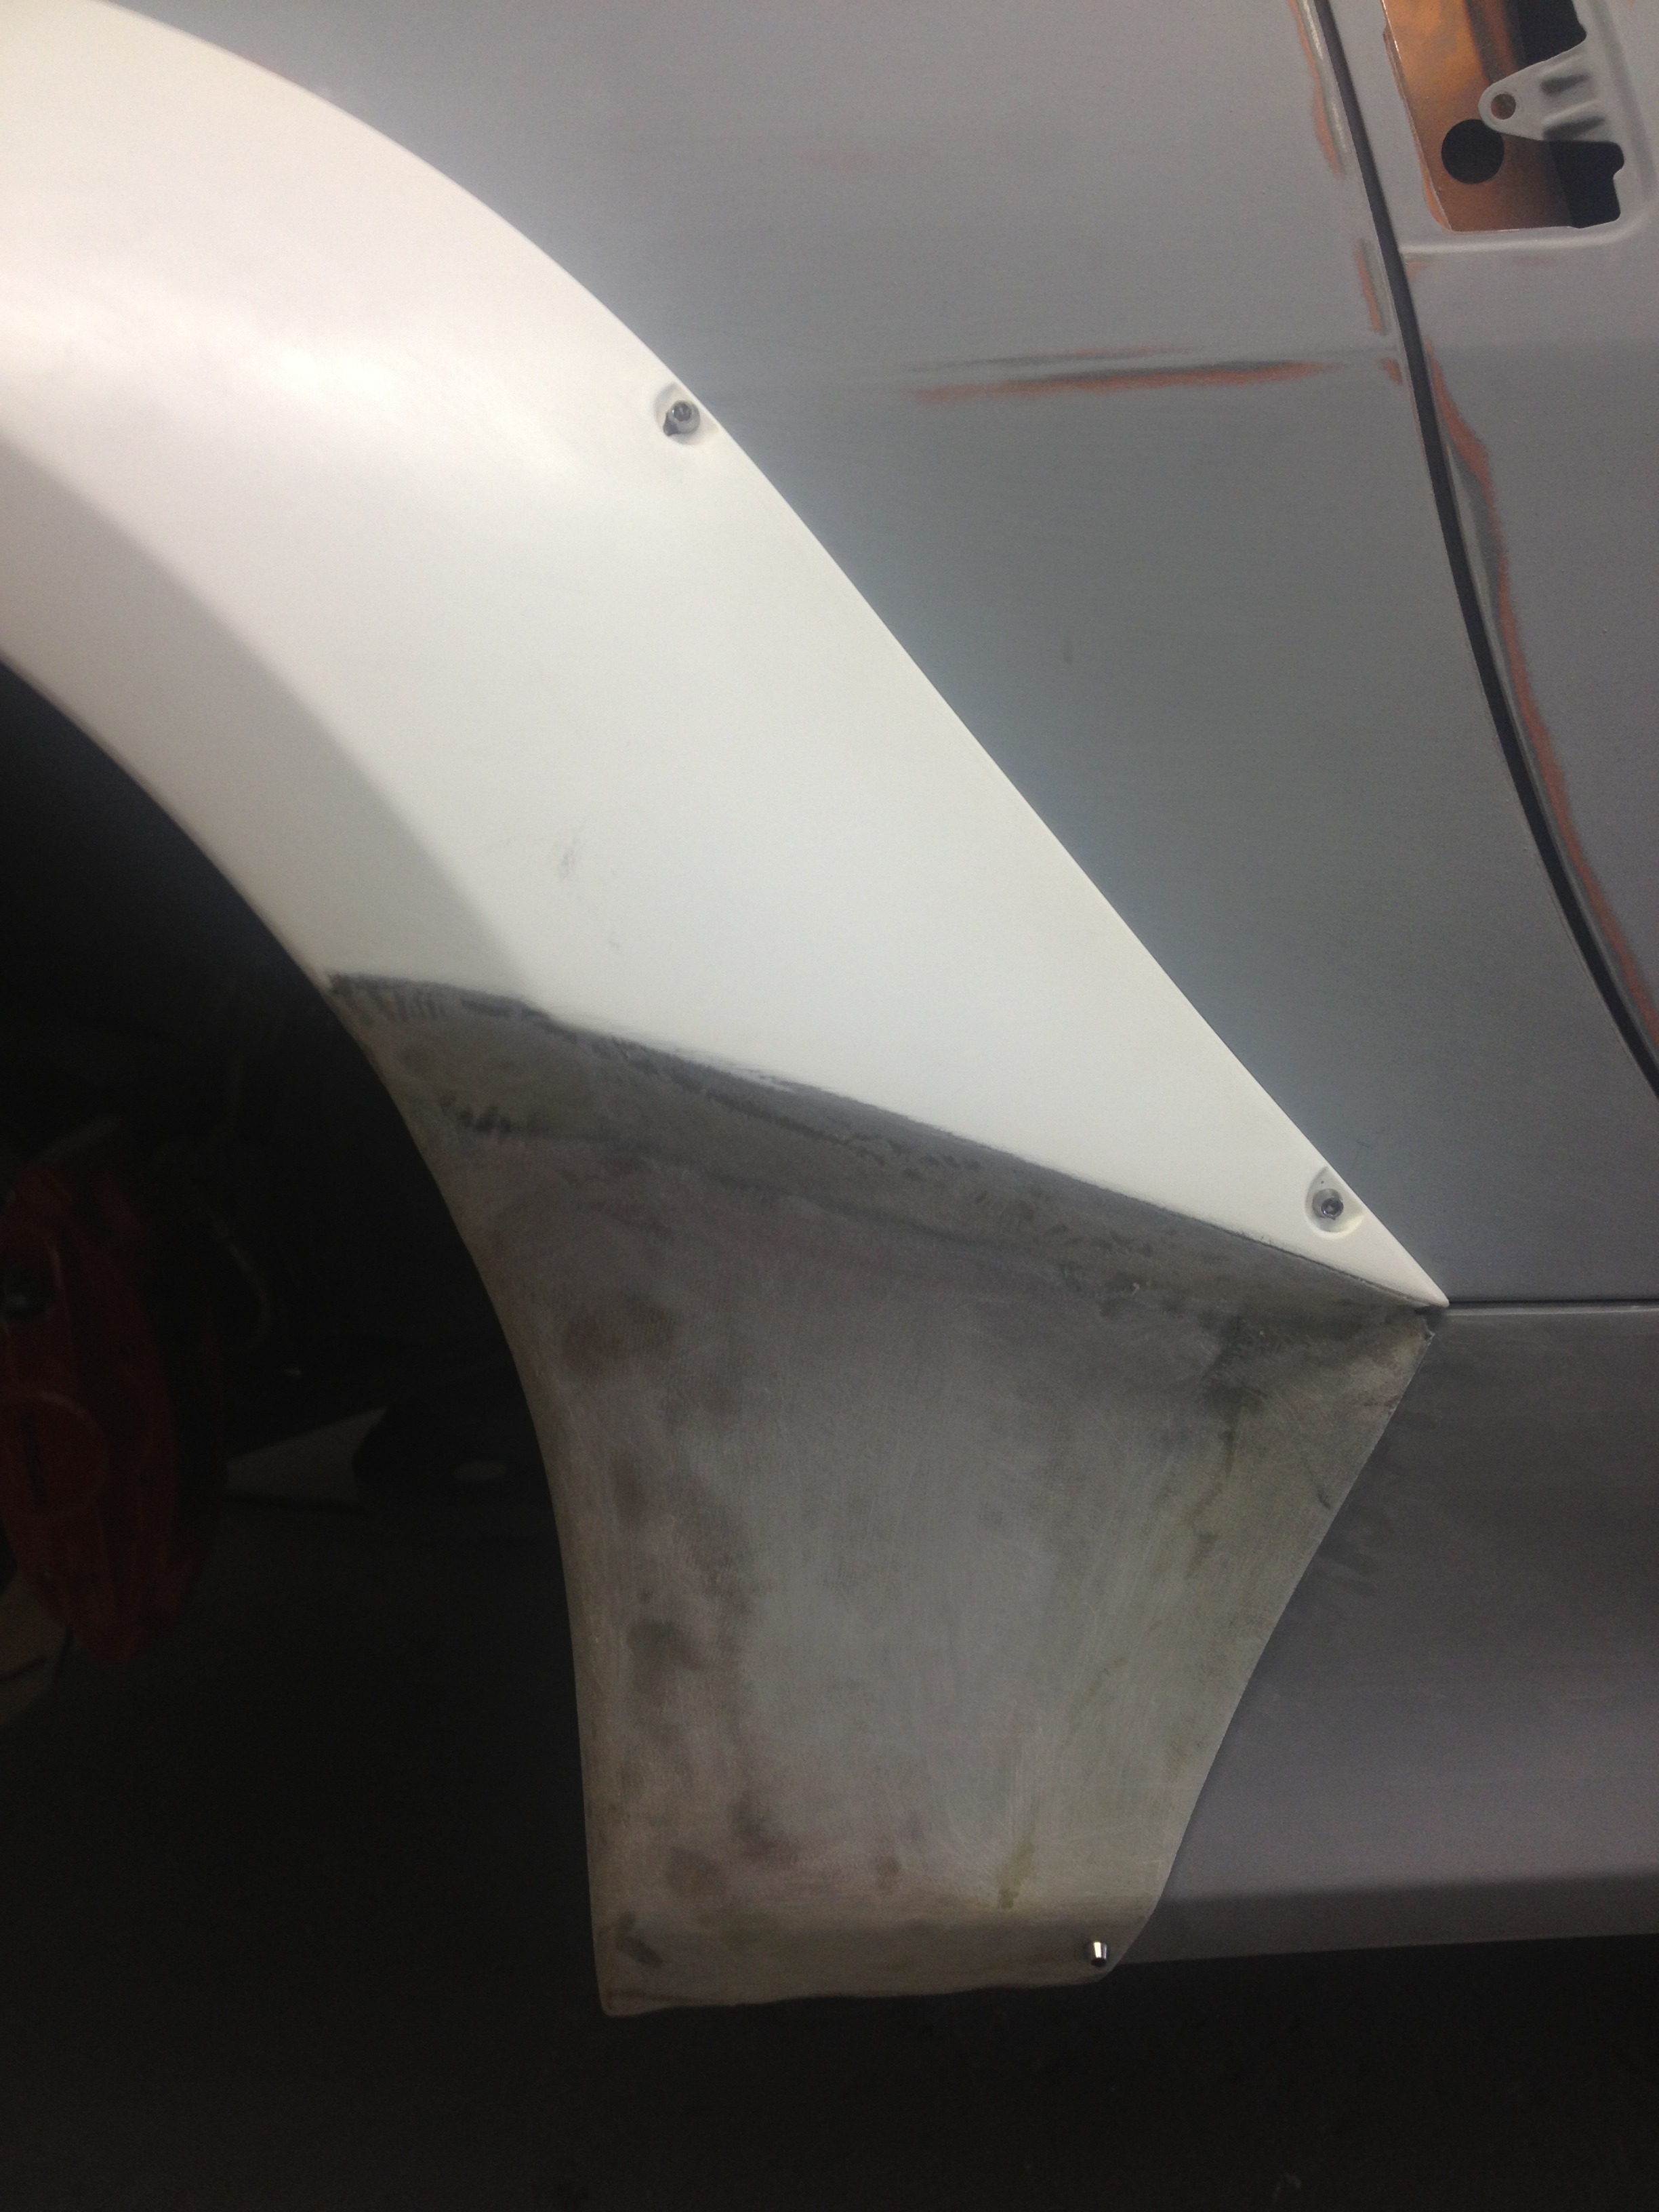
Total time in these from concept to paint prep for these pieces is probably about 30 hours.
Here are a couple shots of the finished product, taken with my iPhone Potato:

I tried a few different shapes and designs before settling on a final. The first one extended the flare to the bottom of the rocker following the line of the flare. This is pretty typical fashion for a lot of wide fender kids. I found this design to look too large and bulky in my opinion.


Here are a few kits that do it similarly:
I think this was the third revision. I ended up angling the cutoff line back, perpendicular to the body line on the flare. This is the design I liked best. Now that I look at more pics online, the Liberty Walk 458 kit actually does something similar to this.


Once the final shape was settled on, I did a bit more fiberglass magic:

I originally intended to have a couple body lines in the panel as you can see with the marks on the tape and fiberglass. Once the final piece was fiberglassed the transitions were too small and with sanding the body lines basically disappeared so we eliminated them completely. Also in this pic is one of the many, many Caesars that were consumed during the build.
This pic was at 9am on a Sunday... We worked (drinking) until probably 3 am Saturday, figured best bet was to just keep drinking Sunday morning.. Cesars are REAL good in the morning!

This is after a few layers of fiberglass. The stuff is fairly transparent when wet.


Then after the glass cured and some sanding:

Total time in these from concept to paint prep for these pieces is probably about 30 hours.
Here are a couple shots of the finished product, taken with my iPhone Potato:


Thread Starter
Registered User
Joined: Sep 2008
Posts: 908
Likes: 28
From: Winnipeg, MB
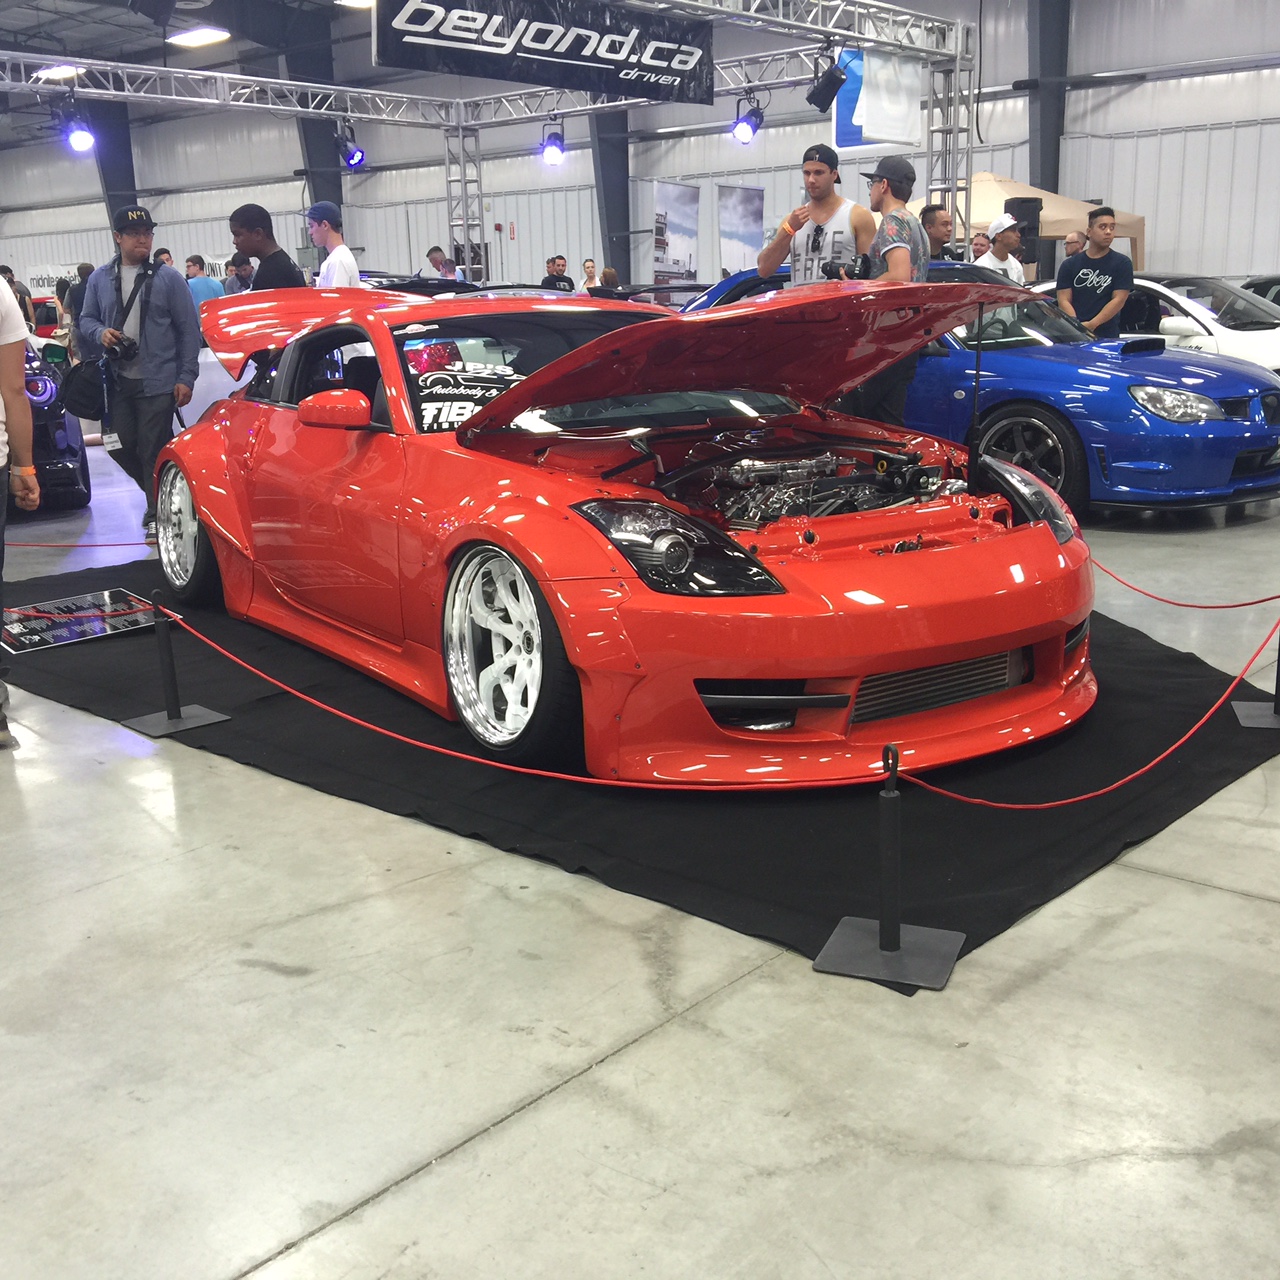
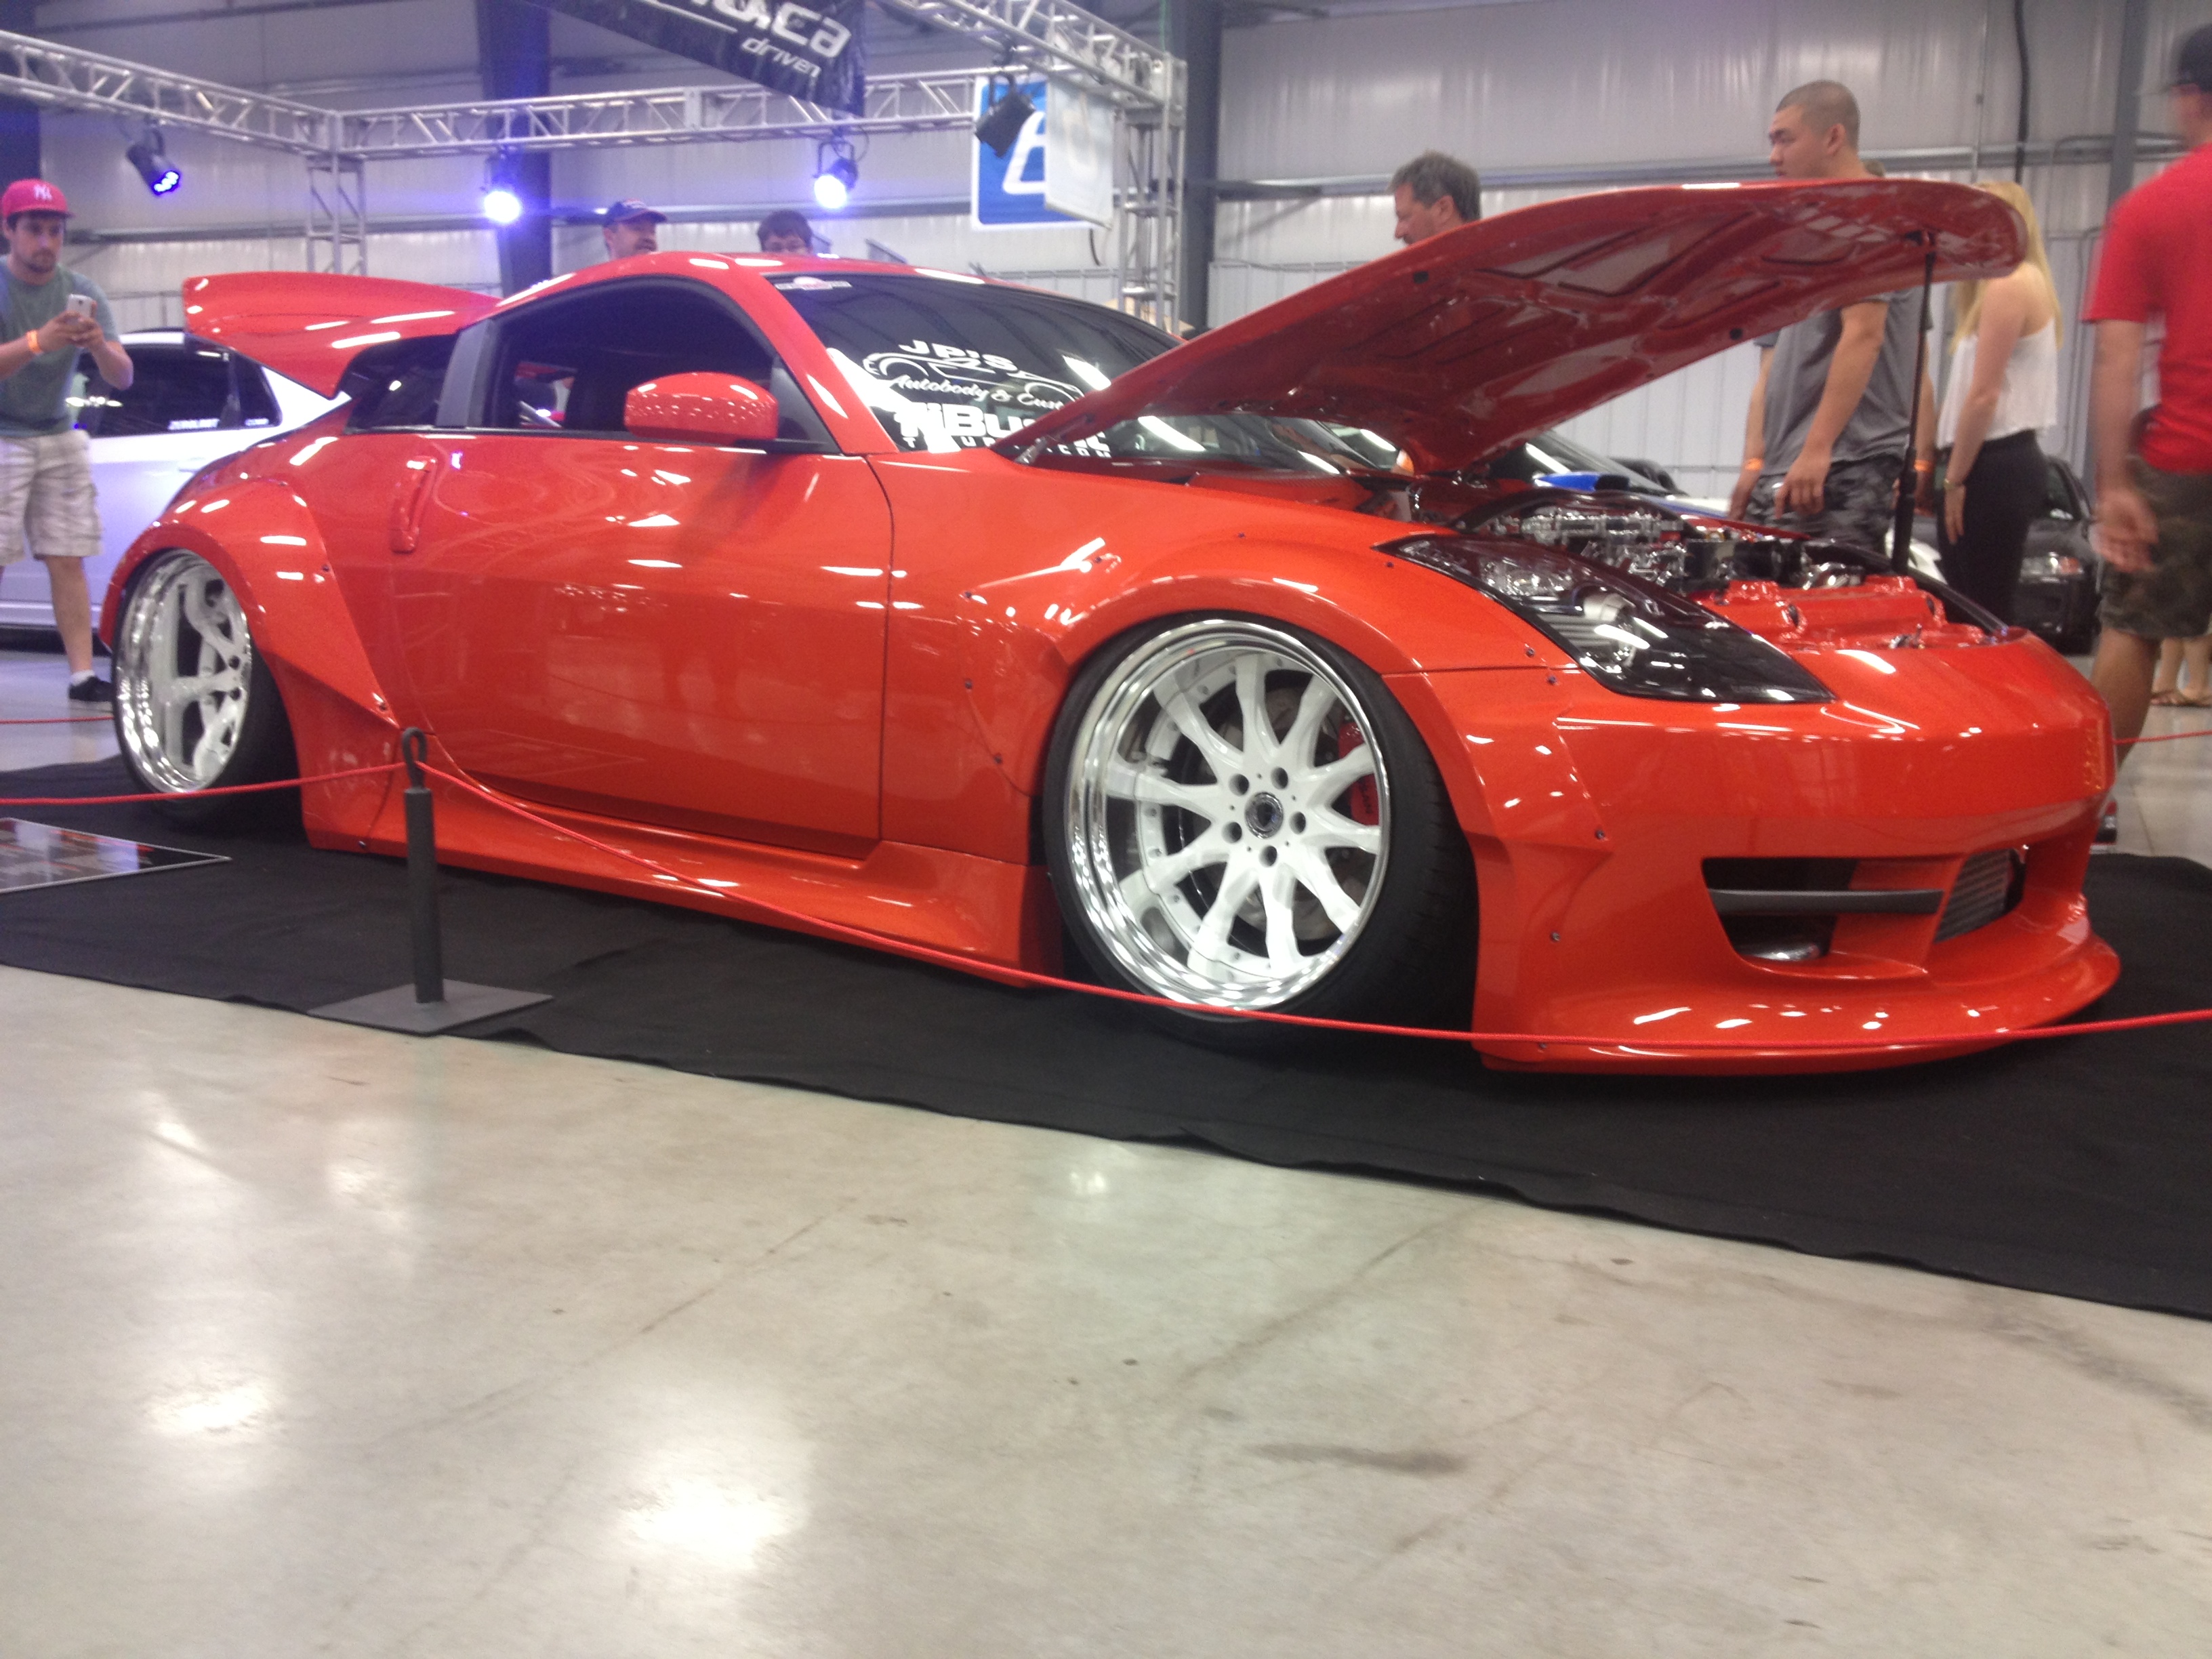
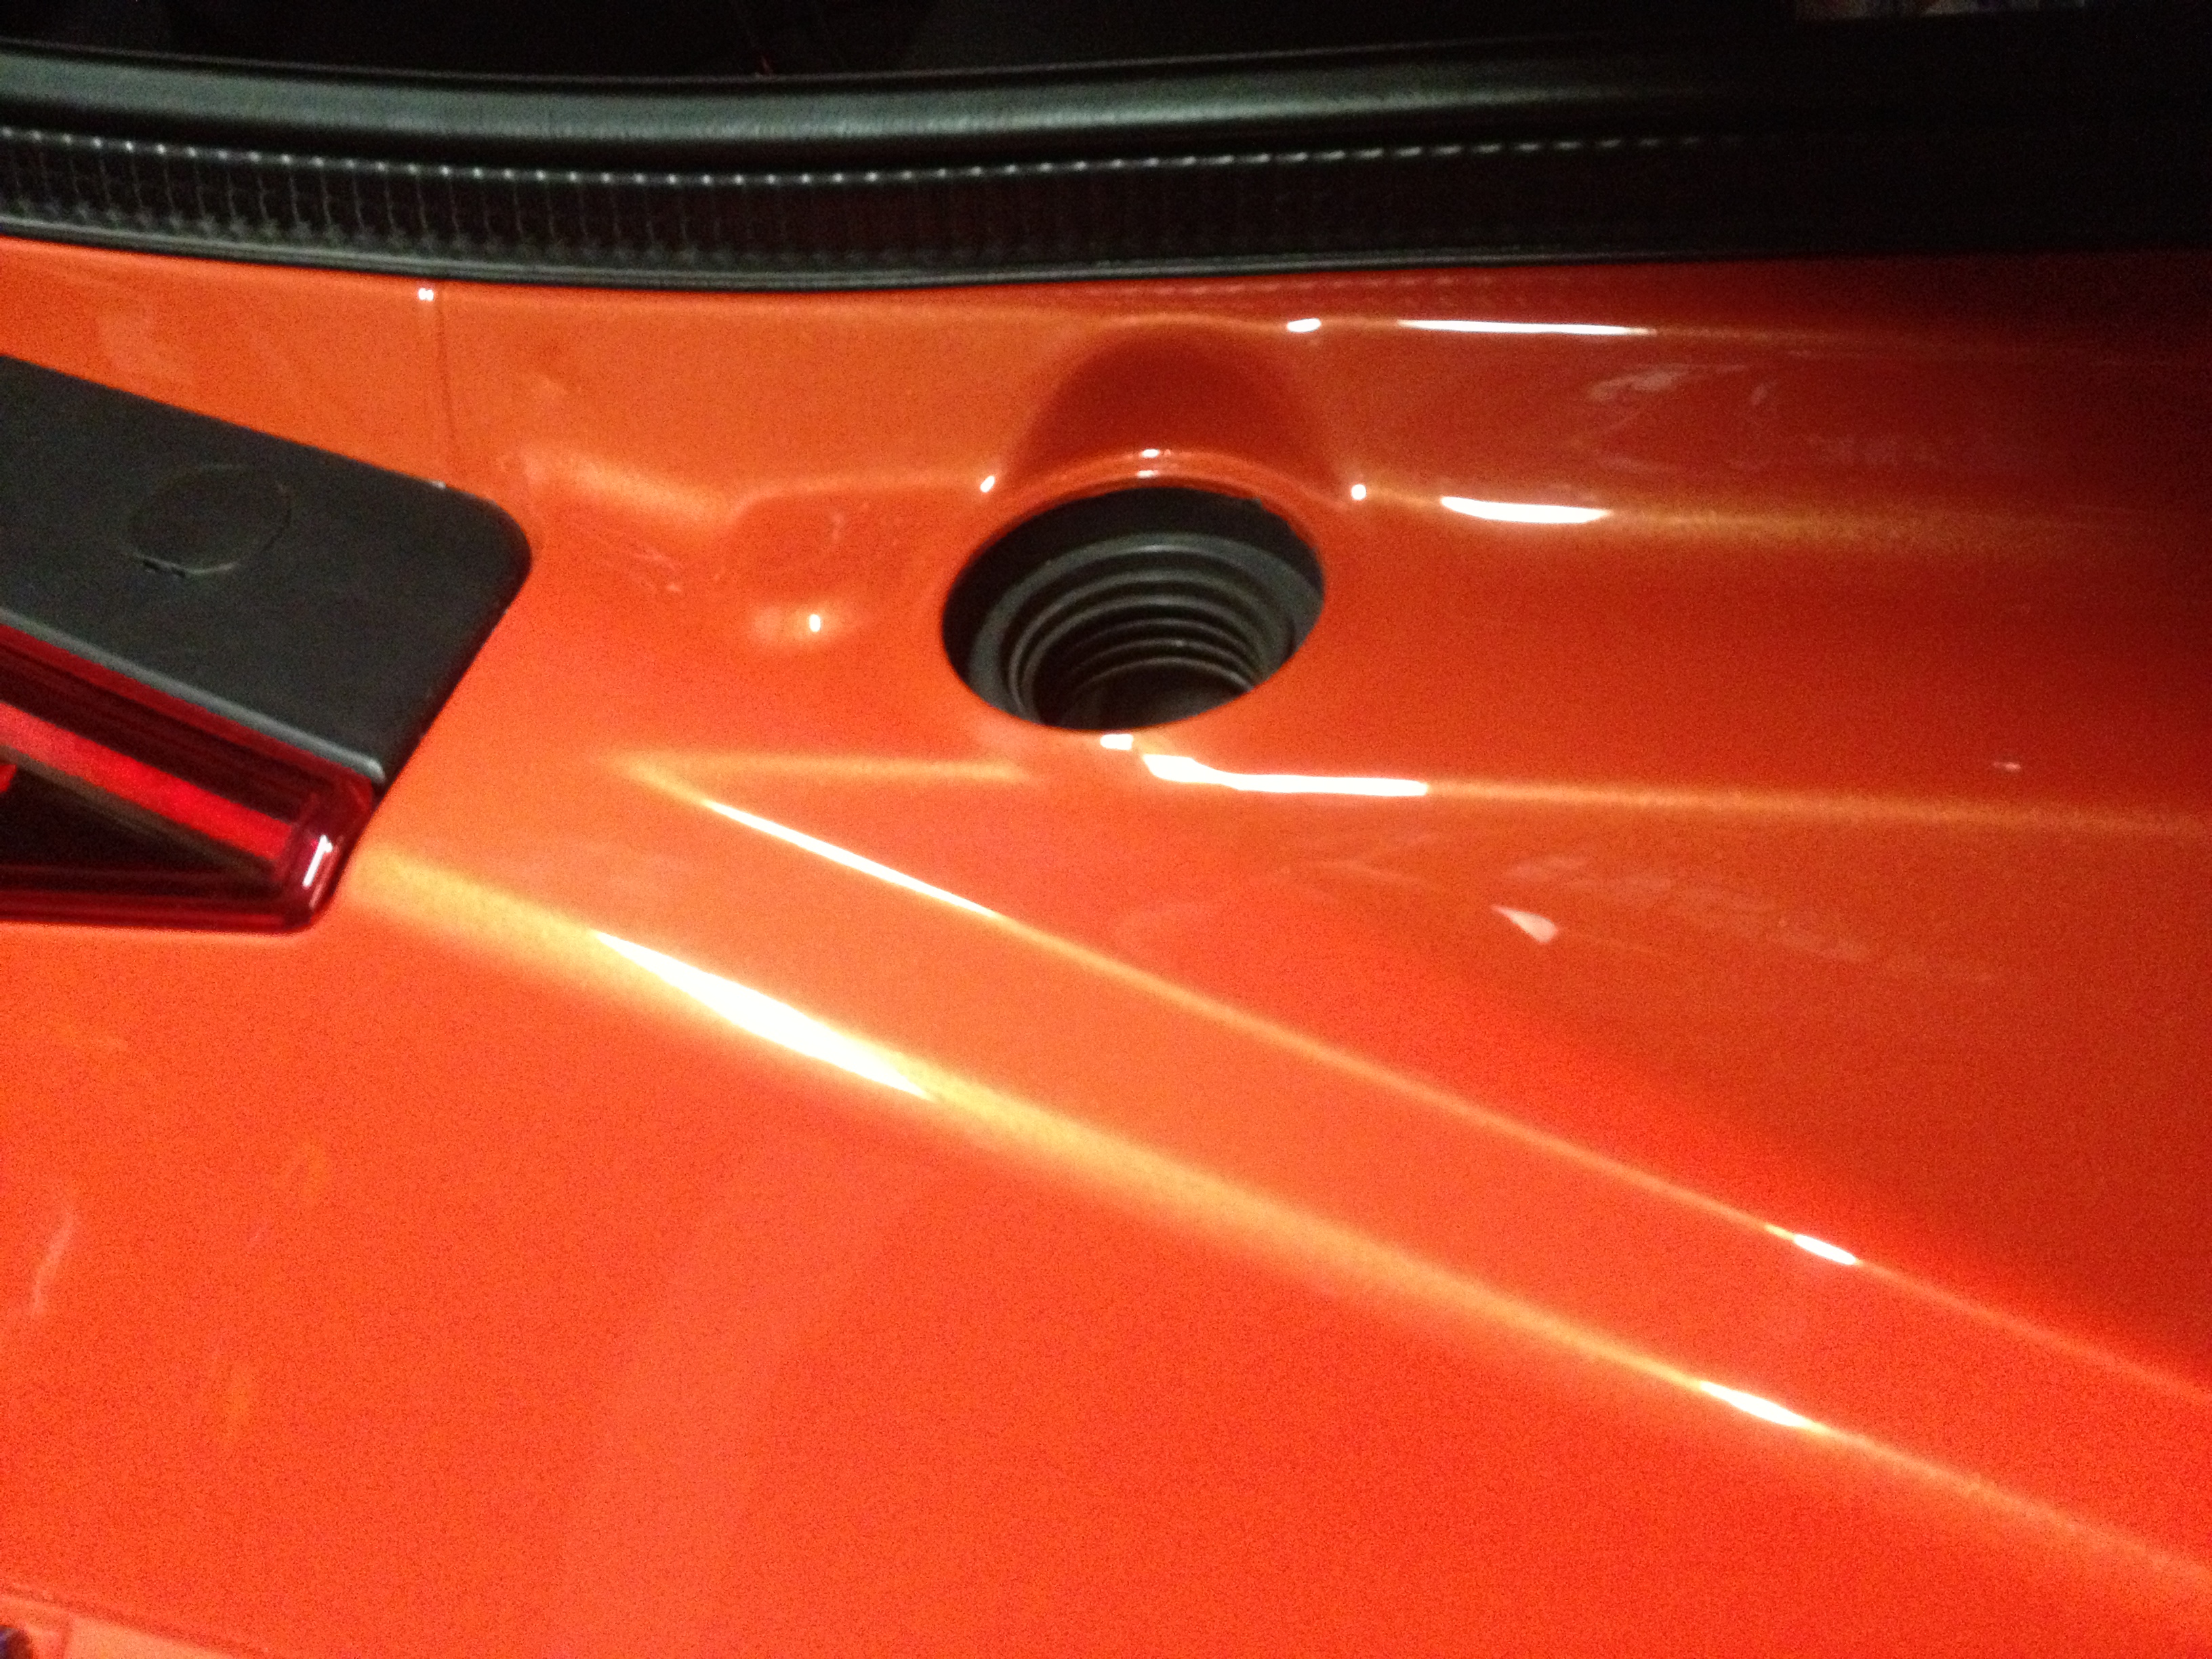
Here are a few pics of the finished gas cap. These also show the crazy difference in the paint color under different lighting. It a lot of the pics from Driven, the car looks red. In these pics in my garage, looks like a crazy orange.
Gas cap closed and flush:
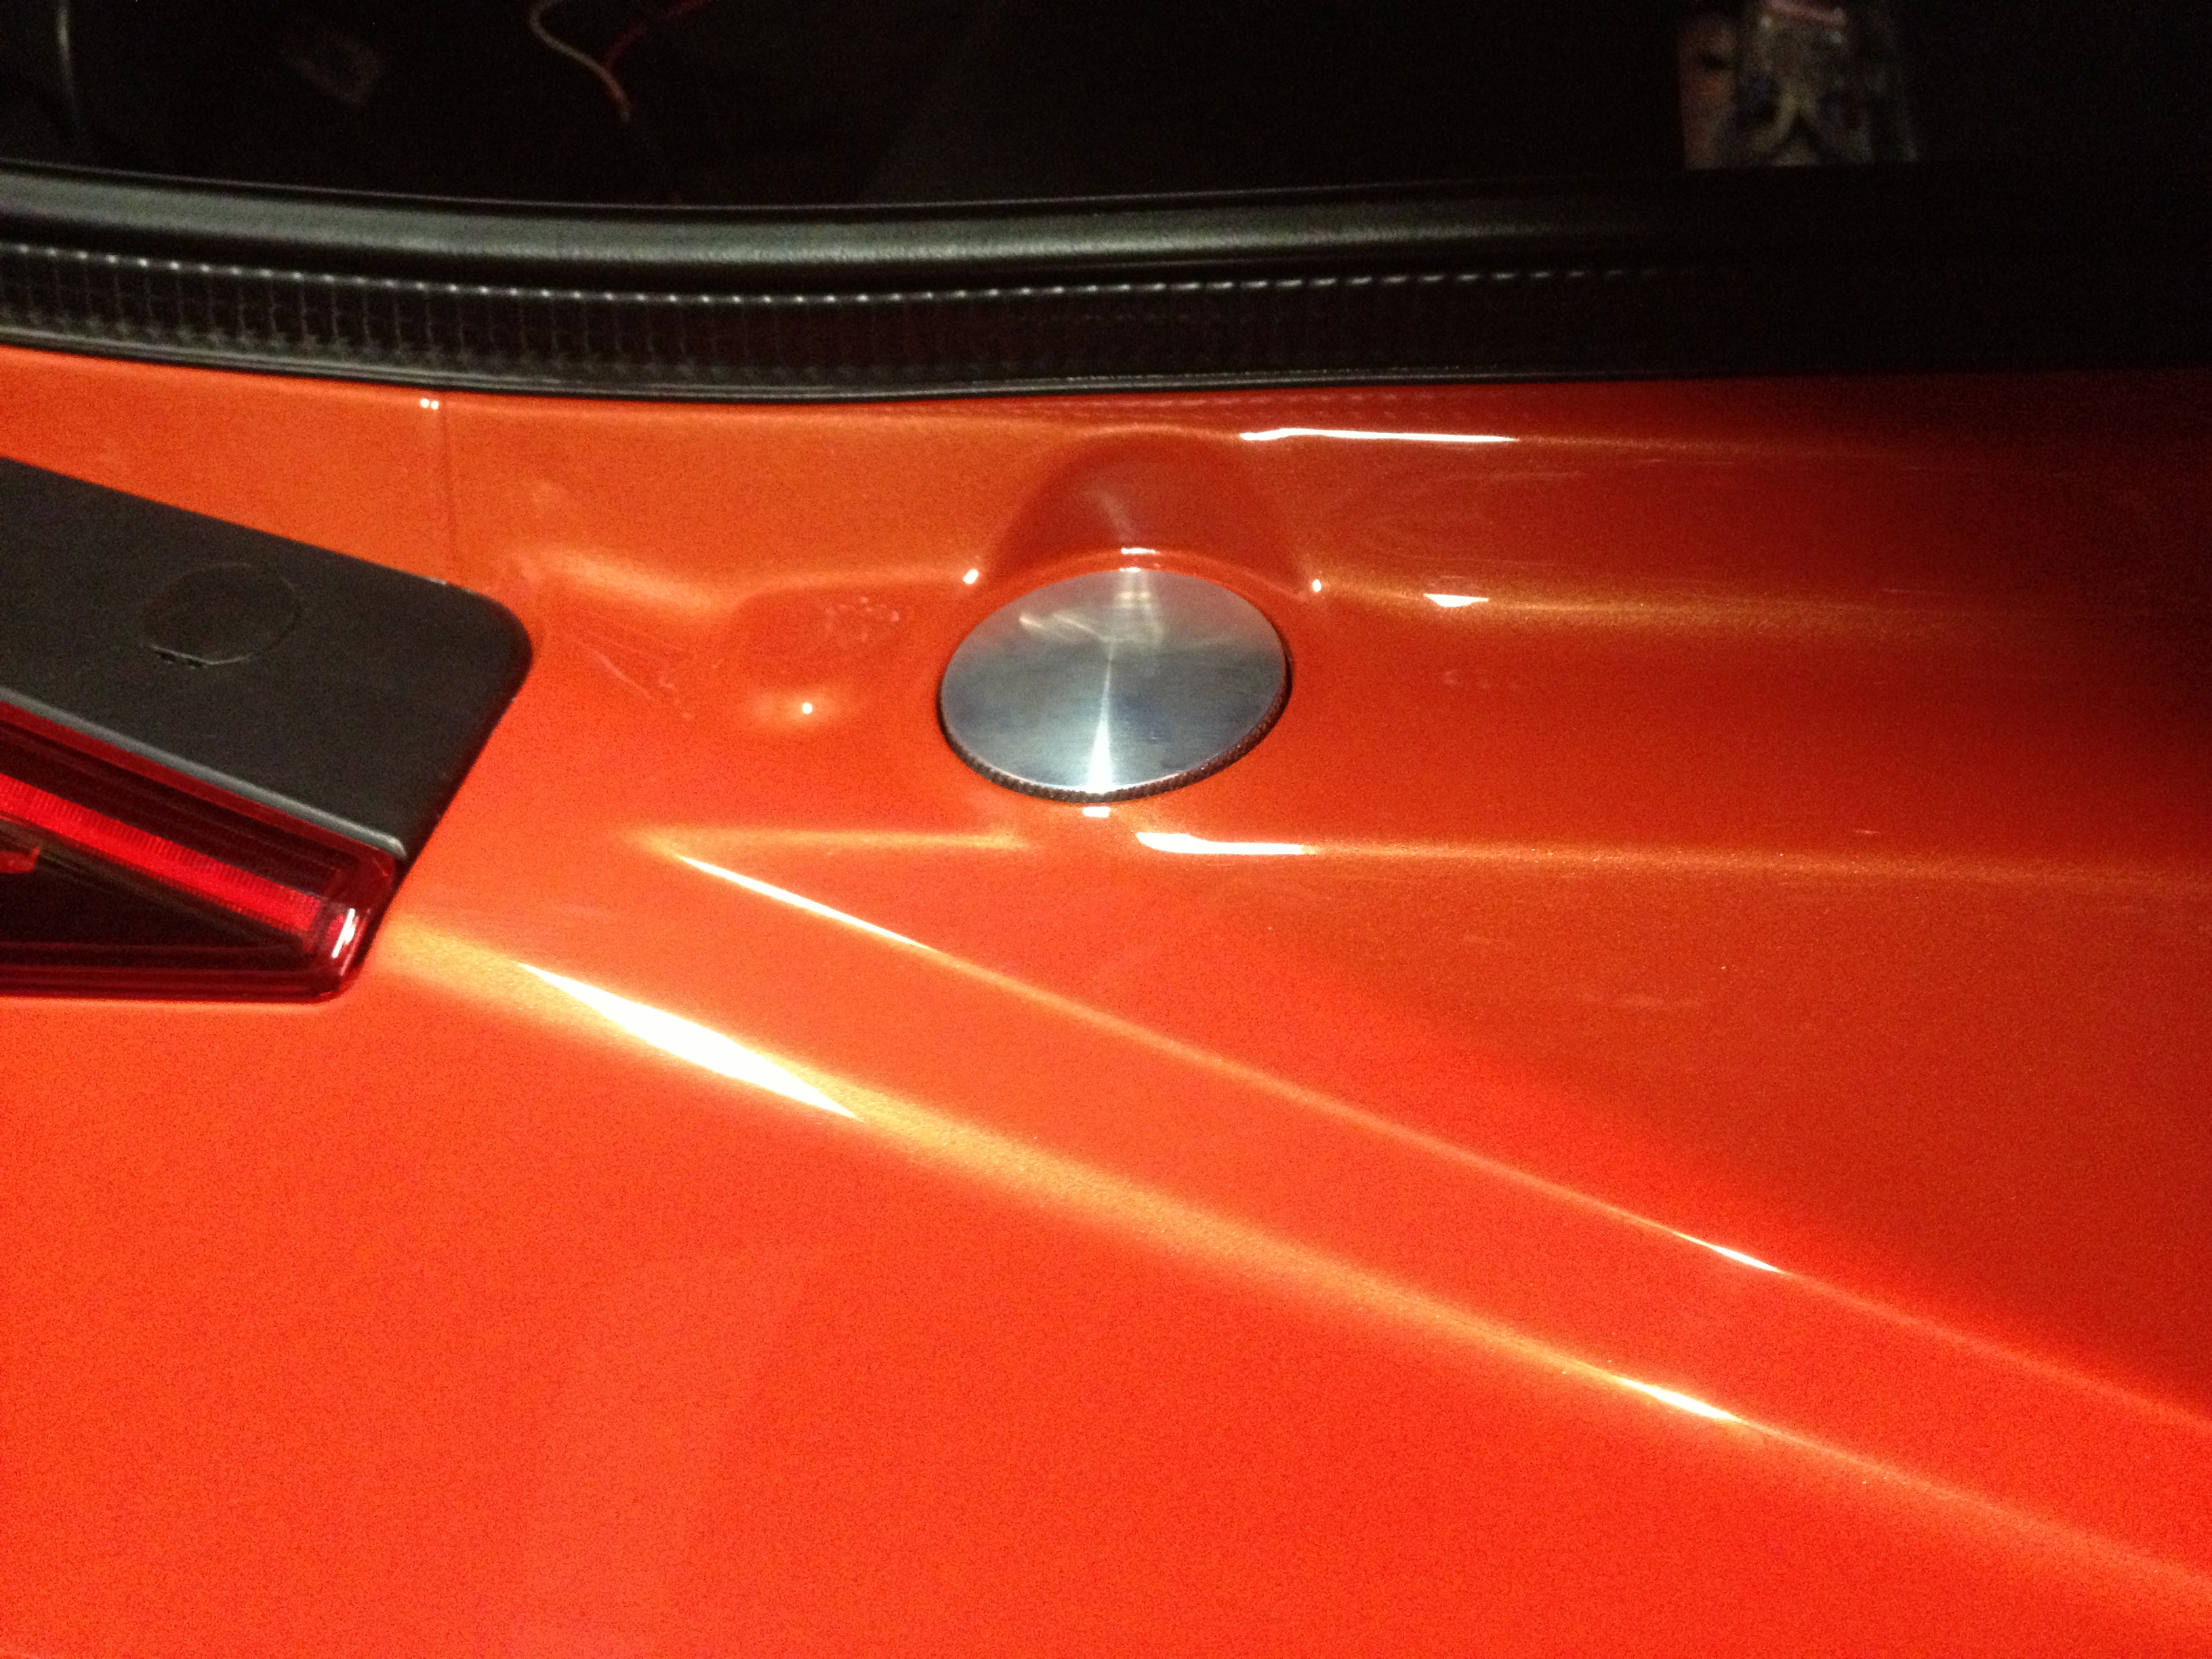
Push down and turn a 1/4 turn and it pops up:
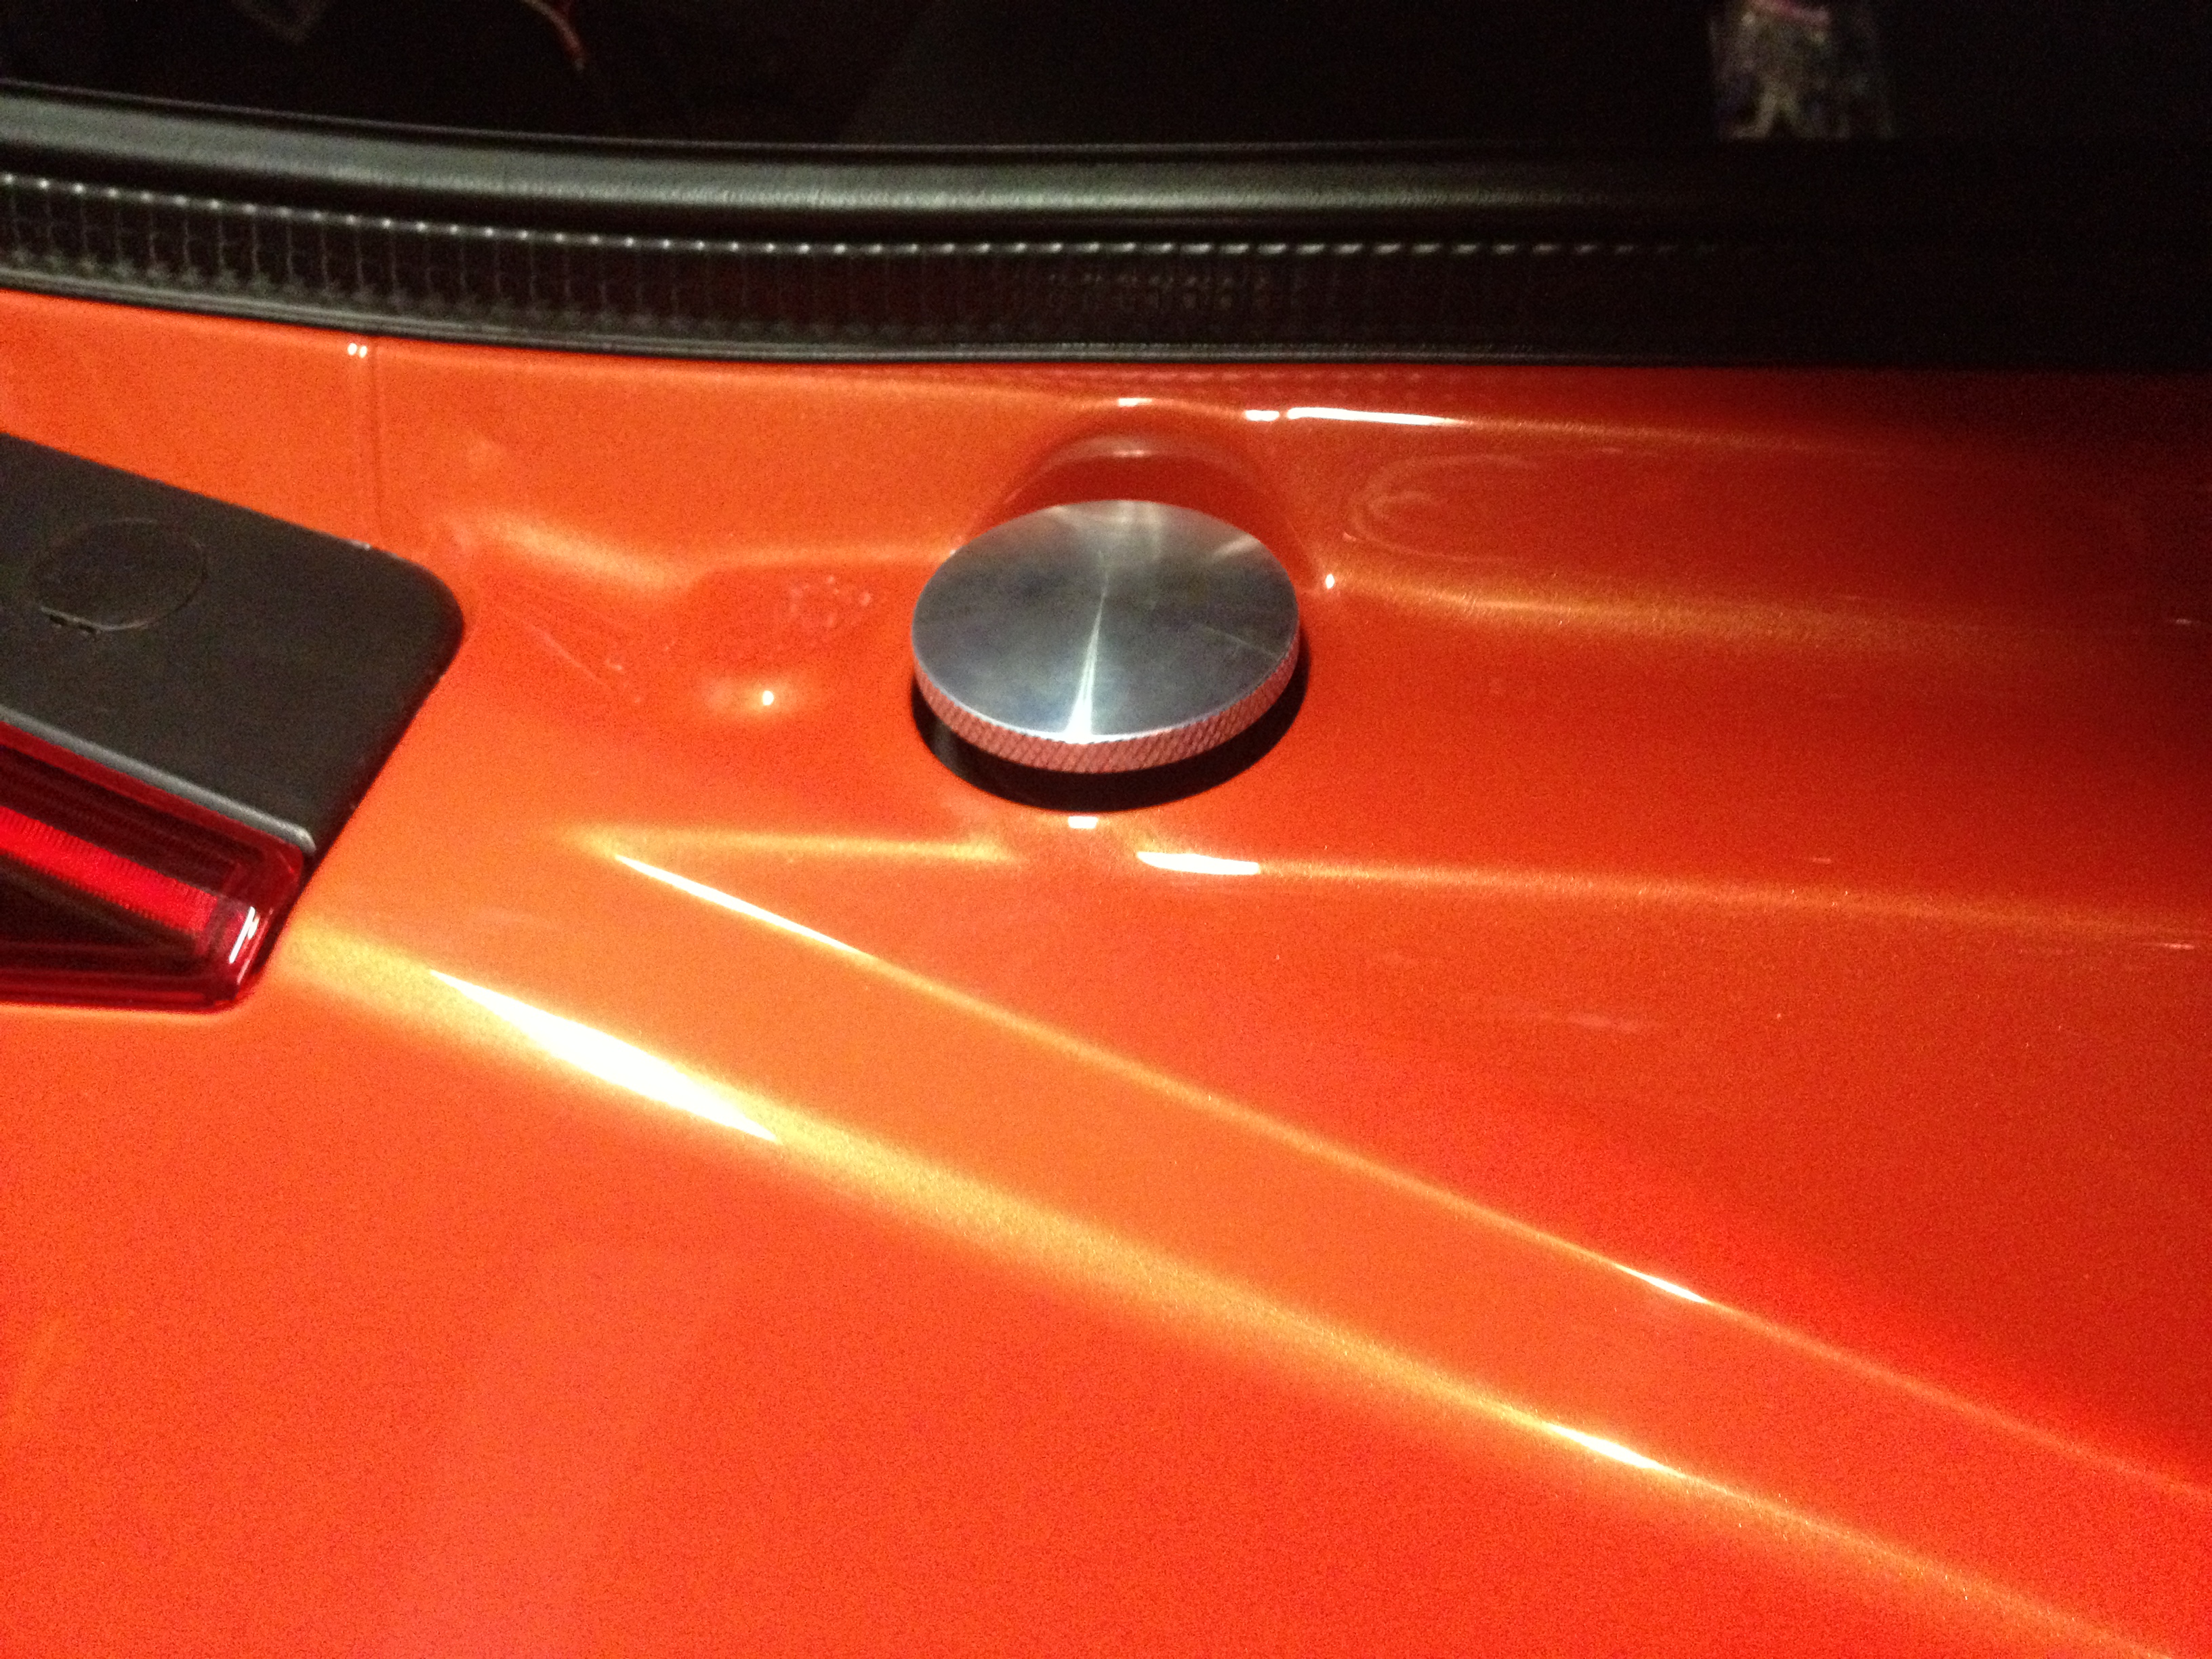
Then you unthread it like a normal gas cap:
Gas cap closed and flush:

Push down and turn a 1/4 turn and it pops up:

Then you unthread it like a normal gas cap:


This is a excellent build. I came across the youtube video and loved the way the car looked. Going through this thread, I can appreciate the fine details you have put in the car.
Thread Starter
Registered User
Joined: Sep 2008
Posts: 908
Likes: 28
From: Winnipeg, MB
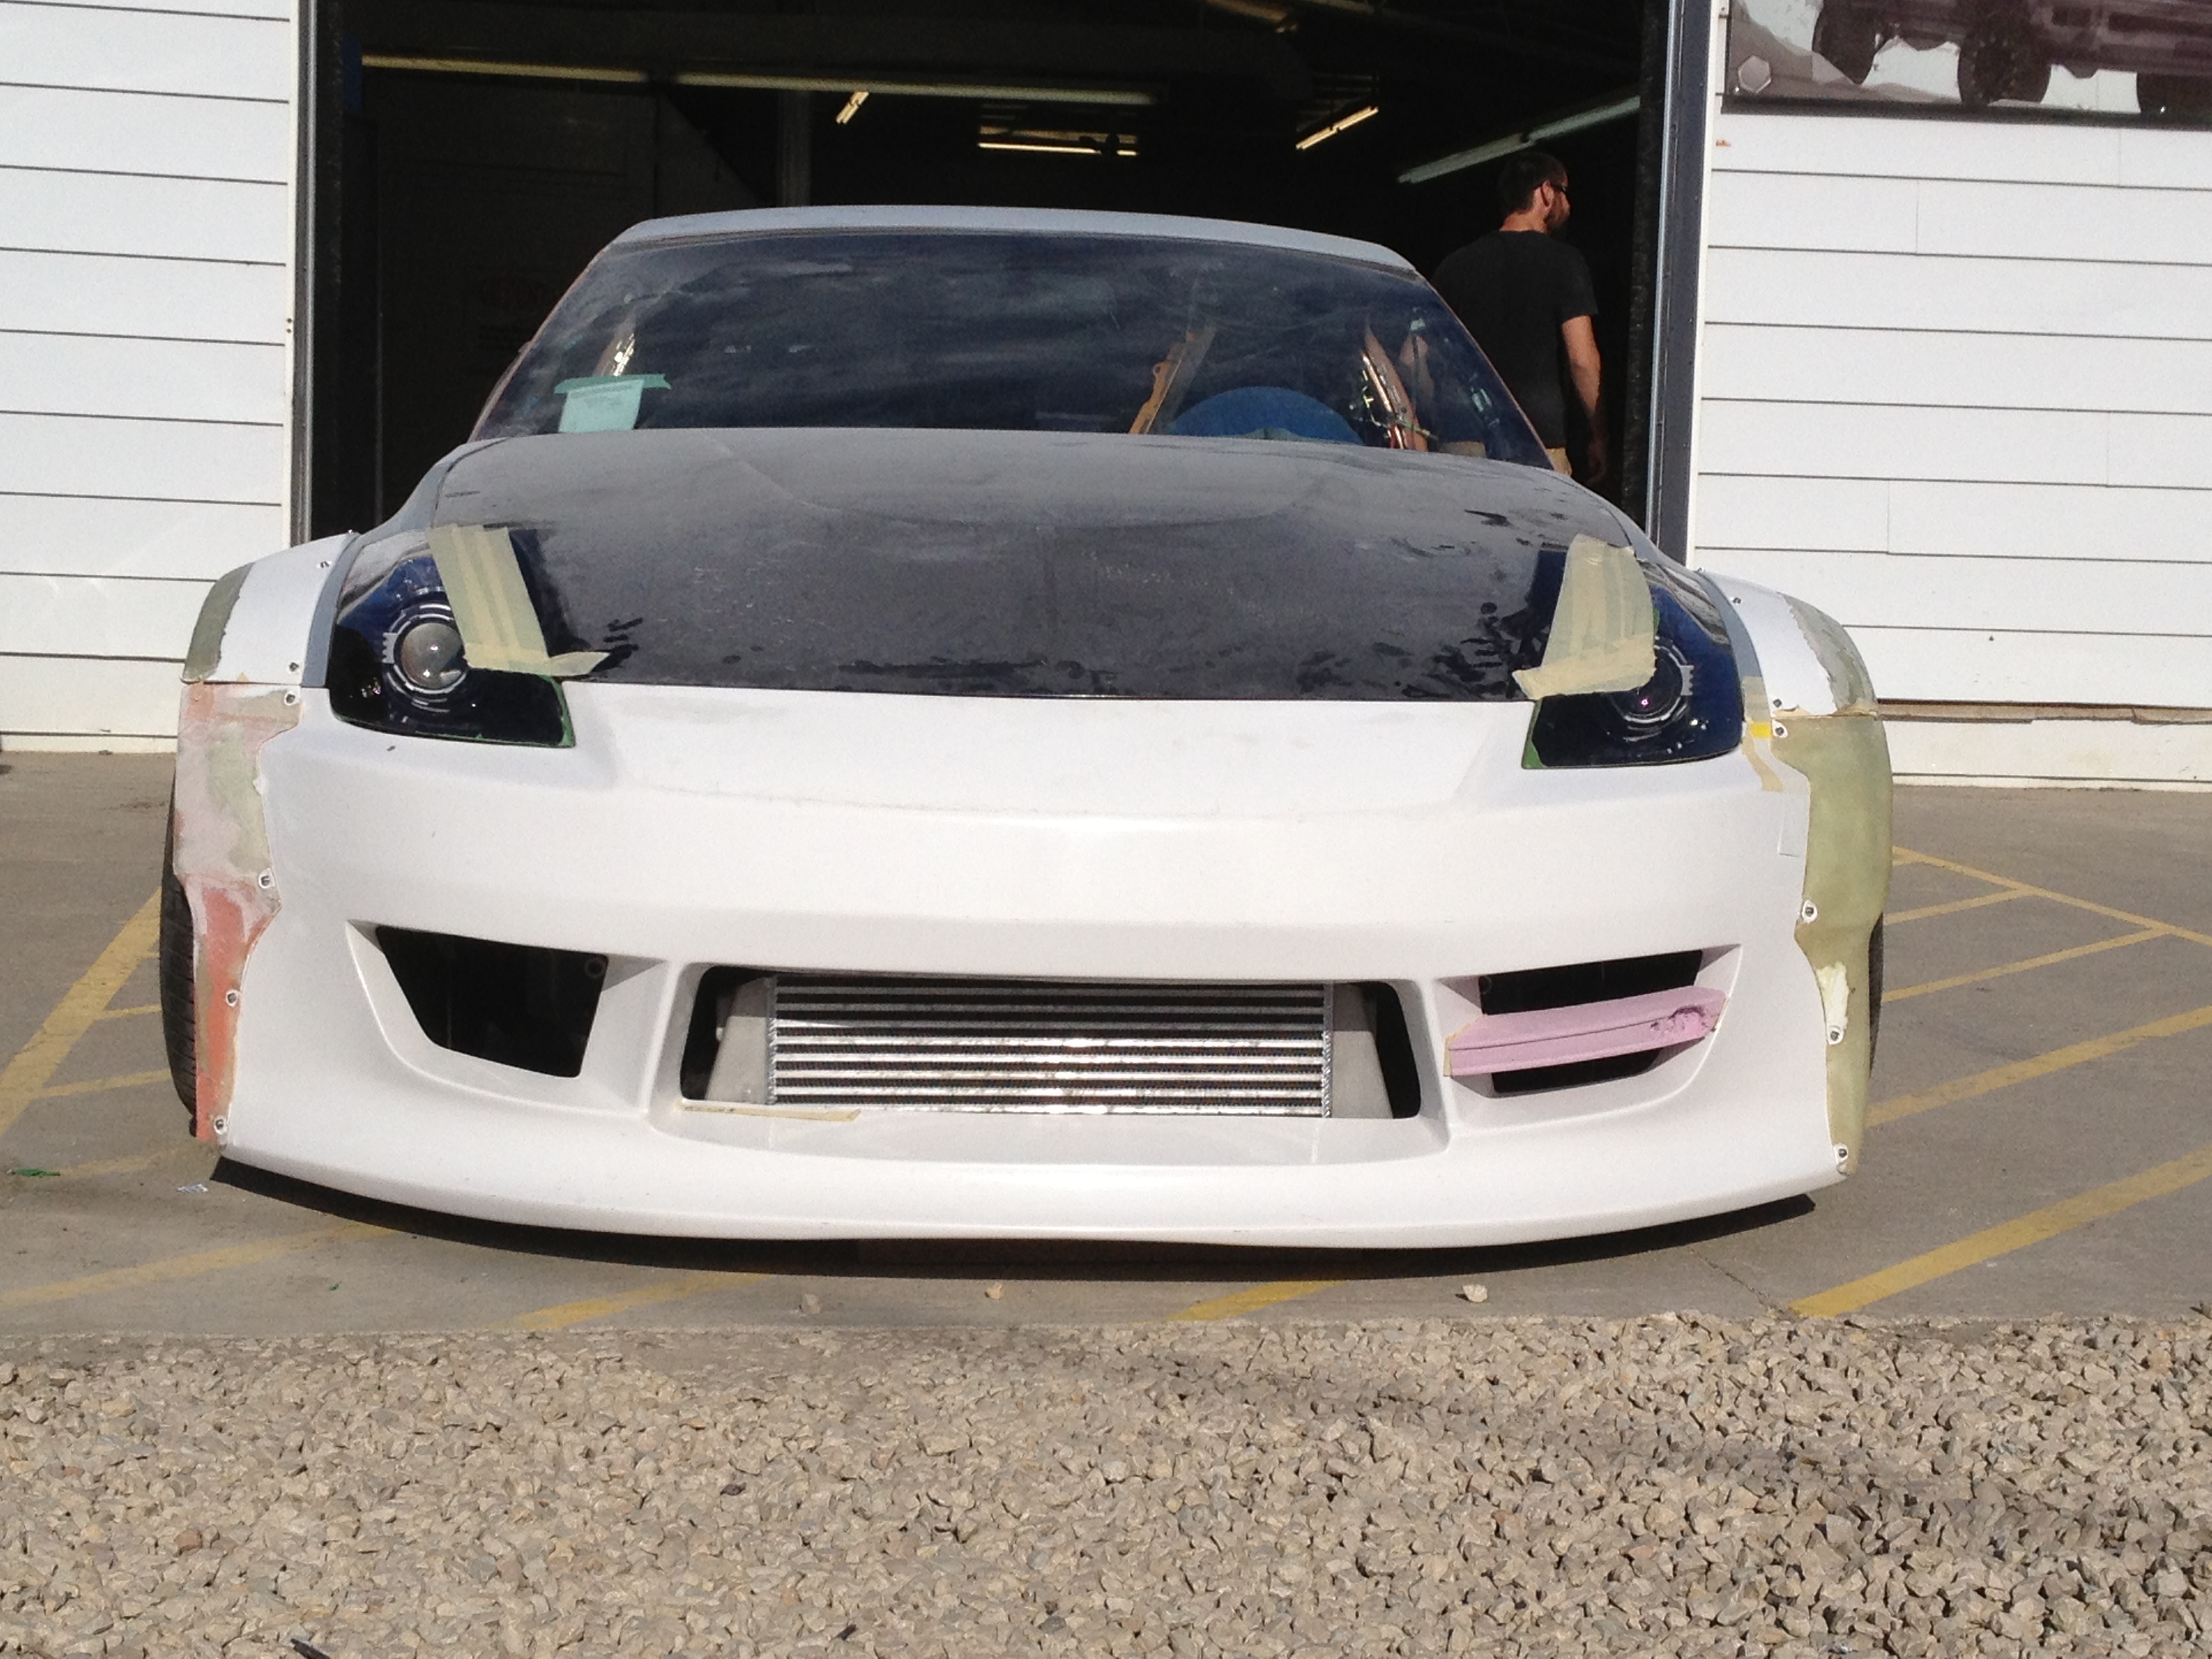
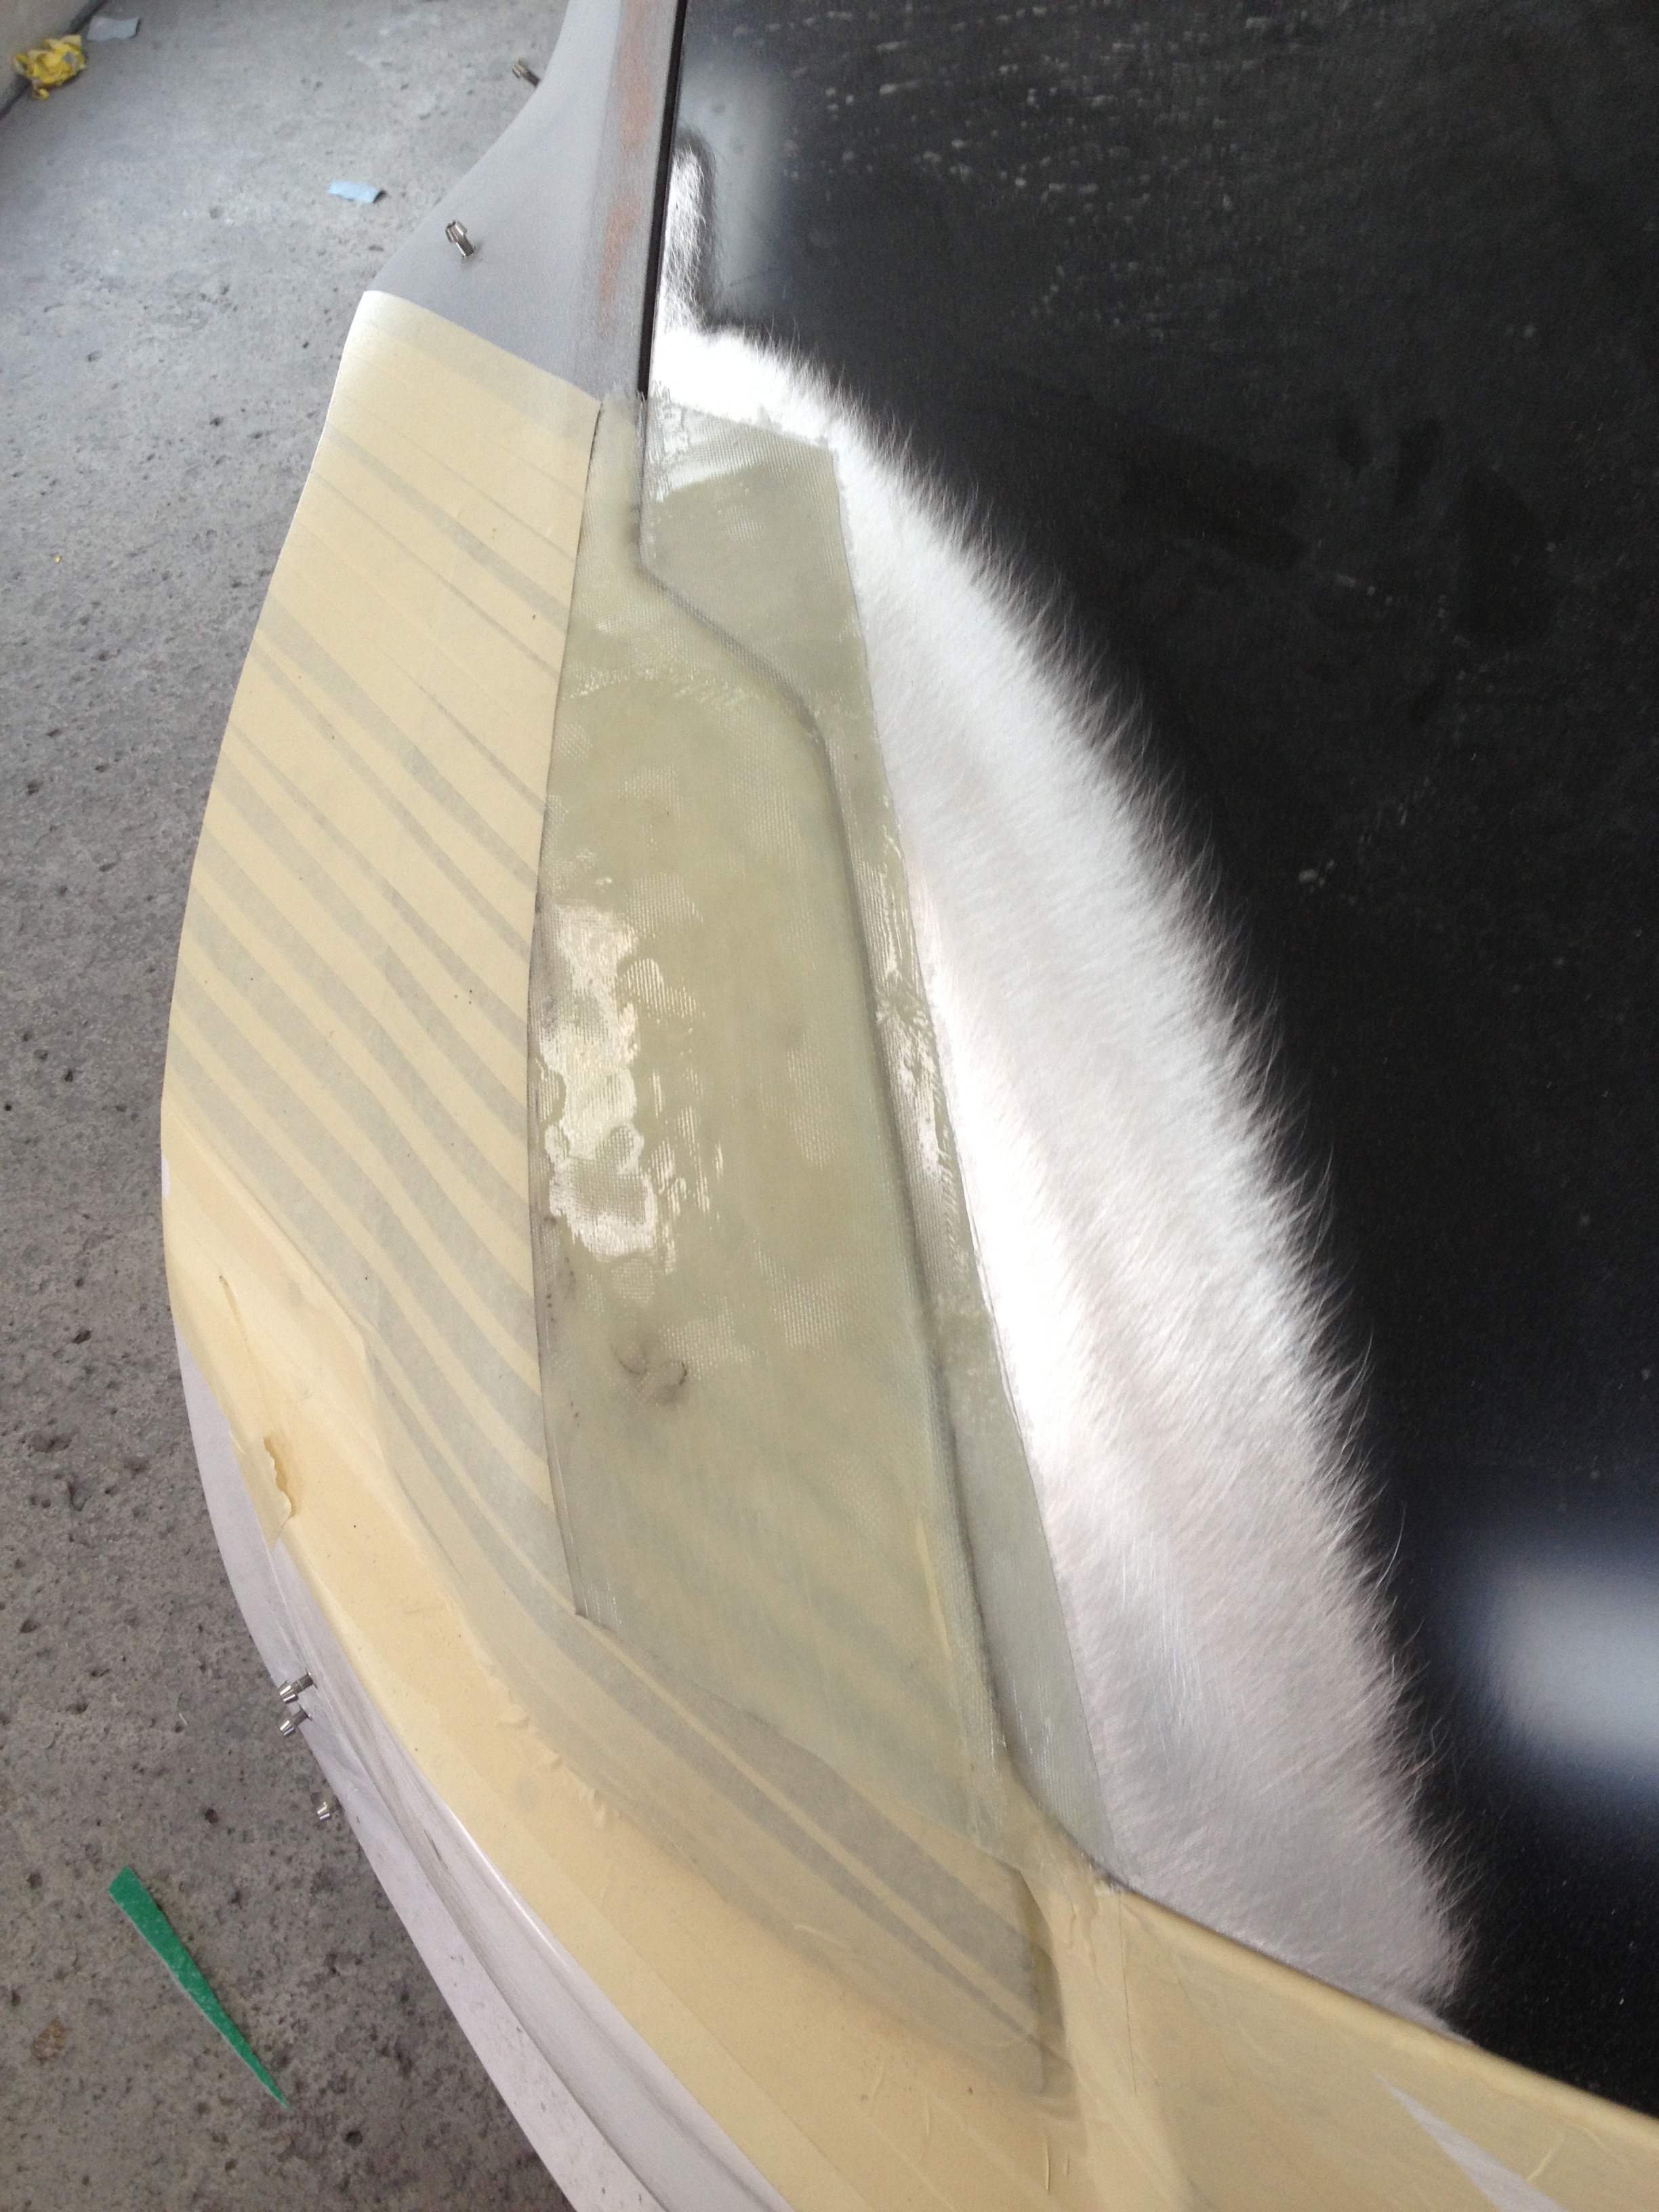
Here is a part of my build that I’ve never seen done on a Z before, molded in eyelids.
I loved the look of eyelids, but hated the gap that was left between the hood and the eyelid.
The eyelids were made from scratch and bonded to the hood. They are made of West Systems epoxy resin and fiberglass matt. Before making the hood was etched with West Systems aluminum etch kit. This resin is made to bond to aluminum.
I feel that with the shape of the hood, and the way these are made that the fiberglass is actually considerably stronger than if I would have used a piece of aluminum and welded it. There is also less filler required this way than if done with aluminum.
The fiberglass is roughly 12-16 layers of cloth, I can’t remember. 6-8 layers on the top side of the hood, and 6-8 on the bottom side. Doing this way sandwiches the hood between the fiberglass making for a super strong joint.
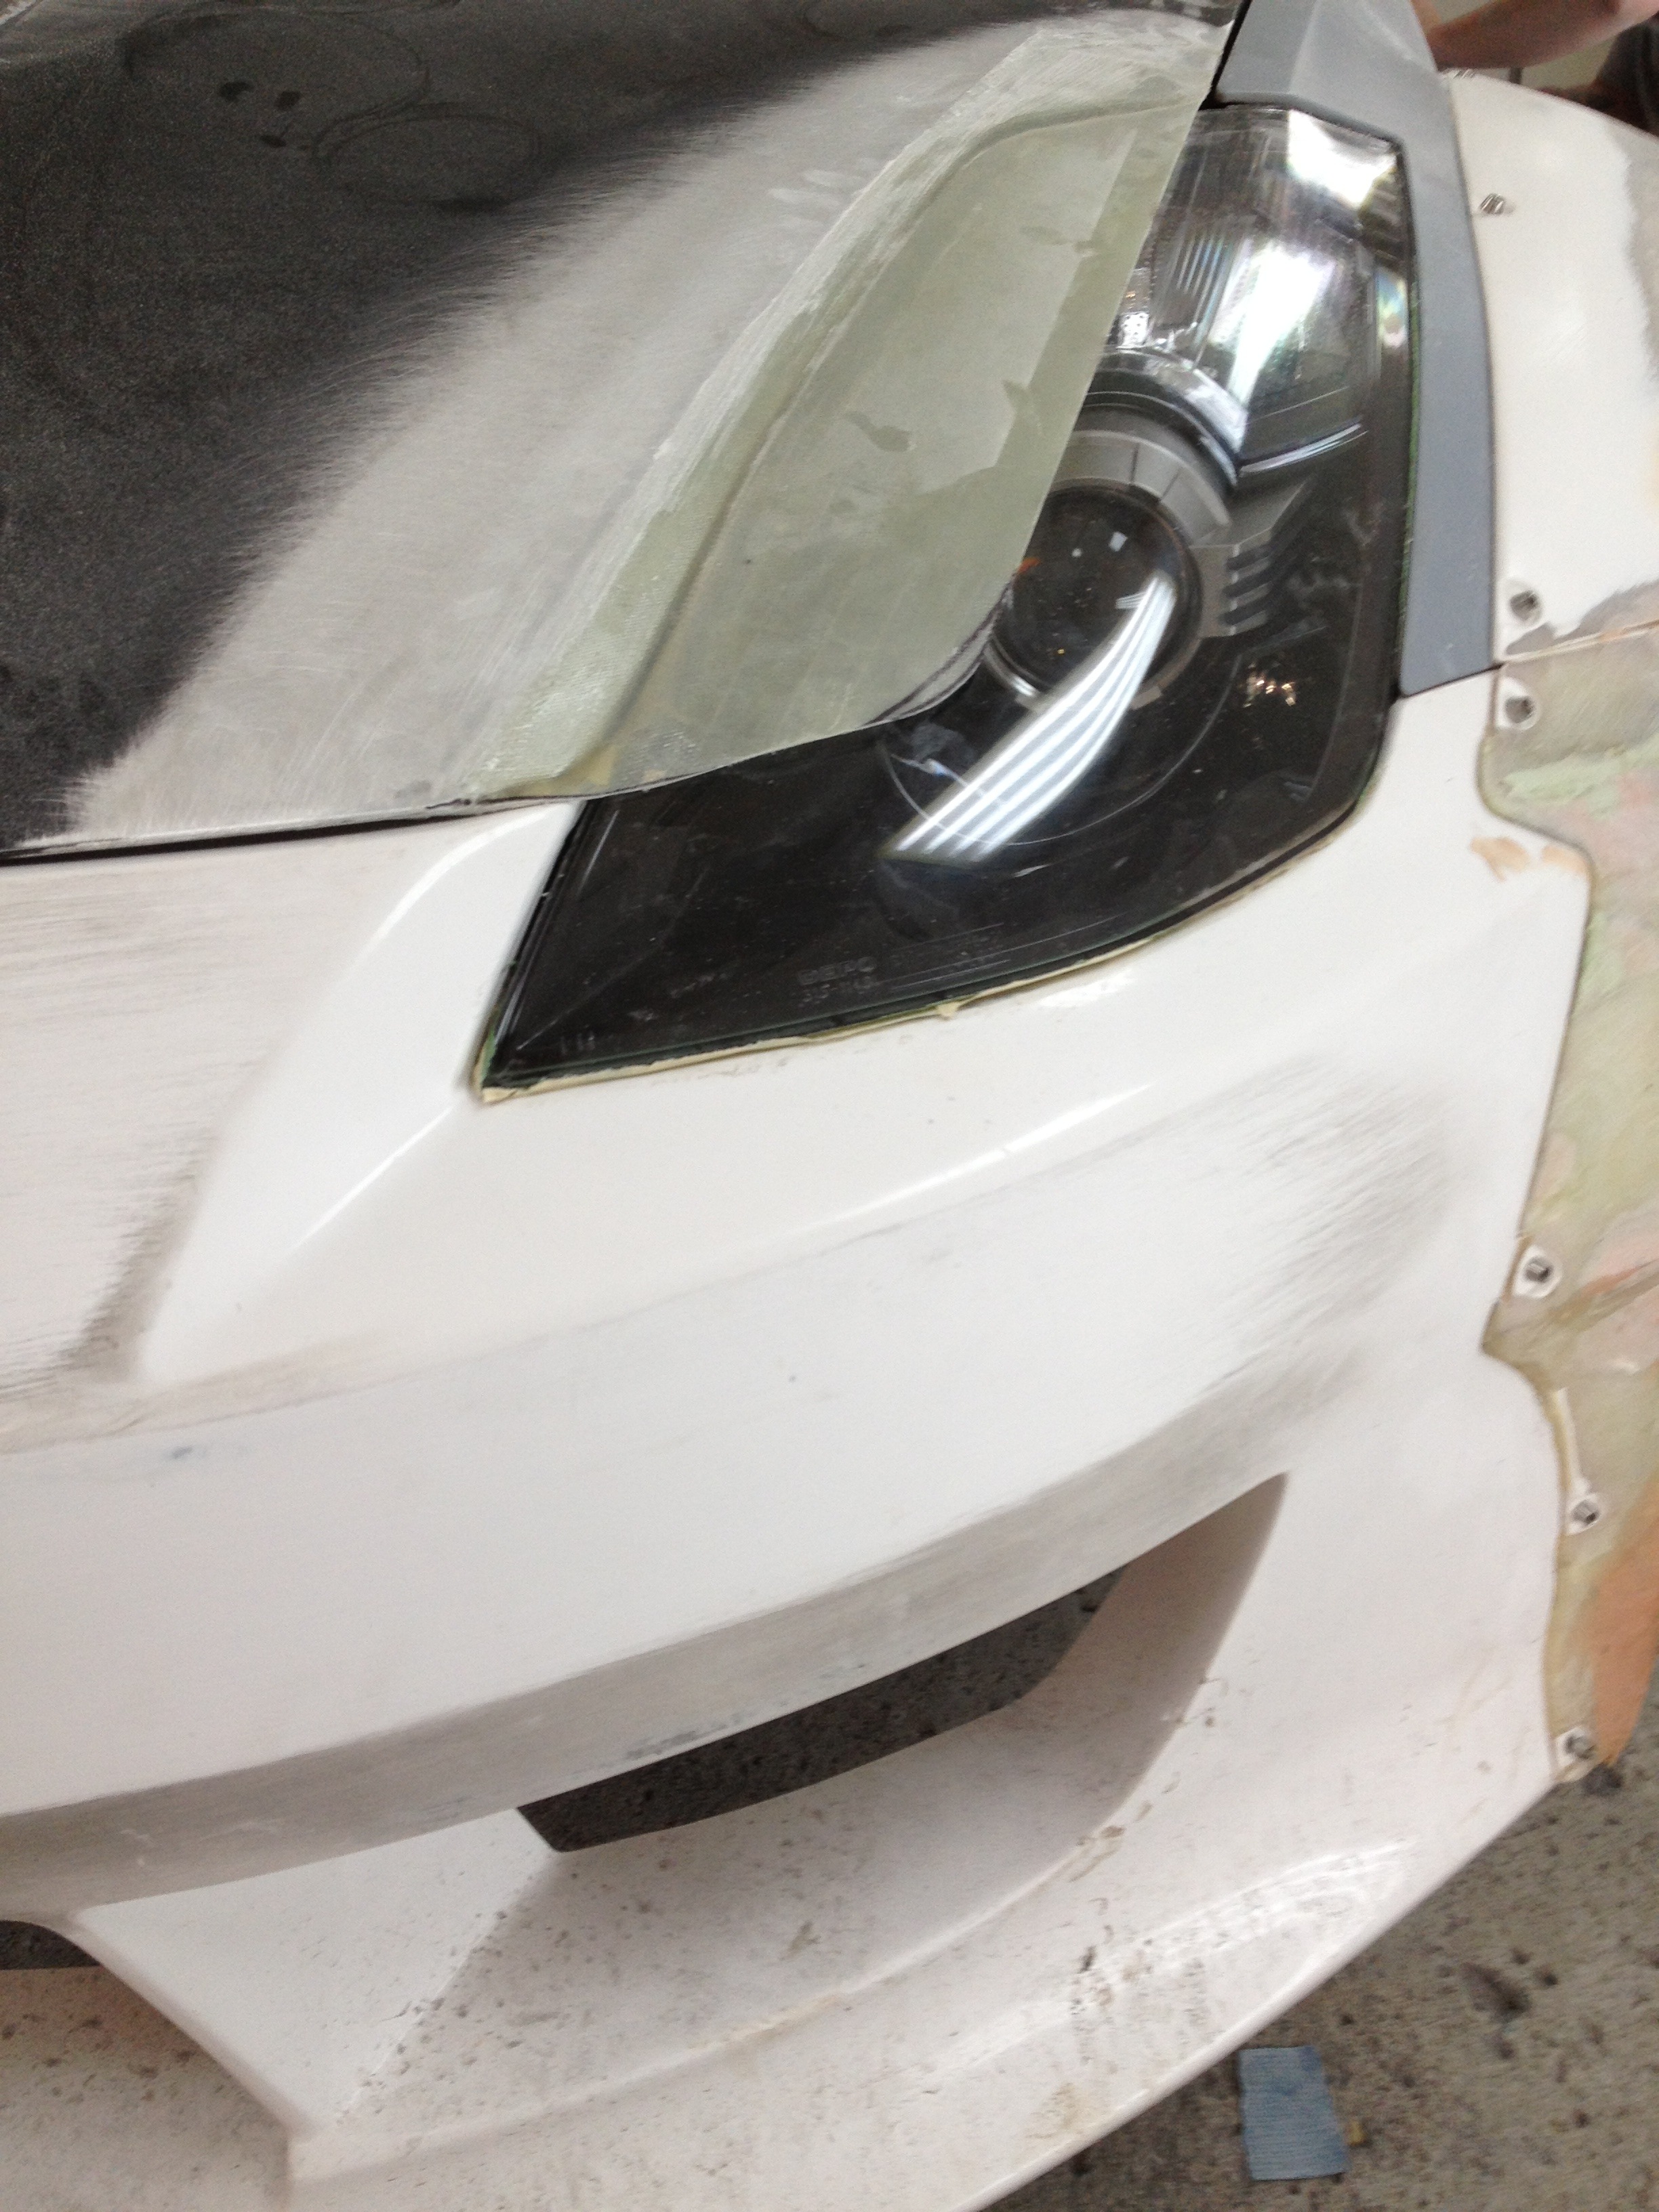
The eyelids are roughly 3/16” thick and sit about 3/16” above the headlight. Fitment at the back is tight, but it fits. It takes a bit of test fitting and fooling around, but it all fits.
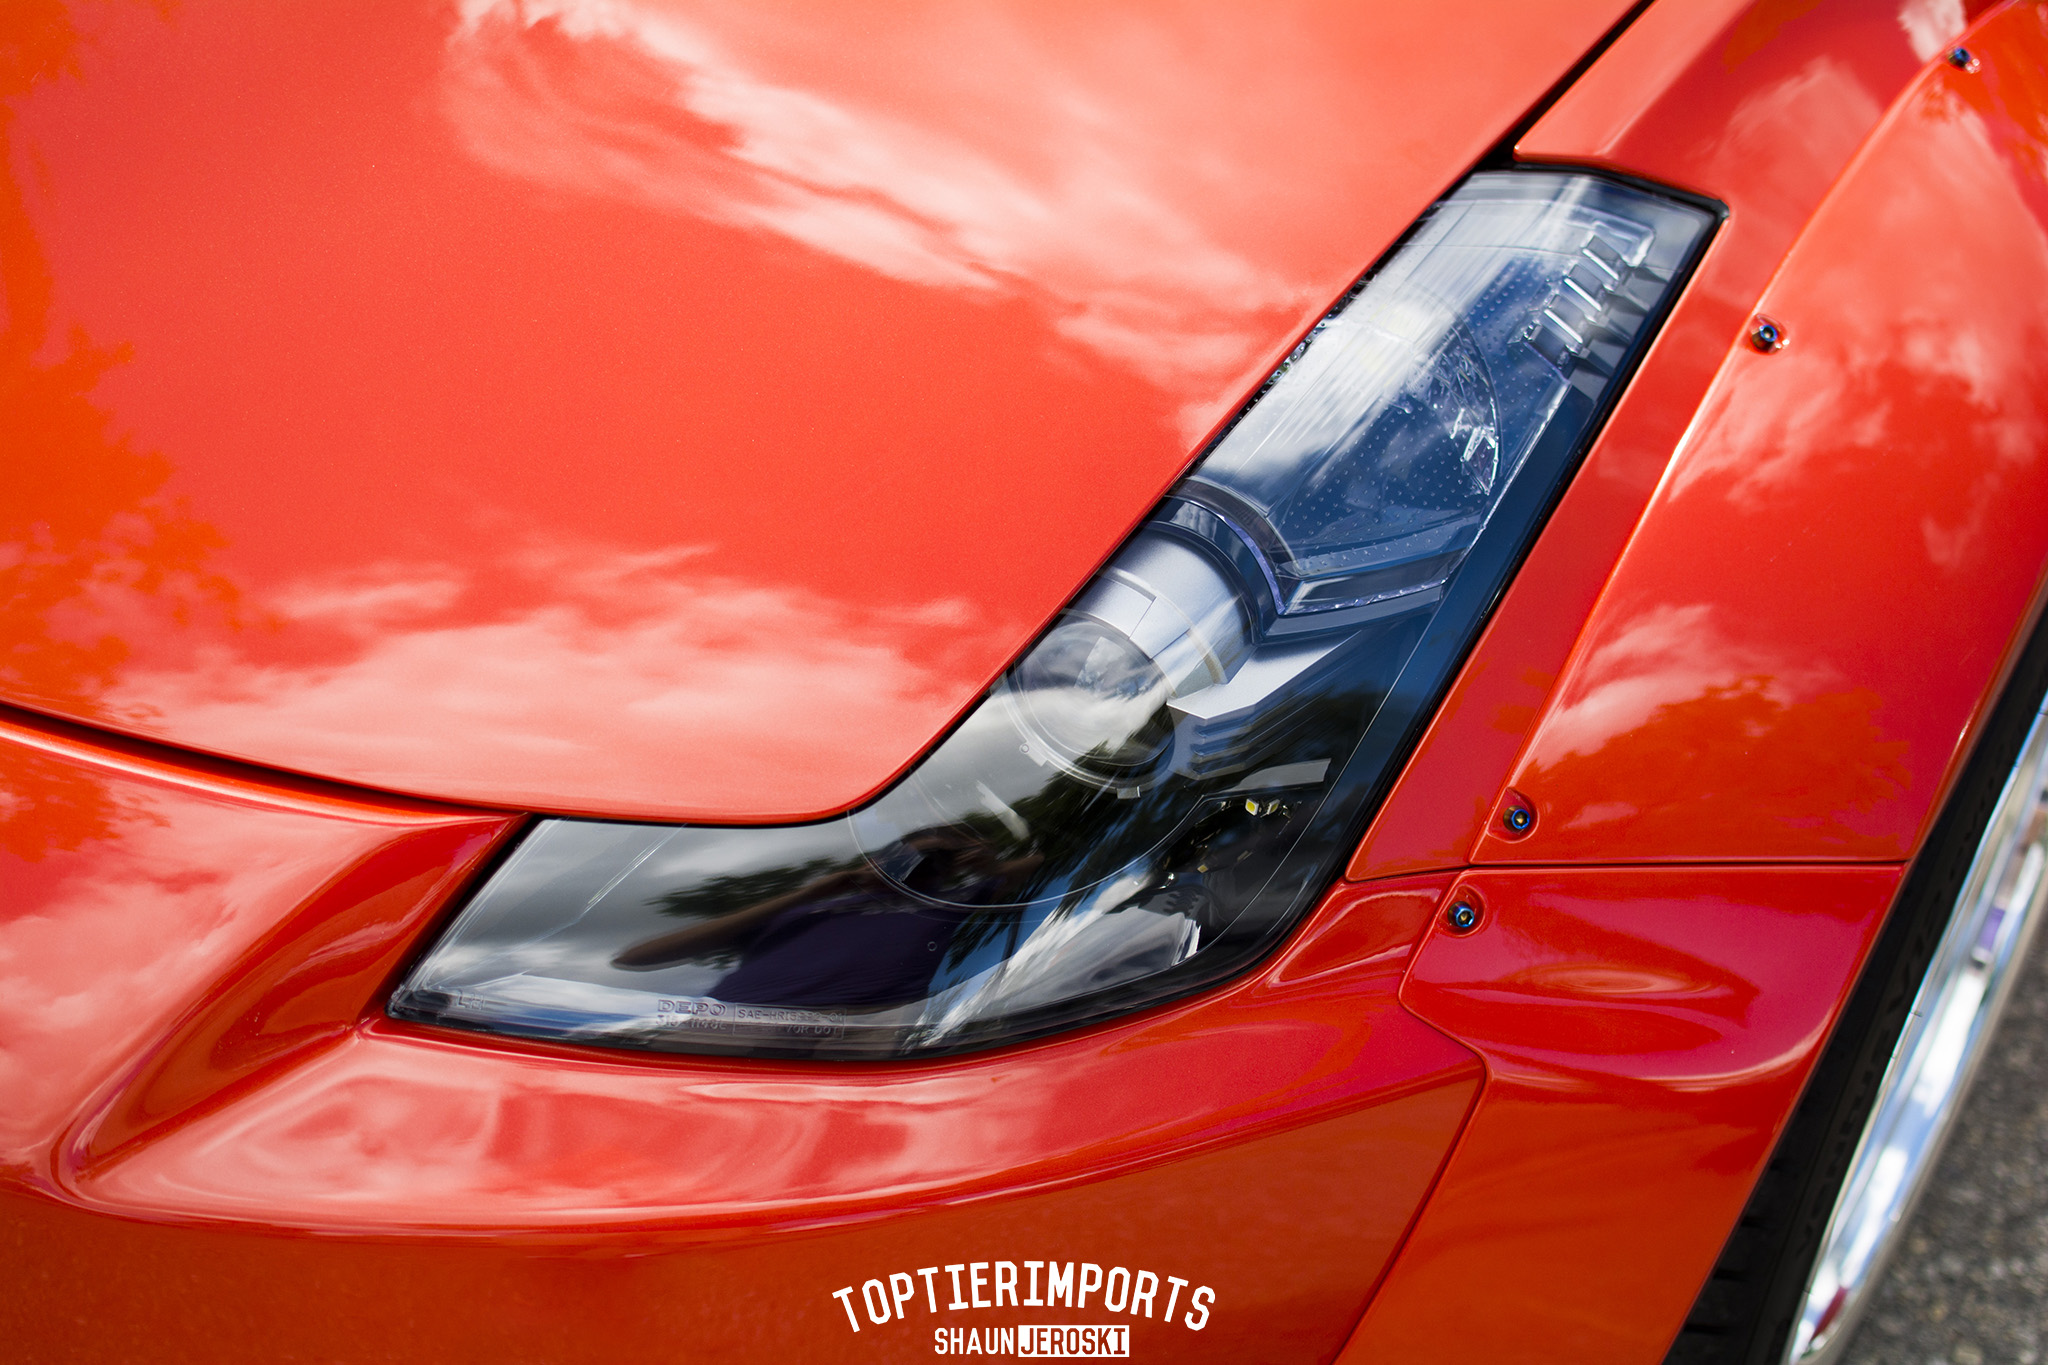
There is no noticeable loss of light output with these eyelids. They actually only cover the top corner of the projector, less than the size of a dime. We used a headlight aiming machine to check the output, and there was no noticeable difference between the hood being closed and the hood being open.
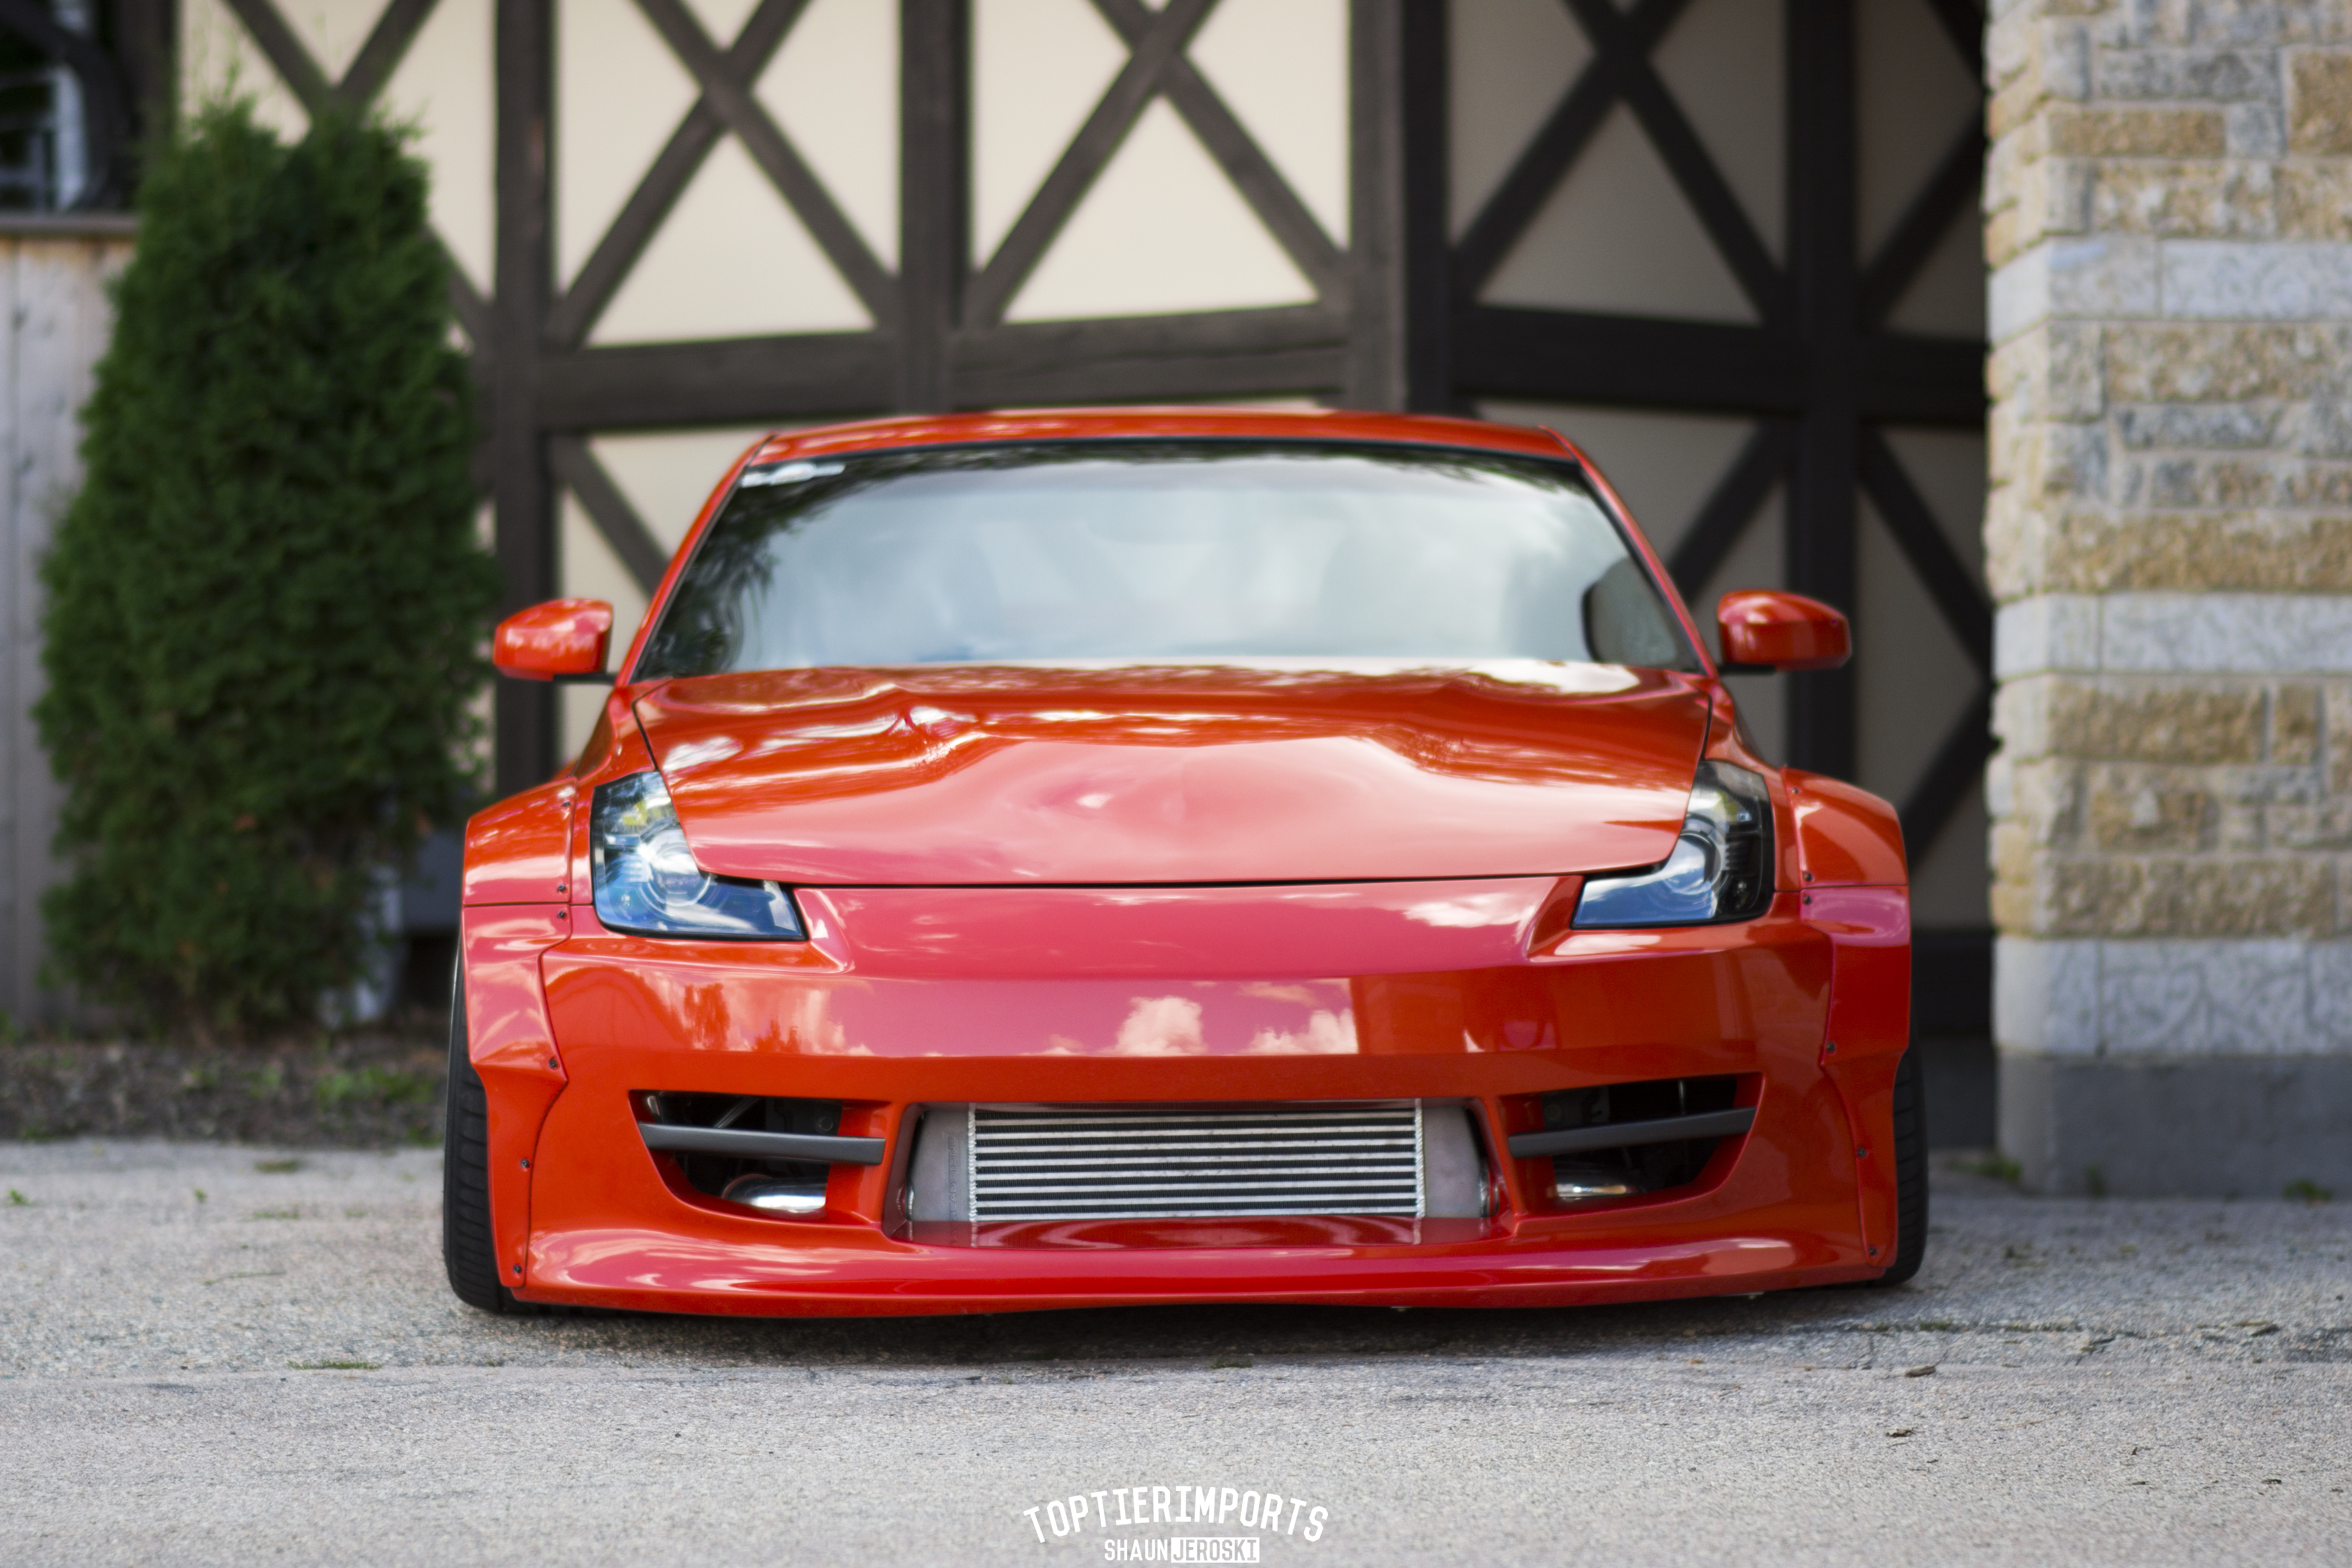
I have a pic of the underside somewhere too but I can't find it. It is finished just as nicely as the top, sanded and painted. Most people that don't know 350Zs don't even realize this mod was done, they think it's factory.
Laying out the shape on the car to get an idea if I wanted to go ahead with the mod or not.
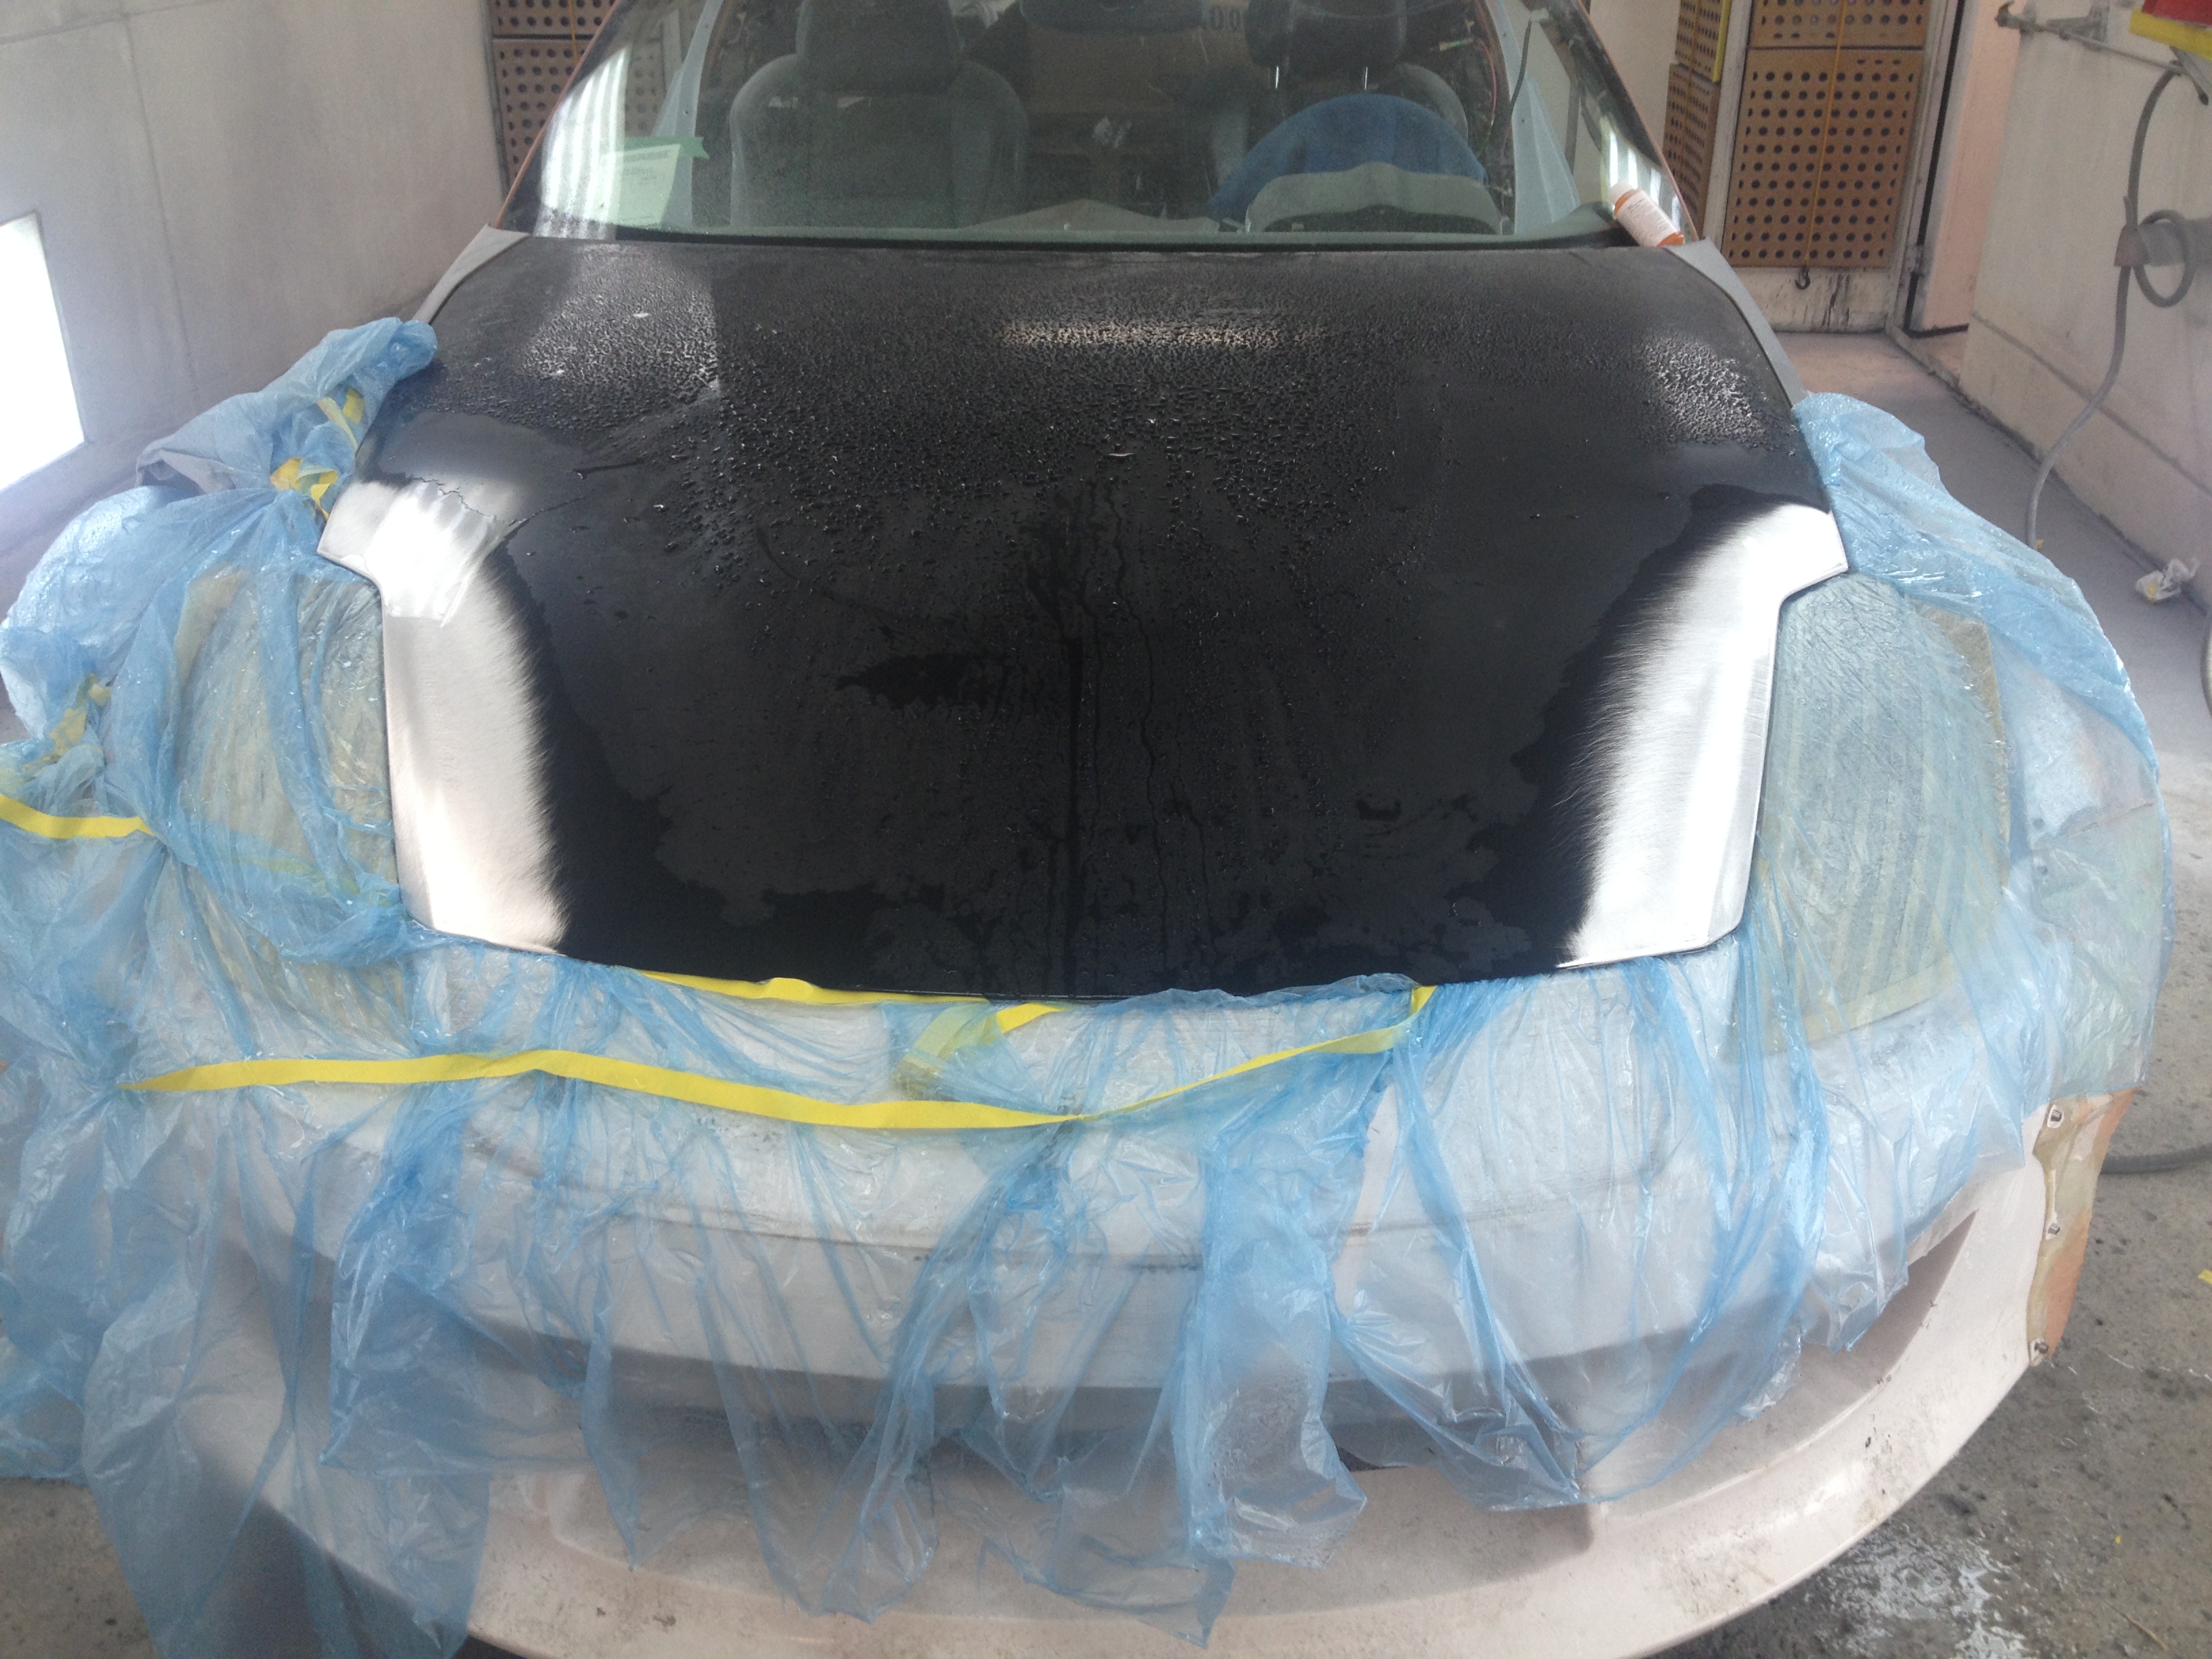
Sanding the paint off the hood, and etching the aluminum:
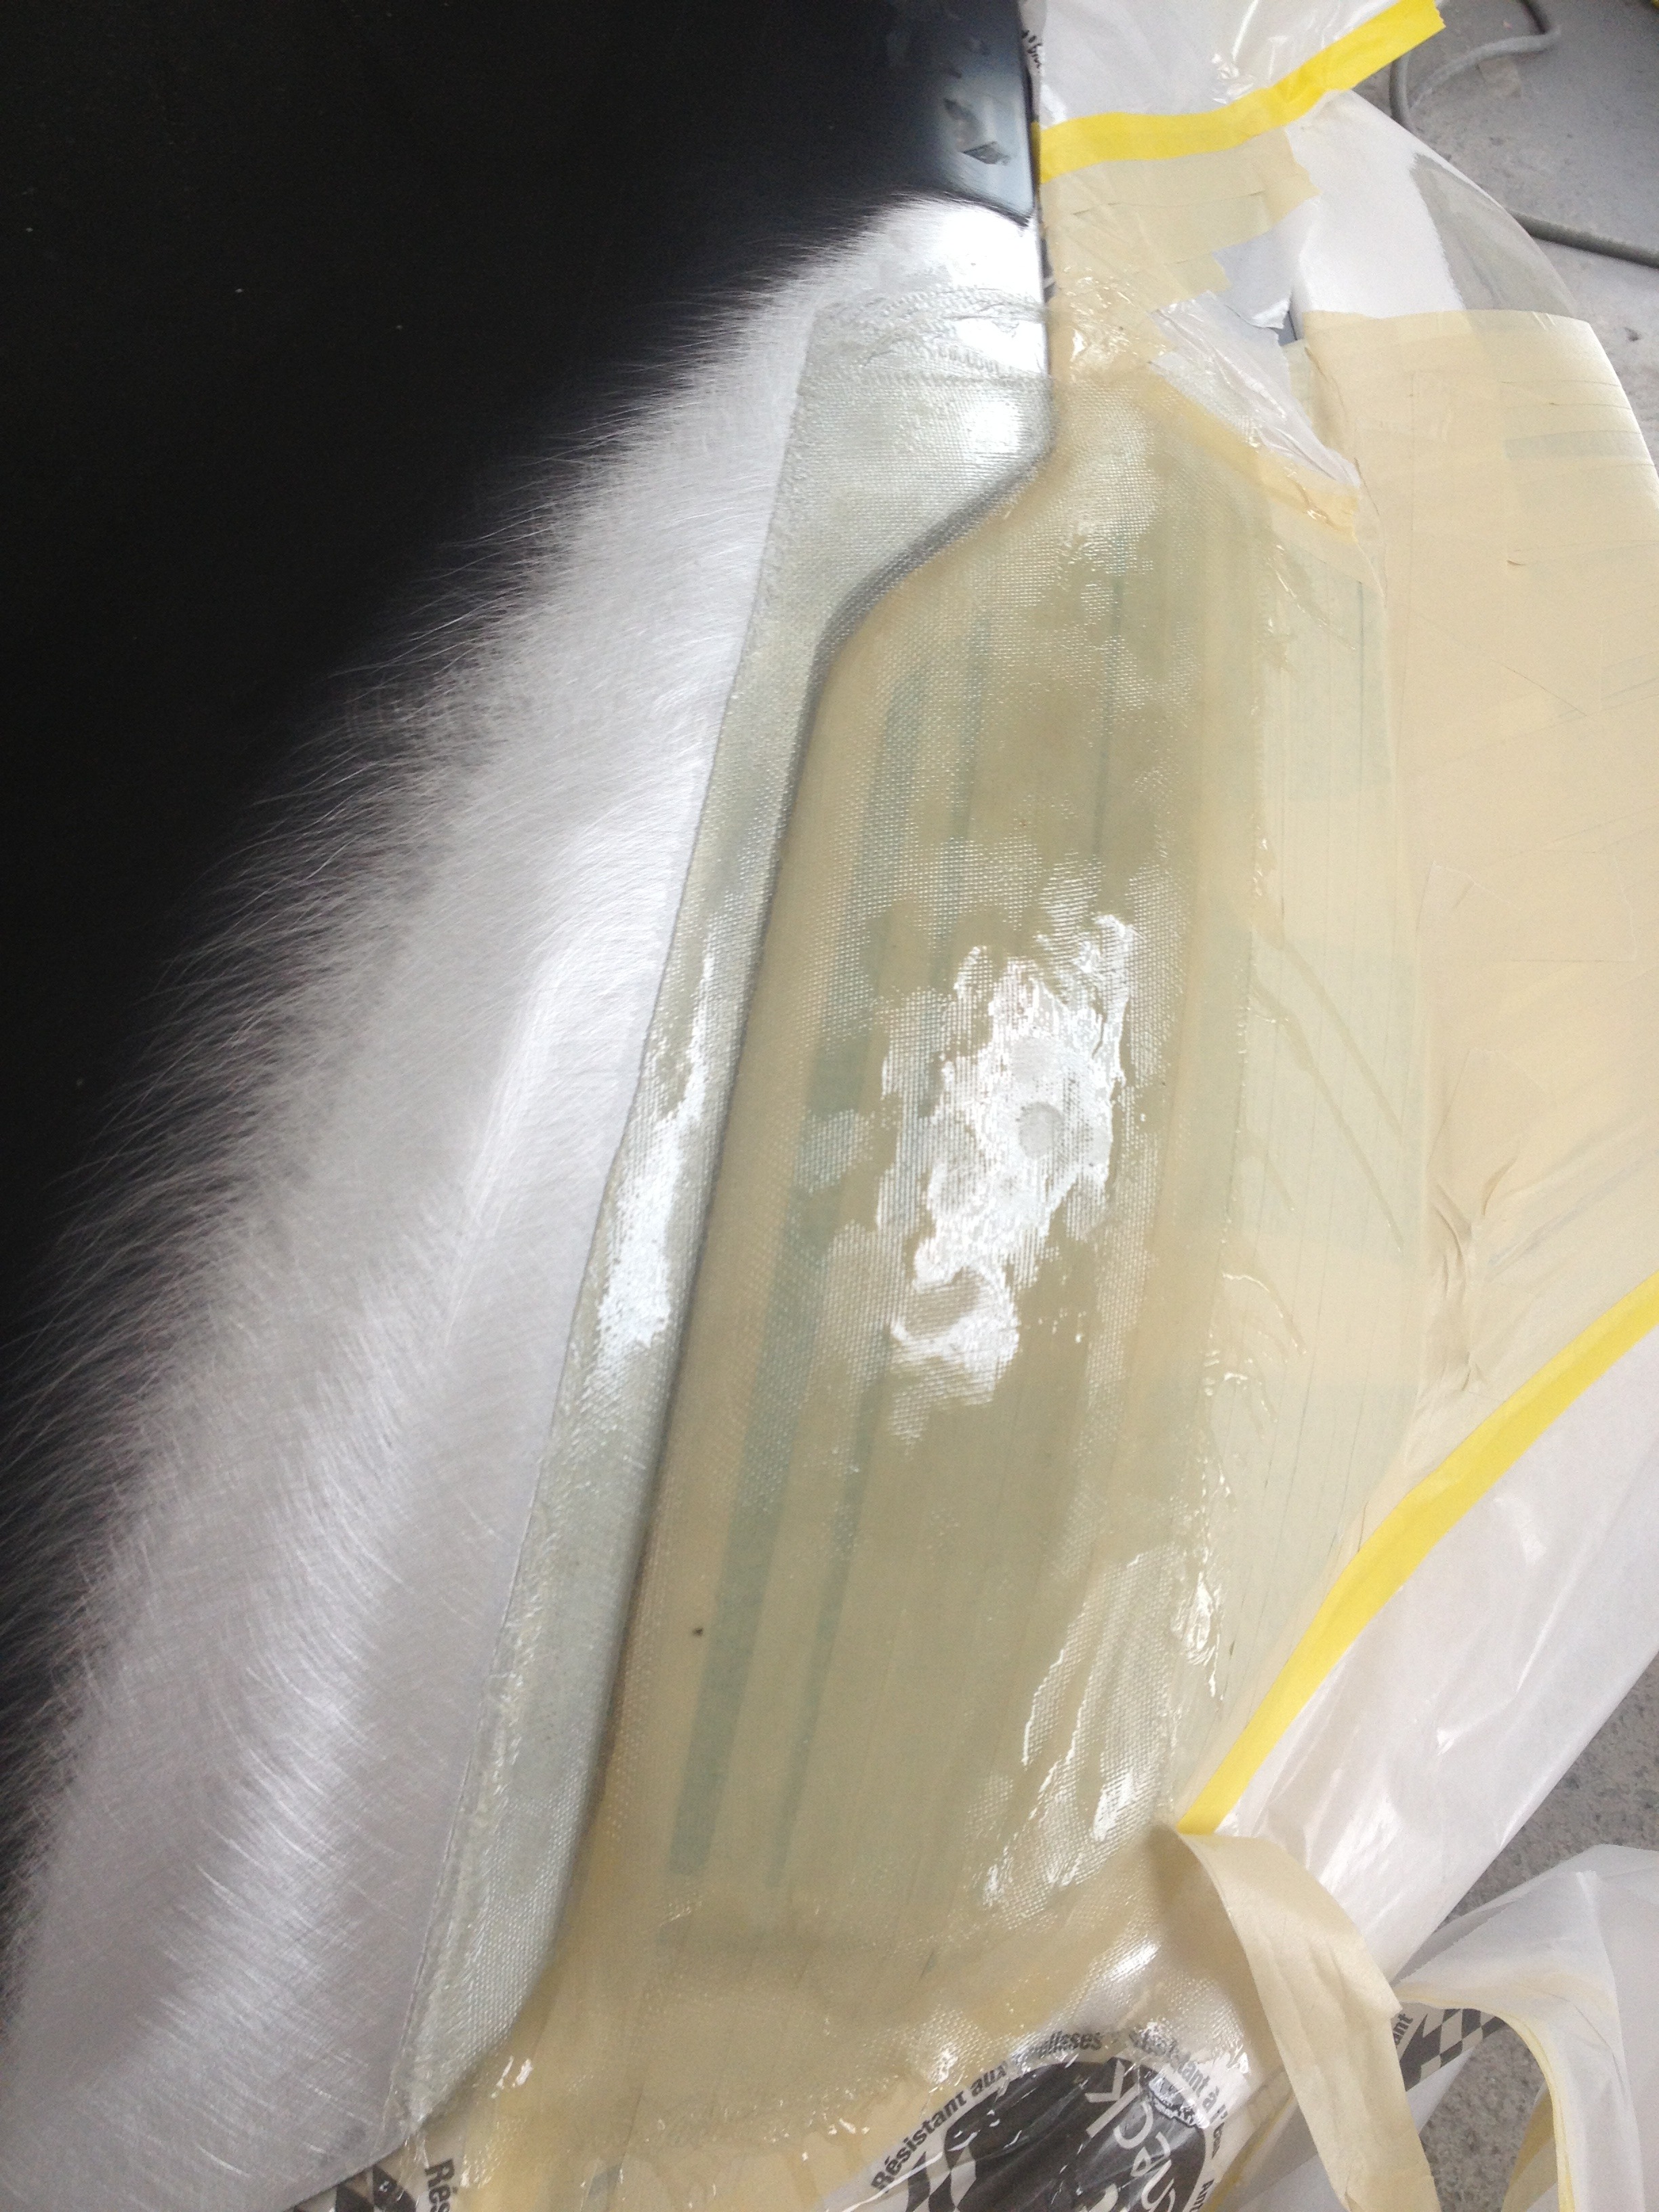
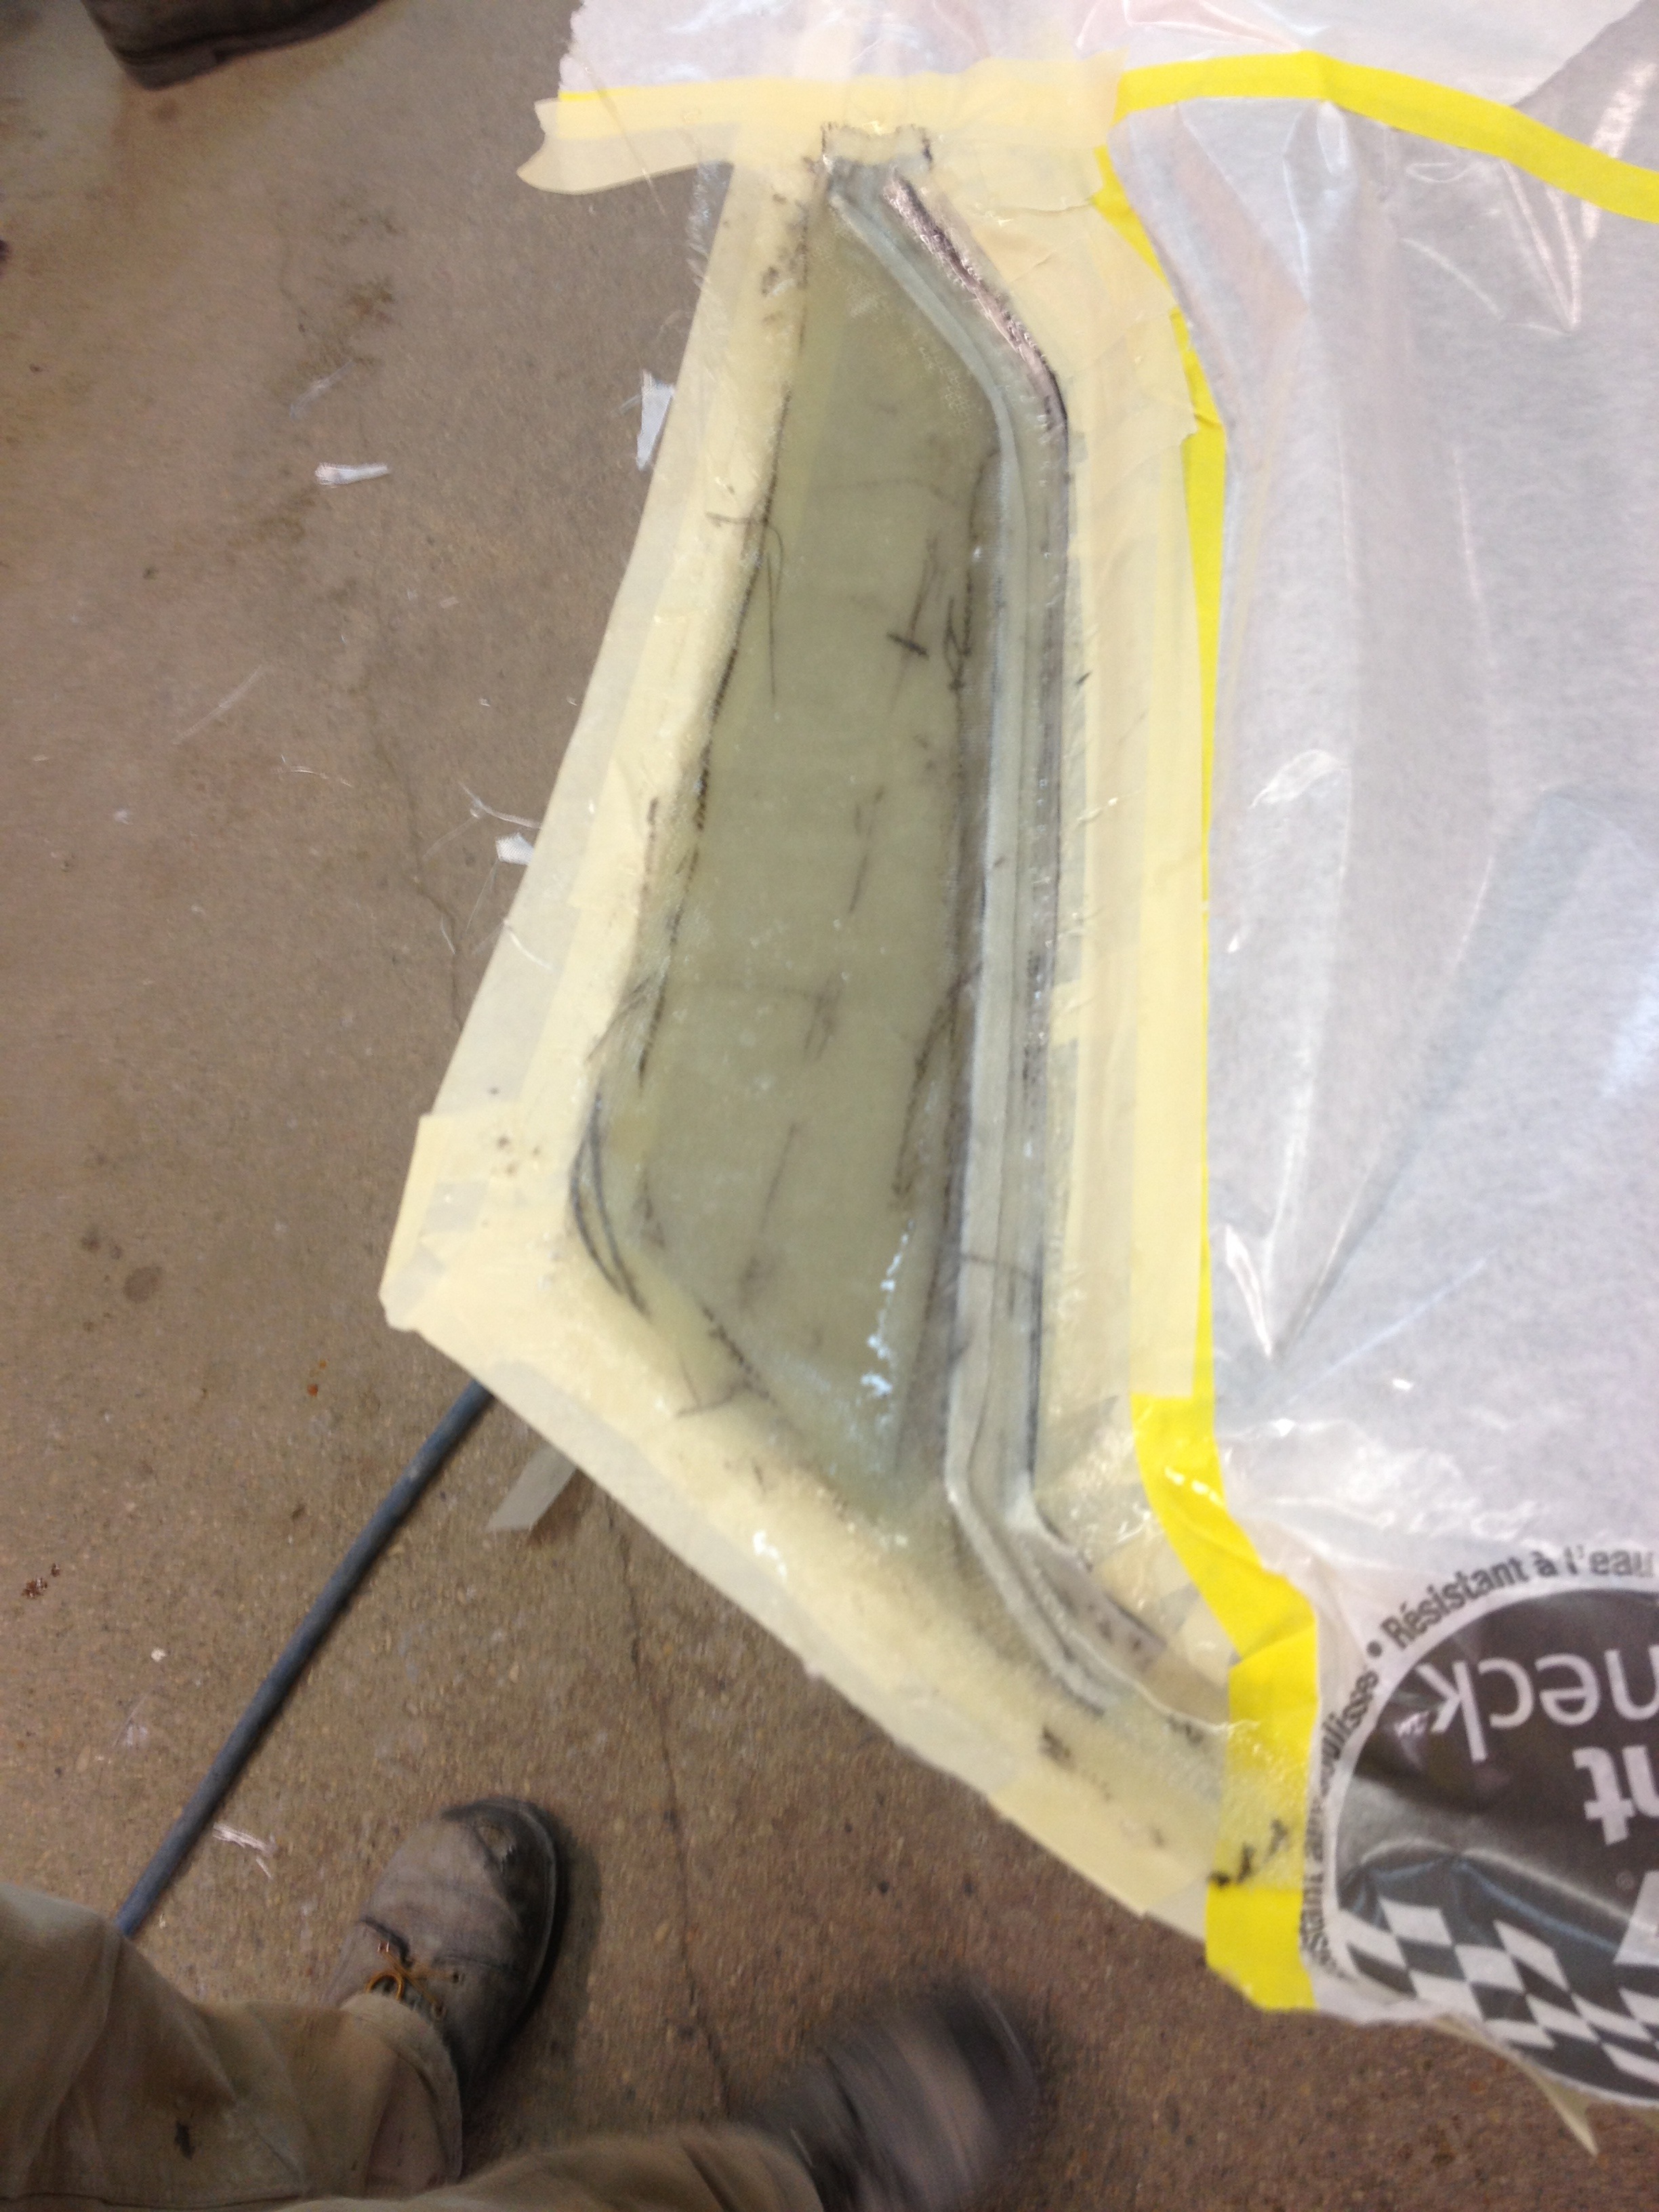
Fiberglassing the top side. You can see there is about a 1” flange that overlaps the top side of the hood. I used a piece of thin foam between the headlight and masking tape. This created the gap that is now between the eyelid and headlight.
Top side cured and hood opened.
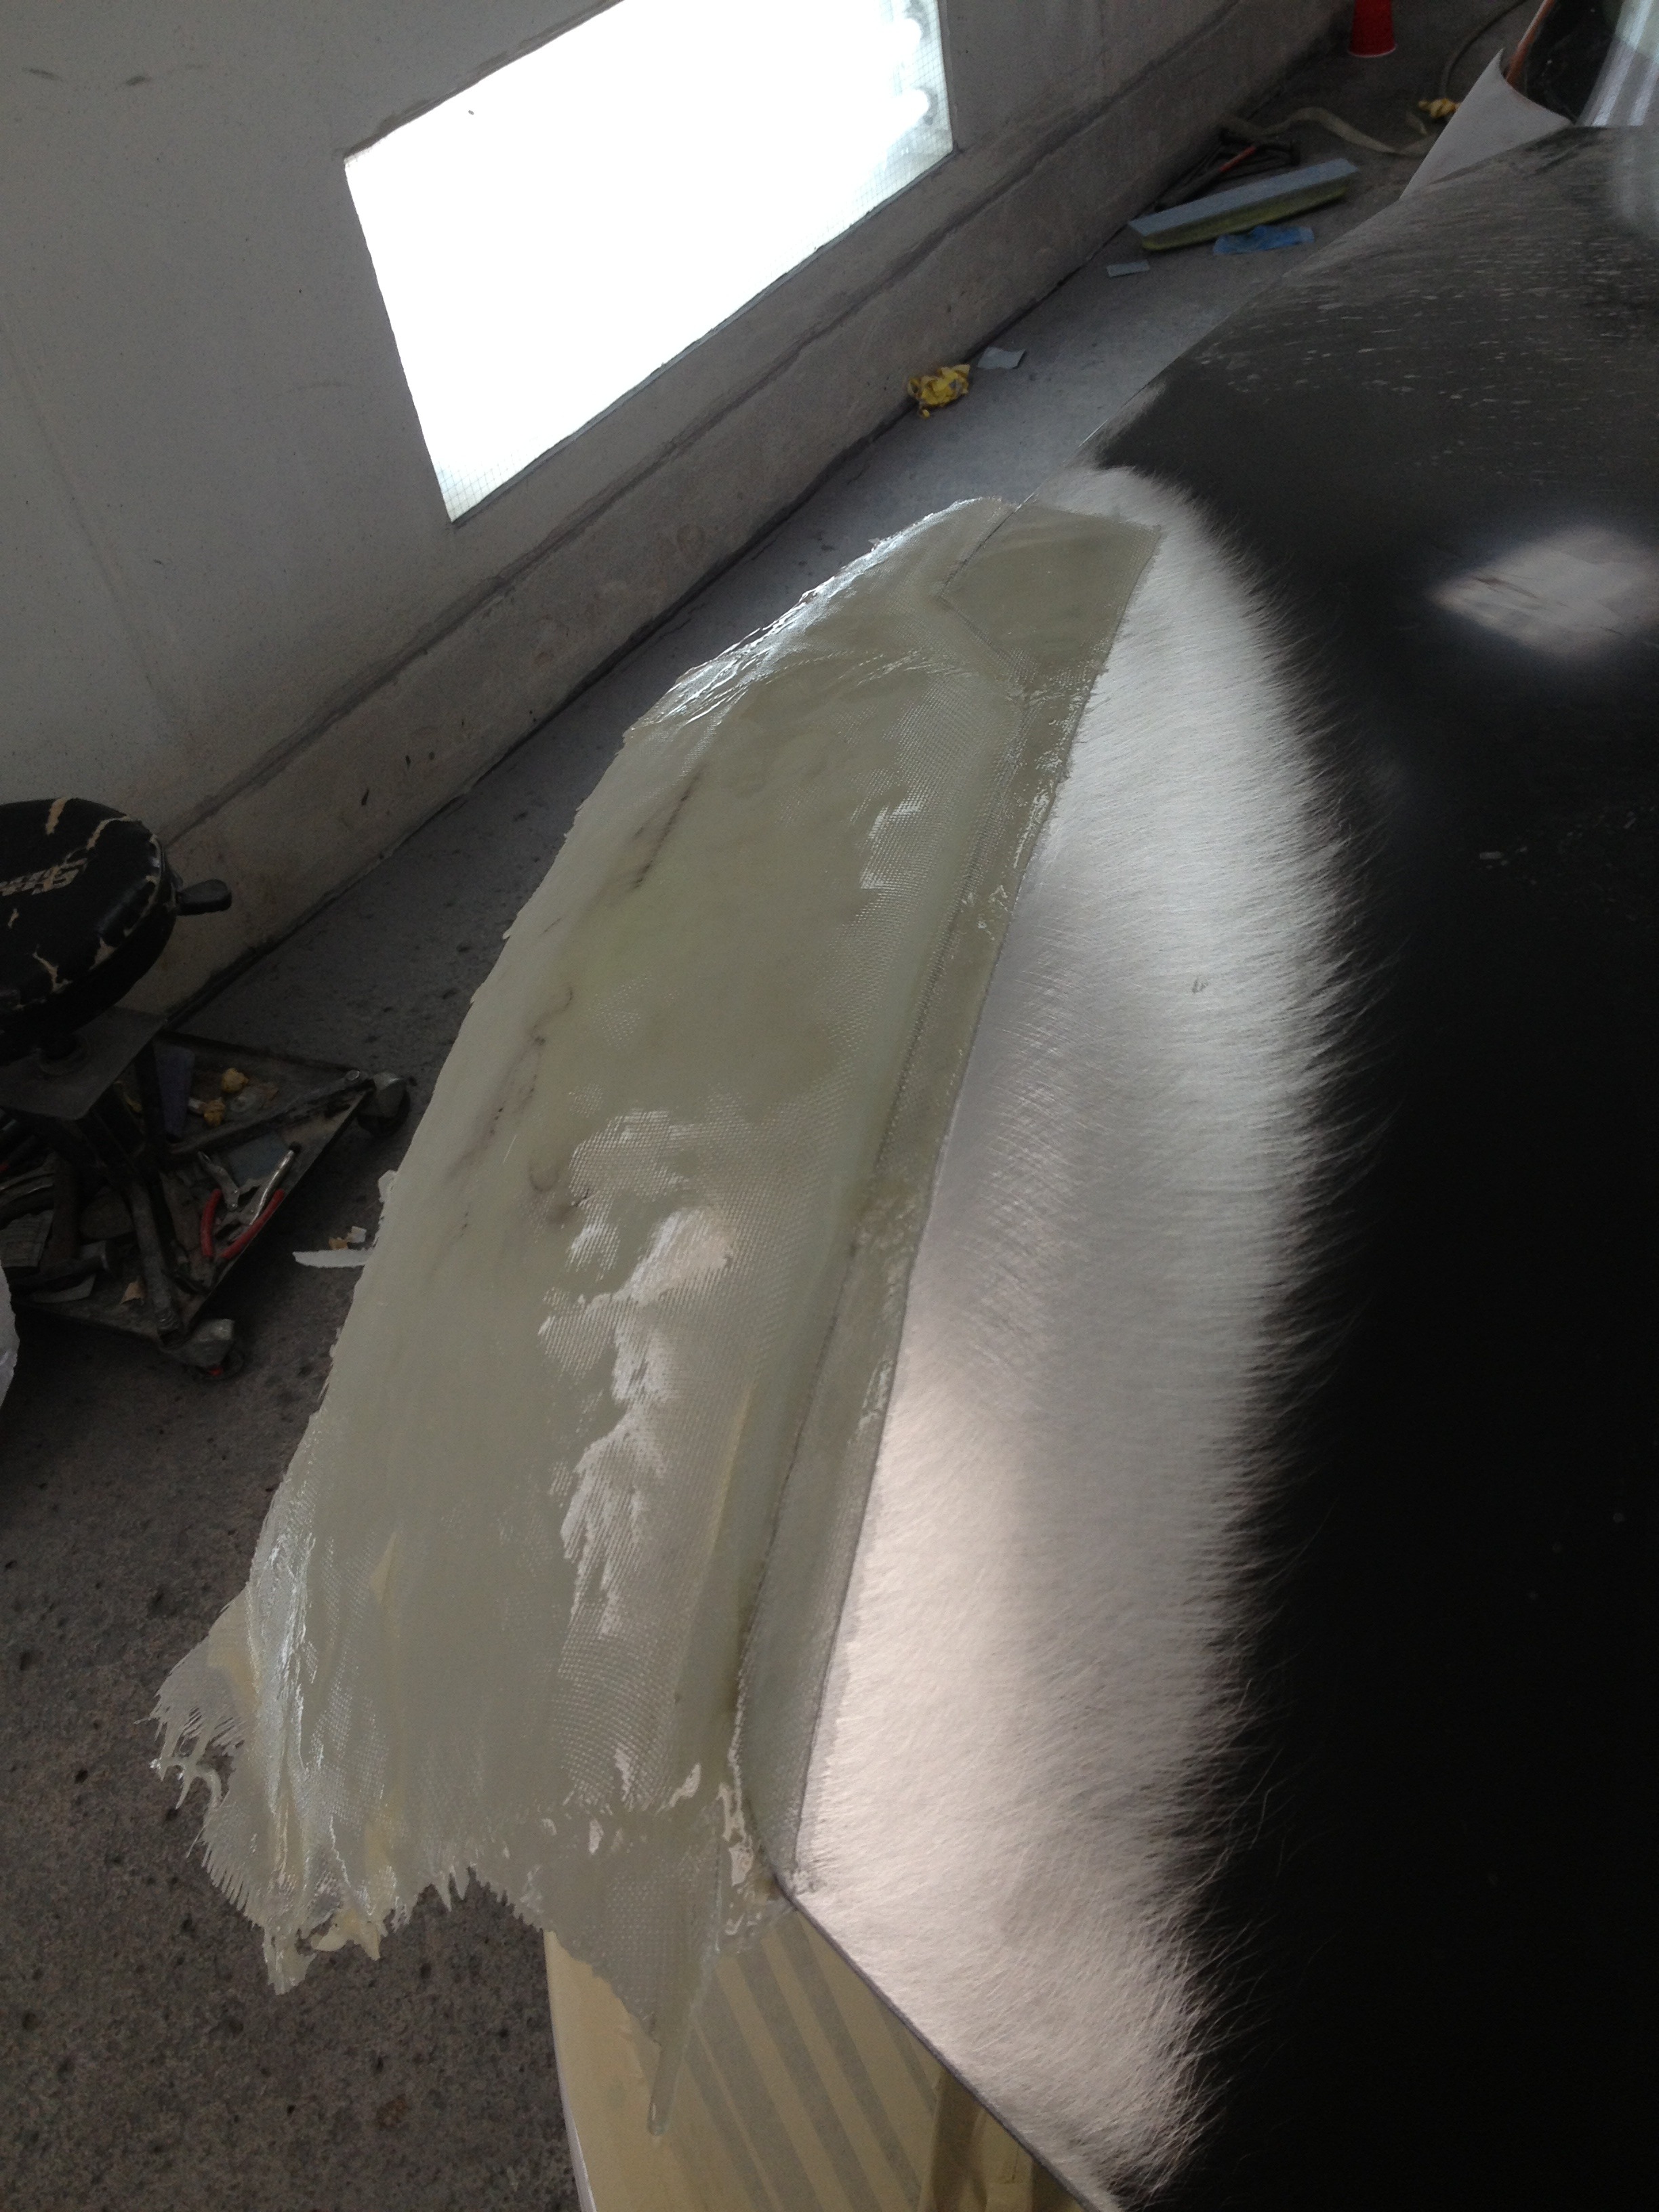
Trimming the top side to get the shape.
Fiberglassing the bottom side.
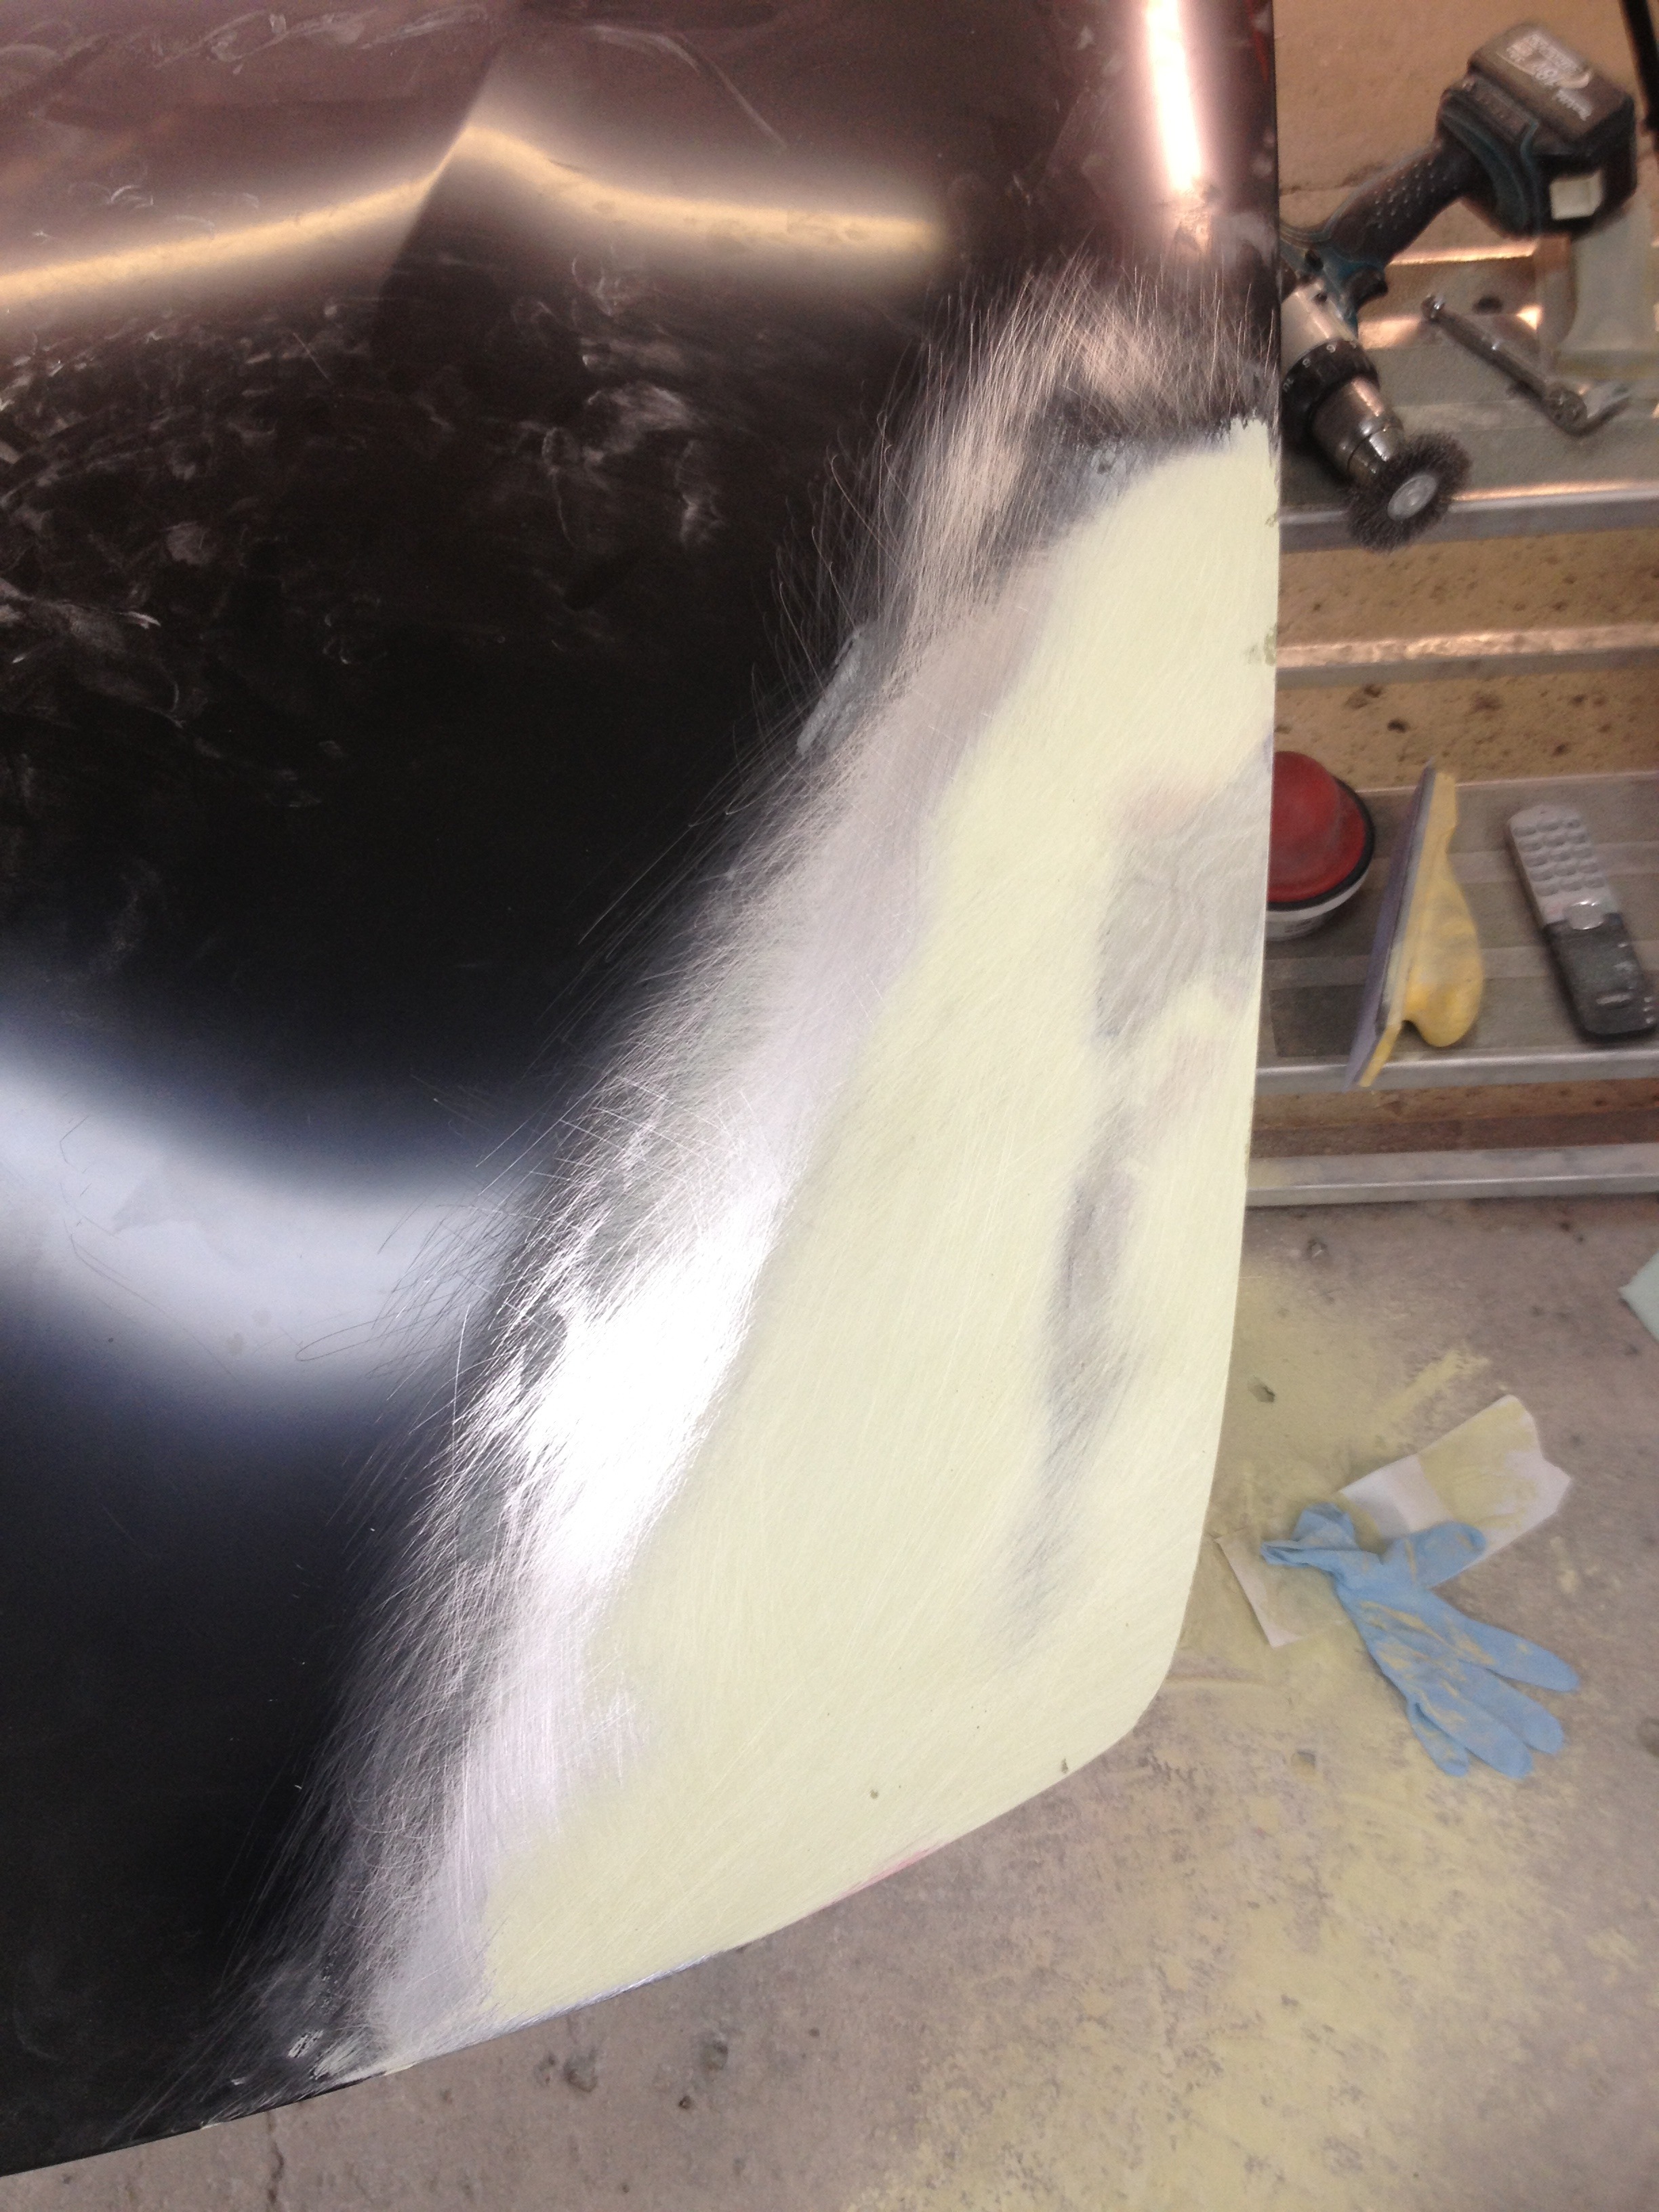
A skim coat of filler and finish sanding the top side.
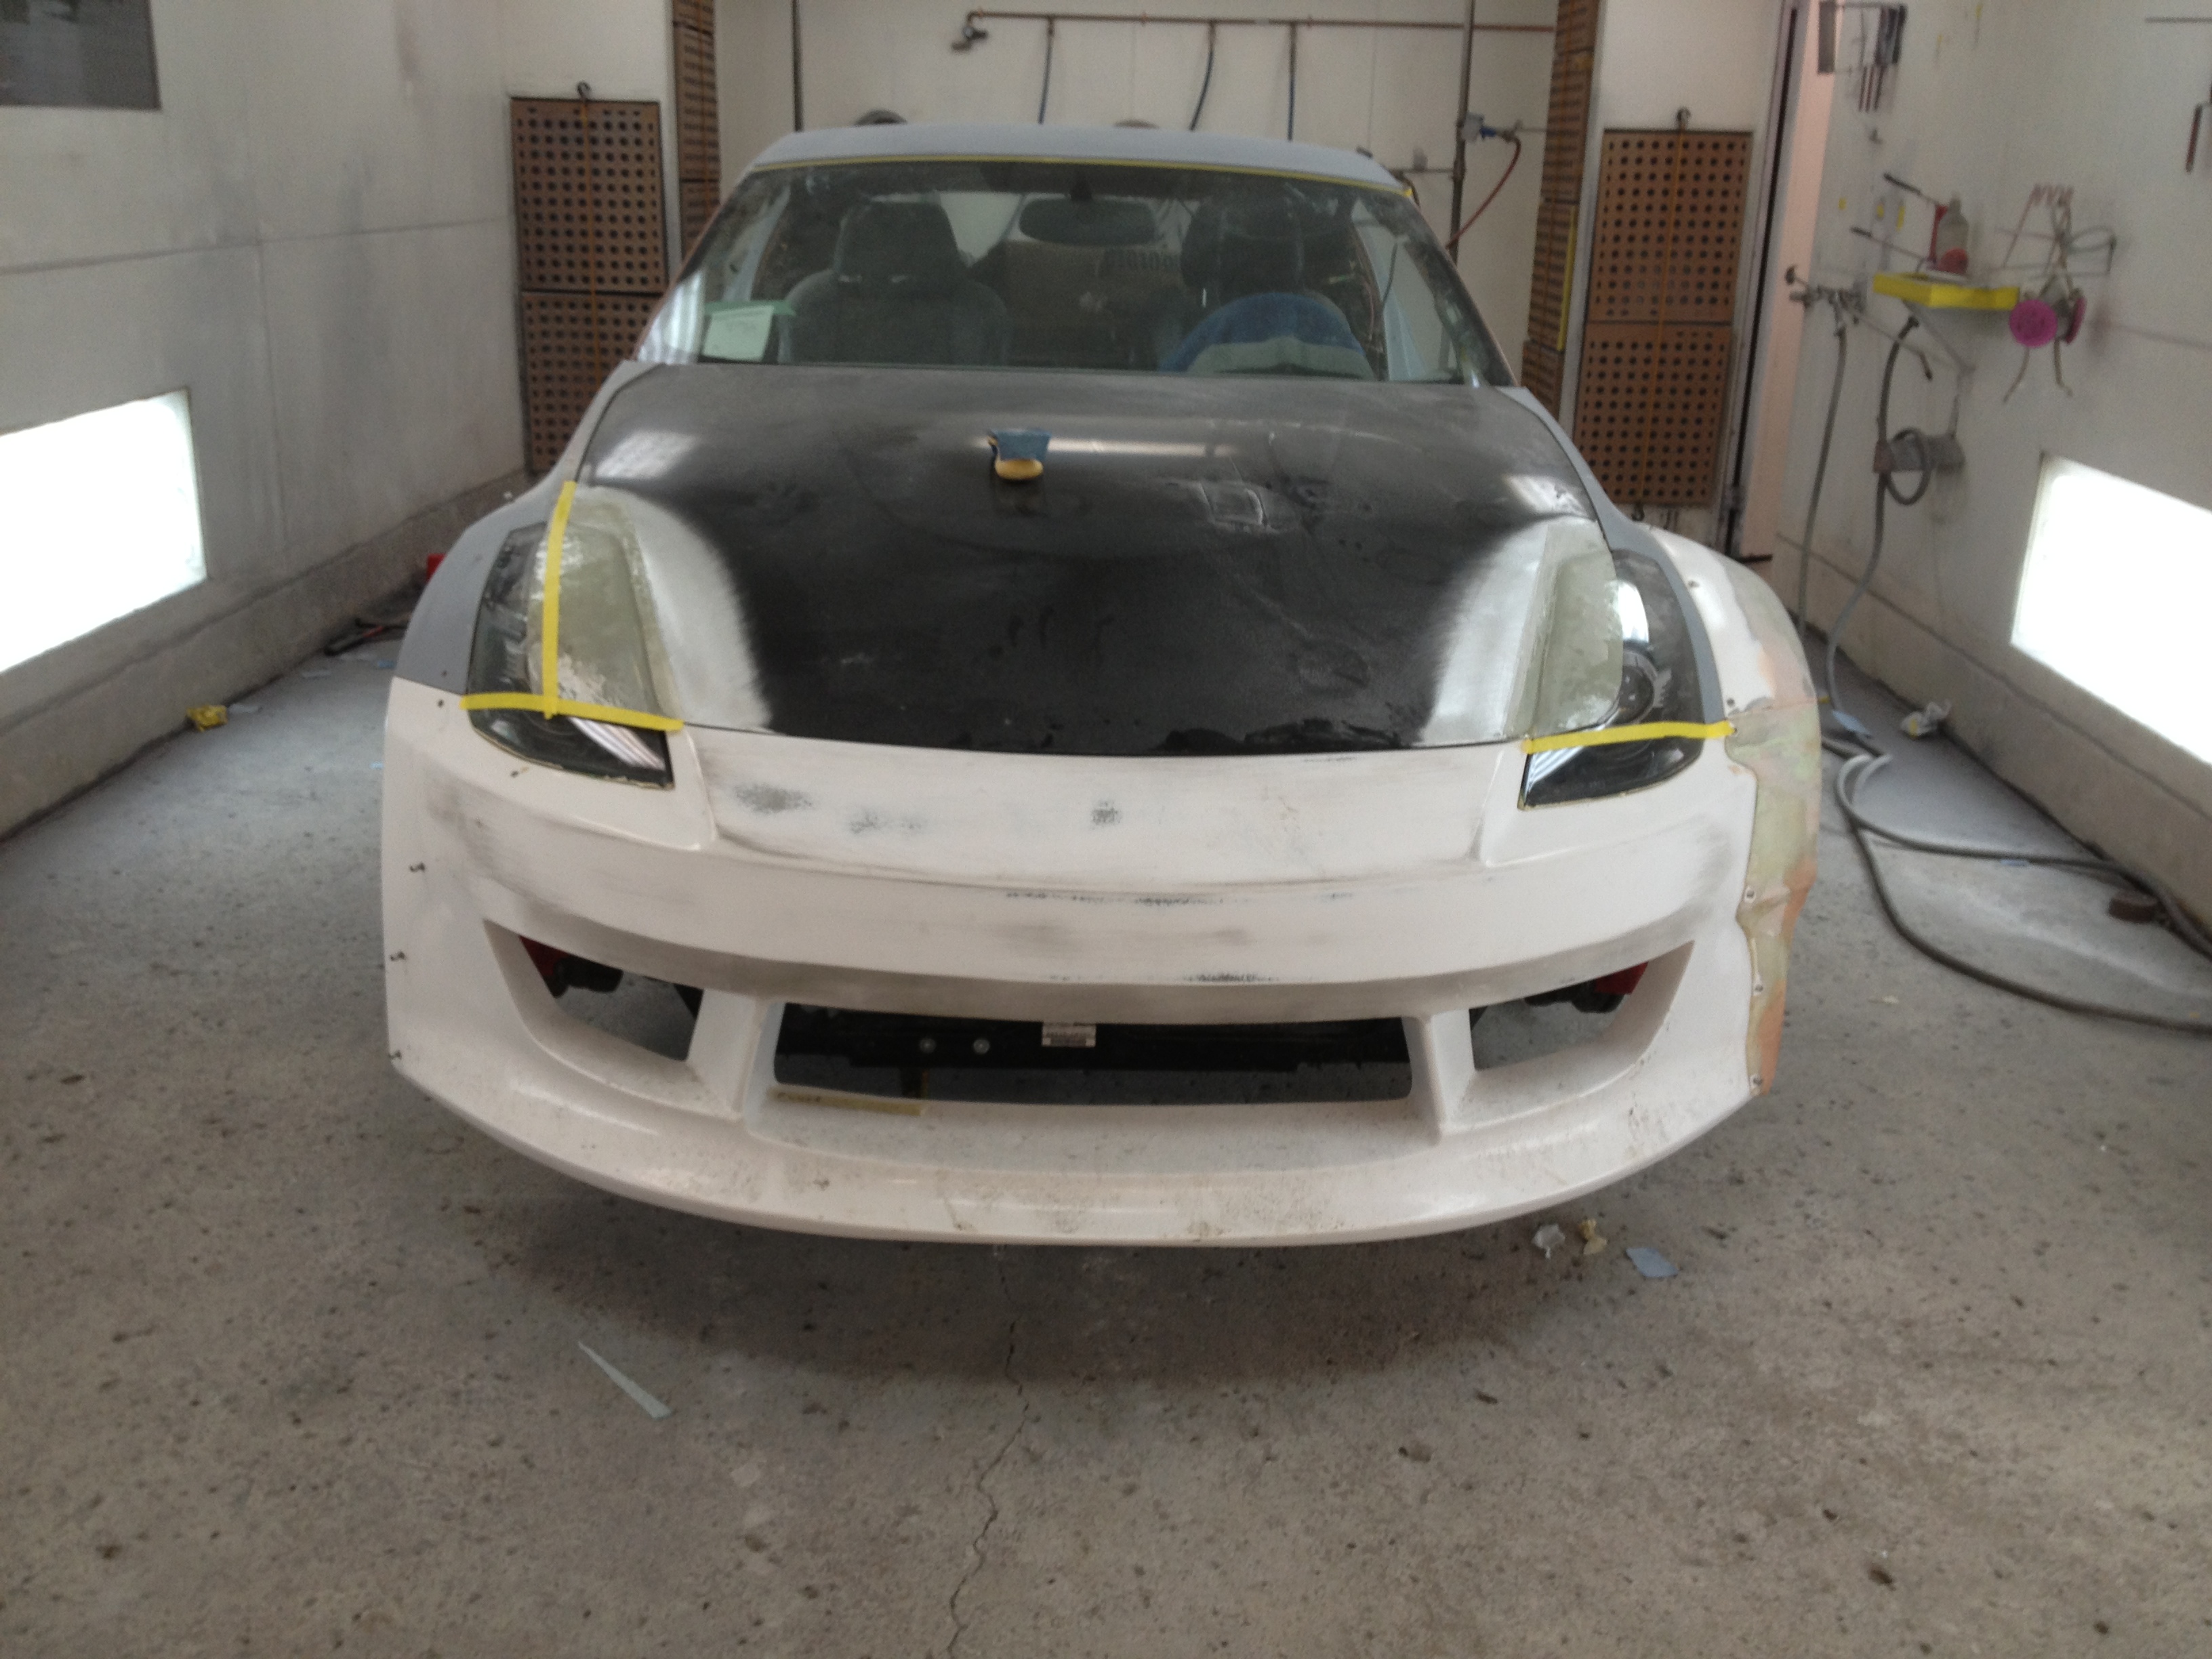
A couple finished pics:
I loved the look of eyelids, but hated the gap that was left between the hood and the eyelid.
The eyelids were made from scratch and bonded to the hood. They are made of West Systems epoxy resin and fiberglass matt. Before making the hood was etched with West Systems aluminum etch kit. This resin is made to bond to aluminum.
I feel that with the shape of the hood, and the way these are made that the fiberglass is actually considerably stronger than if I would have used a piece of aluminum and welded it. There is also less filler required this way than if done with aluminum.
The fiberglass is roughly 12-16 layers of cloth, I can’t remember. 6-8 layers on the top side of the hood, and 6-8 on the bottom side. Doing this way sandwiches the hood between the fiberglass making for a super strong joint.
The eyelids are roughly 3/16” thick and sit about 3/16” above the headlight. Fitment at the back is tight, but it fits. It takes a bit of test fitting and fooling around, but it all fits.
There is no noticeable loss of light output with these eyelids. They actually only cover the top corner of the projector, less than the size of a dime. We used a headlight aiming machine to check the output, and there was no noticeable difference between the hood being closed and the hood being open.
I have a pic of the underside somewhere too but I can't find it. It is finished just as nicely as the top, sanded and painted. Most people that don't know 350Zs don't even realize this mod was done, they think it's factory.
Laying out the shape on the car to get an idea if I wanted to go ahead with the mod or not.

Sanding the paint off the hood, and etching the aluminum:

Fiberglassing the top side. You can see there is about a 1” flange that overlaps the top side of the hood. I used a piece of thin foam between the headlight and masking tape. This created the gap that is now between the eyelid and headlight.


Top side cured and hood opened.

Trimming the top side to get the shape.


Fiberglassing the bottom side.

A skim coat of filler and finish sanding the top side.

A couple finished pics:


Last edited by 350Z_Al; Dec 23, 2015 at 06:44 AM.


Thread Starter
Registered User
Joined: Sep 2008
Posts: 908
Likes: 28
From: Winnipeg, MB


Thread Starter
Registered User
Joined: Sep 2008
Posts: 908
Likes: 28
From: Winnipeg, MB
I spent a considerable amount of time searching online for pics of various 350Zs with different kits, different styles etc to learn what I liked, what I didn't like, what worked and what didn't work. That helped me with with my parts selection and build goal going into it. Then I just figured out the small details (fitment, body line adjustments, etc) as I went along and things came together.
Although the car was off the road for two years, the bulk of the work was done in about 6 months... Still, I wish I had taken longer because there are a few things I feel could be improved on. There are a few body lines and angles I would have liked to tweak, but nothing super major. A big part of it was the the shop I did everything it was essentially the size of a two car garage, so you could only see the car from standing like 5 feet away at the furthest on the sides. That made it hard to see the full car front to back to see how everything flowed together.
Last edited by 350Z_Al; Dec 31, 2015 at 06:29 AM.
very nice Al, I like how there is a lot of cleanliness in the build, and its not just about getting any part possible and looking like a fanboy build in the end....well done!
Thread Starter
Registered User
Joined: Sep 2008
Posts: 908
Likes: 28
From: Winnipeg, MB
The car will be in World of Wheels this upcoming weekend. True to my style, last minute I decided to do more modifications right before a show.
My sub came in Friday and I decided I should finish a simple trunk for World of Wheels. Finished building this the next day. I didn't even have the car with me, it's two hours out of town, but still managed to build a trunk that fits nicely.
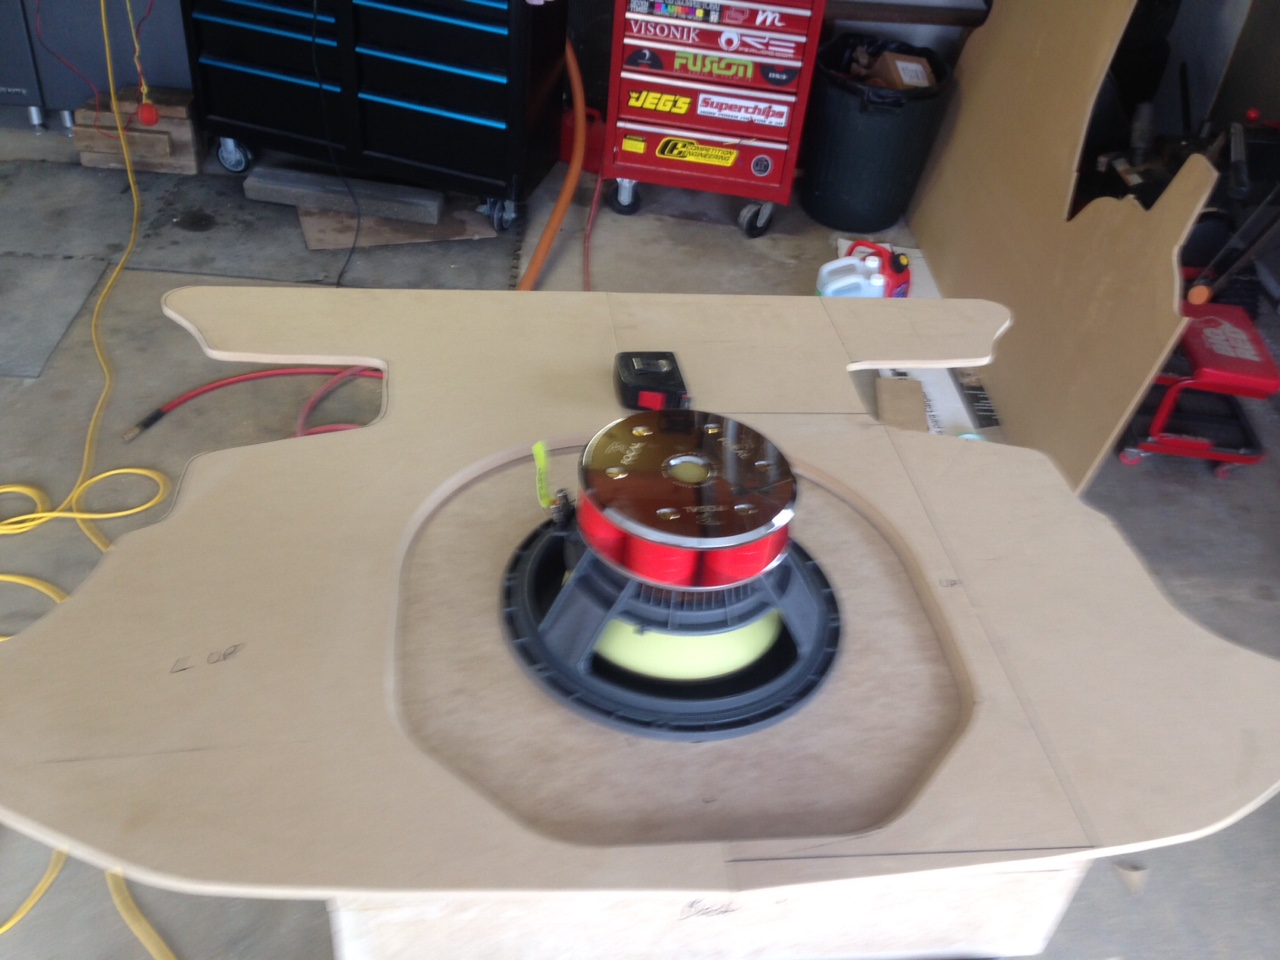
First step, build sub enclosure
Second step, build false floor
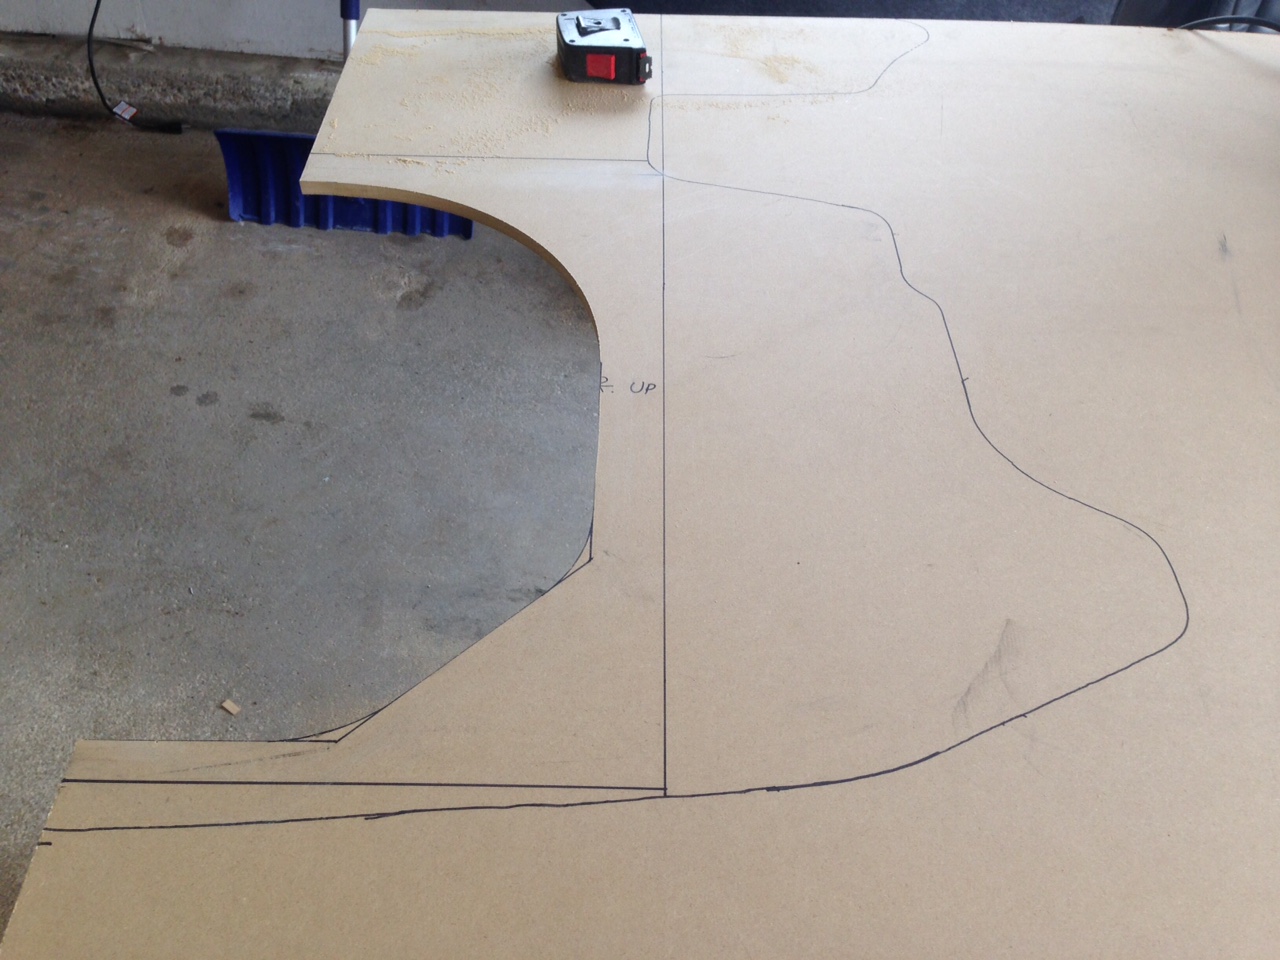
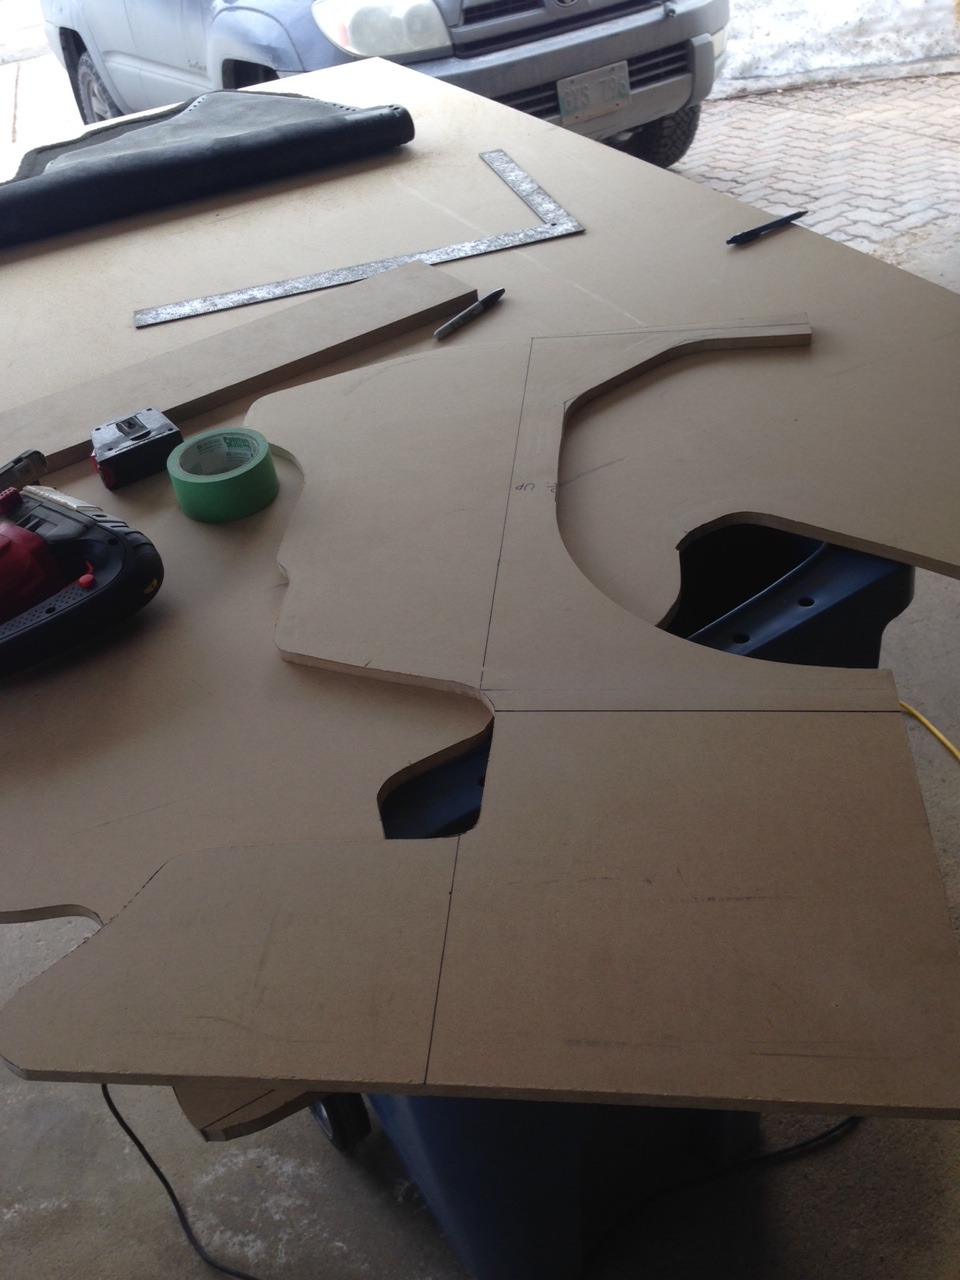
Duplicate cutout. Trunk contour is slightly different from side to side.
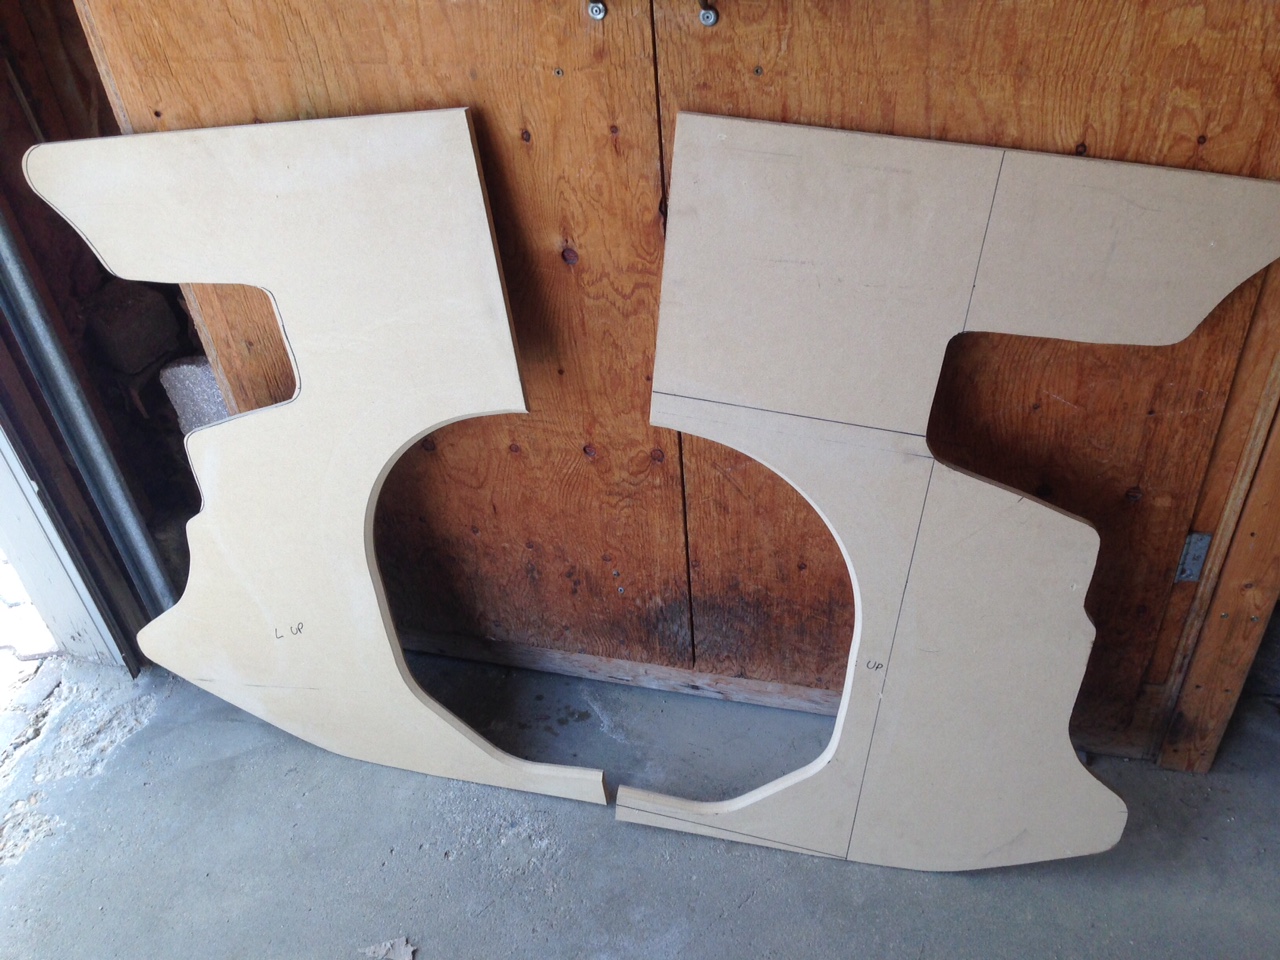
Test fit false floor:
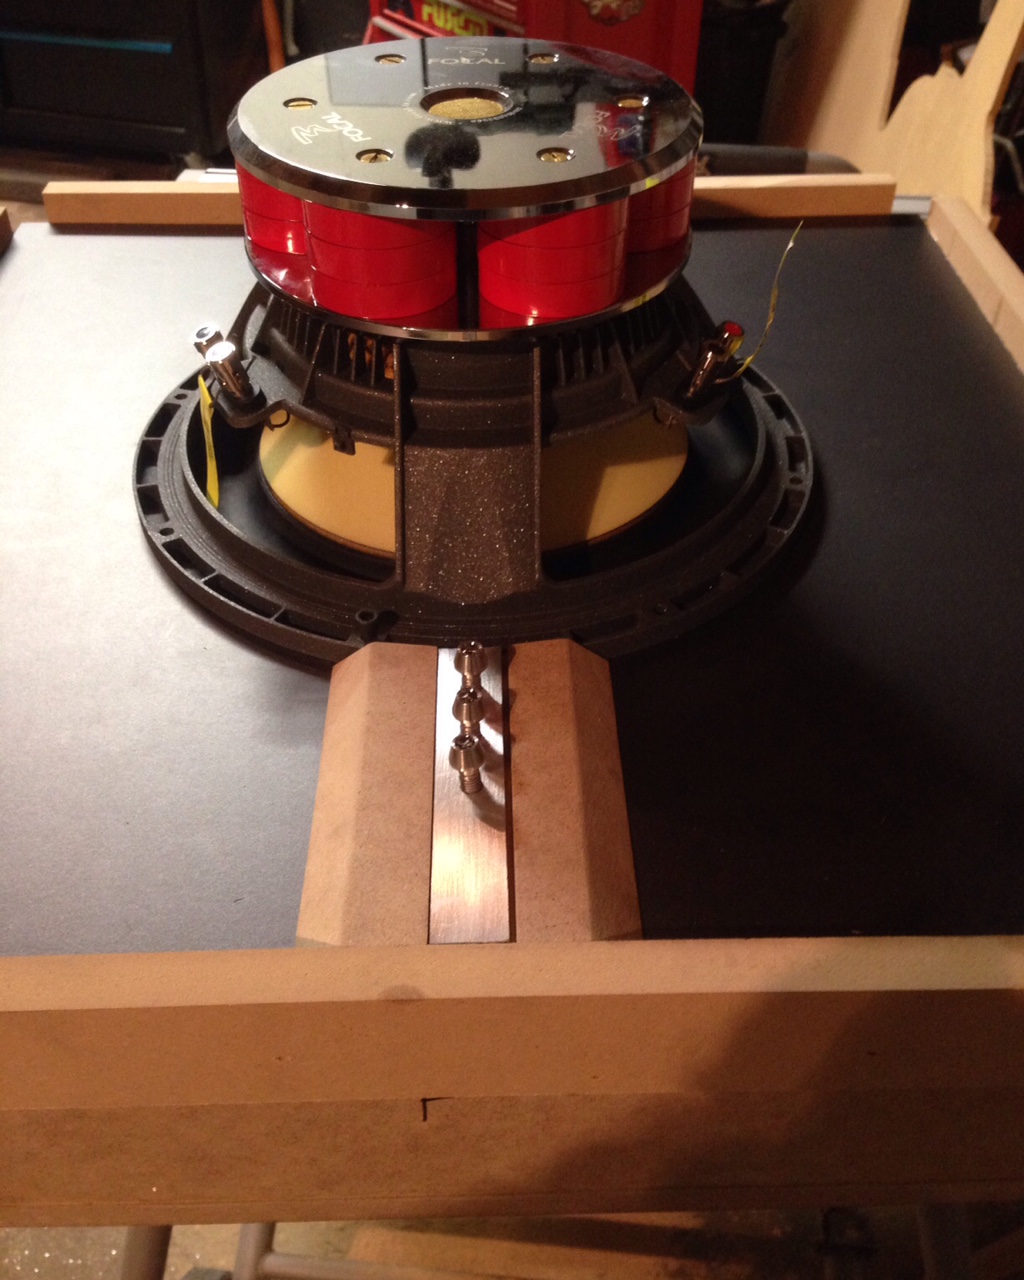
Start making trim pieces. A bit of contoured MDF and some Aluminum inserts.
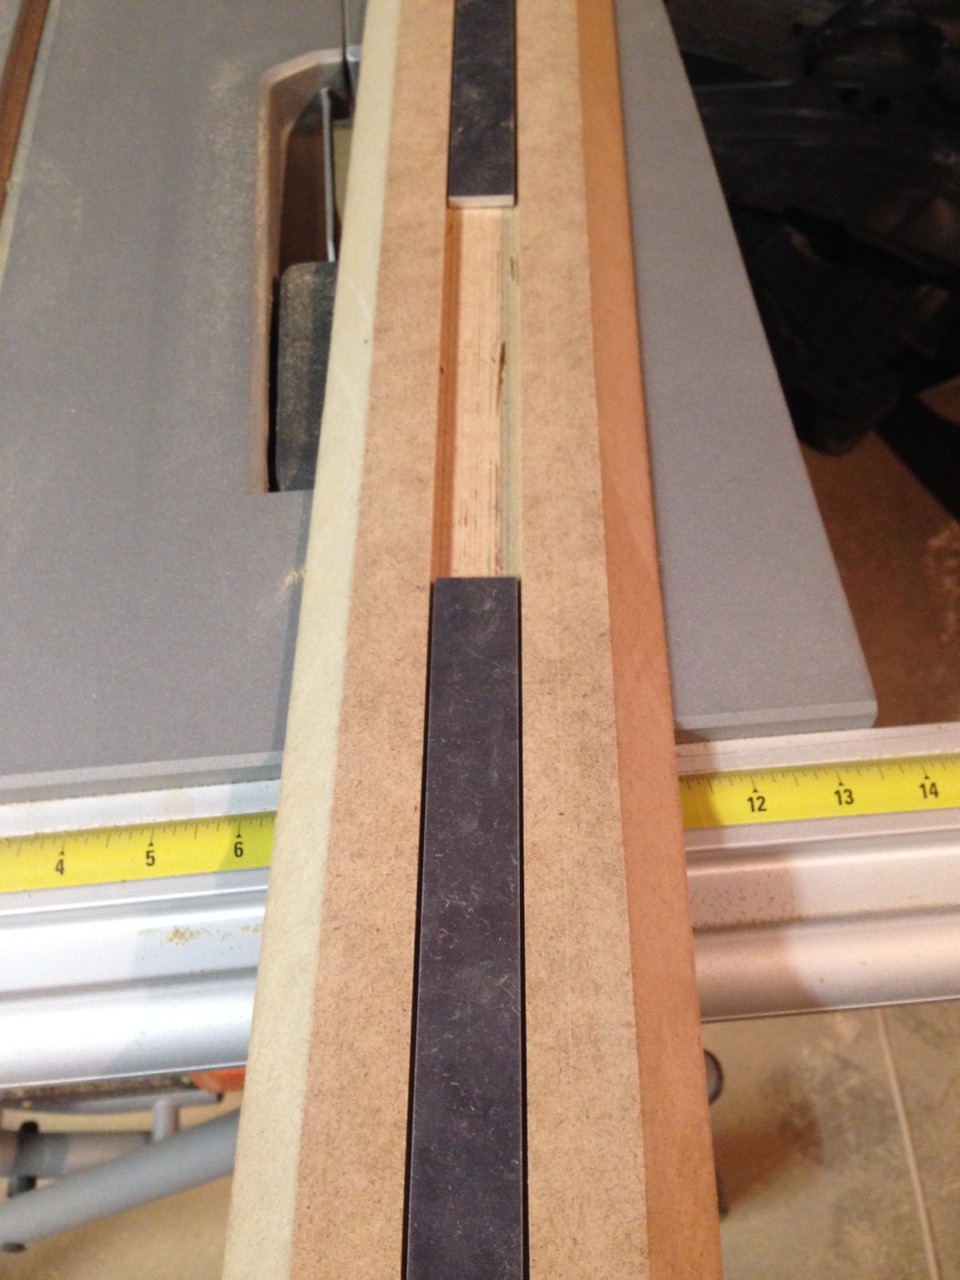
Cut trim piece in two with a round end to meet up to the sub. Screws are too long, they're all I had, so I'll have to get shorter.
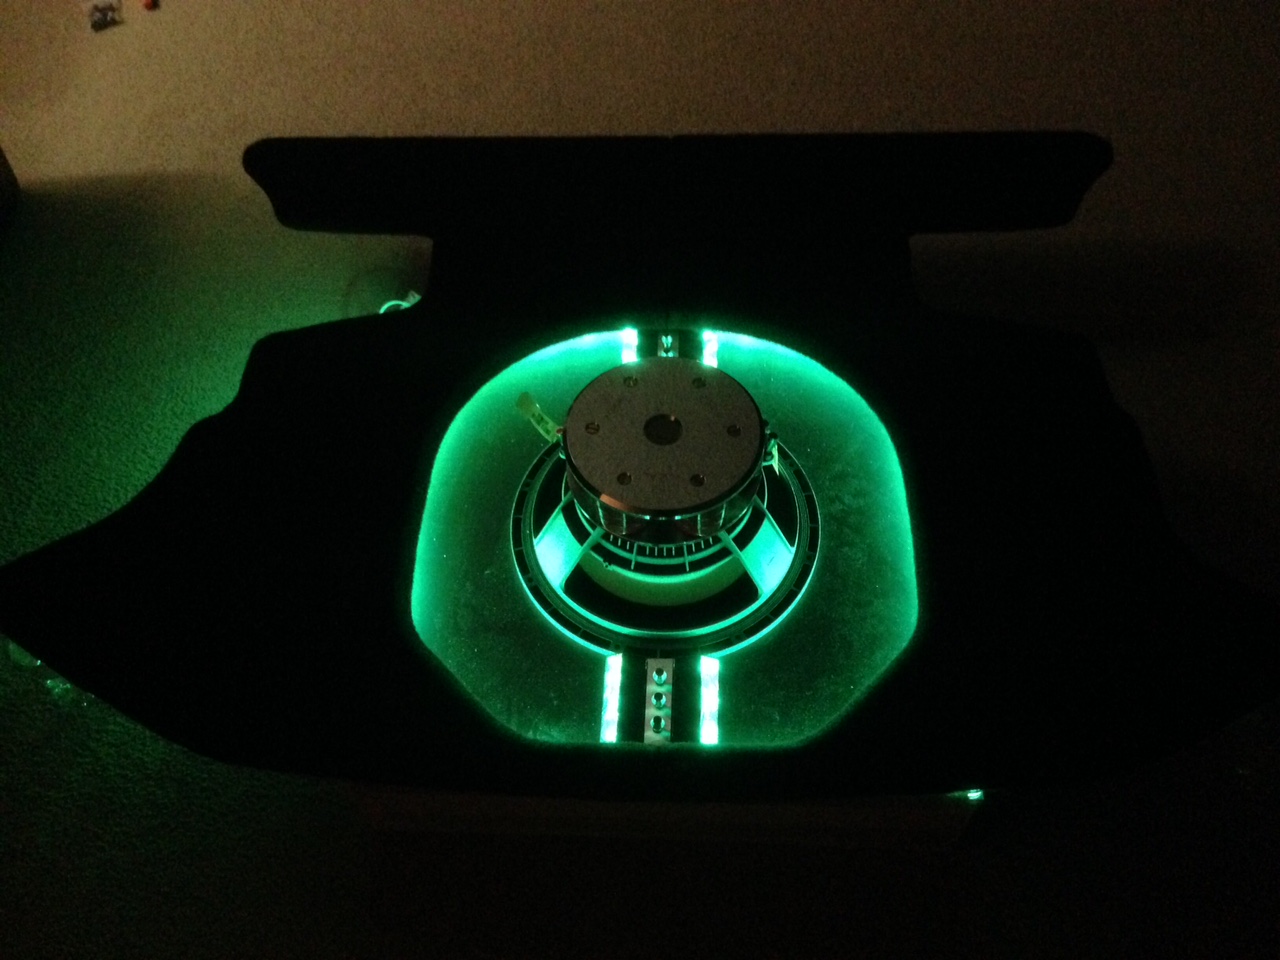
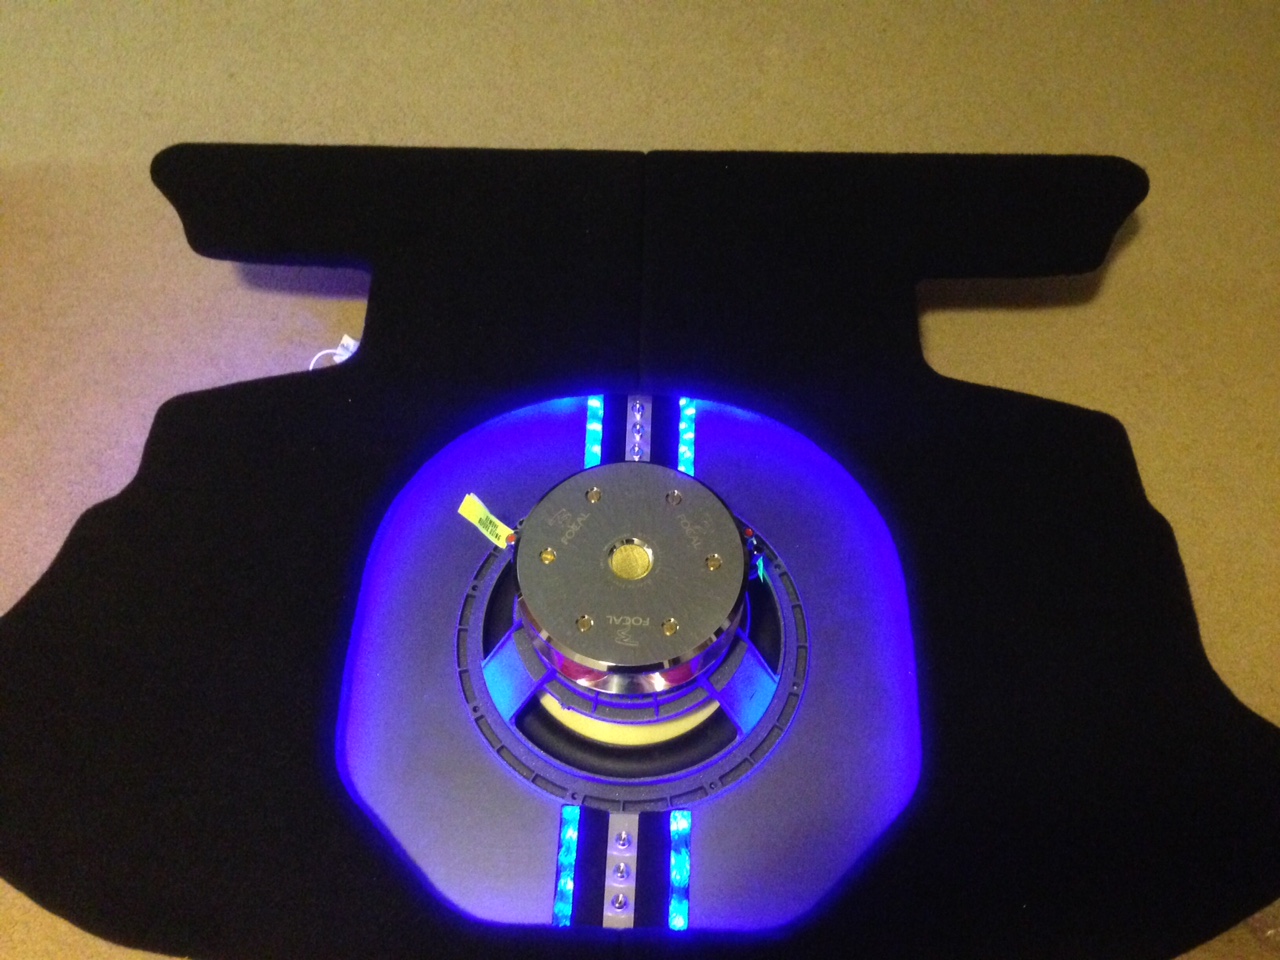
Mock it up with RGB LED lighting
And put it in the trunk. Panels aren't fully installed yet, they're just sitting there and not lined up. False floor is pressure fit in the trunk and fits nice and snug.
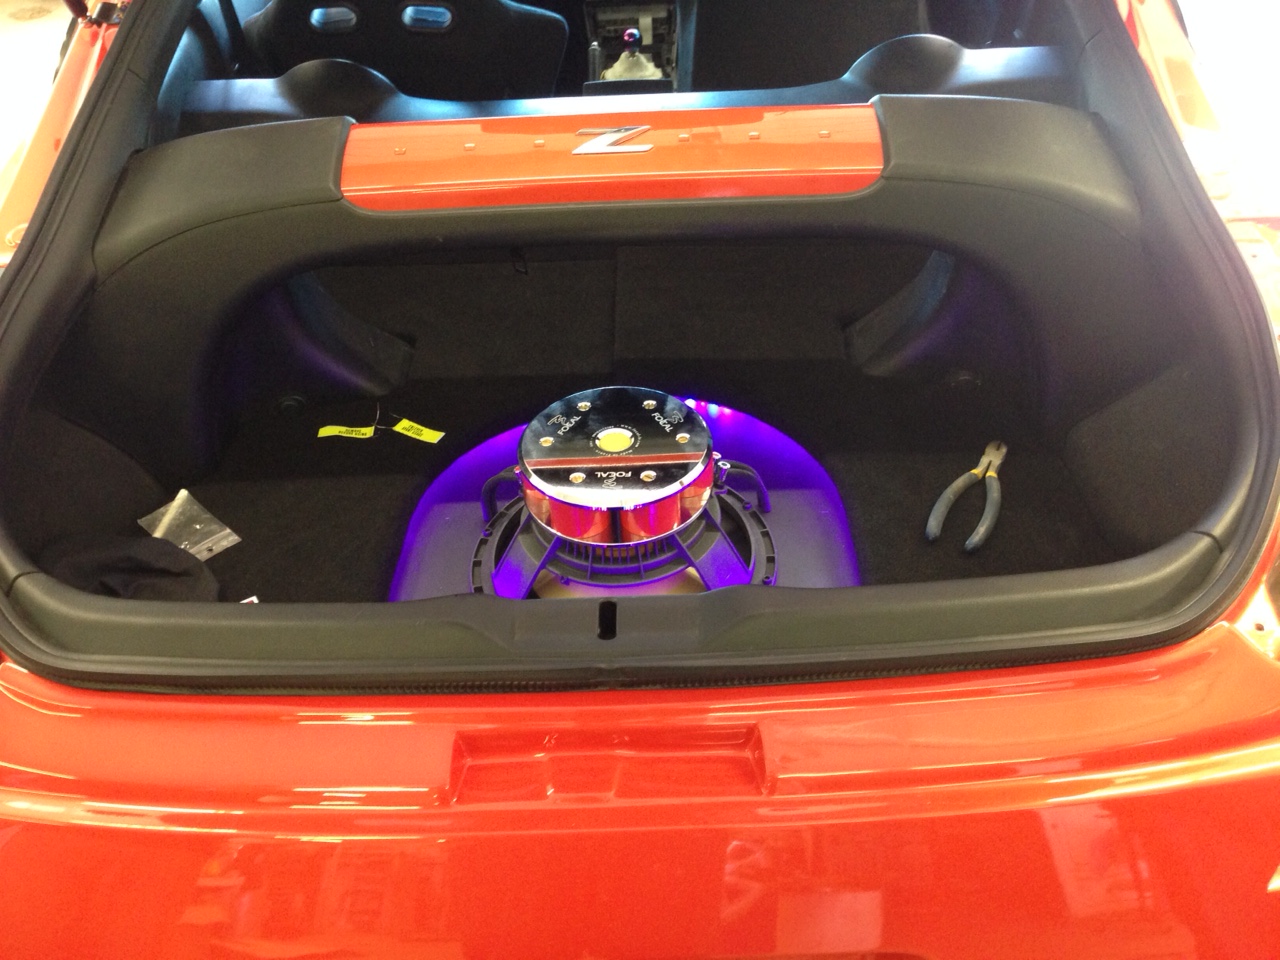
My sub came in Friday and I decided I should finish a simple trunk for World of Wheels. Finished building this the next day. I didn't even have the car with me, it's two hours out of town, but still managed to build a trunk that fits nicely.
First step, build sub enclosure
Second step, build false floor


Duplicate cutout. Trunk contour is slightly different from side to side.

Test fit false floor:

Start making trim pieces. A bit of contoured MDF and some Aluminum inserts.

Cut trim piece in two with a round end to meet up to the sub. Screws are too long, they're all I had, so I'll have to get shorter.

Mock it up with RGB LED lighting


And put it in the trunk. Panels aren't fully installed yet, they're just sitting there and not lined up. False floor is pressure fit in the trunk and fits nice and snug.

