When you click on links to various merchants on this site and make a purchase, this can result in this site earning a commission. Affiliate programs and affiliations include, but are not limited to, the eBay Partner Network.
Tbf, 'polished' is a bit of a slip of the tongue- more 'smoothed'. I saw the photos of the whole job. He's attempted to smooth out any rough edges in the upper and lower plenum and really opened up all channels, including the manifold.
Yep, entirely possible the exhaust cam is the main cause for now.
Ah, ok. Yeah honed as about as smooth as you should go. Since there is no adjustment on the exhaust cam it's totally possible it's a hair too much for the stock setup. But the 274 isn't terrible, I think it's possible that the engine can be reading false knock as well? I'll let someone that's more adept at tuning help with that one.
Yeah he mentioned vernier gears might help, but man, you'd want to be really sure of the angle before you put it all back together again. Not like working on an RB 😅
He's locked out his exhaust and is about to do the same with intake now that he's installed ITBs...
Hey Tim !
It won't be too long for me to start installing the Link ECU/WB2 etc too now.
I just wondered what you'll do for an aftermarket IAT ? (is there specific one we can use?)
I know that we can cut/use the cable for the MAF so that it'll not require any extra inputs on the ECU, I just wasn't sure which IAT to go for.
I'm using the MAF IAT for now (but relying in MAP obvs) to avoid having to install anything in my current intake. Once I've got the SC kit I'll have someone install a bung on the new intake pipe just before the TB. I've got a Haltech IAT ready to go which I'll just splice into the existing wiring.
Useful tip I got from a retailer, many of the sensors are rebranded AC Delco/GM (including flex fuel), that Haltech, Link, etc. add their markup on. Search for the equivalent AC first and see if you can get it cheaper.
Cheers for that !
I've just ordered a Haltech one too, as the other ones I'd have to put together some other kind of connection, and I like the Deutsch ones (have a crimper for them too)
How I'm killing time while waiting for the SC- (I'm told the pulley has arrived...)
Waiting on a firmware update from Link to address my fans staying on after the ECU is switched off
Need to tweak the overrun fuel cut as it's causing the car to buck when slowing down in gear (like coasting towards a set of traffic lights). Have a few suggestions to try...
Upgrading the sound system. I've had a set of Polk DB6501s for the last 6 years and I've always suspected they were the reason why there was no clarity in the mid-range. I shouldn't have used them in the first place, but I really should have spoken to a professional sooner to validate and not live with them for the last 6 years... Ordered Focal ES 165Ks and an ATOTO S8 head unit which will go in over the next week. Already have a good Pioneer amp and sub which were both wasted on the Polks... grrr.
Had some leftover sound deadening so I covered most of the fuel pump access cavity to cover up some pump whine (it's really not that bad)
Have a brake squeal I can't diagnose. Plenty left on all pads (Ferodo DS2500). They now all have light copper grease pretty much everywhere (including the bookends per FSM. Never done before but thought I'd try), but it still persists. Only occurs after they've heated up and it's only one corner (I think rear right), so now I'm suspecting it's the contact between the pad face and the disc... I'll take any other suggestions on this one
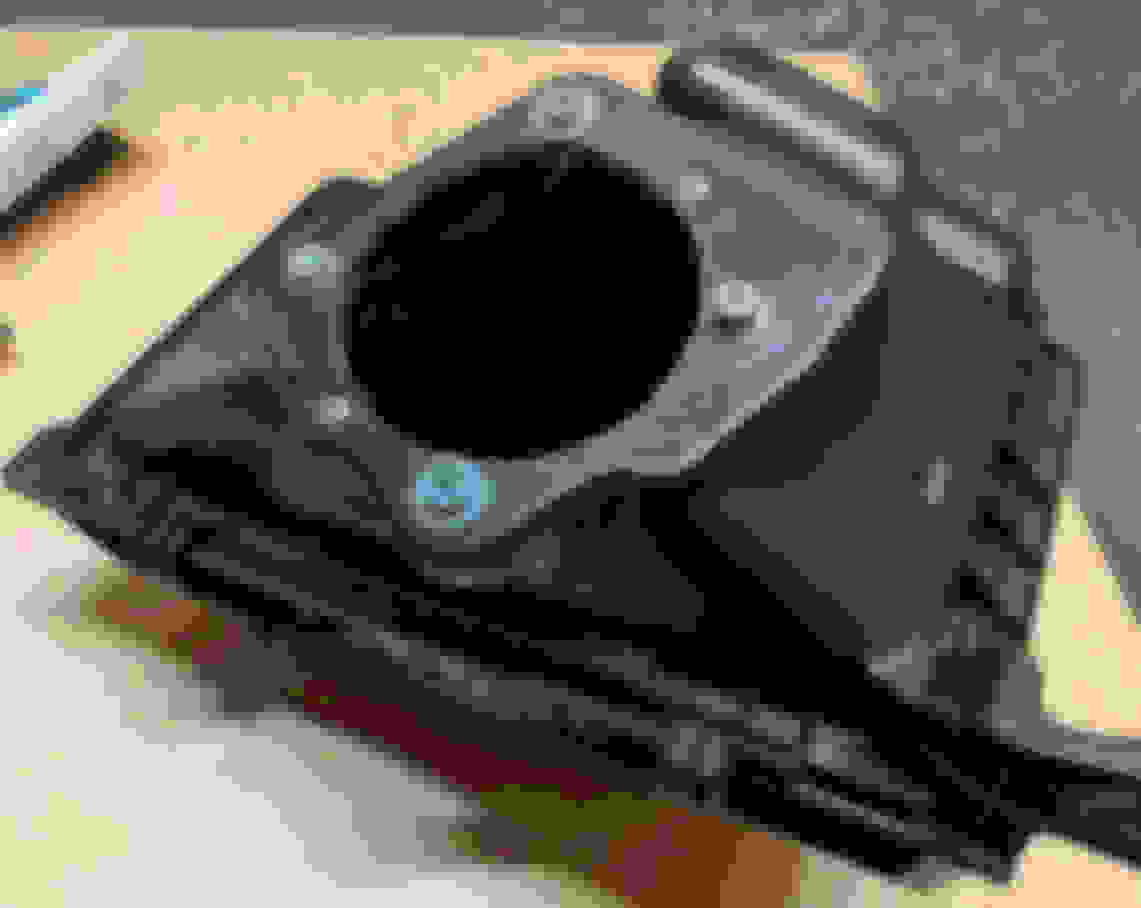
The big one is I found a cheap stock airbox to play around with in the meantime. It had a bunch of holes that a rat had chewed but was an easy fix with some JB Weld. I didn't want to modify my Injen CAI as I may just sell it once the SC is installed.
I'm in the process of widening the intake hole to ~90mm to accept the Injen pipe. The concept is to secure a rubber sheet on the back side of the airbox that will be fastened down with an acrylic/HDPE/ABS (haven't decided) ring that's bolted to the existing holes. I'll use a hose clamp to secure the rubber to the intake pipe.
This is just with the air saw. Cleaning it up with Dremel next.
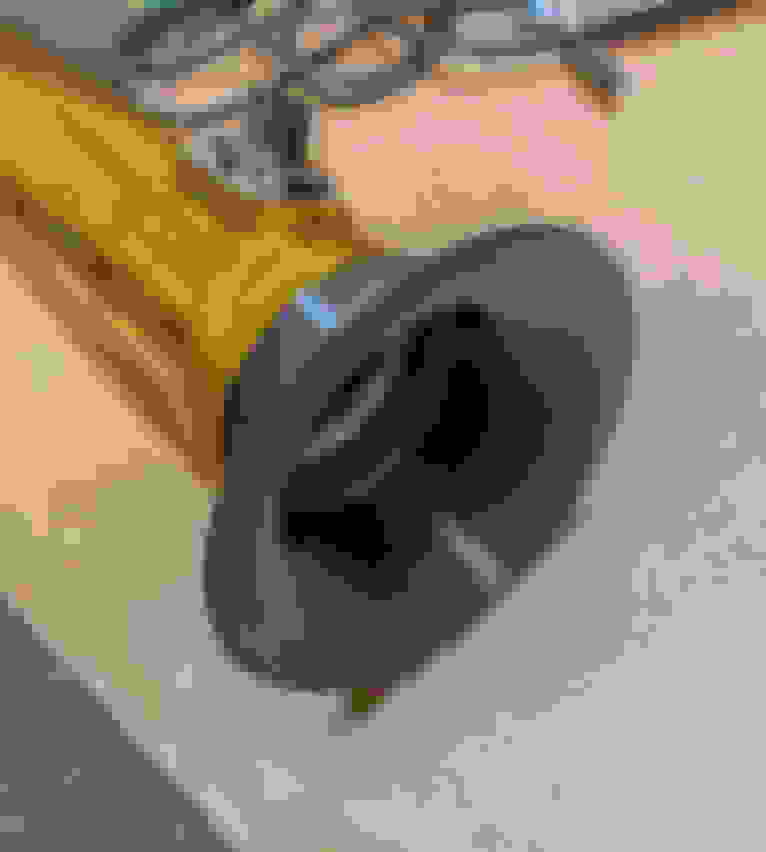
Inside the airbox, I figured the end of the intake pipe would make for rough aerodynamics so I figured it was a good excuse to play around with the 3D printer.
Prototype. I don't think it will fit as is. Possibly by shaving some edges.
On the brakes, I've got those same pads on my stoptech kit (and the DS3000's). Try sanding in a leading edge bevel to the pads, and make sure that they don't bind on the caliper guides (I found one lot needed a little grinding of the metal edges there). Plus sometimes the interface to the rotor can get dirty or gummed up. I always found that they worked a lot in the too cold region in daily driving and ended up squealing without an occasional re-bed down to rebuild the pad transfer onto the rotor. I have taken sand paper to both the pads and rotors (cold) to clean them up and then rebed with good results.
Short of someone donating a stock intake pipe, I think I've reached an impasse on this one. I don't want to spend any more money on the intake because it will all be replaced. I was hoping for an easy win for cold air while I wait. Oh well...
Haven't had a chance to do anything else on the list yet... The head unit arrived damaged so waiting on a replacement. The woofers require a custom mount, so I'm going to use it as an excuse to furthering my Fusion 360 modelling. The tweeters require some extensive work to fit them too. Yay.
In the meantime I got an exhaust shop to finally fix the fitment on my TDX2. It was impossible to raise it above the crossmember and wouldn't clear the rear sway bar for long. They had to heat and adjust the hangers to get it right but all good now.
Ah man, it was close !
I'm guessing it wasn't possible to cut the other end of the pipe a little shorter - due to where the MAF is going ?
Or just cut the plastic for the MAF to fit ?
I've just gotten the parts for my own custom intake, in the process now of cutting/building etc
(but using the Haltech IAT, so I can make a few different intakes to test what works best for my set up)
So close... Yeah, totally possible to cut the pipe, but I don't want to modify it so it can be sold later.
I'll install a bung for the IAT in the new pipe when the kit arrives. I'll just have to deal with higher temps until then. We're heading towards the cooler months here now so, meh. It was worth a shot.
Before I went SC I was all caught up in the CAI craze. I took my laser-temp gun and measured the stock airbox position and then the CAI position. I was surprised to find the front of radiator spot was only 6-7 degrees cooler fwiw.
The main problem with CAI locations is it kills response in exchange for a few ponies. You may never feel those ponies but you will absolutely feel the loss of response going from SRI to CAI.
So I guess the thread can finally live up to its name:
GTR coils and ID1050X injectors
I'm fully aware that much of my build is complete overkill while on stock internals. It's a combination of lockdown boredom/hobby/fastidiousness/not wanting to by parts twice, that I've done it in this order. At least I'll have the right parts for when it's fully built.
Anyway, I'm not jumping straight into it just yet. Given there's basically no decent video documentation of the install, tuning or running the 8555, I'm going to make some attempt to do so and upload to YouTube. Need some time to plan that out, plus I've got a couple of small wiring jobs I need to finish off (fuel pressure sensor and CANBUS for my AEM oil gauges).
A few things I have to consider for the build and tuning:
Looking at the instructions, I'm likely going to have to relocate my PS and oil coolers. Easy when you're a fabricator but potentially a PITA for me
I went with the 100mm pulley (against some advice) but will be running the restrictor plate. Hopefully that keeps it so a safe boost level (anyone know what PSI to expect?)
I've done the fan pulley delete already and was hoping to run a shorter belt to keep things less complicated, but it looks like the belt routing would mean a bracket or two will be in the way, so I will probably have to reinstall
Seems like the community consensus for safe tune on the DE is ~400WHP so that's the target and I THINK I've got the right ingredients to get there
I'll be switching to E85 with the SC. I'll only look at installing a flex sensor if I need to
I think Z1 got over 400whp on the lower boost pulley, definitely wouldn't try the higher pulley and that restrictor won't do much to stop boost I don't think.
Here's hoping it does, Dark. I didn't measure, but it's a decent reduction in diameter with the restrictor so fingers crossed. If we go over 9psi I'll pull the plug and order the 110mm.
Does anyone actually know what max boost is for the 100 and 110mm pulleys?


 02-23-2022, 06:38 PM