When you click on links to various merchants on this site and make a purchase, this can result in this site earning a commission. Affiliate programs and affiliations include, but are not limited to, the eBay Partner Network.
The G4x has to be the best value plug and play option for the DE by a long shot. Their latest platform, wide feature set, great support (their forum is awesome and I've had them remote dial in twice to get me setup).
Haltech's Platinum Pro is an older platform and has less features. I think AEM discontinued their plug and play?
If there was no plug and play options I might've been tempted to go with a Haltech Elite and wire it in myself (I like their software). Now that I've spent some time with wiring/pinning I'd be comfortable doing it but glad I didn't have to.
That said, UpRev is still plenty for most jobs. I wanted closed loop WB support and the ability to learn about tuning on my own car, so an aftermarket made sense. One of the other benefits of using UpRev is you keep all that factory fine tuning on idle/VCT/temp scaling etc.. Assuming you don't care about factory smoothness, you'll still have to pay a tuner to get it to a point you can live with it and/or tune it in yourself... Something I hadn't considered at the time (noob).
Cool, good to hear. I had initially thought about Haltech but seeing you and others talking about Link made me interested. Overall I'd say I do care about smoothness but I also want to be able to have more fail-safe features. A lot of people say UpRev is ok for those power levels and I'm currently tuned on it so we'll see.
Haltech make amazing products but their marketing department is where they're really killing it. That's why you see them all over YouTube. Any of the decent sized channels are sponsored by Haltech and get all their gear free.
To be clear, you can still get a nice driving/similar to OEM tune with an aftermarket, but it's time and money. At some point you'll be willing to compromise.
Finished with my port matching. It's as close as I care to make it right now, especially given I can't do the heads yet.
I'd already shaved the front runners down by 5-6mm so this was a light smoothing job.
Pretty happy with how the plenum inlet turned out. There's a ridge that runs the perimeter just inside the inlet. I took all that out to smooth the transition from the TB. Didn't touch the OE diameter.
Also took a chunk out of that left corner and smoothed it.
Finally I could test fit the traction oil bracket. I was (I think) super lucky that by swivelling the bracket counter clockwise a few degrees, I have no interference with my FPR. This will be a easy enough to drill a new hole in the lower bracket to mount on the plenum. Realised I need a 5/16 spacer to fill the gap (gktech angled spacer).
ID1050X injectors installed along with the GTR coil mounting bracket. I was reminded I need adapters for the injectors. As much as I enjoy making connectors, it wasn't much cheaper to buy the male Denso connectors that it was to buy some pre-made Denso to USCAR adapters, so they're on their way.
I need to replace those godawful breather to catch can hoses, but otherwise I think the bay is looking pretty good. Although I'm regretting not going with matt black on my timing cover and plenum now.. Next time.
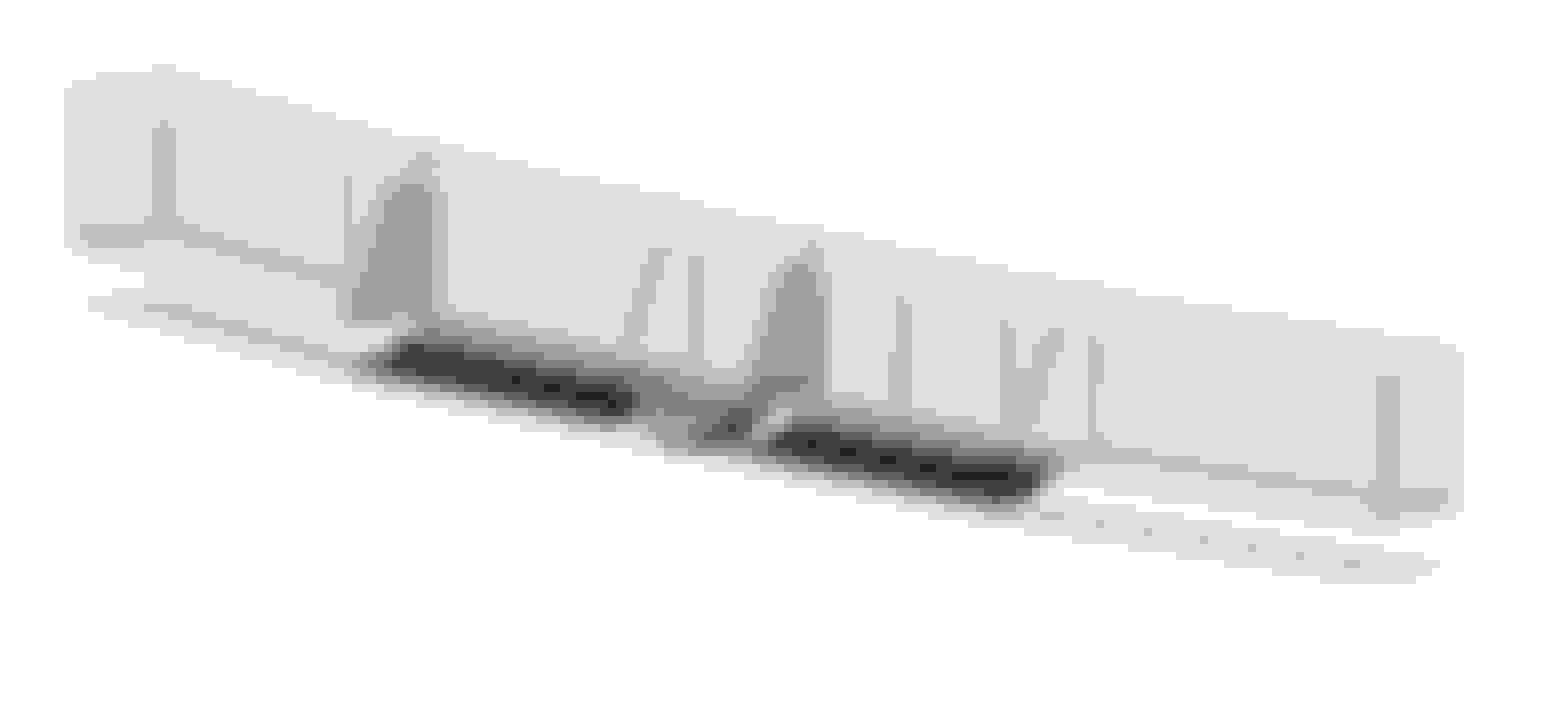
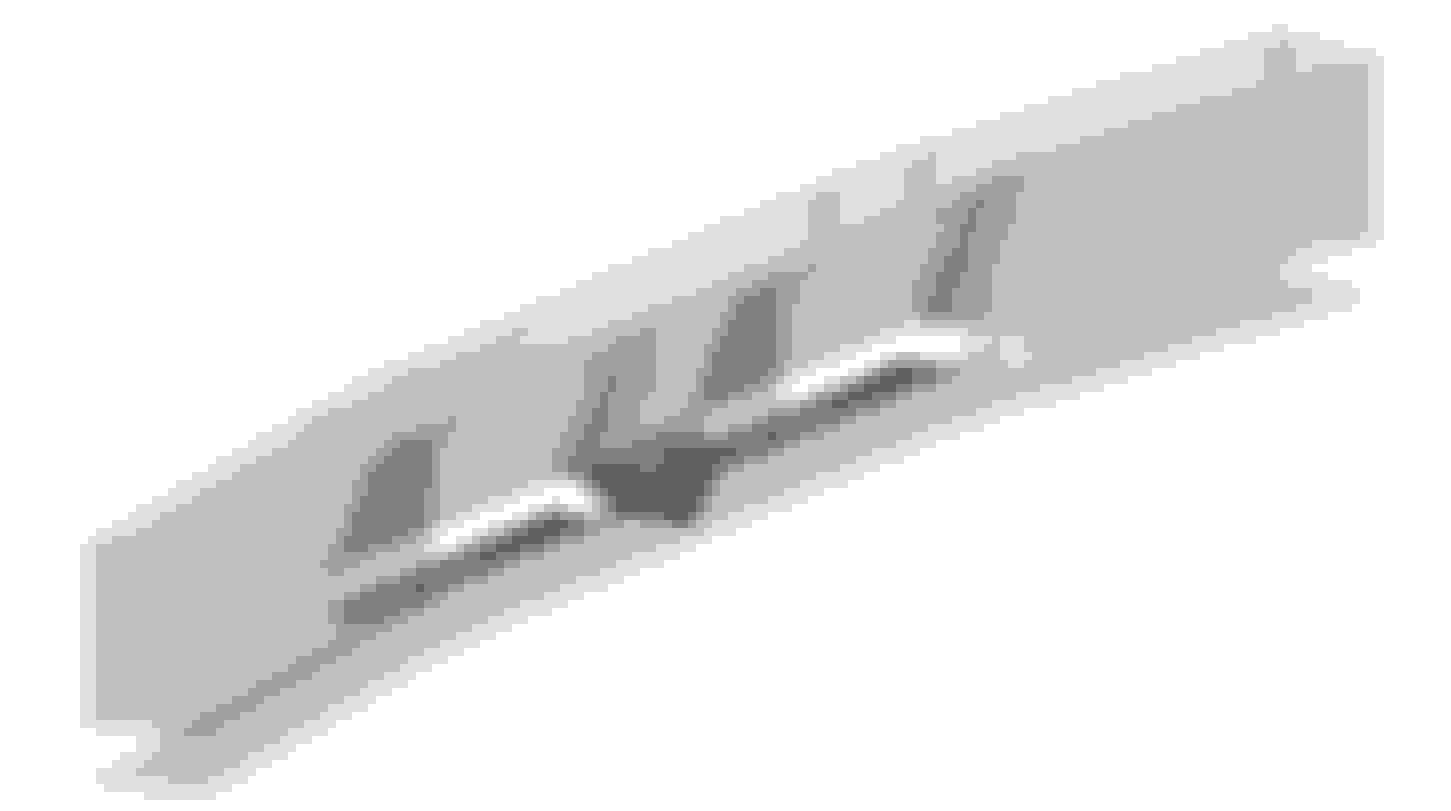
Been going down a rabbit hole with this crash bar. Here's what I'm thinking...
Ignore the weird notches in the bar at the front. Just being lazy with modelling.
I haven't bothered modelling them yet, but the idea is to use two vertical slats/fins per side to connect the ducts(?) to the crash bar
The big question will be is it worth the cost... I've got a couple of options to reduce complexity, therefore cost. First is reduce the width of the channels so they end before the bend either side, keeping everything square. The second is to use a flat edge on the channel, like my sketch a few posts ago. Probably fine to do that as the ducts will be doing all the work.
I'll be dropping everything off at the fabricator soon, so price will be my guide...
Just got back from the fabricator, who's also a performance shop that does everything. I'm definitely not surprised, but he threw cold water on the crash bar just saying it's not worth it for the objectives. Good, I can move on.
They'll do the IAT bung and plug the plenum holes. I'm going to 3D print the blanking plate for the MAF sensor.
I'm glad you found an honest fabricator. And even if the price was very expensive that put you off, the airflow through that shape just wouldn't happen how you have it in your mind. focus on sealing and ducting into the rad and giving it a path out (hood vents). This is way more important than trying to maintain velocity through the radiator with shapes like that.
Actually I was really impressed with him. Impeccably clean shop, some very nice work and customer cars (S15, VL Commodores, R34..) and he seemed very honest. He'll likely be a go-to for other work in future.
There's a few elements to this. We didn't talk price at all (effort was enough to imply) but the gist was for the real world gains (a few degrees in IAT, particularly while my ceiling is 400whp), it wasn't worth the effort.
I'm not really worried about the radiator/coolant temps with electric fans and a shroud, plus an oil cooler. I'm also not worried about air velocity in general. My focus is on air volume (nothing to something) to a portion of the intercooler.
You don't need to be an aerodynamicist to understand that blocking a third of it to any air flow off will affect its potential. That said, I know it's not completely wasted space as even if a significant portion of the intercooler is blocked off to direct air flow, that extra surface area in the channels, fins and end tanks still helps to dissipate heat. It's just not running as efficiently as it could.
I've no doubt those channels would improve efficiency to the intercooler, but back to the original point, not worth the effort for the pay off. Still it was fun to think about and maybe I'll revisit in a couple of years after the engine is built and I'm maxing out the SC.
You could also try one of those ducts like the R34s have, I believe they make them for this car as well. Ultimately whether worth it or not should be purely base on AIT, I'd rather spray than alter crash bars, plus spraying actually increases power.
FWIW, when I did my V3 build the intercooler wouldn't fit behind the bash bar. Z1 subbed out to a local shop
for a tubular setup big enough for a TD12. IIRC it cost $275 plus labor, 0 air flow problems and has a thread
for the tow-hook.
Subbed, gl!
Been busy with a few things including putting my interior back together after replacing my stereo RCAs, adding ferrules and running a new trigger wire for the amp. Also wired up a hidden DI anti-theft/kill switch (3D printed a sweet bracket) to the ECU and finally got around to adding a full-off switch for the VDC.
Got my intake and plenum back from the fabricator a little while back, so they're ready to go. I'll wire up the IAT once I've got the intake in place. I'll add some photos shortly.
Btw, fair warning for anyone that wants to de-pin the MAF connector. It's diabolical. I'm not even sure it's meant to be de-pinnable. I got one out after an hour of f**king around and decided I'm just going to cut the remaining.
In the meantime, I just realised my ARC catch can will no longer fit with the SC... Frustratingly close. Sooo I need a new catch can.
I've emailed Soho about shipping to Australia, but the exchange rate alone makes their combo can a tough pill to swallow before they add shipping. I like the radium and it's a lot cheaper (obviously not a combo), but it doesn't have an intake for the left bank port (only right PCV) so I would have to route the left to the intake, which I'd prefer not to do. This seems to be pretty common for 350Z catch cans by the look of it? Any other suggestions out there?
I also wanted the Soho one but I changed my mind, PVC systems and really meant to be assisted, having a breather tank is kinda silly to me. Was watching a video comparing a vented system to a closed loop one and the closed loop crank case was almost always in vacuum.
for that you need to remove the PCV valve and get a nice baffled/filtered can and plum both valve covers to the can, then the can to the intake before the turbo/supercharger.
IIRC the HKS moves the breather port to the intake to the supercharger anyway.
Also, on the topic of washer reservoirs I ended buying a Greddy unit to mess around with, one thing I didn't really think about before is we have 2 pumps. The Greddy one has 2 ports, so the only thing you lose is the level sensor.
It's pretty economical too!
If you want pictures or a part number let me know.
@Timboj Oh, and I forgot to say this but prior to buying my Mishimoto catch can I had a chat with them and they said there wasn't enough from the intake side in their testing so they set up only for the manifold side. I will be switching up my setup, I'll keep their bracket but switch to one of their cans that is identical to mine but has 2 inlets and 1 outlet.
Yeah, the two pump (front and rear washers) issue is the main reason I haven't pulled the plug on a replacement reservoir yet. Good to hear Greddy has an option.
So Mishimoto didn't think it was worth plumbing from the left bank? I'm not keen on the idea of blowing oil vapour straight back into the supercharger housing, even if it is minimal.
For most of these cans that use AN fittings, there's probably a tee piece we could buy that would turn it into a dual inlet.
Yeah, and it's basically what I thought as well, there IS some blow by there so I want it to go to a can to clean it up before it goes into the supercharger. You can accomplish it in multiple ways, dual cans, or a 3 port can.
However I wouldn't feel comfortable using a T unless it was a decent size, my search lead me to watch a HPA video on the topic and the SR20 has 3 ports on the valve cover and they talk about adding more depending on boost due to restrictions and extra pressure.
Definitely need to eliminate the PCV valve and change to AN line, the other 2 I don't think I will.
I might mess around with that Greddy bottle tomorrow or Tuesday and I'll post some pics, FWIW the Mishimoto can for the 350Z is decently nice and not too expensive, 100% compatible with the setup too since it sits next to the PS reservoir.
P.S. the Z1 can is basically a more complicated version of the Mishimoto one.
Update from today. I'm almost at the point where I can't ignore the cooler relocations
MAF blank. My first time printing with ASA as well so it was a bit of a learning curve to get the print right. Still not perfect but close enough for my use. Main issue with ASA is it's really heat sensitive so has a tendency to start peeling up from the plate. I had a touch of that but was still useable.
It was an intentionally tight fit but I still put a little bit of liquid gasket around the the first lip under the base to ensure it stayed sealed.
IAT bung welded in too. My fault it's so damn close to the coupler. I'm going to grind a little of the weld there to make sure it seals properly.
I ground off the top right section because it interferes with the SC. Haven't test fit again yet so I'm hoping it was enough.
Traction oil reservoir and filter in.
Drilled the hole in lower the bracket to accommodate rotating the whole thing. Lines up nicely. Also I had a left over spacer from one of the plenum stems I no longer have, so that sits between the bracket and the lower plenum. Only other thing to call out is that there's no thread in the lower plenum. The old fuel regulator bracket thing used to sit below the plenum to take a bolt. I'll have to find an appropriate length M6 bolt and nut to go on the underside.
Also that's the new vacuum port hooked up under the brake booster port. And a GTR coil peaking through.
Oh yeah, I didn't take a better photo, but the fabricator talked me into just using threaded NPT plugs in the 4 unused bolt holes in the plenum. Cheaper than welding and it looks fine.
Went with a gktech angled spacer from my old Motordyne 5/16. Probably make eff all difference now that it will be boosted, but whatever. It was pretty inexpensive compared to other options (especially when factoring in exchange/shipping) and the whole kit is great. Two gaskets unlike most, o-rings to seal the stems and uses studs in some places. Highly recommended.
Haha, gotta be one of the slowest kit builds on here. Nearly there.
Hah, mine is taking forever but I don't have a rush to do it. My current engine is no good for it so no stages for me it's all or nothing. Buying a more fun DD has definitely slowed it way down lol. I never understood angled spacers.
@Timboj the Greddy reservoir was a success....sorta lol. But you can learn from my findings should you chose to go that route.
I don't want to thread jack so if you don't mind me posting that stuff let me know, I got pictures and insights.

 06-30-2022, 07:23 PM