
Evolution of my G35 Drift Car (picture warning)


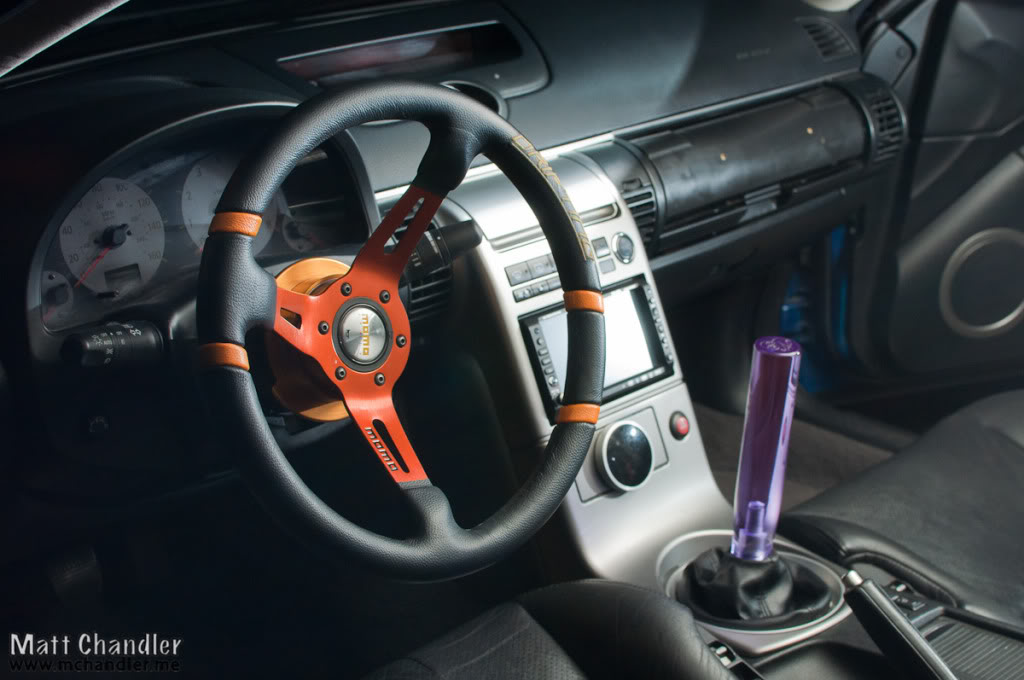
Car went from this...
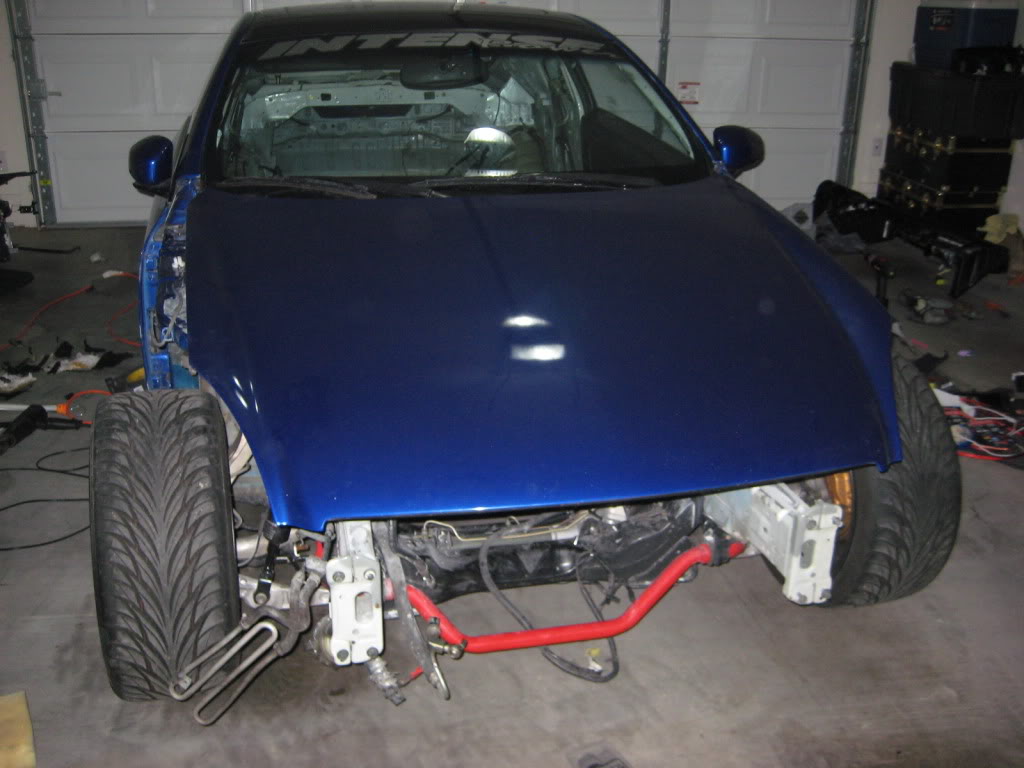
To this...
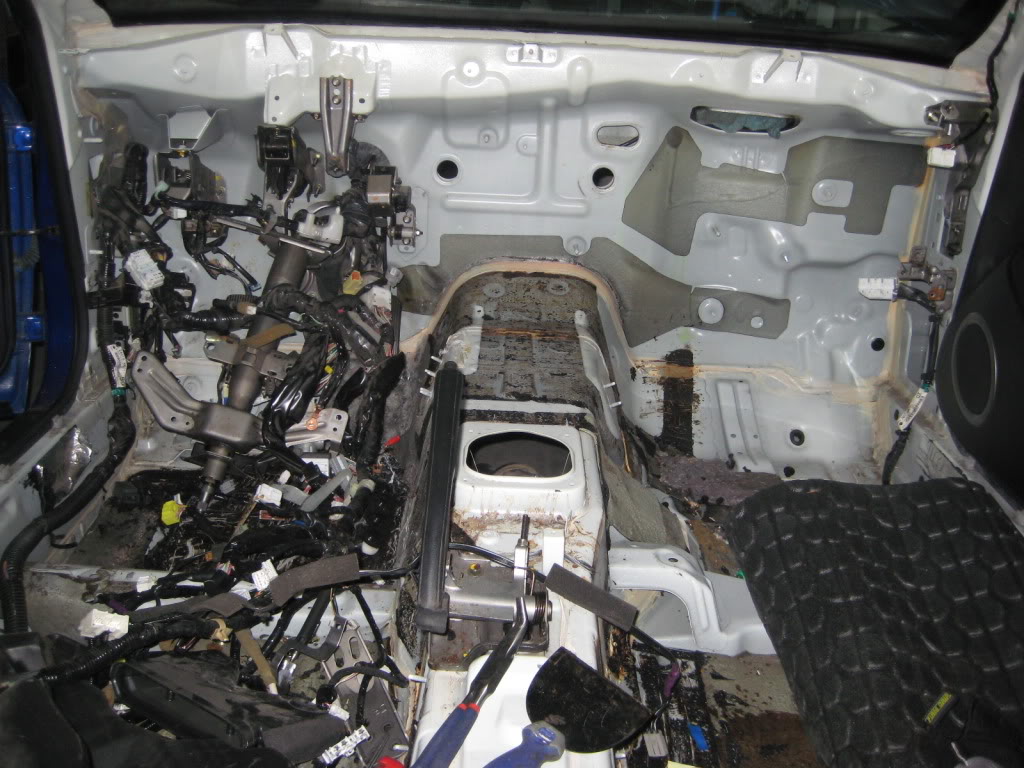
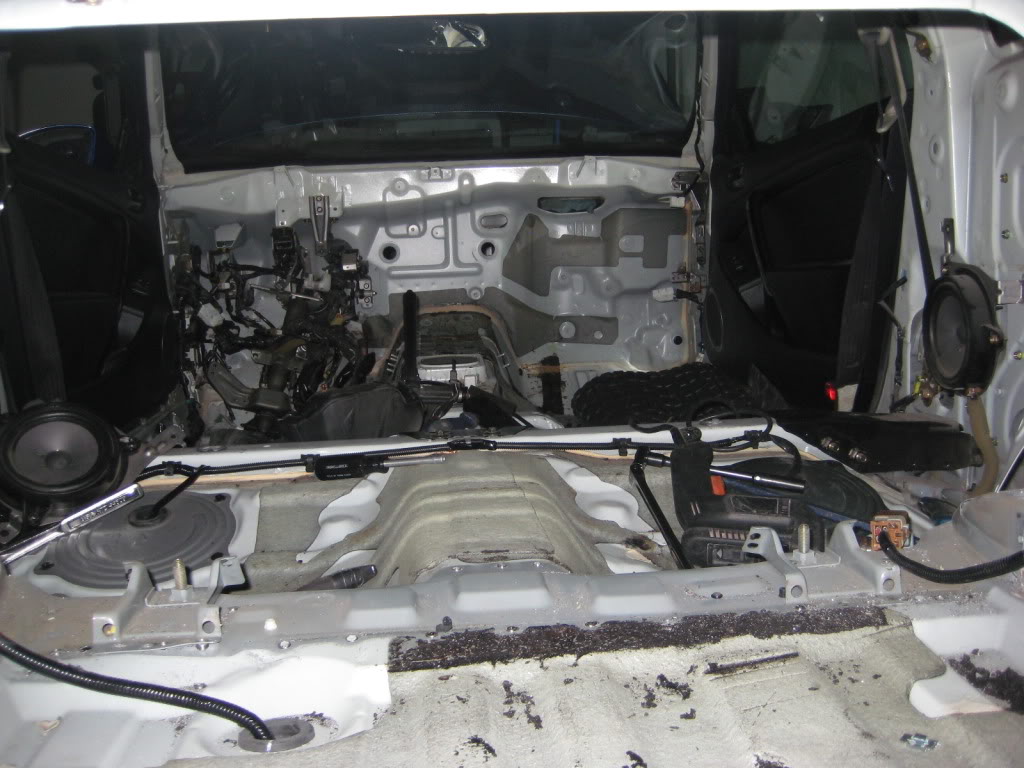
So a little update. Chris and me gutted out the car. I removed all the interior except the dash. He helped me take out a bunch of metal we didn't need. We started removing the sound dampener and the dash. We opened up the truck tunnel by removing a bunch of nothing. Still have plenty to go but hopefully will be going to future fab soon.
Engine bay shaved and ready for paint. Most seams welded.

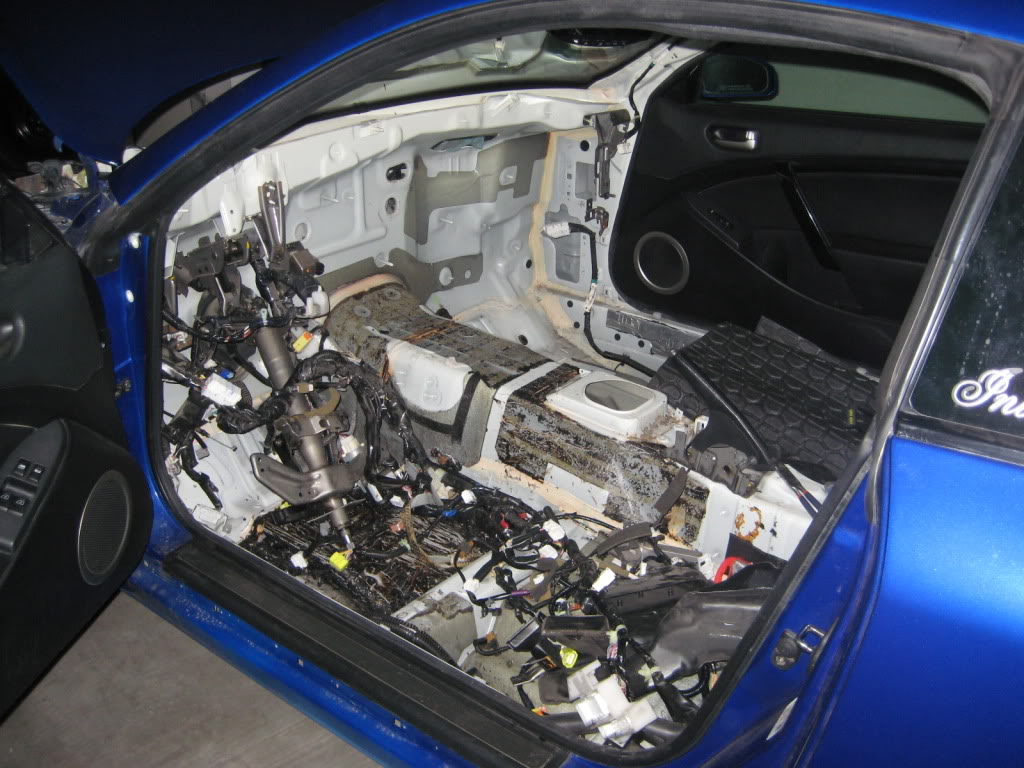
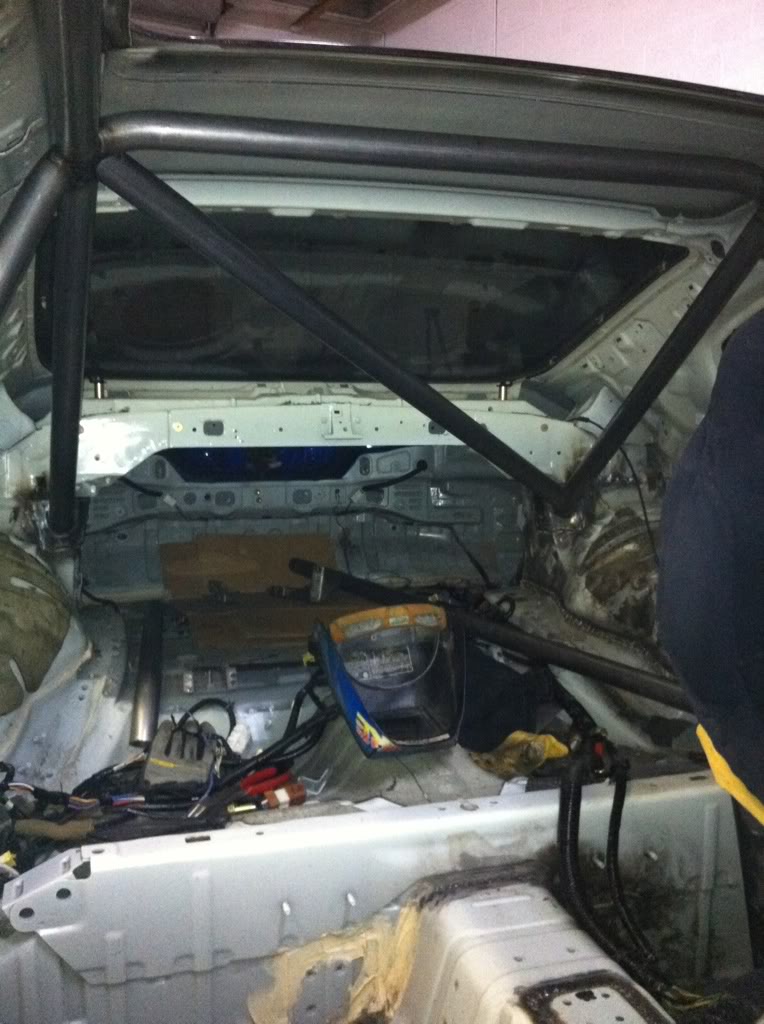
Dash is out and ready to remove more damper. Interior will be fully painted. Getting ready for the cage.
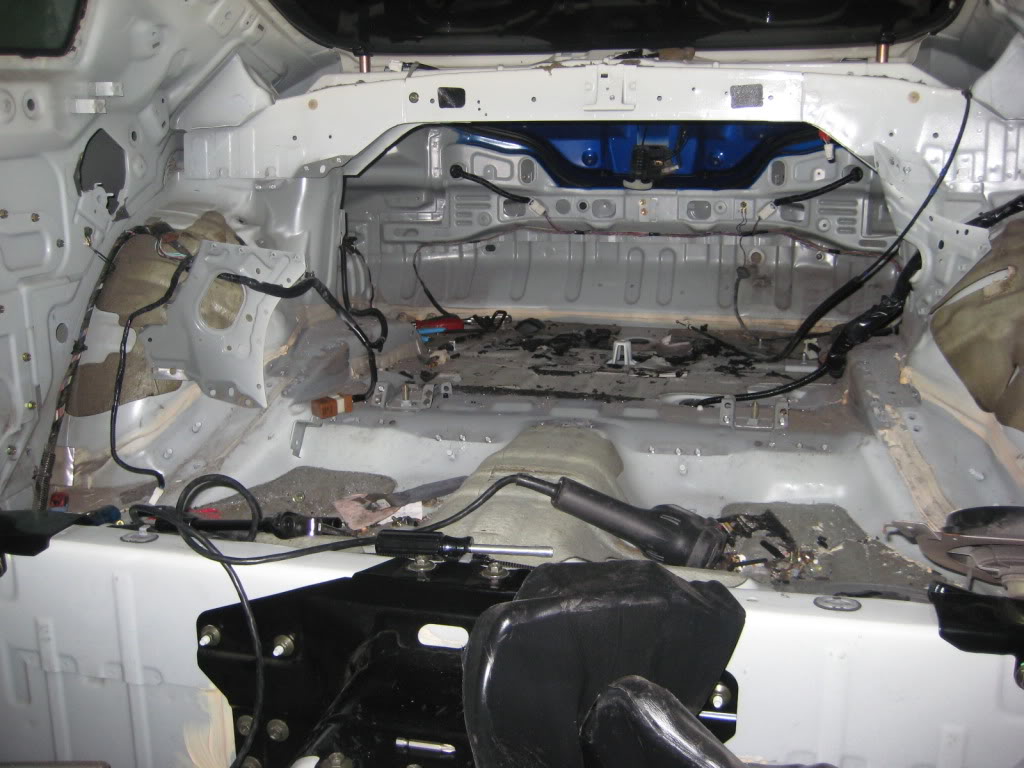
Opened up a lot of room by removing the metal tunnel. Looks much better. We just need to see if we can remove some bolts. We aren't sure what it's hold right now.
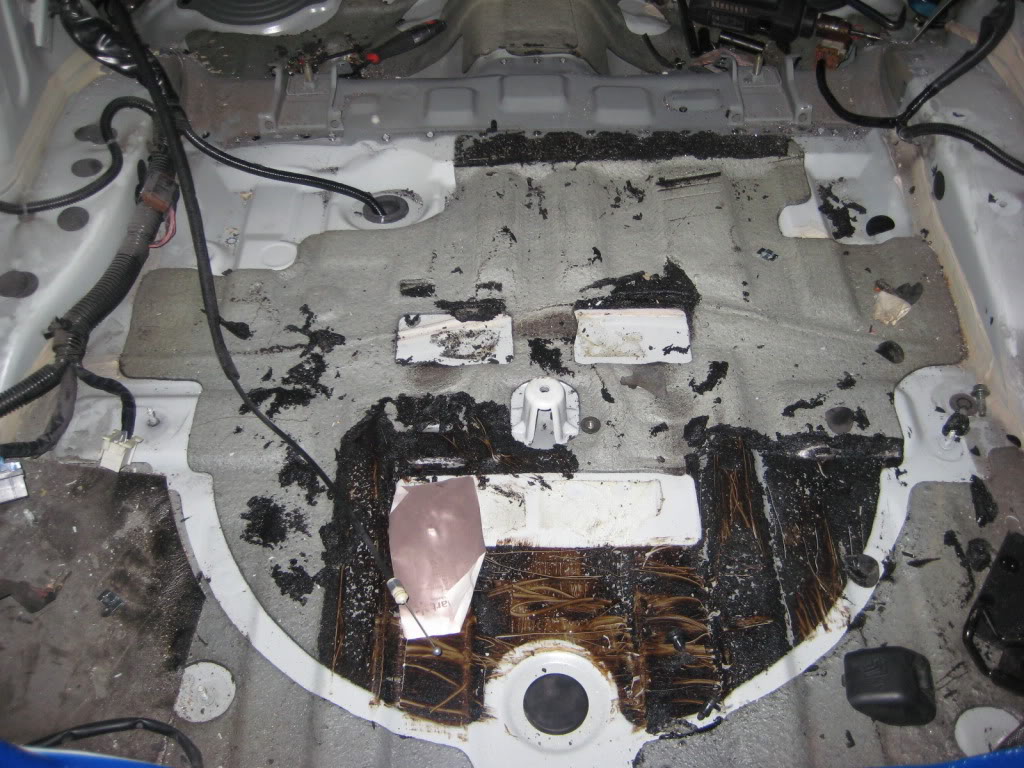
Despite what people say, Dry ice is not the fastest way. Heat is good. Once I figured out to stop melting the dampener and just heat it like chris told me to it started to come off quick and I could just peel it right off.
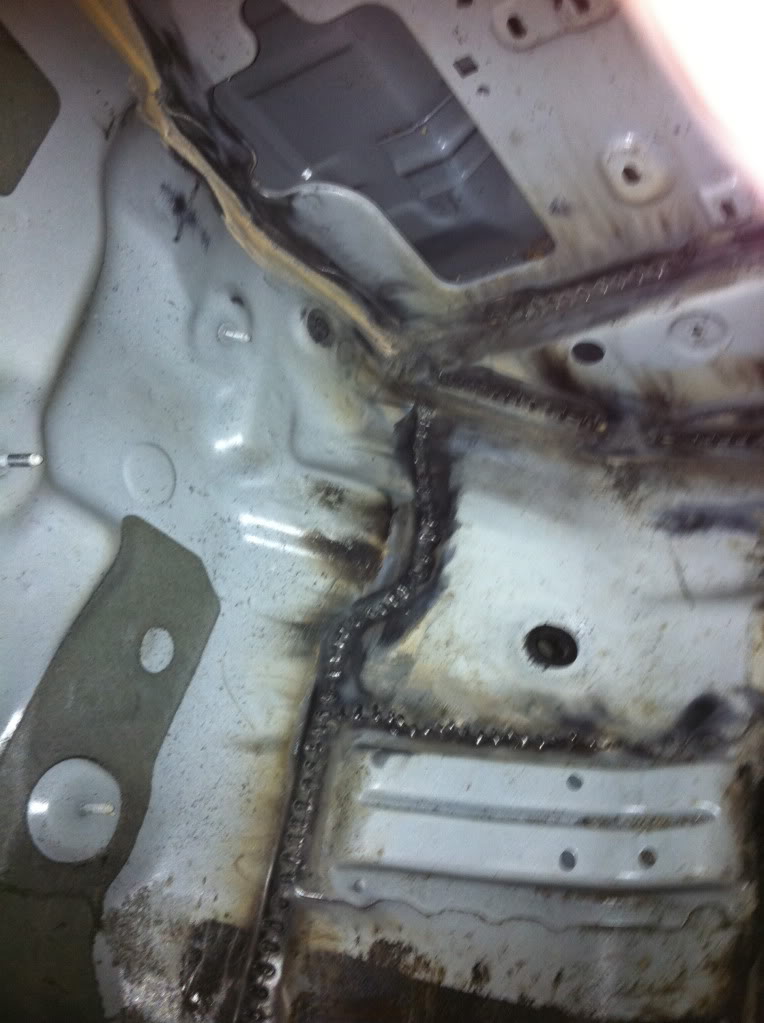
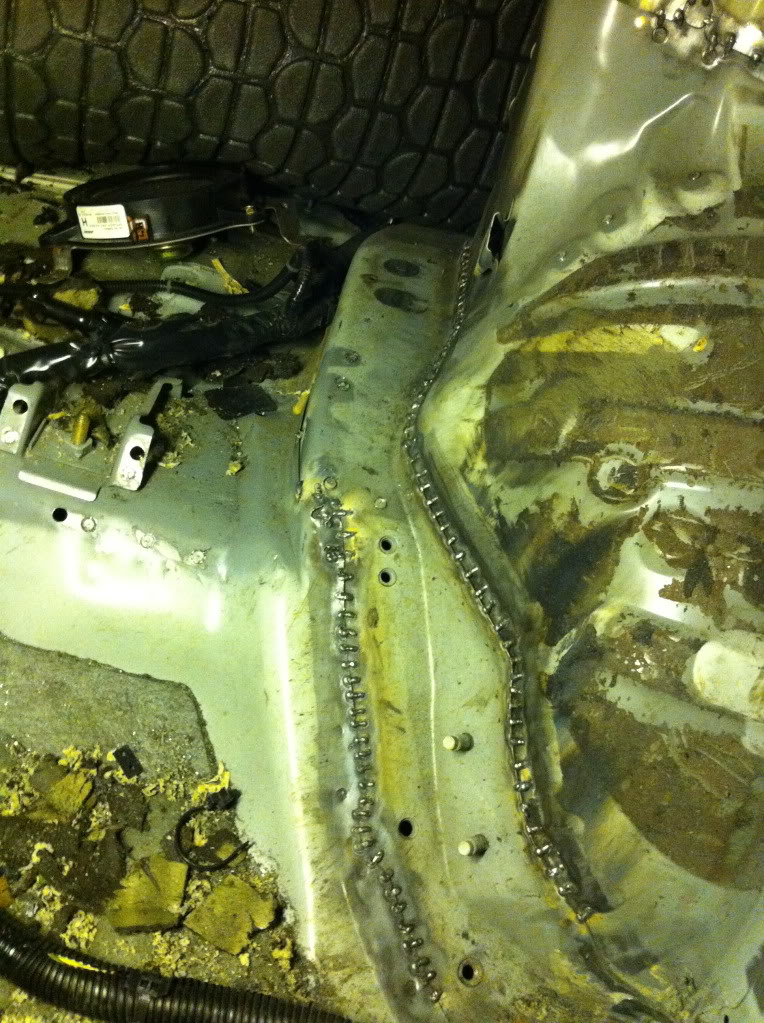
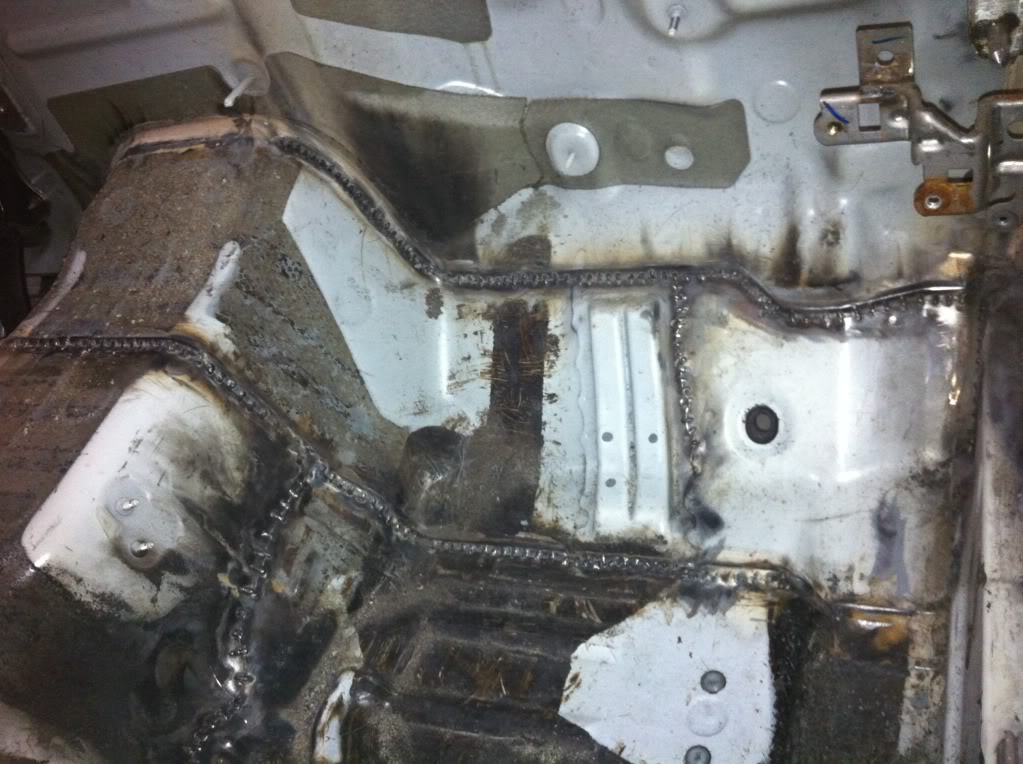
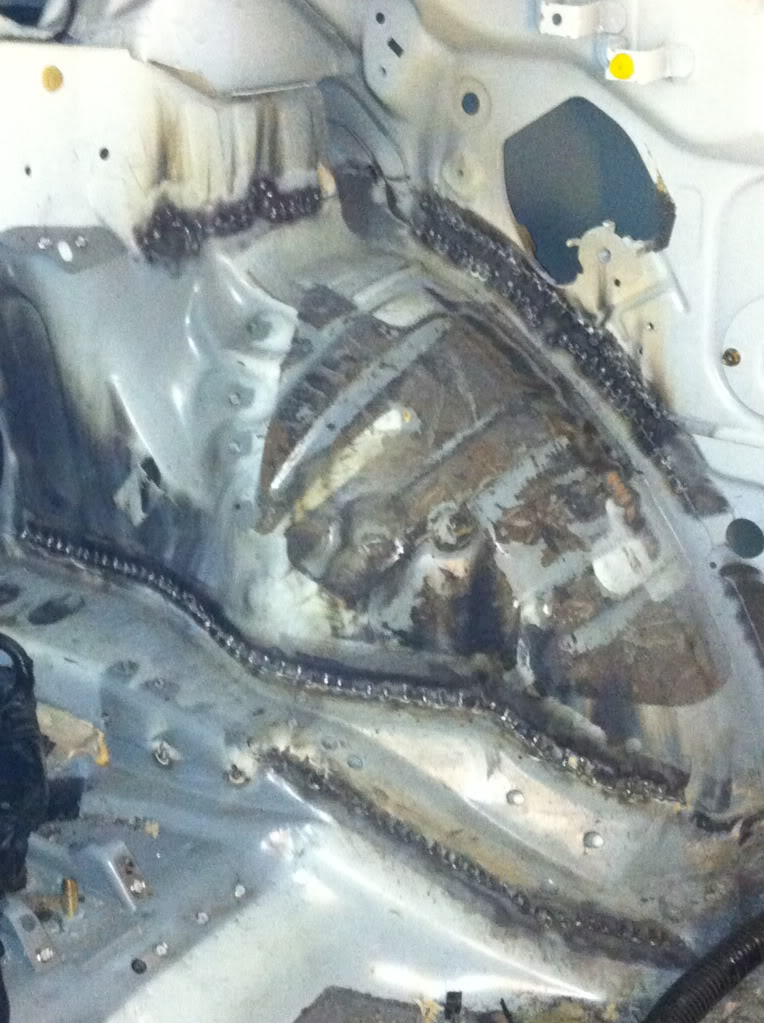
You can see the area we opened up. Also if you look on the harness there is some more metal you don't need if you seam and stitch weld all that goodness.
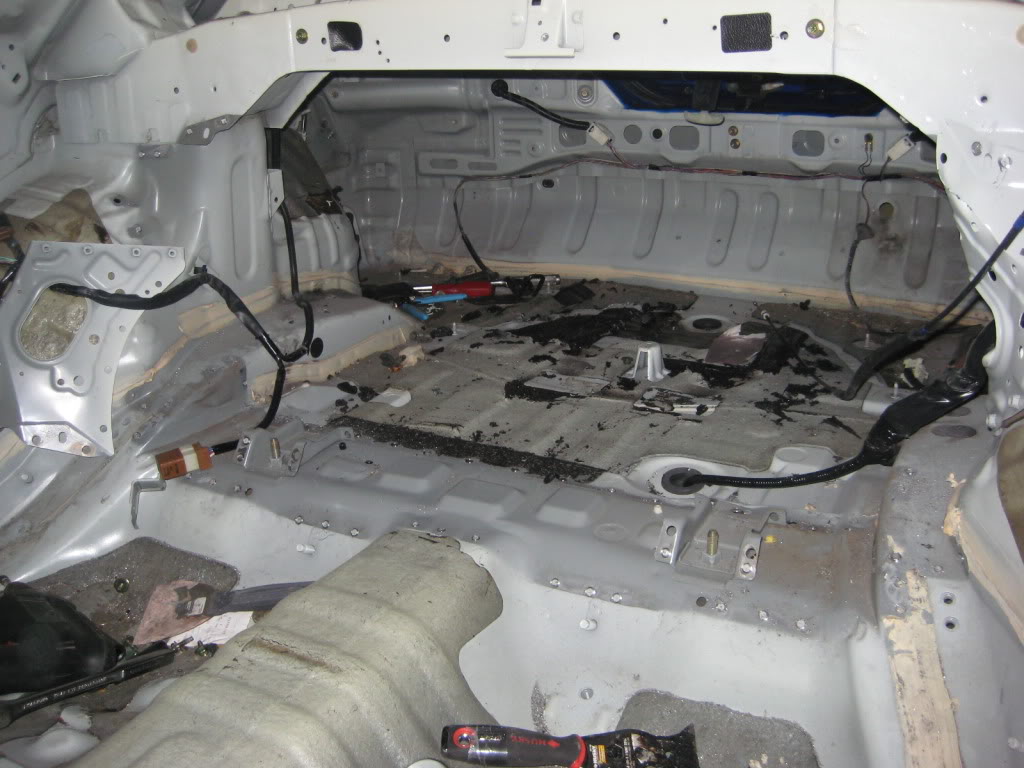
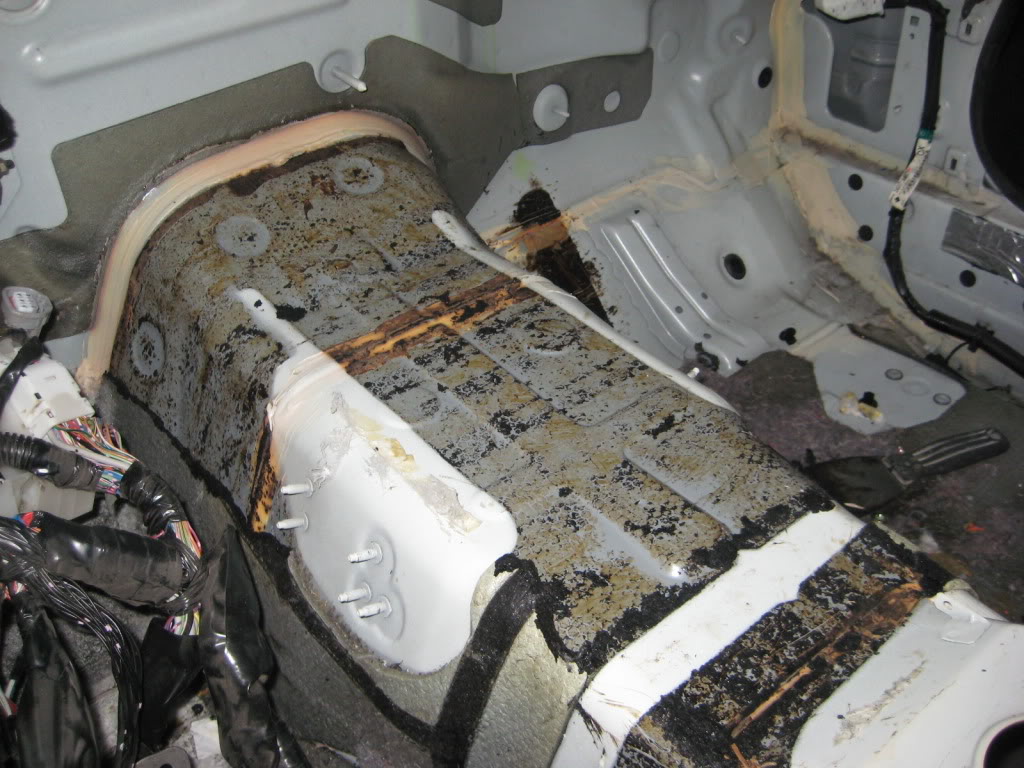

Do NOT melt, just heat!
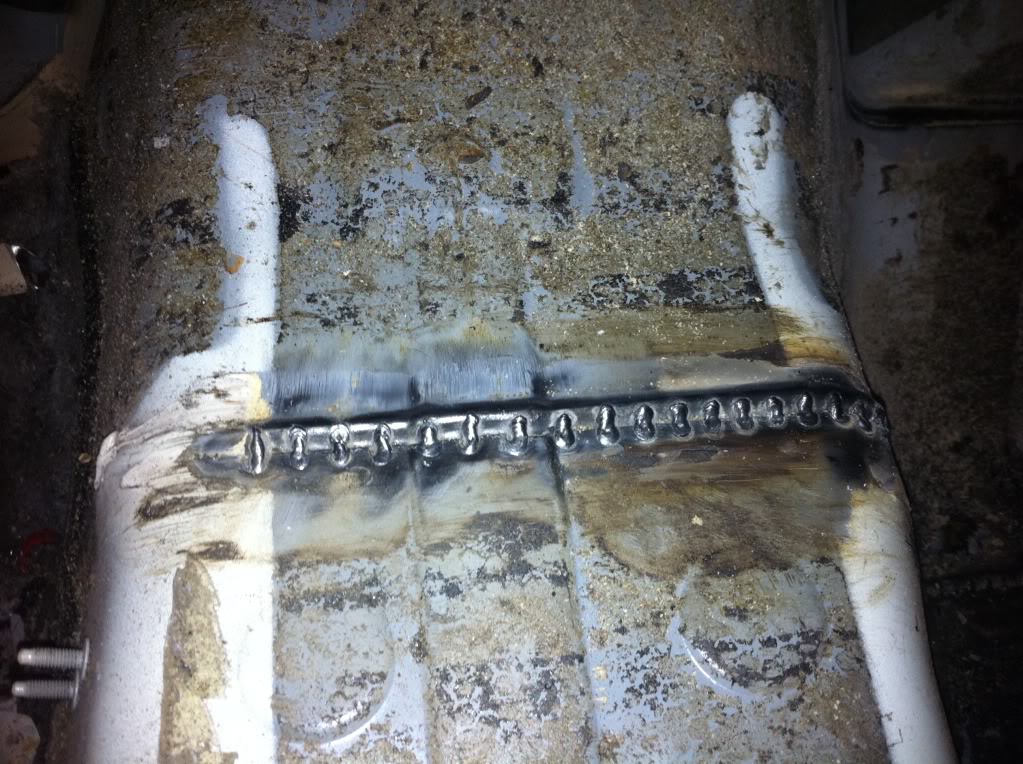
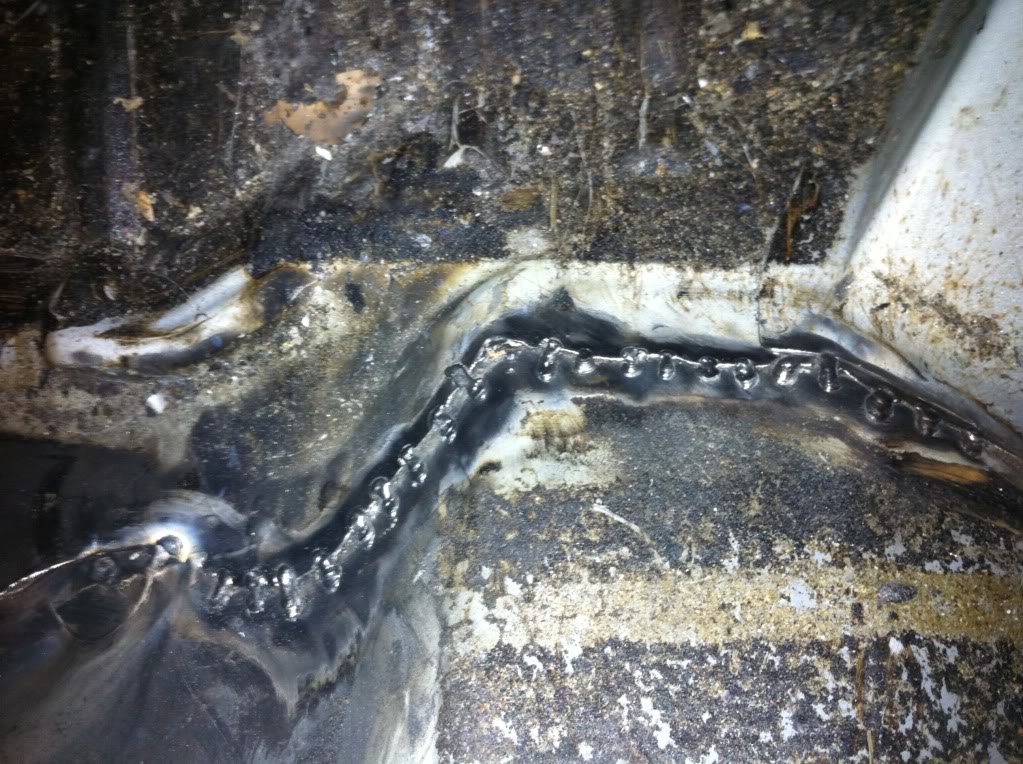
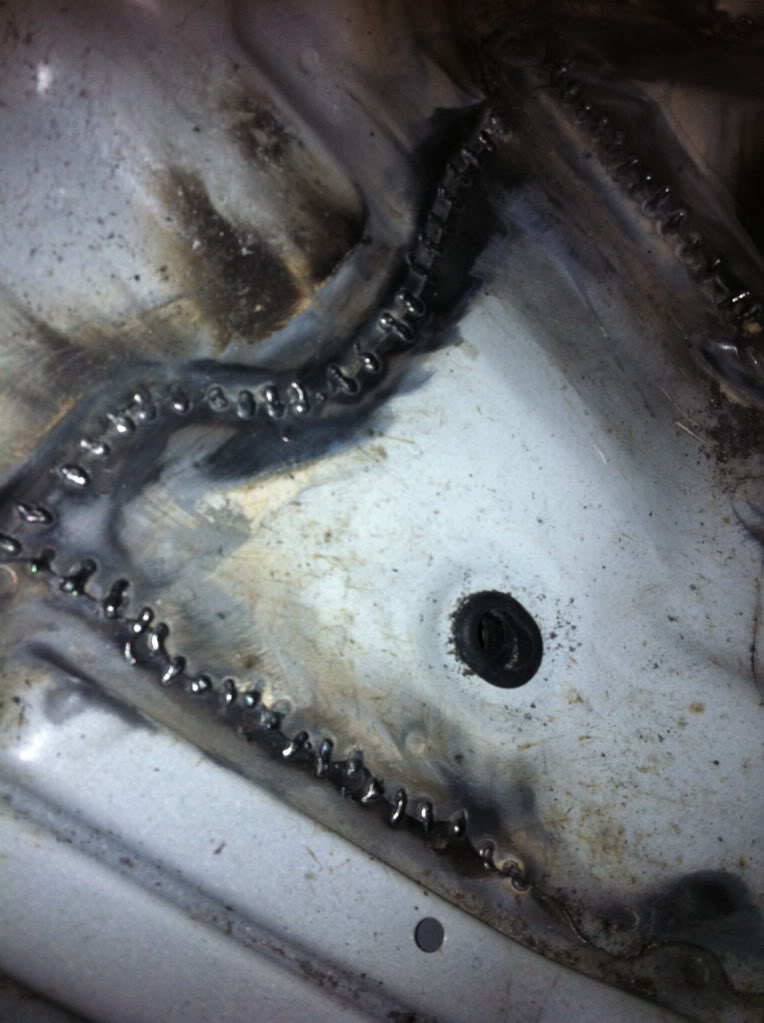
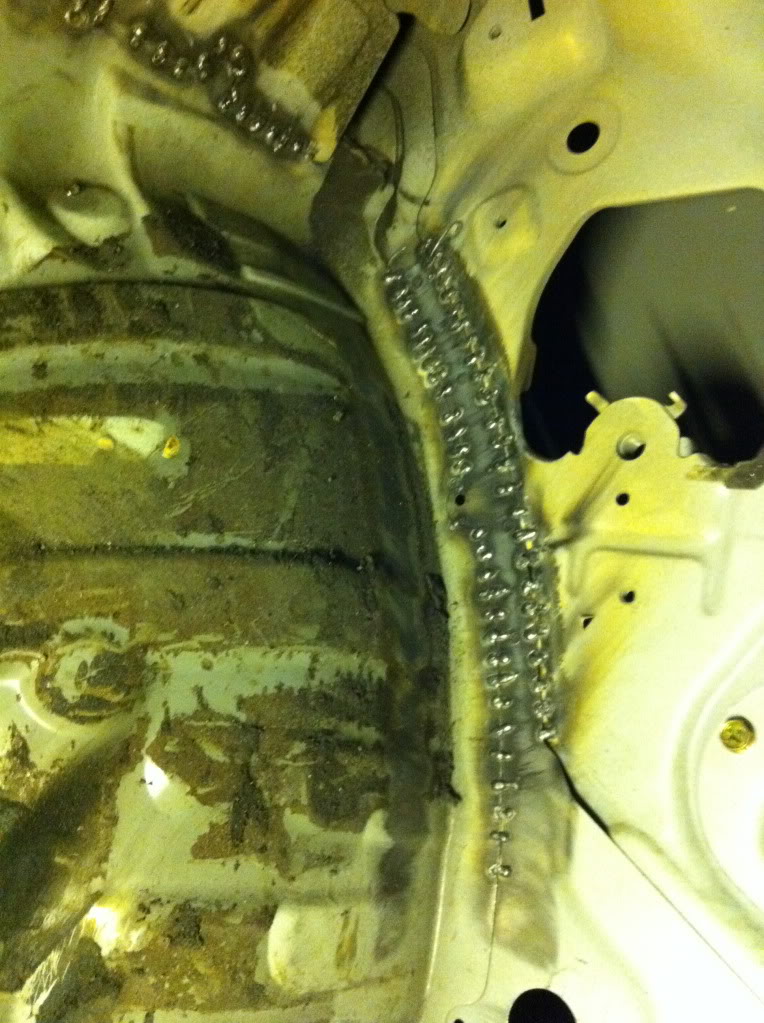
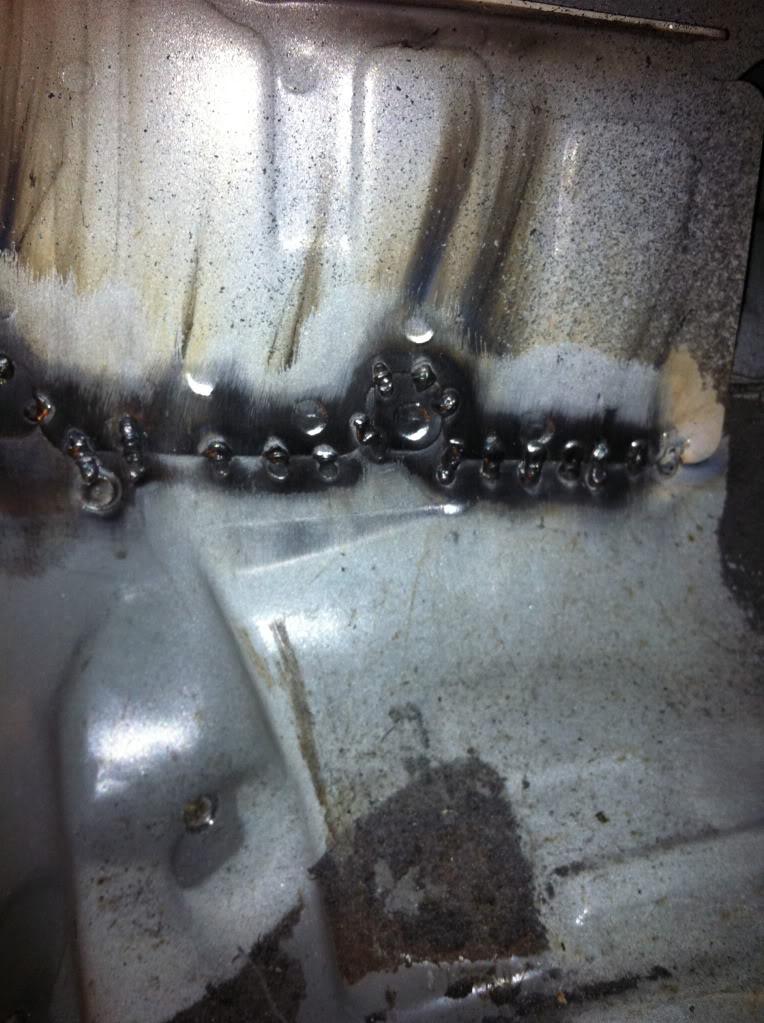
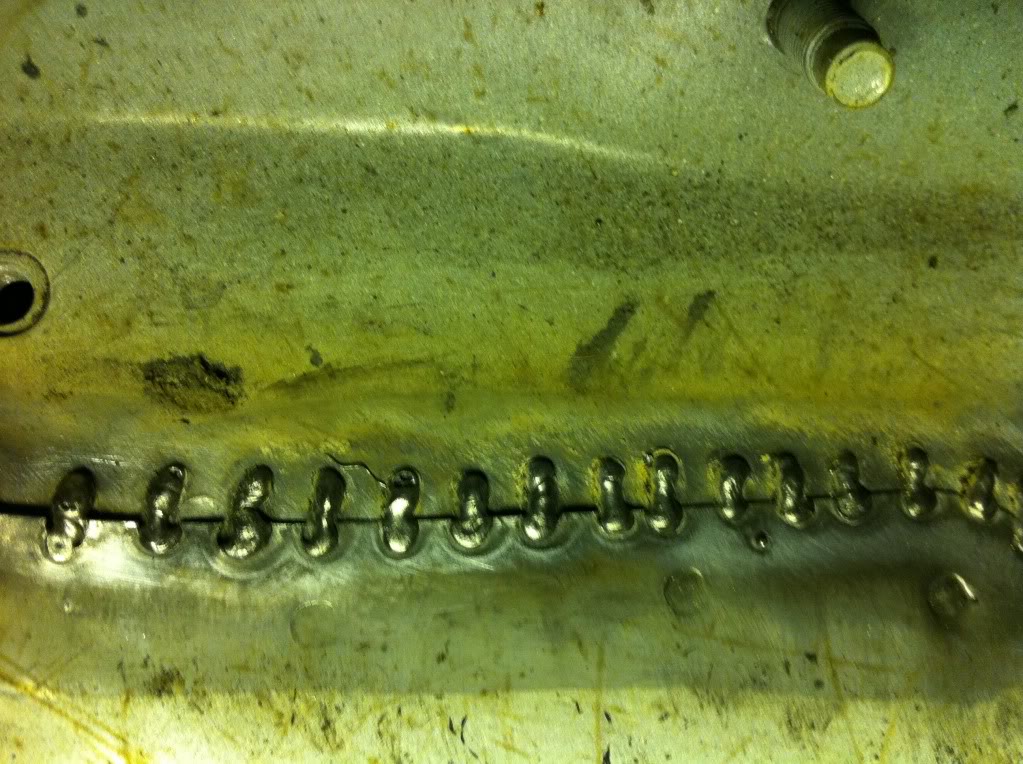
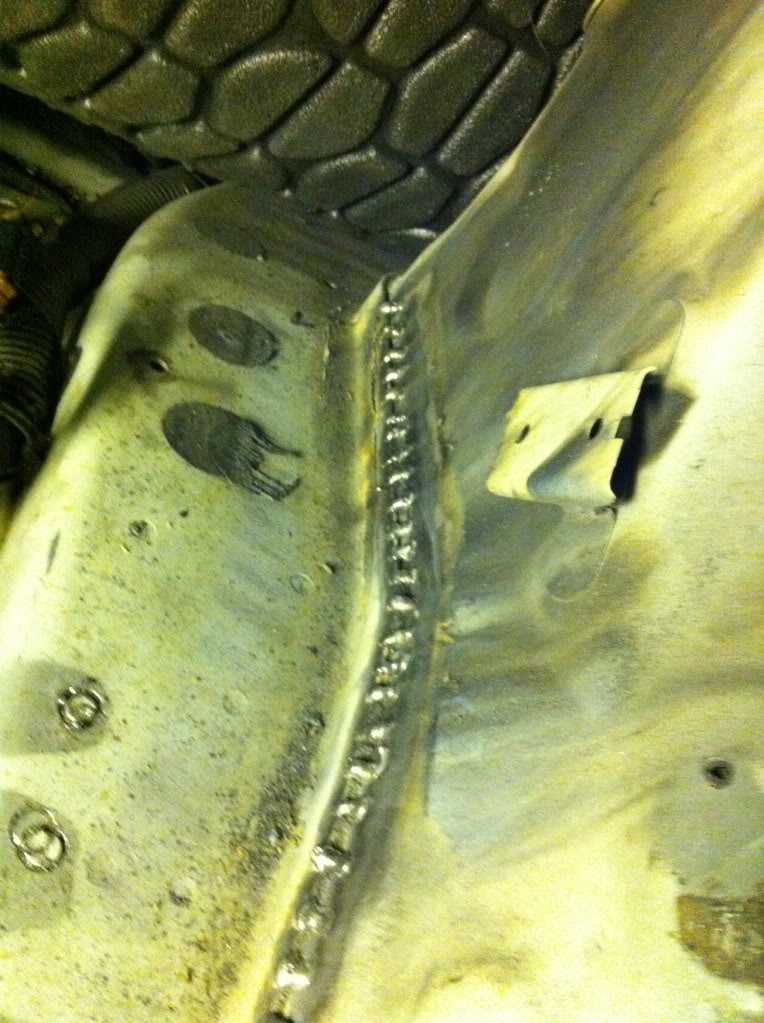
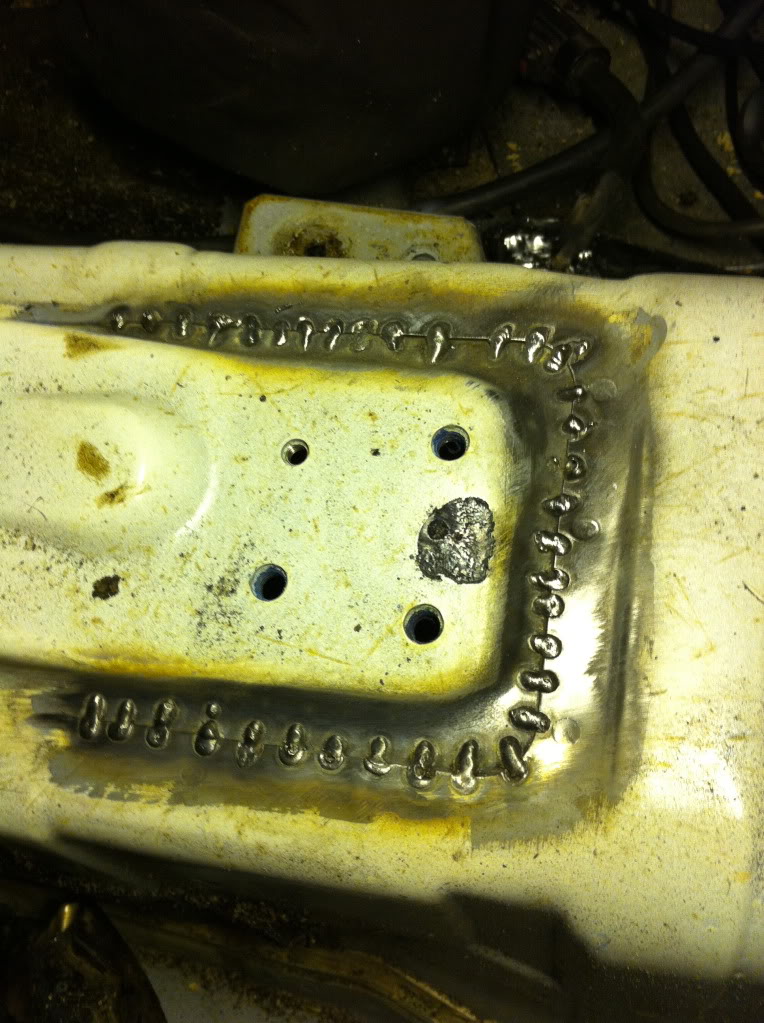
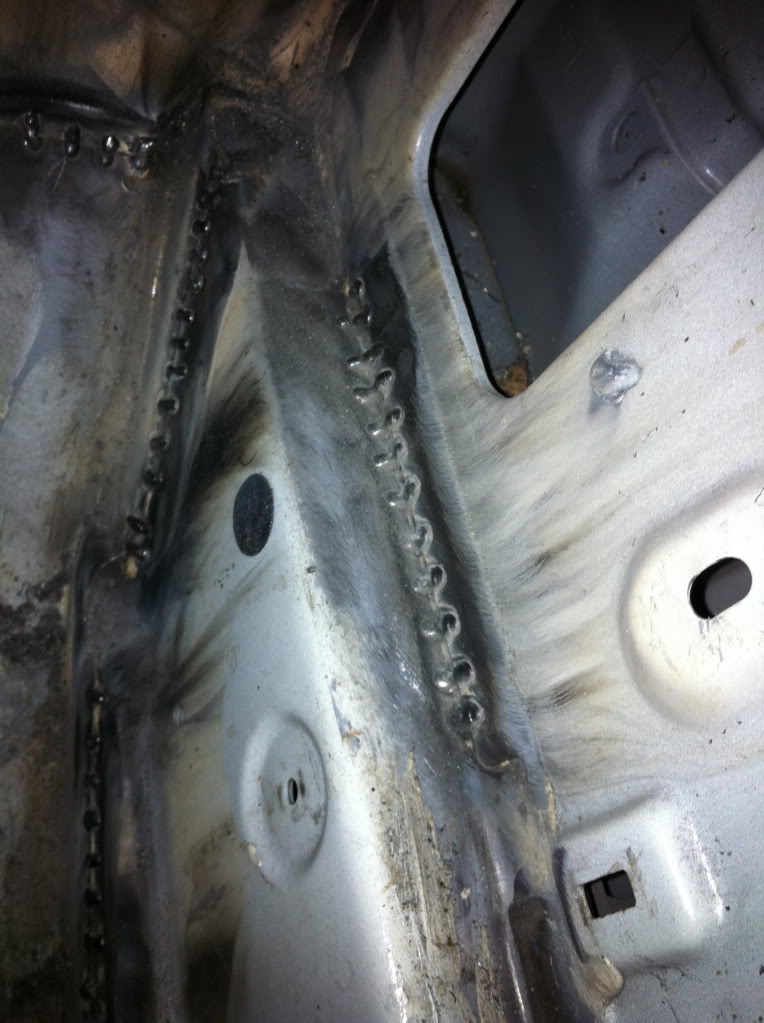
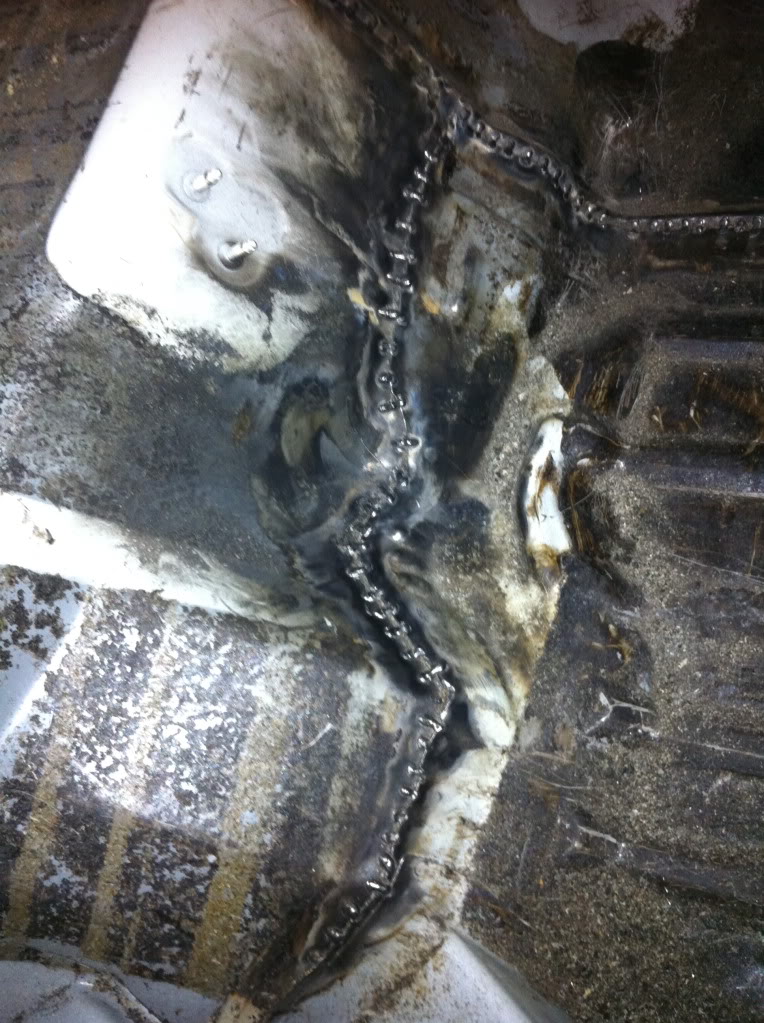
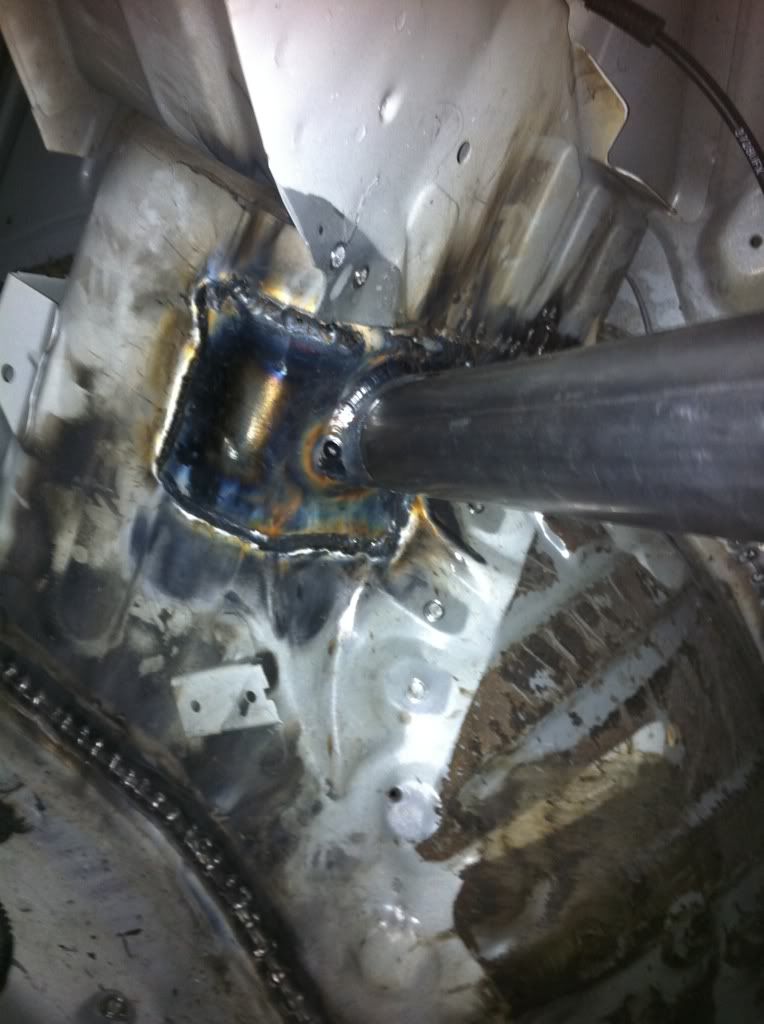
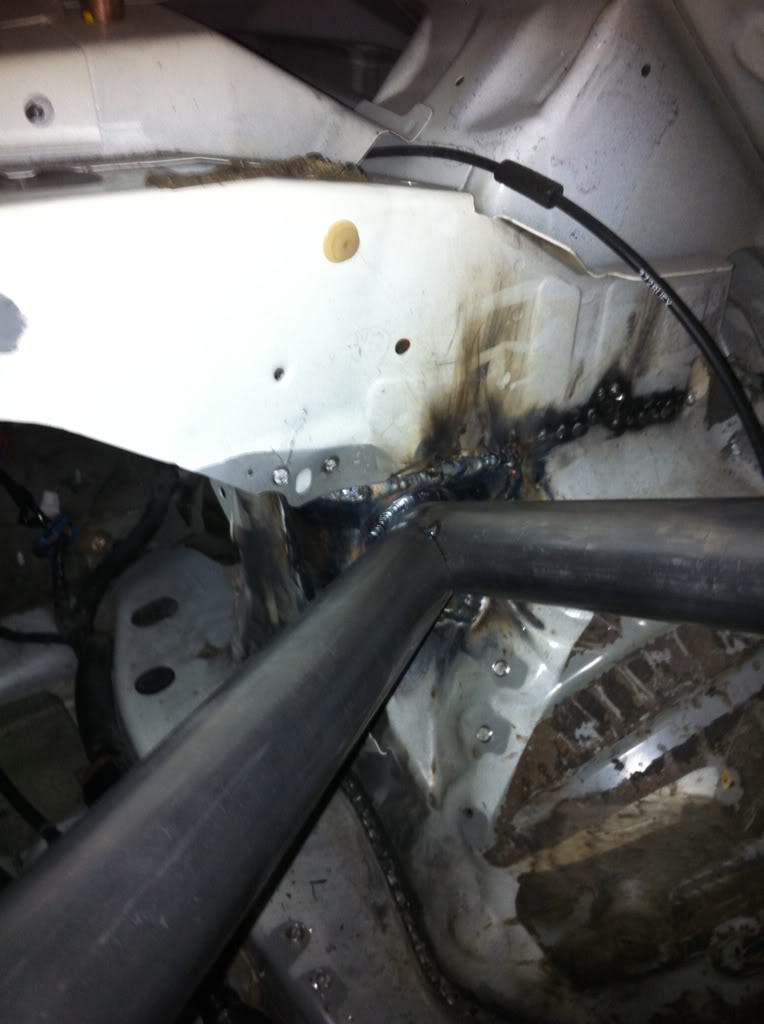
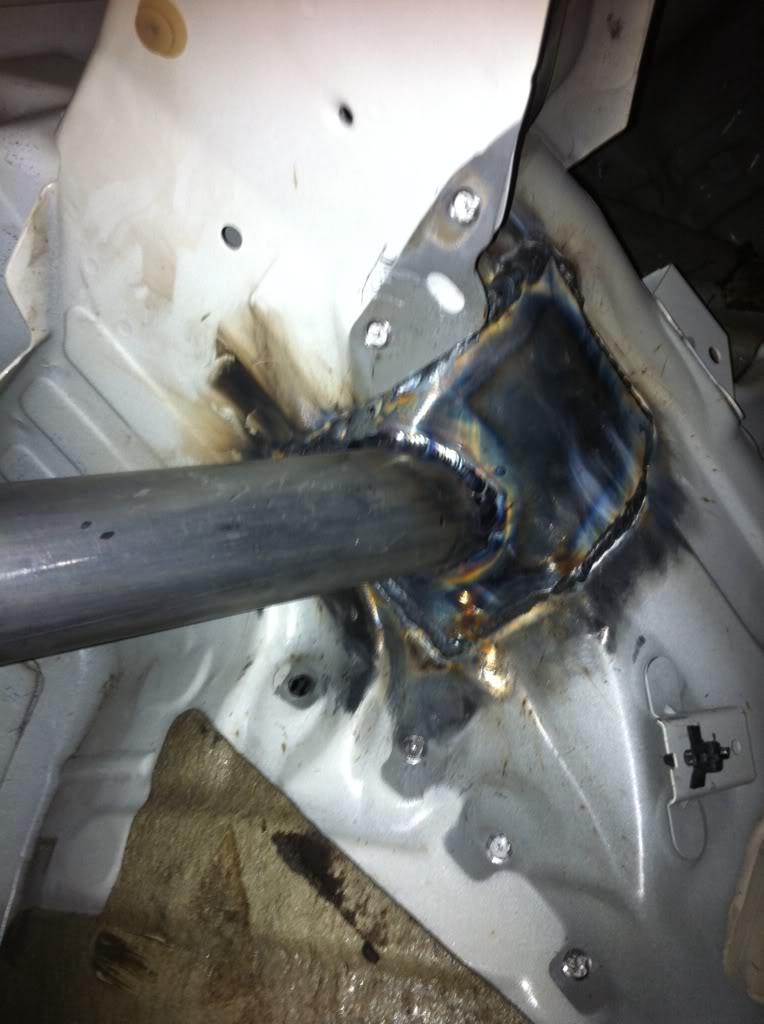
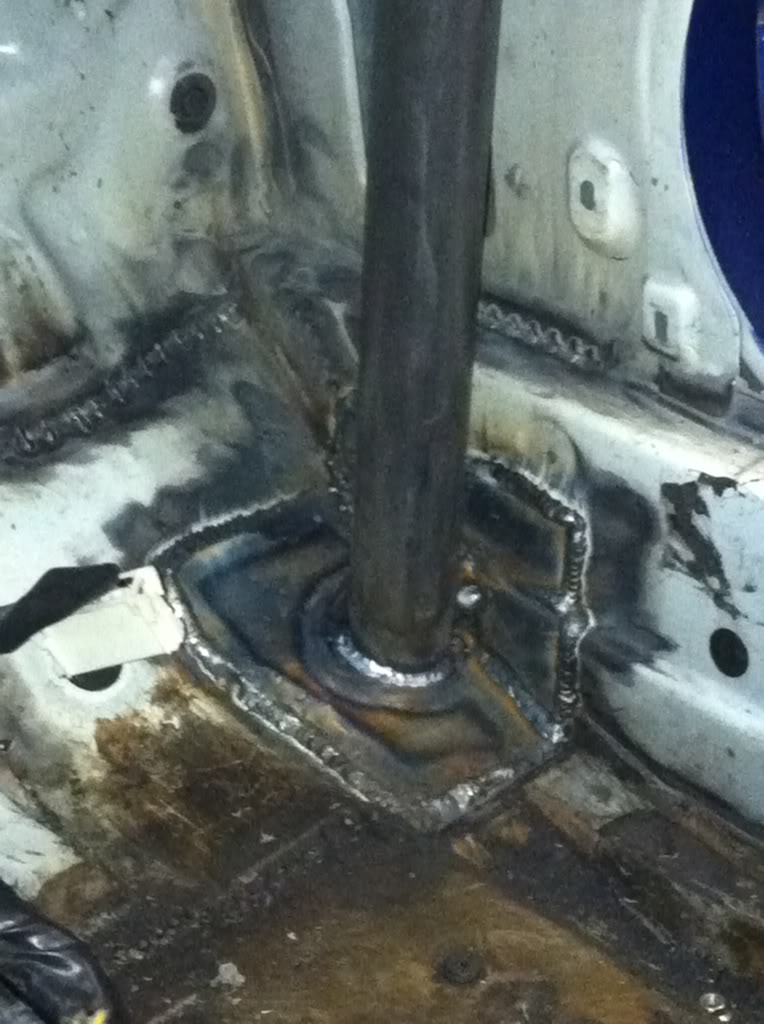
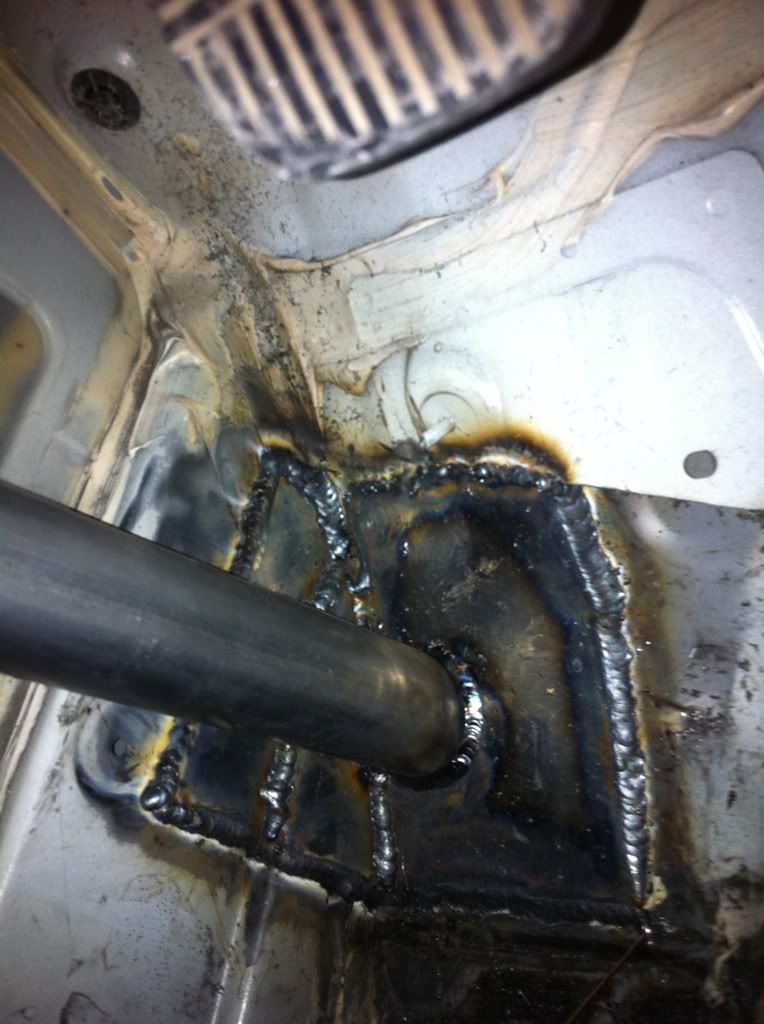
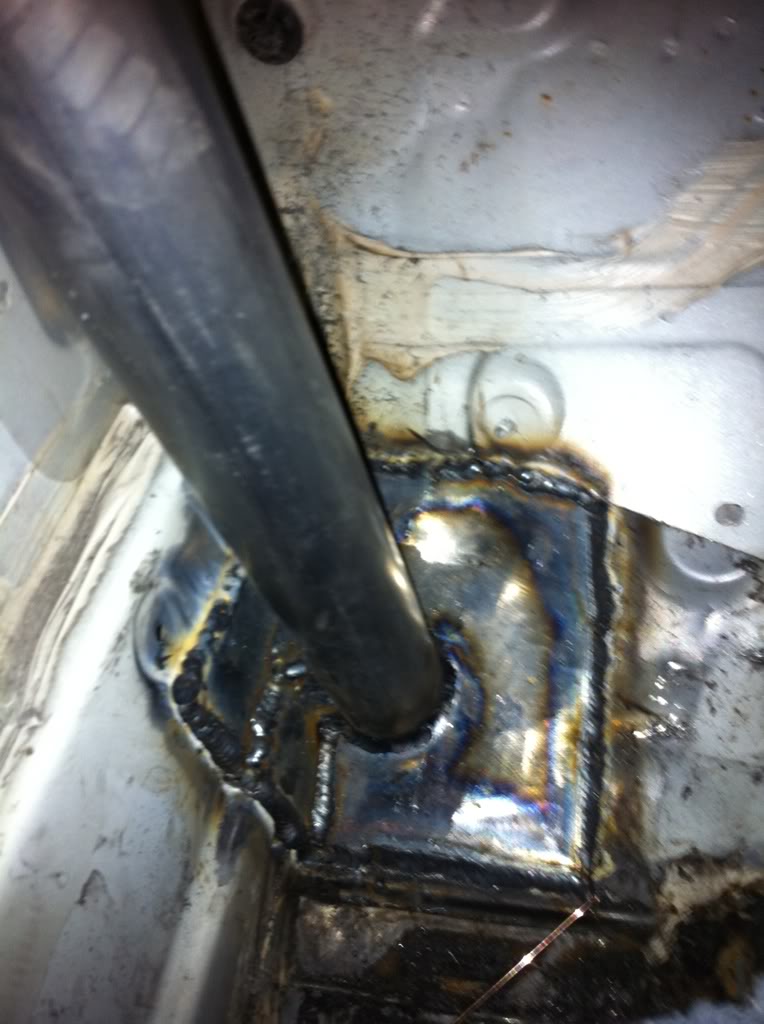
Just a few pics of the Stitch welding work Chris and me did...
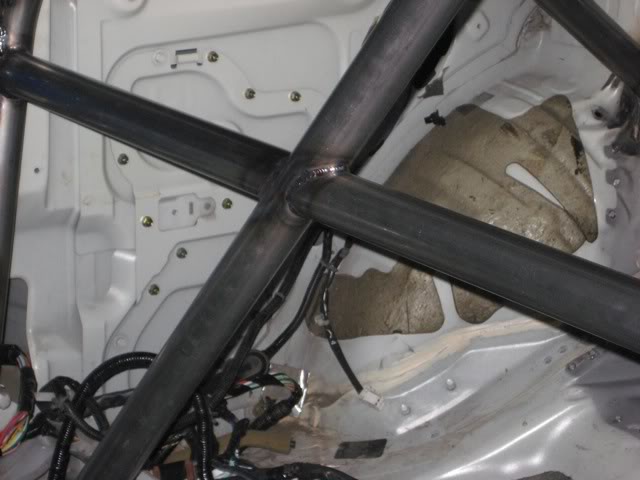
And the cage for this...
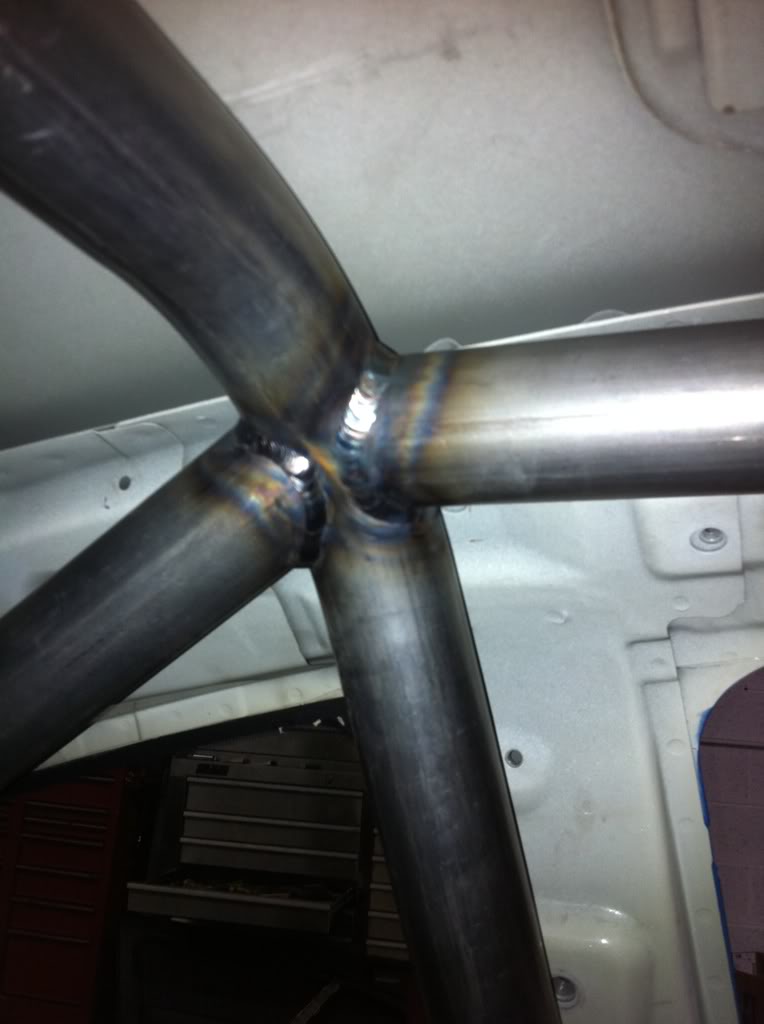
So I finally got my car to future fab in phoenix. Those guys are sick with welds. They are super easy to work with and have done a great job following the rule book for http://www.xtremedriftcircuit.com My car is being build for Drift by Intense Power in Gilbert, Az. The goal is pretty secret on power until I get the first Dyno, I don't want to put something out there and chase it. I'd rather it go where it lands. The goal is to drift it above 450whp. I drifted 385whp for about a year and a half.
At the fab shop...


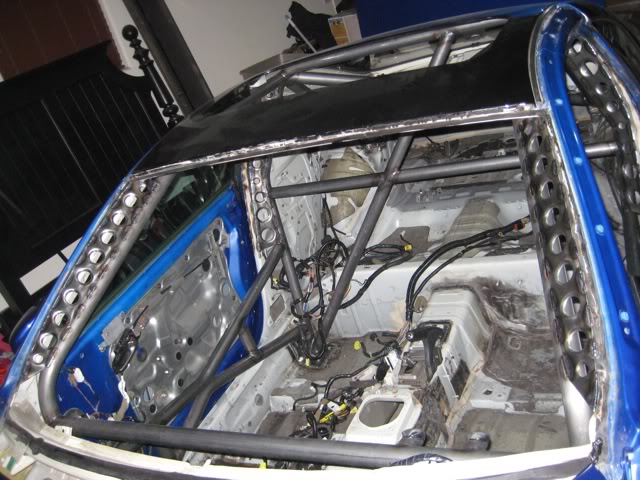
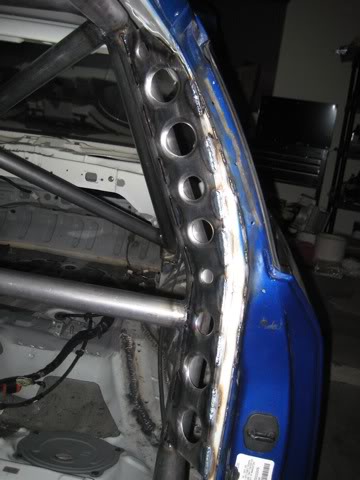
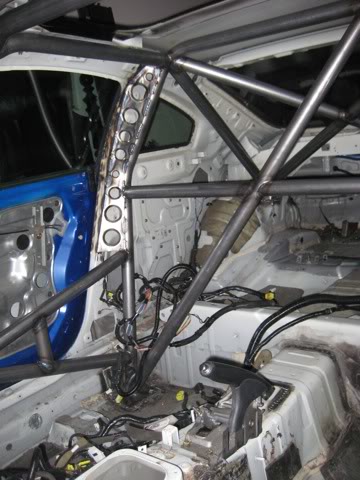
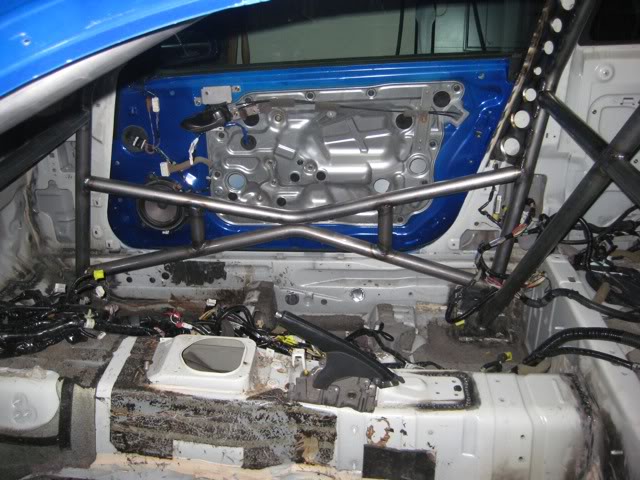
Stopped by Future Fab to get fitted for the harness bars. Here's what I saw...
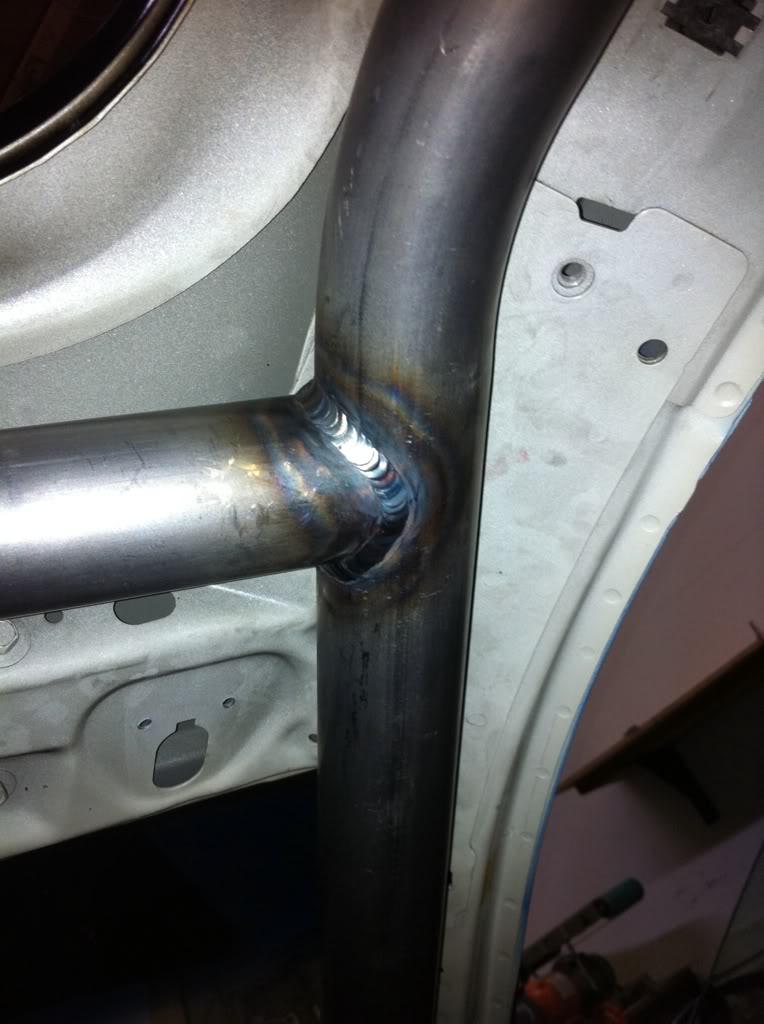

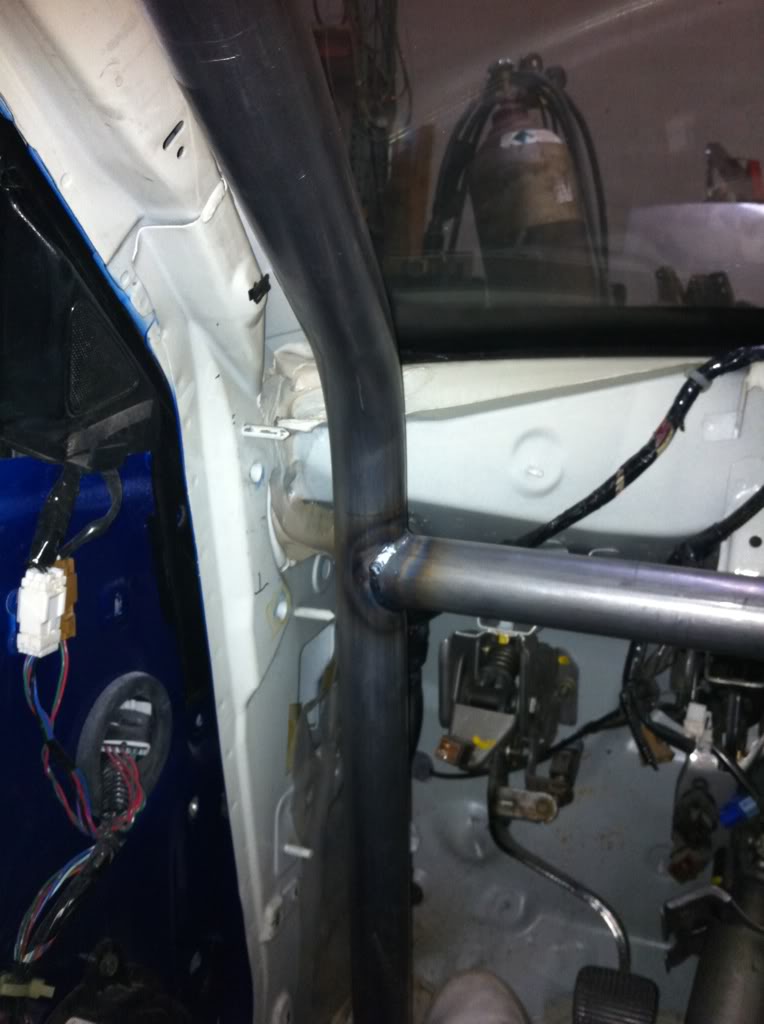
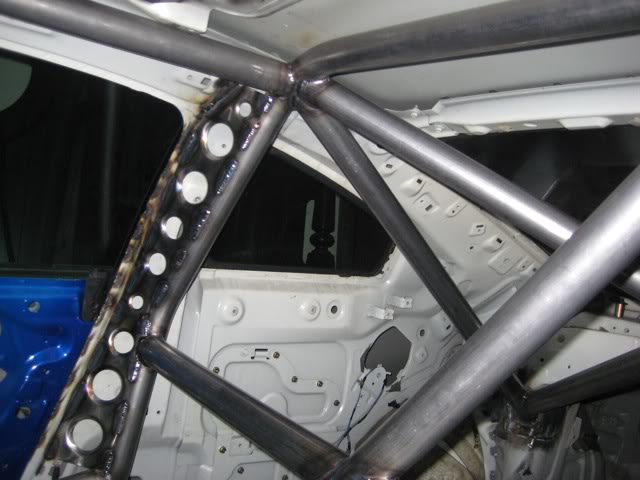
Door bars started!
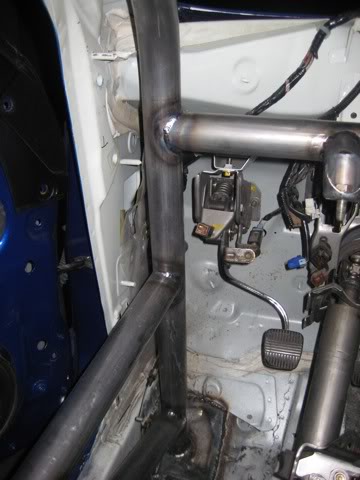
It was hard to see and weld in the tight spaces with a normal hood, so John had to go in urban assault style..

Who needs yoga when there are cages to weld..


All this work in literally three days...
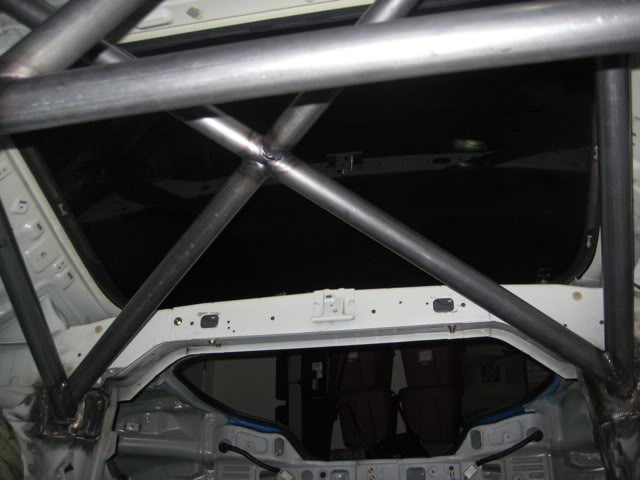
Its getting pretty close to finished, just need to do steering column mounts and get the windshield pulled to do the A-pillar gussets.
Here is how shes sitting tonight.


To this...
So a little update. Chris and me gutted out the car. I removed all the interior except the dash. He helped me take out a bunch of metal we didn't need. We started removing the sound dampener and the dash. We opened up the truck tunnel by removing a bunch of nothing. Still have plenty to go but hopefully will be going to future fab soon.
Engine bay shaved and ready for paint. Most seams welded.
Dash is out and ready to remove more damper. Interior will be fully painted. Getting ready for the cage.
Opened up a lot of room by removing the metal tunnel. Looks much better. We just need to see if we can remove some bolts. We aren't sure what it's hold right now.
Despite what people say, Dry ice is not the fastest way. Heat is good. Once I figured out to stop melting the dampener and just heat it like chris told me to it started to come off quick and I could just peel it right off.
You can see the area we opened up. Also if you look on the harness there is some more metal you don't need if you seam and stitch weld all that goodness.
Do NOT melt, just heat!
Just a few pics of the Stitch welding work Chris and me did...
And the cage for this...
So I finally got my car to future fab in phoenix. Those guys are sick with welds. They are super easy to work with and have done a great job following the rule book for http://www.xtremedriftcircuit.com My car is being build for Drift by Intense Power in Gilbert, Az. The goal is pretty secret on power until I get the first Dyno, I don't want to put something out there and chase it. I'd rather it go where it lands. The goal is to drift it above 450whp. I drifted 385whp for about a year and a half.
At the fab shop...
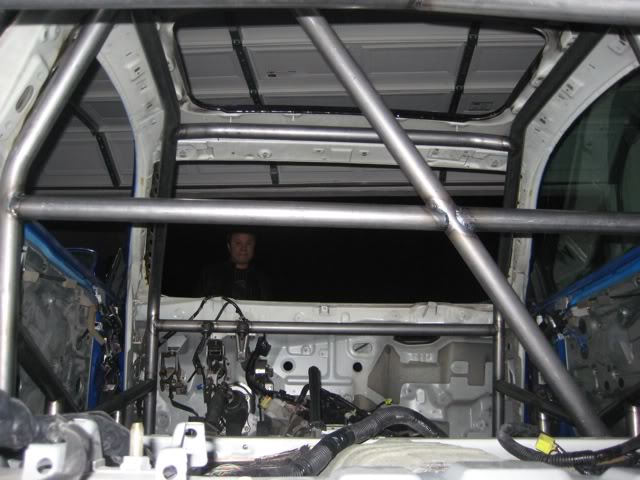
Stopped by Future Fab to get fitted for the harness bars. Here's what I saw...
Door bars started!
It was hard to see and weld in the tight spaces with a normal hood, so John had to go in urban assault style..
Who needs yoga when there are cages to weld..
All this work in literally three days...
Its getting pretty close to finished, just need to do steering column mounts and get the windshield pulled to do the A-pillar gussets.
Here is how shes sitting tonight.


Trending Topics


Thanks everyone, I got my Stance camber and toe arms in last night from Intense Power. These things are awesomely thick and seem to be made super high quality. I'll post a pic as soon as I get to class. They seem to be 1/4 of an inch bigger than the others if not more. This weekend should bring lots of development on removing the sound dampener and cleaning up the wires.

