
Injen Dual Intake install...another one...


Thread Starter
Registered User
iTrader: (5)
Joined: Nov 2008
Posts: 427
Likes: 1
From: Birmingham, AL
I'm sure this thread has come around before, but since I took a few documenting photos along the install, I thought it might help someone out one day...
Install Time:
Started last Friday at 10:30PM and finished at around 2:30AM. You can get it done faster, but I pre-read all of the instructions. And to be honest, my buddy that was helping me, did nothing but slow me down. His name is Jack Daniels.
Initial Impression:
I pulled everything out of the well packaged box. I must say that the quality of this intake, to me, is superb at first glance - from the solid welds, to the beefed up hose clamps (not cheap-o's).
Here's everything out of the box...
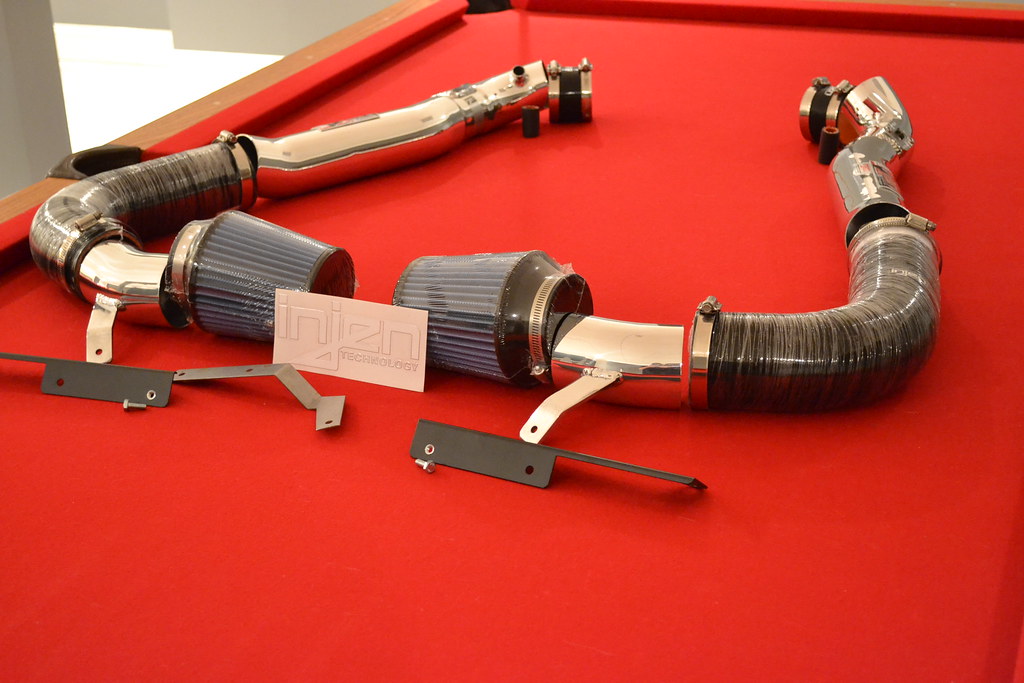
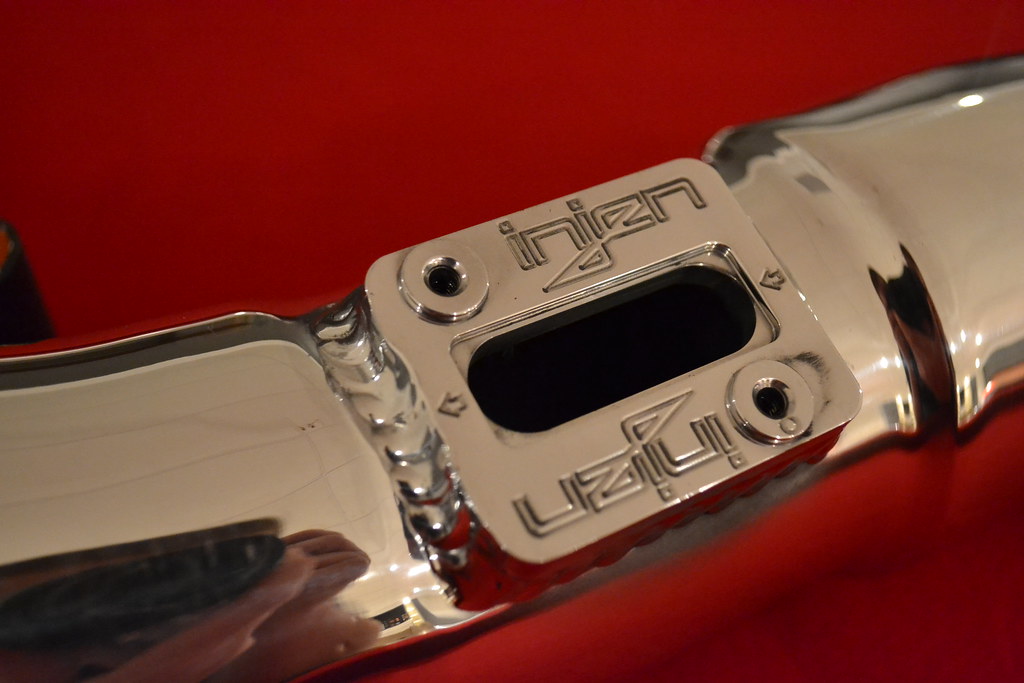
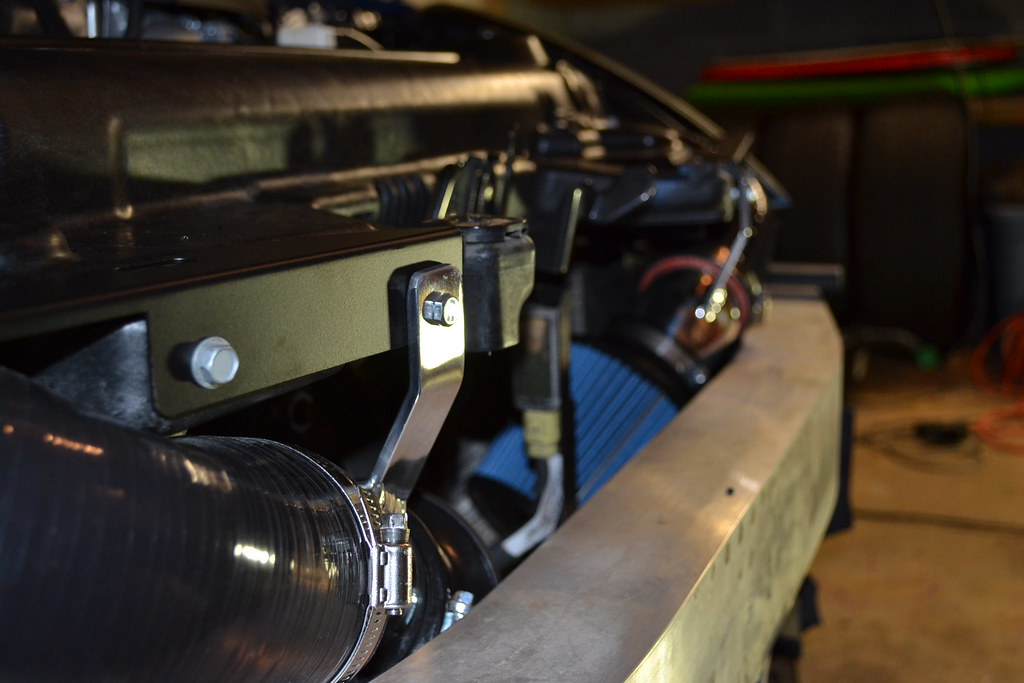
^^^Another thing I was impressed with were the supplied replacement brackets where the extension pipes mount in the front. If you compare how the Injen intakes mount to that of the Stillen CAIs then you will see. The Stillens use a cheap looking strap system (which I have heard from others may or may not vibrate/rattle). NOT to dog Stillen, because I DO like how they use solid aluminum piping all the way through their design. Oh well, pros-and-cons I suppose...
On to the PICS of tear-down and installation....
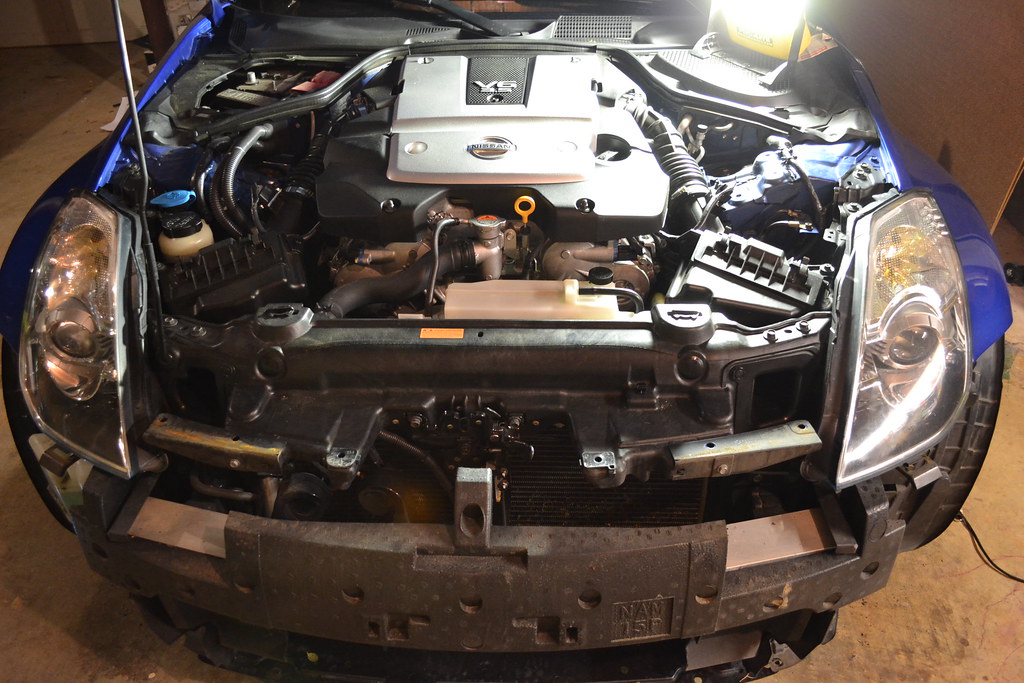
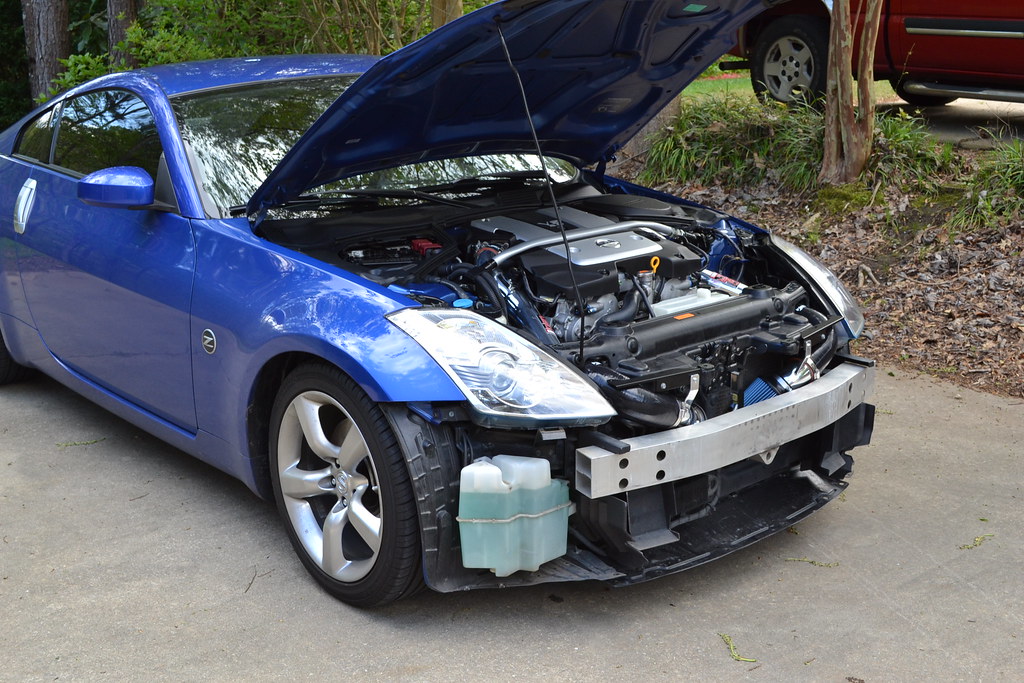
Strut Bar & Front Bumper OFF
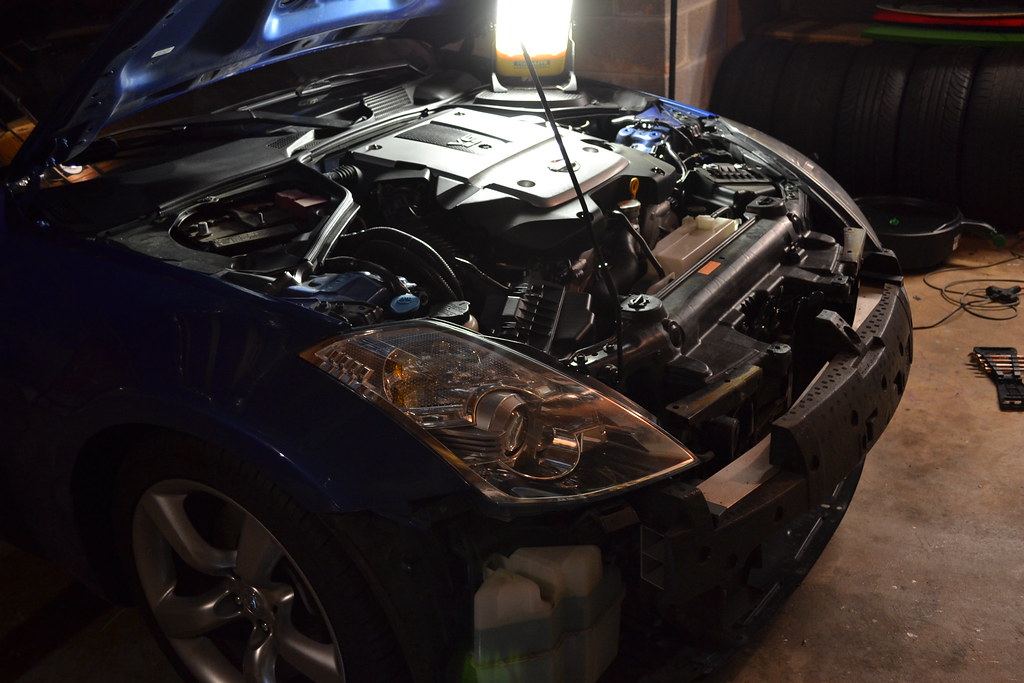
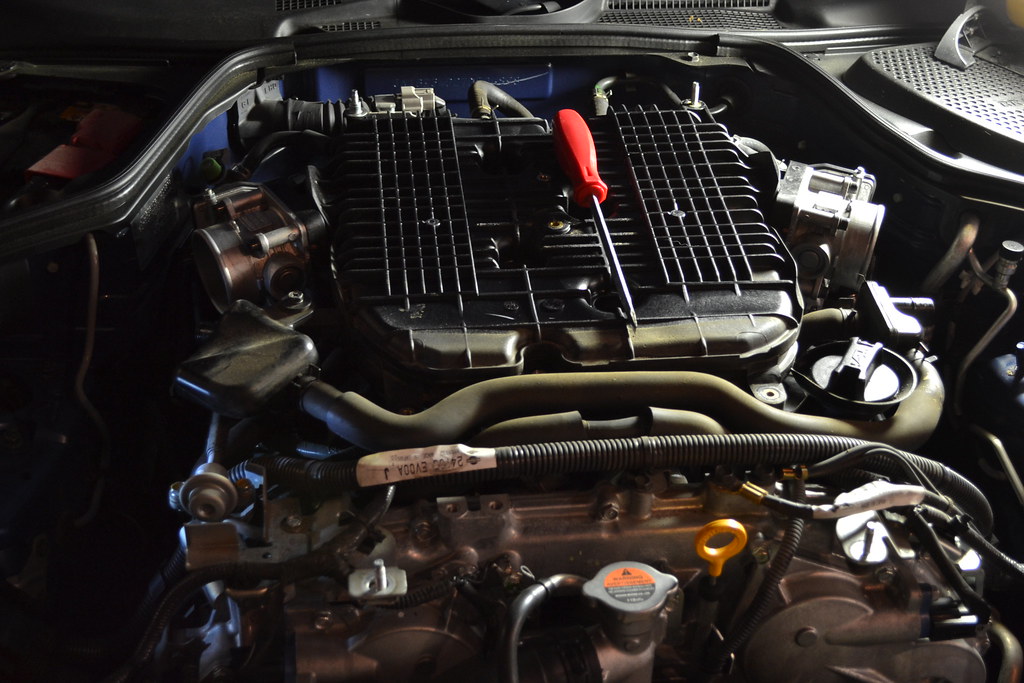
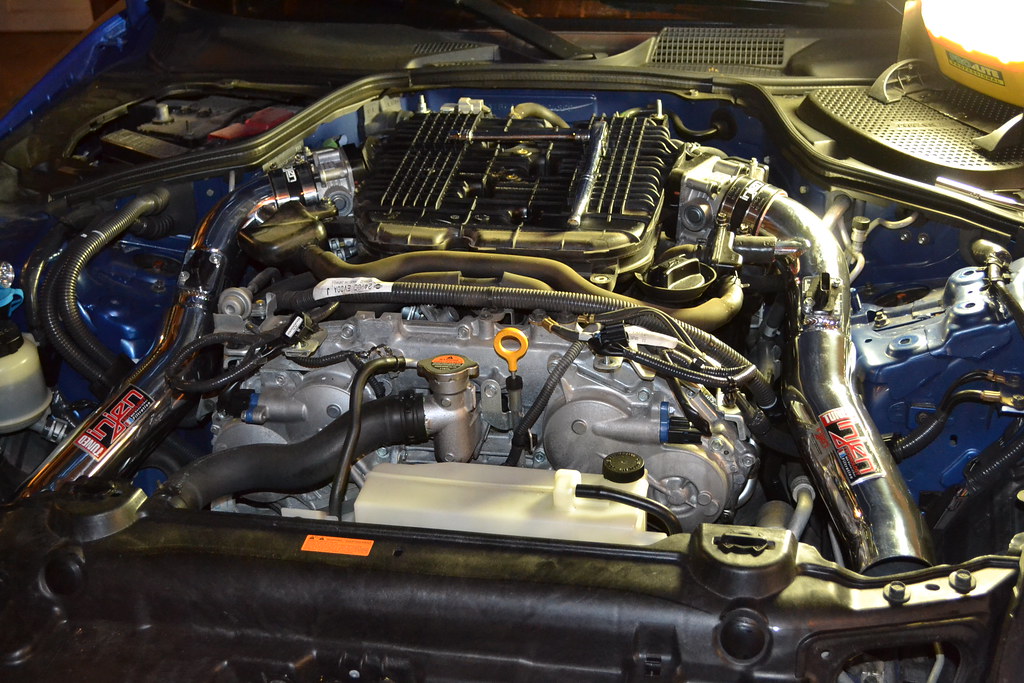
Engine Cover Off
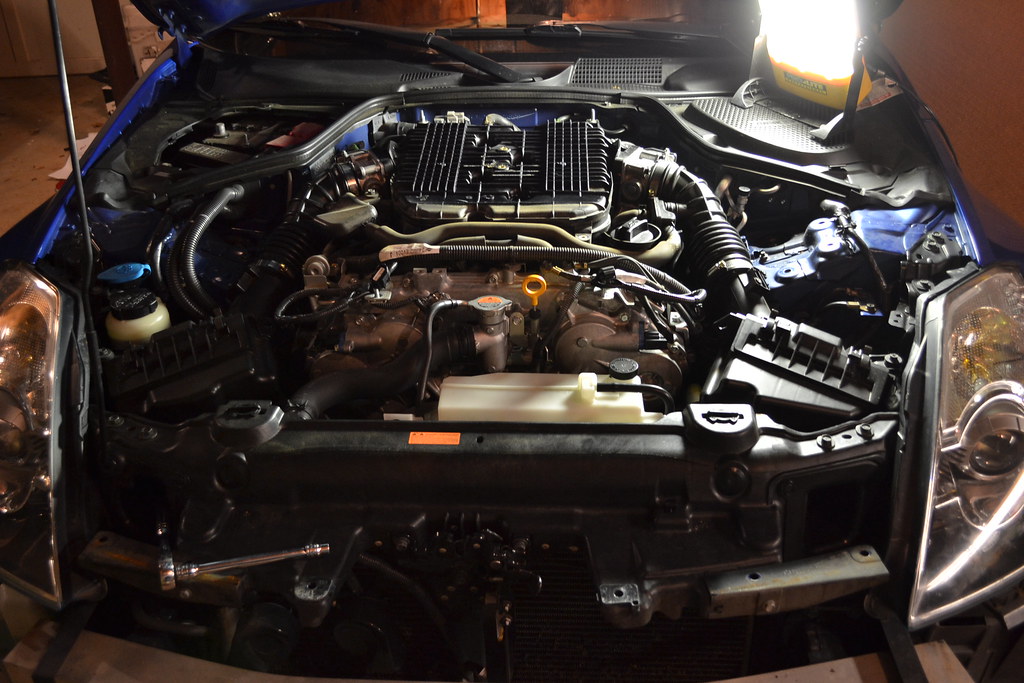
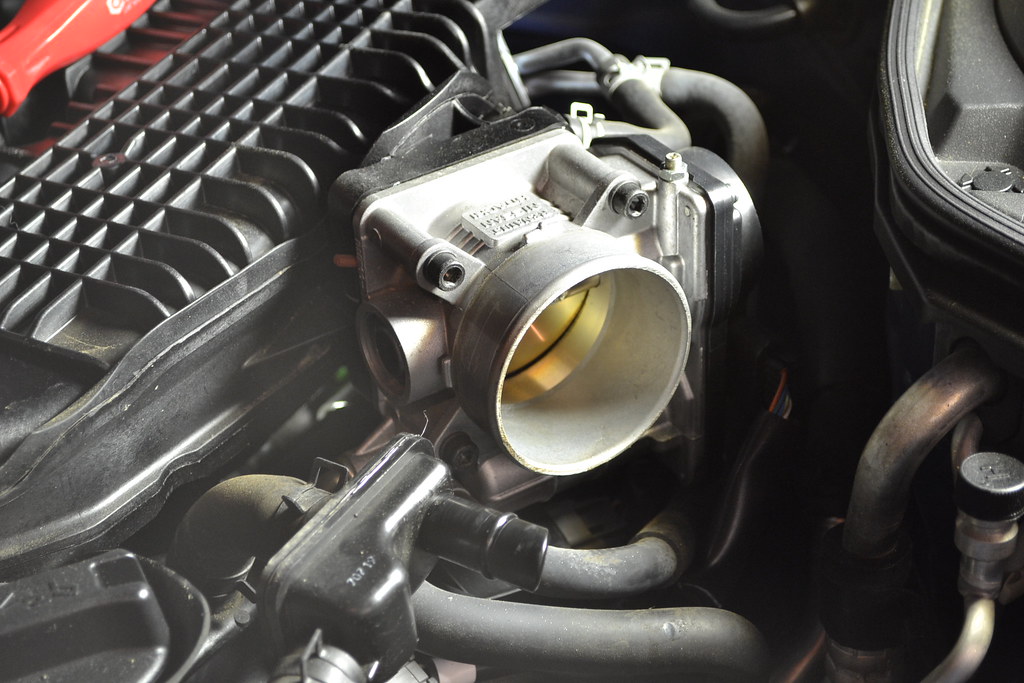
OEM Intakes Off
Horns Un-installed from OEM mount and re-mounted on supplied Injen Mount
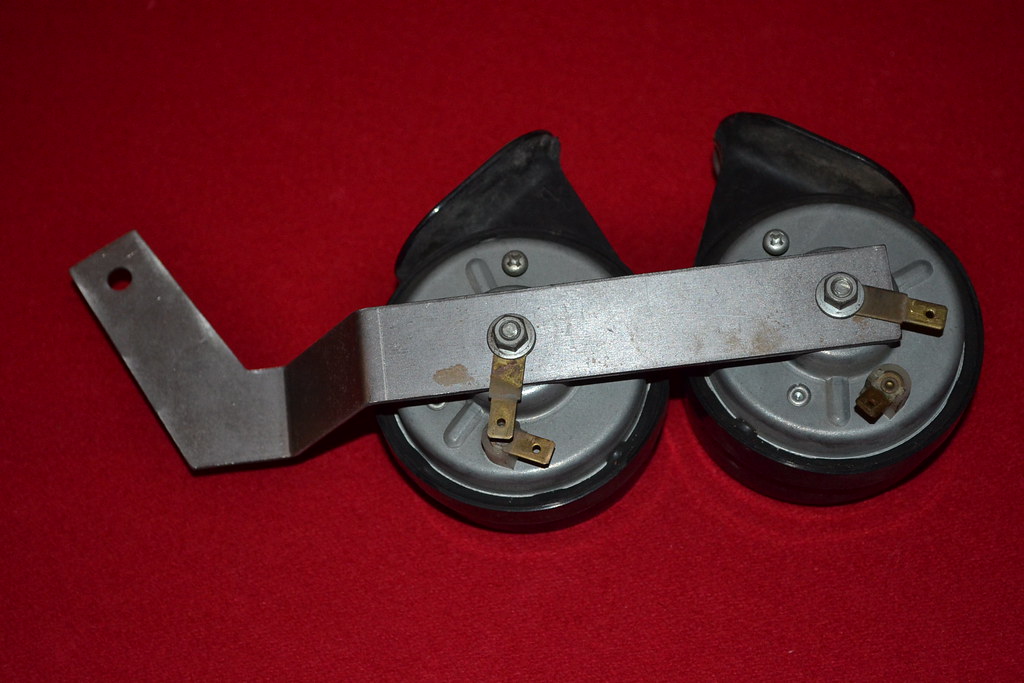
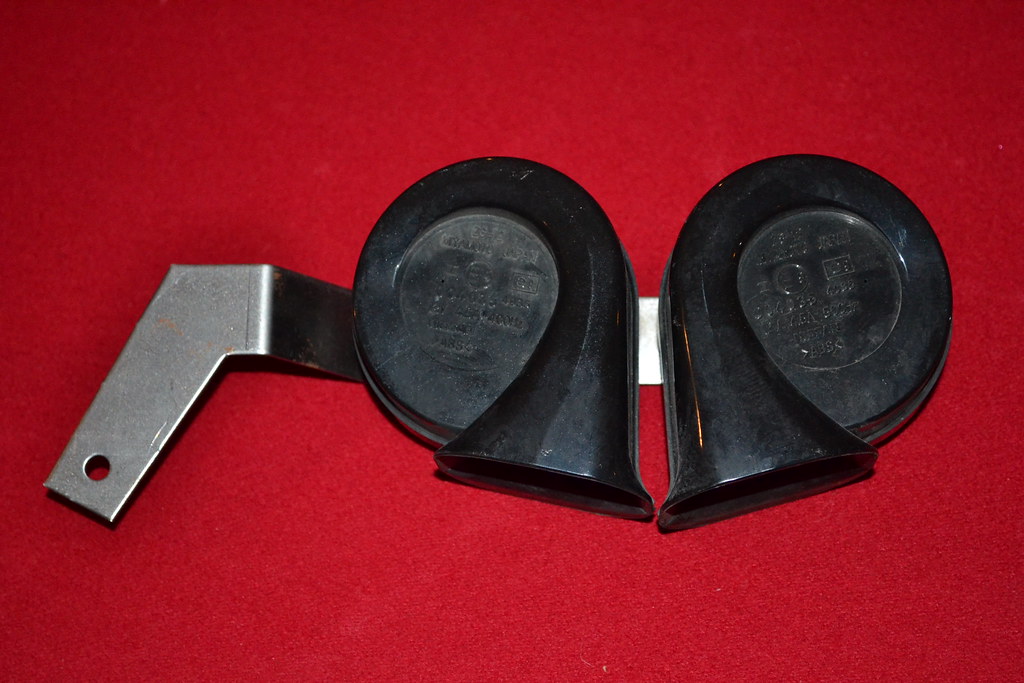
Wha??? Is this part of the "Secret Injen Patented Design"?! LOL
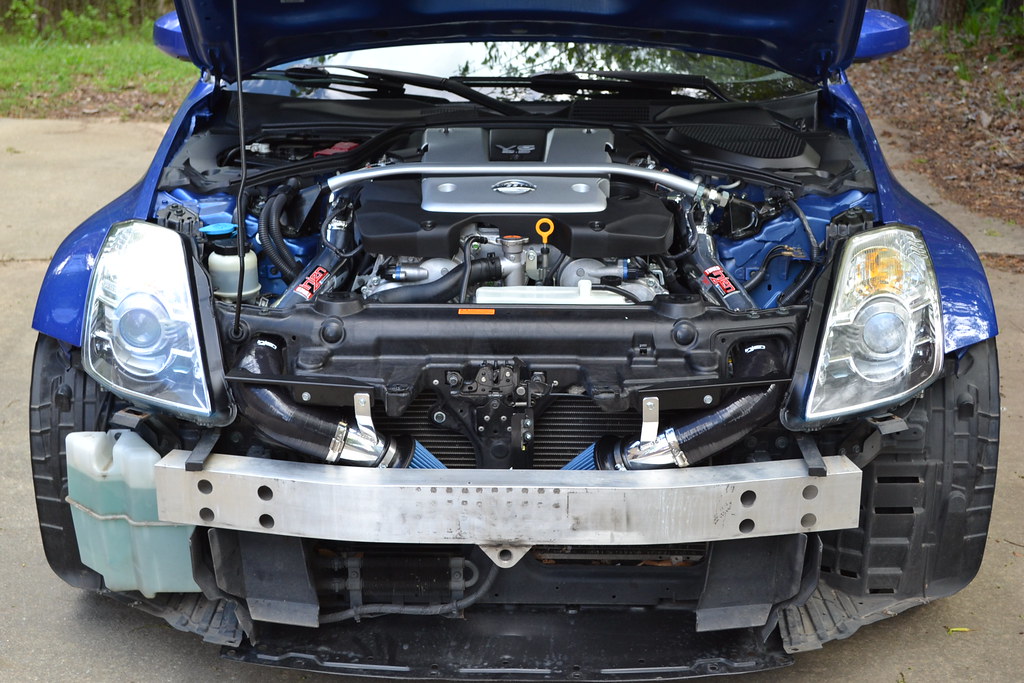
New Upper Pipes Installed...
Lower Cold Air Extensions Installed on Drivers Side
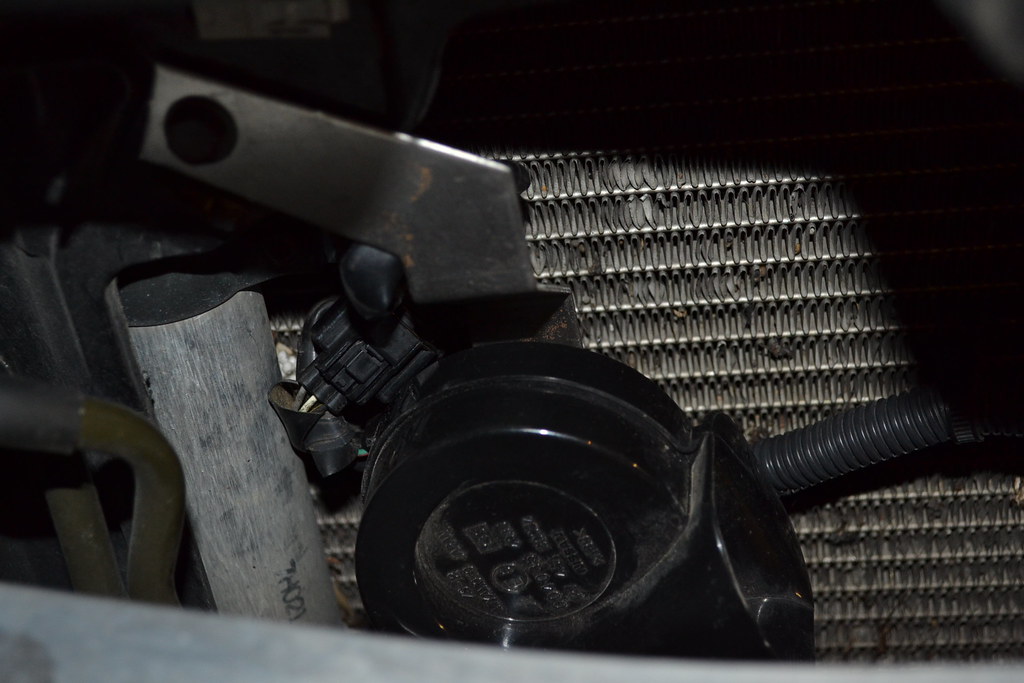
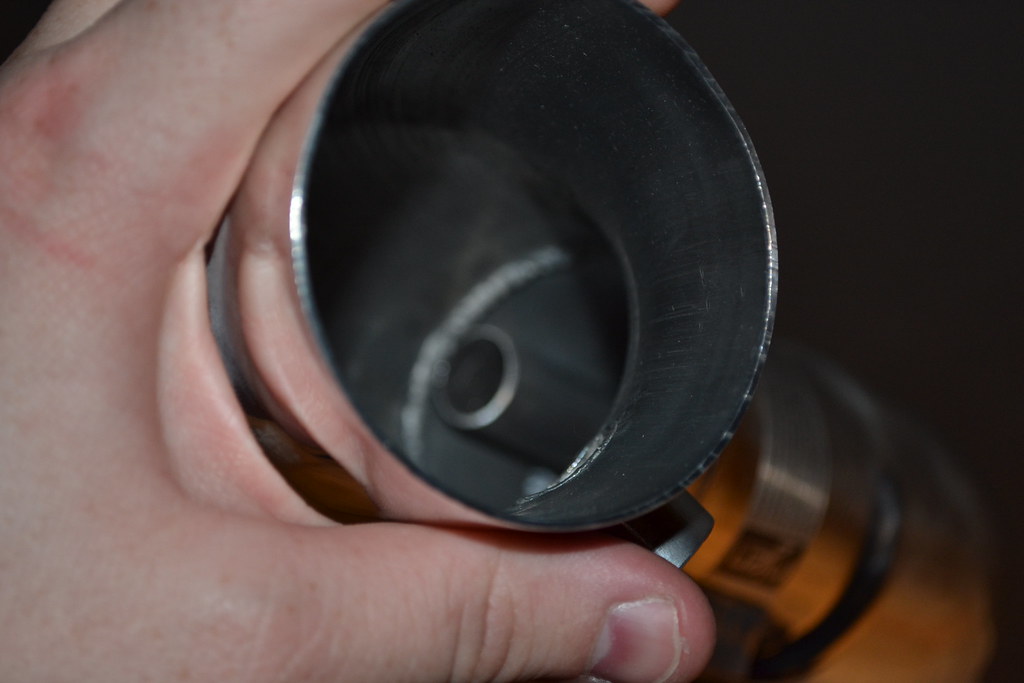
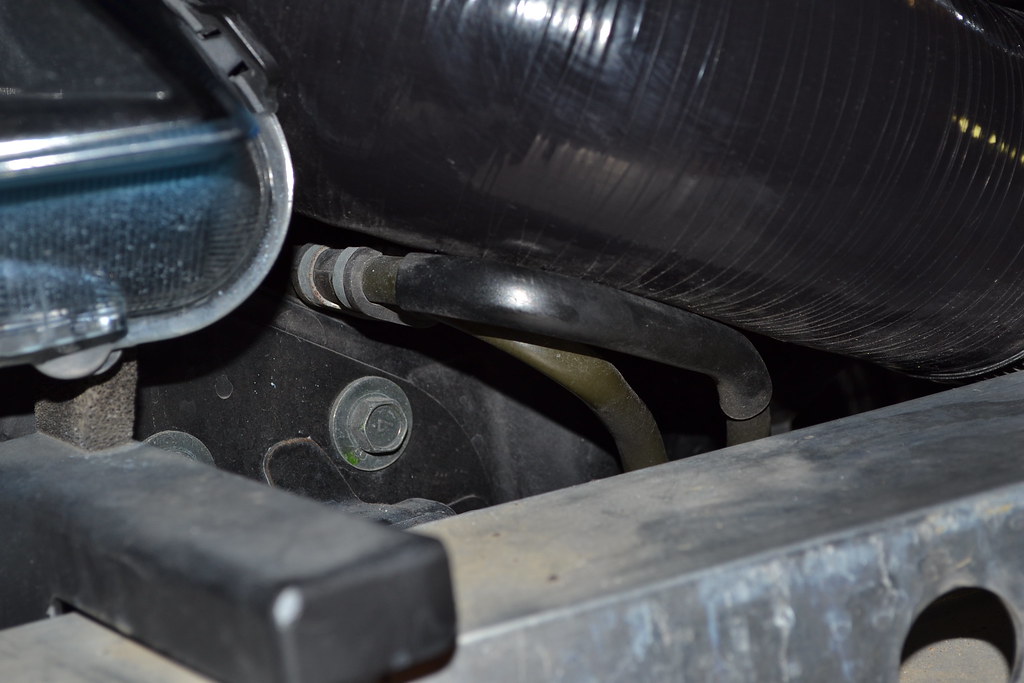
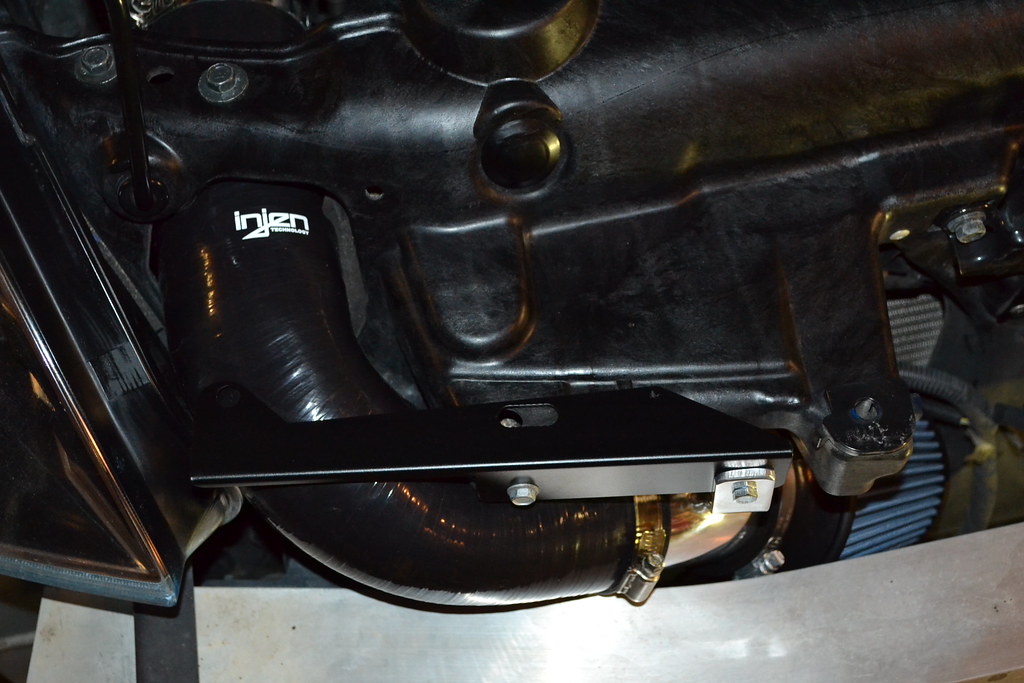
***CON**** The Passenger side rubber extension does NOT fit as nicely as I'm sure Injen would claim. It was a PITA to wiggle into position. You have to get it in (pushed in the direction of the engine bay) as far as you can.
It still lays on the Oil Cooler metal line. However, after a couple test drives/testing, I found that the Oil Cooler line does not get NEEEAAAR hot enough to burn the rubber. No worries...see following pics for what I am talking about --->
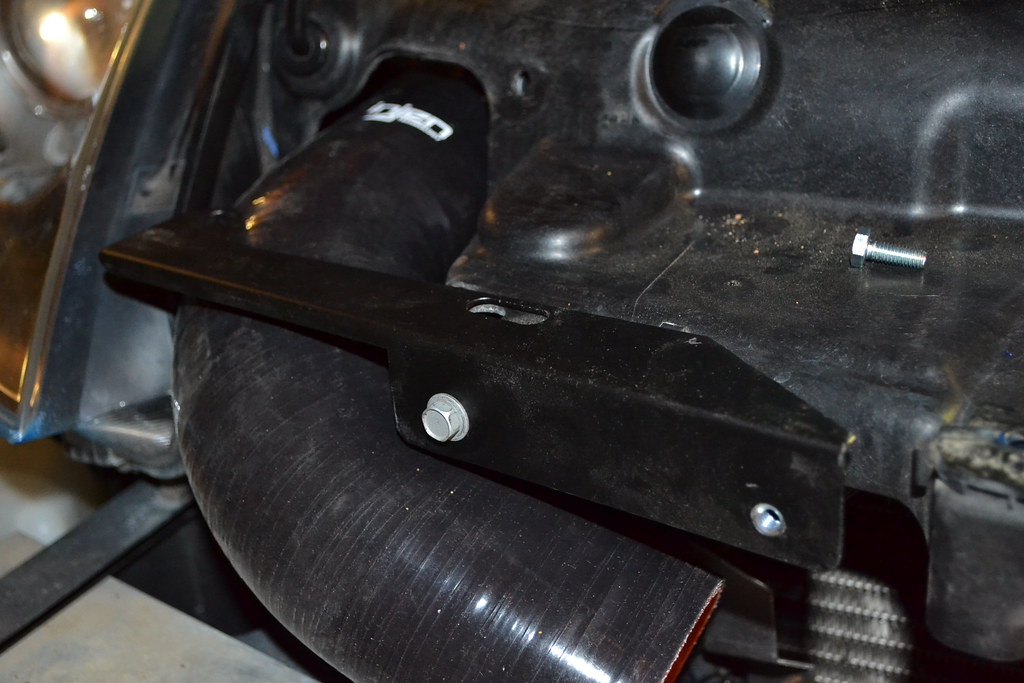
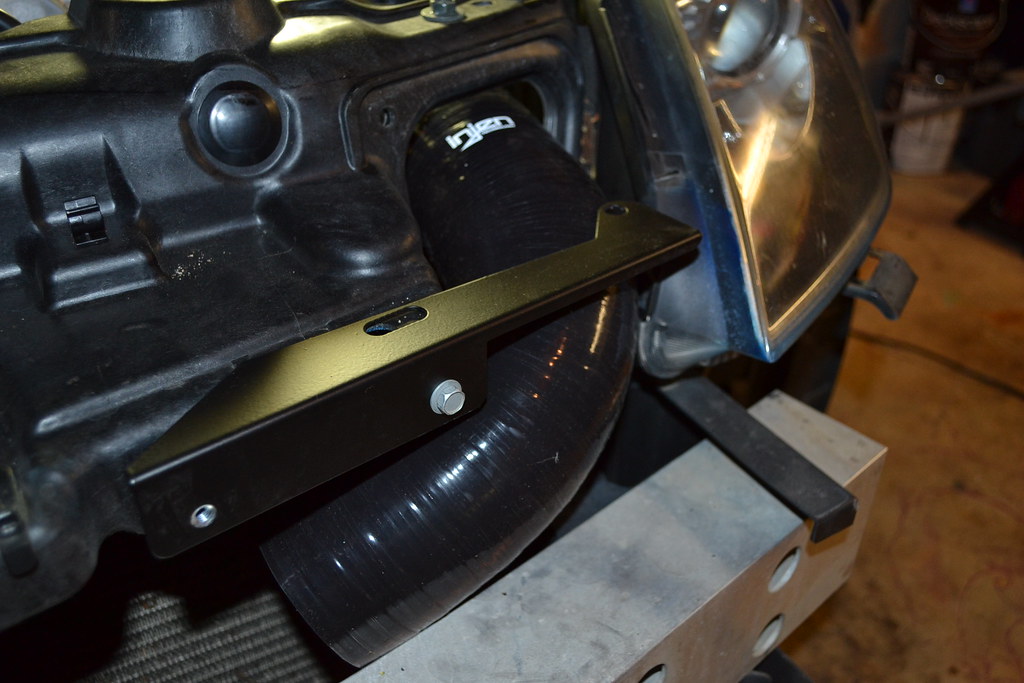
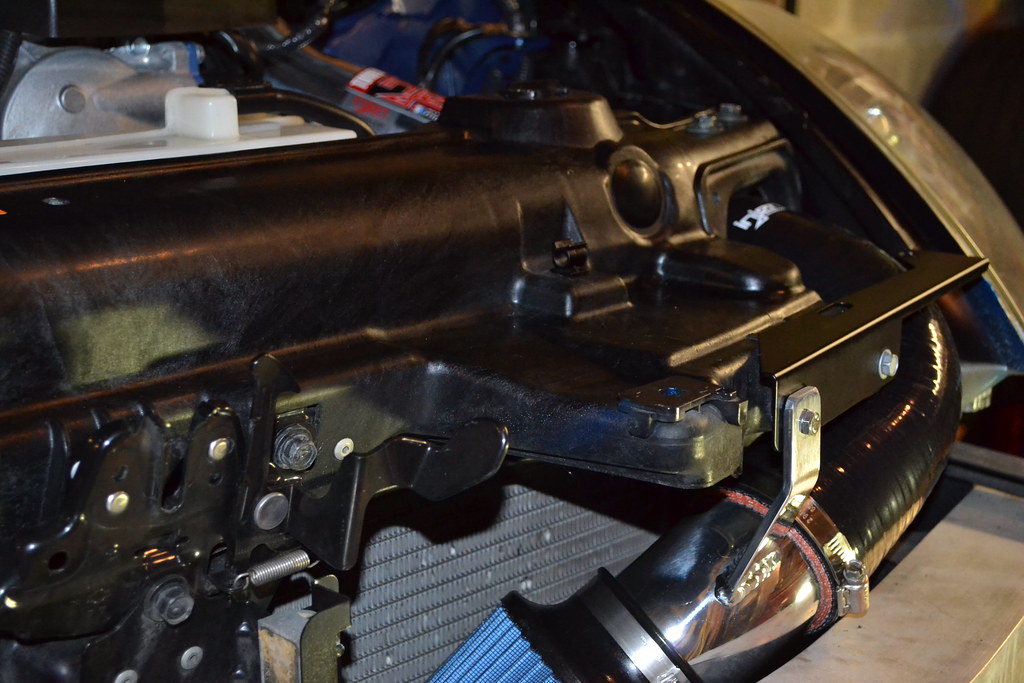
Bumper Brackets Installed - VERY Impressed with the Design & Fit
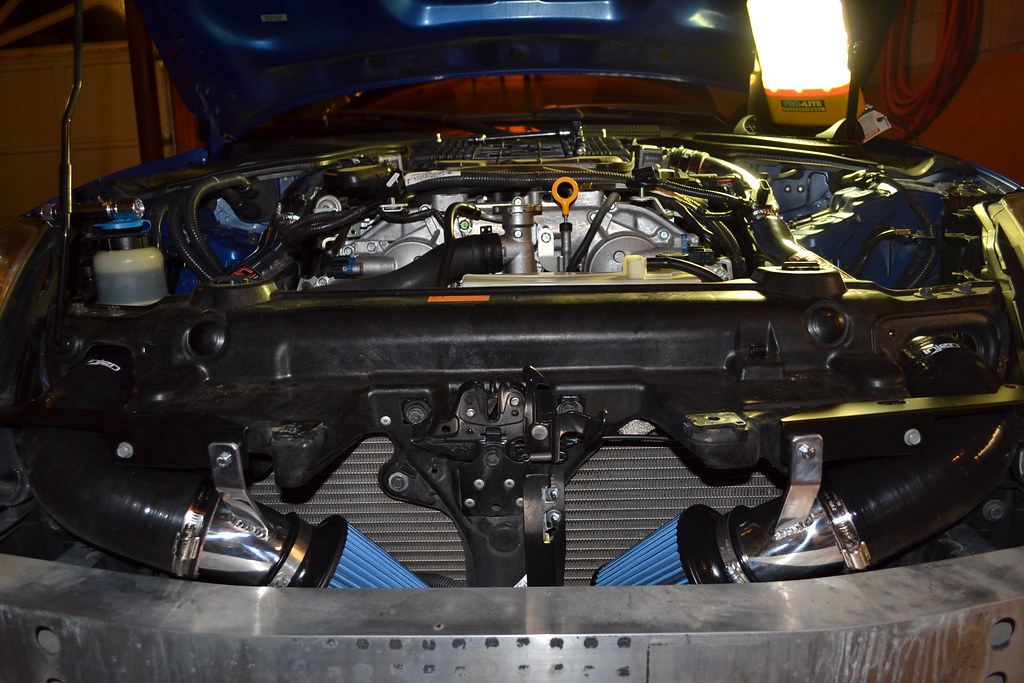
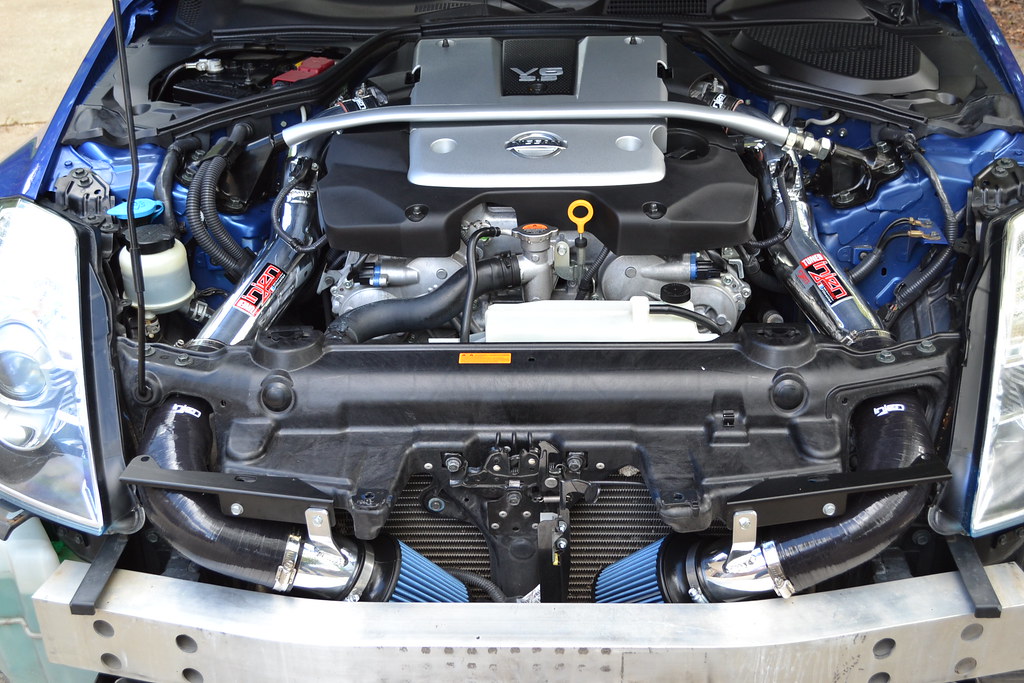
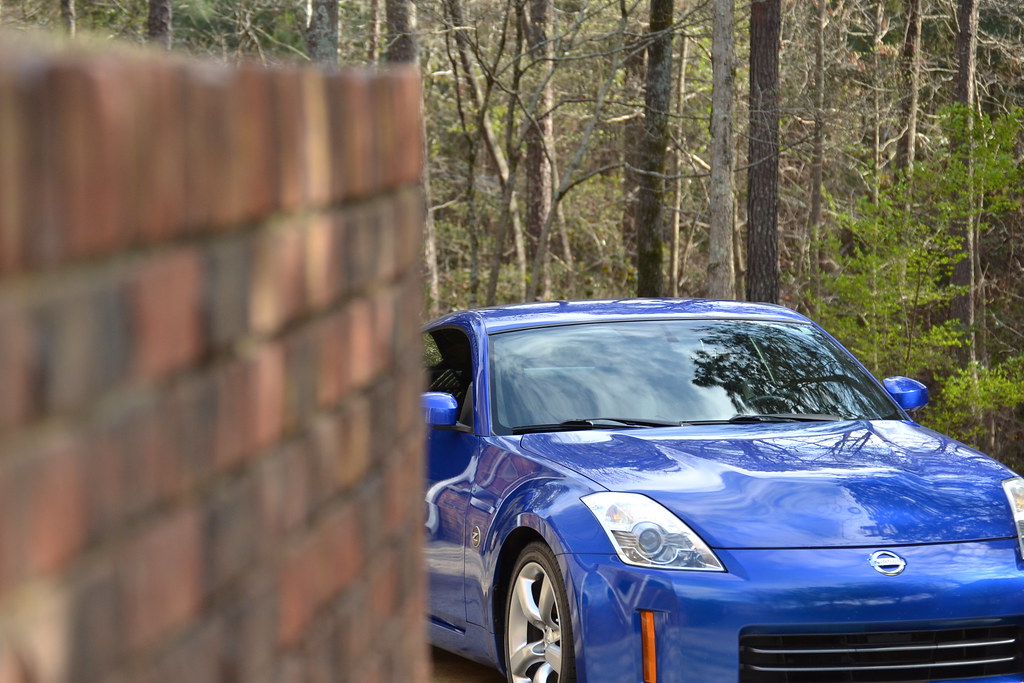
Following Morning: FINALLY DONE! Test crank, and slow test drive thru my neighborhood
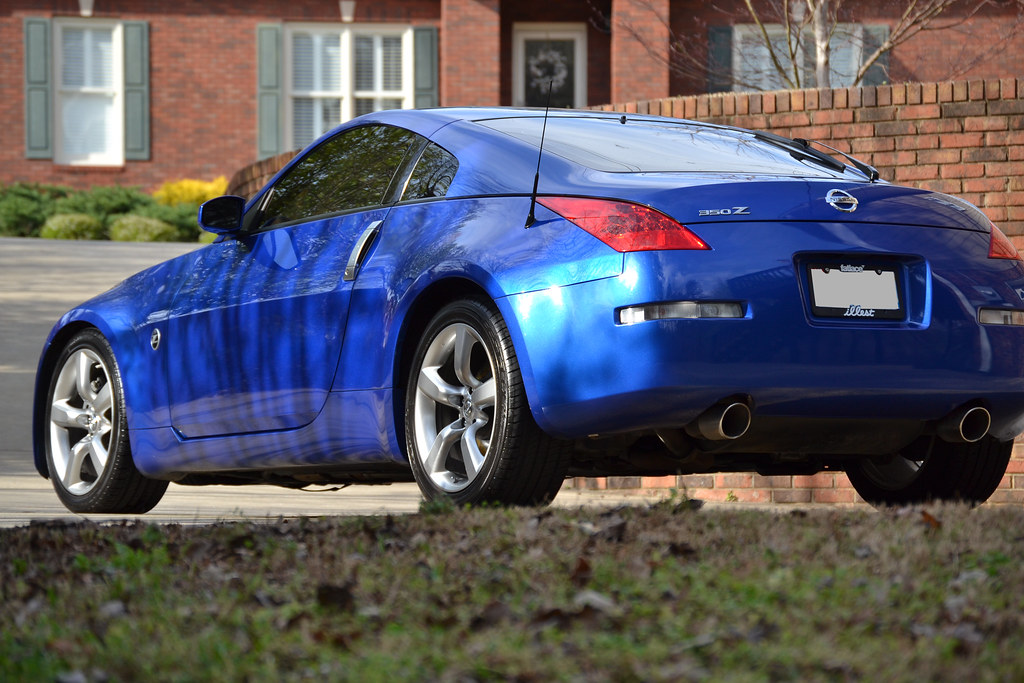
Two More For Fun...
As far as results:
I have noticed the car improve over the course of 2 days of driving it. Perhaps this is the learning curve for the ECU. Second gear seams to have a little more *UMPH*, and the butt dyno registers a little something as an improvement. But people claiming they were blown away with power after an intake install (with no tune) are crazy.
As for future plans, I would like to add MotorDyne Art Pipes, Stillen headers, and a True-dual exhaust of some sort. Since the GReddy EVO2 is so expensive when you find one, I think I will opt for the Invidia Gemini with Titanium rolled tips. Then, I will follow up with the UpRev Osiris tune and call it a day as far as engine mods are concerned.
Any question, comments (good or bad), or additional picture requests are welcome. Otherwise, thanks for looking!
Happy Modding!
Install Time:
Started last Friday at 10:30PM and finished at around 2:30AM. You can get it done faster, but I pre-read all of the instructions. And to be honest, my buddy that was helping me, did nothing but slow me down. His name is Jack Daniels.
Initial Impression:
I pulled everything out of the well packaged box. I must say that the quality of this intake, to me, is superb at first glance - from the solid welds, to the beefed up hose clamps (not cheap-o's).
Here's everything out of the box...
^^^Another thing I was impressed with were the supplied replacement brackets where the extension pipes mount in the front. If you compare how the Injen intakes mount to that of the Stillen CAIs then you will see. The Stillens use a cheap looking strap system (which I have heard from others may or may not vibrate/rattle). NOT to dog Stillen, because I DO like how they use solid aluminum piping all the way through their design. Oh well, pros-and-cons I suppose...
On to the PICS of tear-down and installation....
Strut Bar & Front Bumper OFF
Engine Cover Off
OEM Intakes Off
Horns Un-installed from OEM mount and re-mounted on supplied Injen Mount
Wha??? Is this part of the "Secret Injen Patented Design"?! LOL
New Upper Pipes Installed...
Lower Cold Air Extensions Installed on Drivers Side
***CON**** The Passenger side rubber extension does NOT fit as nicely as I'm sure Injen would claim. It was a PITA to wiggle into position. You have to get it in (pushed in the direction of the engine bay) as far as you can.
It still lays on the Oil Cooler metal line. However, after a couple test drives/testing, I found that the Oil Cooler line does not get NEEEAAAR hot enough to burn the rubber. No worries...see following pics for what I am talking about --->
Bumper Brackets Installed - VERY Impressed with the Design & Fit
Following Morning: FINALLY DONE! Test crank, and slow test drive thru my neighborhood
Two More For Fun...
As far as results:
I have noticed the car improve over the course of 2 days of driving it. Perhaps this is the learning curve for the ECU. Second gear seams to have a little more *UMPH*, and the butt dyno registers a little something as an improvement. But people claiming they were blown away with power after an intake install (with no tune) are crazy.
As for future plans, I would like to add MotorDyne Art Pipes, Stillen headers, and a True-dual exhaust of some sort. Since the GReddy EVO2 is so expensive when you find one, I think I will opt for the Invidia Gemini with Titanium rolled tips. Then, I will follow up with the UpRev Osiris tune and call it a day as far as engine mods are concerned.
Any question, comments (good or bad), or additional picture requests are welcome. Otherwise, thanks for looking!
Happy Modding!


i just did the swap too so nice job on the write up
got a roadster in at work with the injens, swapped them out with my stock airbox for free in about 5 hours for both cars with a buddy.
its a pain to install ._.
i didnt remove the horns to install the brackets, nor did I remove the whole front bumper. i just took the top clips off and the screws above the fener liner and let the bumper sag downwards. supplied enough room to work with as i was too lazy to jack my car up. slammed car + front lip = extra extra time


Thread Starter
Registered User
iTrader: (5)
Joined: Nov 2008
Posts: 427
Likes: 1
From: Birmingham, AL
i just did the swap too so nice job on the write up
got a roadster in at work with the injens, swapped them out with my stock airbox for free in about 5 hours for both cars with a buddy.
its a pain to install ._.
i didnt remove the horns to install the brackets, nor did I remove the whole front bumper. i just took the top clips off and the screws above the fener liner and let the bumper sag downwards. supplied enough room to work with as i was too lazy to jack my car up. slammed car + front lip = extra extra time
got a roadster in at work with the injens, swapped them out with my stock airbox for free in about 5 hours for both cars with a buddy.
its a pain to install ._.
i didnt remove the horns to install the brackets, nor did I remove the whole front bumper. i just took the top clips off and the screws above the fener liner and let the bumper sag downwards. supplied enough room to work with as i was too lazy to jack my car up. slammed car + front lip = extra extra time
LOL i didn't realize that. I guess if I was trying I could have looked to see where they routed beyond the front bumper! Thanks for the clarification! But yes I did take a long time. Like I said, it can definitely be done faster. But I was having fun taking my time. (although i still don't think I could do it UNDER 1 HOUR)
Last edited by 350ZToeRing; Mar 28, 2012 at 02:32 PM.
Trending Topics
you lazy bum!! j/k I know your car WELL. You need to let me get those Chargespeed sides!
LOL i didn't realize that. I guess if I was trying I could have looked to see where they routed beyond the front bumper! Thanks for the clarification! But yes I did take a long time. Like I said, it can definitely be done faster. But I was having fun taking my time. (although i still don't think I could do it UNDER 1 HOUR)
LOL i didn't realize that. I guess if I was trying I could have looked to see where they routed beyond the front bumper! Thanks for the clarification! But yes I did take a long time. Like I said, it can definitely be done faster. But I was having fun taking my time. (although i still don't think I could do it UNDER 1 HOUR)

Thread Starter
Registered User
iTrader: (5)
Joined: Nov 2008
Posts: 427
Likes: 1
From: Birmingham, AL
^^^Nice Pic R350Zz33! Thanks for sharing! I thought about the black set (especially when I saw it on Brandon's Nismo!!!! SEX!! But I settled on the polished as I hope to do a few other polished mods under the hood. (i.e. Stillen front Core Support brace)
I'm hoping that is sarcasm")
I'm the type to follow the instructions with this sort of thing. For instance, I did the horn relocation, as I thought it HAD to be done in order to fit properly. Apparently, I was wrong
y not it takes 5 minds to remove the front bumper 2 mins to remove the stock intakes ( ive done this a few times due to haveing test pipes then hfc then intakes) then u just pop out a few clips out come the duct things then 2 bolts for horns route the pipes under the bar ( theres plenty of room to slide it under ) i think the hardest part is those silicone 90 degree things a few hose clamps throw the bumper on done it takes longer to change the oil then it does to do this.
I'm hoping that is sarcasm
I'm the type to follow the instructions with this sort of thing. For instance, I did the horn relocation, as I thought it HAD to be done in order to fit properly. Apparently, I was wrong
Last edited by 350ZToeRing; Mar 29, 2012 at 01:20 PM.
^^^Nice Pic R350Zz33! Thanks for sharing! I thought about the black set (especially when I saw it on Brandon's Nismo!!!! SEX!! But I settled on the polished as I hope to do a few other polished mods under the hood. (i.e. Stillen front Core Support brace)
I'm hoping that is sarcasm
I'm the type to follow the instructions with this sort of thing. For instance, I did the horn relocation, as I thought it HAD to be done in order to fit properly. Apparently, I was wrong
I'm hoping that is sarcasm
I'm the type to follow the instructions with this sort of thing. For instance, I did the horn relocation, as I thought it HAD to be done in order to fit properly. Apparently, I was wrong
I'm sure you need to relocate the horns. what i meant was i didn't remove the horns completely. just unbolted them and relocated.
in the end everyone does it differently so time is irrelevant.
in the end everyone does it differently so time is irrelevant.

ive installed my intakes but having trouble with horns. They are in the way it seems of me getting the pass side filter on.
If i move them completely its fine. Also the pass side silicone 90 degree elbow seems pinched any tips? Much appreciated
If i move them completely its fine. Also the pass side silicone 90 degree elbow seems pinched any tips? Much appreciated

Thread
Thread Starter
Forum
Replies
Last Post
ars88
Zs & Gs For Sale
18
Apr 4, 2016 07:52 AM