Notices
2003-2009 Nissan 350Z

What have you done for your Z today?

Thread Tools
 
Search this Thread
 
Old 01-17-2016, 09:51 AM
  #10641  
HRMoneyPit
New Member
 
HRMoneyPit's Avatar
 
Join Date: Jul 2015
Location: SoCal
Posts: 2,433
Received 268 Likes on 218 Posts
Default

Originally Posted by turboed350z
ive never used butyl glue before, so i figure, stick with what i know.

at this point, i figure the difference between the 2 is that i cant exactly baked the silicone if i needed to tear it apart again.

will probably practice with butyl glue on an old set. if anyone have tips with butyl glue ill buy you a beer! haha

The retrofit source is your site for all headlight needs
Old 01-17-2016, 10:58 AM
  #10642  
terrasmak
Super Moderator
MY350Z.COM
Premier MemberSuper Moderator
iTrader: (8)
 
terrasmak's Avatar
 
Join Date: Jan 2007
Location: Sin City
Posts: 28,775
Received 2,333 Likes on 1,681 Posts
Default

Originally Posted by SmoothZ
I found that out the hard way last summer.

Going to take it to a pro and have it done.
Nope, only one way to learn.

Glad it's a track car and only need it to look good from 50 feet or 100 mph, sometimes both.
Old 01-17-2016, 11:12 AM
  #10643  
mr. sparco
New Member
iTrader: (13)
 
mr. sparco's Avatar
 
Join Date: Dec 2005
Location: Sunny Beaches
Posts: 7,086
Received 454 Likes on 318 Posts
Default

Originally Posted by turboed350z
will probably practice with butyl glue on an old set. if anyone have tips with butyl glue ill buy you a beer! haha
Its like working with bubble gum or putty, not difficult at all.
The following users liked this post:
turboed350z (01-17-2016)
Old 01-17-2016, 11:24 AM
  #10644  
turboed350z
Registered User
 
turboed350z's Avatar
 
Join Date: May 2014
Location: arizona
Posts: 2,892
Received 277 Likes on 215 Posts
Default

Originally Posted by mr. sparco
Its like working with bubble gum or putty, not difficult at all.
seemed more difficult than that when i opened the headlights. will have to give it a try. thanks!
Old 01-17-2016, 01:43 PM
  #10645  
dboyzalter
6 inch cawk is my fave!
iTrader: (3)
 
dboyzalter's Avatar
 
Join Date: Apr 2015
Location: Mass
Posts: 6,556
Received 972 Likes on 759 Posts
Default

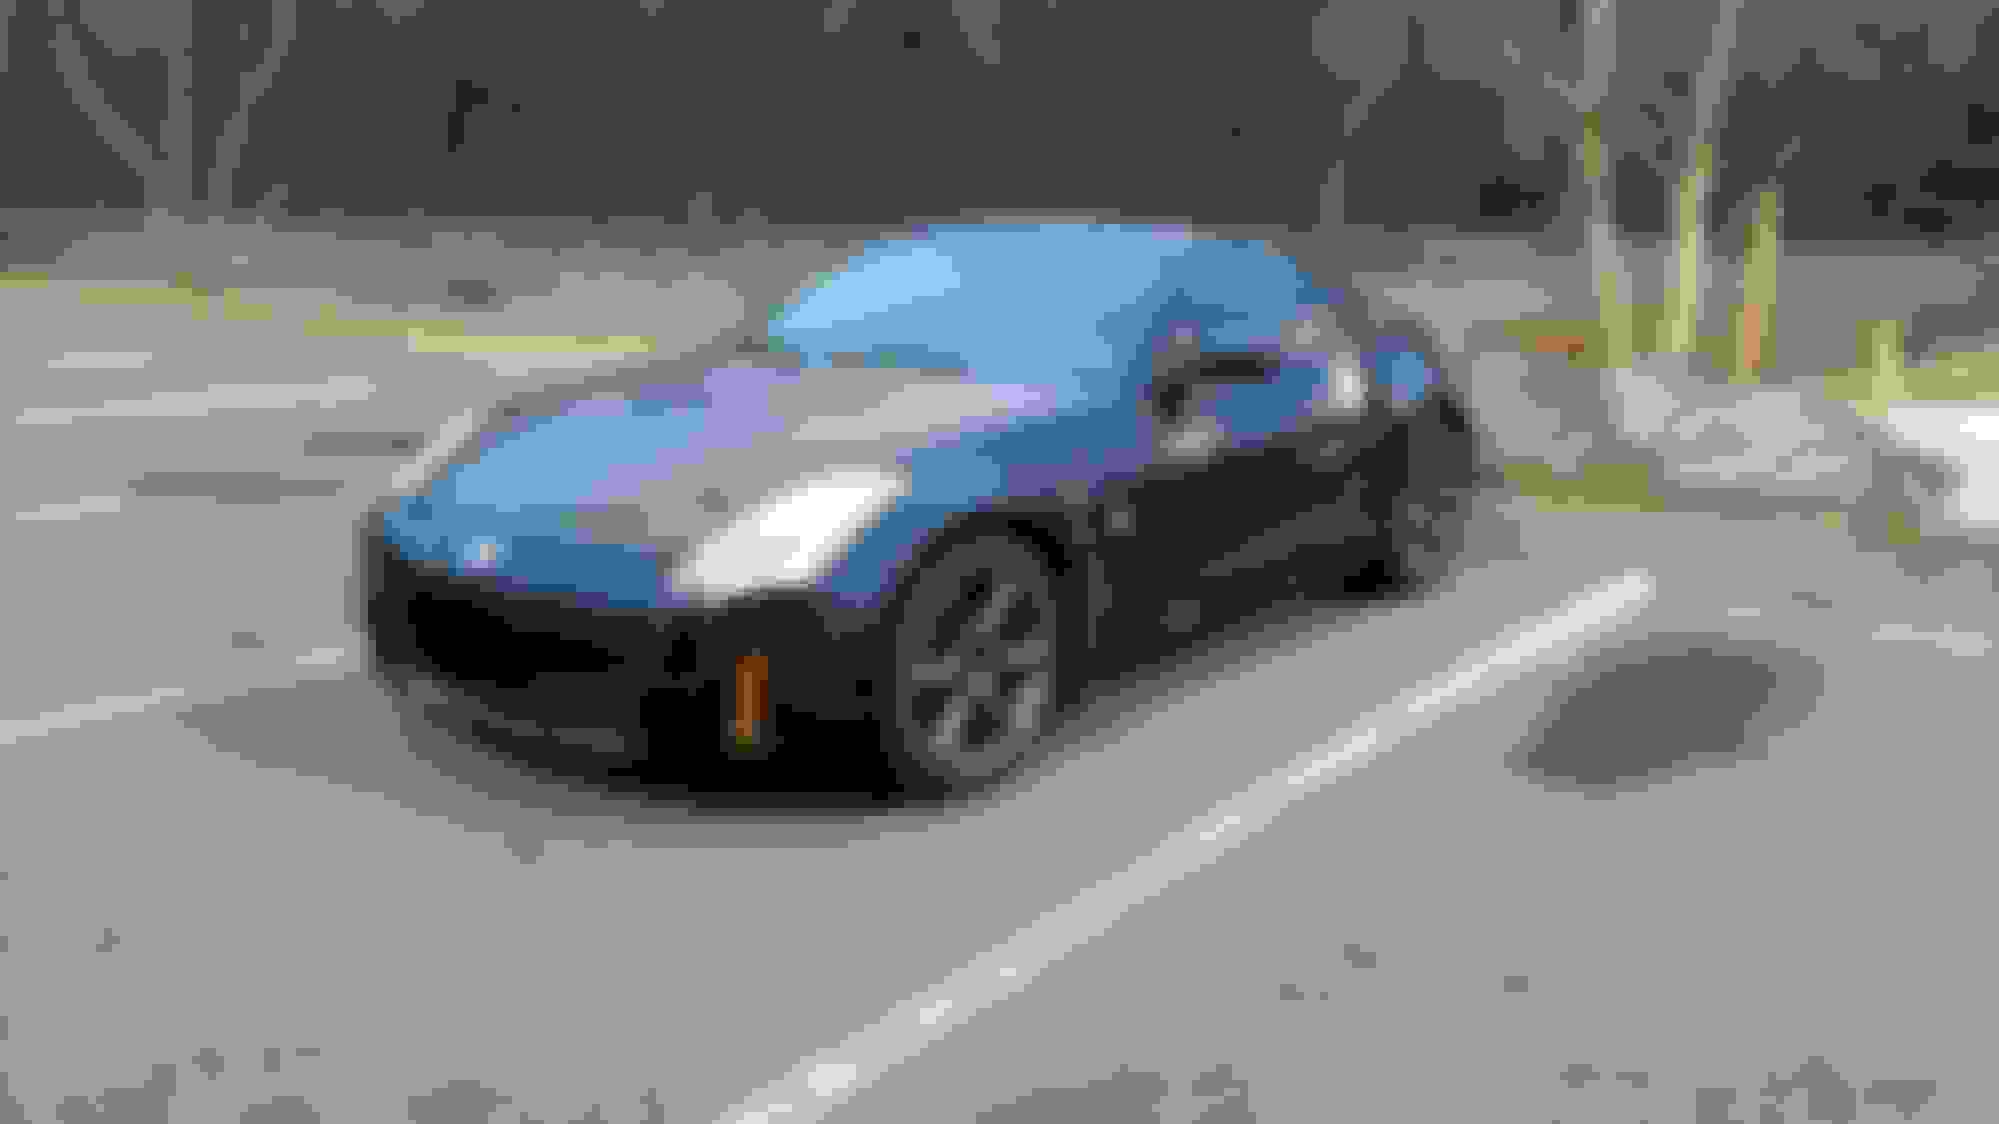
Drove to the home dumpster... Fist time out in 2 weeks or so. Vdc slip brake and tire light were all on... All off but the tire light on the return trip.


Old 01-17-2016, 01:46 PM
  #10646  
mr. sparco
New Member
iTrader: (13)
 
mr. sparco's Avatar
 
Join Date: Dec 2005
Location: Sunny Beaches
Posts: 7,086
Received 454 Likes on 318 Posts
Default


That's because you stuck the headlights in the oven, butyl rubber becomes gooey when warm. When cold its like a band of hard malleable rubber. When you put the lens together, put a bead of it all the way around, clamp, reheat. I've done many headlight retrofits over the years.
The following 2 users liked this post by mr. sparco:
QuintonC (01-17-2016), turboed350z (01-17-2016)
Old 01-17-2016, 02:40 PM
  #10647  
turboed350z
Registered User
 
turboed350z's Avatar
 
Join Date: May 2014
Location: arizona
Posts: 2,892
Received 277 Likes on 215 Posts
Default

Originally Posted by mr. sparco


That's because you stuck the headlights in the oven, butyl rubber becomes gooey when warm. When cold its like a band of hard malleable rubber. When you put the lens together, put a bead of it all the way around, clamp, reheat. I've done many headlight retrofits over the years.
thanks so much. does it matter how much force i use to clamp it? the clamps you show doesnt seem to be all that strong.
Old 01-17-2016, 03:30 PM
  #10648  
HRMoneyPit
New Member
 
HRMoneyPit's Avatar
 
Join Date: Jul 2015
Location: SoCal
Posts: 2,433
Received 268 Likes on 218 Posts
Default

You just have to jump in. I was scared opening my first set of lights a couple years back. Once I finally did it is was not worried anymore
Old 01-17-2016, 04:29 PM
  #10649  
CJM
Registered User
iTrader: (3)
 
CJM's Avatar
 
Join Date: Sep 2013
Location: Pennsylvania
Posts: 787
Received 88 Likes on 44 Posts
Default

Well...attempted to do my hood today and realized that this is possibly the worst hood to vinyl wrap with the steep angled hood vent. Going to try again tomorrow with two pieces and a small seam at the tail end of the exposed carbon.
Old 01-17-2016, 07:04 PM
  #10650  
terrasmak
Super Moderator
MY350Z.COM
Premier MemberSuper Moderator
iTrader: (8)
 
terrasmak's Avatar
 
Join Date: Jan 2007
Location: Sin City
Posts: 28,775
Received 2,333 Likes on 1,681 Posts
Default

Originally Posted by CJM
Well...attempted to do my hood today and realized that this is possibly the worst hood to vinyl wrap with the steep angled hood vent. Going to try again tomorrow with two pieces and a small seam at the tail end of the exposed carbon.
Look at my hood, I'm thinking 3 pieces
Old 01-17-2016, 07:49 PM
  #10651  
mr. sparco
New Member
iTrader: (13)
 
mr. sparco's Avatar
 
Join Date: Dec 2005
Location: Sunny Beaches
Posts: 7,086
Received 454 Likes on 318 Posts
Default

It can be done in 1 piece, start near the windshield and work your way to the headlights.
Old 01-17-2016, 08:07 PM
  #10652  
mr. sparco
New Member
iTrader: (13)
 
mr. sparco's Avatar
 
Join Date: Dec 2005
Location: Sunny Beaches
Posts: 7,086
Received 454 Likes on 318 Posts
Default

Originally Posted by turboed350z
thanks so much. does it matter how much force i use to clamp it? the clamps you show doesnt seem to be all that strong.
They are adequate and works great in sealing it up. You just have to soften the butyl first then press the lens back in place. The clamps are there to hold the lens in place to allow the butyl to cool and to finalize the seal.
Old 01-18-2016, 04:28 AM
  #10653  
turboed350z
Registered User
 
turboed350z's Avatar
 
Join Date: May 2014
Location: arizona
Posts: 2,892
Received 277 Likes on 215 Posts
Default

Originally Posted by mr. sparco
They are adequate and works great in sealing it up. You just have to soften the butyl first then press the lens back in place. The clamps are there to hold the lens in place to allow the butyl to cool and to finalize the seal.
Thanks! I owe you a beer.
Old 01-18-2016, 05:07 AM
  #10654  
QuintonC
Registered User
iTrader: (2)
 
QuintonC's Avatar
 
Join Date: Mar 2012
Location: Indianapolis, Indiana
Posts: 1,074
Received 105 Likes on 72 Posts
Default

Originally Posted by turboed350z
Thanks! I owe you a beer.
You owe a few people a beer on here now, don't you?
Old 01-18-2016, 05:50 AM
  #10655  
turboed350z
Registered User
 
turboed350z's Avatar
 
Join Date: May 2014
Location: arizona
Posts: 2,892
Received 277 Likes on 215 Posts
Default

Originally Posted by QuintonC
You owe a few people a beer on here now, don't you?
Shhhh. Im like a bank, ill owe you, but i hope you dont cash in lol
The following users liked this post:
QuintonC (01-18-2016)
Old 01-18-2016, 06:28 AM
  #10656  
CJM
Registered User
iTrader: (3)
 
CJM's Avatar
 
Join Date: Sep 2013
Location: Pennsylvania
Posts: 787
Received 88 Likes on 44 Posts
Default

Originally Posted by mr. sparco
It can be done in 1 piece, start near the windshield and work your way to the headlights.
That is what I did. My problem was once I reached the "hump" and had gotten over it, I had too much excess vinyl that it creased and adoiding the creases by stretching marred the vinyl. I may give it another go with one piece however. I bought plenty extra for this reason haha
Old 01-18-2016, 08:20 AM
  #10657  
terrasmak
Super Moderator
MY350Z.COM
Premier MemberSuper Moderator
iTrader: (8)
 
terrasmak's Avatar
 
Join Date: Jan 2007
Location: Sin City
Posts: 28,775
Received 2,333 Likes on 1,681 Posts
Default

Bumper is being done in 3 pieces , also had to prep and paint the lower section and grill. Finishing the bumper today, then starting the side skirts.

The hood on the car is sold, once the new owner picks it up, I'll install the new one ( sitting on the roof) and start wrapping it
Attached Thumbnails What have you done for your Z today?-image.jpeg  

Last edited by terrasmak; 01-18-2016 at 08:21 AM.
Old 01-18-2016, 09:41 AM
  #10658  
QuintonC
Registered User
iTrader: (2)
 
QuintonC's Avatar
 
Join Date: Mar 2012
Location: Indianapolis, Indiana
Posts: 1,074
Received 105 Likes on 72 Posts
Default

Originally Posted by terrasmak
Bumper is being done in 3 pieces , also had to prep and paint the lower section and grill. Finishing the bumper today, then starting the side skirts.

The hood on the car is sold, once the new owner picks it up, I'll install the new one ( sitting on the roof) and start wrapping it
That's just OEM with cutouts, correct? If so, how did you mask for the cutouts, etc?
Old 01-18-2016, 10:46 AM
  #10659  
terrasmak
Super Moderator
MY350Z.COM
Premier MemberSuper Moderator
iTrader: (8)
 
terrasmak's Avatar
 
Join Date: Jan 2007
Location: Sin City
Posts: 28,775
Received 2,333 Likes on 1,681 Posts
Default

Originally Posted by QuintonC
That's just OEM with cutouts, correct? If so, how did you mask for the cutouts, etc?
Nismo RS cutouts , search on here for them. The PDF template is on the site, download and give it to someone who cuts vinyl. Apply the decals and start cutting. I used a dremel with multiple attachments , a round file, large wide file and a set of precision files.

I would probably just pay the $600 to have it laser cut before I did it again.
The following users liked this post:
QuintonC (01-18-2016)
Old 01-18-2016, 11:24 AM
  #10660  
MatthewBouchard
New Member
iTrader: (2)
 
MatthewBouchard's Avatar
 
Join Date: Apr 2014
Location: Florida Orlando
Posts: 482
Received 42 Likes on 40 Posts
Default

Went to a recommended body shop to get my new handles painted and was told they would n't paint them as you can not separate the handles. Tempted to just rattle can them..


Quick Reply: What have you done for your Z today?


All times are GMT -8. The time now is 05:18 PM.