When you click on links to various merchants on this site and make a purchase, this can result in this site earning a commission. Affiliate programs and affiliations include, but are not limited to, the eBay Partner Network.
I've only had mine for 2 weeks and already love it have done a decent amount of mods lol,, my favorite so far was the z1 m spec catback, it sounds great and if you drive calm and keep the revs down it isn't too loud. If you go wide open throttle and rev that thing it sounds glorious lol
i bet it sounds nice man, like i got the car and it came with injen intakes and its straight piped but the dude who had bought it before had a damn gtr bumper on it and i had to throw that away cuz who would do that to nismo. also it was scraping by just staying there the fitment was horrible on the bumper
i bet it sounds nice man, like i got the car and it came with injen intakes and its straight piped but the dude who had bought it before had a damn gtr bumper on it and i had to throw that away cuz who would do that to nismo. also it was scraping by just staying there the fitment was horrible on the bumper
I can hear Drew Peacock now going off on a fake GTR
Well yesterday I started turning back time with replacing all of my weather striping and then had to stop because the body shop that did my paint are hacks and screwed me over. So I had to pause and order more parts...
Gave her that weekly wash! Added some Meguiars Ceramic Wax spray, and I went HAM on that ish too. She's all clean and the hydrophobic is real with this! Had to smack that wet booty 😍
I can but I don't know how useful it would be, it is quite a bit of work and the nDash might not work for everyone (although others could work as well) after I am done, I can work on it as I have been taking pics along the way.
I can but I don't know how useful it would be, it is quite a bit of work and the nDash might not work for everyone (although others could work as well) after I am done, I can work on it as I have been taking pics along the way.
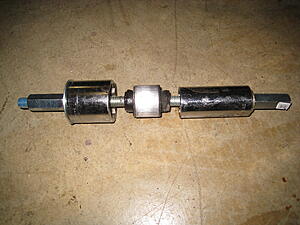
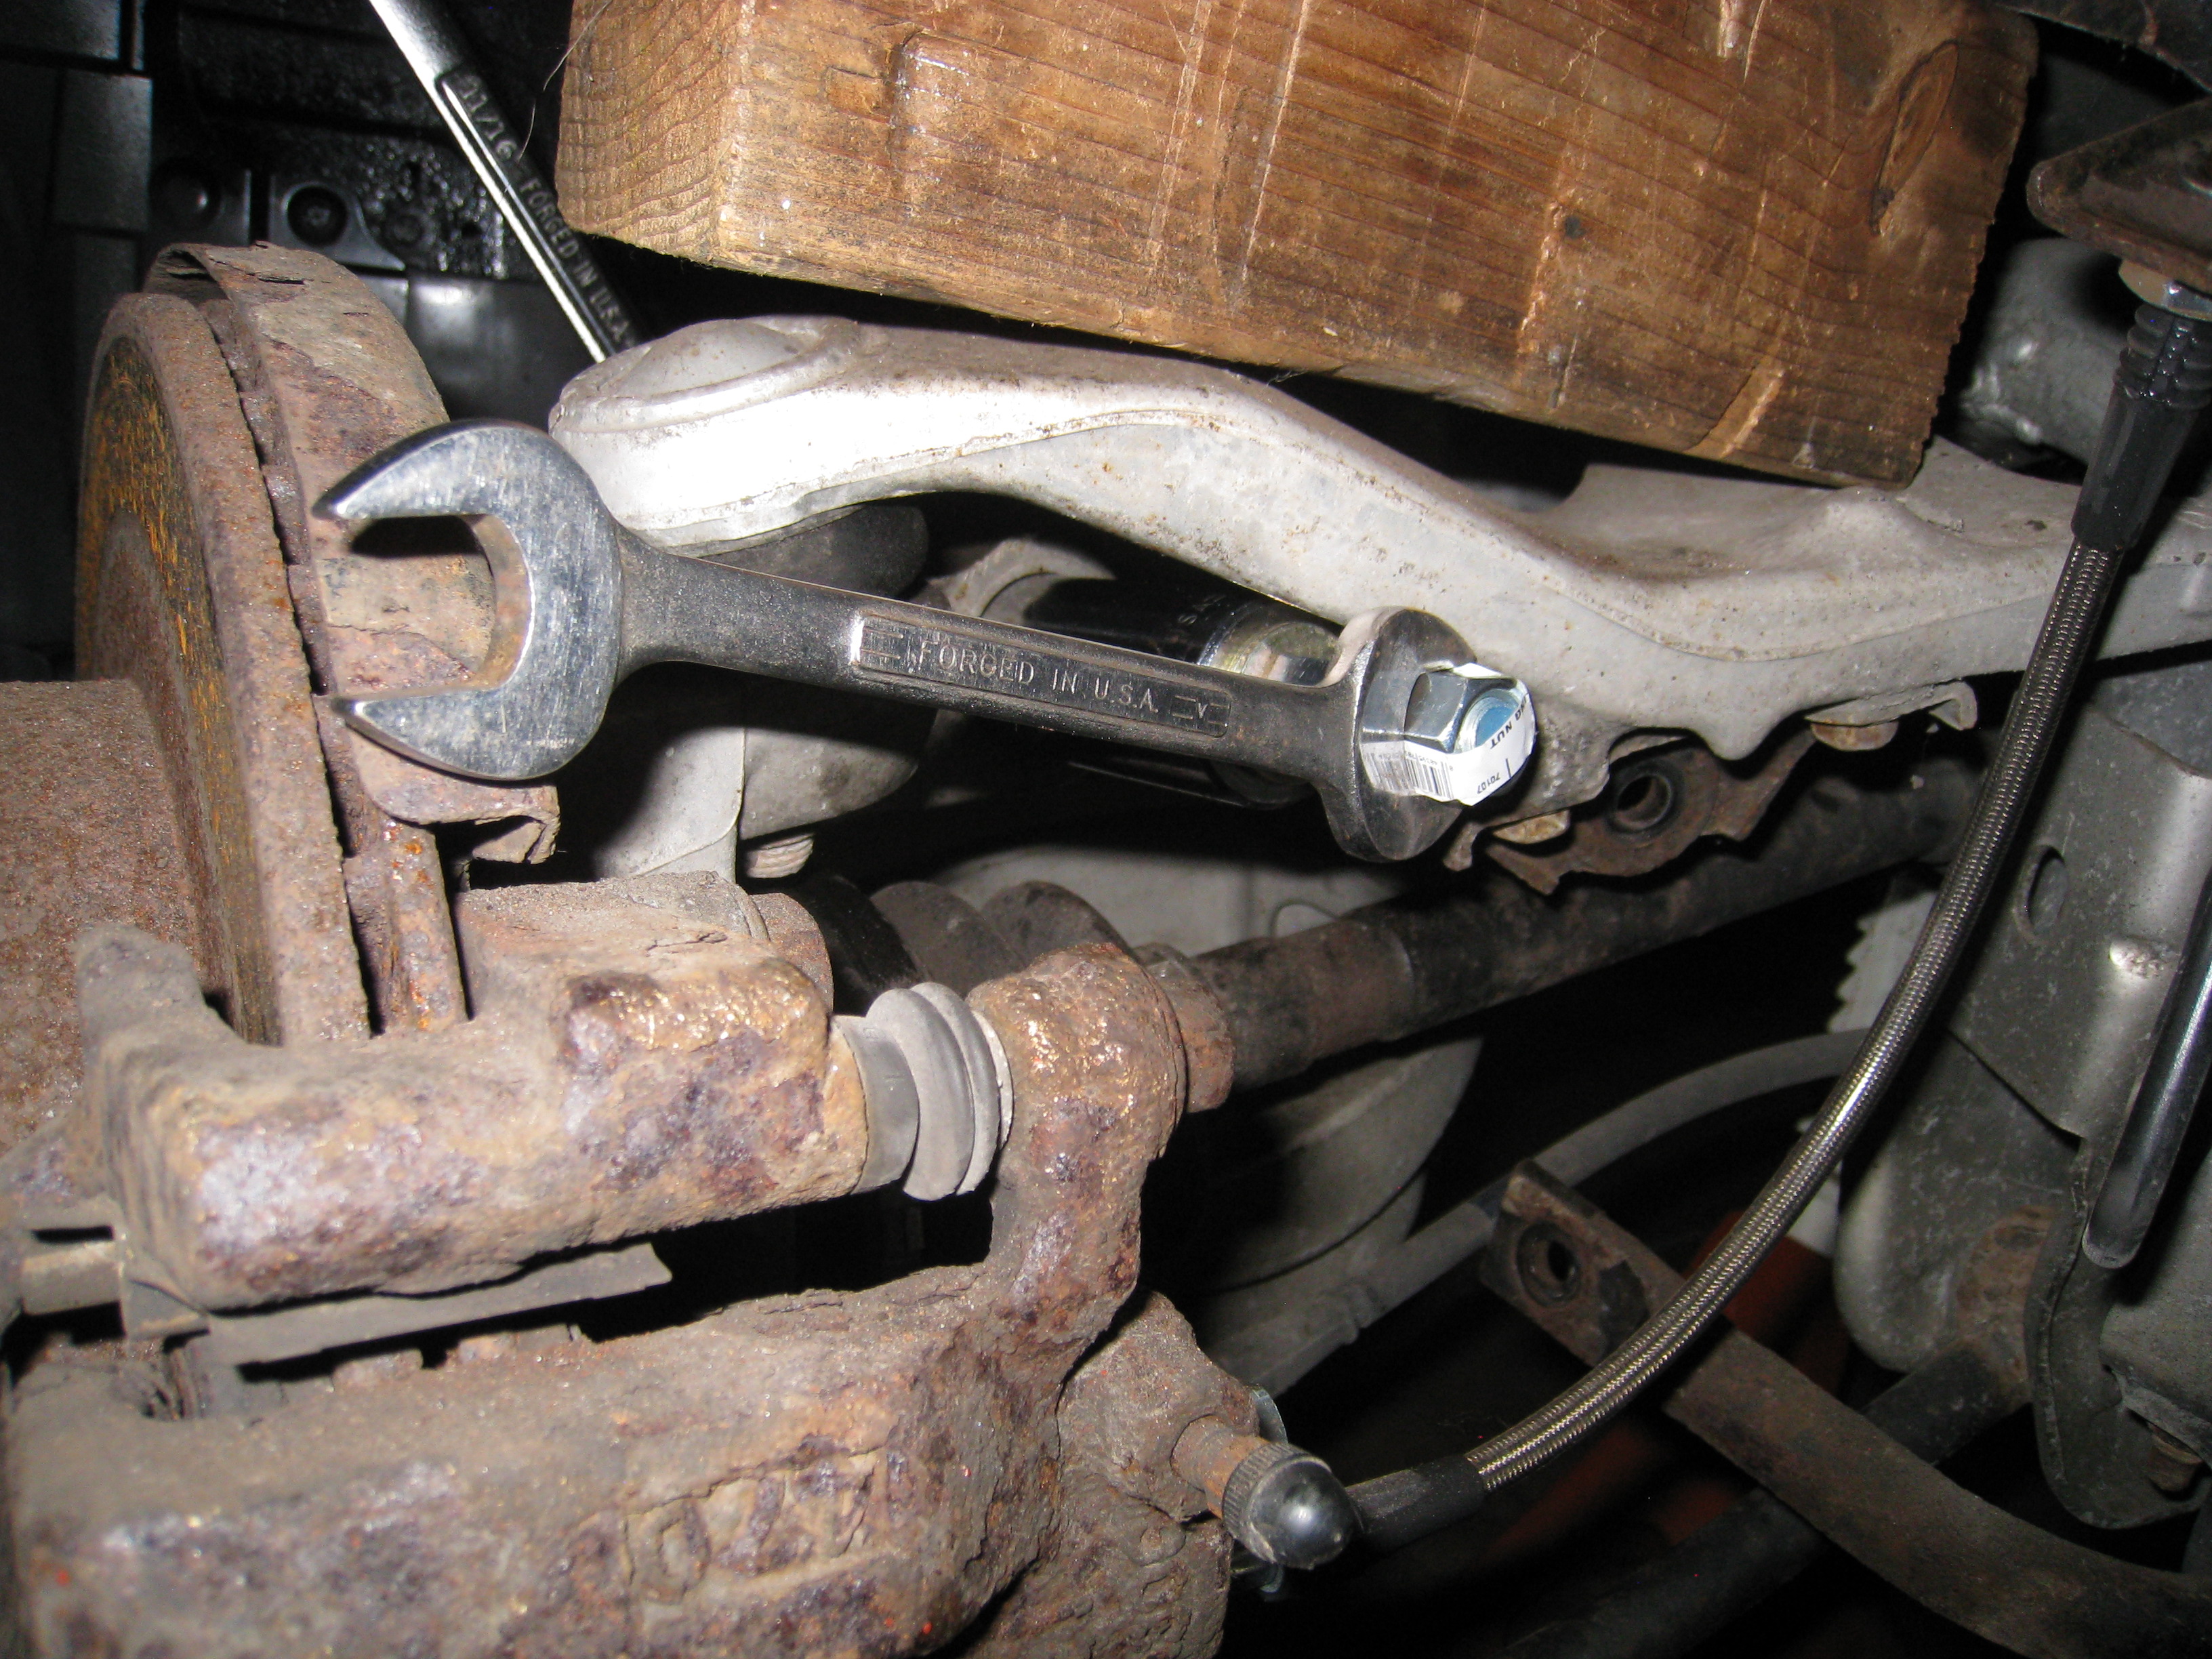
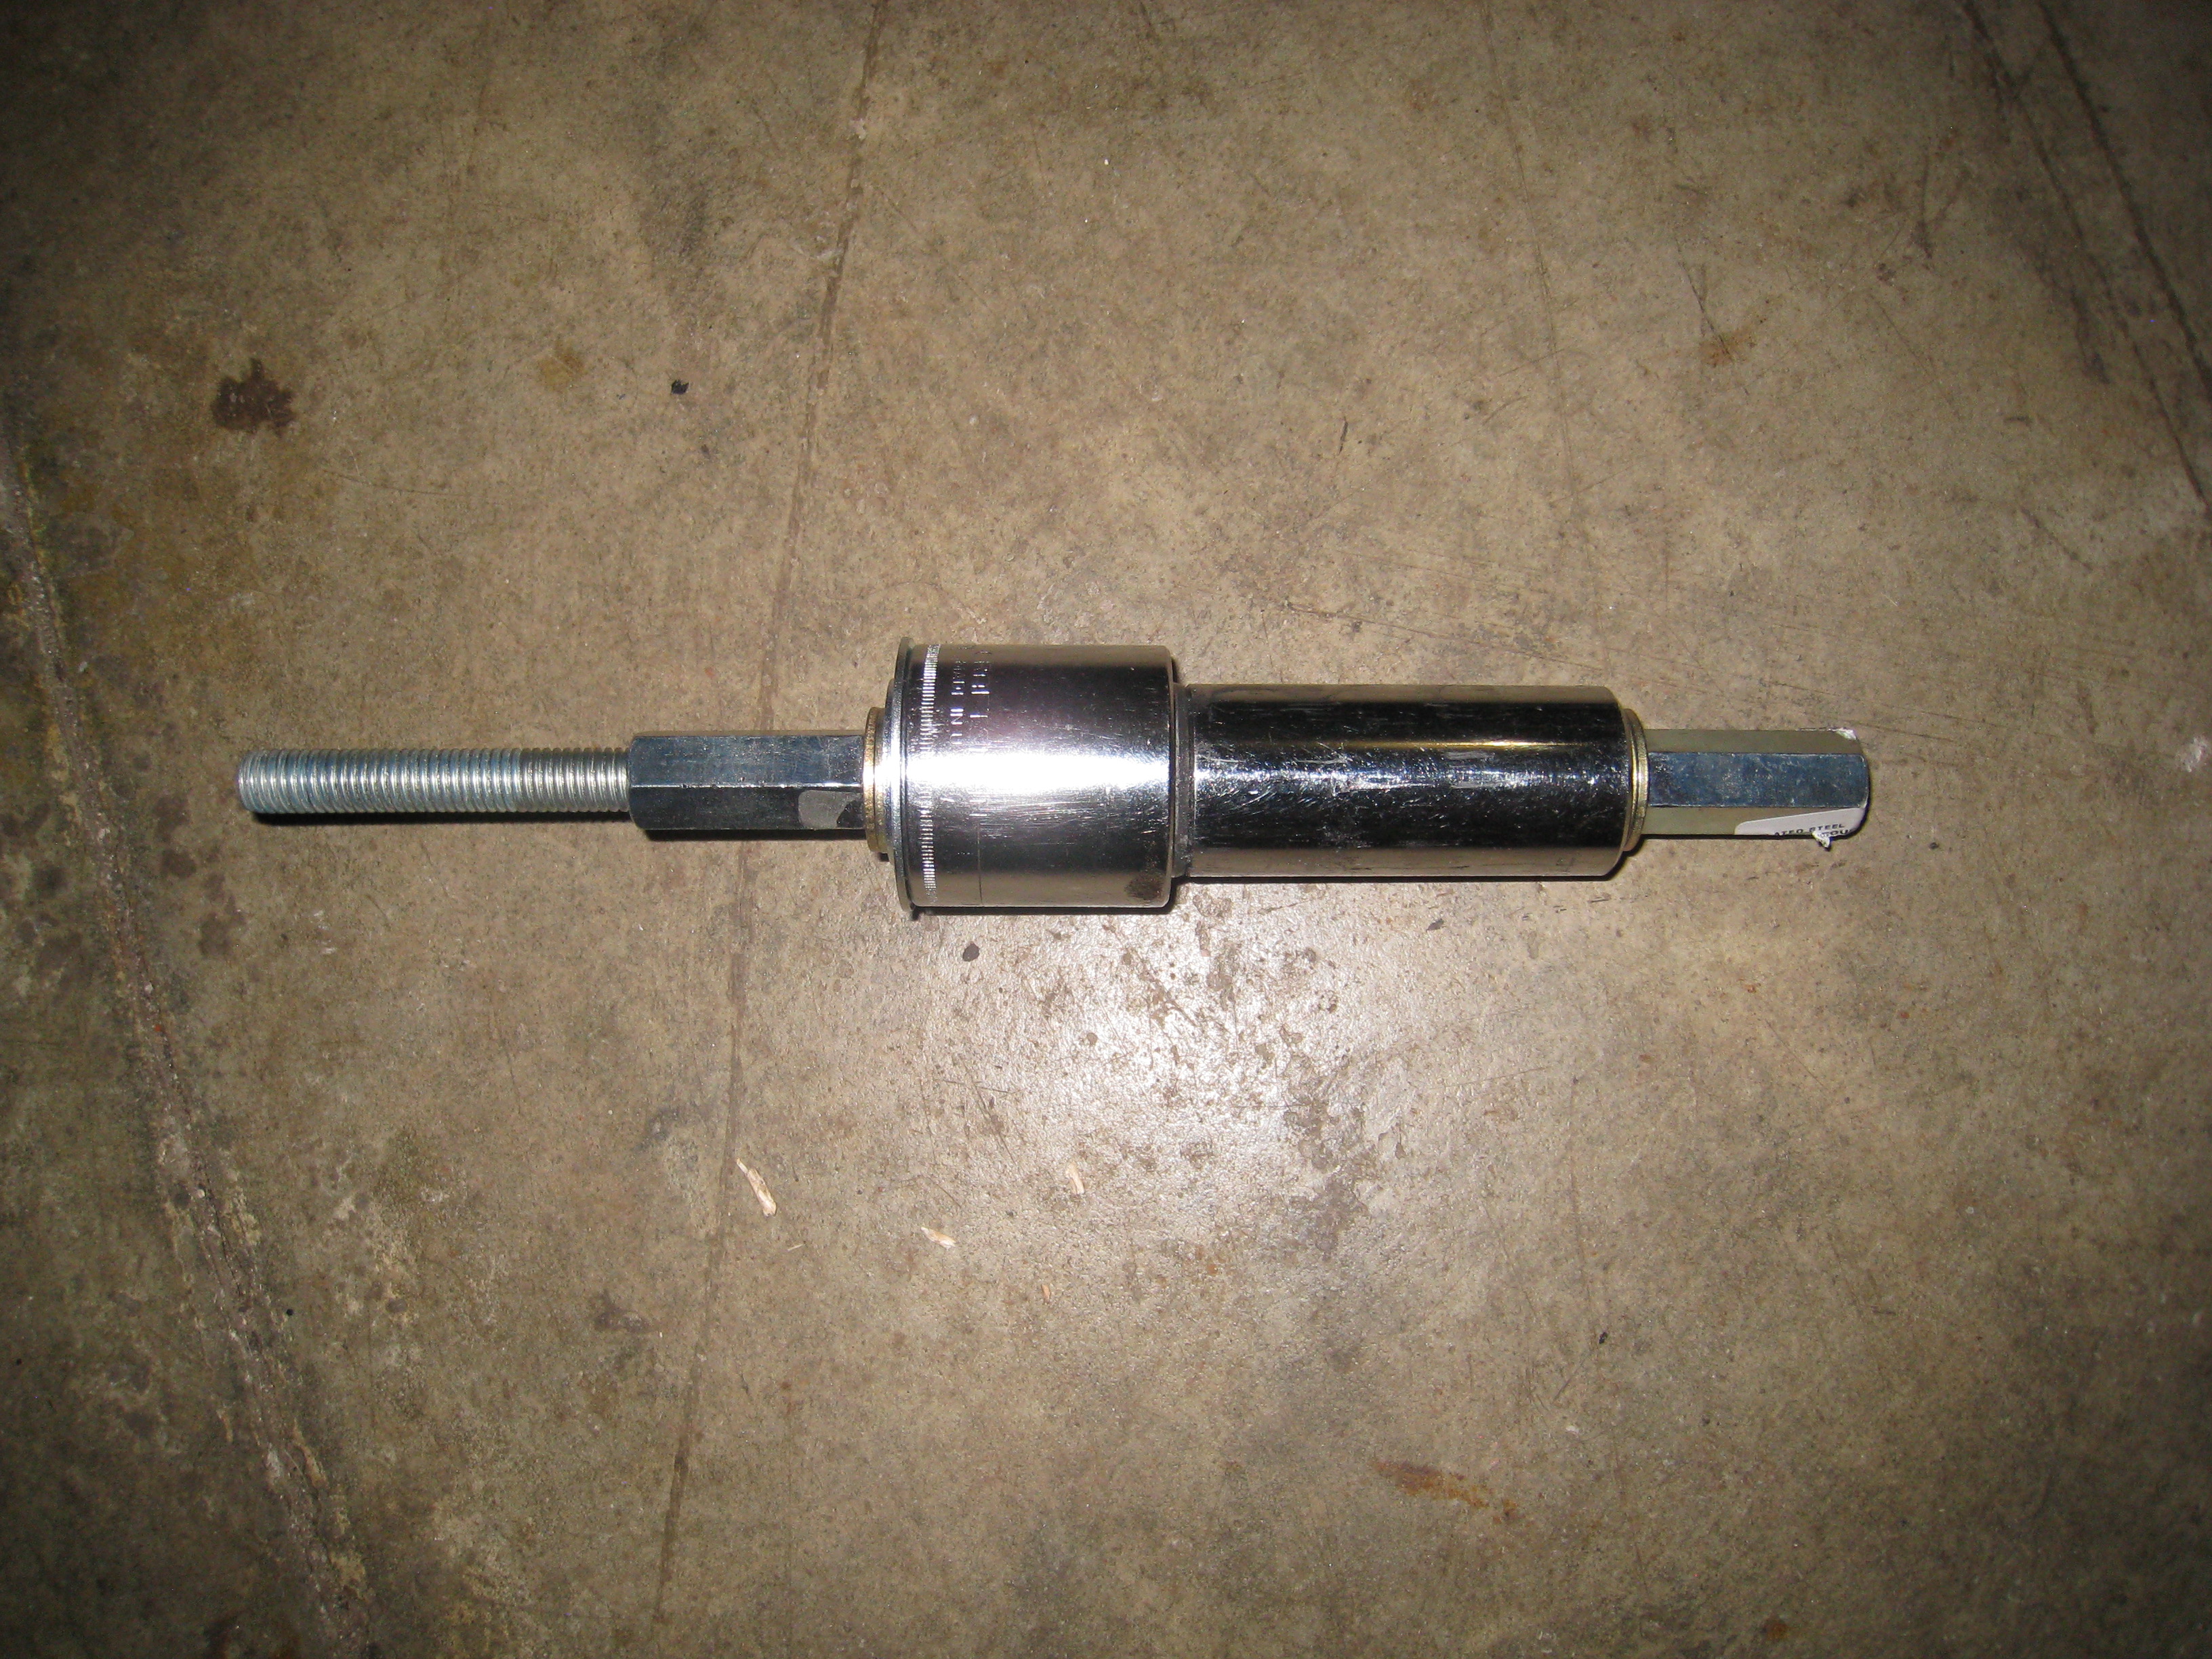
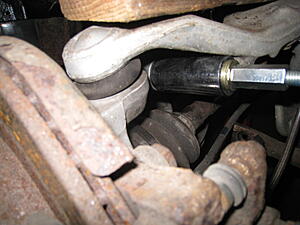
1/2 inch threaded rod and sockets for shock mount bushing swap
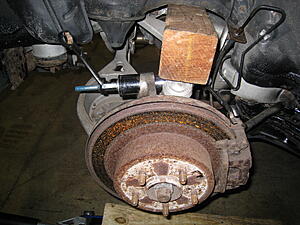
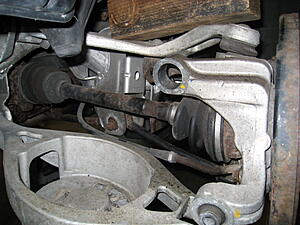
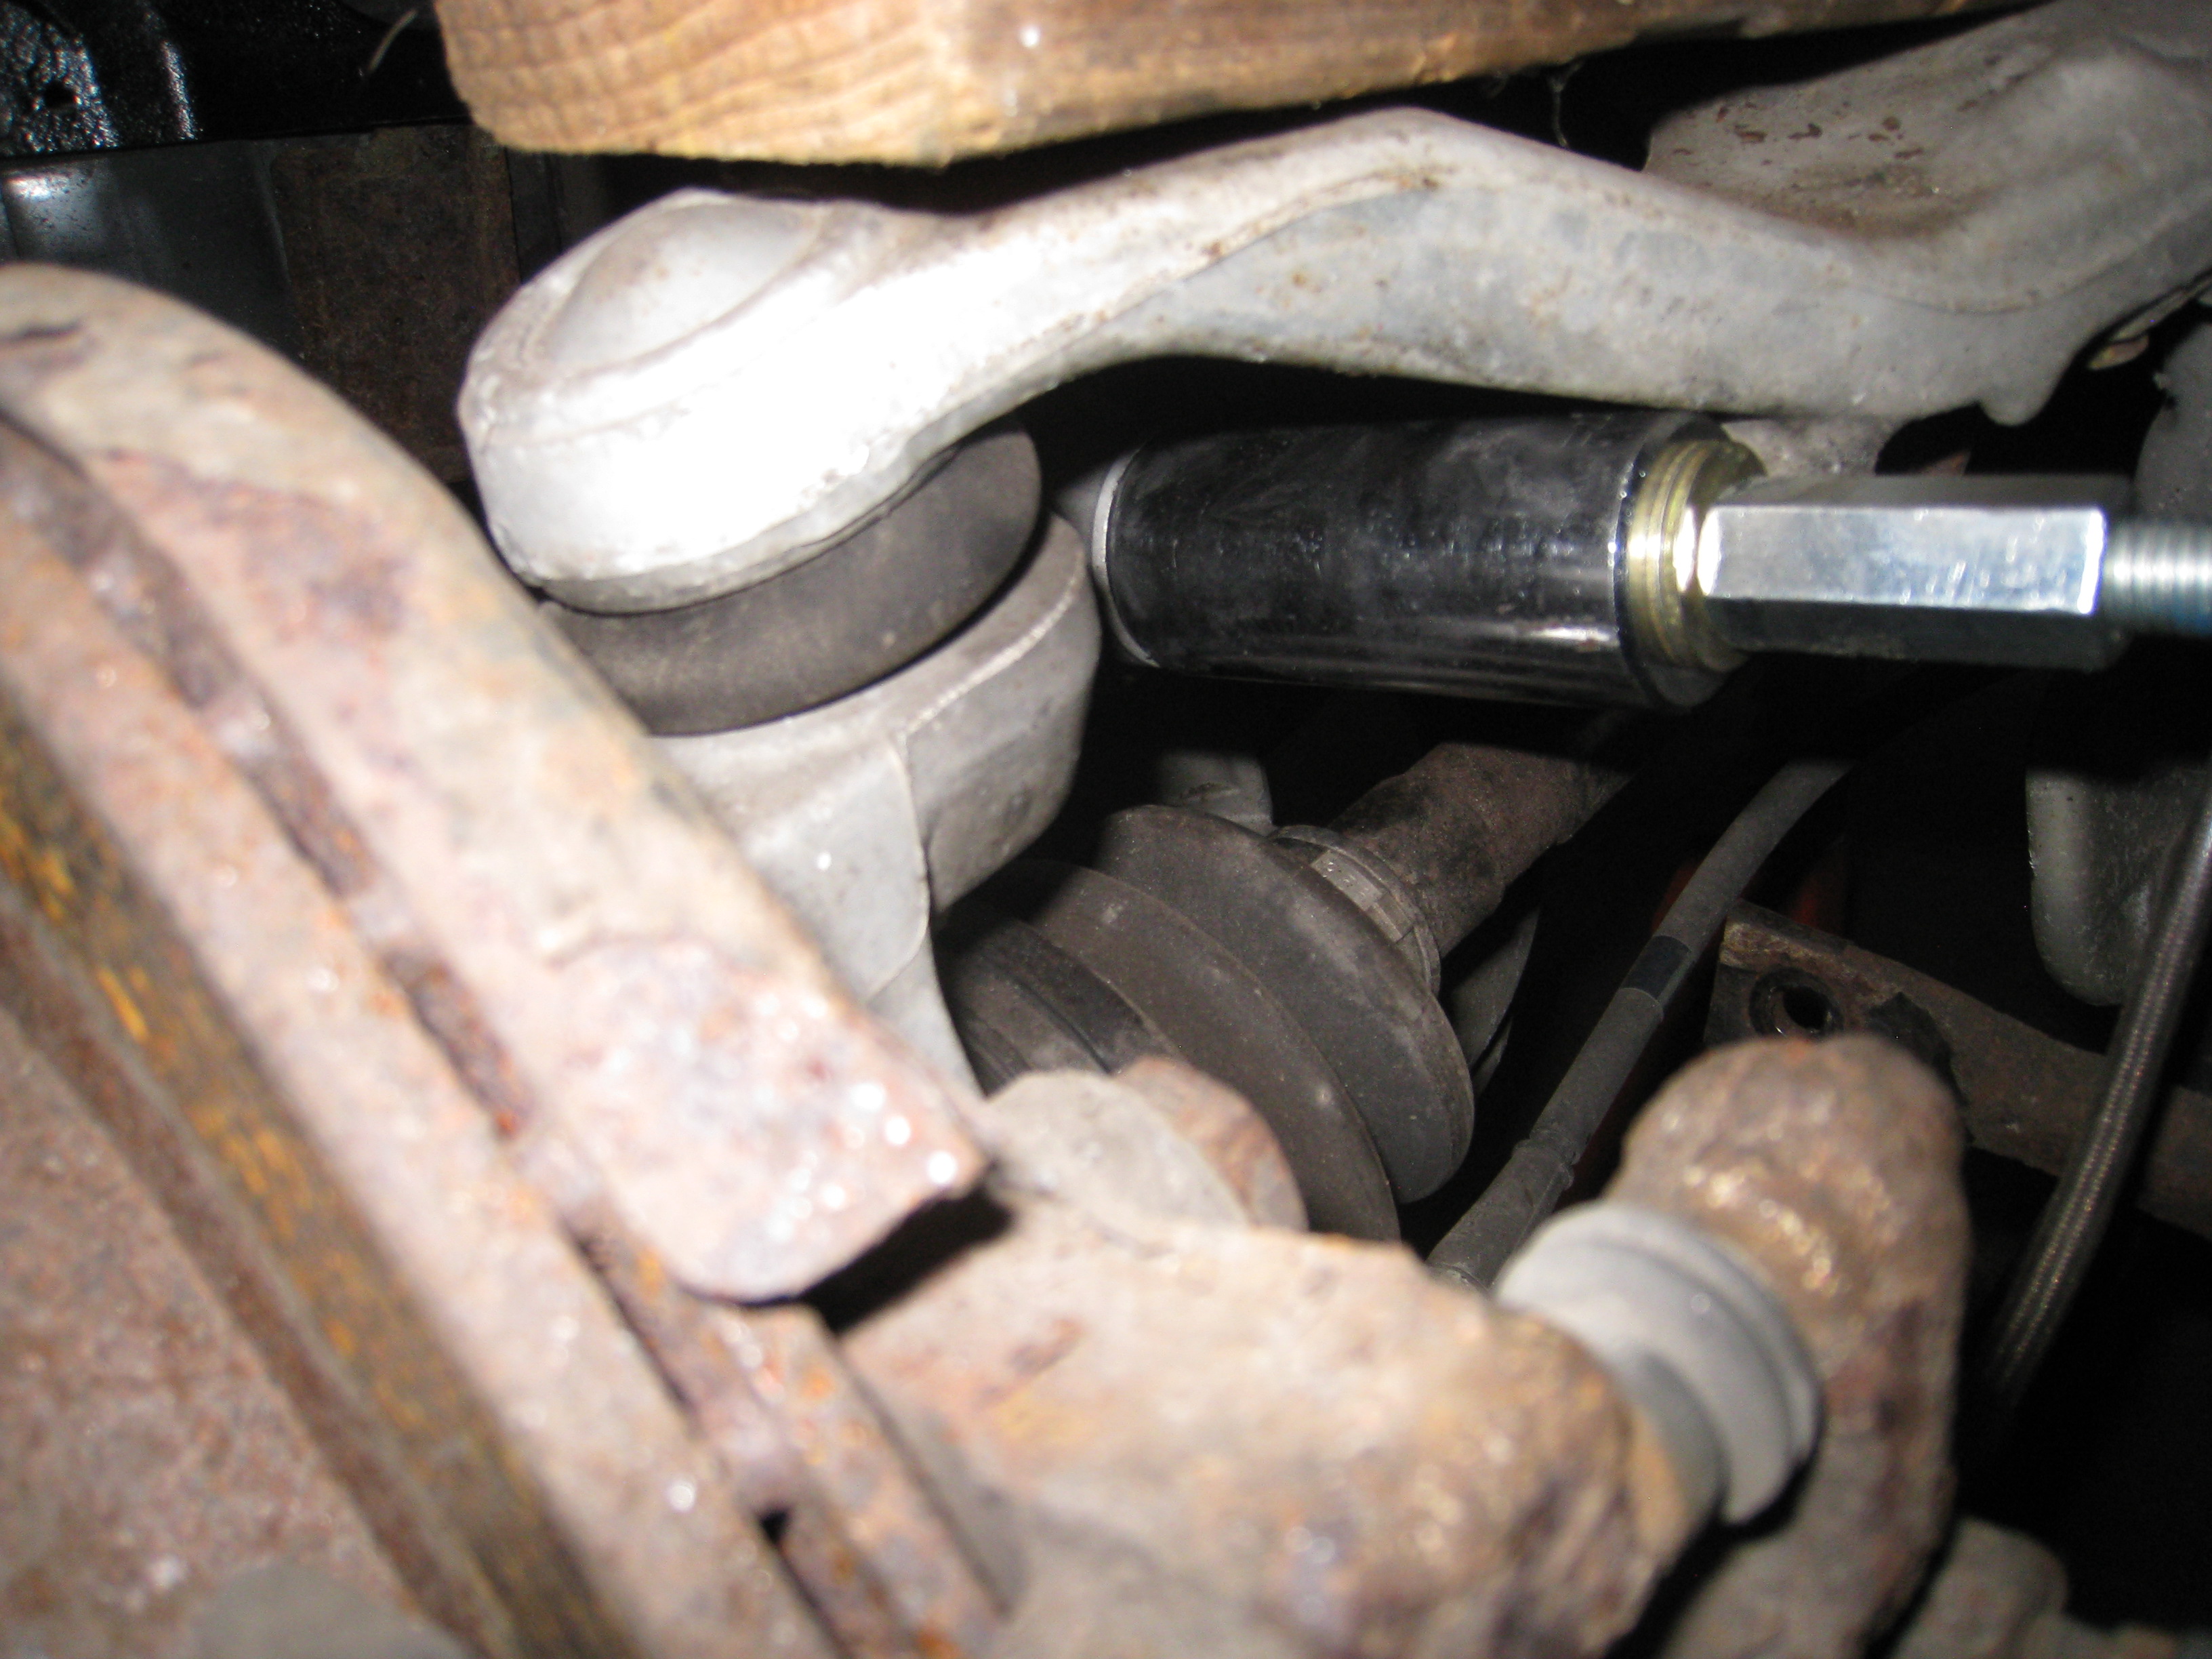
I'm trying to wrap up my upgrades/maintenance so that I can finally drive my Z this season. Today I got around to removing the other (right/passenger rear) shock mount bushing. Based on feedback in other threads, and after having spent a LOT of time removing the knuckle on the driver rear side to get that one's bushing out with a press, this time I decided to take another stab at removing it while still on the vehicle.
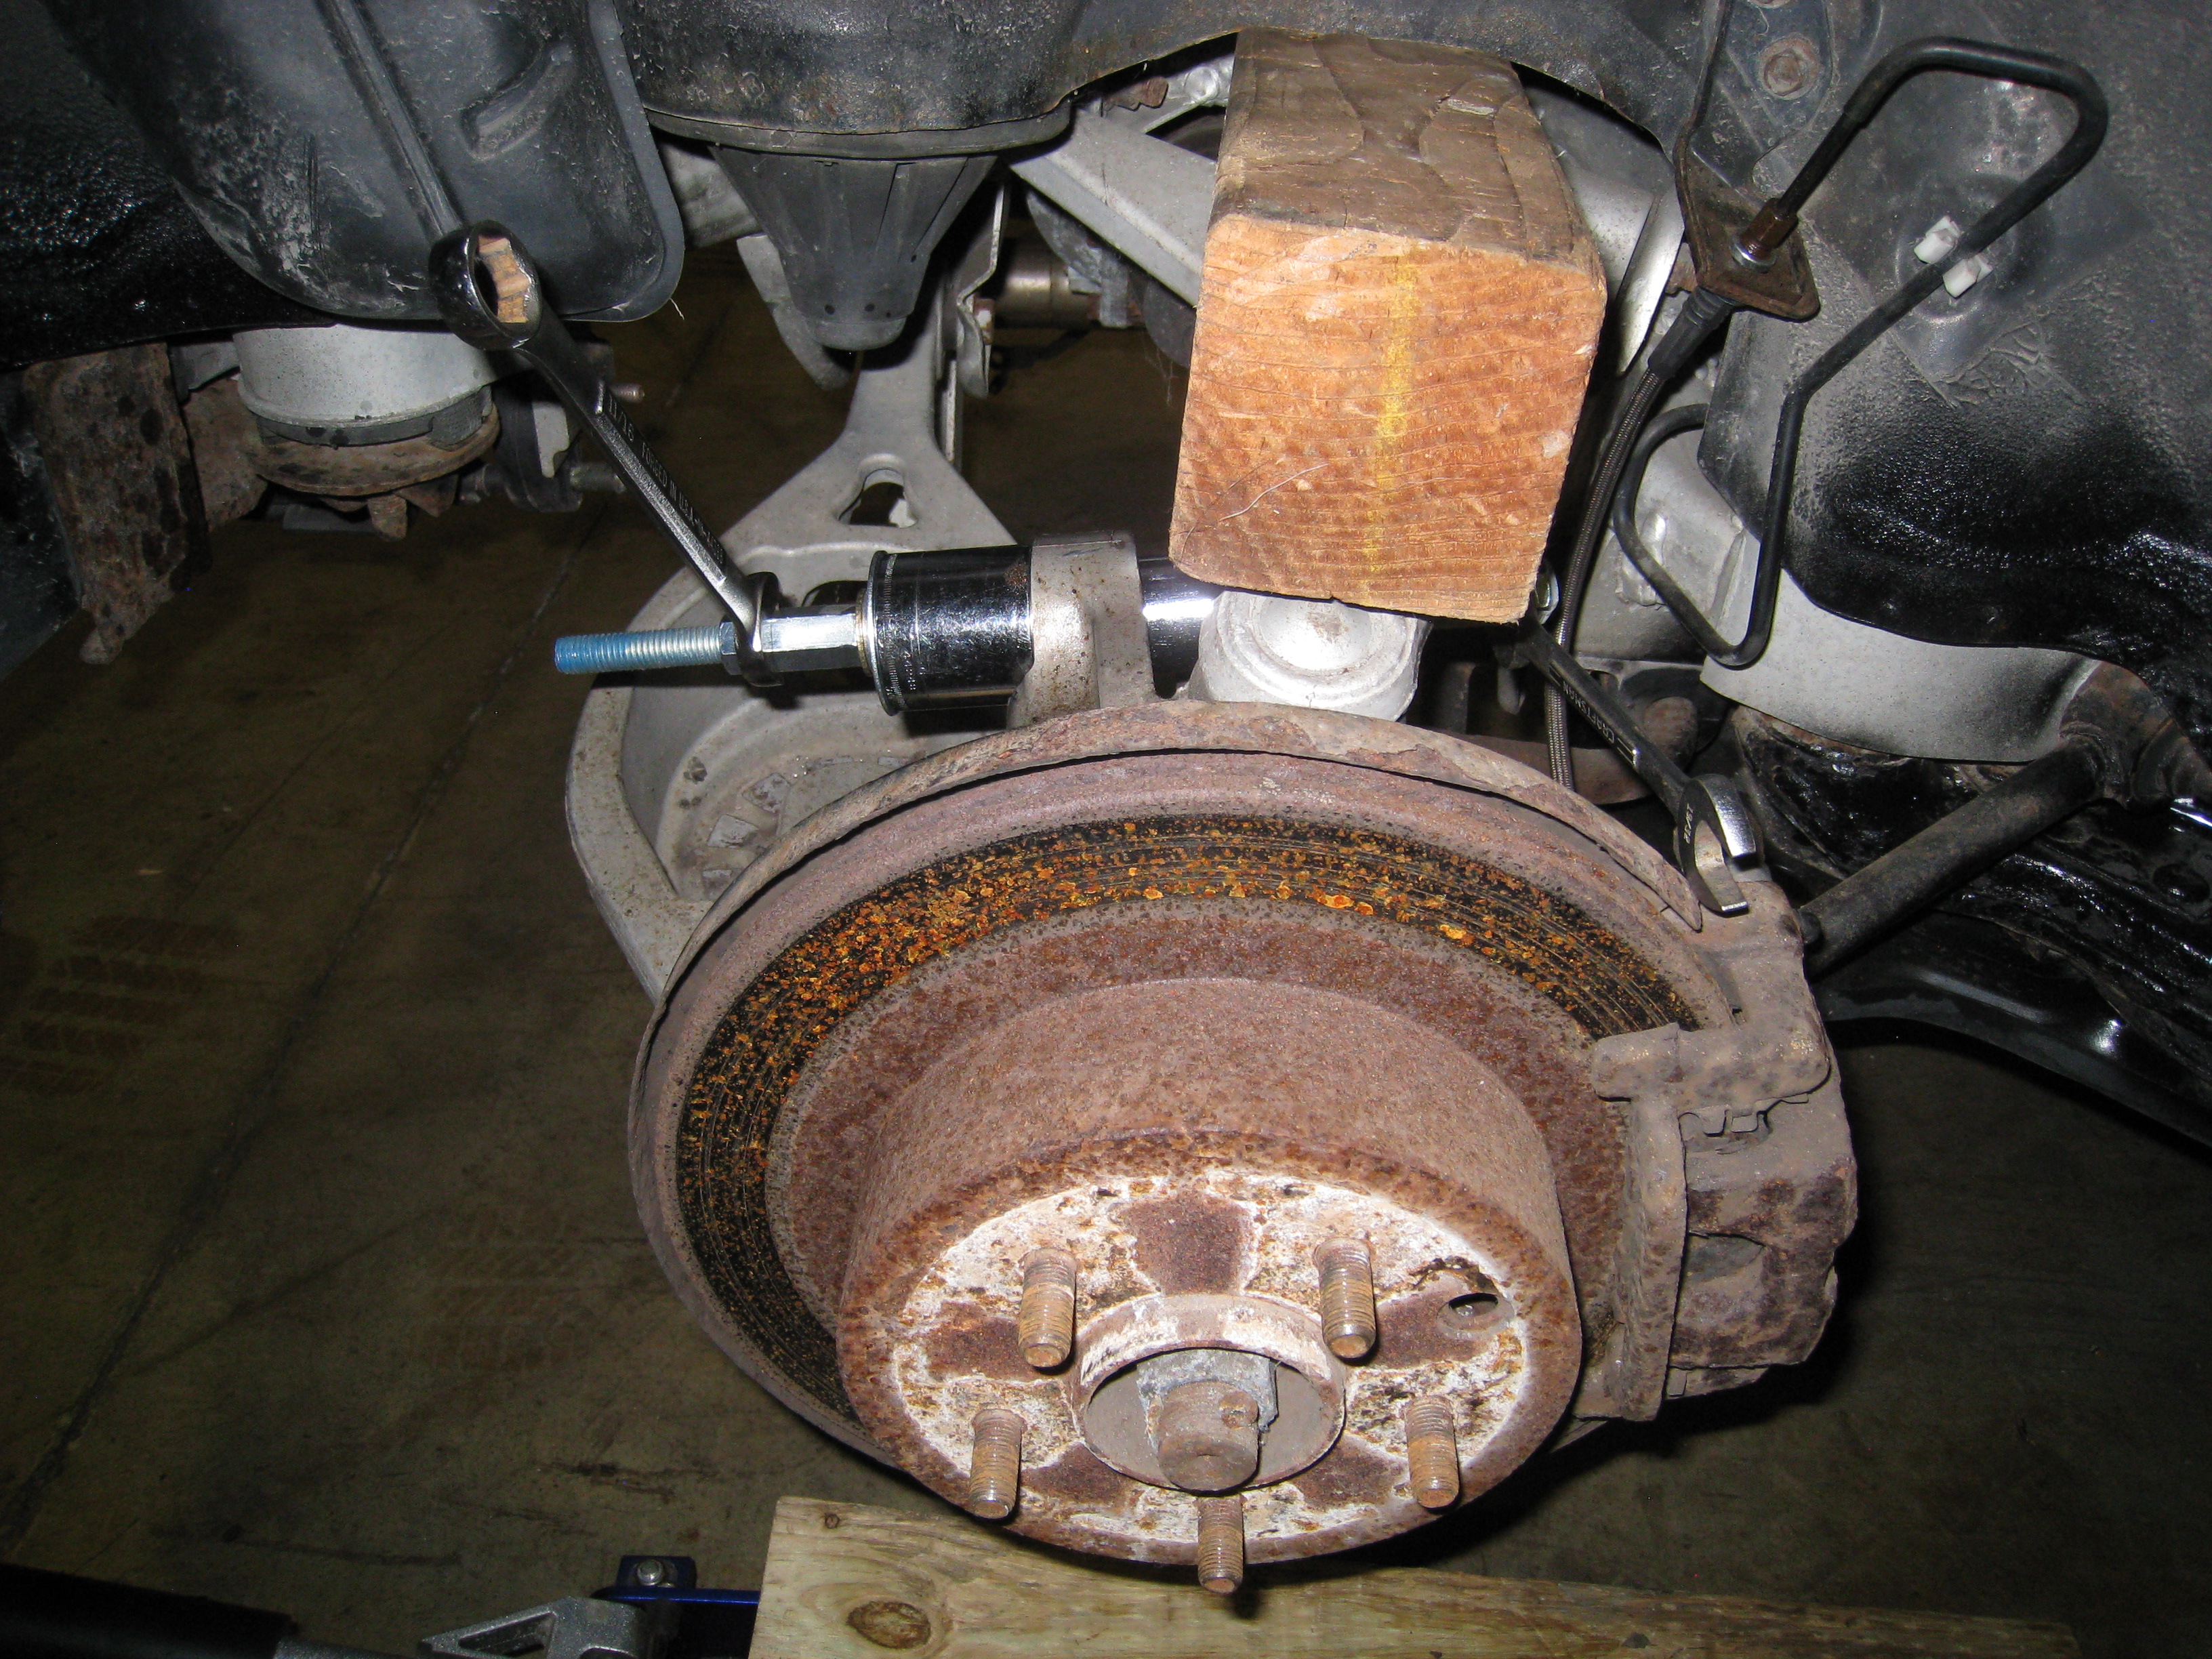
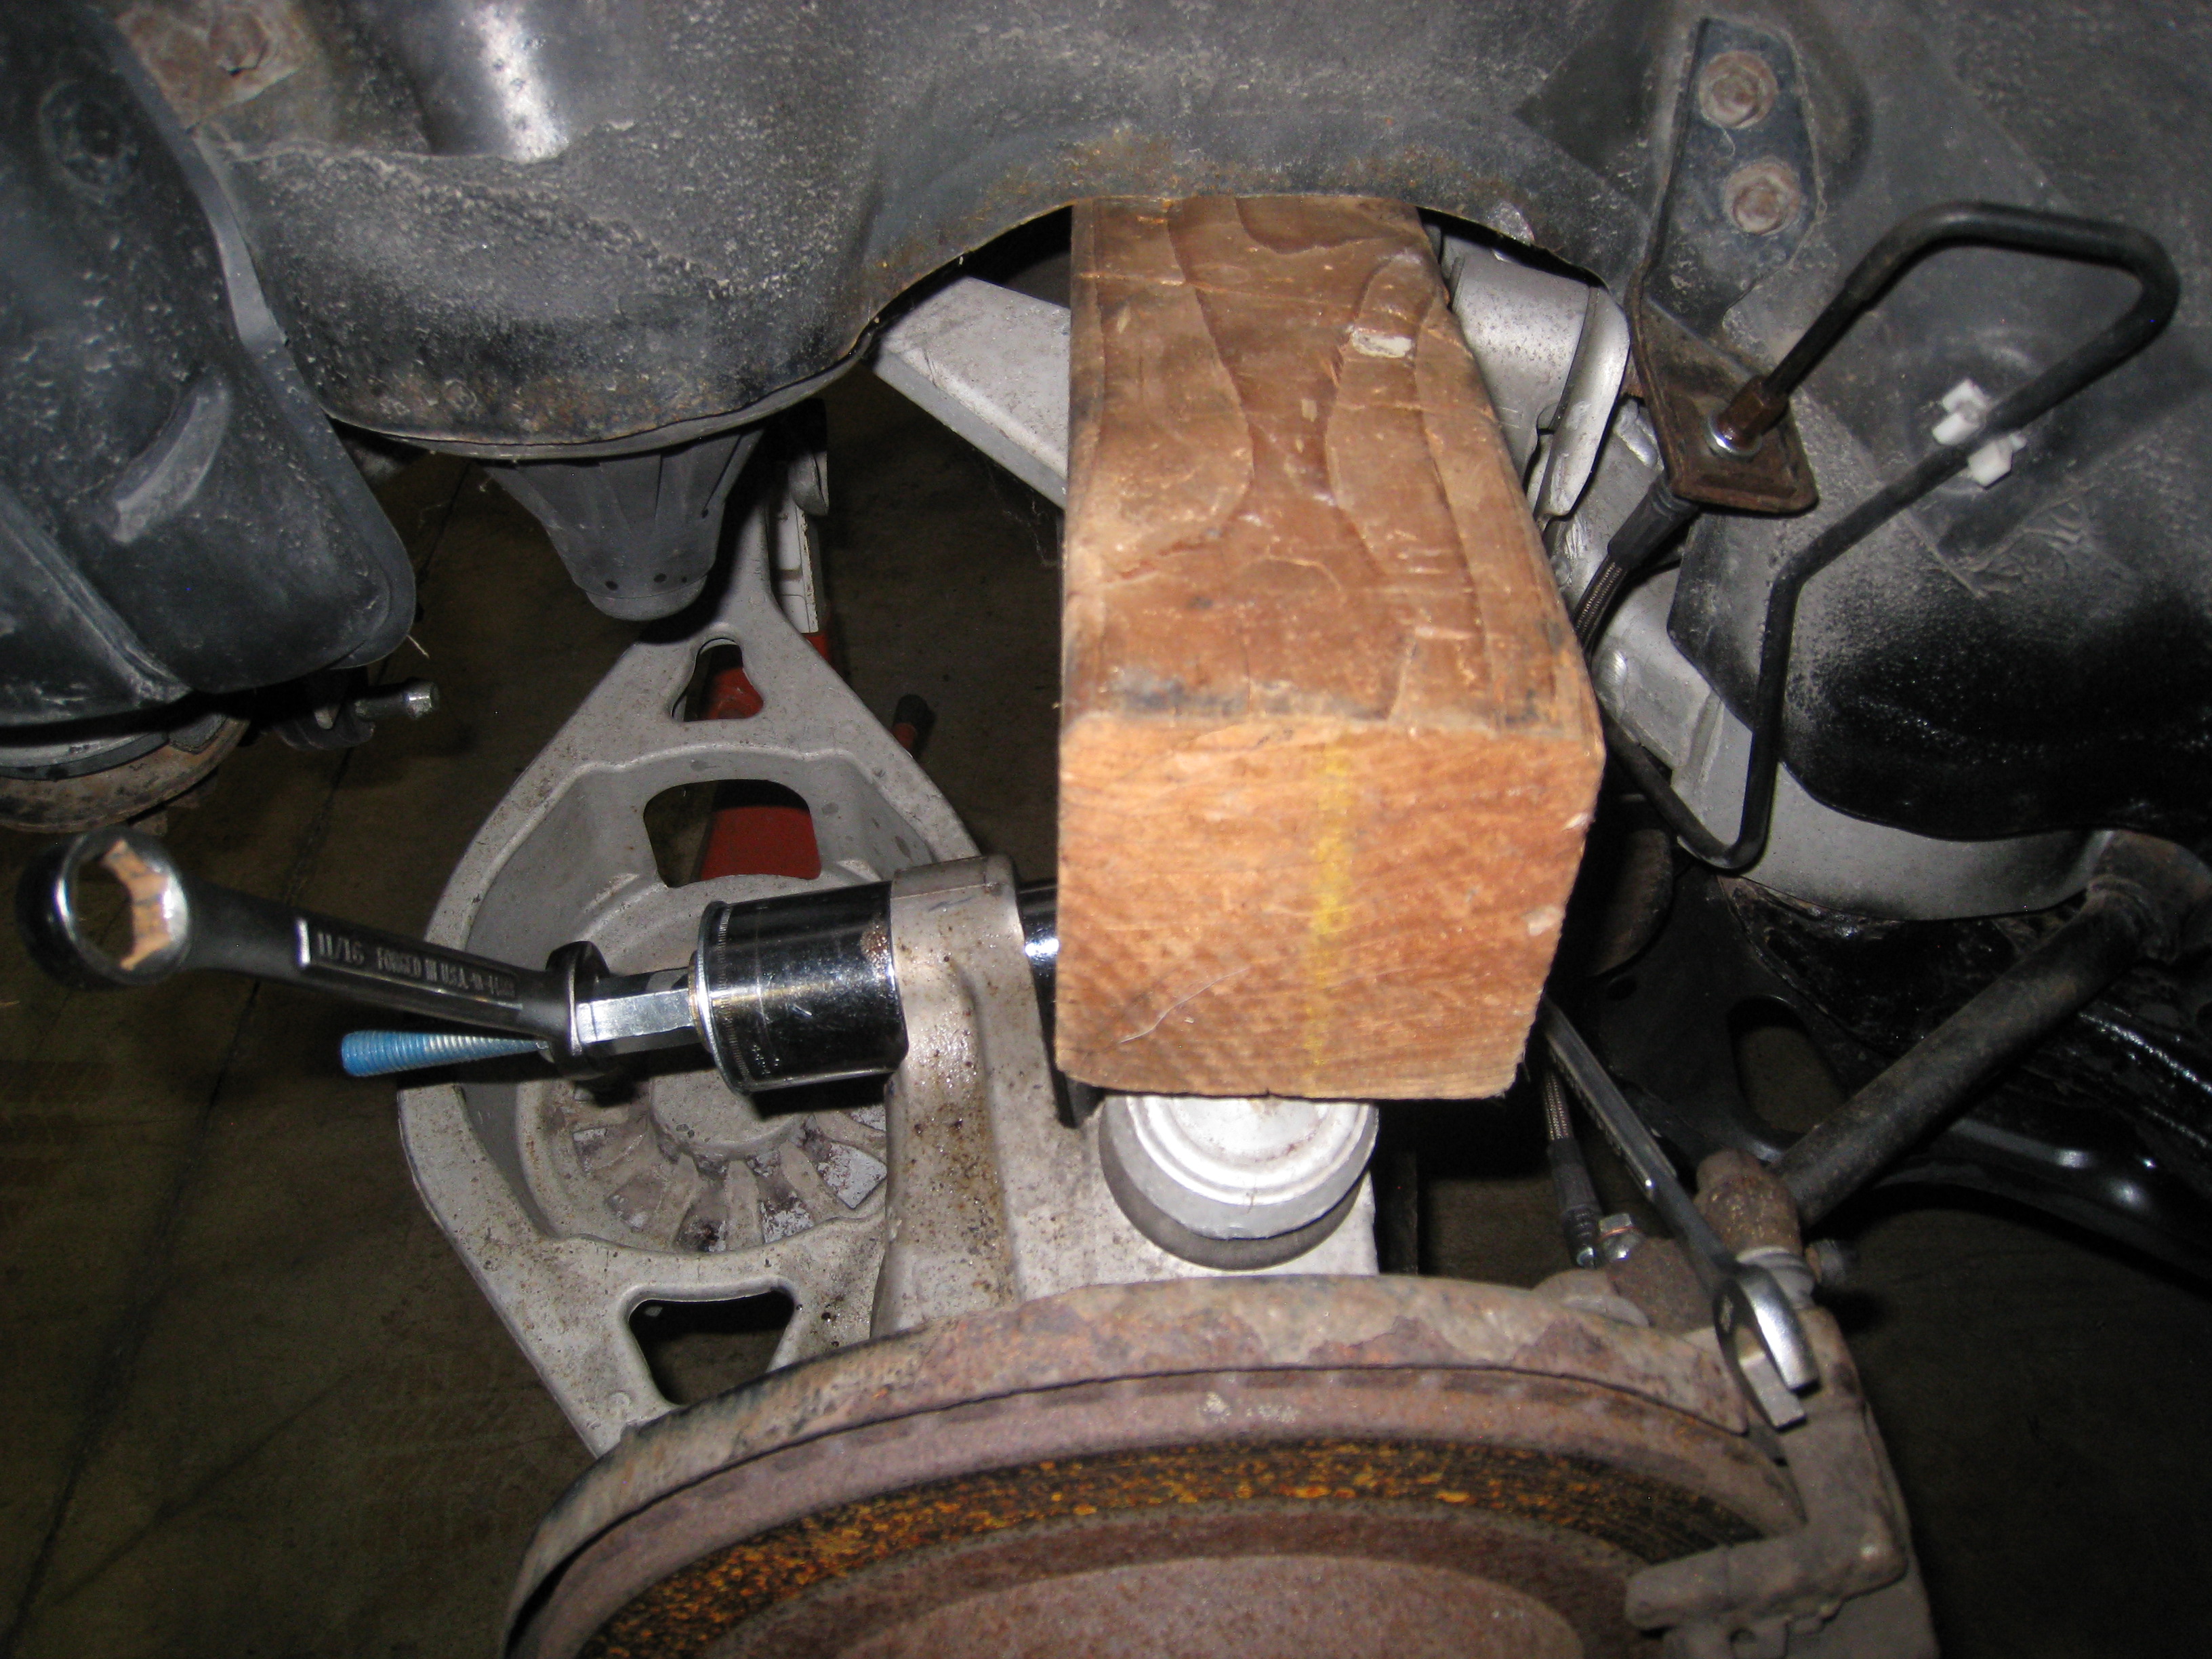
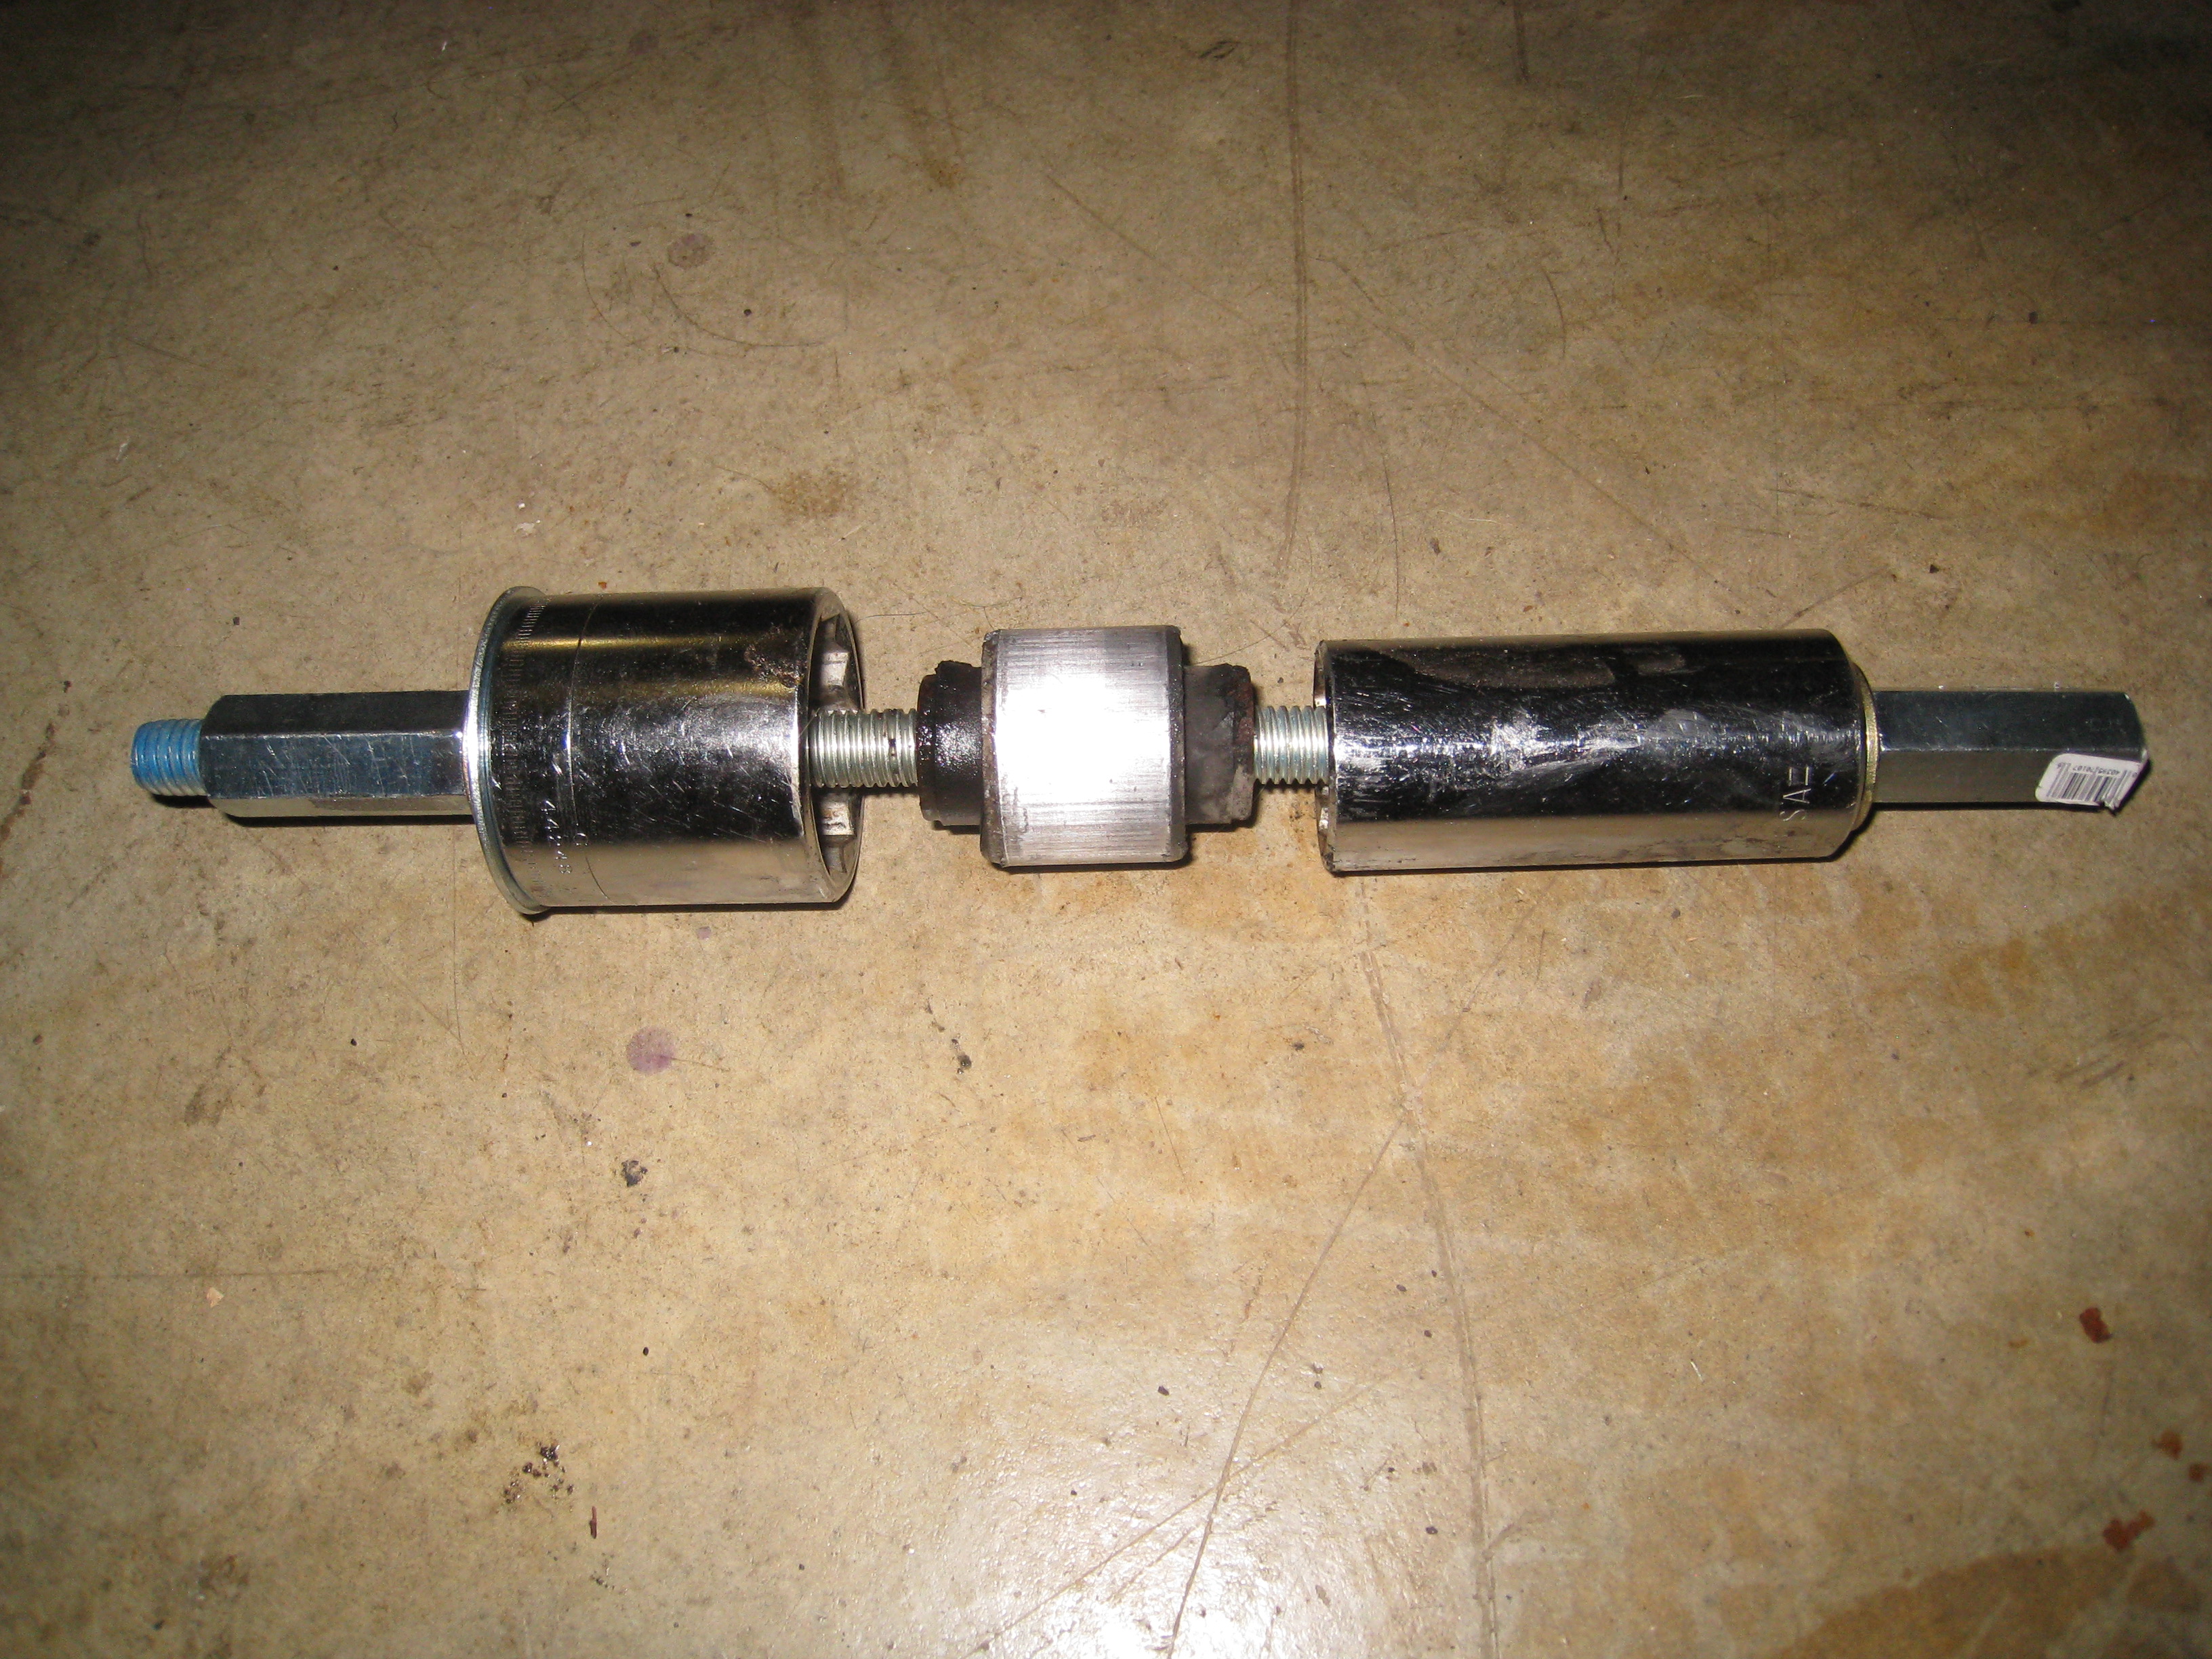
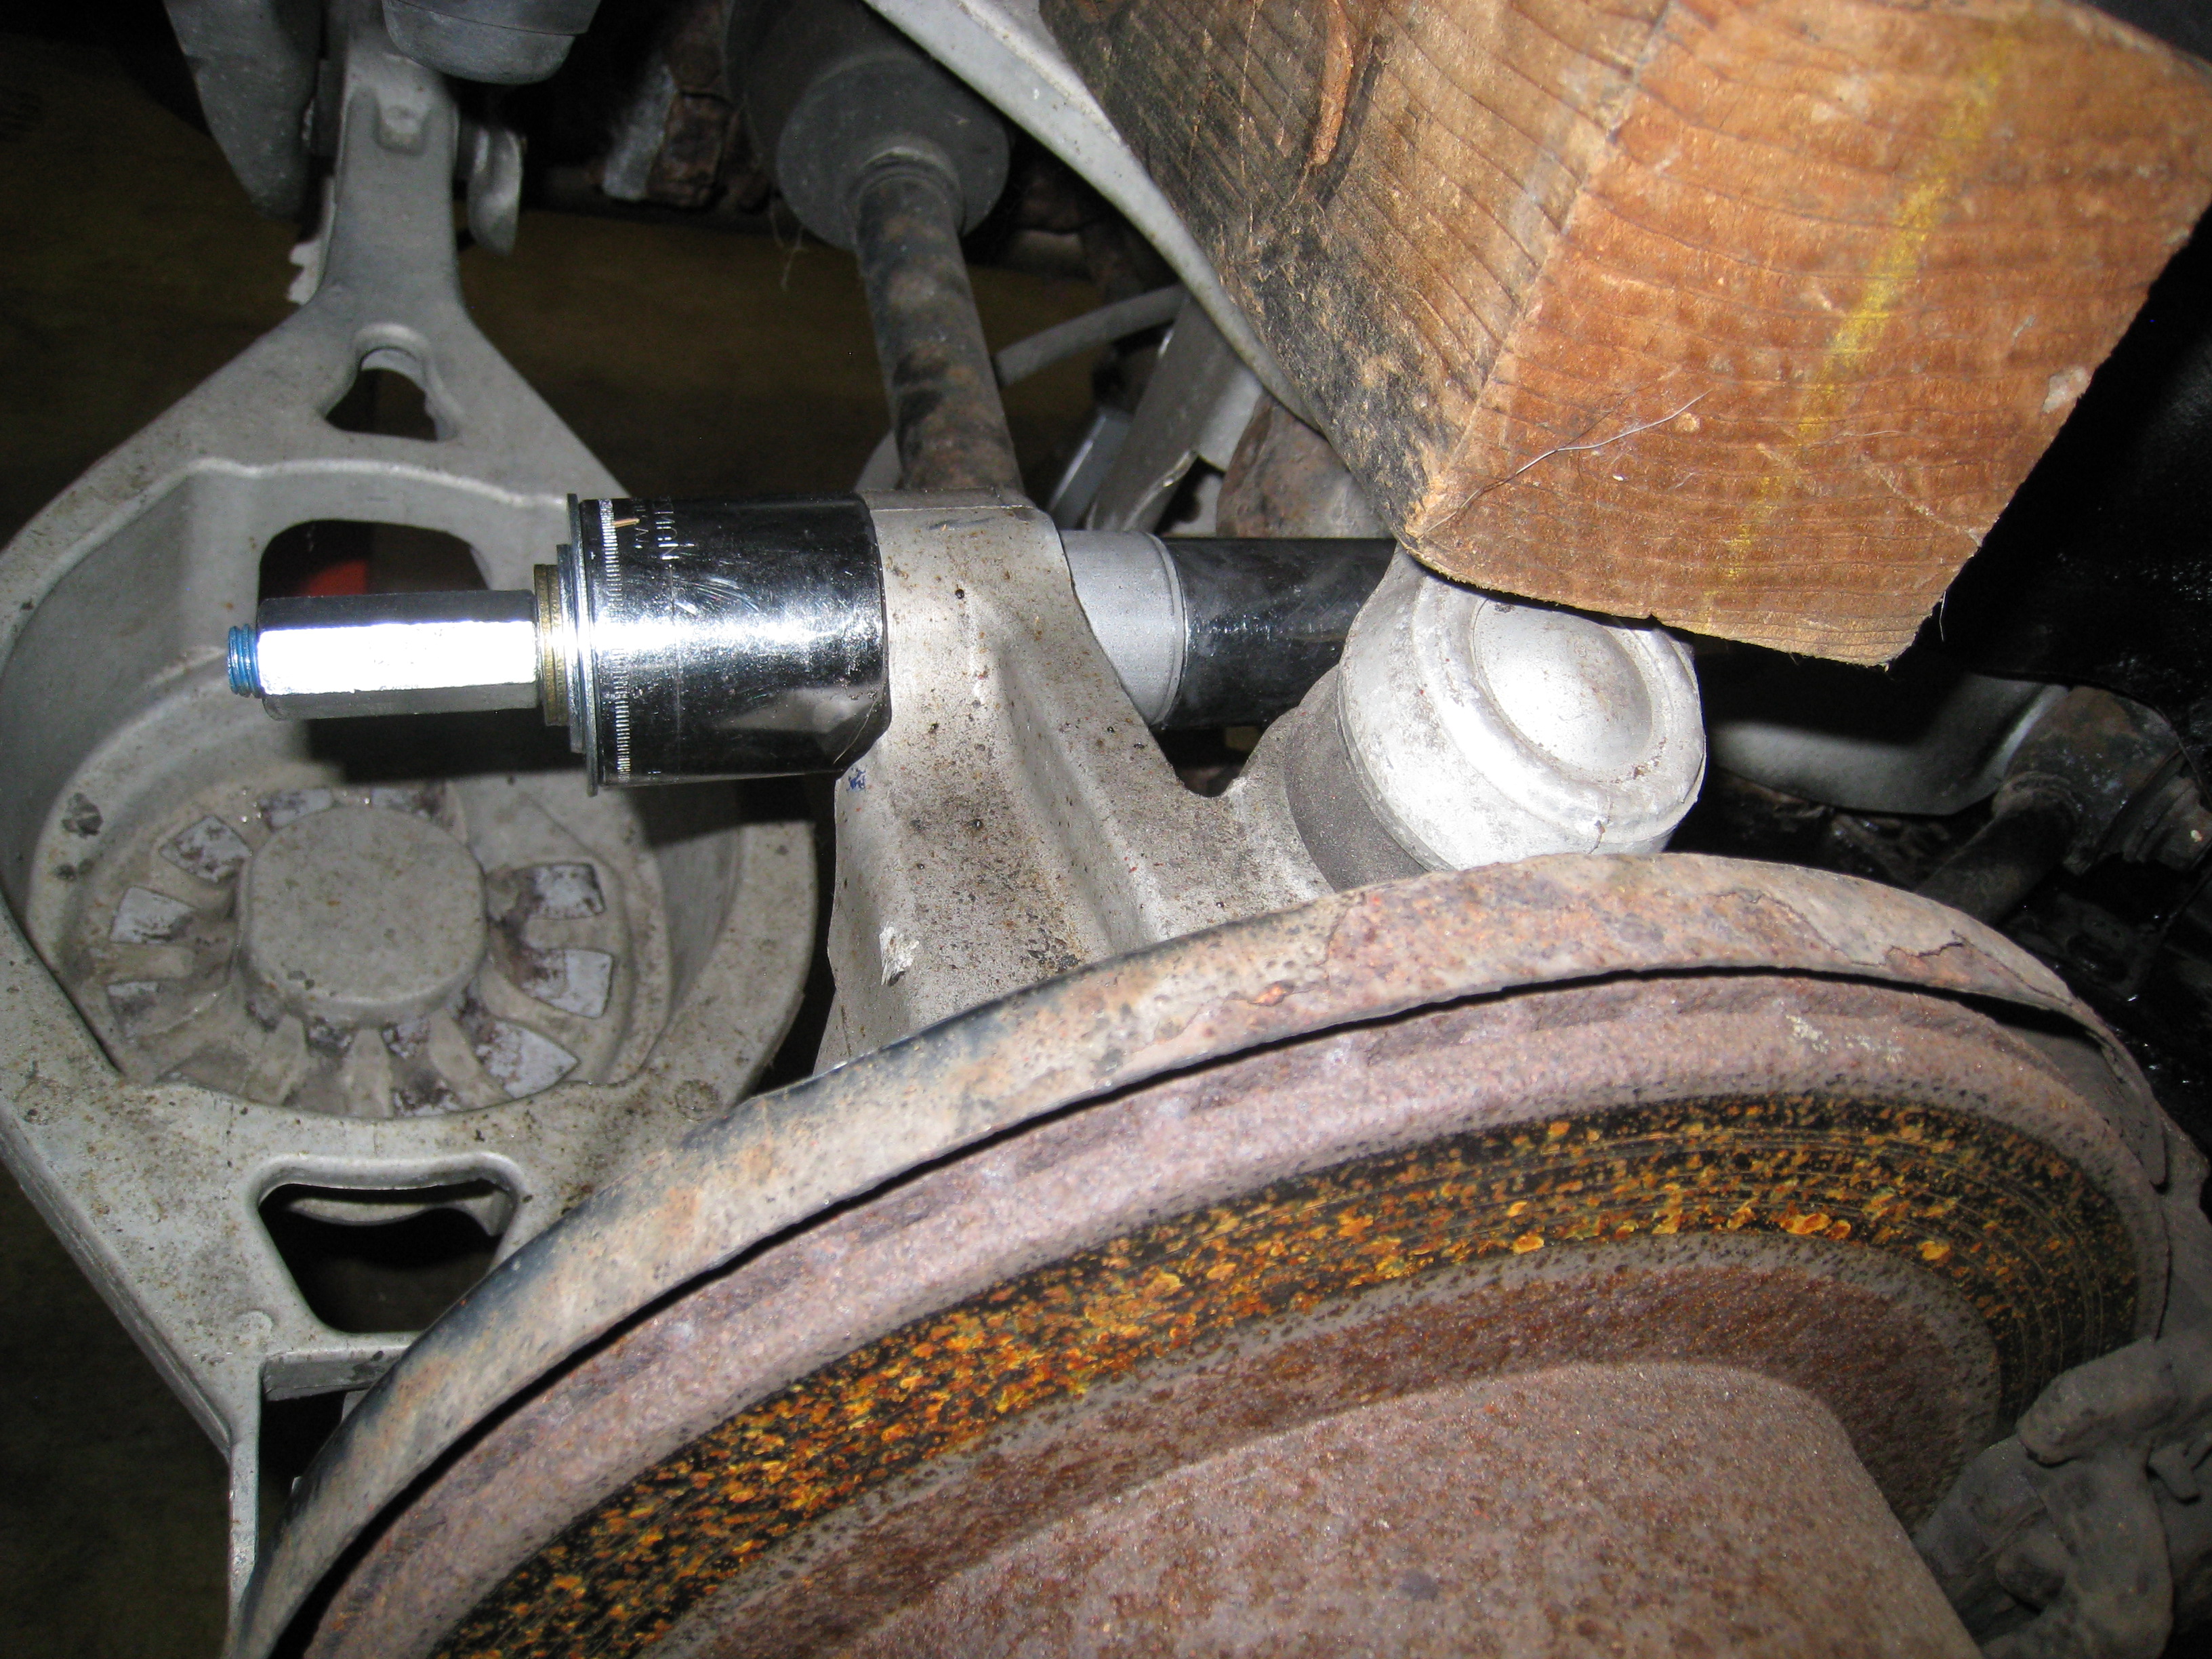
I hit the local Ace Hardware and bought a 1/2" x 1 foot threaded rod and 2 coupling nuts, as well as some Grade 8 1/2" washers. Then, I used a chunk of 4x4 to hold the suspension down in that corner (see pictures) since I needed clearance for the assembly of the threaded rod, coupling nuts, washers and 2 sockets (a deep well 27mm and a 36mm socket - both Craftsman). The 27mm socket was to push the old bushing through, and the 36mm allowed clearance to catch it. The 36mm was positioned on the rear (flat) side of the knuckle. Since the 27mm socket was pushing directly on the bushing anyway, the 5deg slope on that face of the knuckle on the other side didn't matter. I sprayed Kroil at both sides of the bushing to hopefully get it moving quicker and keep it moving smoothly once started.
It worked like a charm. I'll use the same setup to pull the new bushing into place in the morning.
Just got me a Mishi Oil Cooler, sandwich plate and lines for the Z33.
Also Picked up the Mishi Intake Charge Pipe to make the new Catch can install a little easier!
I have some Carbon Bits in the mail from Japan but I don't expect those any time soon...
I'm trying to wrap up my upgrades/maintenance so that I can finally drive my Z this season. Today I got around to removing the other (right/passenger rear) shock mount bushing. Based on feedback in other threads, and after having spent a LOT of time removing the knuckle on the driver rear side to get that one's bushing out with a press, this time I decided to take another stab at removing it while still on the vehicle.
I hit the local Ace Hardware and bought a 1/2" x 1 foot threaded rod and 2 coupling nuts, as well as some Grade 8 1/2" washers. Then, I used a chunk of 4x4 to hold the suspension down in that corner (see pictures) since I needed clearance for the assembly of the threaded rod, coupling nuts, washers and 2 sockets (a deep well 27mm and a 36mm socket - both Craftsman). The 27mm socket was to push the old bushing through, and the 36mm allowed clearance to catch it. The 36mm was positioned on the rear (flat) side of the knuckle. Since the 27mm socket was pushing directly on the bushing anyway, the 5deg slope on that face of the knuckle on the other side didn't matter. I sprayed Kroil at both sides of the bushing to hopefully get it moving quicker and keep it moving smoothly once started.
It worked like a charm. I'll use the same setup to pull the new bushing into place in the morning.
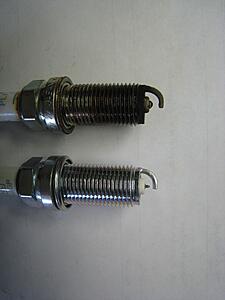
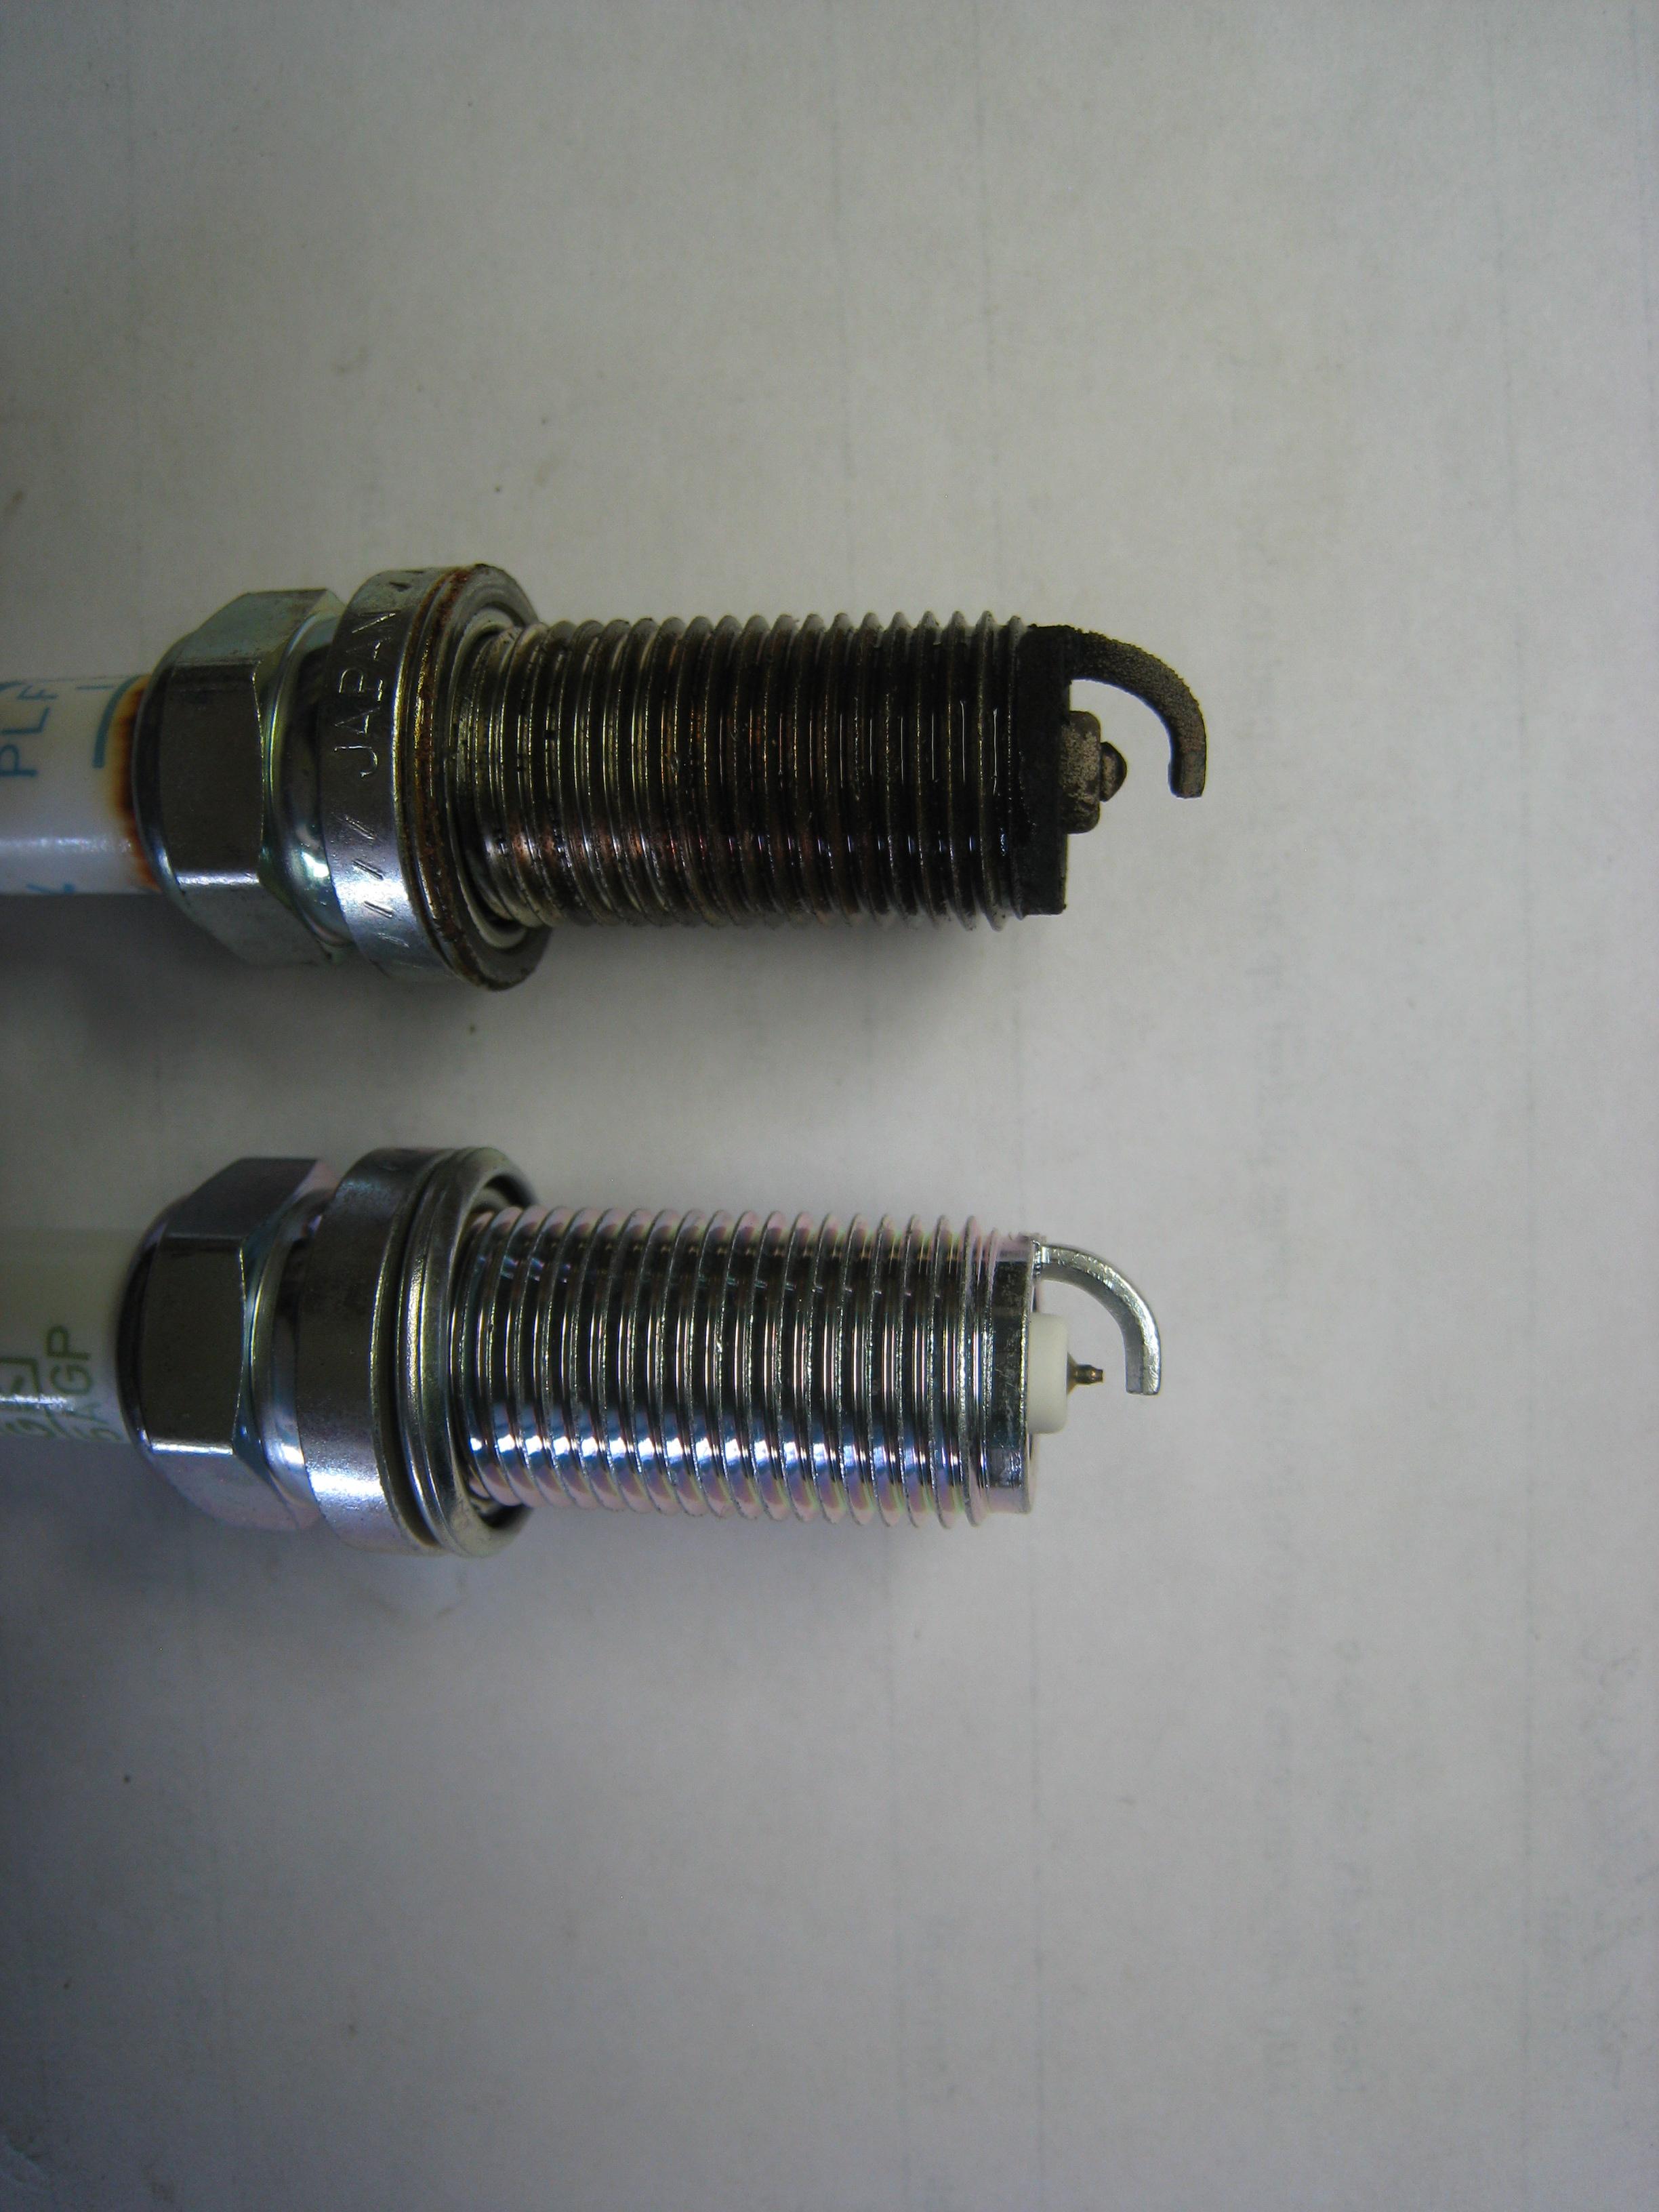
And in today's efforts: replaced the spark plugs (by the looks of it, the ones that came out may have been the originals with 129k miles on them), replaced the accessory drive belts, and replaced the air filter.
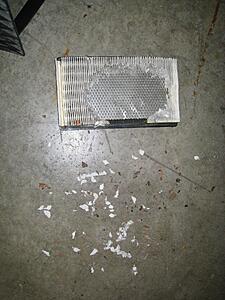
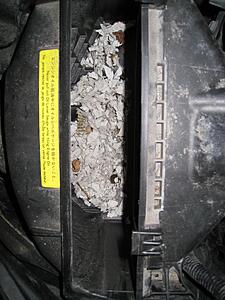
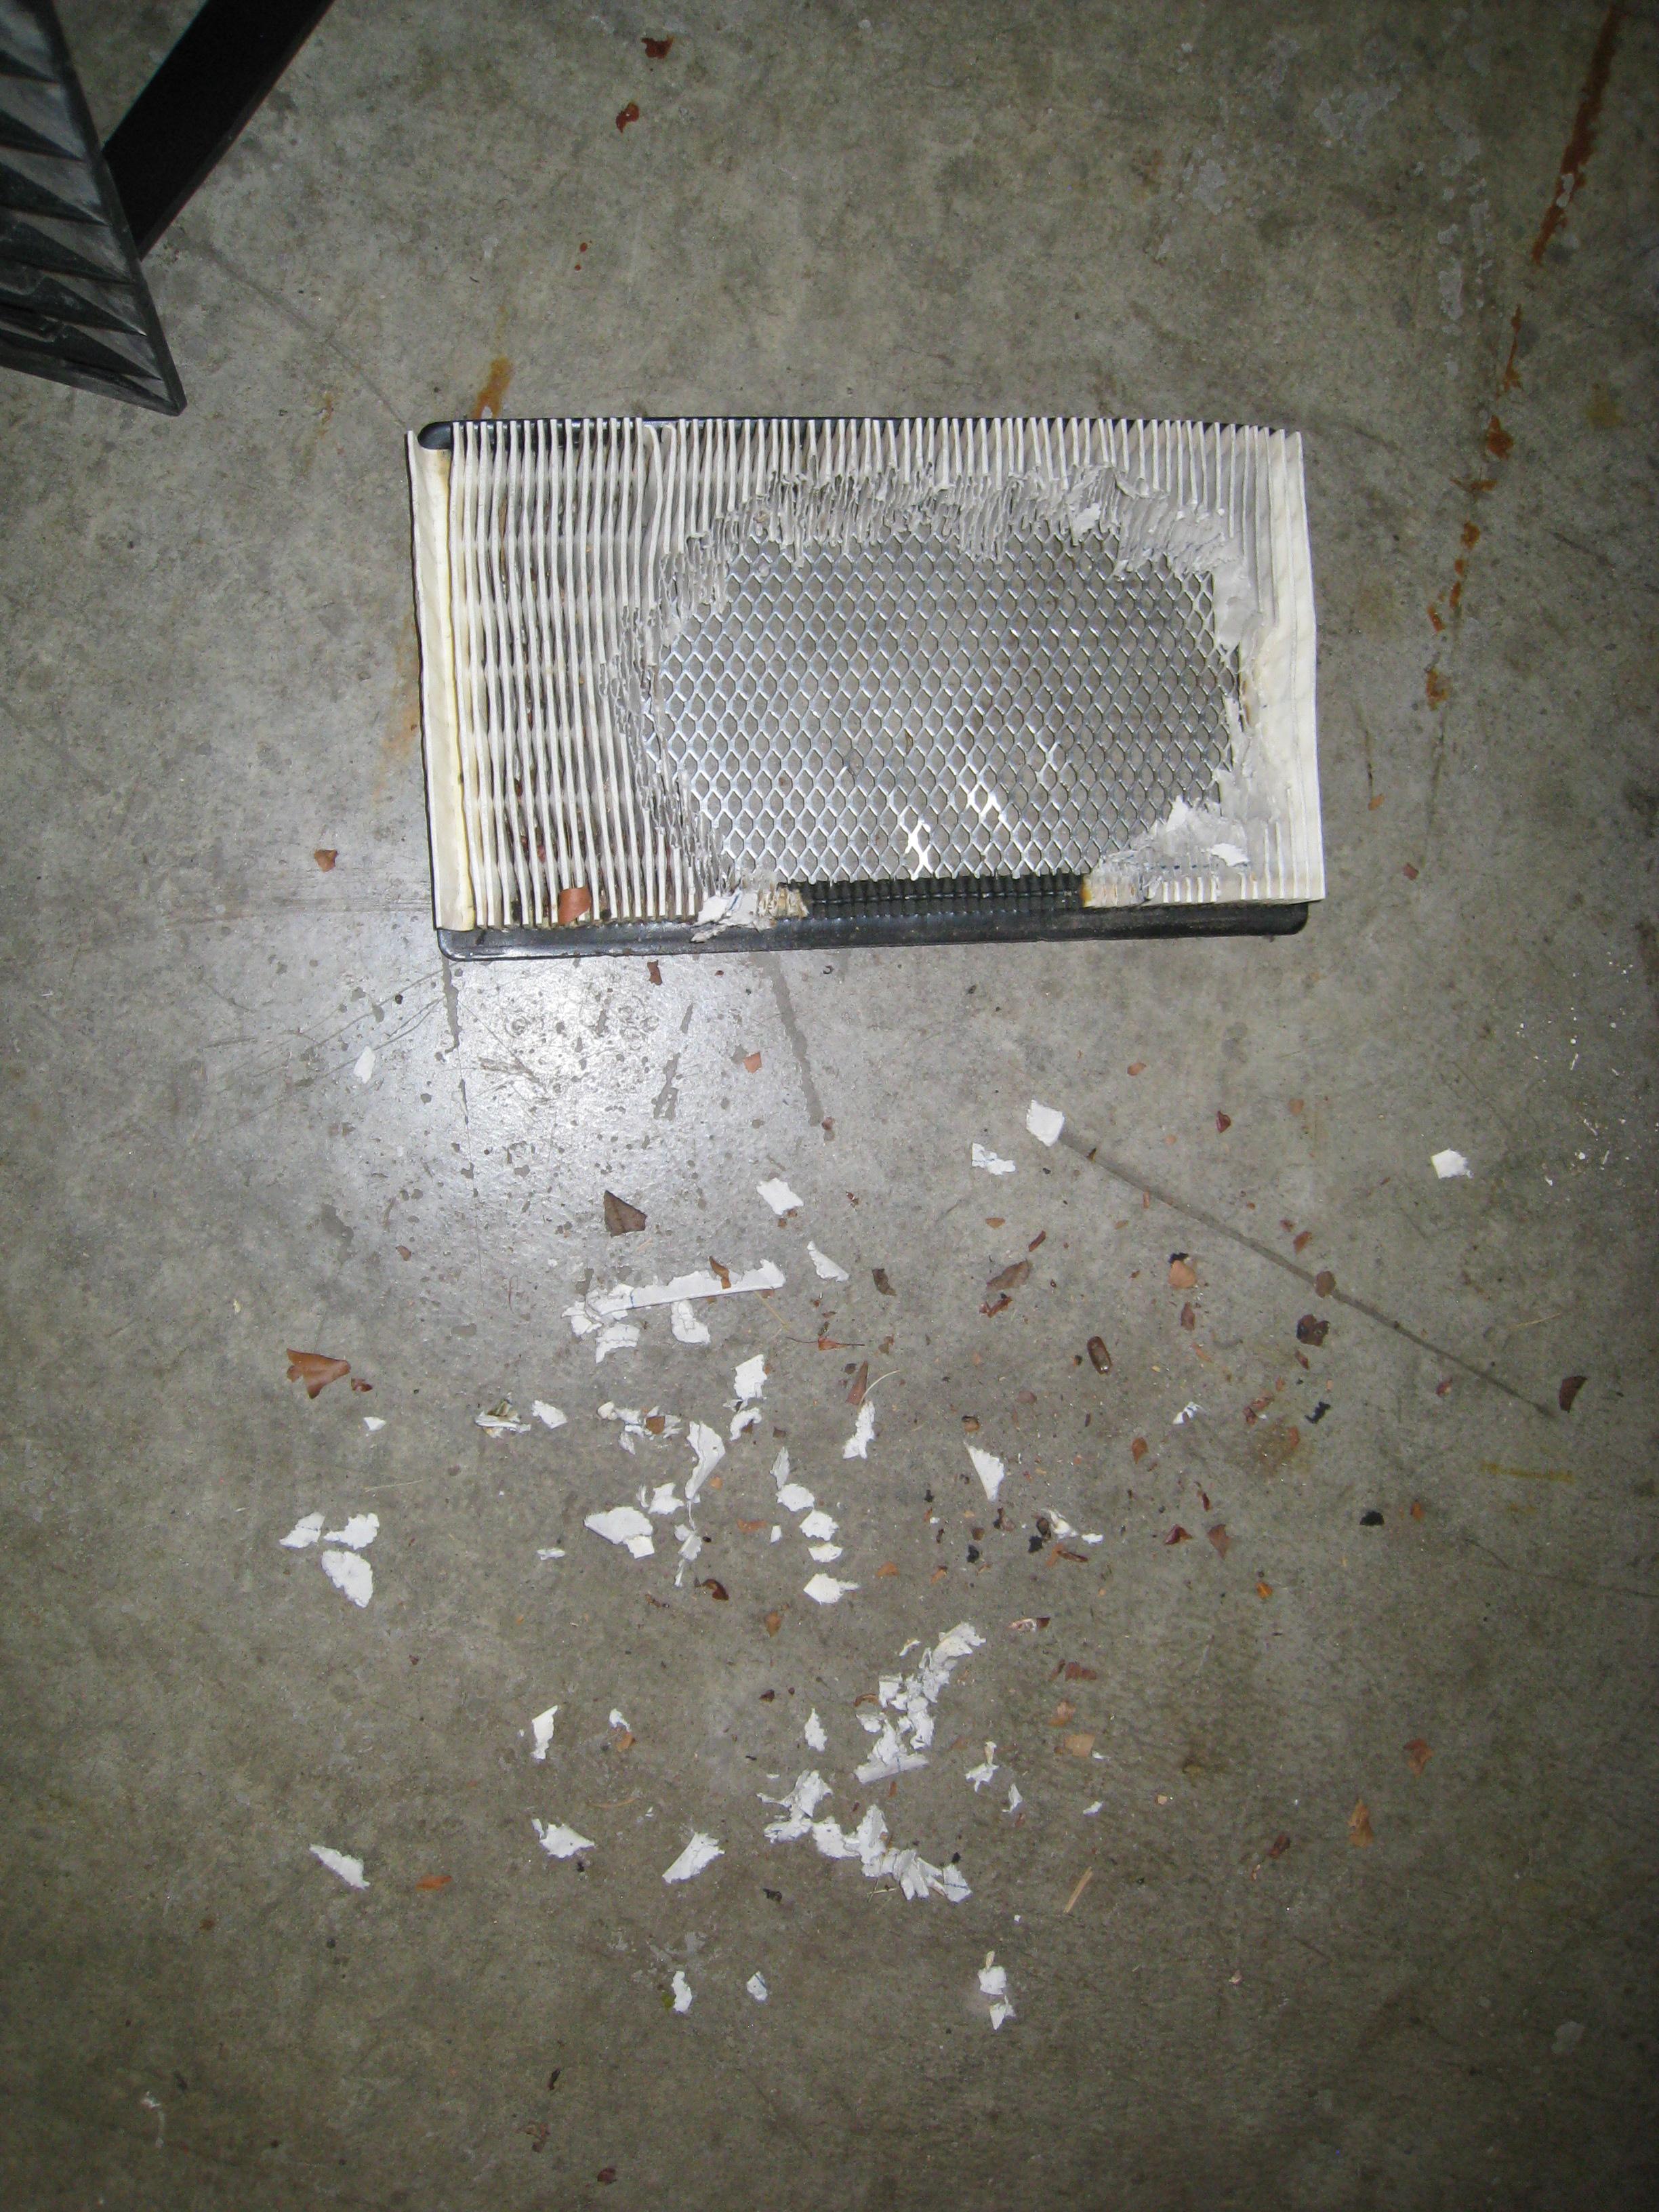
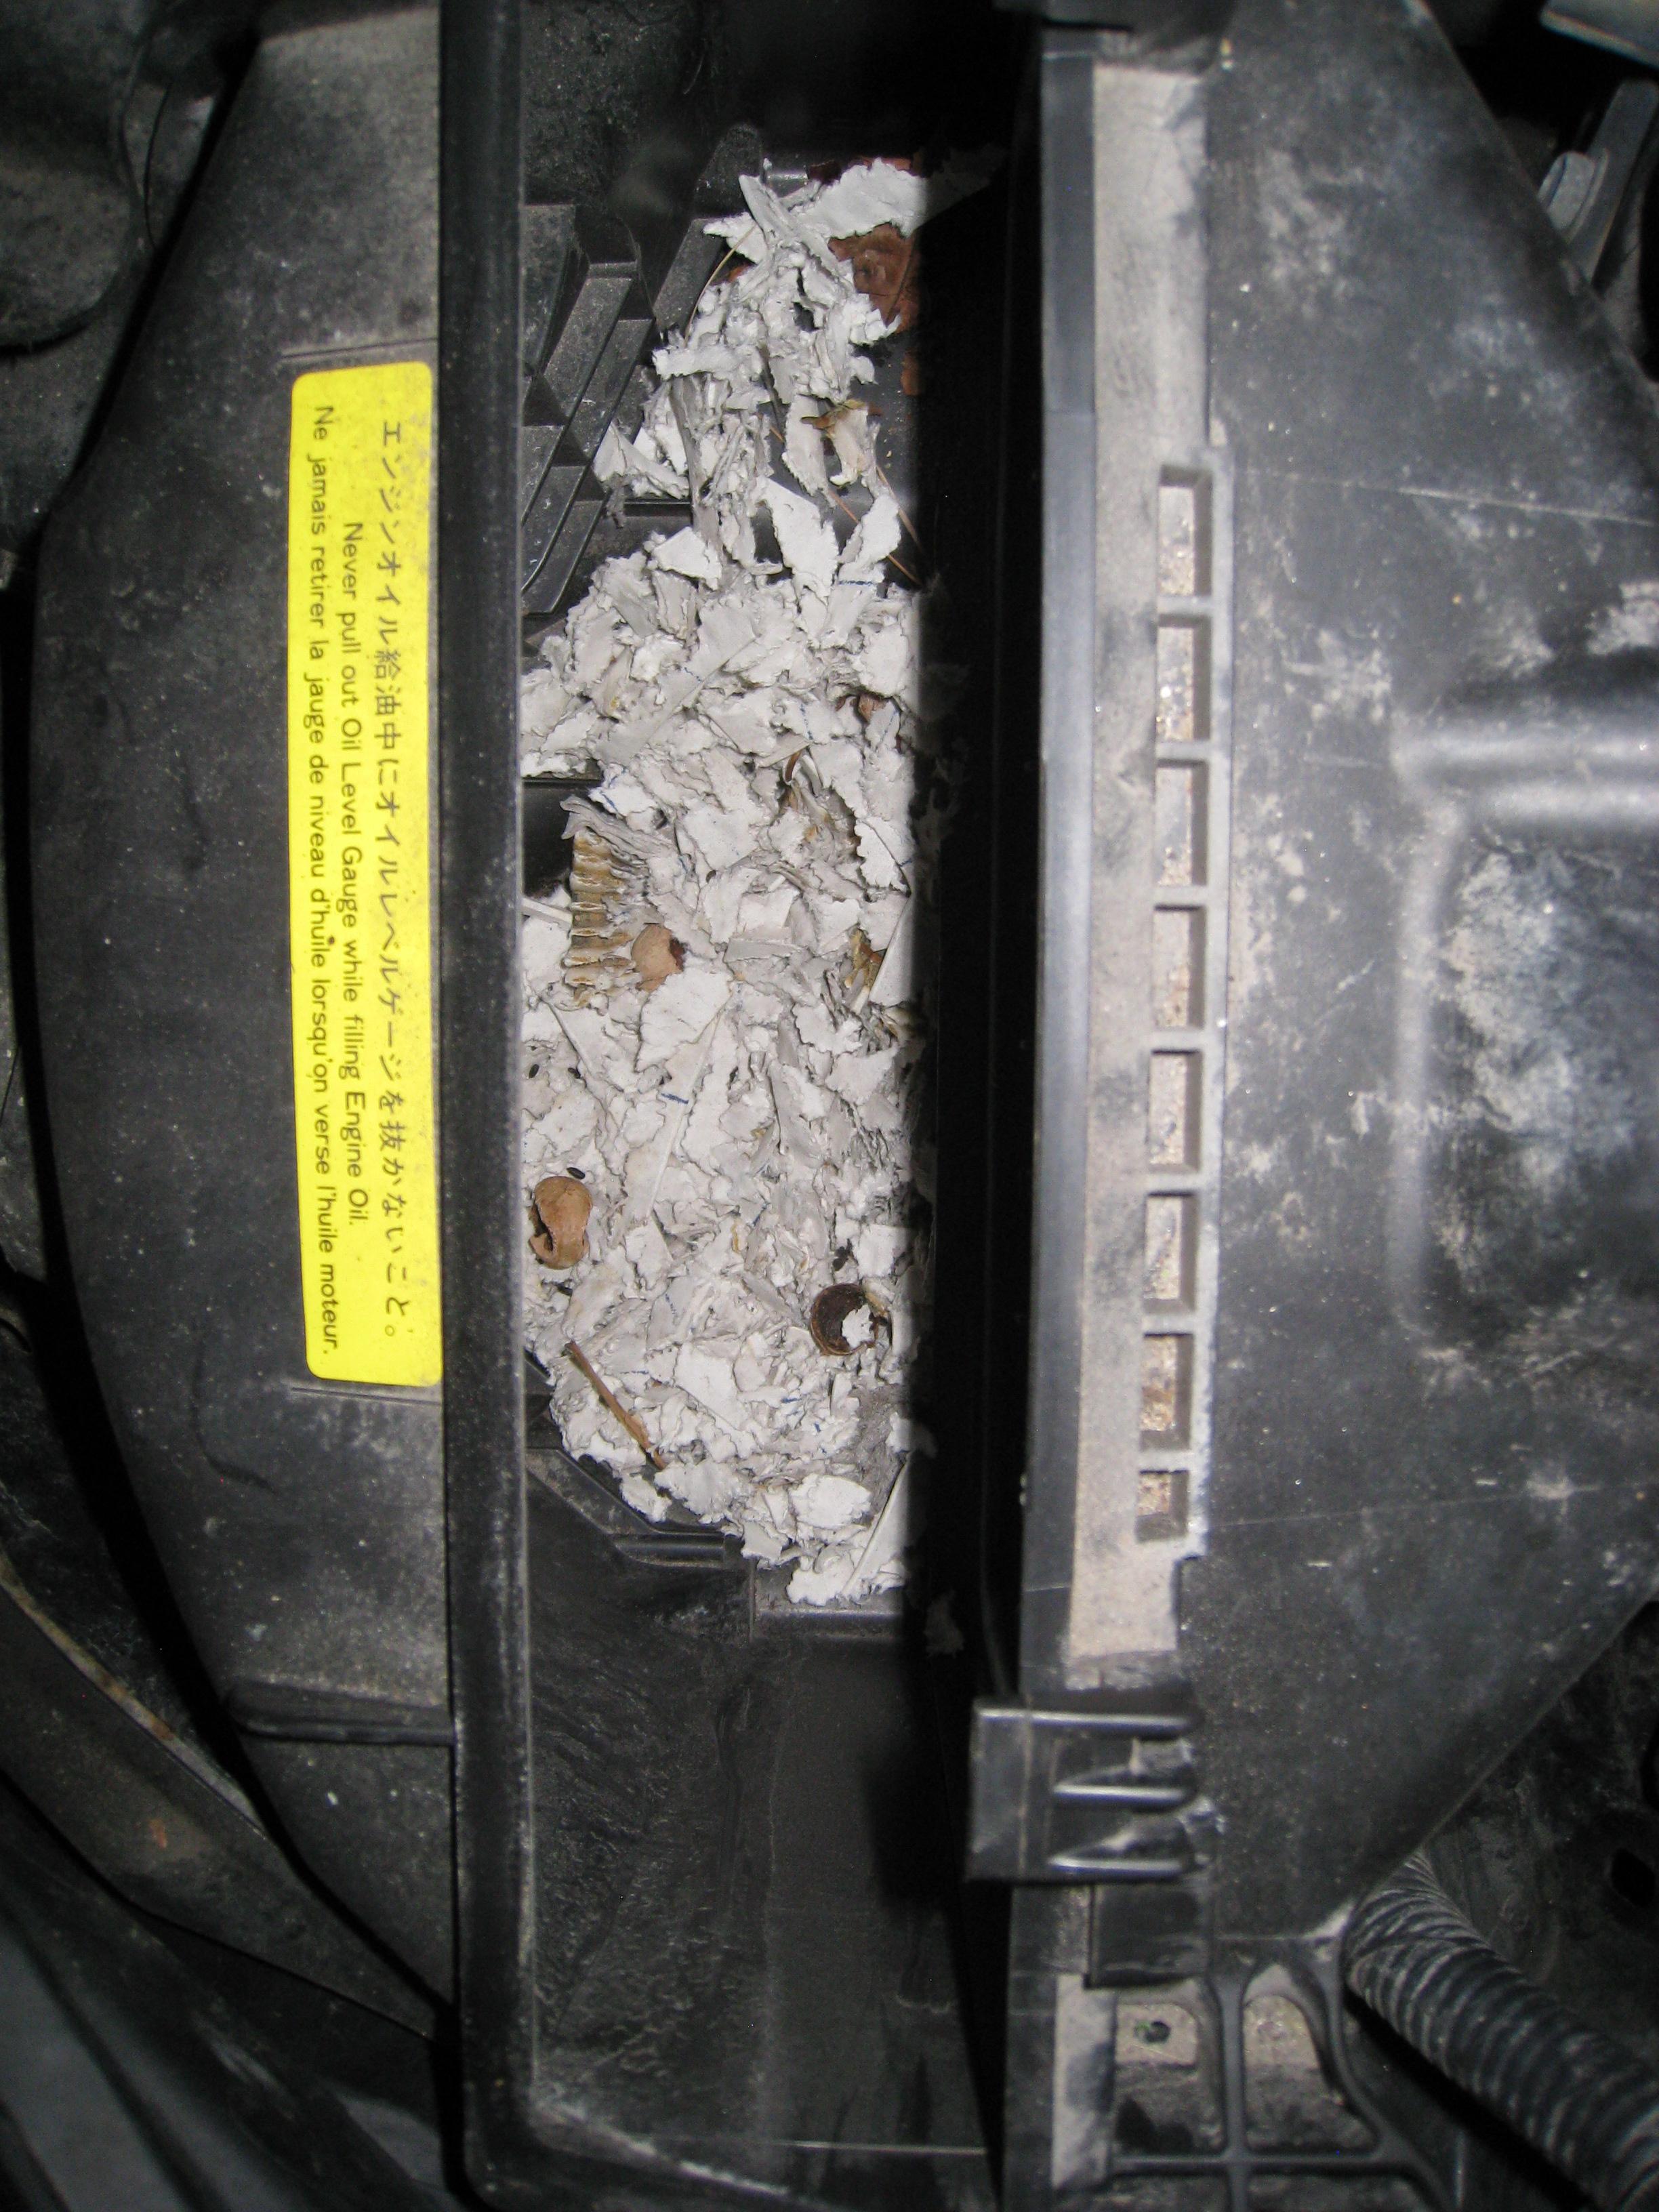
Mental note for any next car that I buy to revive that has been sitting for some time: Do Not count on the Manufacturer's Dealer doing an oil change to complete an overall inspection. I discovered that they missed the obvious signs of MOUSE NESTING in the Airbox. They made a nest out of the filter paper
Luckily I hadn't put too many miles on the Z. Checking the air filter health and cleanliness of the airbox on any next used car purchase is definitely on my checklist.
Old vs. New spark plugs
Mouse stuff
Based on the markings on the old filter, it was a Purolater. Maybe the mice like their paper element better for nesting, as I've never seen this before.
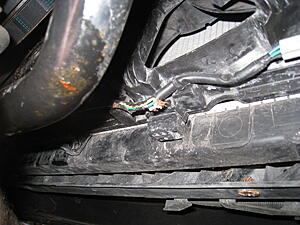
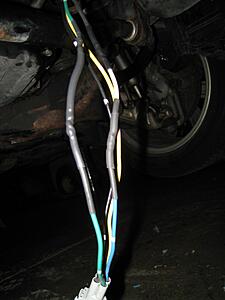
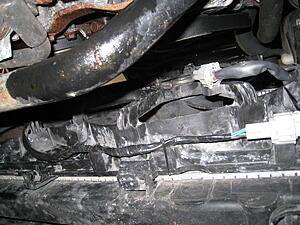
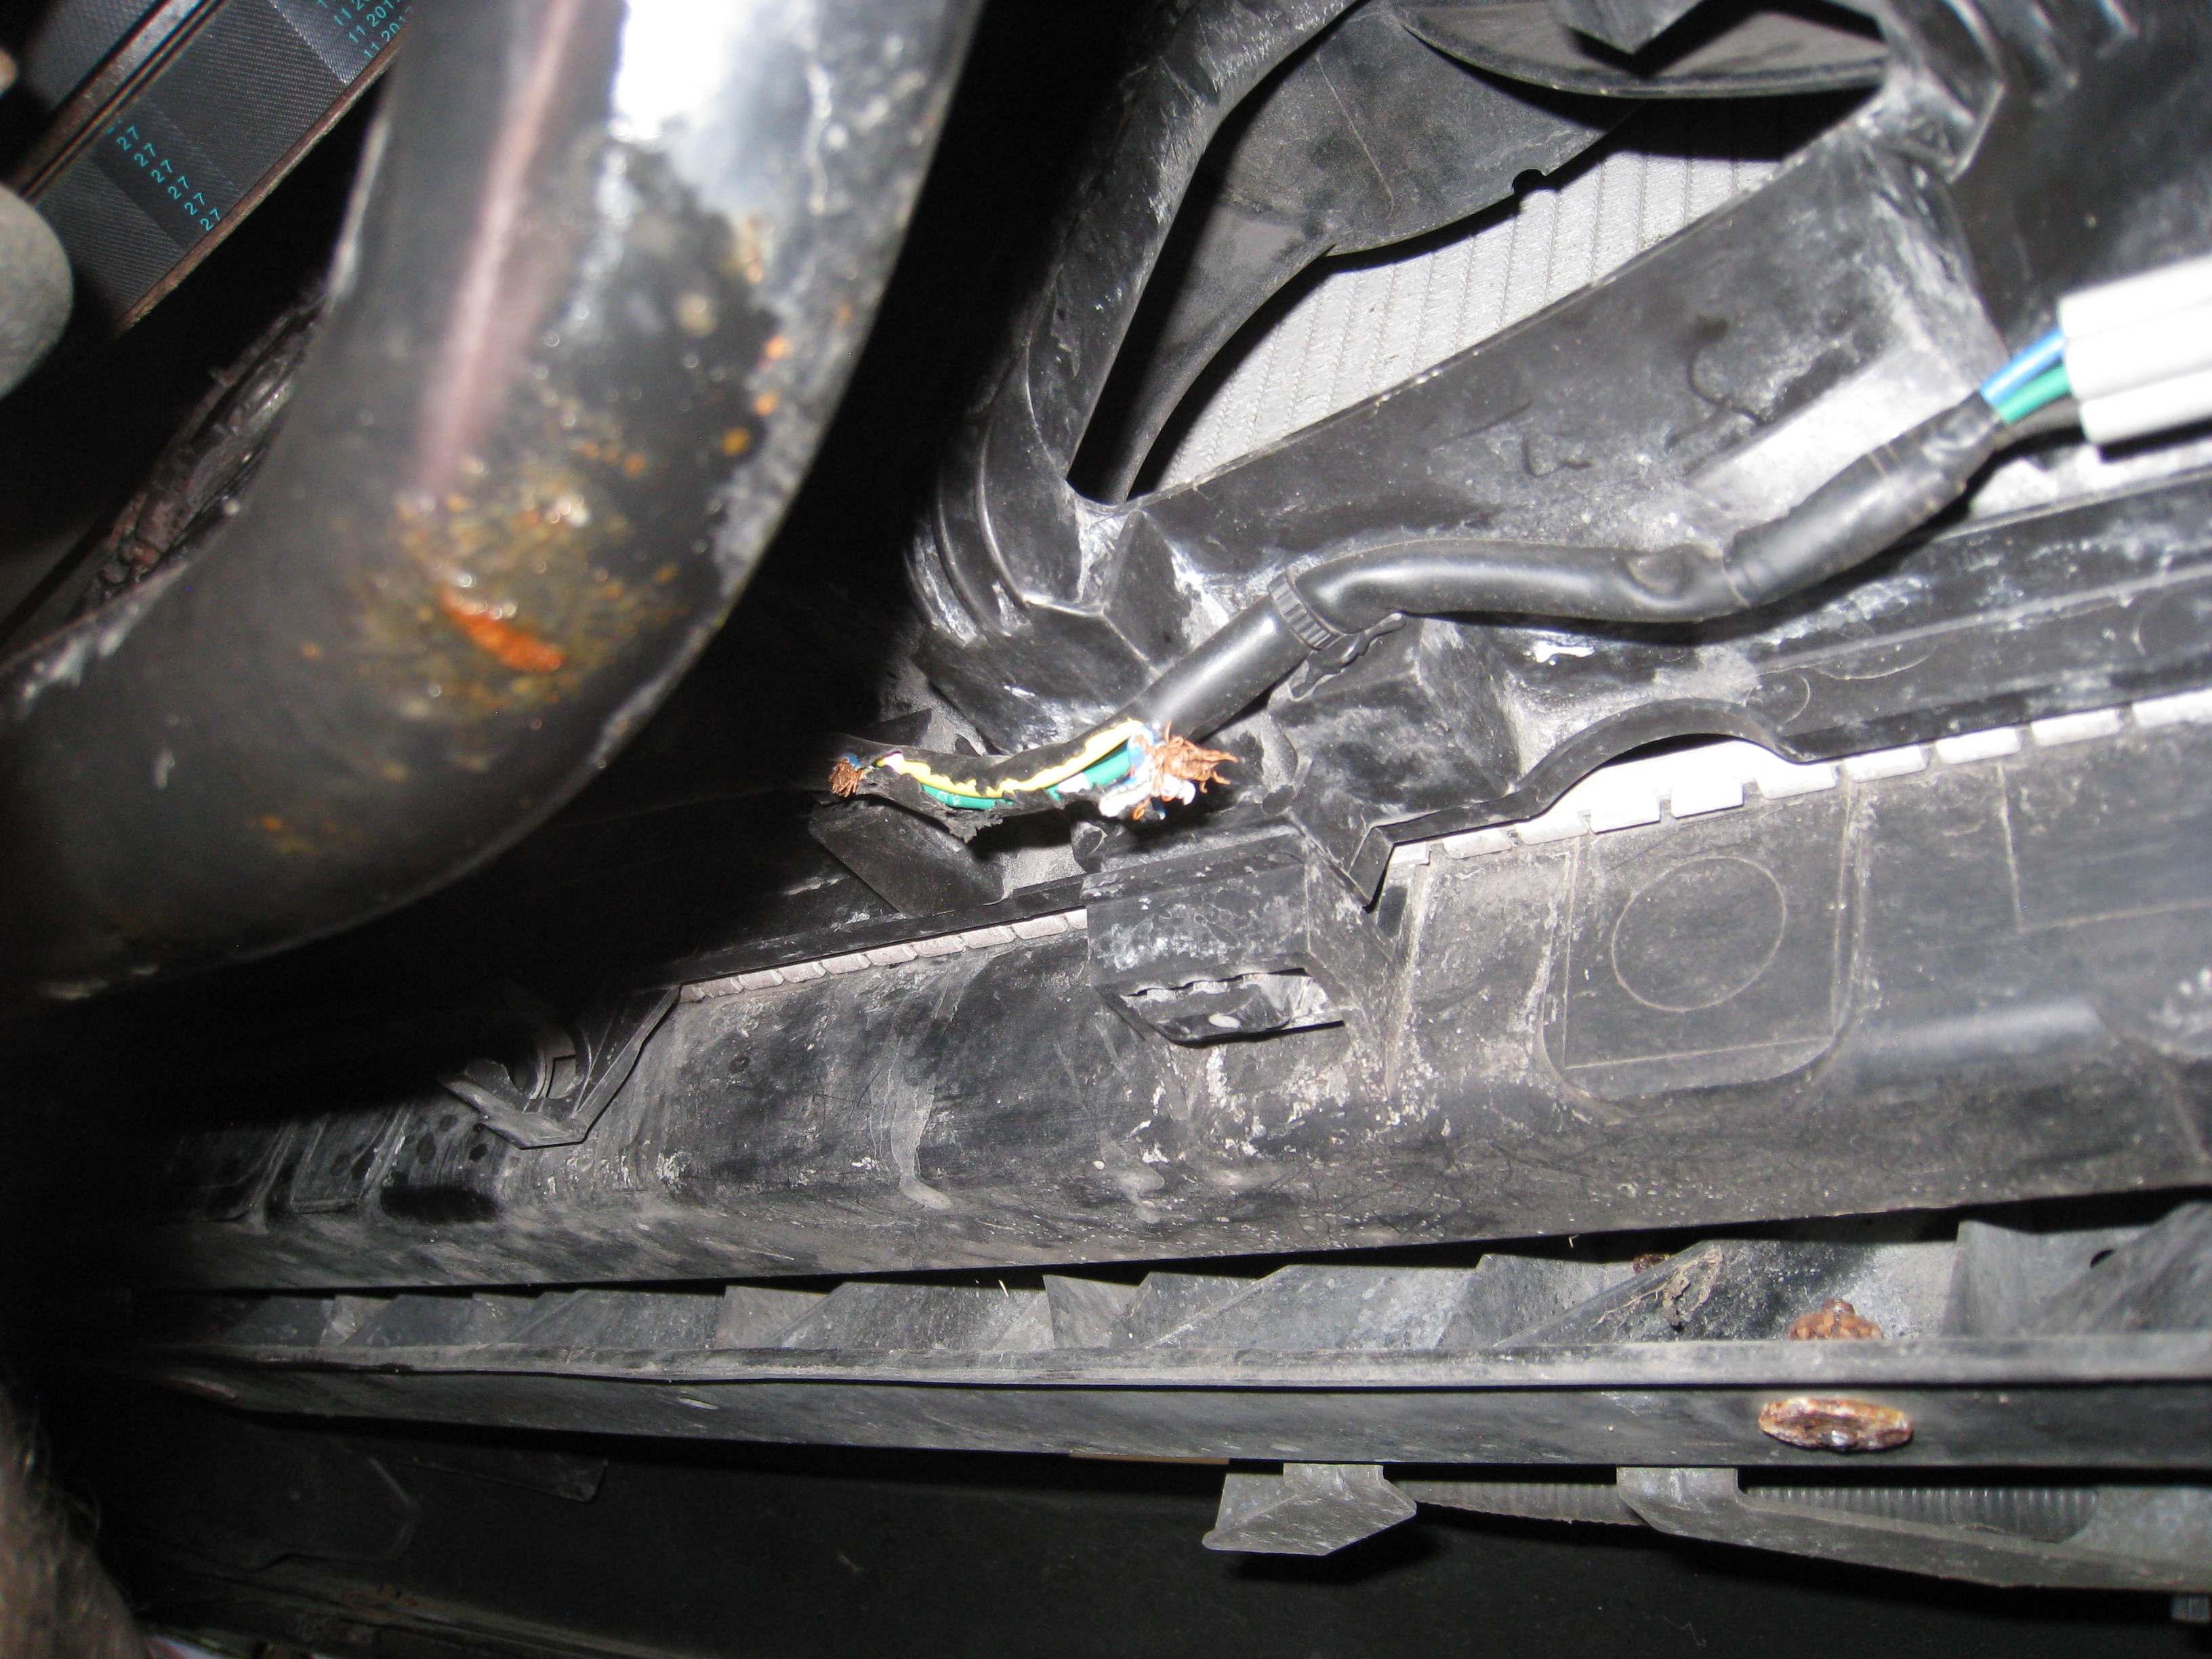
Also from mice, I found some chewed wiring under the radiator...
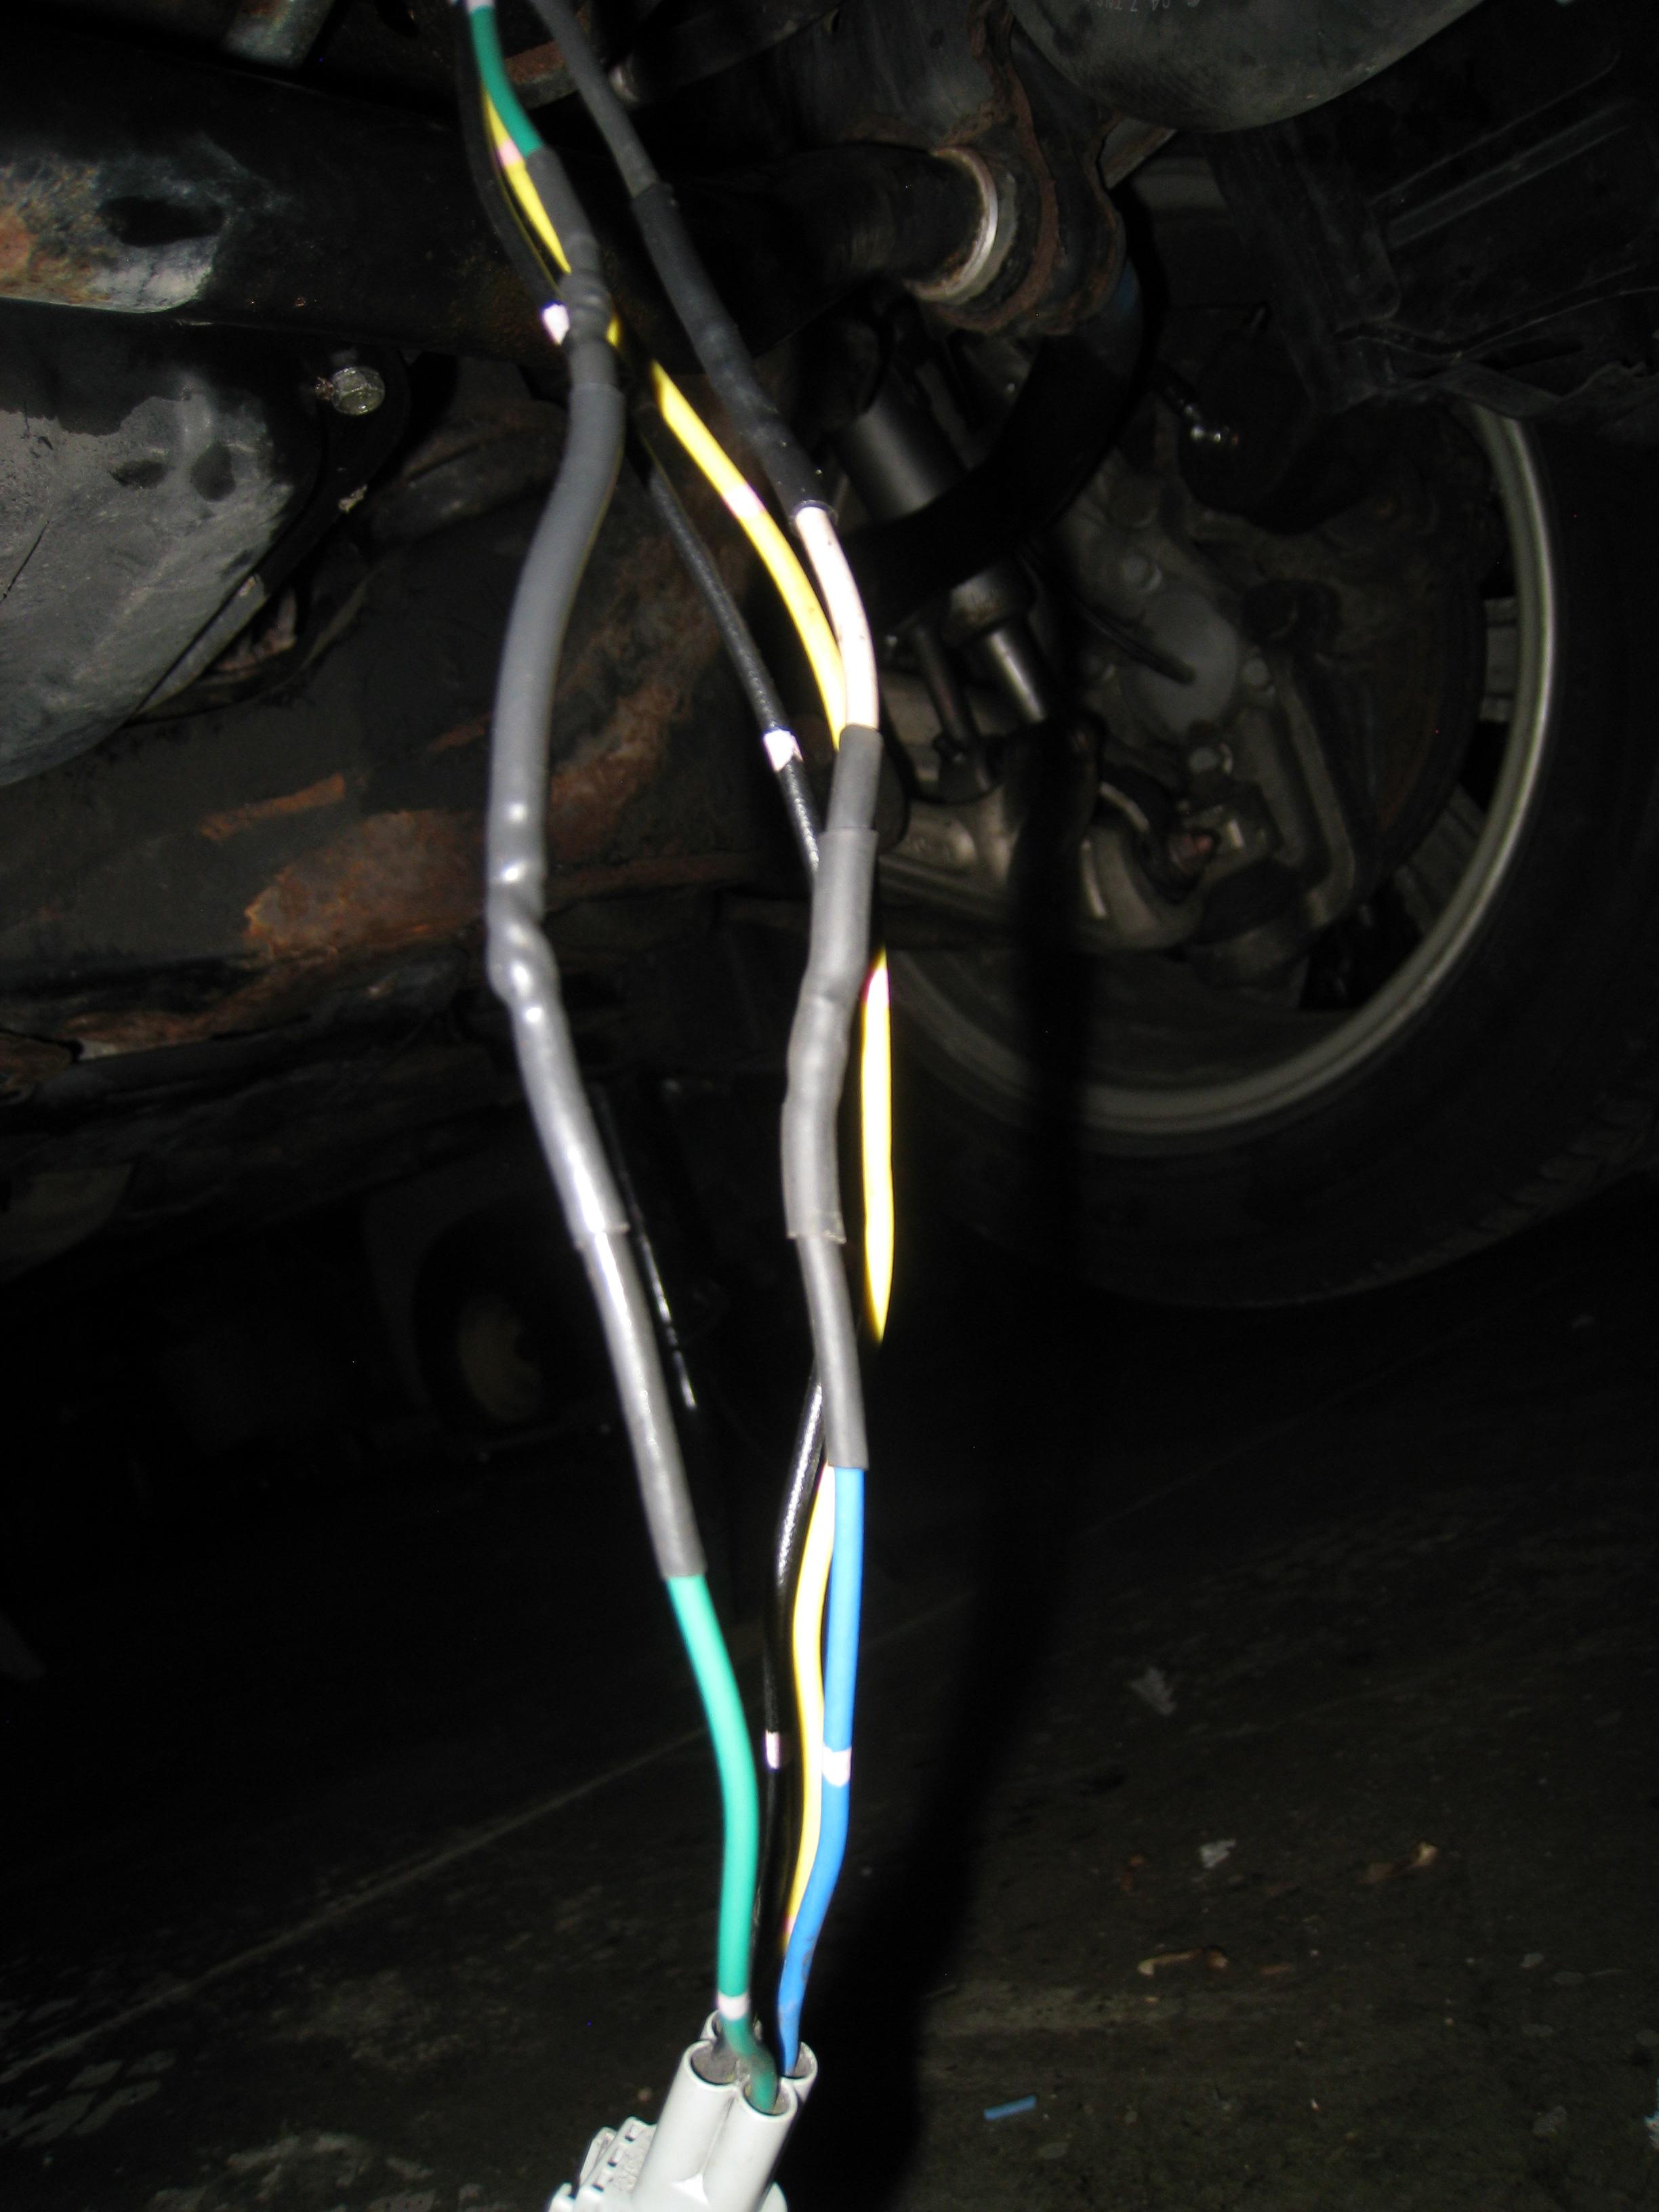
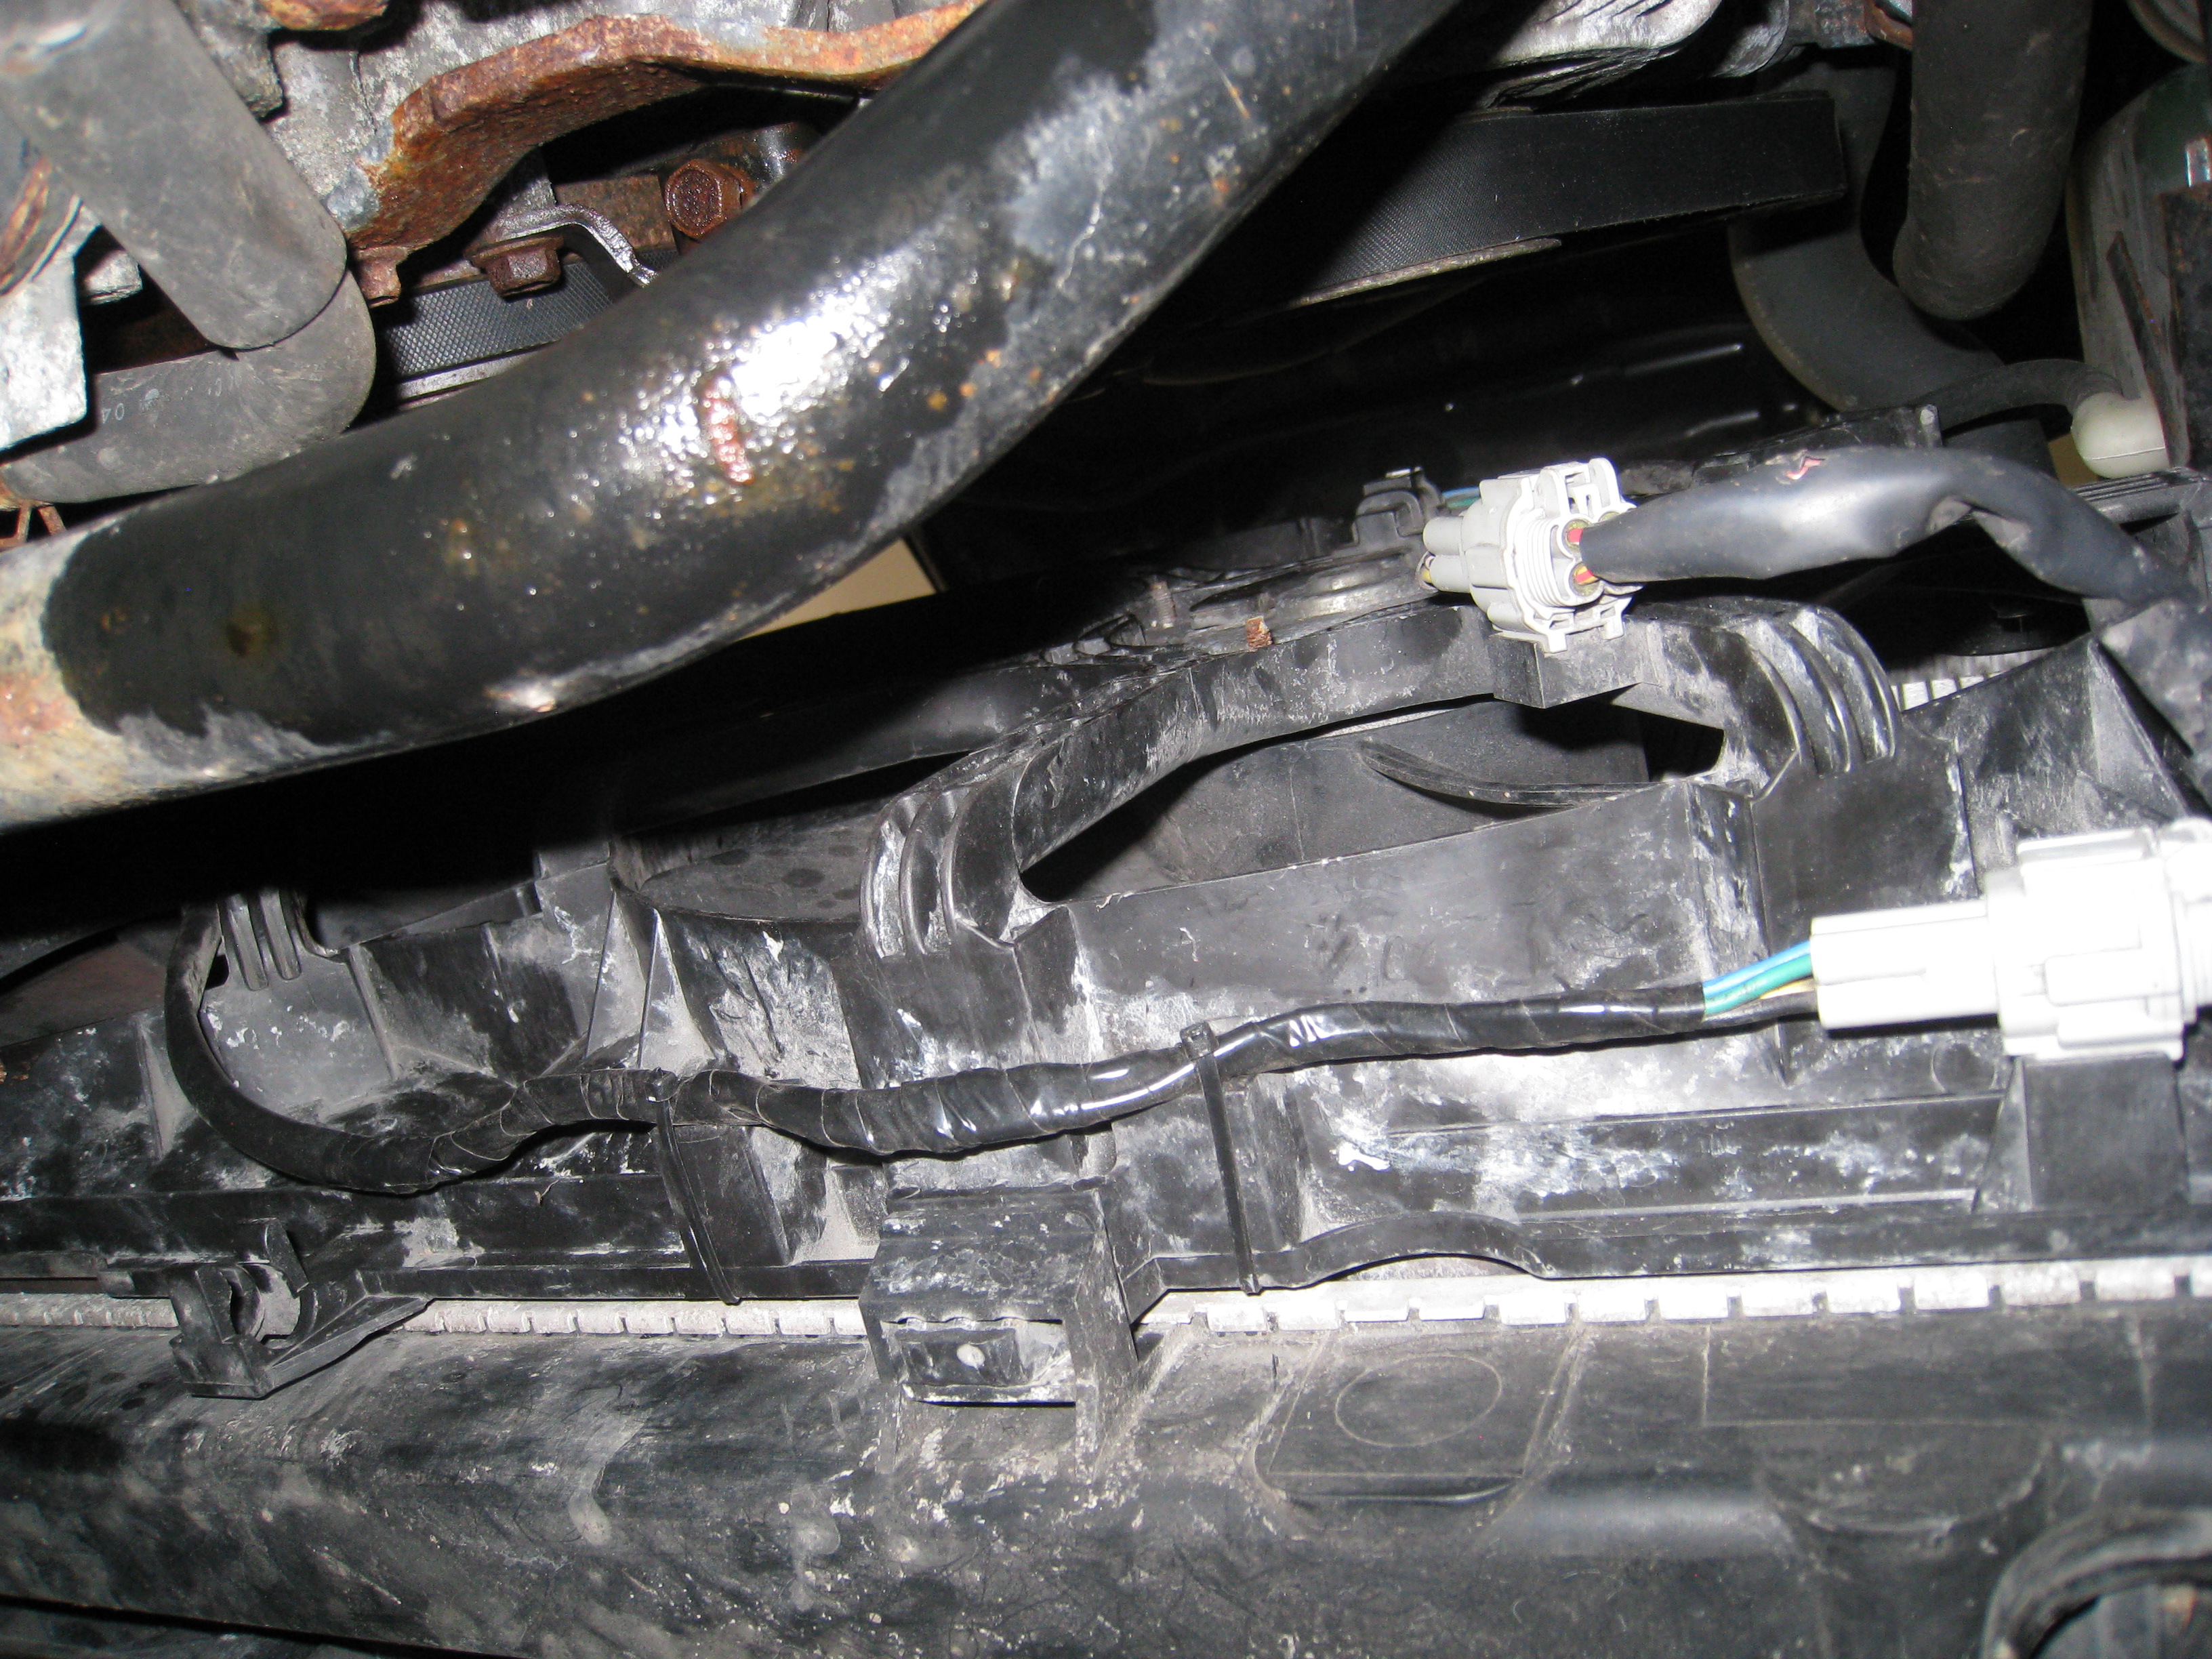
I cut out the bad sections, soldered in repairs, heatshrunk them, wrapped them, and then reinstalled...
The wiring issues hadn't thrown a trouble code, but it's good that I found it and know that it is repaired. I wouldn't have been in that area unless I had decided to change the belts today, and the stuck adjustment bolt on the tensioner pulley required me to remove the under engine shroud. Once that was off, the wiring damage was apparent.
And in today's efforts: replaced the spark plugs (by the looks of it, the ones that came out may have been the originals with 129k miles on them), replaced the accessory drive belts, and replaced the air filter.
Mental note for any next car that I buy to revive that has been sitting for some time: Do Not count on the Manufacturer's Dealer doing an oil change to complete an overall inspection. I discovered that they missed the obvious signs of MOUSE NESTING in the Airbox. They made a nest out of the filter paper
Luckily I hadn't put too many miles on the Z. Checking the air filter health and cleanliness of the airbox on any next used car purchase is definitely on my checklist.
Old vs. New spark plugs
Mouse stuff
Based on the markings on the old filter, it was a Purolater. Maybe the mice like their paper element better for nesting, as I've never seen this before.
Also from mice, I found some chewed wiring under the radiator...
I cut out the bad sections, soldered in repairs, heatshrunk them, wrapped them, and then reinstalled...
The wiring issues hadn't thrown a trouble code, but it's good that I found it and know that it is repaired. I wouldn't have been in that area unless I had decided to change the belts today, and the stuck adjustment bolt on the tensioner pulley required me to remove the under engine shroud. Once that was off, the wiring damage was apparent.
Bravo, you sir are bringing that thing back to life
finished up my BC coil install and changed one of the pre cat o2's, adjusting the suspension was so tedious but i think i got it just right, gonna drive it to work tomorrow a.m. so it settles a bit and then off to get an alignment