When you click on links to various merchants on this site and make a purchase, this can result in this site earning a commission. Affiliate programs and affiliations include, but are not limited to, the eBay Partner Network.
Installed Stillen exhaust on the car. Lucky for me my neighbor has a lift. Very happy with it. Now need decide if a tune is worth it with my current bolt-ons (exhaust, intake, plenum spacer).
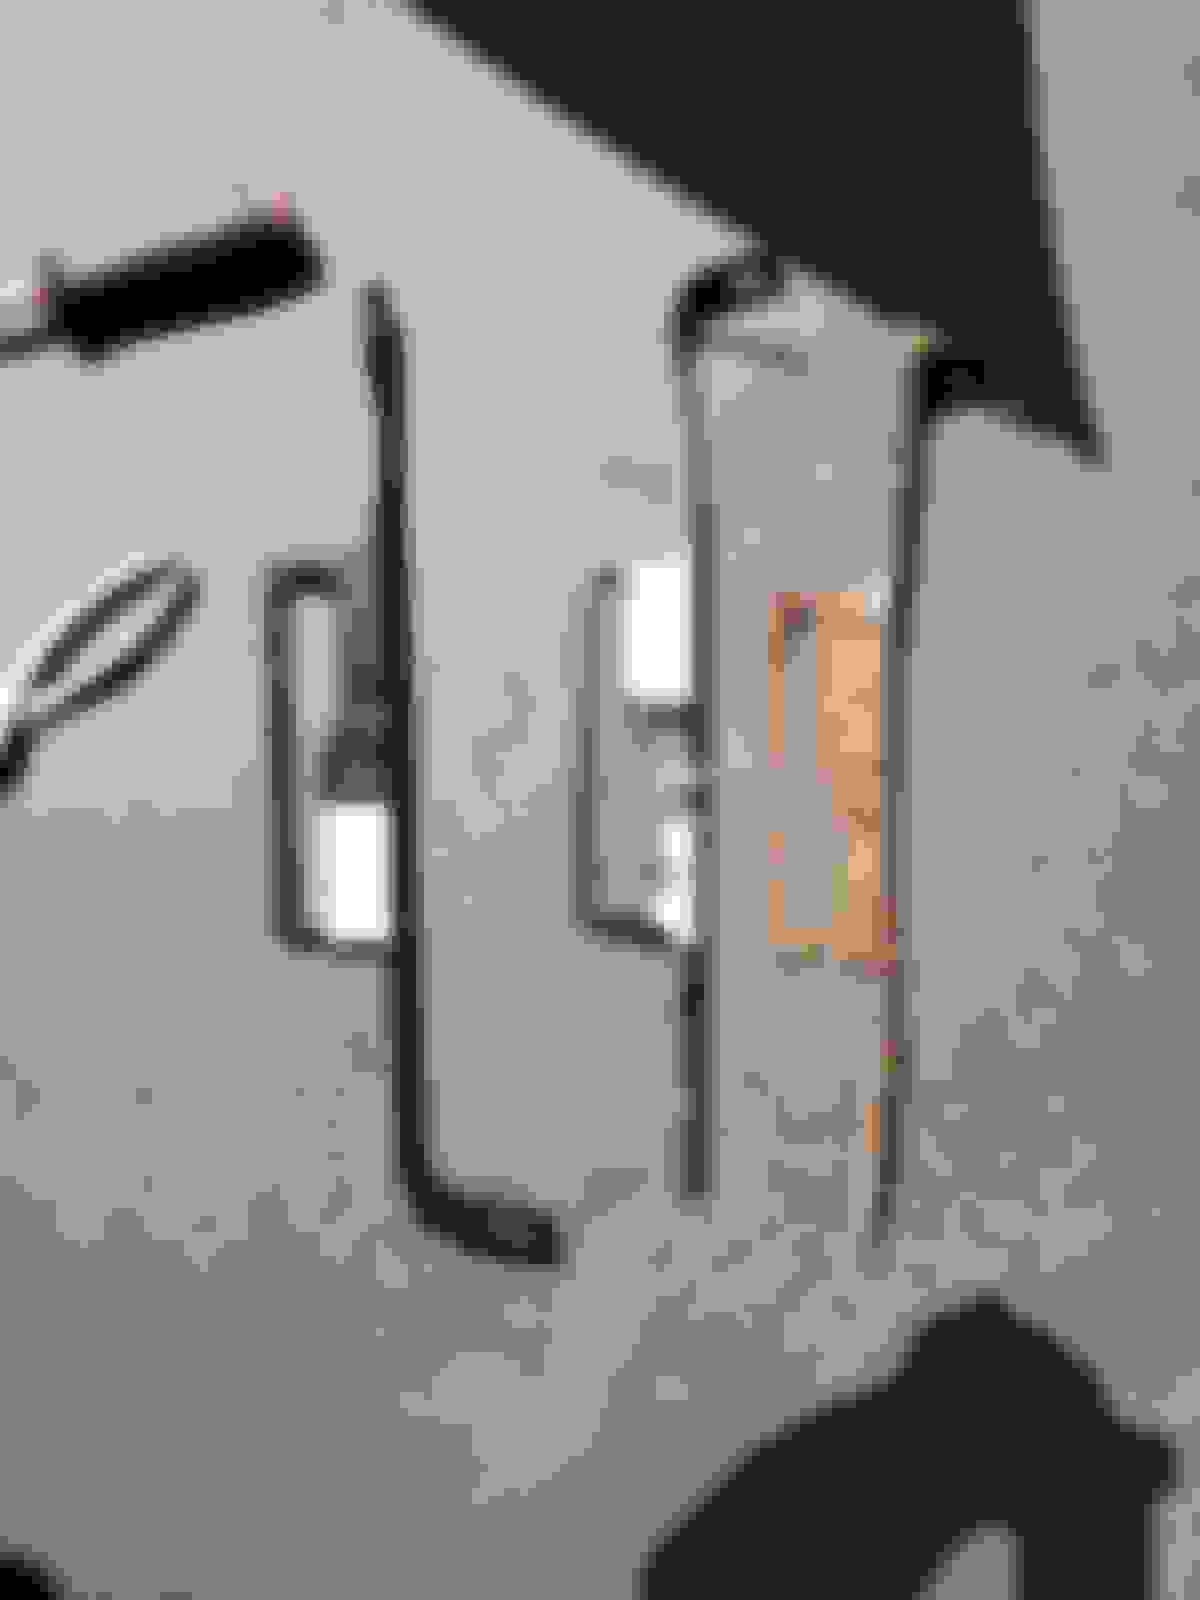
The mouse screen is installed on the rear cabin vents. I first tried installing them by passing them back through the opening in the trunk and pulling them back in place, but there was not enough clearance with the "cage" in place, and the initial RTV I used didn't hold. So, I did have to remove the rear bumper to install them properly. And, I used my favorite adhesive caulk ( Polyseamseal ) to hold the "cage" in place - they are now firmly secured.
And, when I removed the rear bumper cover, 2 of the upper retaining clips shattered and I found that the left and ride side brackets were rusted to pieces (gotta love the rust belt). So, I've ordered those pieces and will be putting it all back together once it arrives. In the meantime, the audio system installation continues...
And now I've finished the mouse-proofing of the Fresh Air Inlet under the cowl.
I added 1/4 metal screen, cut-to-fit and painted black.
And then added the filter medium. Following the lead from a Youtube video on this, I also used 3M WEB Charcoal filter from Home Depot and cut it to fit.
And Also cut and attached the plastic reinforcement grid from the filter kit (not sure that this is really necessary, given the metal screen I installed.
This is the filter kit that I used.
Removed the headliner in order to apply sound absorbing mat. There was evidence of the mice hanging out up there, too (sigh). Well, at least I'll have it cleaned up and will know it's been taken care of once it is all reassembled.
Hey Khnitz! That YT video on the filter was probably the one I made =D
I have since modified my blower box to fit a proper cabin filter per another YT video. Nissan Altimas of the same vintage as the 350Zs have a cabin filter that fit perfectly, the trouble is installing. You have to drop the entire blower box (not fun or easy). Next time I make a visit to pick n pull. I'll see if I can check out the blower box in a 2-door Altima, I have a sneaking suspicion they are nearly identical to the 350Z.
While you have your front cowling off, you should take some time to sand and repaint your battery hold down bracket. Mine was starting to rust and corrode. A little sanding and some Rustoleum Satin Black (Lowes or HD) really keeps things looking new. Takes very little time (maybe 30 min). I see yours is in really rough shape (the bottom 90 degree brackets that make contact to the battery sides). If you let that continue, you won't have any solid metal left to hold the battery secure.
While you have your front cowling off, you should take some time to sand and repaint your battery hold down bracket. Mine was starting to rust and corrode. A little sanding and some Rustoleum Satin Black (Lowes or HD) really keeps things looking new. Takes very little time (maybe 30 min). I see yours is in really rough shape (the bottom 90 degree brackets that make contact to the battery sides). If you let that continue, you won't have any solid metal left to hold the battery secure.
Thanks for the tip(s)! I actually have a small pan with Evaporust working on the rust on some of the bolts I removed dissasembling the interior for the amp/subs install, so I'll take the hold down bracket off in the morning and let it soak in that over the weekend - that'll clean it up nicely and then I can shoot it black, again. Gotta love the rust belt!
Today after years of neglecting the Z. I cleared and restored the yellowing/oxidation on the headlight. Started w/ 800 grit, then 1500 & 3000. Once done wet sanding the headlight, I used Meguiars ultimate compound, then moved on to polish, then waxed. Xpel headlight film protection will arrived this coming Tue. Here's the result. Sorry for a crappy pix. Cloudy/foggy/yellowish/ & somewhat scratched. Driver side Passenger side And heres the finished results.
I'm continuing the work on my stereo upgrade. I lined the first rear speaker cavity with noise mat yesterday. I need to mount the amplifier before I finish lining the other side.
Driver's window motor finally failed at 40k miles. Replaced it with a cheapo amazon one, works great! Then the passenger door handle fails. Sigh* Also got the z a new stable mate, 22 wrx.
Looks right, not the best angle, but I think it's fine. Here's a show of how I ran my Goodridge SS lines (Front Right wheel). Slightly different setup, Goodridge kits copy the factory setup with the hard mounted line blocks for sharp angle changes. Stoptech, Z1, and others do not. Both work fine, but I did have rubbing issues with my Stoptech front SS lines because of this. Just some minor adjustments needed to keep the line movement while turning in check.
-Icer
Last edited by icer5160; Jul 28, 2022 at 08:55 AM.
I finally settled on a spot to mount the amplifier for my stereo upgrade. It's a 5-channel Infinity, and I fit it at the top of the added glovebox behind the driver's seat. More detail here: https://my350z.com/forum/audio-build...l#post11083078
they were fine, but soft pedaled at first. I had to bleed the brakes not once, but twice. then found out the passenger line had a flared nut bolt loosing pressure. Tightened it to spec, and it functioned like it should for a brake upgrade with oems.
Reinstalled the rear bumper cover after installing a backup camera to feed to my Kenwood headunit. I had to replace the rusted bumper hanger brackets on each side, too. I added another pass-through gromment to bring the camera connections inside the body. Also, it may be mentioned elsewhere, but I found it easiest to turn the plastic 1/4-turn fasteners that help hold each side of the bumper from inside the cabin. And then on reinstalling the cover, I locked those retainers onto the cover, and then pushed them into place on the body.
) at Amazon. I did see the style that replaces one of the license plate bulbs, too, but I had this one left over from a pair that I bought to try out on my truck. It's a thin metal mounting plate, and I have it fastened behind the license plate (so the camera mount comes up and over the plate from behind it. Then, for the thru-the-body grommet, I had something left over from one of my junkyard parts runs (it's actually a wire gromment from a VW).
I still have a ton to do to get it all back together. I have to finish removing the interior carpeting so I can deep clean it and the floors underneath (f!@#ing mice!). And I have to finish routing all the wires and apply more sound deadening mat before reinstalling everything.