When you click on links to various merchants on this site and make a purchase, this can result in this site earning a commission. Affiliate programs and affiliations include, but are not limited to, the eBay Partner Network.
good call on taking off the smoke tint on the tails.
As for the turn signal install.... was it pretty easy? seems like it
Rear bumper had to come off, turn signal harness was plug and play. Was a hassle for me due to the rear diffuser. They come with switched led driving and stop lights which I did not wire.
Yes, removing the rear bumper is a pita. Those 90-degree, 8mm, plastic locking studs are the worst (along with the upper clips above the lic plate. I only hope I never need to remove my rear bumper again (Glad it's done).
-Icer
Beautiful sun in Pa for the past couple of days.
Took the outside cover off this afternoon. The cover did leave some strange imprints on the paint due to the inside of the cover's felt, I guess. Will have to work it out.
Secured the battery & it started-up like I drove it last night.
Will kick-out the wife's car from of the garage starting tonight. I'm sure there is a lot of crappy weather on its way before April.
Took the outside cover off this afternoon. The cover did leave some strange imprints on the paint due to the inside of the cover's felt, I guess. Will have to work it out.
What kind of cover do you have?
Similar thing happened to me with a NOAH car cover and there were places where I could see the mirror image "imprints" from the perforations on the inside. My Z is black so everything is noticeable. They did come off after a quick wash, though.
Sorry, but I threw away the bag it came in last Fall. No way I could ever get it back in. There is no mfg name on the cover itself.
But- I used some McGuire's instant shine on the imprint areas & they seem to be gone.
Last update before I dropped the Z off at the bodyshop.
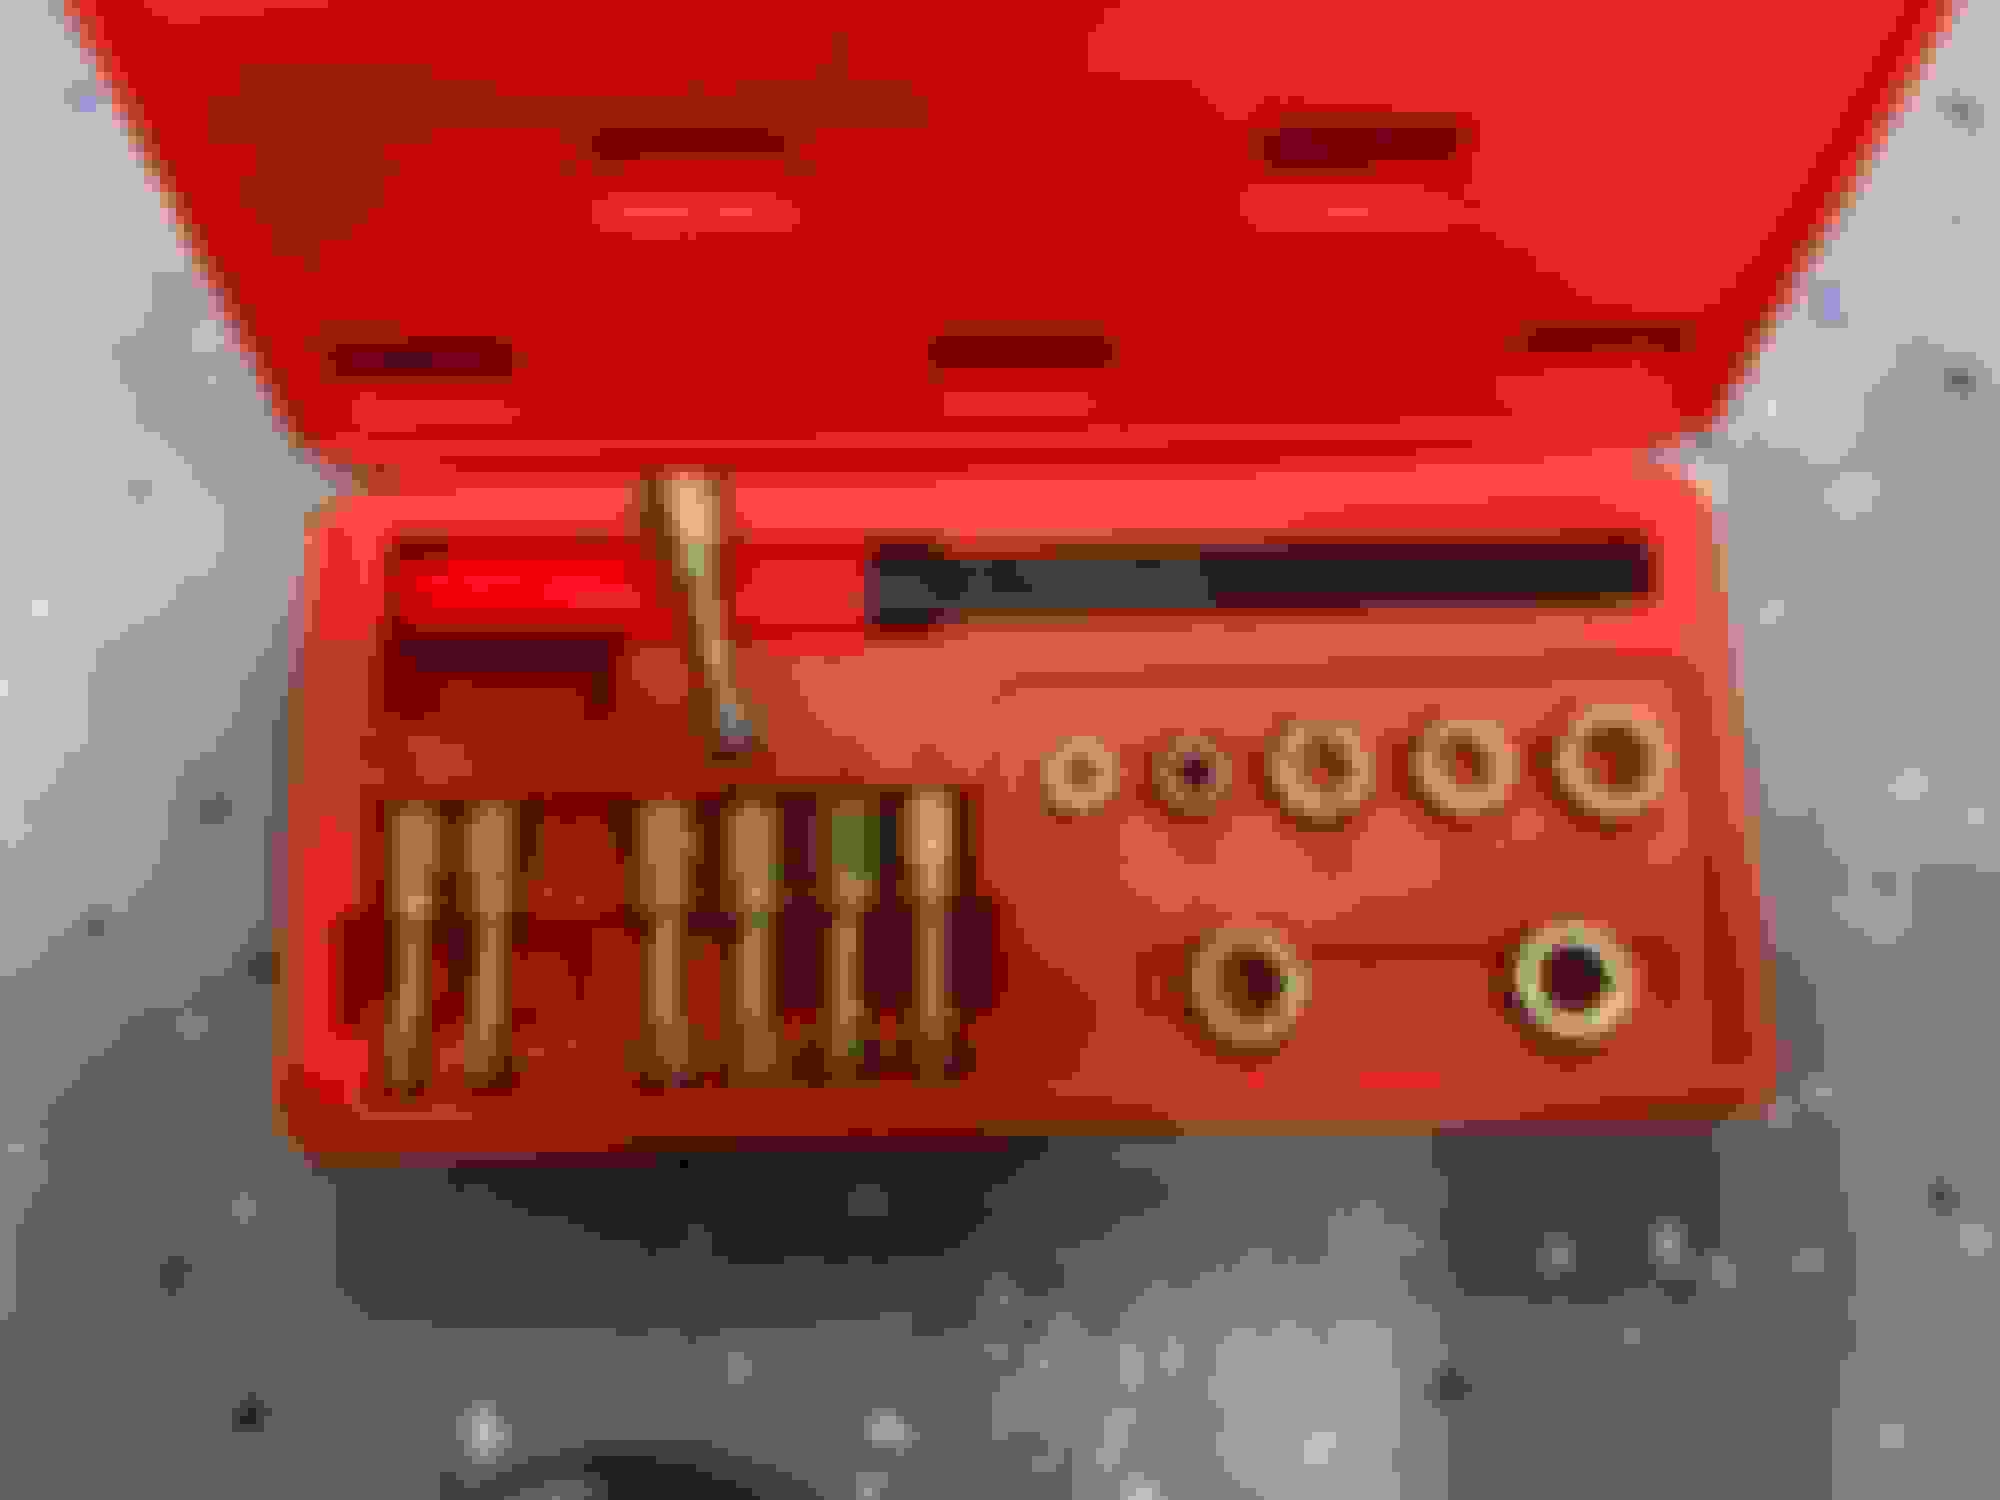
In one of my previous posts, I talked about the front sway bar mounts and how the threads in the frame were in a bad way. This past weekend I went back in there with a thread restorer/chaser. I had to purchase an entire metric set just to get the size I needed as my master kit did not include it. (FYI, that size is M10 x 1.25, this is used a lot on our Zs). I also purchased new OEM bolts and nuts since I suspect the original set may also have been compromised, either the threads on the bolts were also pulled or I may have damaged some of the hex heads during the 1st removal. Now I can easily thread all the new fasteners in freely by hand, none of them feel loose. Torqueing to spec was a breeze, also there is a specific order for removing and re-installing these fasteners, detailed in the FSM under the front suspension (fsu) section.
After knocking out the front sway bar, I went to the rear and replaced the rear sway bar bushings as well. These were not completely worn out, but I noticed after replacing the front bushings, that I could no longer slide the sway bar left and right by hand, it was very solid. The rear sway bar could be easily moved from side to side by hand until hitting the limiter rings. I'm not sure if that's normal or not, but I suppose wisdom would say the more solid the better in this circumstance. In any case, the bushings were the originals from 2006 and we all know rubber dries out over time, so I installed new OEM bushings in the rear. This only took about 15 minutes all said and done (setting up the wheel chalks, jack, and jack stands, etc). Now the rear sway bar is nice and tight.
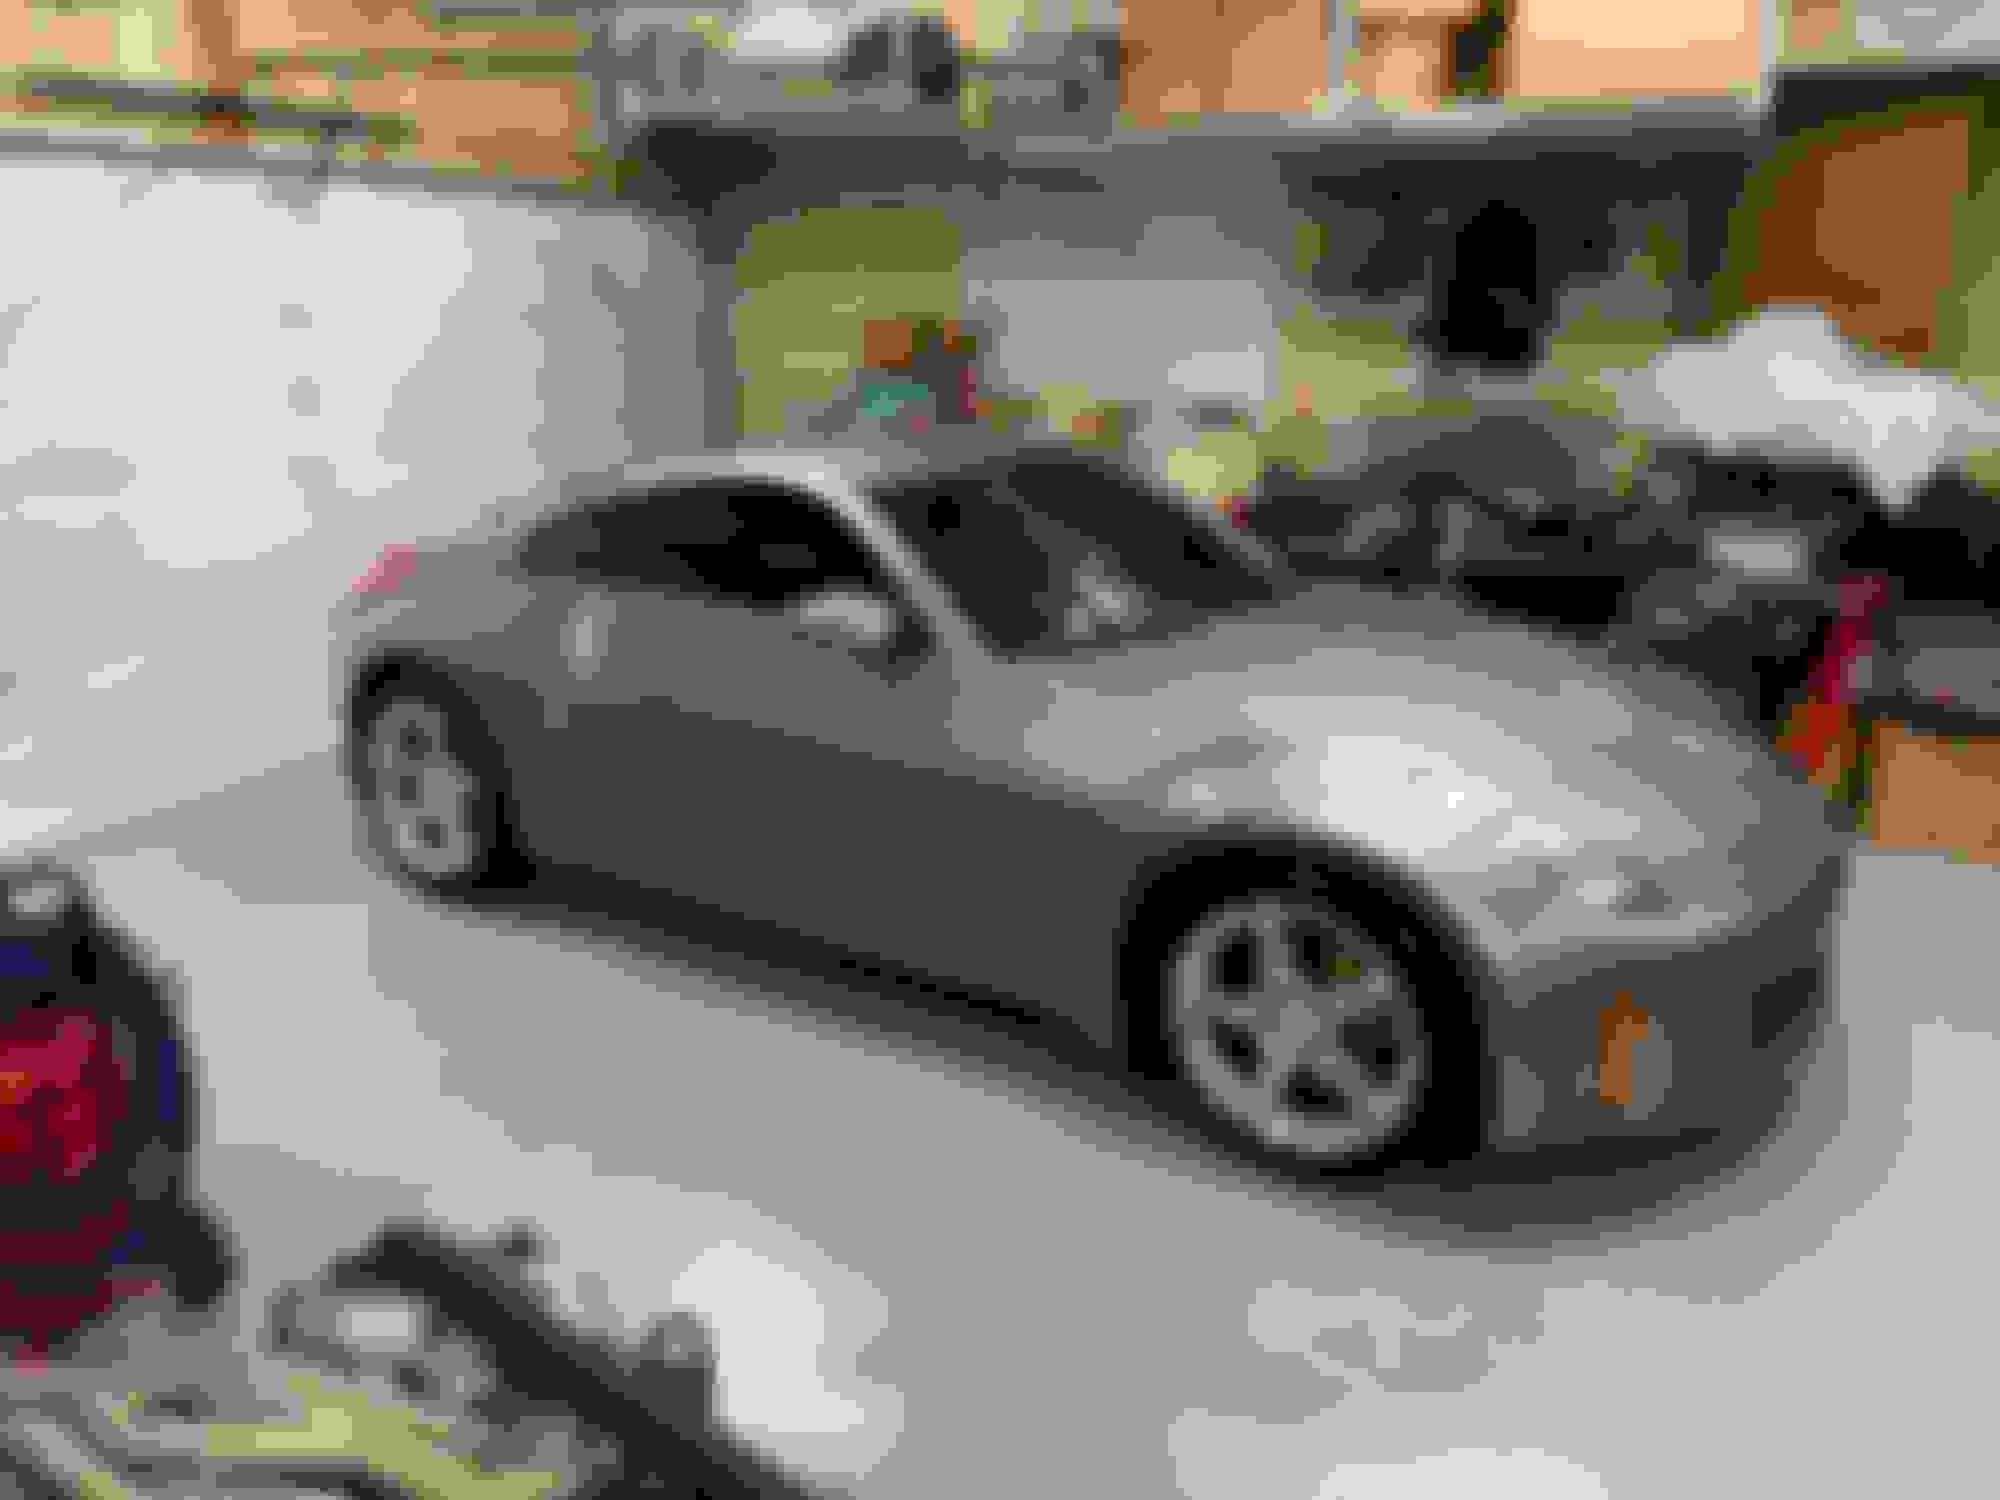
Once that was done, it was time to give the Z a good exterior cleaning. I don't think my Z has been washed in over a year (garage kept and rarely driven during that time) and I haven't polished, clay barred, or waxed the Z since the year I purchased it (2018). In short, the Z was dusty/dirty. The front bumper was especially nasty from all the bug impacts (courtesy of living on the border of the central valley and SF bay area). I decided to try a new car wash product, at least new to me. I picked up some "Optimum No Rinse" and used one of those special foam sponges that are recommended for use with this product. I like the idea of using a car soap that doesn't leave a nasty residue behind that could stain or even etch the paint. Living in CA where nearly everything is in short supply, including water, a no rinse car wash sounds like a good idea. After-all, I wouldn't want the water police or some "karen" neighbor to come knocking because I washed my car on my driveway.
Overall, I like this product. The mixing ratio and sponge used is very important, but this stuff really works well. I intentionally let this stuff dry in places to test if it would wipe off easily with some quick detailer spray. Sure enough, it does, no issues at all. But there are limitations with this product. It does not do a very good job removing heavily baked on bug guts, road tar, or any grease. This wash seems to be intended for those who regularly clean their cars and regularly keep the paint sealed & waxed. What I love about this stuff is that you will save water and you minimize the risks of putting swirl marks in the clear coat during the wash and dry cycles. If this stuff dries on the paint, simply wipe the area with a microfiber and some quick detailer or more of the wash solution, the polymer watermarks come right off with ease. I think this will become my go-to wash product in the spring & summer. My driveway doesn't get any shade in the afternoon and the temperatures can easily get above 100*F, making classic style car soaps dry on the paint before I can rinse the area. It is irritating to say the least. With ONR, very little water is used with the sponge application, such that I can wash my car inside the garage, without dusty wind or direct sunlight, and no worries about flooding the floor. That's a win/win.
After the wash, I did a quick detail on the exterior. Nothing crazy, just a quick window cleaning, tire shine, and some plastic restorer on the side mirror mount panels. I also made sure to remove any baked on bug guts, grease, and road tar that the ONR solution could not tackle. I'm also happy to report that the Swissvax Wheel Wax is holding up great. It made cleaning the wheels a breeze with my wheel woolies. Simply rinsing them with water wasn't enough sadly, I guess that was wishful thinking. But using the ONR product with the woolies removed all the brake dust and road tar with ease. I opted not to use Iron-X on the wheels this time around because I feared it would strip the wheel wax.
The Z was dropped off at the bodyshop the following morning. The drive to the shop across the bay was pure bliss. No more annoying interior noises, also no odd suspension or drivetrain noises. The car drives and sounds beautiful. I can't wait to get it back and continue the work .
Cheers!
-Icer
Metric Thread Restorer set. M10 x 1.25. New OEM sway bar mount bolts. Driver's side front frame holes after chasing/restoring them. Optimum No Rinse solution (ONR) + Foam Sponge How the Z looks after the wash and quick detail. Not too shabby if I may say so. Not bad at all.
i use onr and wolfgang uber no rinse with meguires mf mitt, then pat dry (place towel flat and run hands over it without moving towel) with detailed image waffle weave towel, the spray the area again dry with detailed image rethickulus mf.
but i recently bought a pressure washer and foam cannon... so much easier and faster
In one of my previous posts, I talked about the front sway bar mounts and how the threads in the frame were in a bad way. This past weekend I went back in there with a thread restorer/chaser. I had to purchase an entire metric set just to get the size I needed as my master kit did not include it. (FYI, that size is M10 x 1.25, this is used a lot on our Zs). I also purchased new OEM bolts and nuts since I suspect the original set may also have been compromised, either the threads on the bolts were also pulled or I may have damaged some of the hex heads during the 1st removal. Now I can easily thread all the new fasteners in freely by hand, none of them feel loose. Torqueing to spec was a breeze, also there is a specific order for removing and re-installing these fasteners, detailed in the FSM under the front suspension (fsu) section.
After knocking out the front sway bar, I went to the rear and replaced the rear sway bar bushings as well. These were not completely worn out, but I noticed after replacing the front bushings, that I could no longer slide the sway bar left and right by hand, it was very solid. The rear sway bar could be easily moved from side to side by hand until hitting the limiter rings. I'm not sure if that's normal or not, but I suppose wisdom would say the more solid the better in this circumstance. In any case, the bushings were the originals from 2006 and we all know rubber dries out over time, so I installed new OEM bushings in the rear. This only took about 15 minutes all said and done (setting up the wheel chalks, jack, and jack stands, etc). Now the rear sway bar is nice and tight.
A quick note about sway bars. To work correctly, they should be able to move freely in their bushings. Most OEM sway bar bushings are too tight. With the end links disconnected, if you raise the bar and let it go, it should fall freely and not stay up. When setting up a race car suspension, I often place a washer between the bracket and the frame to space it out. This usually fixes the binding. Any binding is adding to the spring rate of the bar.
A quick note about sway bars. To work correctly, they should be able to move freely in their bushings. Most OEM sway bar bushings are too tight. With the end links disconnected, if you raise the bar and let it go, it should fall freely and not stay up. When setting up a race car suspension, I often place a washer between the bracket and the frame to space it out. This usually fixes the binding. Any binding is adding to the spring rate of the bar.
Thanks cobra! I'll make sure to remember this. Always learning something new!
Cheers!
-Icer
Heel, I love your garage setup! What's your ceiling height? I couldn't help but notice the 2-post lift and the high-lift garage door. I wanted to do something very similar in my garage, but a large support beam for the 2nd story is preventing me from installing the high-lift garage door (required for a mid-rise lift). I would need to reframe and shrink my 8ft garage door's width to clear the support beam. It's already a tight fit and I would lose about 4 inches total of clearance if I re-framed. Sigh. I may end up getting the Bendpak MD-6XP scissor lift or the Quick-Jack portable solution. If I buy a new house someday in the future, I'm making sure I have ample ceiling clearance for a lift!
Heel, I love your garage setup! What's your ceiling height? I couldn't help but notice the 2-post lift and the high-lift garage door. I wanted to do something very similar in my garage, but a large support beam for the 2nd story is preventing me from installing the high-lift garage door (required for a mid-rise lift). I would need to reframe and shrink my 8ft garage door's width to clear the support beam. It's already a tight fit and I would lose about 4 inches total of clearance if I re-framed. Sigh. I may end up getting the Bendpak MD-6XP scissor lift or the Quick-Jack portable solution. If I buy a new house someday in the future, I'm making sure I have ample ceiling clearance for a lift!
Heel, I love your garage setup! What's your ceiling height? I couldn't help but notice the 2-post lift and the high-lift garage door. I wanted to do something very similar in my garage, but a large support beam for the 2nd story is preventing me from installing the high-lift garage door (required for a mid-rise lift). I would need to reframe and shrink my 8ft garage door's width to clear the support beam. It's already a tight fit and I would lose about 4 inches total of clearance if I re-framed. Sigh. I may end up getting the Bendpak MD-6XP scissor lift or the Quick-Jack portable solution. If I buy a new house someday in the future, I'm making sure I have ample ceiling clearance for a lift!
The Z looks good. Nice wheels!
Cheers!
-Icer
Hey Icer! Thanks for the kind words. The garage project was quite an ordeal and you can certainly read all about it from the link that i8acobra posted.
The ceiling height on the garage level is 10.5'. The doors are slightly larger than (nowadays) standard with the double 18'x8' and the single bay at 9'x8'. The jackshaft opener with the high-lift door was a must based on the lift.
When I was researching lifts, the shortest lift which fits a 9' ceiling is the Bendpak GP-7LCS. I'm not sure about your ceiling height, but maybe that one will fit. Just make sure you don't have any pesky expansion joints in the area where it would mount.

 02-13-2023, 01:56 PM


 .
.