When you click on links to various merchants on this site and make a purchase, this can result in this site earning a commission. Affiliate programs and affiliations include, but are not limited to, the eBay Partner Network.
Most Summer tires perform poorly in wet or very cold weather. But I have to admit the Michelin Pilot Super Sports I've been running have excellent ratings (as a summer tire) in wet conditions. Pricey, yes, but completely worth it in my opinion. No rating for winter climate, but since you live in MA, I would consider winter storage for the Z or getting some snow tires.
Cheers!
-Icer
Michelin Pilot Super Sport Summer Tire ratings (straight from TireRack)
I usually take them off and put them in my basement so they stay around 45-50 degrees all winter long... I just need to get motivated to swap out wheels..
If i ever get new tires for this car they will be all season. I need to get over the fact that I'm never going to be a racecar driver.
Bad summer tires are bad in the rain, good ones aren't.
You gotta pay for that tho, I had A/S on my DD, not good enough, they were on for less than a year. Now I'm on PS4S just like my Z and will be putting on some Wintrac Pros for the winter. A jack of all trades is a master of none.
Very True Dark! Living in CA I am spoiled by the one thing I like about this state....the weather. I've never even considered running an alternative tire type except for summer (MPSS). For a long time, I ran with Bridgestone Potenza RE760 Sports for their price vs. performance. I made the switch to MPSS for better tread life, better wet performance, and I love the protective lip that hangs over the edge of the rim Michelin incorporated into the design. Just simply a great tire. I've only ever taken my Z up to Lake Tahoe once in the summer, I don't think I'll ever let my Z see snow.
-Icer
Ill need to inspect that. Luckily i have a back up ground cable in my basement.
I actually stole the 35 battery from the 350z and put it in the element and put the 51r from the element into the 350z. So far so good but i am impressed when it actually starts..
Large progress update on my Z project. I will post in multiple segments...
The OEM exhaust manifolds are out, new manifolds are in! Sadly I was forced to use the only C.A.R.B. legal manifolds for the car (DC Sports). My old Momentum Performance manifolds are incredibly well made and it pains my soul not to re-use them, but my loss will be someone else's gain I hope (I will be selling them along with many other parts doubles I won't be needing). The quality difference between the two is incredible, but don't take my word for it, see for yourself in the pics. I did what I could to clean up the DC sports headers by grinding the excess material left behind on the inside of the collectors and then honing them. It's not nearly as perfect as the Momentum headers, but not bad either considering it was my 1st time doing anything like this. I also took the fabricated heatshield from my old Z and reconditioned it. ZCG made this for me when they installed the Momentum headers on my old Z. For something that was done quick by a shop that doesn't specialize in fabrication, it came out great. The years of use were not kind to it, so it got reconditioned (sanded and wire brushed to remove surface rust, and re-painted black). I also added the DEI reflective tape to it cause race car and why not?
The torque adapter really was a huge game changer for installing the new headers. One of the best $20 I've spent on a tool. It also came in handy for some of the Bell Housing fasteners. Regarding fasteners, I picked up brand new OEM 14mm Nuts from the local Nissan Dealer. After seeing the quality of the hardware included with the DC Sports headers I think it was a good call. I could probably have re-used the original Nuts, but I did damage one of them (the one closest to the AC compressor) while trying to break it free while the compressor was still installed. Honestly, it doesn't take long to drop the compressor, better to just do it and not risk rounding off a nut! Luckily I was able to get the Nut off and avoid disaster, but the pucker factor went to 11 when I felt and saw the damage.
More updates coming in next post. I think I've got enough pics attached already.
-Icer
Bank 1 before shot (untouched, out of the box). Bank 2 before shot (untouched, out of the box). Momentum Manifold Collector for comparison. Bank 1 after cleanup. Bank 2 after cleanup. Heat Shield Installed Protecting the fuel lines. Rounded Nut! Disaster Avoided! DC hardware on Left, OEM on right. Torque adapter in action. More cool torque adapter. Bank 1 manifold installed. Bank 2 manifold installed.
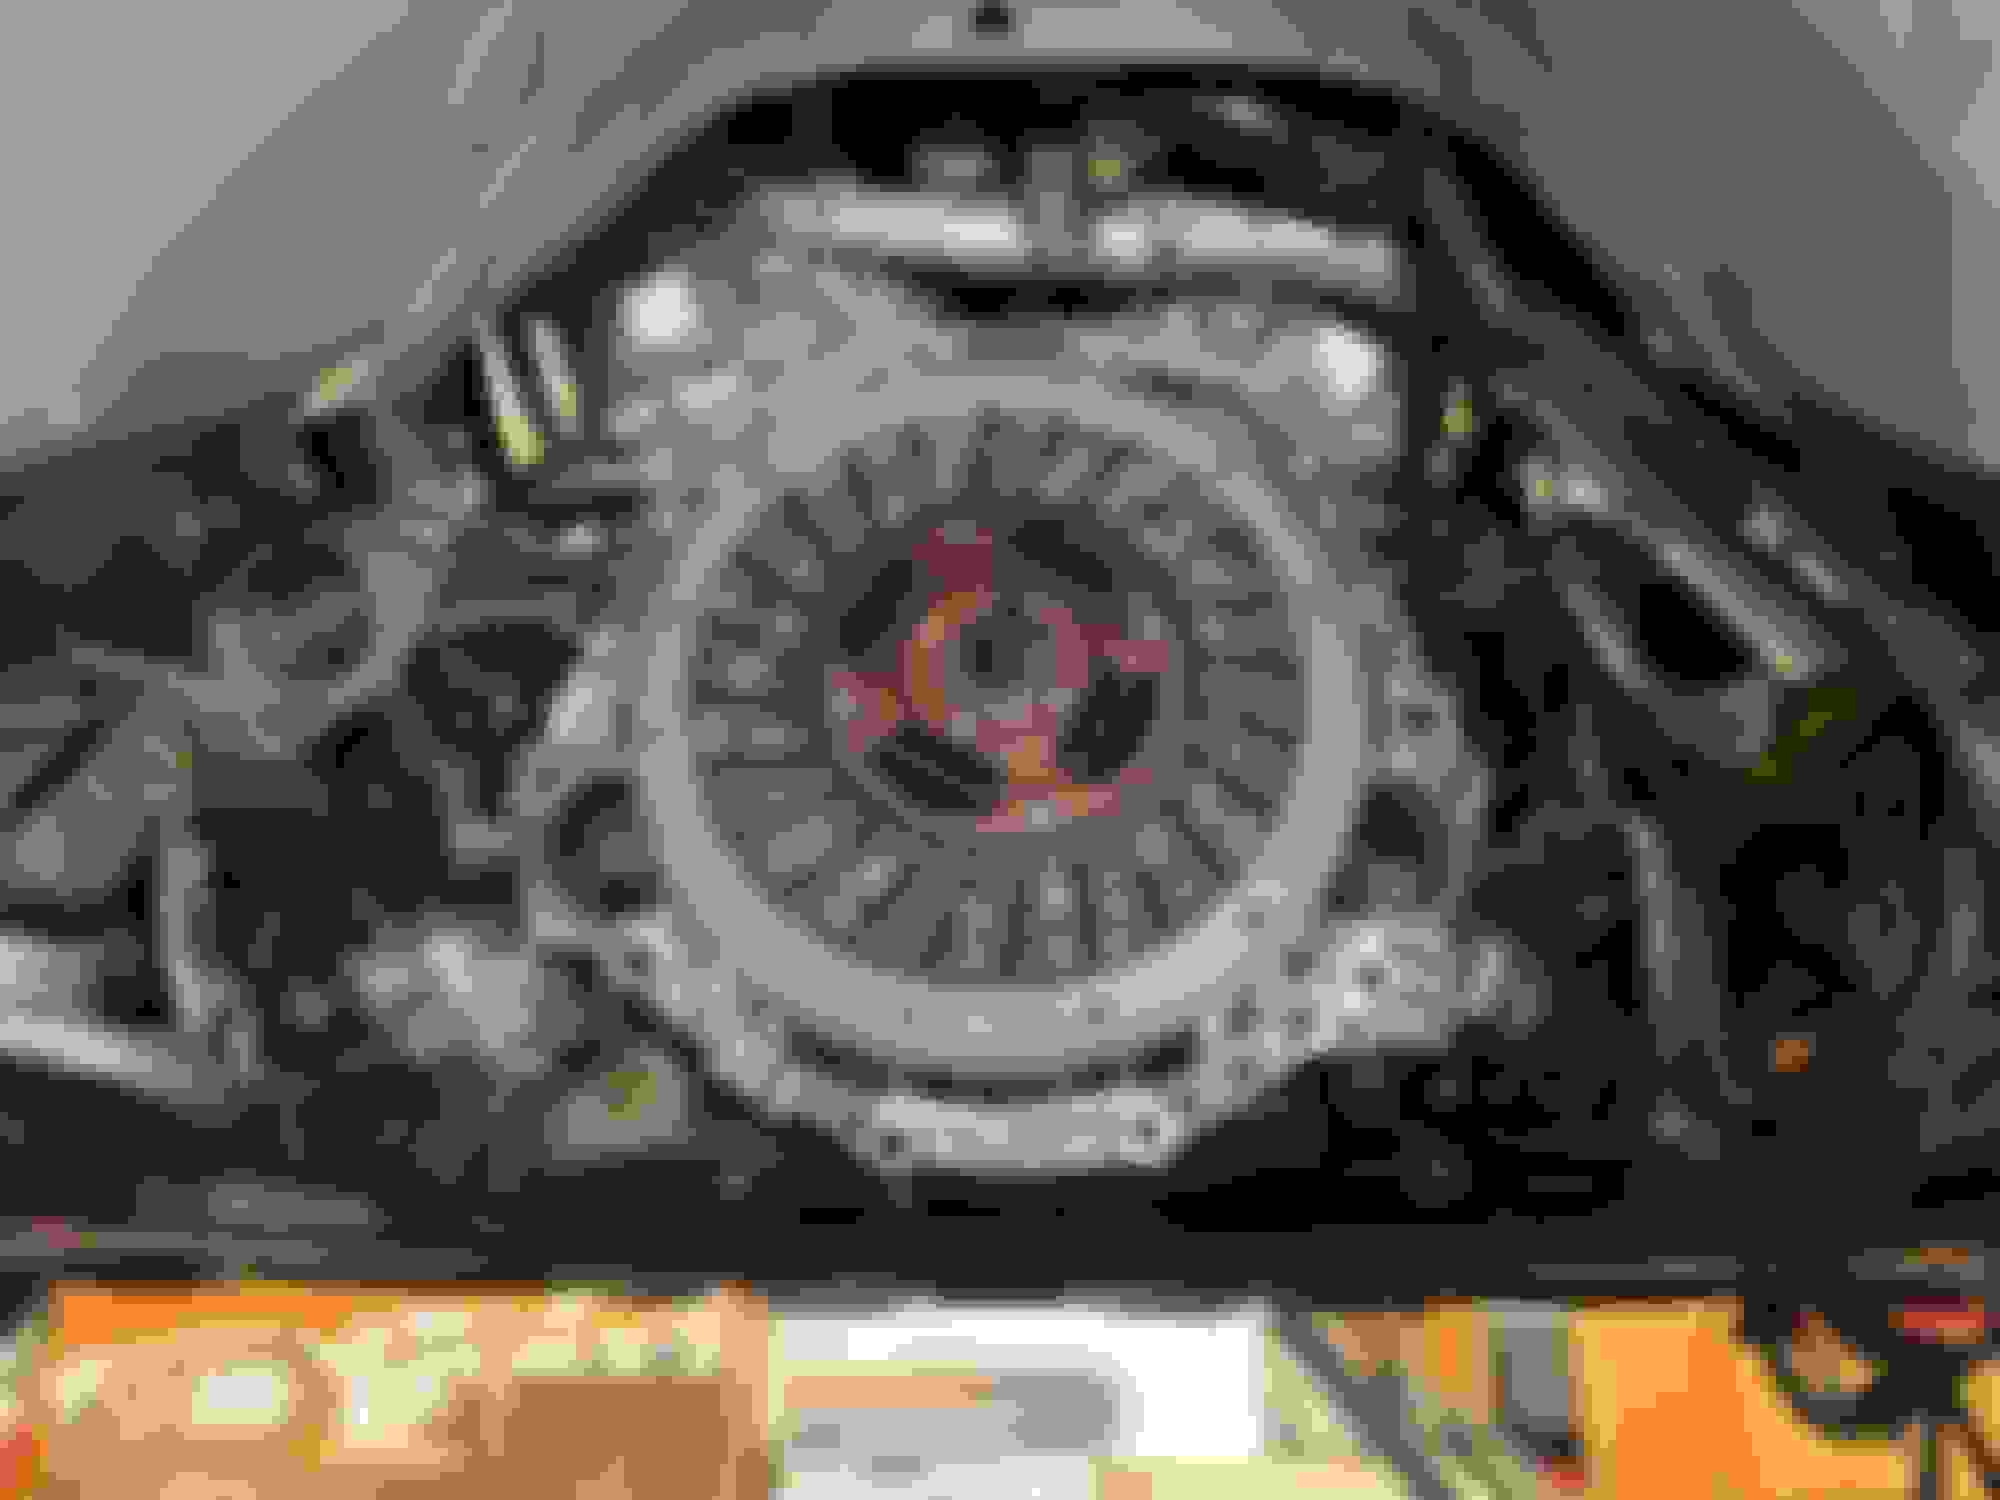
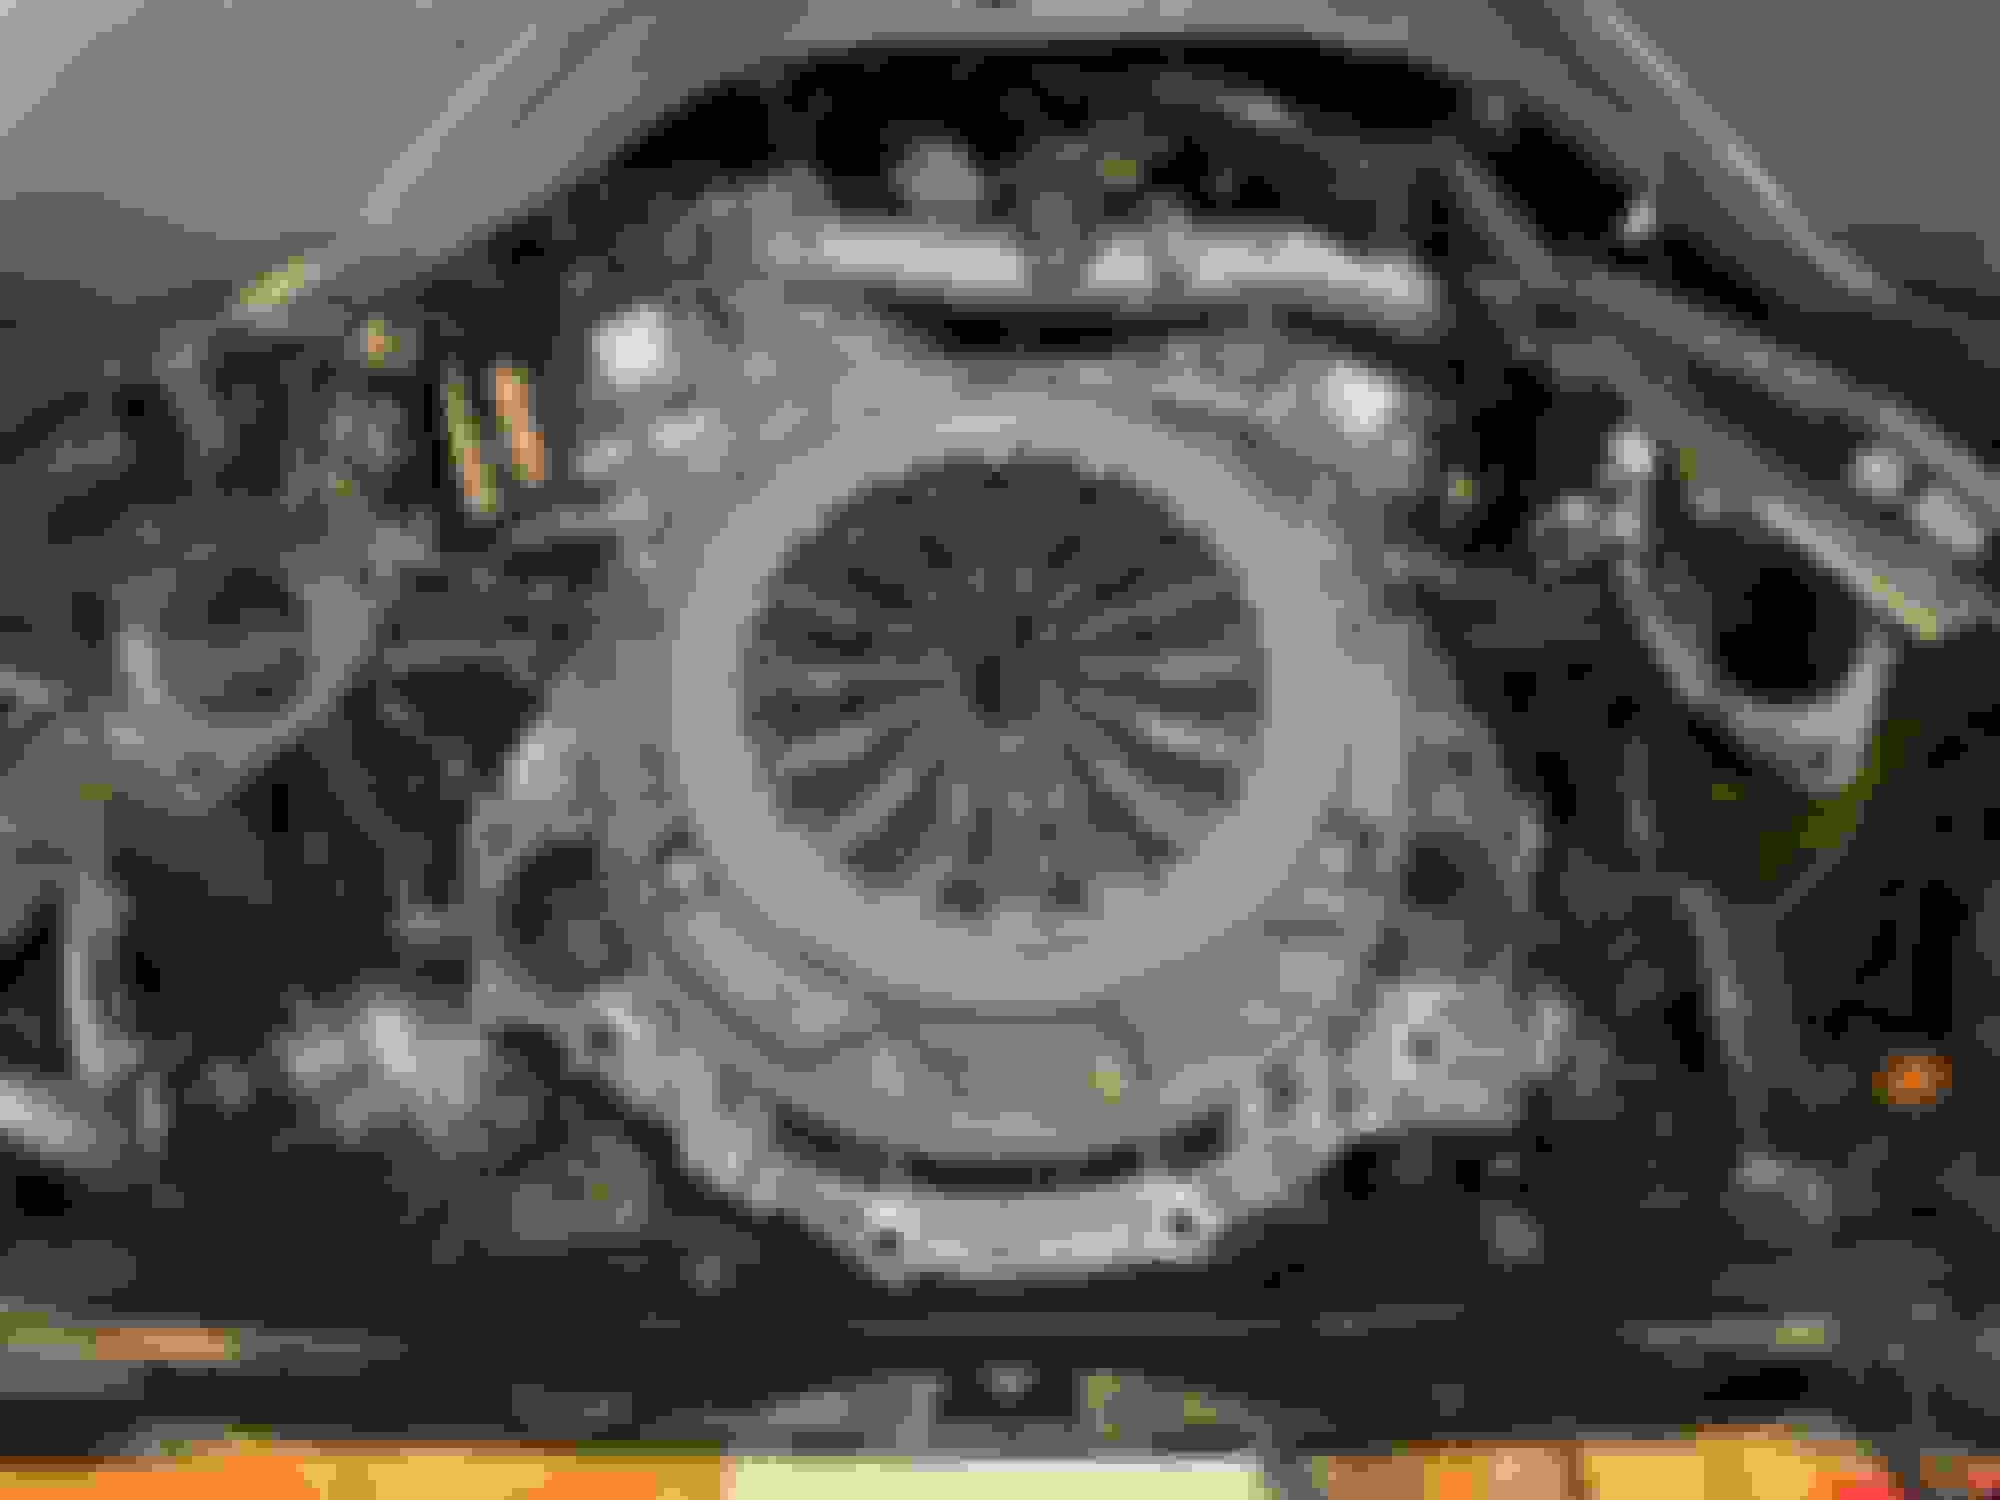
After the manifolds were back in and new coolant hoses were plumbed up, it was time to get the new flywheel and clutch installed. I'm happy to report the Install went smoothly, a quick tool rental (5lb slide hammer + puller) from the local parts store made short work of removing the pilot bushing. The new pilot bushing was tapped in using the old one as a guide. The flywheel mounted up perfectly, bolts all torqued to spec (loctite was used as per recommendations). Same for the pressure plate. Installing the transmission by myself went as well as I could ask. There was a bit of a struggle getting everything aligned perfectly. I had to rotate the crank multiple times and adjust the pitch and yaw on the trans-jack a few times, but eventually it clicked into place. Everything bolted down to spec, wire harness plugs also got a cleaning and a touch of dielectric grease. The thing I hate most about clutch jobs are those top two bell housing bolts. The working space is very tight, and with the car up on blocks, I had to pull out a step stool and lean way over the fender and engine. To make matters worse, that main wire harness loom coming from the battery box is completely in the way. It almost feels like you need to lay down on top of the fender and intake manifold to get at these bolts with any resemblance of comfort. The cherry on top of finishing the trans install was adding in a new genuine leather shift boot. Along the way of re-installing the shifter linkage, I discovered the reason why it was difficult to shift into 5th or 6th gear. Again, the dealership that last touched the trans, botched the shift plate indexing/alignment. After re-aligning the shift plate and testing things out, getting into 5th/6th gear feels perfect. I'll need to confirm this with some road tests, but I'm happy with the results of the shift boot install. Something so trivial ended up taking me a lot of time to get done. The leather is a whole lot less pliable vs. the fake stuff.
With the trans work finished, I moved onto the clutch hydraulics. New OEM master cylinder, new OEM slave cylinder, new SS soft line, and an RJM V4 AFP Clutch Pedal. Unfortunately I didn't get any shots of the new hydraulic components, nothing super exciting, just preventative maintenance. I am glad I replaced these components though, the original banjo bolt in the slave cylinder had seen better days and was starting to suffer from corrosion (I'm guessing from lack of fluid flushes/changes). I wire brushed the banjo bolt and cleaned it out with a pipe cleaner + brake clean. It's almost good as new and also better quality than the aftermarket bolt that came with the SS line. The clutch pedal replacement is always a painful process because of the tight working conditions. But the new pedal is in, final adjustments and tuning will need to be done after the car is back on the road. I started the fluid bleeding process and ended up stopping short of finishing the job. I missed a note in the RJM install guide about adjusting the AFP setting down to 0% if using the RJM pedal to bleed the system. After I read that, I decided it was time to step away for a bit. It was approaching midnight and my back, elbows, and knees were starting to ache and the thought of wedging myself into the footwell again to make more adjustments to the pedal did not appeal to me.
Main items left to complete...
Finish bleeding the clutch, top off the M/T with fresh MT-85, Install the drive shaft, install the catback exhaust, install the Koyo Radiator Assembly (fans + reservoir), flush the coolant system, burp and top off the coolant system, flush the power steering fluid, install new rear signal lamps + bumper, new taillights, and new headlights (all OEM), and then install new struts and coil springs + new rear upper bushings. I think that's all the major to-dos. There's probably some small ticket items I'm missing concerning the exterior. Loads to handle on the interior, but that's all cosmetics and can wait.
It's pretty much downhill from here. I should be able to knockout these other items in a single weekend or two. My goal is to have the car road worthy before Thanksgiving. It's going to be tight, but I think do-able.
Cheers!
-Icer
ZSpeed Single Mass Flywheel + their Quiet Comfort Clutch disk (made by Exedy actually). Pressure Plate bolted in. Looking sharp. Vehicle raised up to clear the transmission. (Ignore the ART pipes Mic! You didn't see nothing!) Transmission fully mated up. (Close your eyes Mic!) Genuine Leather shift boot swap complete. Shifter linkage and bezel all happy to be home. RJM V4 Pedal getting ready for it's new life in my Z.
This is good stuff, Mark! This is a good demonstration to the inexperienced that THIS is the way to do it. Thorough, no corners cut, right once. Awesome.
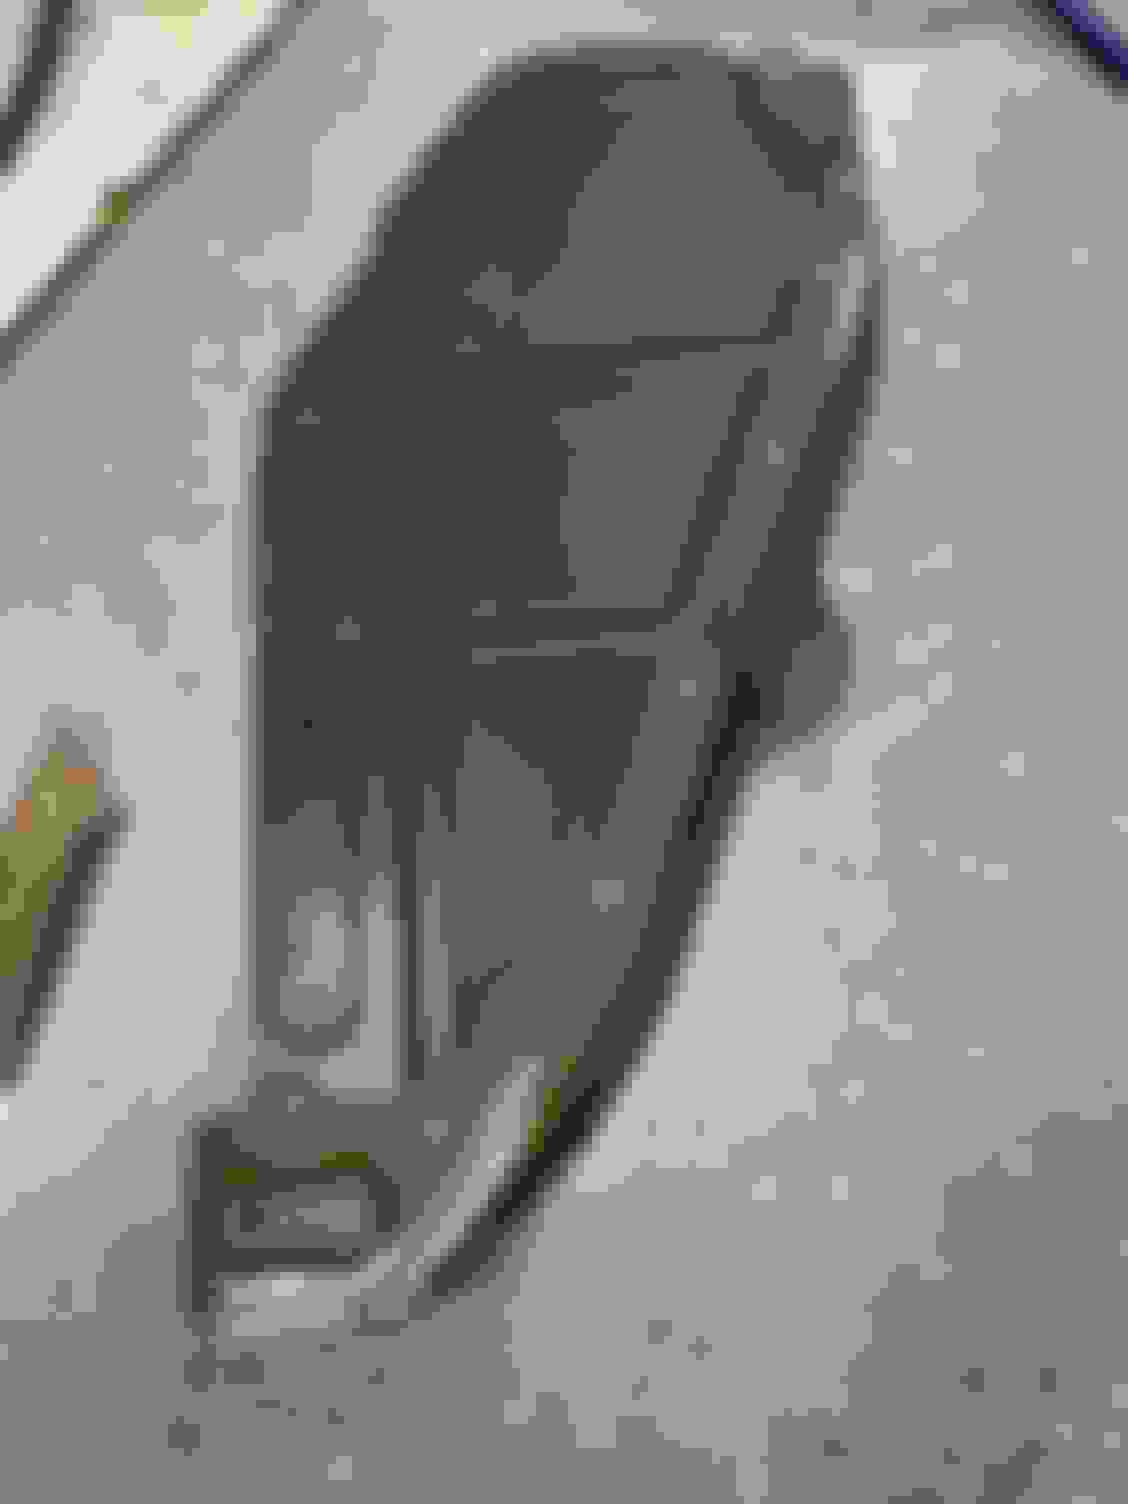
One of the things I forgot to mention was the amount of corrosion on the coolant piping & fittings. The hard pipe that runs alongside bank 1 (RH side) was in rough shape. I spent a lot of time cleaning up all the pipe nipples (wet sanding with 100 grit then 220 grit). The same service needed to be done for the hard pipe on bank 2 (sits right behind the thermostat housing) and also the inlet pipe for the heater core at the back firewall (made out of ALU, so only used 220 grit). I didn't get good shots of how bad all of these were, but I took a picture of the old thermostat housing to give an idea. This is something that I think people don't think about. If you do not flush your coolant every 5 years (green stuff) or inspect your soft lines, you may run into a leak or failure soon. These cars are getting old and even though the hoses may look good on the outside, the inside could be a different story. Just another one of those details that doesn't get talked about often, but is very important for reliability and longevity of the vehicle.
Cheers!
-Icer
Original Thermostat looking nasty! Glad I replaced it (Using OEM of course)
More Z updates. Nothing major to report this week...
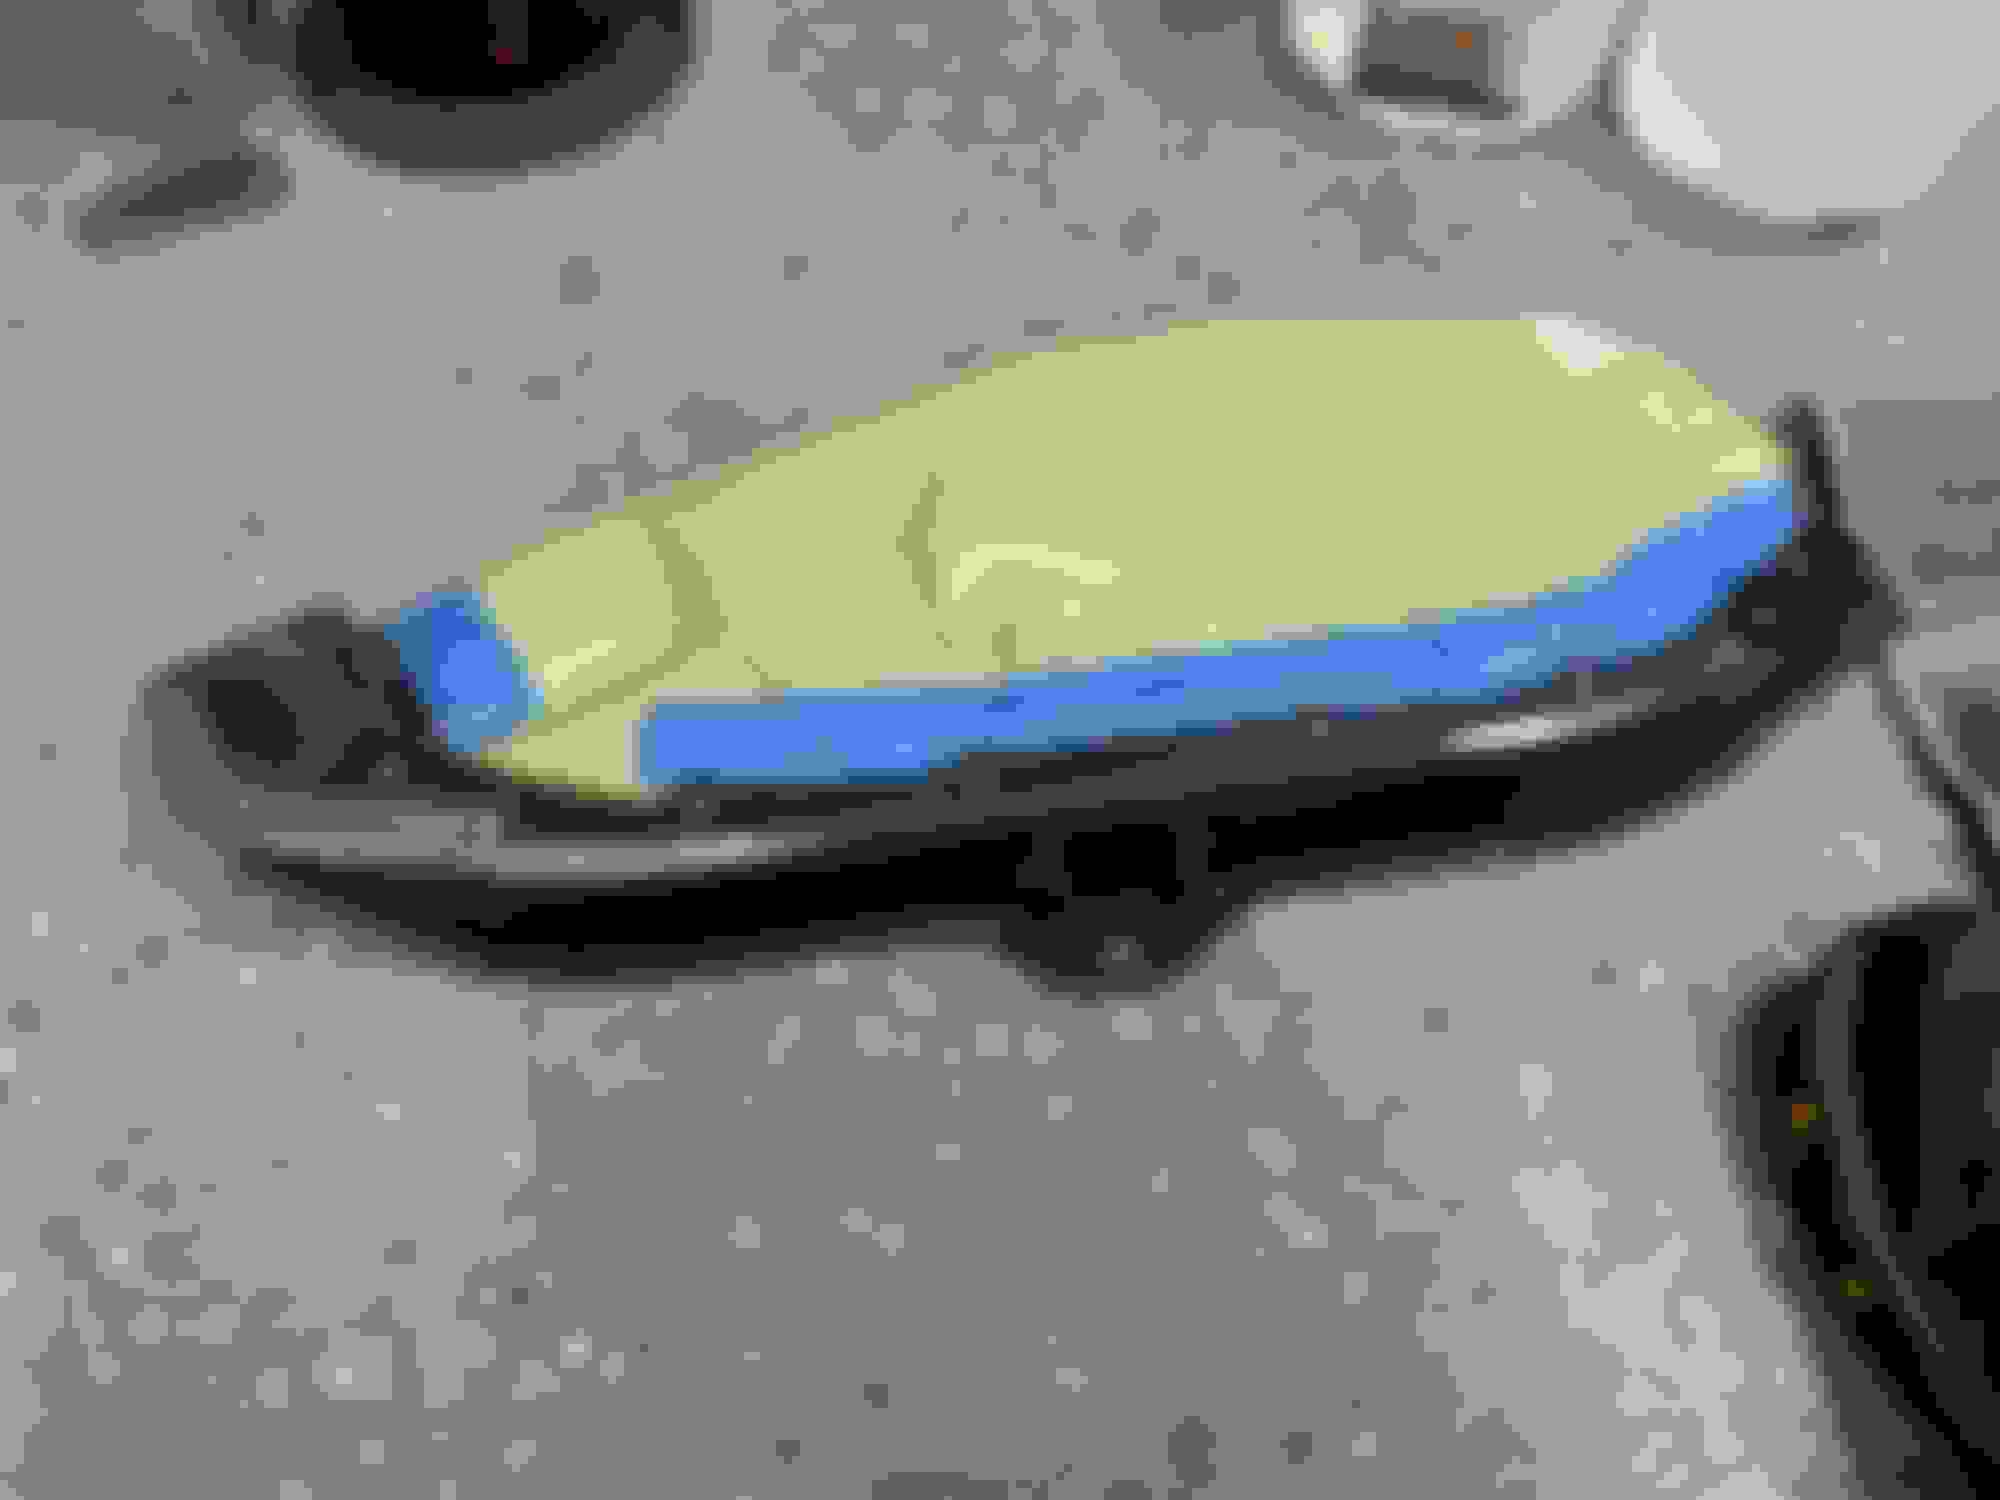
I split my time between family duties and assisting a relative with car repairs, thus limiting some progress on the Z. I also got deep into more body parts reconditioning (sanding and painting). Probably the biggest update was installing the Koyorad (P/N: HH021568). Something seemingly simple actually gave me some trouble. The lower support brackets for the AC condenser had clearance issues with the lower radiator core support. I had to break out the Dremel and make relief cuts to accommodate these brackets and ensure proper fitment of the lower rubber bushings, we're talking 3-4mm difference. I also had to trim about 0.5" off of the upper radiator hose to prevent it from kinking. I didn't measure it, but I guess the Koyorad upper pipe nozzle sits slightly closer to the engine or the new OEM hose I got was just a bit longer. Otherwise, this radiator fits like a glove. I'm re-using the OEM fan assembly and it aligned near perfect. Some minor adjustments (slightly bending things) needed to be made to the reservoir bracket and the AC lines to prevent rubbing with the fan shroud. In terms of the cooling system (flushing and burping), I'm waiting on a single replacement hose still. I screwed myself by ordering the wrong P/N weeks back (difference between Revup and Non-Revup DEs, VIN check failed me here). I returned the mistake and ordered the correct replacement, but it looks like I won't get it for 3 weeks! The reservoir bottle got a thorough cleaning inside and out before re-installing.
I reconditioned the belly pans, reservoir bracket, and the smaller tunnel brace. All of these items were suffering from minor rust bubbling under the paint. I also re-installed the driveshaft, but it still needs to be torqued. All the reconditioned components have been installed, now I can proceed with finishing up the catback exhaust install, rear bumper, etc... Hoping to finish up this coming weekend, also fingers crossed that coolant hose ships soon. I really don't want to flush/fill the cooling system only to do it over again shortly after.
Sanding and more sanding kept revealing more rust. What did I get myself into. Masked and ready for paint. Cross-over coolant hose difference. Beautiful new Koyorad. THICK! OEM rad looking like paper by comparison. Nice and tidy fit. Looks good!
Edit: It appears that the 53mm Koyorad (P/N: R2577) for the 03-06 Z33s was discontinued. They only offer a 36mm and a 48mm now.
The spec sheet for this P/N (HH021568) shows that it's a 48mm core. But I've seen some online resellers listing this P/N and claiming 53mm, so there's some confusion about it. I trust the descriptions from reputable online retailers and they all say 48mm core.
Cheers!
-Icer
I also forgot to mention that I did get my clutch hydraulics sorted out this past weekend. No air bubbles left in the system. Letting it sit for a week really helped, I didn't see any super small foamy bubbles this time around. Only took about 5-10minutes of the pump, hold, bleed method to get straight fluid (no bubbles) coming out consistently. The RJM clutch pedal has been adjusted back to the shipped defaults. I'll still need to fine tune it to my tastes after some road testing, but I can say with confidence that it feels great!
I also topped off the MT with fresh Redline MT-85, replaced the fill & drain plug crush washers with new ones and torqued to spec. Nothing difficult, sort of messy and time consuming with the OTC fluid transfer pump I use.
-Icer
Yeah I wanted the non-cross flow for space reasons but when I ordered I was sent another one and had to return it.
They wanted me to pay for returning, I'm like no this is on you for not updating the website when it no longer was available, so I ended up getting the crossflow.
It has been good 9 years driving this thing, and it has never failed on me. Today, I got the Brake light/battery and I am sure is the alternator cause its at 12V. parts ordered and tune up will be next. To cheer up the day, I finally added carbon and trim pieces that were laying around. Will add pics as soon as I am done with the tune up and wash it. That I did today LOL.
Last edited by djnekkon; 11-30-2022 at 09:35 AM.
Reason: break instead of brake
 10-30-2022, 08:41 PM