
sintaxeror's Valentine 1 and Laser Interceptor install log - tons of PICS/No 56k!


Thread Starter
Registered User
iTrader: (3)
Joined: Jun 2005
Posts: 670
Likes: 0
From: St. Petersburg, FL
Hey kids.. I bought a V1 and an LI, guess its about time I got around to a proper installation. For those of you familiar with my audio build thread, you know this will probably take forever, and there will be a crap load of pictures. So here goes, update numero uno.
Started by taking my center console out.

This is much easier with the AI dash kit for the stereo.

Got it out and in the workshop (living room, you guys know how I roll).
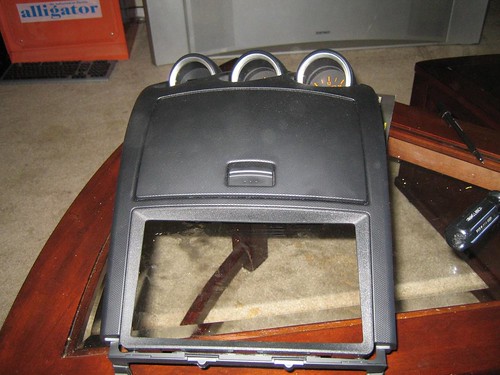
Took the cubby out.
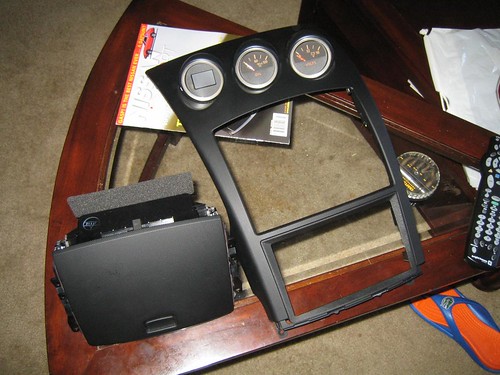
Since I am going to take a couple of weeks for this most likely (work has been busy), I got a cheap replacement cubby for the meantime.
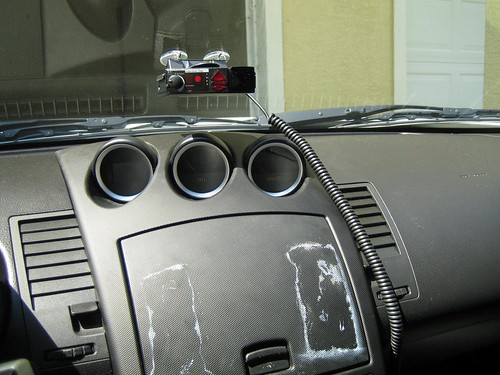
Reinstalled console..

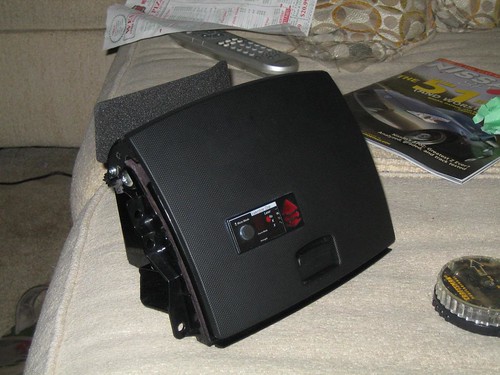
How I currently have my V1 mounted... no no no This just won't do.
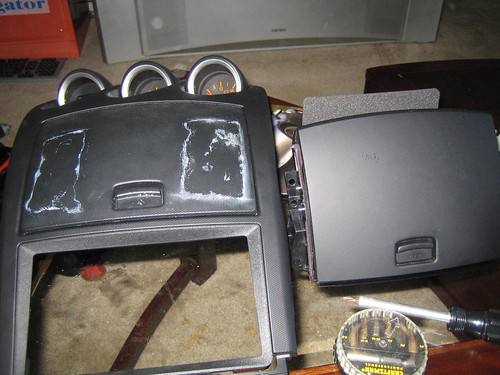
Took the door off of the cubby..

Back of the door..
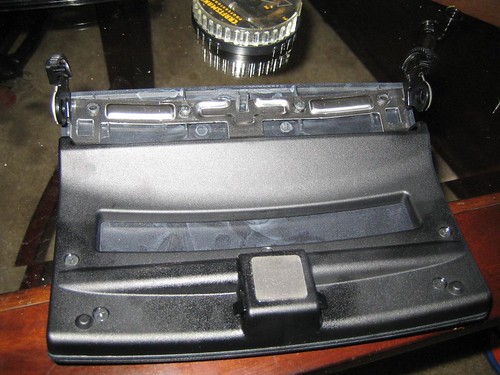
Took the backing off..

Another shot..

Marking up a little with some masking tape..

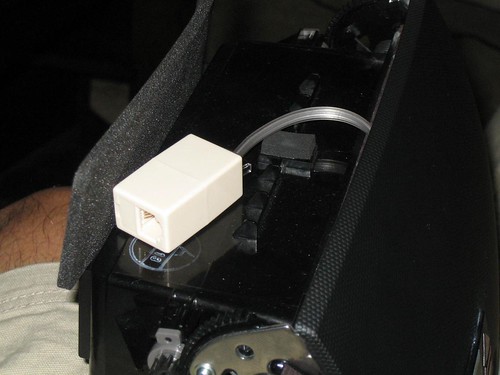
V1 remote concealed display..
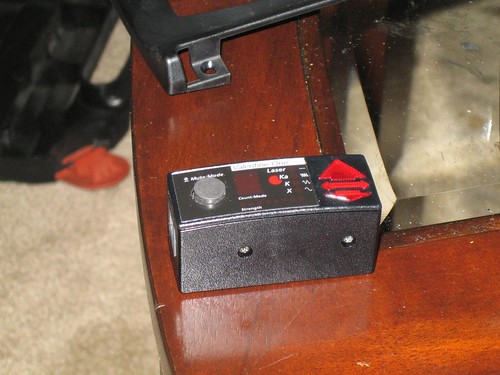
Disassembled..
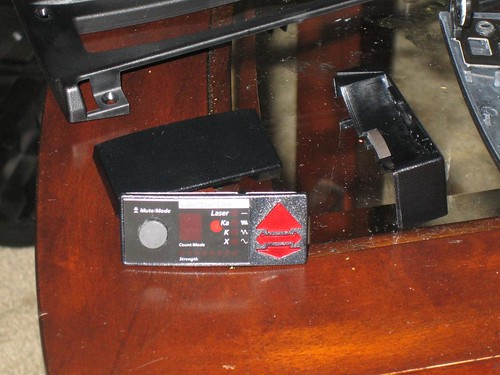
Then.. I took my dremel and files to the cubby door... (sorry for lack of action shots.. I was focusing)
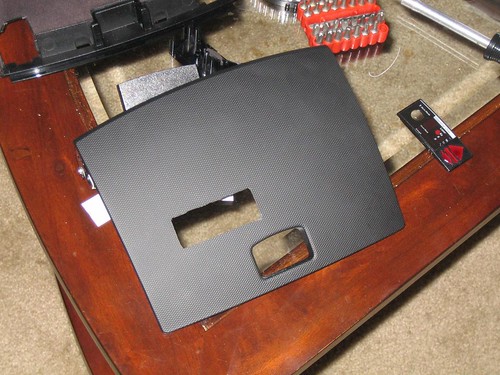
Cover plate for the concealed display fits right in..

Super glued and clamped..

Glued into place...

That's all for now, hope you guys follow along! COMMENTS are always appreciated!
Started by taking my center console out.
This is much easier with the AI dash kit for the stereo.
Got it out and in the workshop (living room, you guys know how I roll).
Took the cubby out.
Since I am going to take a couple of weeks for this most likely (work has been busy), I got a cheap replacement cubby for the meantime.
Reinstalled console..
How I currently have my V1 mounted... no no no This just won't do.
Took the door off of the cubby..
Back of the door..
Took the backing off..
Another shot..
Marking up a little with some masking tape..
V1 remote concealed display..
Disassembled..
Then.. I took my dremel and files to the cubby door... (sorry for lack of action shots.. I was focusing)
Cover plate for the concealed display fits right in..
Super glued and clamped..
Glued into place...
That's all for now, hope you guys follow along! COMMENTS are always appreciated!


Thread Starter
Registered User
iTrader: (3)
Joined: Jun 2005
Posts: 670
Likes: 0
From: St. Petersburg, FL
Thread Starter
Registered User
iTrader: (3)
Joined: Jun 2005
Posts: 670
Likes: 0
From: St. Petersburg, FL
UPDATE 3/22/09 Afternoon
Got a little bit done today... might get a few things done tonight before I go to sleep. We'll see... right now I am too distracted by basketball...
Put the cubby lid back together..

V1 uses phone cord for everything, so a little 8" patch cable and a coupler to connect to the rest of the system. Also reattached the lid to the cubby.
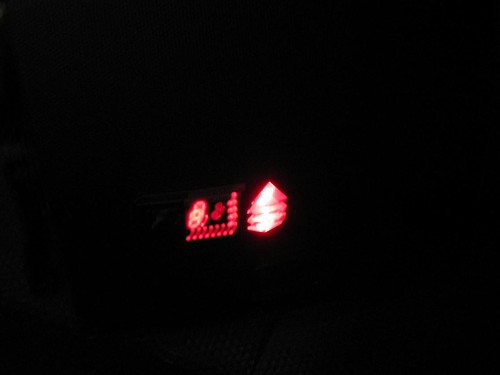
Finished product. You can see the super glue fumes frosted the plastic a little around the edges, I have since scrubbed that film off and used a little Armor All to restore the shine.

Another shot..
Quick test.. still works!

I don't have a steady hand...
Well, that was the first half of stage one... What is the second half you say?
Lets take a look...
Marked up some 2" PVC - Anyone know where I am going with this?

Cut out the rough shape..

Rubbed it flat with some sand paper..

Let me explain what I am doing.. The LI that I am also installing has voice alerts. I keep my music up loud, and as a general rule of thumb I pretty much hate electronics with voice alerts... The LI also has a little power switch with integrated dim LED which flashes as an alert. Since I plan on installing this out of the way, it is also not going to be effective at alerting me to being clocked by lidar. So, I need to set up a visual indicator that is bright, all up in my face, but also blends well with the interior. The remainder of this pvc experiment is what I came up with. Just follow along and you will start to see, if you haven't already.
Test fit..looks good. will fit better when i mount it with foam tape which will space it a little.

Marking out some acrylic for a back piece...

Cut out and glued into place..

Trimmed and filed down flush..

Drilled holes for LEDs and wiring..

Hit the inside with a few coats of Krylon Fusion Satin Black..

More to come soon!... Comments and questions are always welcome!
Got a little bit done today... might get a few things done tonight before I go to sleep. We'll see... right now I am too distracted by basketball...
Put the cubby lid back together..
V1 uses phone cord for everything, so a little 8" patch cable and a coupler to connect to the rest of the system. Also reattached the lid to the cubby.
Finished product. You can see the super glue fumes frosted the plastic a little around the edges, I have since scrubbed that film off and used a little Armor All to restore the shine.
Another shot..
Quick test.. still works!
I don't have a steady hand...
Well, that was the first half of stage one... What is the second half you say?
Lets take a look...
Marked up some 2" PVC - Anyone know where I am going with this?
Cut out the rough shape..
Rubbed it flat with some sand paper..
Let me explain what I am doing.. The LI that I am also installing has voice alerts. I keep my music up loud, and as a general rule of thumb I pretty much hate electronics with voice alerts... The LI also has a little power switch with integrated dim LED which flashes as an alert. Since I plan on installing this out of the way, it is also not going to be effective at alerting me to being clocked by lidar. So, I need to set up a visual indicator that is bright, all up in my face, but also blends well with the interior. The remainder of this pvc experiment is what I came up with. Just follow along and you will start to see, if you haven't already.
Test fit..looks good. will fit better when i mount it with foam tape which will space it a little.
Marking out some acrylic for a back piece...
Cut out and glued into place..
Trimmed and filed down flush..
Drilled holes for LEDs and wiring..
Hit the inside with a few coats of Krylon Fusion Satin Black..
More to come soon!... Comments and questions are always welcome!
Trending Topics
I've seen these remanufactured V1 displays on ebay where they take them out of the case, and only use the front portion of the concelled display, then use epoxy to form a thinner case. They then have to redo the wiring to hook it up to the telephone wire.
Thread Starter
Registered User
iTrader: (3)
Joined: Jun 2005
Posts: 670
Likes: 0
From: St. Petersburg, FL
They don't have to redo the wiring. Take apart the concealed display and you will see, the whole thing is a ton smaller than the case it comes into, and the jack is attached to the board.
AHHH me thinks I might have a project this summer. I'm using my nav cubby as a rear view mirror monitor but I wonder if I can flush mount that detector in there...
Cool can't wait to see the results. Whats the ETA to the completion?
Thread Starter
Registered User
iTrader: (3)
Joined: Jun 2005
Posts: 670
Likes: 0
From: St. Petersburg, FL
hopefully 3 weekends, we'll see though. I am lazy, and NCAA tournament is distracting =)

NICE! Another one of your threads to follow. I rmeber making my amp rack then seeing your sub project at the same time and going "DAMN MY AMP RACK AINT **** COMPARED TO THAT!" lol


